

How to choose the best sander for your particular furniture project, can be a daunting task if you’re new to DIY projects like re-finishing a piece of furniture.
“What are your thoughts on different sanders and when to use them?”
This question came from Michelle, who wrote to me after trying her new random orbital sander for the first time and finding it hard to control. She was trying to remove a painted scene on a small table and ended up making a couple of gouges in the wood. (Argh! I’ve SO been there, how about you?!)
She had been using a small mouse sander or hand-sanding for previous projects, and so she was wondering what sanders to use for which type of projects.

It can be a little tricky to sand evenly with the more powerful electric sanders until you get used to using them. What grit or gauge of paper is being used? Heavy gauge or rougher grits can be a little harder to control as they are trying to grip the surface more than a lighter gauge would. But again, Michelle was wanting to remove a painted scene, so she probably does want to use a heavier grit to start with.
[This post contains affiliate links.]
In Michelle’s case, I think a bit of practice makes perfect till she gets the hang of it. I recommend practicing on old off cuts of wood when you get a new power tool to see how it is going to perform … in YOUR hands.
Disclaimer: I’m NOT a carpenter or a builder, and can only speak from my experience of some of the sanding tools and methods that I have used.
The Heavy Duty Sander:
Belt Sander –
These are really heavy duty and just about blew me away the first time I used it – literally! I powered up and set it gently on the desktop to start sanding and the sander flew across the desk and it took every ounce of strength to hold it back from taking off into “infinity and beyond”! This type of machine is GREAT for your abs!
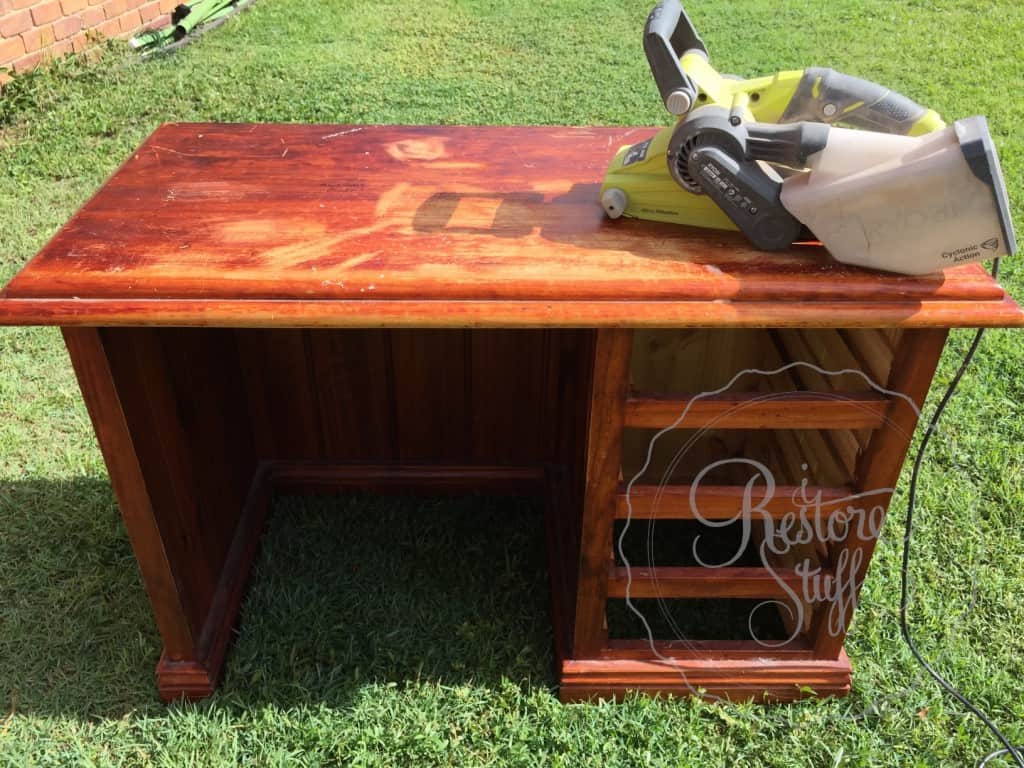
Personally, I mainly use my belt sander for big jobs like tables or dressers that might have a lot of paint on them or heavy varnish that I want to take back to raw wood.
At the moment, I’m using a Ryobi Belt Sander similar to this one: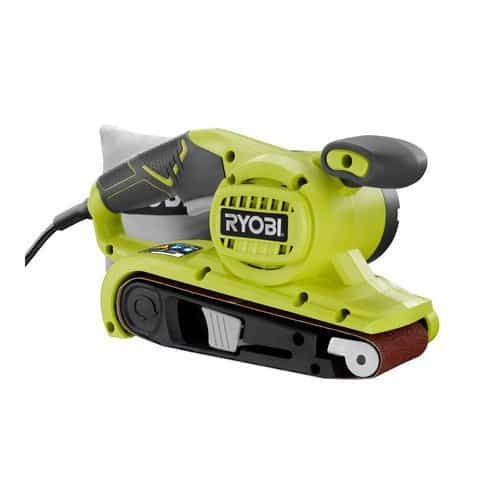
Plenty of mistakes have been made while I’ve “learned” the art of sanding, including gouges in the wood and the round “brrr” marks (haha – my technical term) that are highlighted even MORE when you stain them. I’ve even had to sand it all back again because it was so noticeable. So practice, practice, practice is the key!
I’m currently using the Ryobi Belt Sander
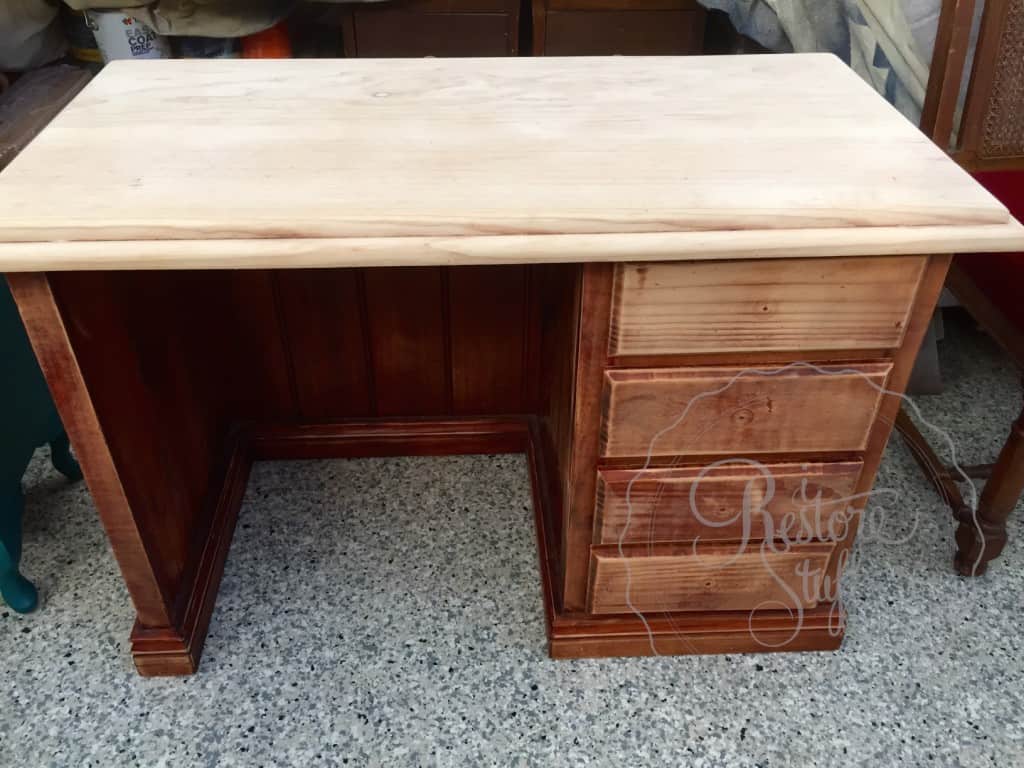
After: I used the belt sander to remove all the varnish, then finished with finer grit sandpaper on the orbital sander.
The Medium Duty Sander:
1. Orbital sander –
I’ve used both orbital and mouse/detail sanders. Orbital goes round and round, the mouse tends to go back and forth. Out of the two I prefer to use the orbital, but the mouse does get into corners a little better.
The orbital sander is a tool I use for medium jobs where I need to rid of lightly painted or varnished surfaces or just to smooth a rough piece of timber or trim. In Australia, Black & Decker is a well known solid brand of sander that would be great for medium jobs similar to this one (pictured which comes as a 4-in-1 multi-sander & converts from an orbital to a mouse type easily), or if you’re in the USA or Canada, check out these brands that would be equivalent in your area.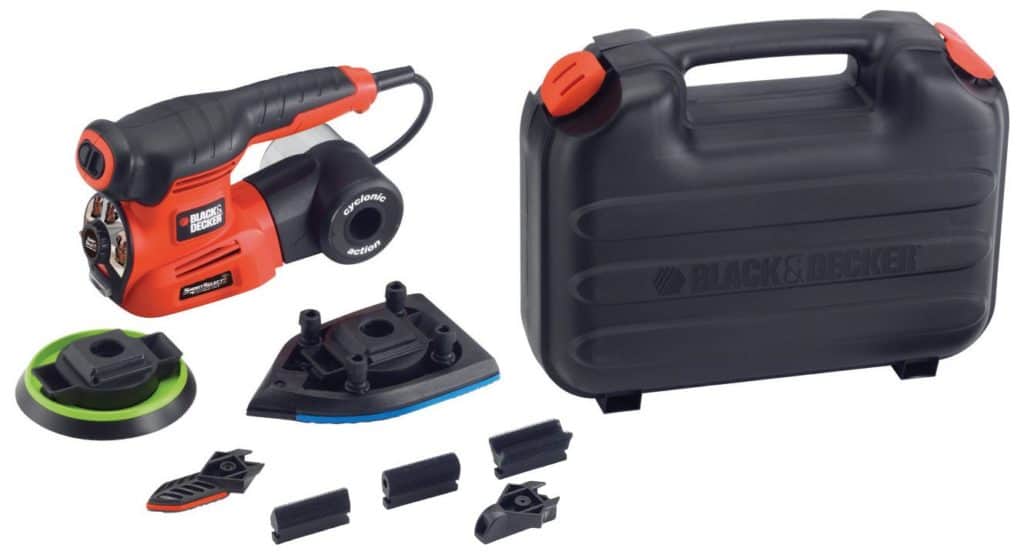
I often use this after I’ve used the heavy duty belt sander, for a more controlled finish, then applying finer gauges or grits of the round disc sandpaper grips to get a smoother finish when I’m sanding to bare wood.
NOTE: There’s an important fact you need to consider when using the orbital sander. Since the sanding grit moves in a circular motion, it is cutting across the grain of the wood and this will often lead to round sander marks or grooves in your surface. You will need to finish with a finishing sander or mouse sander in order to move along the grain. Sometimes these round marks will show pretty badly in your finished work, especially if you plan to stain the surface. The stain sits in the grooves, making them more noticeable.

My Orbital Sander, removing a light coat of varnish from this coffee table top.
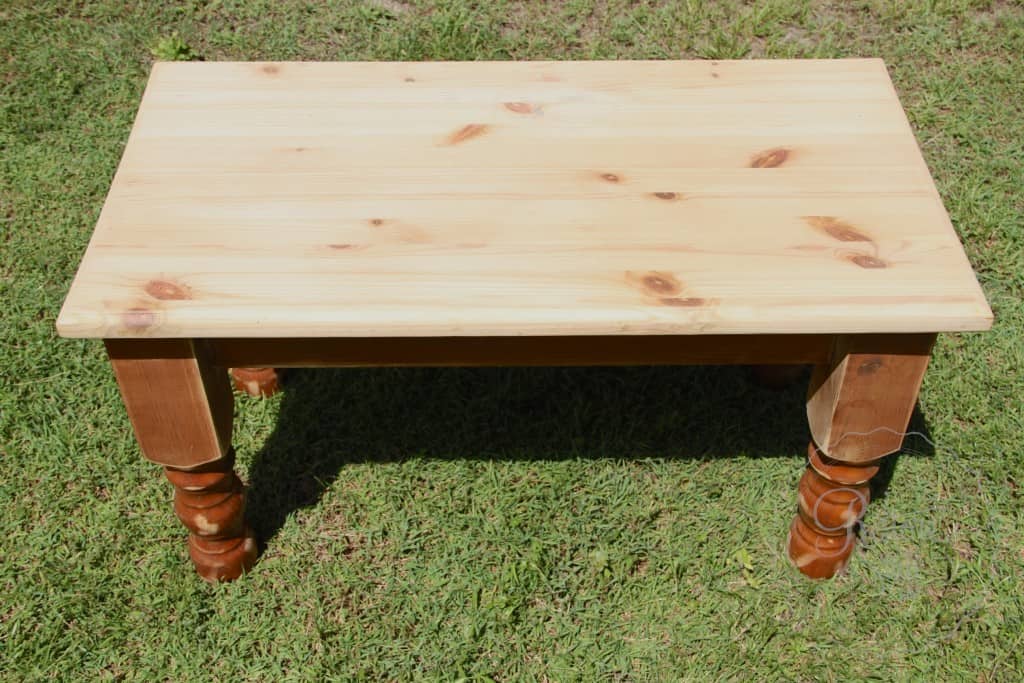
After: varnish removed. Moving to finer grade grits of paper until smooth.
2. Mouse Sander or Detail Sander:
As I said earlier, this type of sander moves in a straight motion back and forth. This enables you to use it with the grain of the wood and not against the grain like the orbital does when it travels in a circular motion. Use these for fine finishing, especially when you plan to stain a piece.
Here’s an example of a mouse sander: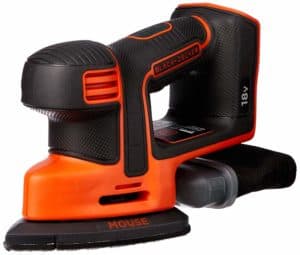
The Light Duty Options:
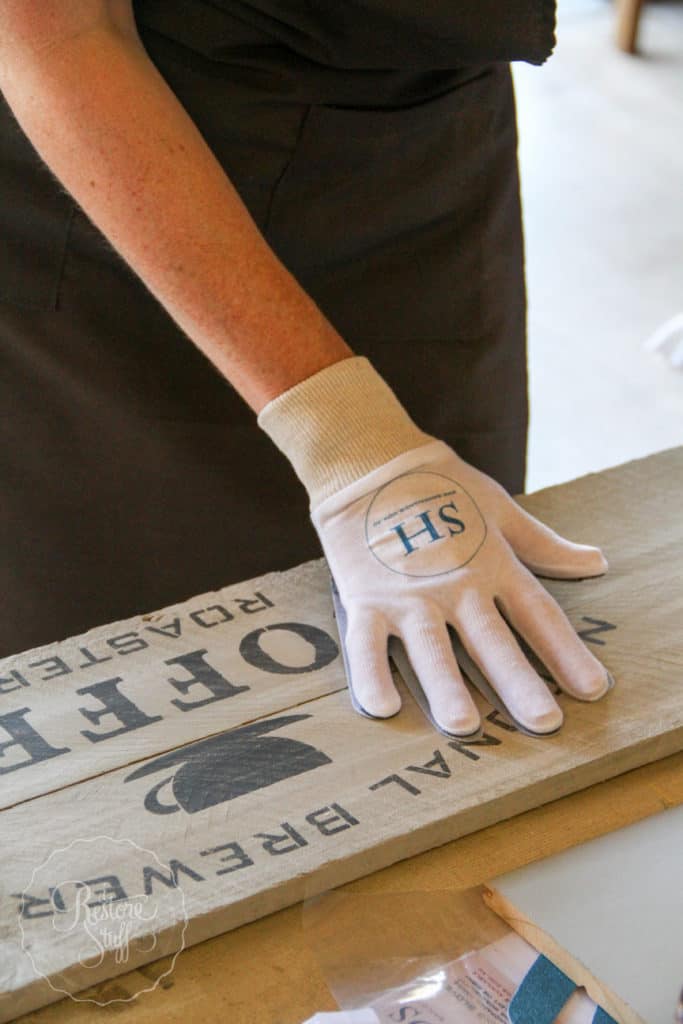
Sandi Hands sanding gloves –
- Great for getting into corners and for sanding spindles.
- Excellent control over what you’re sanding.
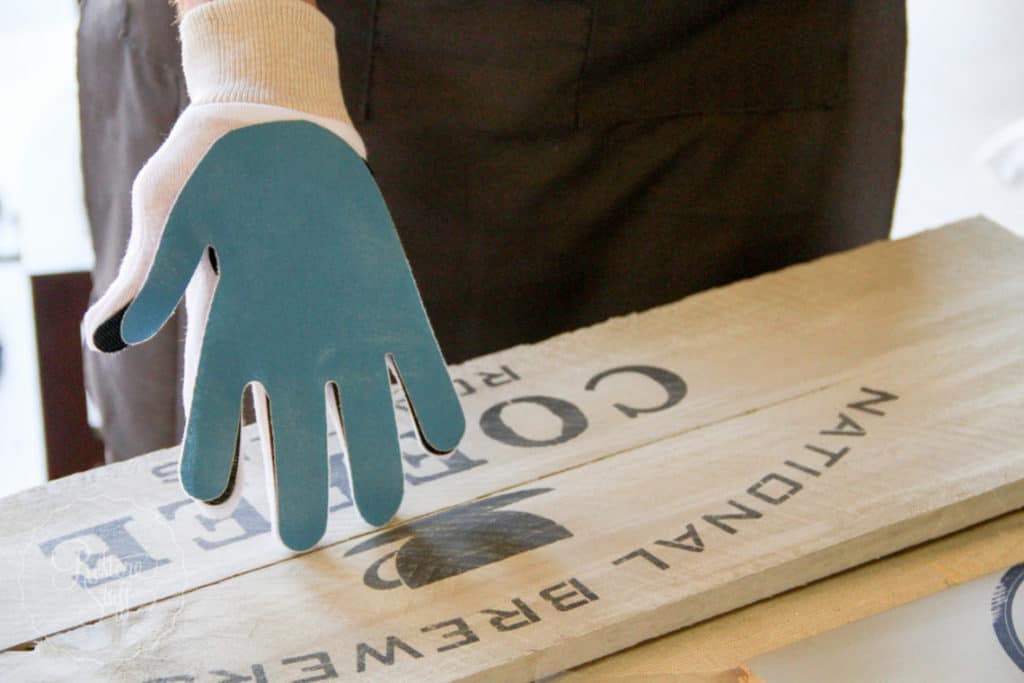
- You can change the velcrose hand-shaped grit for different surfaces and increasing smoothness.
- Saves hands and nails, etc.
- I don’t lose the piece of sandpaper as it’s attached to my hand – ie. doesn’t slip out from my hand like sandpaper does sometimes.
 Sandi Hands sanding gloves come in varying degrees of grit gauge. You can order these from our website here, or if you are in the UK or Europe, visit SandiHands website for your nearest stockist.
I use Sandi Hands grits such as 240 & 120 for getting into hard to get places. A light grit like 240-320 I use for distressing painted furniture or signs. I use the 400 or higher grits for super smooth finishes on all my wood stained finishes.
Sanding in TWO Minutes?
Many furniture paints on the market claim to be “no prep” and to a certain extent, they can be. However, there are so many variable surfaces on any given piece of furniture – especially after years of wearing, dirt and grime. A clean, sanded surface is going to hold your paint on SO much longer than if you don’t prep the surface at all. A little prep is far better than having customers return with scratched and chipped pieces that you have put so much work into. Or if it’s your own piece, having to re-paint it after all that hard work. To show you how quick and easy it is to give your surface a rough sanding, I filmed this on my iphone one day when going to paint a wardrobe.
In LESS THAN TWO MINUTES – I’m done! (‘scuse the poor video quality, folks, I was unable to download this one as HD from my phone years ago).
Sandpaper –
Every now and then, I still pick up a little piece of sandpaper for odd bits of light sanding or distressing painted pieces. They come in a number of grits from course to very fine. But if you don’t like the way they fling out of your hands, wreck your nails, end up in a scrunched up mess, then opt for SandiHands.
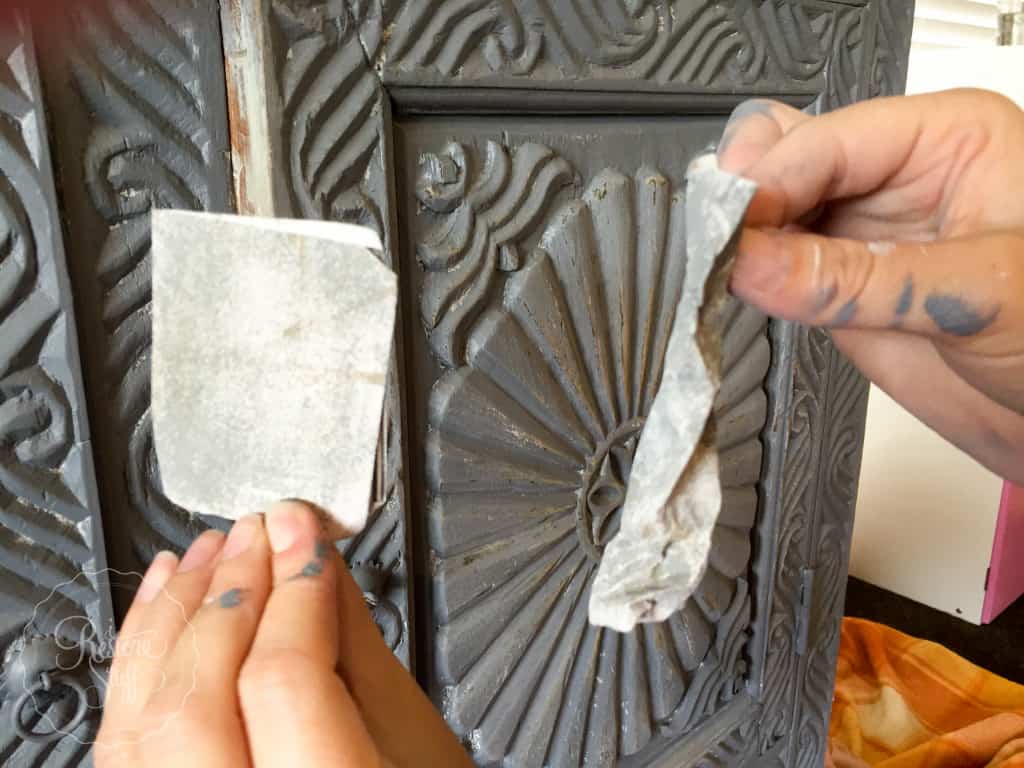
Sandpaper: I use for distressing sometimes.
I hope you now have a better idea of which types of sanding tools you’ll need for your next furniture project.
What kind of sanders have you used? Have I missed any of them?
Comment any other ideas on sanding in the comments below.
If you found this post helpful, feel free to pin to pinterest or share on Facebook.
Happy sanding!
Sharon.
This was massively helpful and informative, Sharon. Thank you so much.
You’re so welcome.