
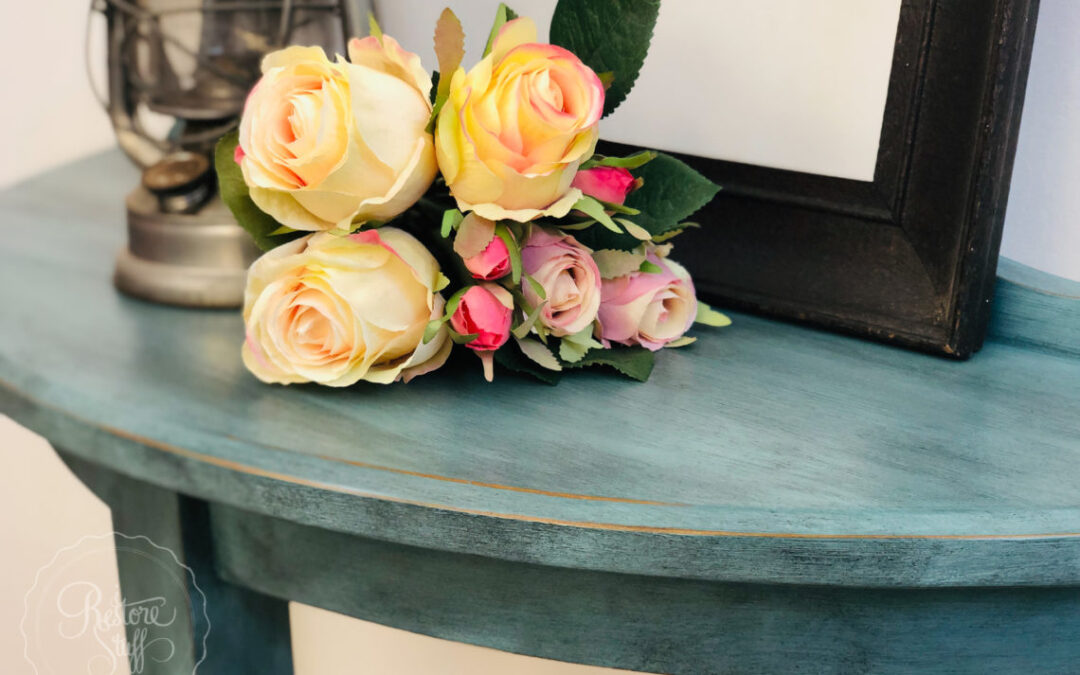
Before I started carrying these lovely paints, Alison from Artisan Paint Company in Australia, kindly sent me some of her beautiful chalk finish paint products to try. I enjoyed playing with them in my studio and in our painting workshops. This is a piece I painted in Artisan colour, St. Tropez, finished with Artisan’s Black Wax.
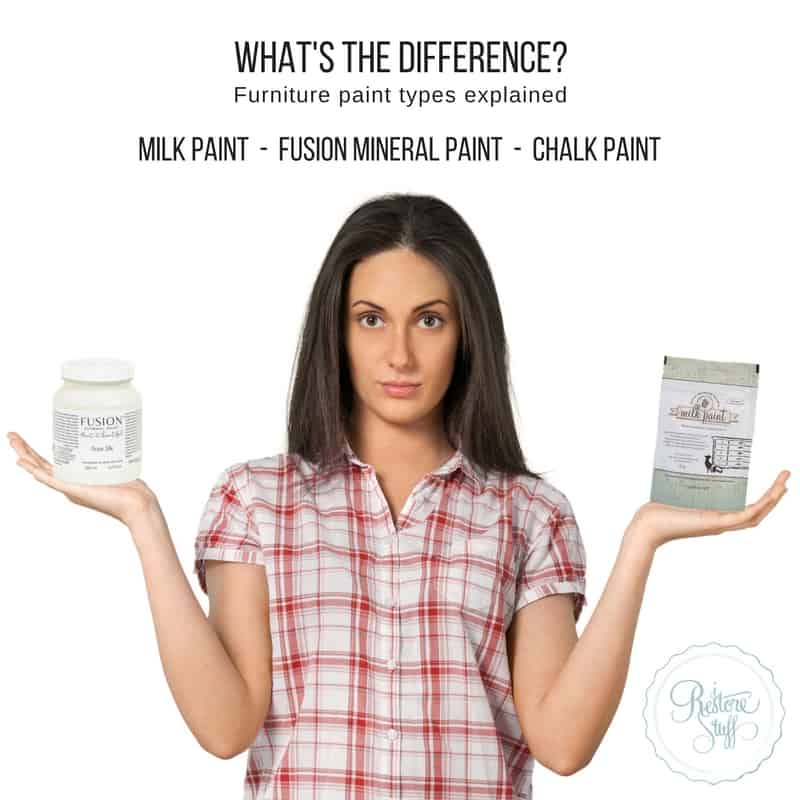
One of the questions I am asked a lot is “What’s the difference between Chalk type Paint & Milk Paint?” or “What’s the difference between Fusion Mineral Paint and Chalk finish paints?”
To answer those questions, I give you an in-depth look at all 3 specialty furniture paint types over HERE and explain the main differences between them, and how I like to use them for different pieces of furniture and decor.
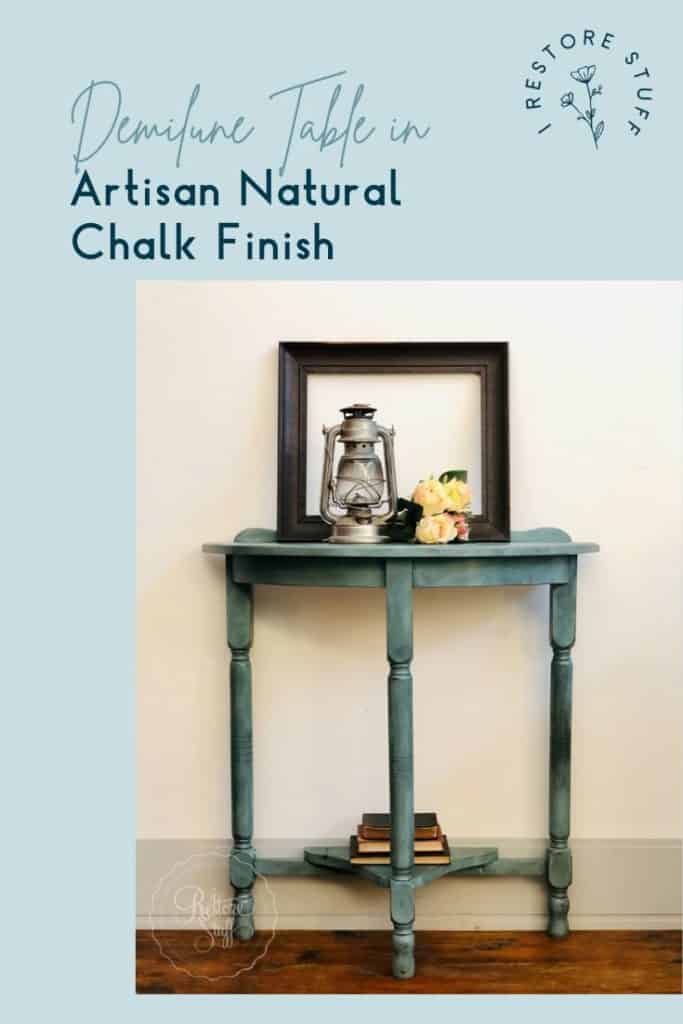
Chalk Finish on Demilune Table
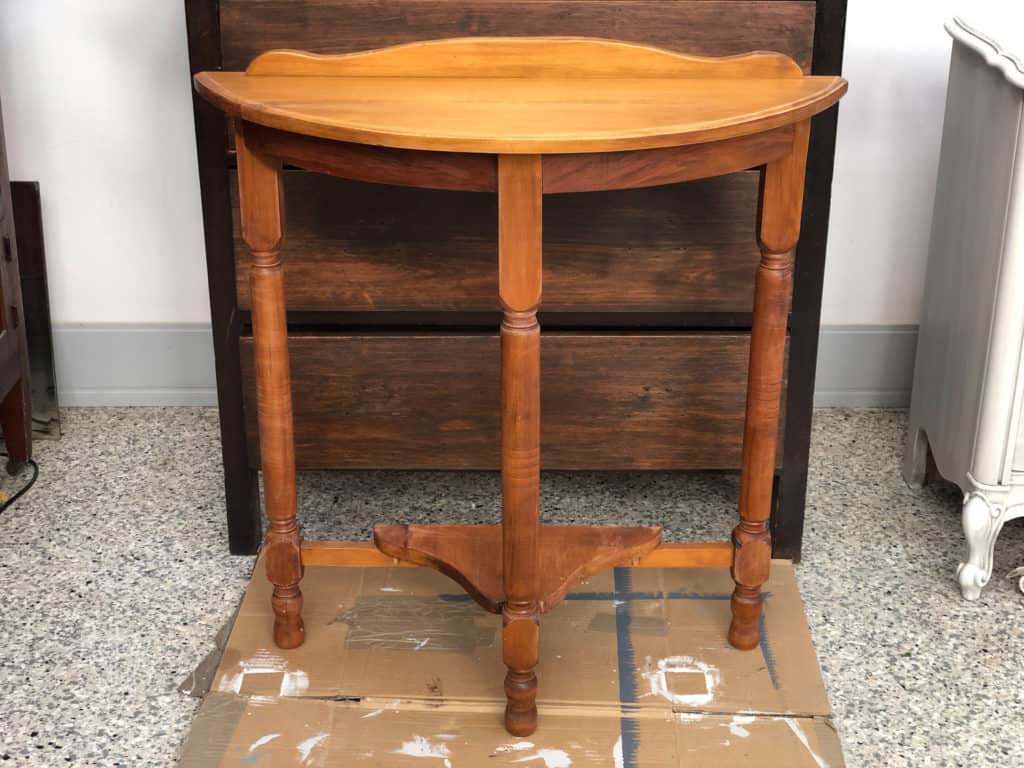
I started with this demilune table, a golden colour, with a varnished finish. To prep this piece, I sanded using a 180 grit on my Sanding Glove and gave it a scuff sand all over. This takes only a few minutes – no need to sand right back to raw wood. You are only scuffing the surface for better adhesion of any paint. Wipe down with a damp cloth and you are good to go.
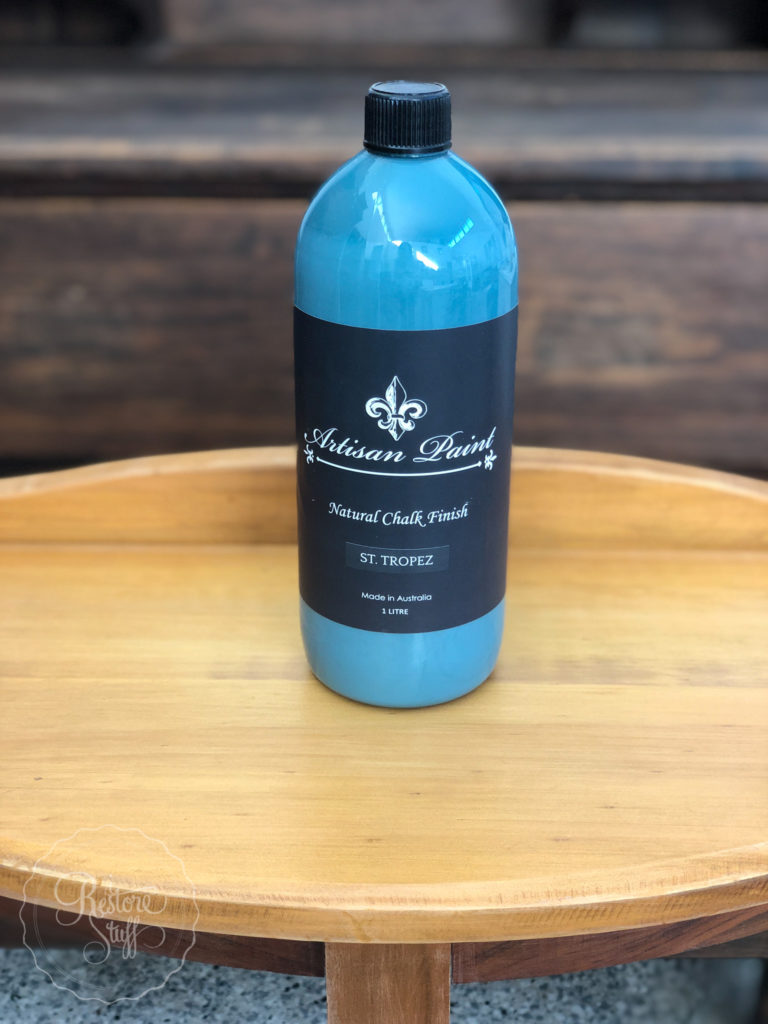
The Natural Chalk Finish by Artisan Paint Company comes in three sizes – 200ml smaller pots, 500ml pots & 1 Liter bottles. Pictured below is the 1L version of the colour St. Tropez, and as you can see, you can simply pour out into a dish or jar, the amount you think you would need for a project that you’re working on.

I used my current favourite Short Handle S30 Cling On brush to paint the first coat on. As with most furniture paints, the first coat usually looks a little patchy and uneven.
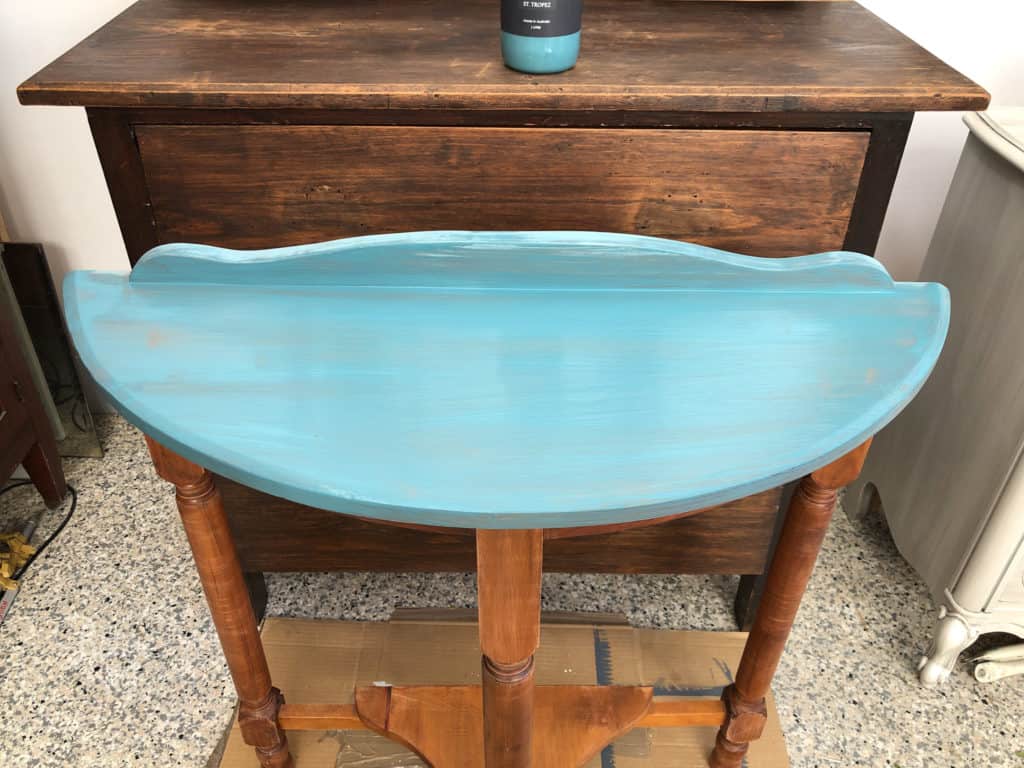
And as the first coat dries … it can look even scarier … but don’t worry, the colour variation is just the paint drying.

Second Coat of Artisan Natural Chalk Finish
Below, I’ve painted a second coat on the entire piece and it’s drying – again, this will look patchy until all dried. *Note: colour may not be accurate as I had issues with lighting/sunlight which can throw off the blues & greens a little.
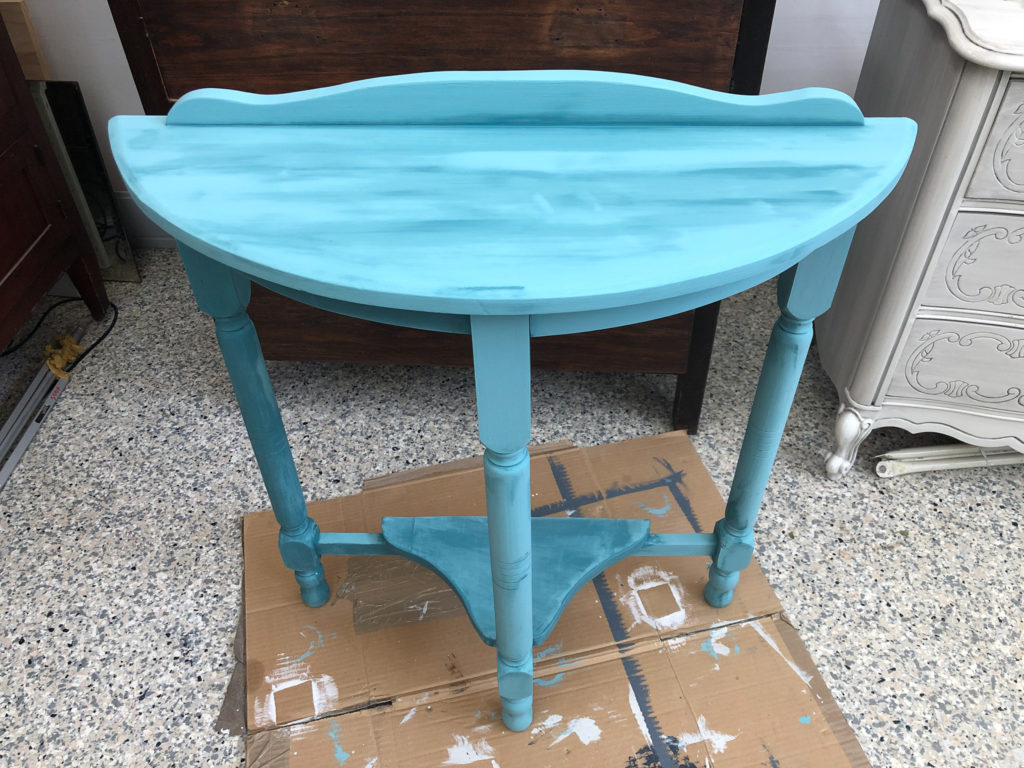
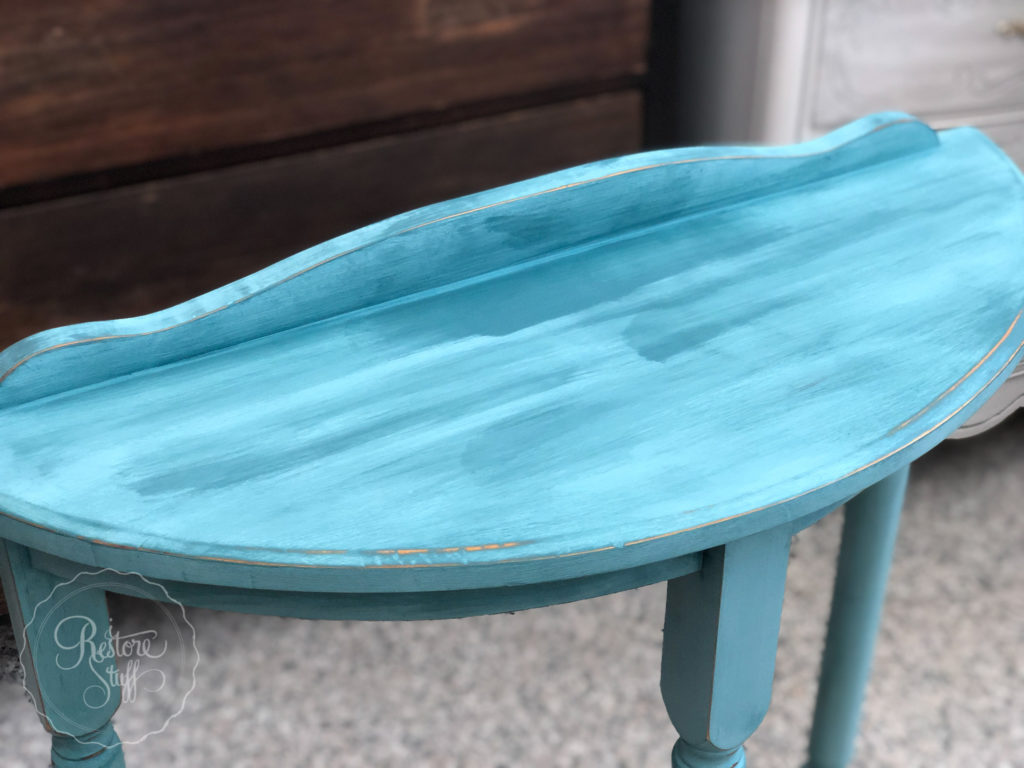
Here the Artisan Chalk Finish is all dried and ready to either leave as is with a coat of wax or poly to finish, or you may choose to add an aged finish look that I’ll show you in the next section.
Ageing with dark wax over Natural Chalk Finish
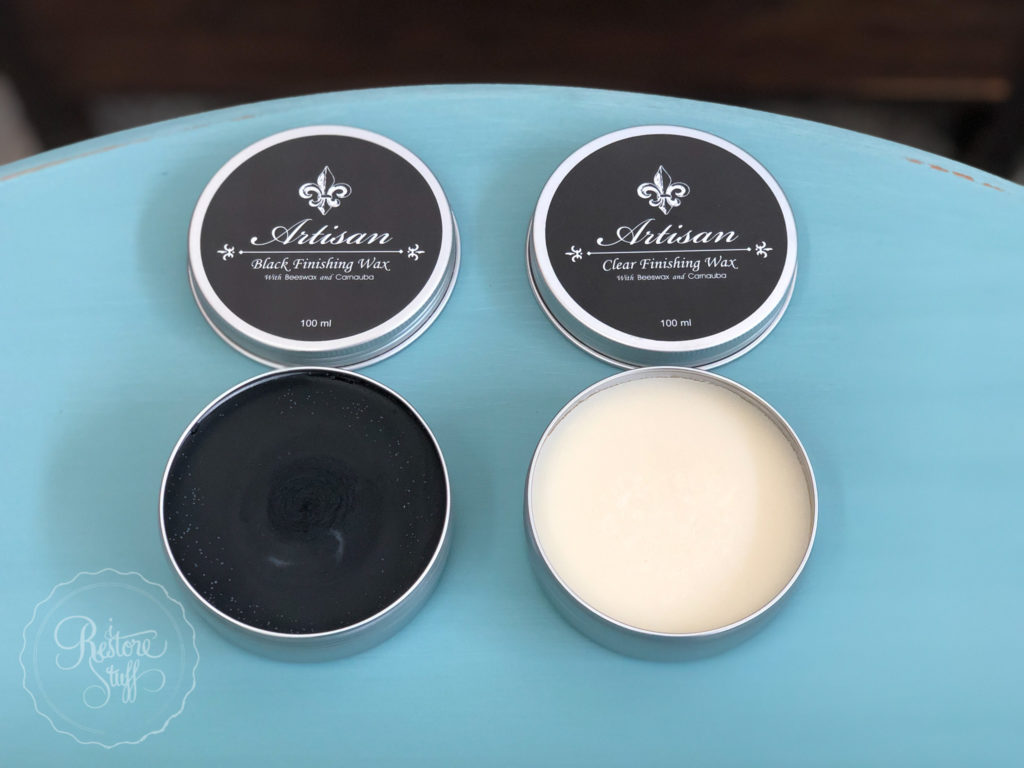
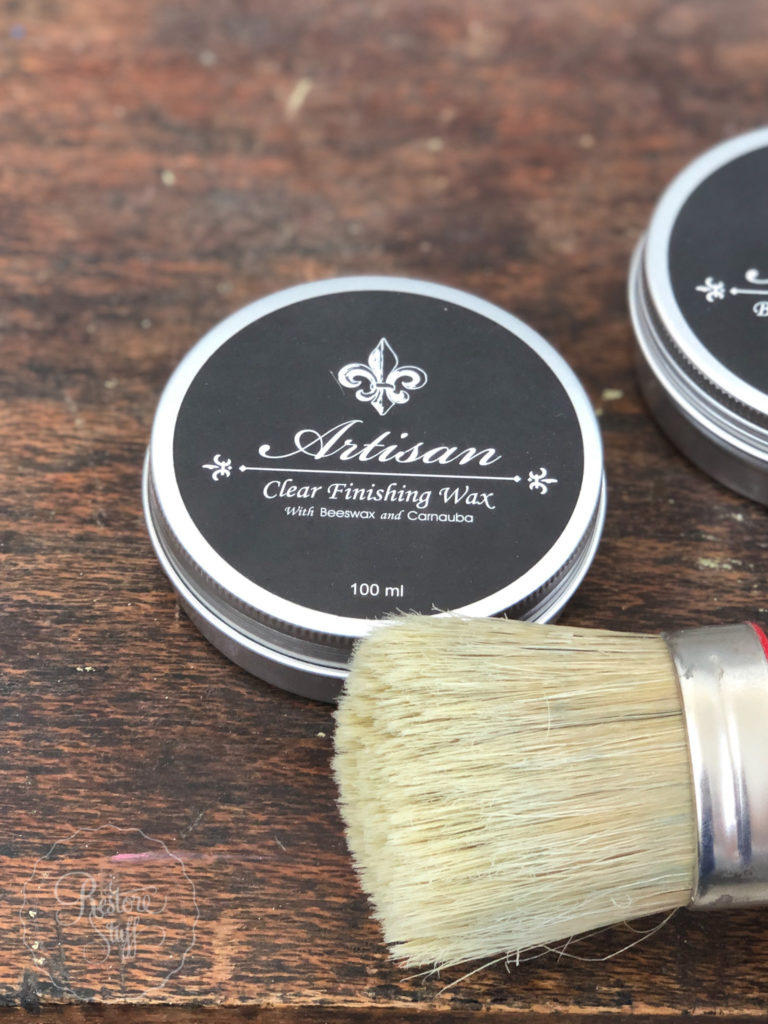
Alison sent me both their Clear Finishing Wax and the Black Finishing Wax. Let me just say, if you open the clear wax, please resist the urge to EAT it – oh my goodness, the scent is divine!! Goodbye nasty chemical smelling waxes – HELLO pretty smelling wax! Alison tells me the scent is French Pear, but has undertones of spices, so it smells like a French patisserie! She is absolutely right.
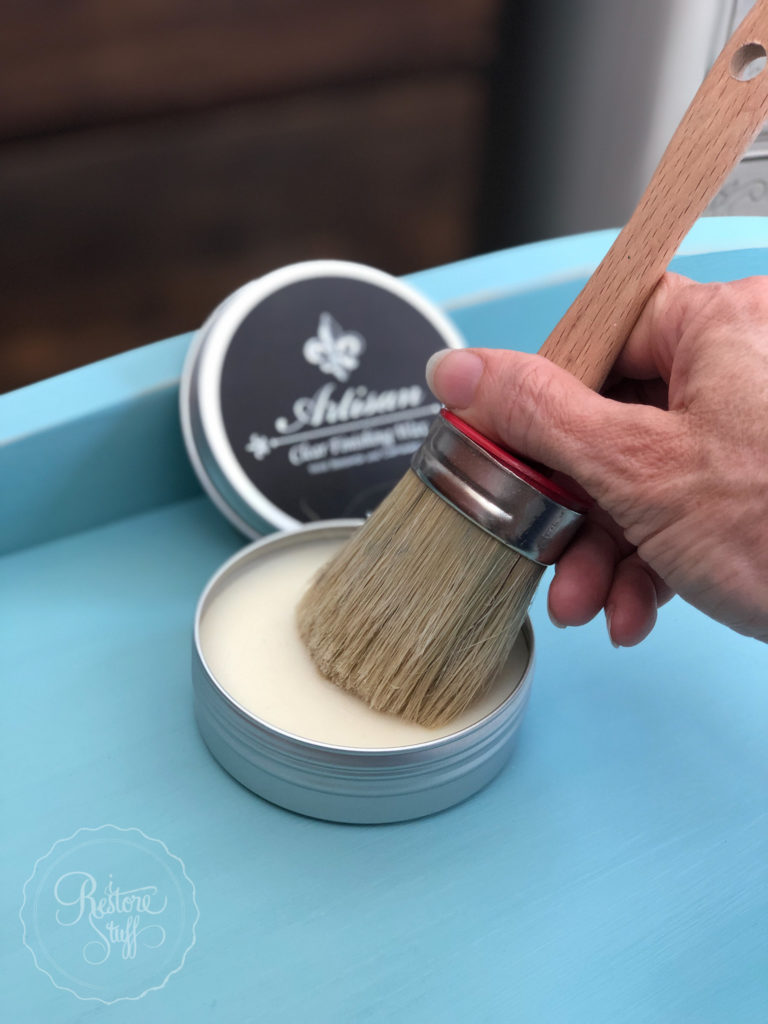
Now, generally, when waxing over Chalk type paints, because the surface is quite porous, I find it easier to first apply a clear wax before applying the darker wax or white wax. This allows the black or dark wax to be a little more forgiving and “moveable” across the surface of the clear wax. It also allows it to be “removed” more easily in areas where you want less dark wax, after it has been applied.
In the image below, you can see when applying the clear wax to the chalky finish, it appears quite a lot darker – the clear wax is actually showing a deeper colour of the paint by adding the finish to the surface. Almost like you are “wetting” the paint again.
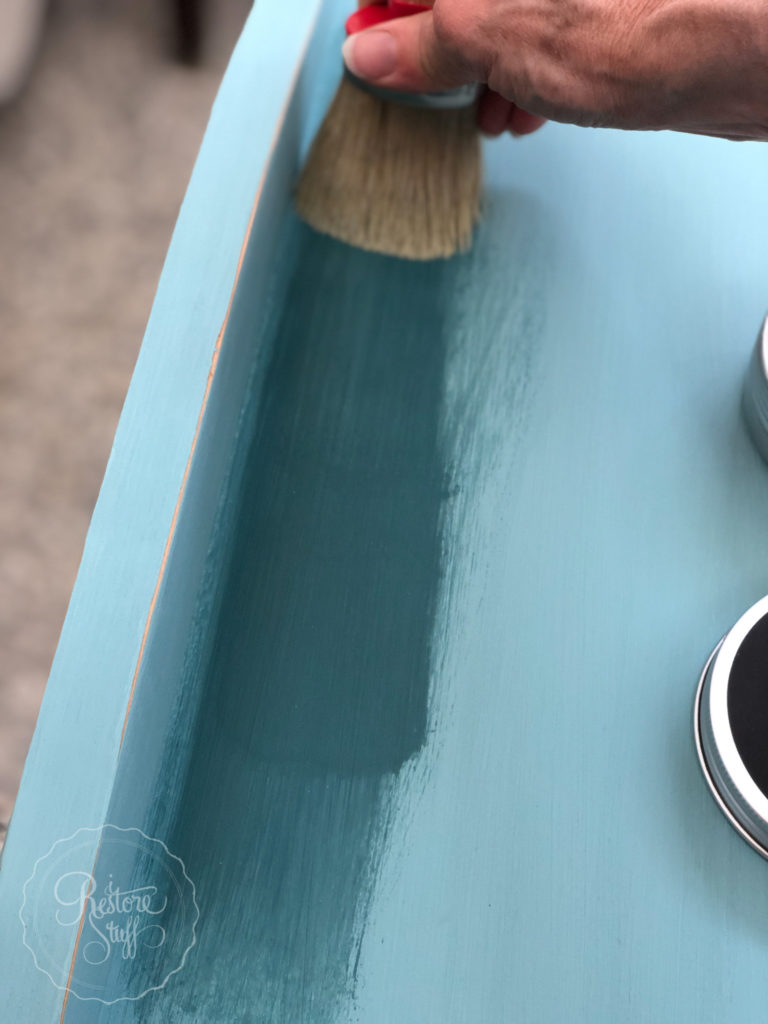
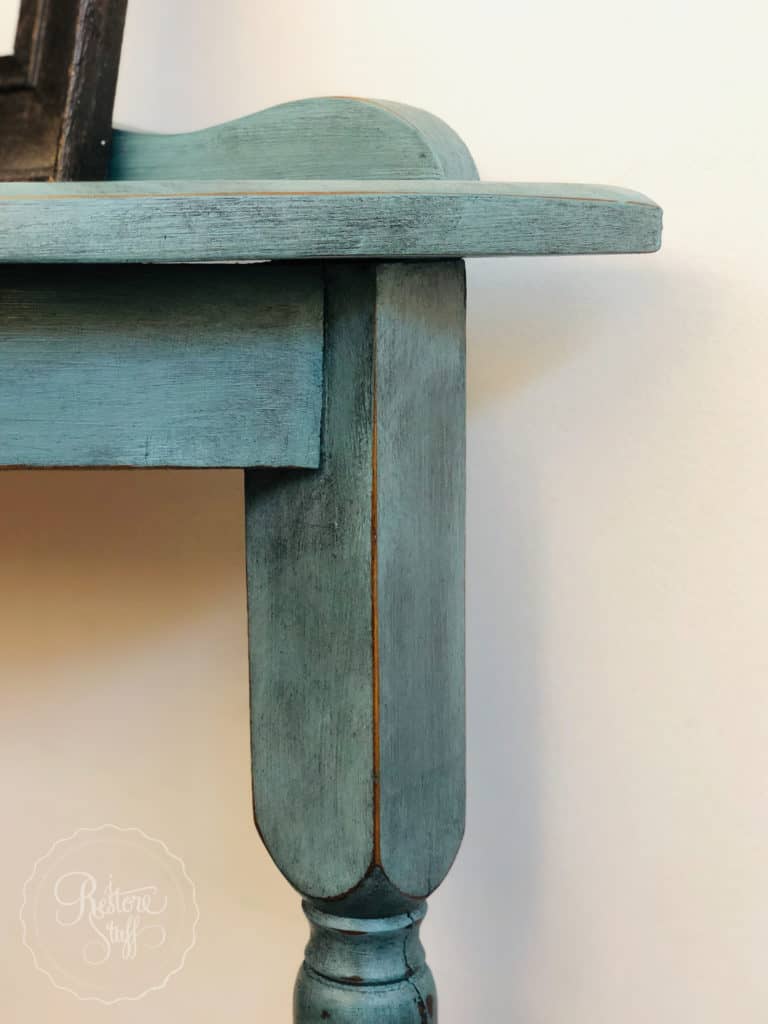
In the image below, after clear wax has been applied, again it looks as though the surface is “drying”. The wax seems to be penetrating the chalky paint finish and sealing it. Can you also see that I decided to distress sand the edges of this piece for an antique finish.
I wanted to show you this image below, because this wax brush I was using the clear wax with, has NO pigment of the Chalk Finish Paint on it! A lot of times you’ll find when waxing, that the pigment of the paint colour will come onto the brush when waxing. I was pleasantly surprised!
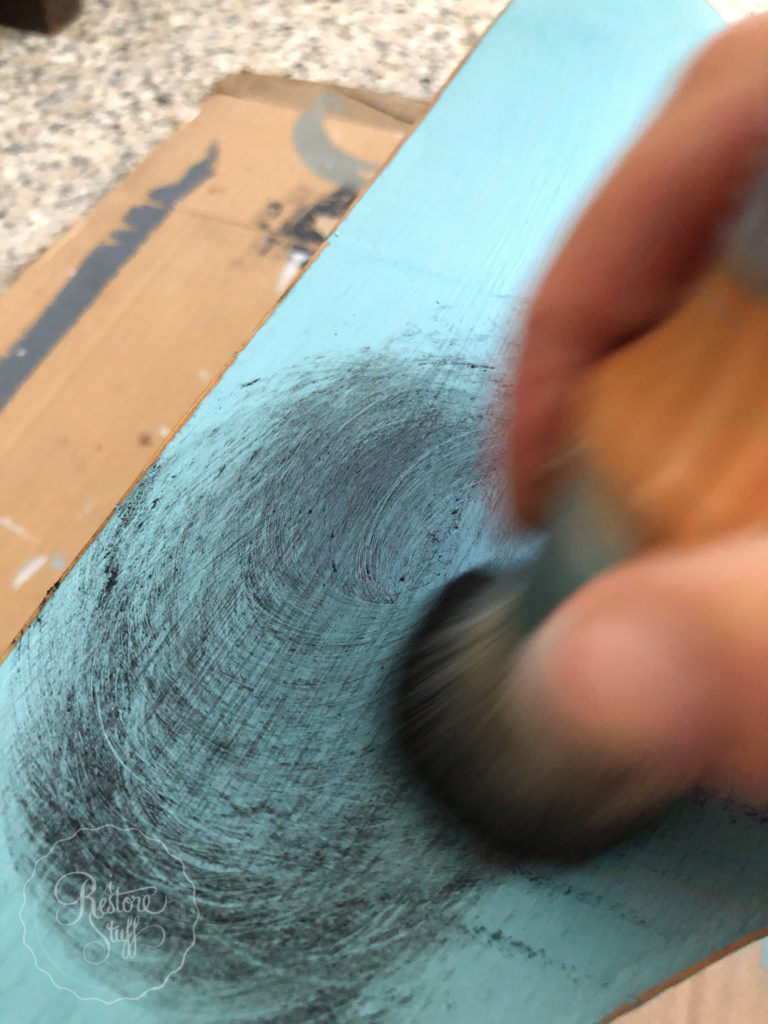
And now for adding the Black Wax. I sometimes use a swirling circular motion, other times a vertical or horizontal back and forth motion. The idea is to get the dark pigment of the wax into the crevices – ie. both the wood carved details and the paint brush strokes, which using the thicker chalky type paints can create nicely. Note: you can also achieve a smooth painted finish with Chalk Finishes, but for this piece, I was aiming for brush strokes for the wax to sit in.
After applying black wax to the surfaces you want it on, use a lint free cloth to remove any excess wax. Leave a few minutes, then buff the surface to a sheen.
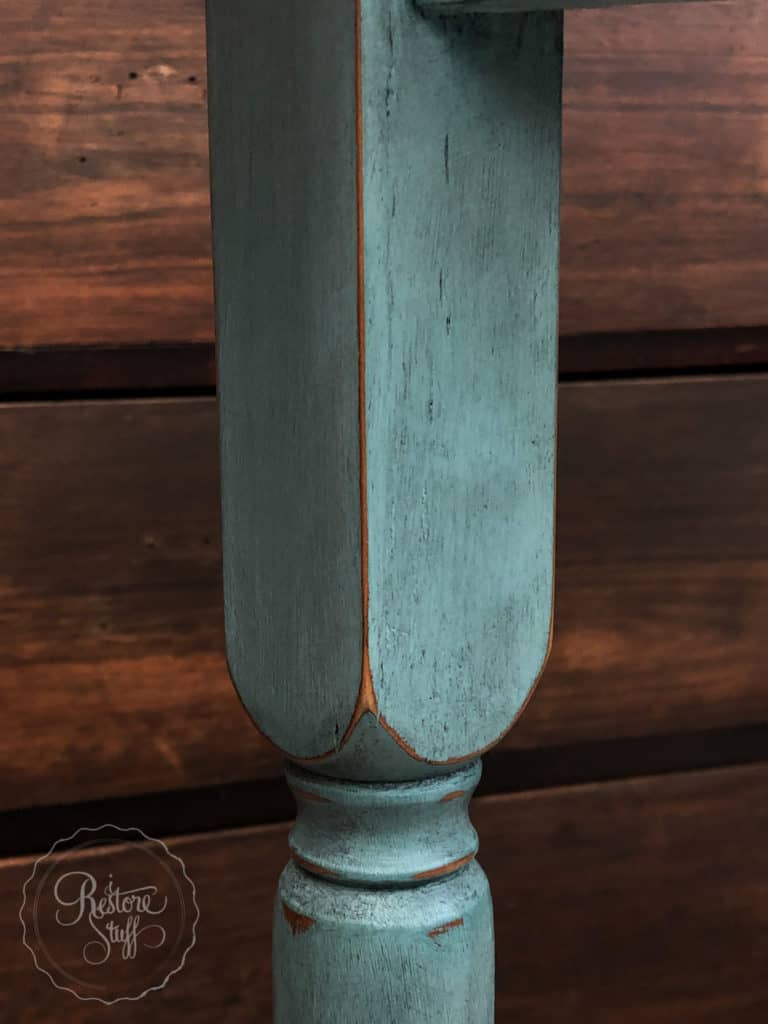
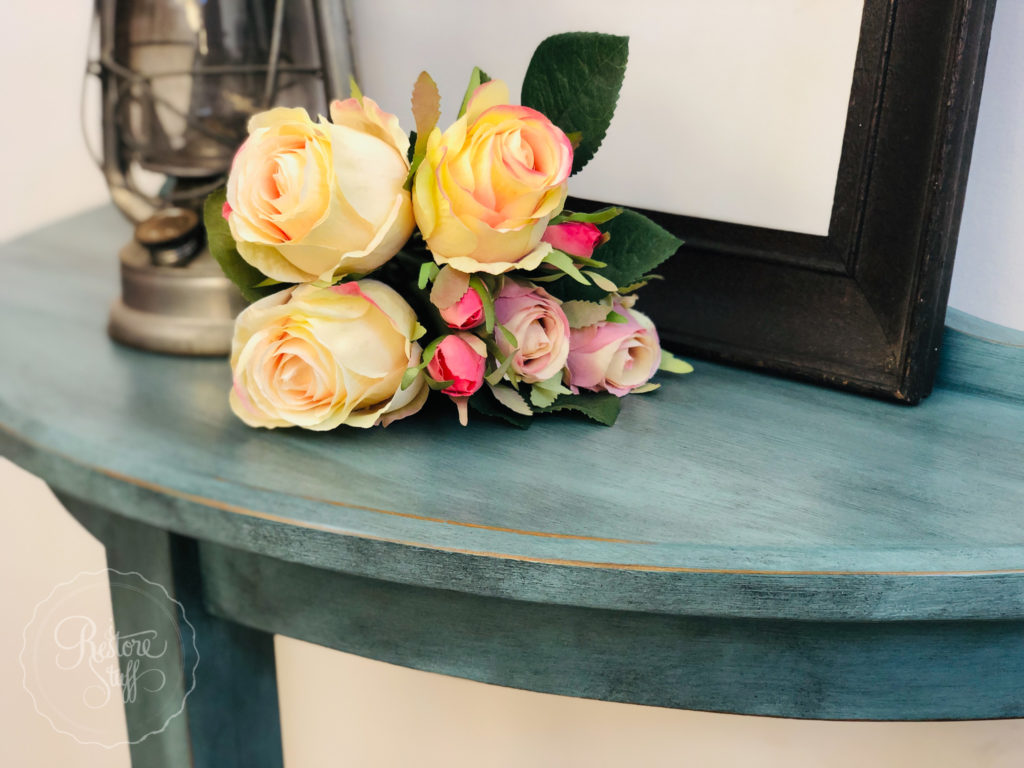
I love the way it sits in all the details creating a beautifully authentic aged finish.
I remember the very first time I used a darker wax over a distressed painted piece, and how intimidating it can feel. I worried about whether it looked right, whether I had the right amount of dark in all the right places. But you know what? I gave it a go, and I think we are usually our own worst critics when it comes to judging what looks “just right”. So many people complimented me on the aged appearance, so I determined that I should be less critical and just go for it.
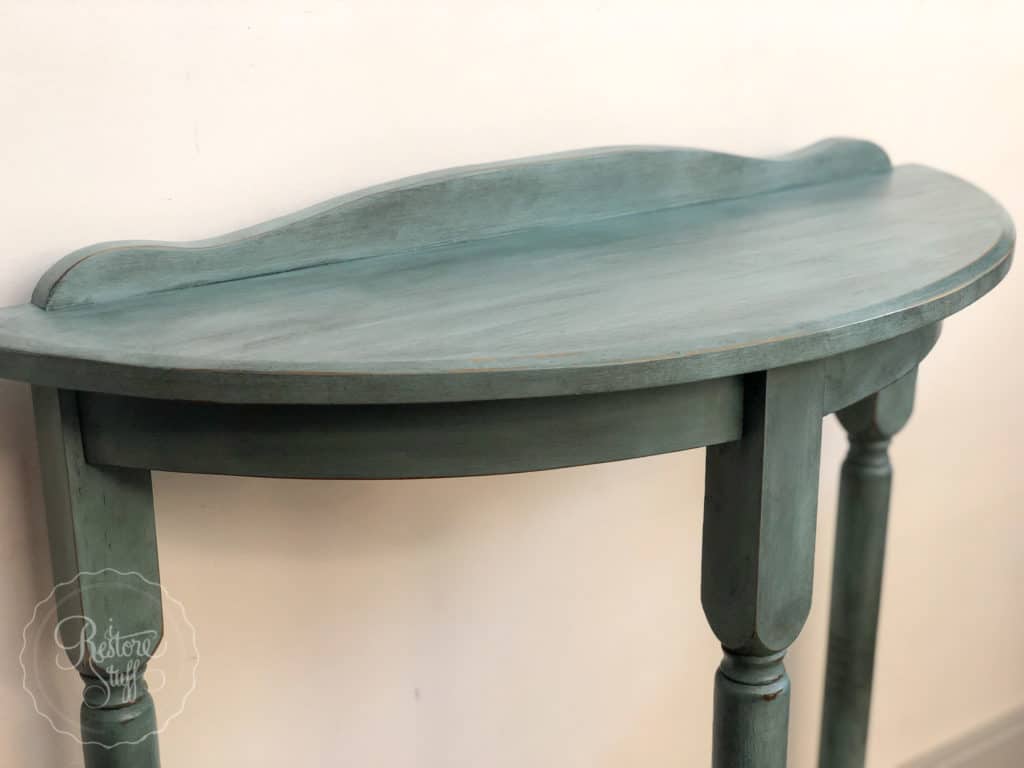
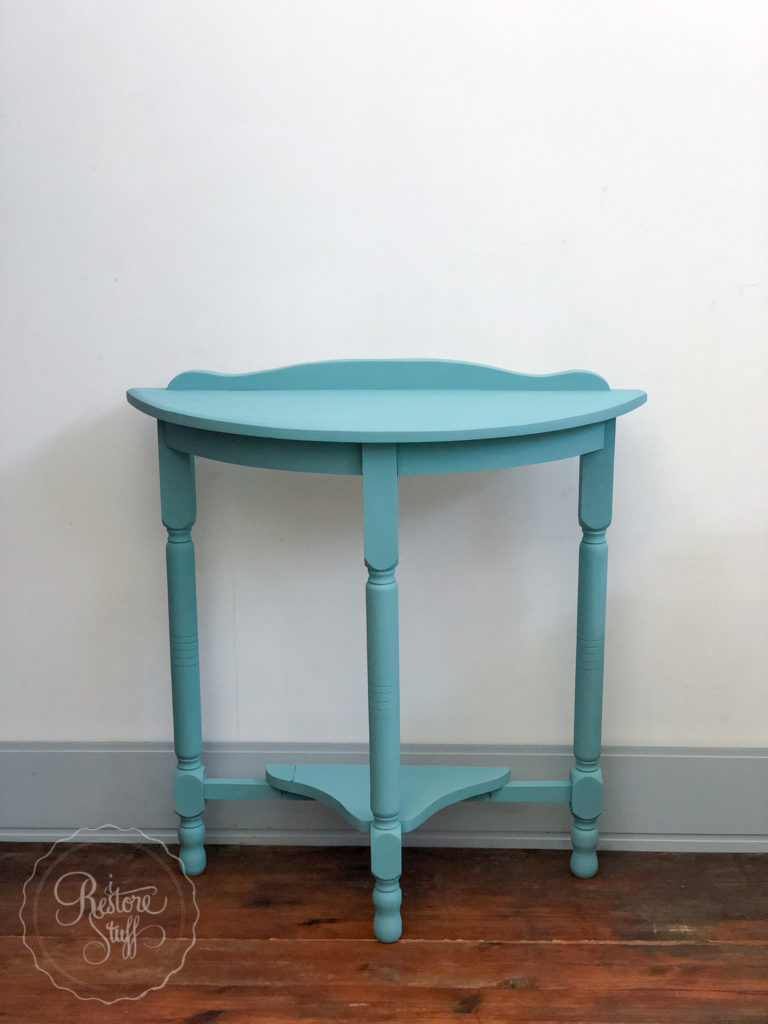
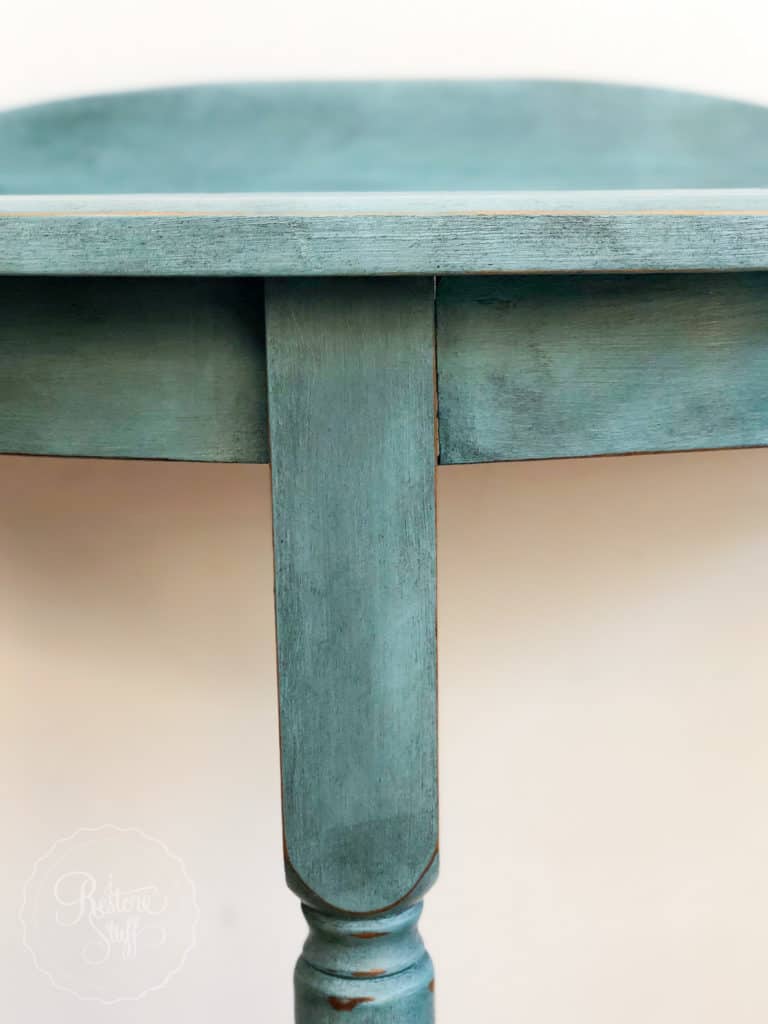
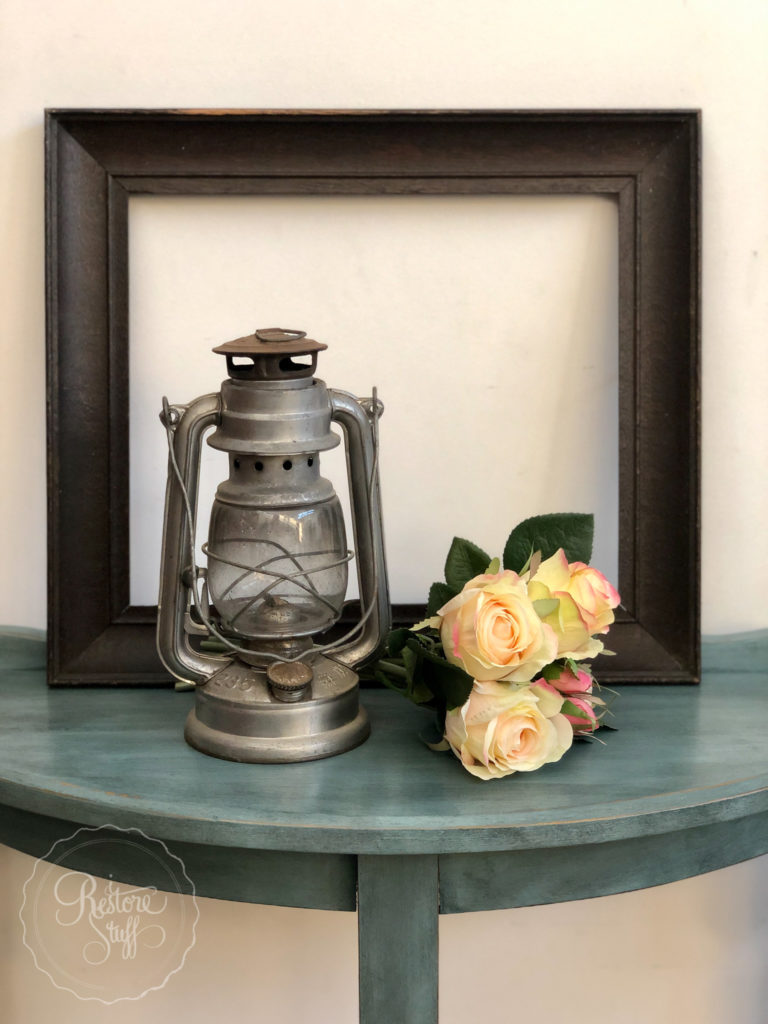
Finished Demilune table in Artisan’s St. Tropez

I love the sheen on the waxed surface after it is buffed!
Please feel free to PIN this pin to your Pinterest boards:
Have you been stencilling lately? Catch my LIVES with Essential Stencil over on my Facebook page in the Video tab, for loads of tips and ideas for Christmas!
