It’s been awhile since I’ve posted a step by step process for one of my makeovers, so here’s one I hope you’ll try and let me know how you go!
Oh, and check out the little slidey picture thingy below – click on the centre arrows and pull left or right to open and close the cupboard door! I know right! Technology – gotta love these special things.
[twenty20 img1=”12055″ img2=”12056″ offset=”0.5″]
Step One – Sanding
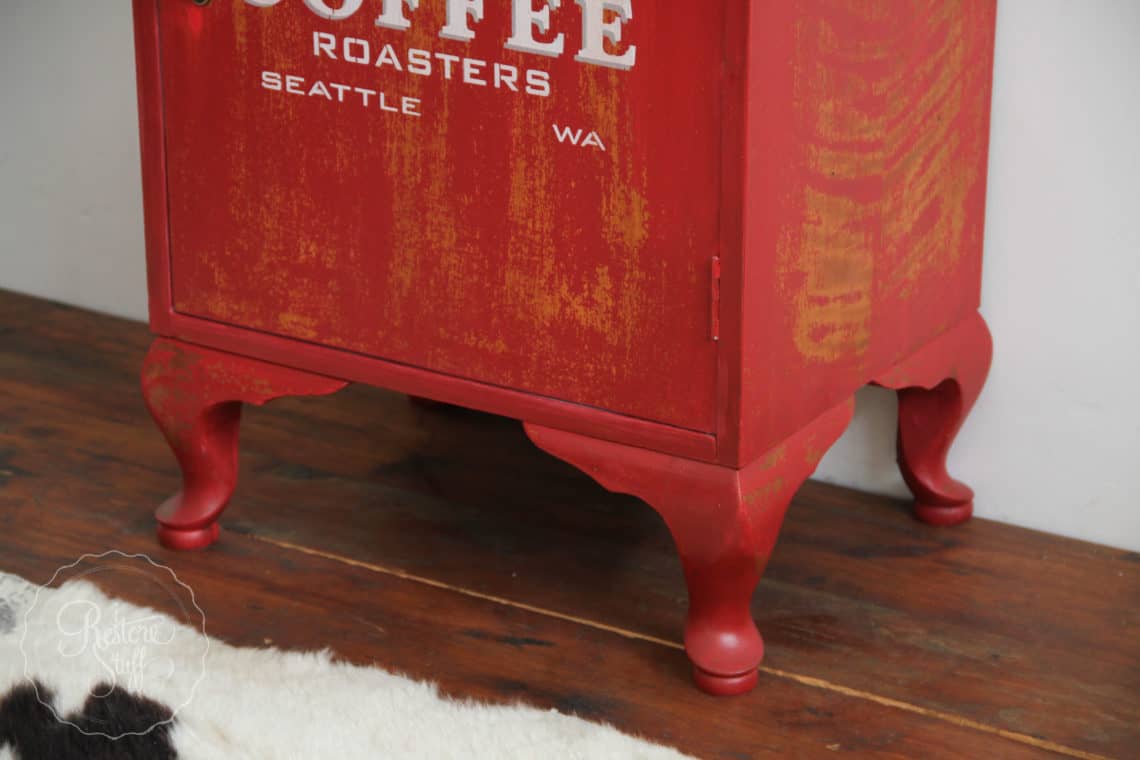
I picked up this little vintage pot cupboard at a local charity store. I forgot to take a before photo, but here it is after a light sanding with my Sandi Hands Sanding glove. It is a wood veneer and quite light to carry, but I love those cute legs.
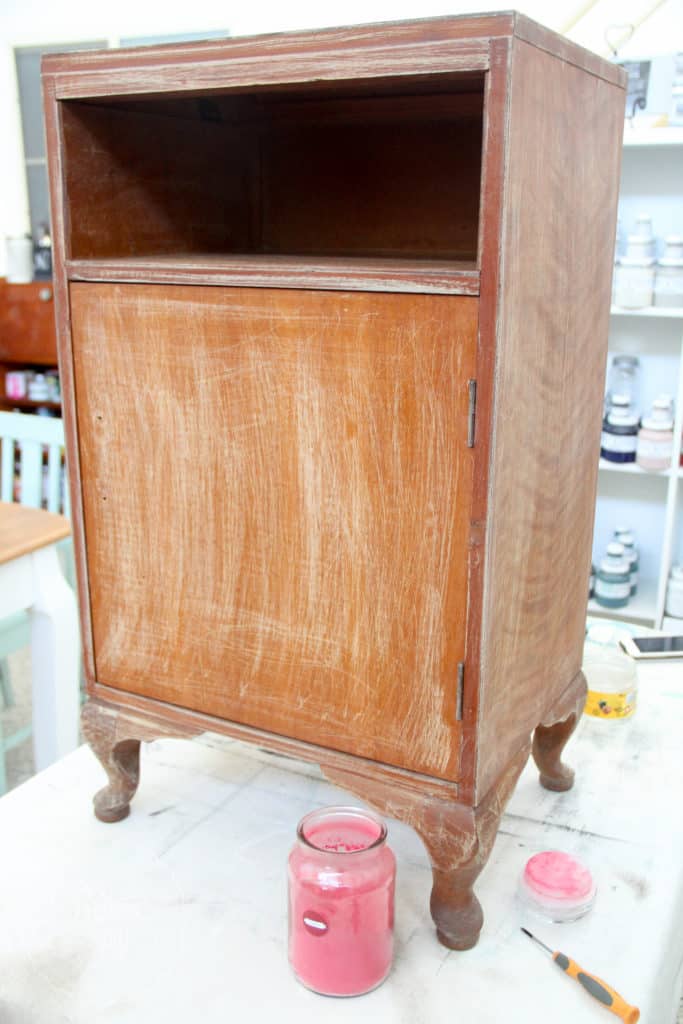
Step 2 – Milk Paint Mixing
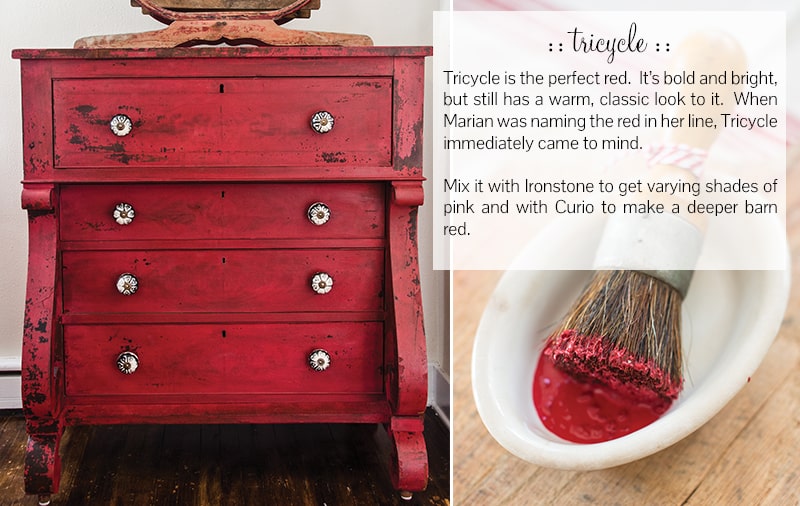
I pulled out my pot of Tricycle red, and if you haven’t used Milk Paint before, tricycle can be a tricky colour to start with because of the rich pigment which can take a minute or two to mix in thoroughly.
Here’s a post I wrote a while back on how to mix your milk paint with equal parts water to powder: How to Mix Milk Paint
For this project I used approx 1/2 cup of MMSMP to 1/2 cup water.
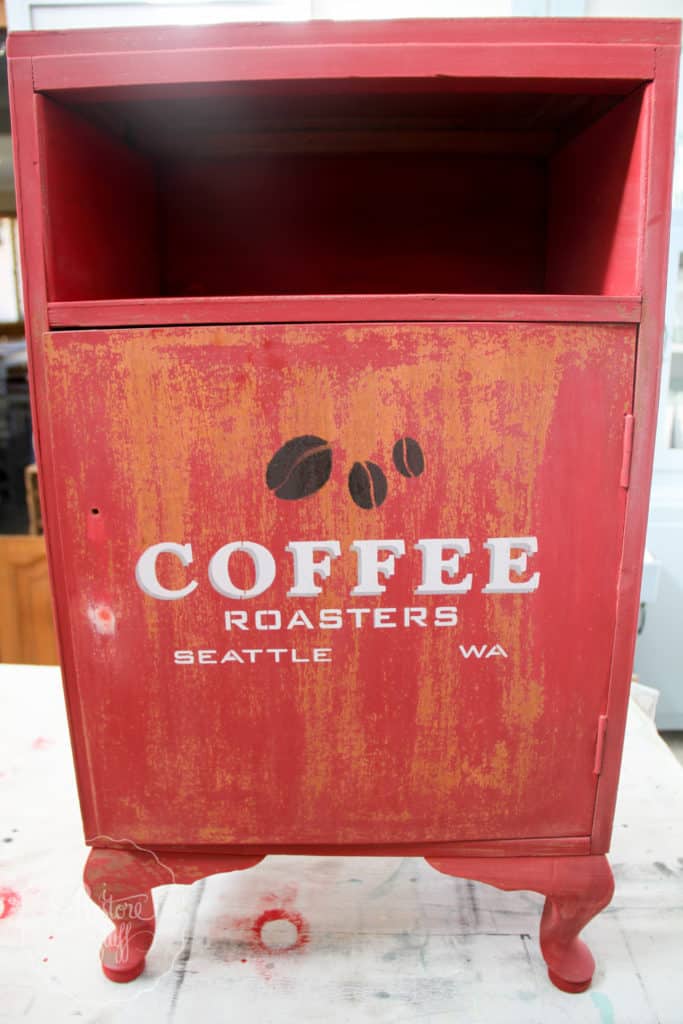
Step 3 – Paint Away
This is the step I love the most. There’s so much satisfaction seeing that old worn piece come to life with a splash of colour!
I love using Cling On! brushes – I mean LOVE using them. My all time favourite brush, I’m not gonna lie. You just have to try them to believe it. Super soft long filaments lay your paint down like a silky blanket. Very minimal brush strokes no matter what paint you use. They are best used with water based paints though, which is the only kind I use.
As I painted the second coat, I began to notice the paint start to flake, which is what I was hoping for in this case. If you’re NOT a fan of the chippy look, you may want to use Bonding Agent with your Milk Paint if you’re working on a pre-varnished surface, whether you’ve sanded first or not. If you have sanded your project back to RAW WOOD, then there’s no need to use bonding agent, as the milk paint loves a porous surface and will stay right where you put it.
Here’s what I’m talking about when I say “flakey and chippy”:
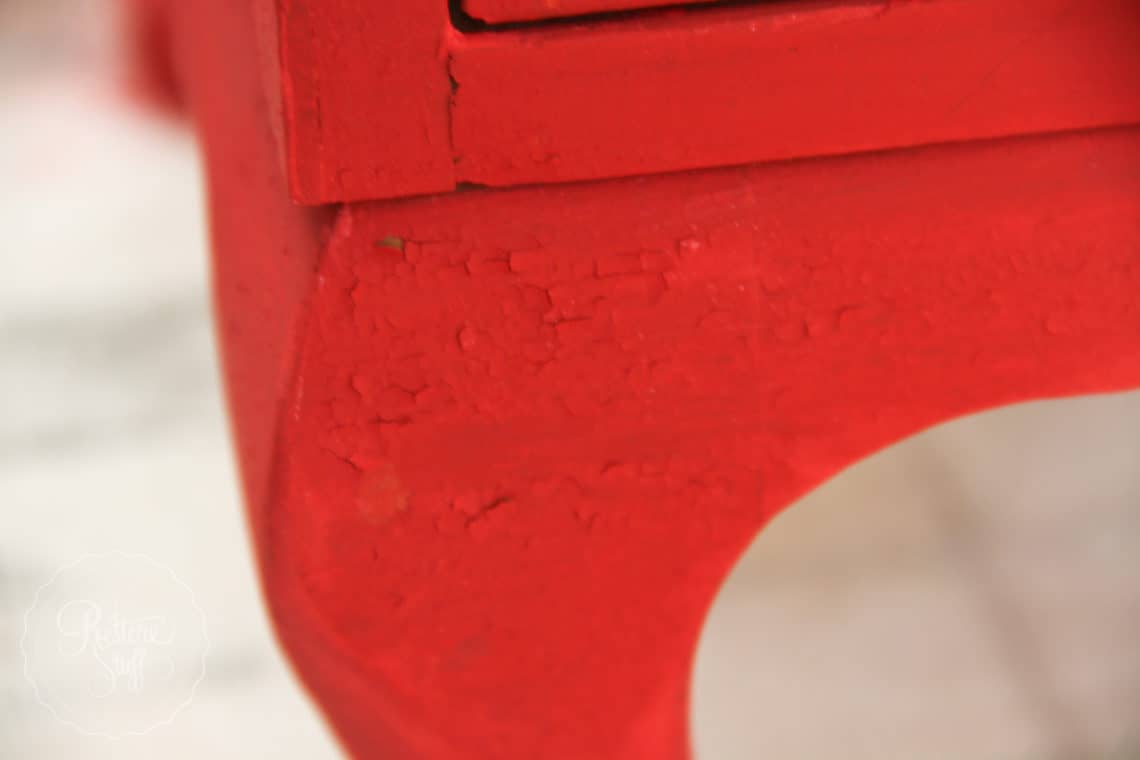
Tricycle red paint started to look flakey on the 2nd coat of paint.
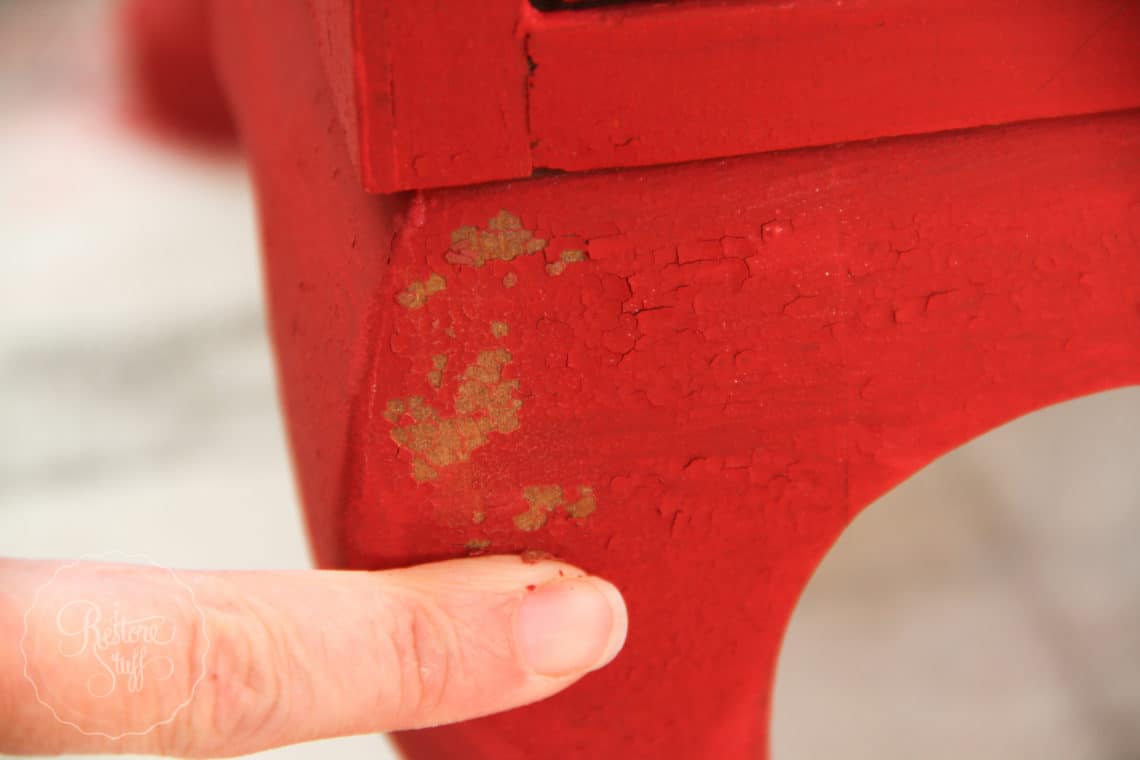
Just rubbing it with my finger, I show you how it flakes away.
Step 4 – Sanding to Distress
So now you’ve seen some flakey paint coming away, or maybe you haven’t. Each piece is unique and different, so remember it all depends on the surface you are painting over and what kind of substrates and finishes have been on the surface before.
But you can grab your fine grade Sandi Hands Sanding grit or your sandpaper (240 or higher) and lightly brush off those flakey bits and give the overall surface a gentle rub over. 
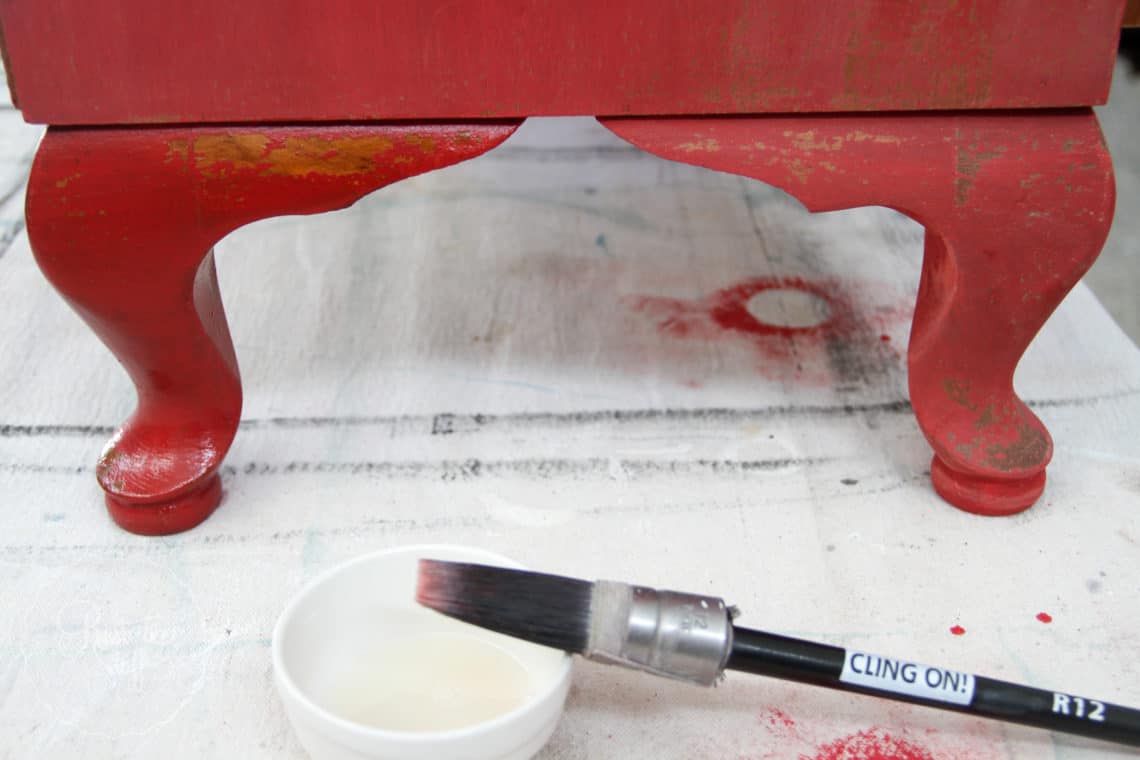
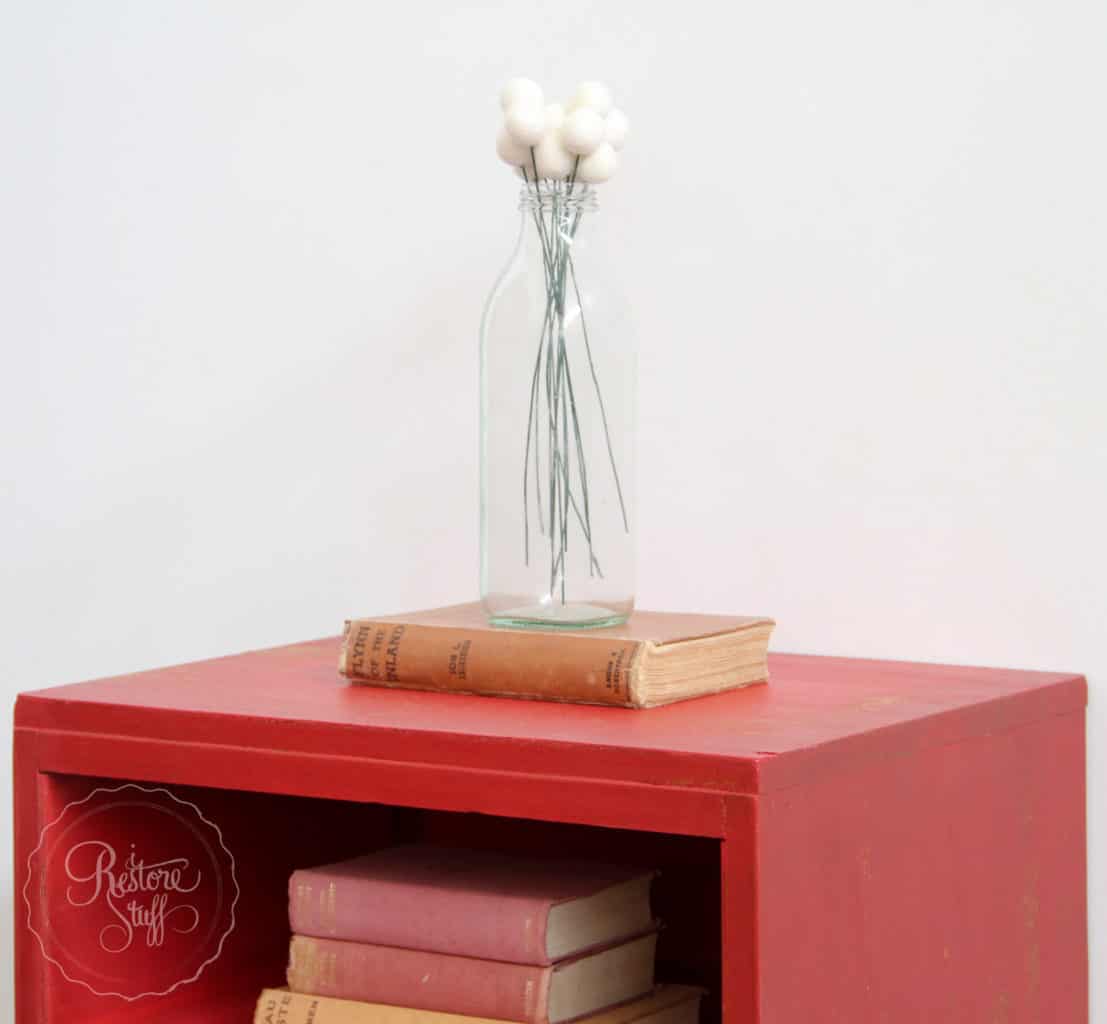
Step 5 – Sealing the Finish with Tough Coat Sealer
There are a number of ways to finish or seal a painted piece of furniture, from furniture wax, to oils & wipe-on poly’s. For this project I used Miss Mustard Seed’s Tough Coat Sealer. It’s a non-yellowing clear top coat with a satin to matte finish, and it is great for sealing off any of the paint that might want to continue flaking in the case of this chippy cupboard.
In this case, I applied the Tough Coat Sealer with a brush, but I have also learned to apply it another way for smoother application over wood grain for example. I show you how I use a wipe-on method in this video HERE. The Tough Coat is water based, so brushes easily wash out.
Left: Tough Coat applied. Right: no Tough Coat

Notice how chalky and porous the milk paint looks without any sealer over it? (on the right)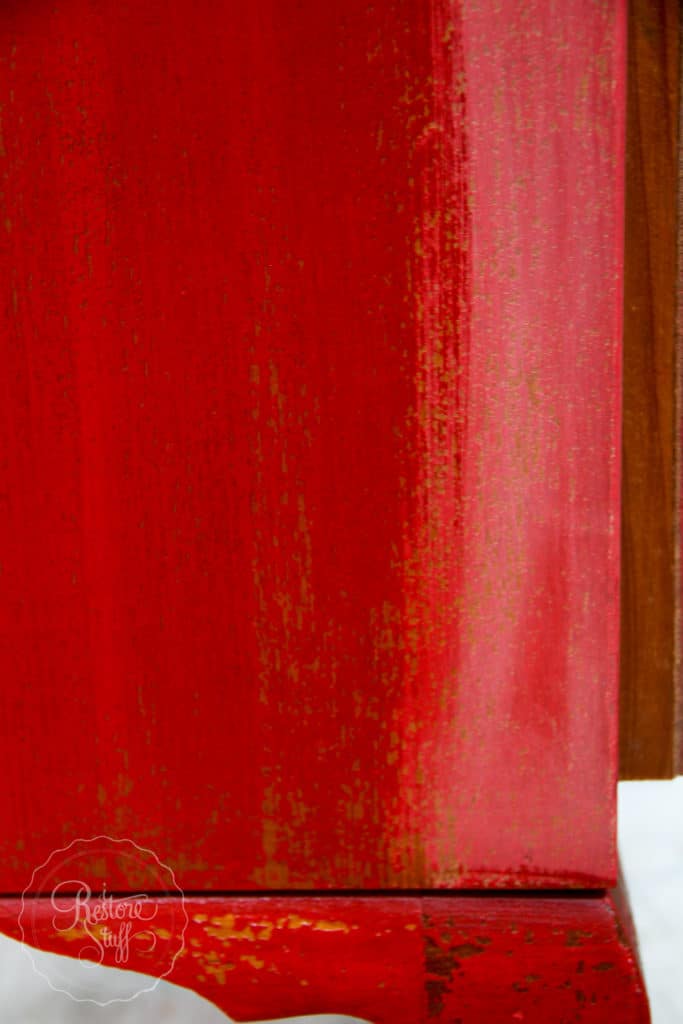
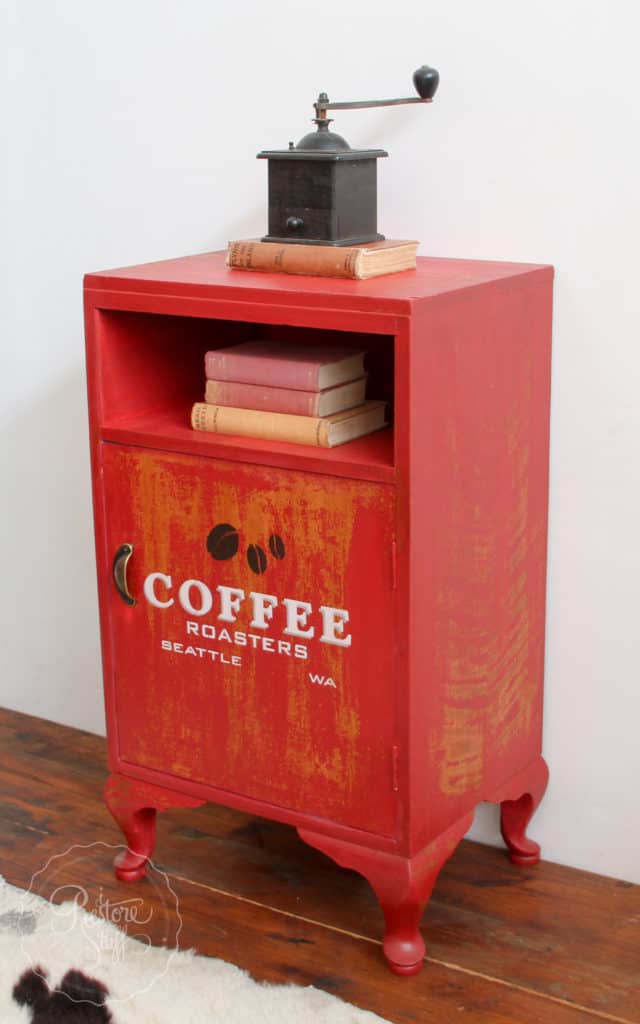
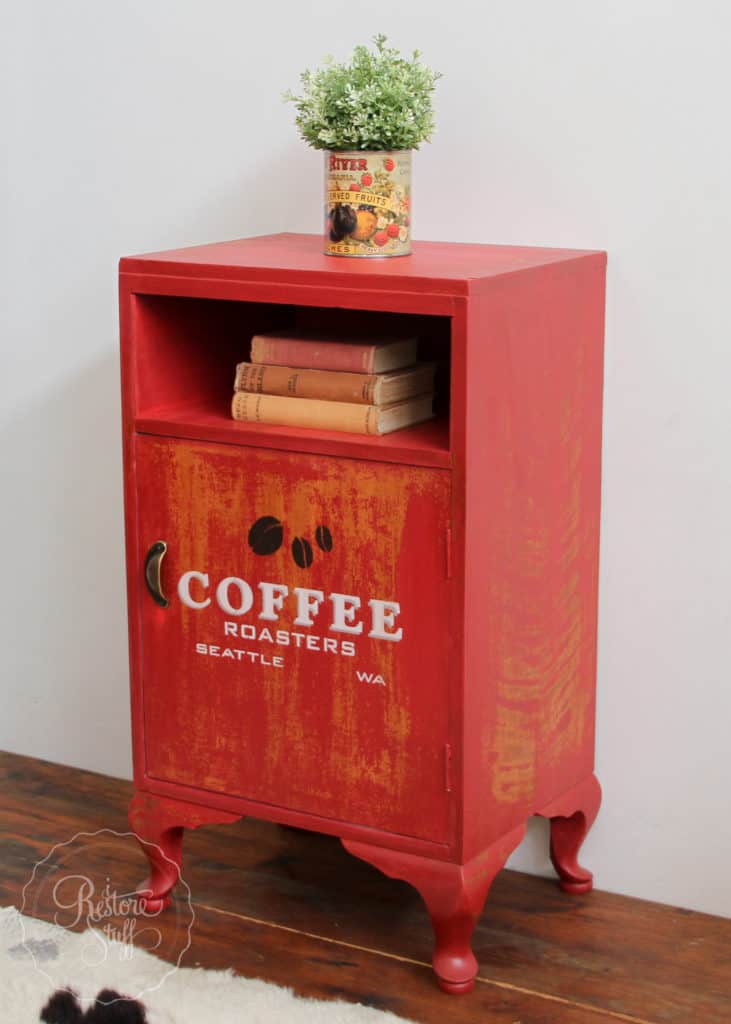
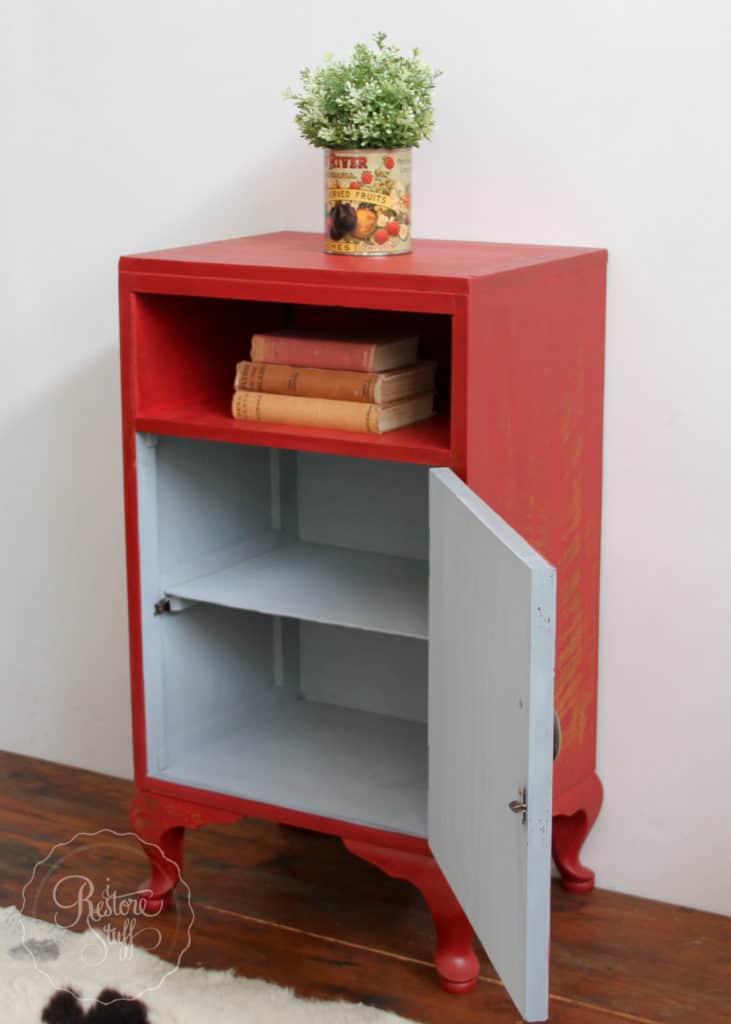
Step 6 – Allow to Dry, Step Back and Admire your Work!
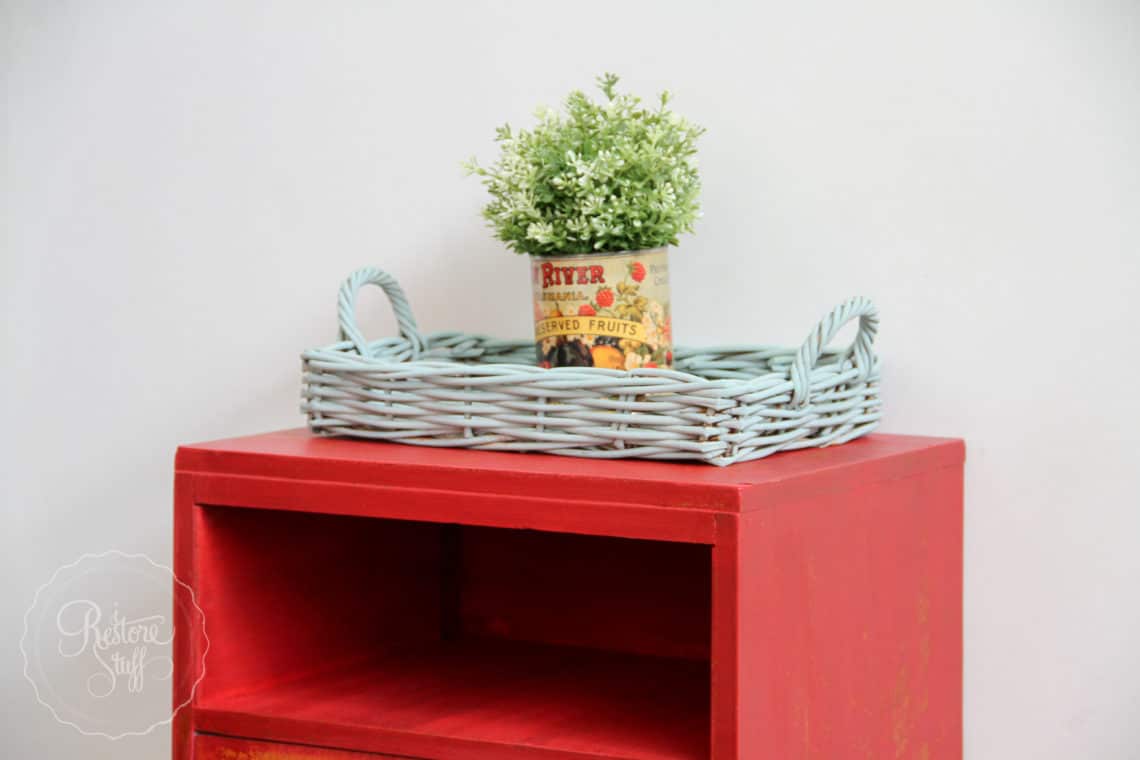
We’re finished! Well, I did paint inside the cupboard too, remember, but I didn’t seal the inside over the Shutter Gray, as the surface was raw wood and the paint soaked right in, so a light sanding was all that was needed.
Do you like the vintage coffee grinder sitting on top?

 Looking for more tips and tutorials like this one?

Head over to my tutorial section HERE.
Or for more VIDEO tutorials, head to my Youtube Channel.
Have you tried using Miss Mustard Seed’s Milk Paint? How did you go? What did you like about it? What did you find challenging? I’d love to hear from you in the comments below.
PS. I’m linking up this post to the following Link Parties: