Custom Furniture Painting
(Includes FREE printable) Do you do custom furniture painting? Do you have trouble knowing how to quote on work that you’ve been asked to do? Have you have been in the furniture painting business for years, or are you just starting out and friends are recognising your talent and asking you to paint their furniture? There comes a time when you’ll need to make decisions on how much to charge for clients who would prefer someone who knows what they are doing, to take care of their furniture painting needs.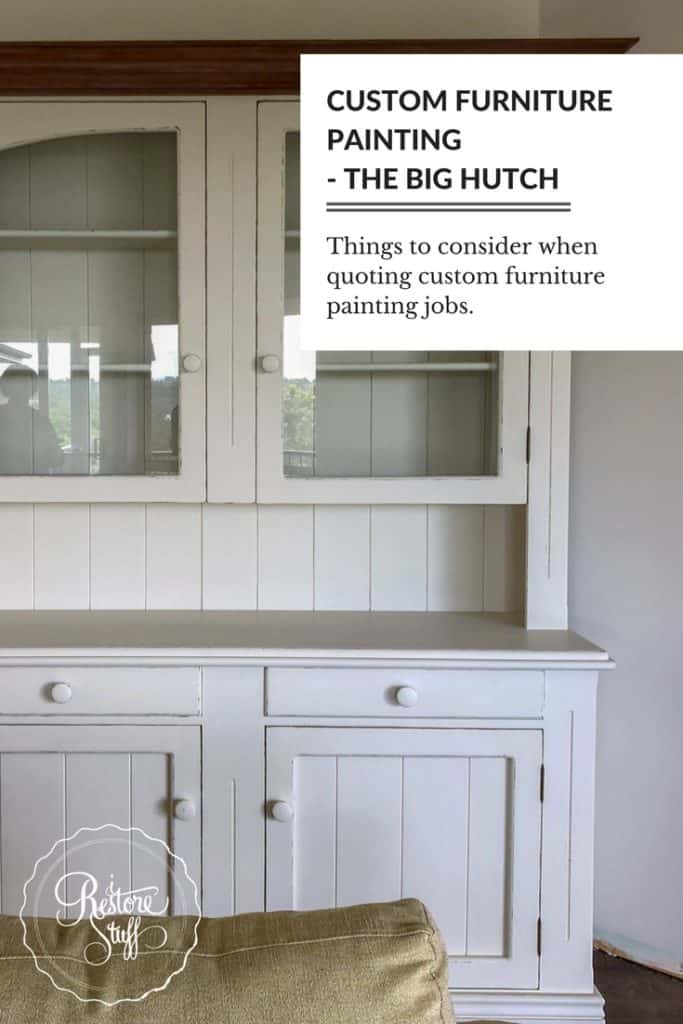 Today, I won’t be going in to all the nitty gritty on this topic, but just skimming a few points across the surface, and if you’re interested in more detail, please let me know in the comments. I’d love to know how I can help my readers in future blog posts.
Gather your Info into One Place:
I receive phone calls, emails, FB messages, DMs on Instagram and various other avenues (including enquiries live in person at non-related events). The first thing you’ll want to do when receiving enquiries about custom work, is gather your information to one place! It’s so easy to lose the information you receive via Facebook Messenger for example, when the message disappears up a thread of messages. I prefer people to send me emails, so I can easily flag them as custom work or place them into a folder for custom jobs. So when I get an enquiry, I ask people to:- email me at (insert your own email address here)
- include a picture of the item you’d like to be painted and approximate measurements (from there I can ask further questions about the type of wood if I can’t tell already by the image)
- include a brief description of your vision for the piece. Eg. painted white, lightly distressed on the edges, the top left wood/stained
- if possible, include images that you aspire your piece to look like by searching on Pinterest or Google image search (it is so much easier to understand a client’s vision when there are images to capture their idea of “distressed” for example, as this can be so varied.)
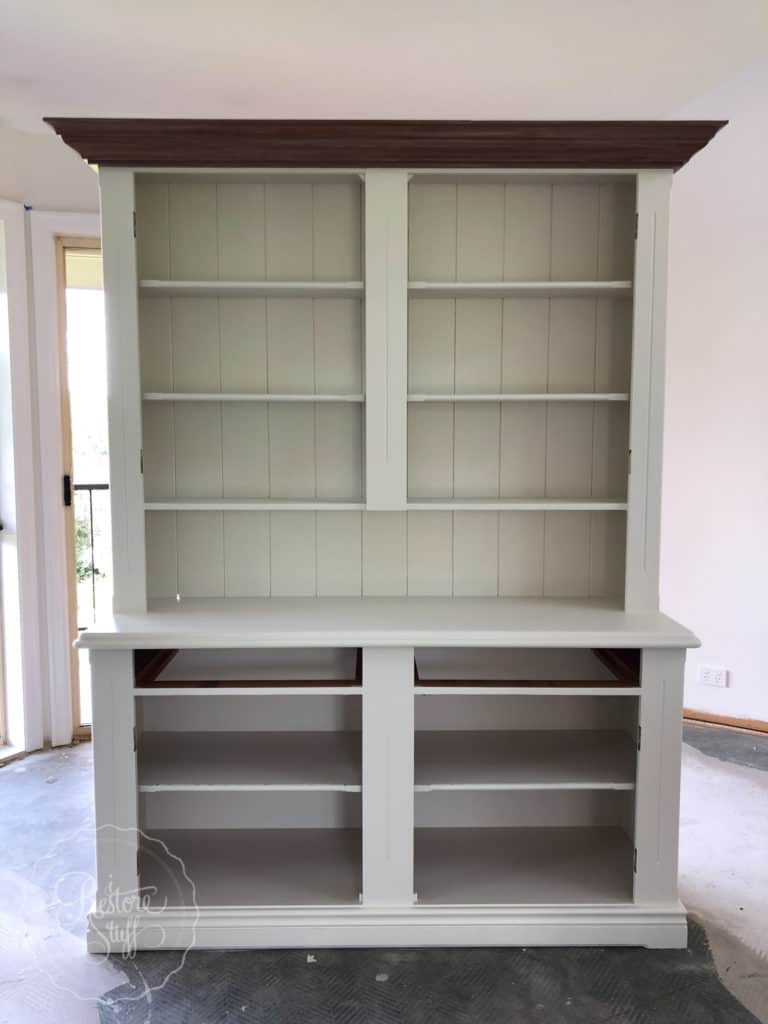
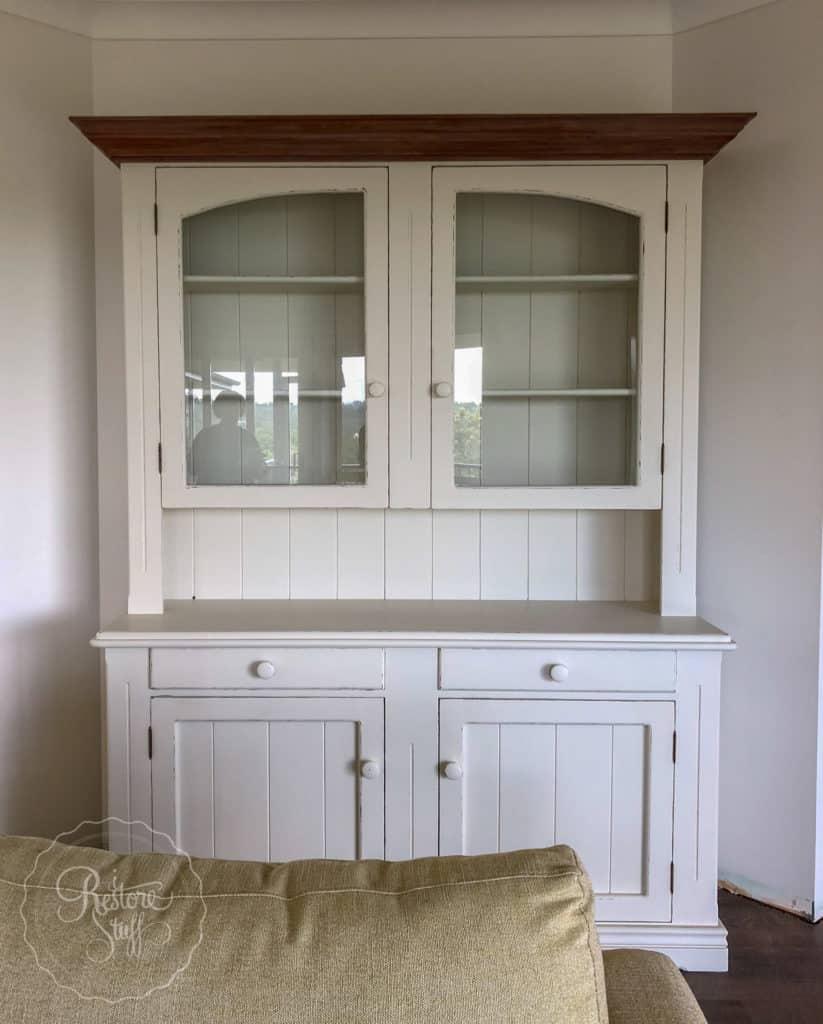
The Big Hutch – my own custom furniture painting job:
I was contacted by phone, by a lady who needed her hutch painted, so after sending her the above information that I needed, she sent me a couple of pictures of her hutch.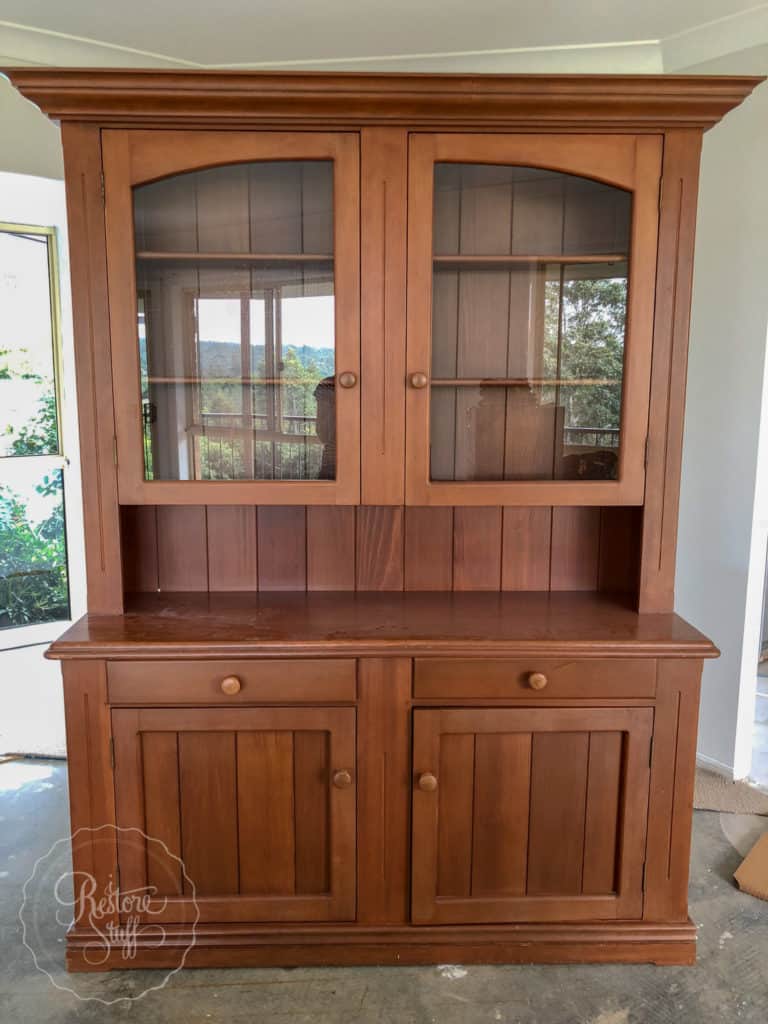
What Else do I Need to Consider When Custom Furniture Painting?
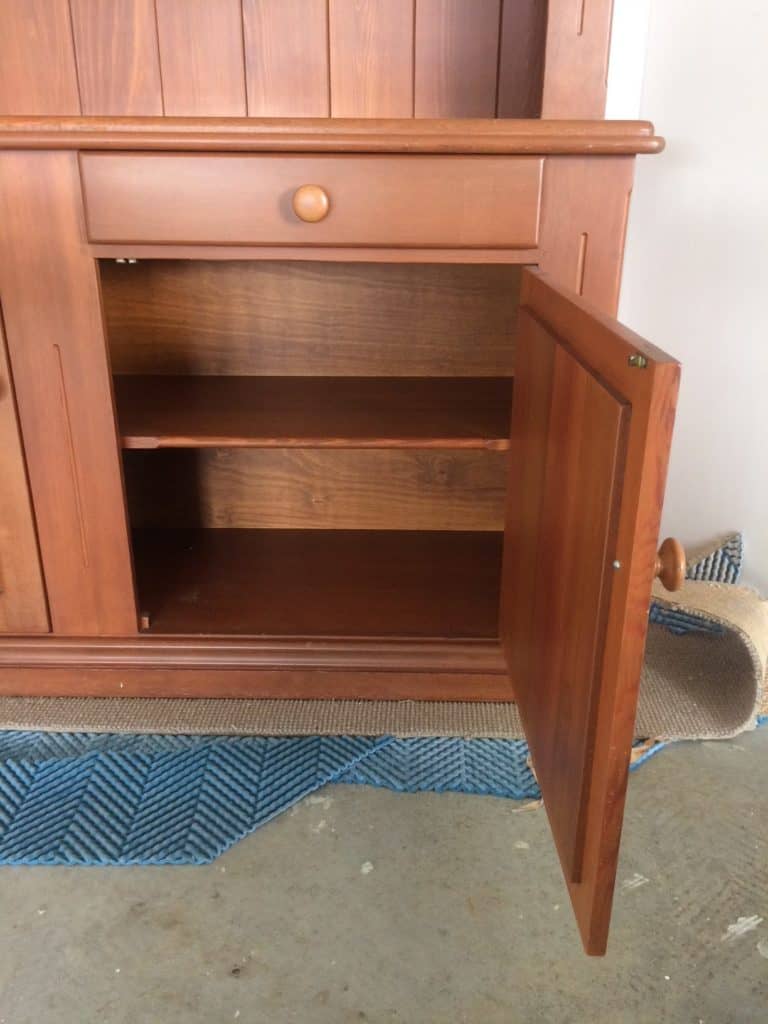
From here I had an idea of the size of the hutch and I needed to know a few more details to get an even more accurate quote to my client. Here are a few more questions you may need to consider:- Does the client want the inside painted or just the outside surfaces? Obviously, if you’ve painted the inside of cupboards before, you know they can be so much more time consuming than the entire outside of the piece altogether! Factor this in to hours estimated for the particular piece you’re quoting on. My client wanted the insides painted too – including inside the drawers and the sides of the drawers!
- Paint colour – will you be using your own favourite specialty brand of furniture paint? You will need to offer the colour choices to your client and go through specific reasons for your suggested paint product or colour choices. Have them consider other tones of furniture and decor in the room that the piece will be in.
- If painting a white or very light colour, will you be using an undercoat? How many coats do you estimate this will take? Consider that light colours over dark wood (as in my hutch example) will take many more coats of paint, than if I were to paint this same piece in a dark colour.
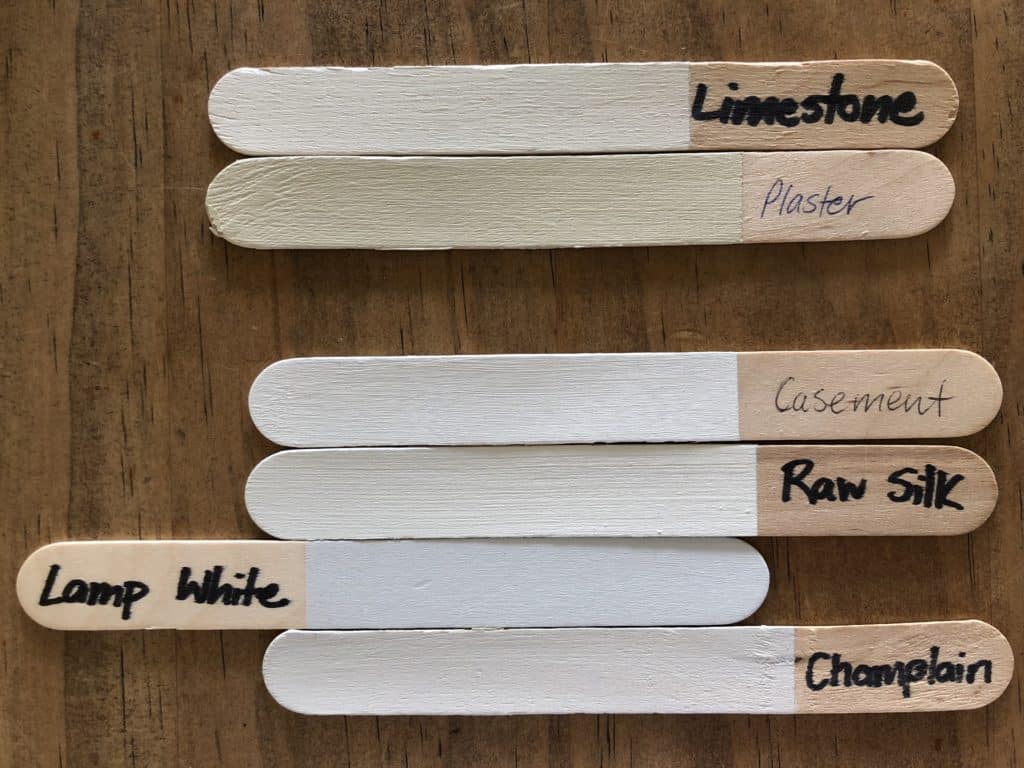
Various shades of white in the Fusion Mineral Paint range.
Other Costs to Factor In:
Remember when you are quoting on custom work, to factor in things such as:- Prep – physical items such as:
- Sandpaper, or Sandi Hands glove replacement grits;
- undercoat or stain blockers if you deem them necessary for this particular job, such as Zinsser BIN;
- wash cloths for cleaning;
- TSP for removing grime/dirt for a clean surface for the paint’s best adhesion;
- if the surface requires extra adhesion, you may want to factor in a product like Fusion’s Ultra Grip or Miss Mustard Seed’s Bonding Agent.

Sanding using one of our Sandi Hands Sanding gloves.
Cleaning with Fusion’s TSP to ensure no grease or grime on surface.
- Painting/Finishing:
- number of jars of each colour required for the job (I always leave my client with a tester jar for any touch ups the future may hold eg. scratches over time, or similar “accidents”)
- any finishes the paint may require, eg. Furniture wax, Tough Coat Sealer, Glazing, Hemp Oil, or other Poly Varnish.
- brushes – using top quality brushes is important for all work that you intend to sell, especially custom work, for best results. I personally love using Cling On! Brushes or Staalmeester Brushes.

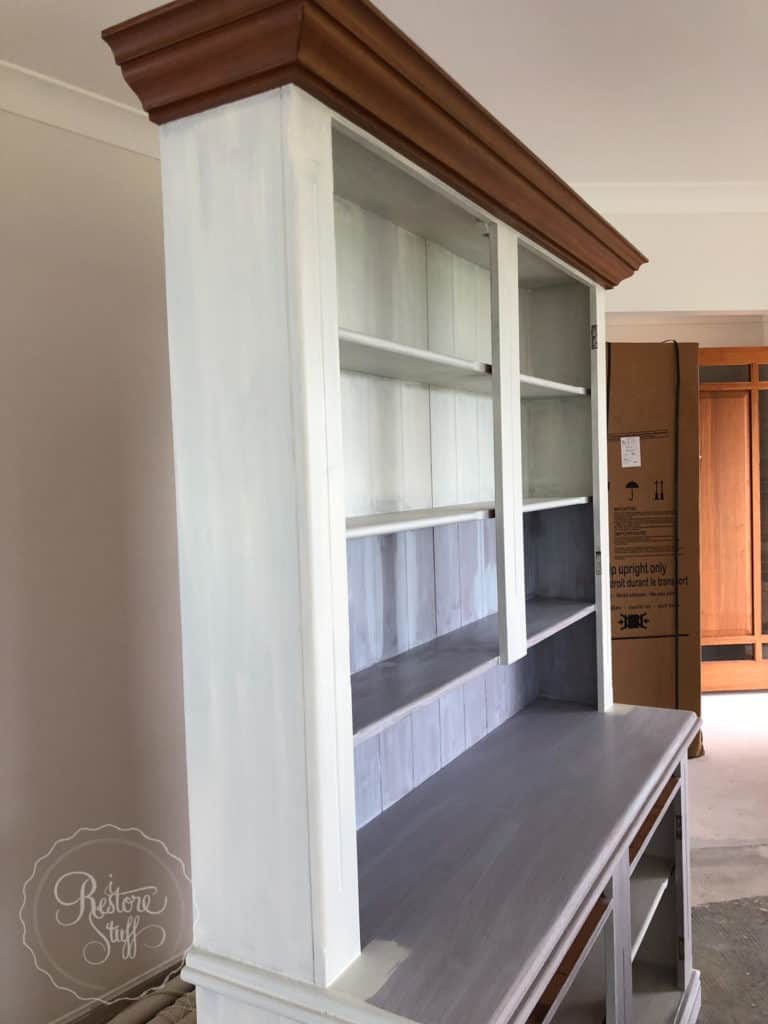
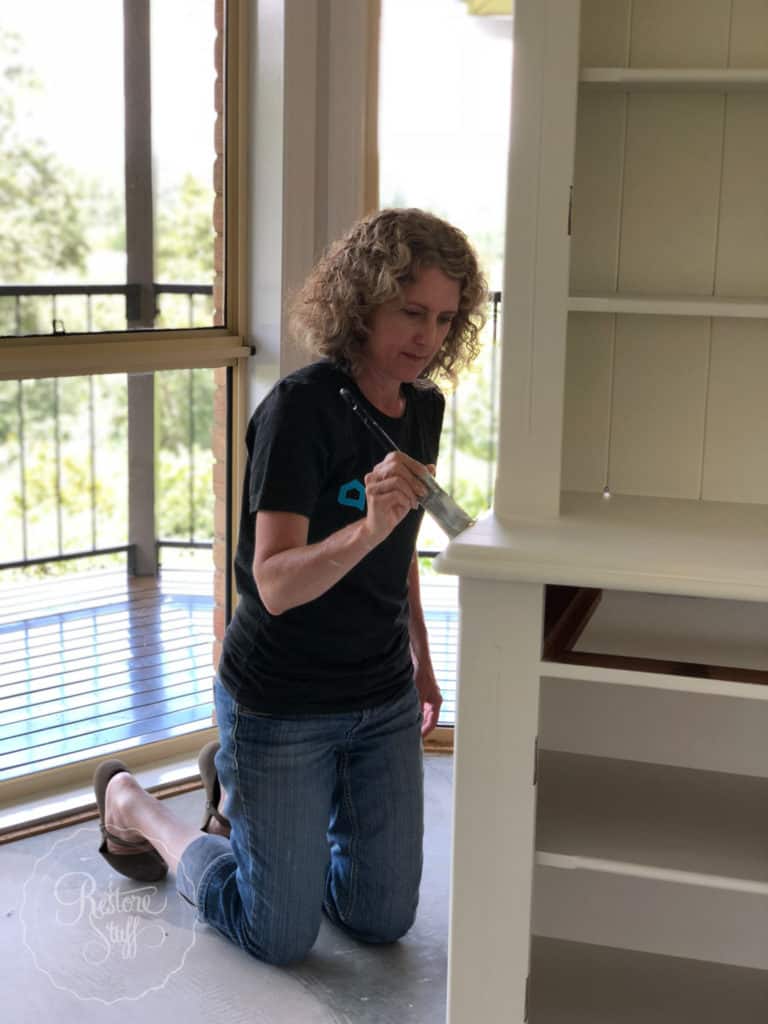
Part way through the second coat of white paint.

Day 3 and you can see that we still need more coverage.
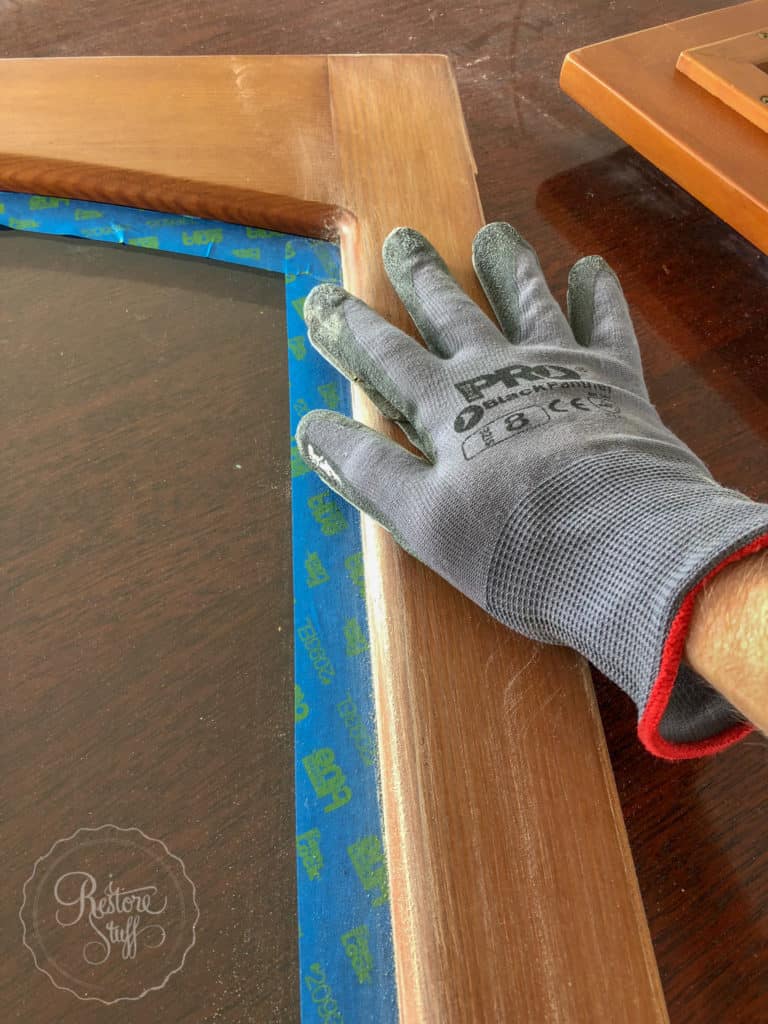
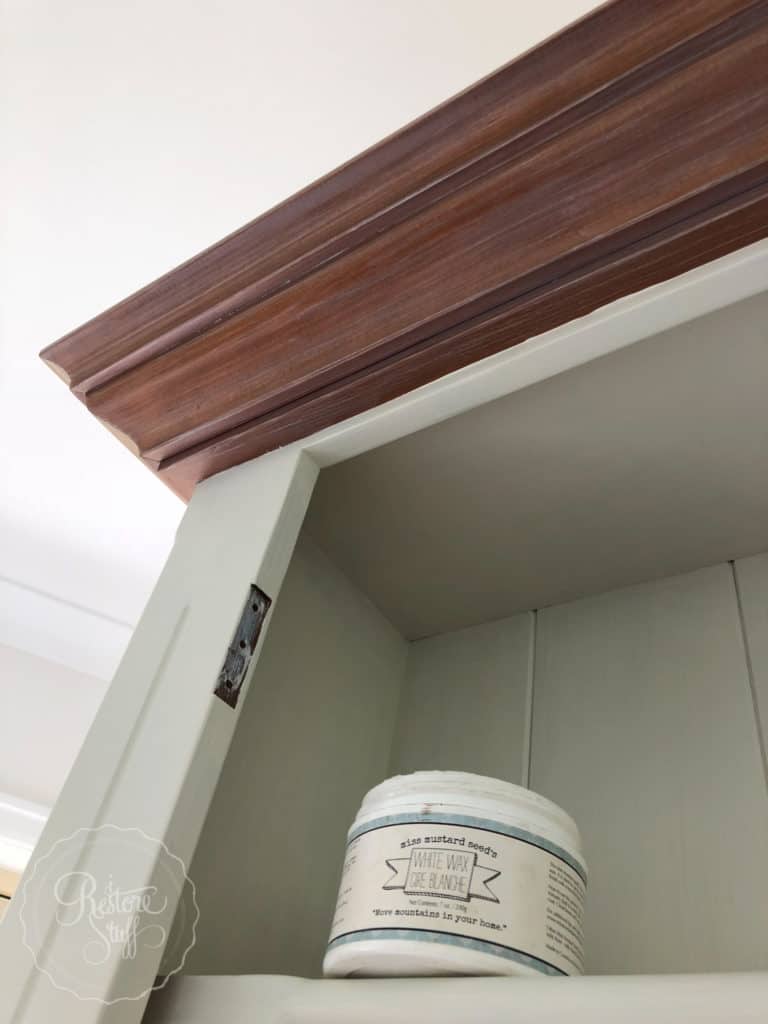
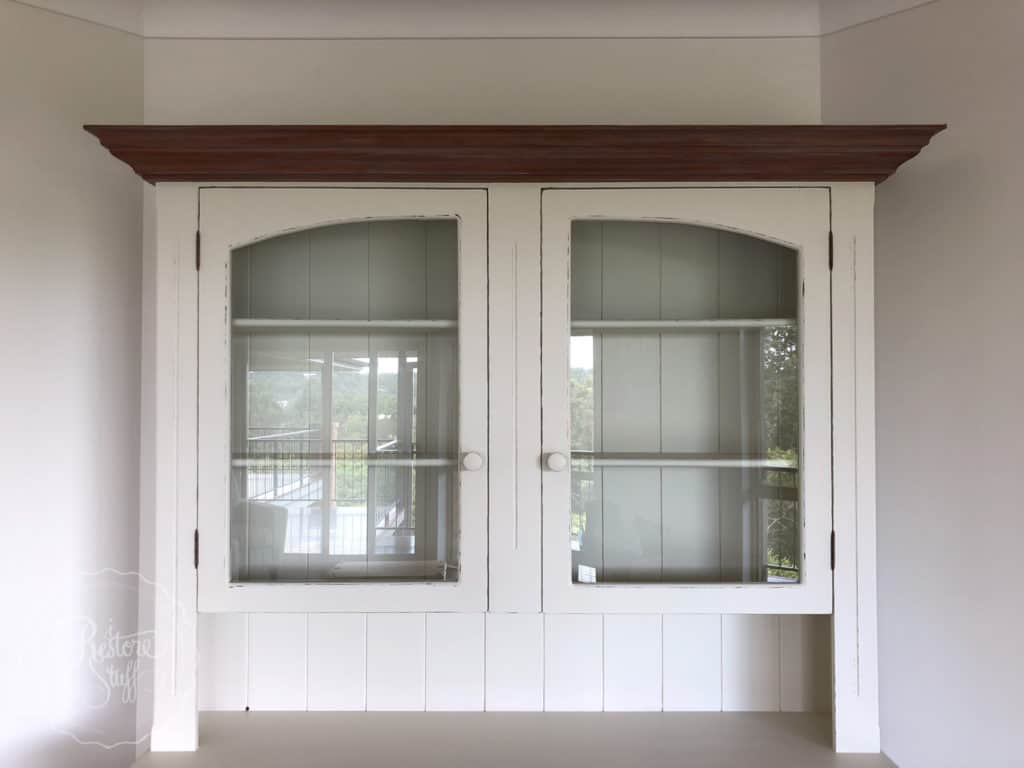
Adding the Details:
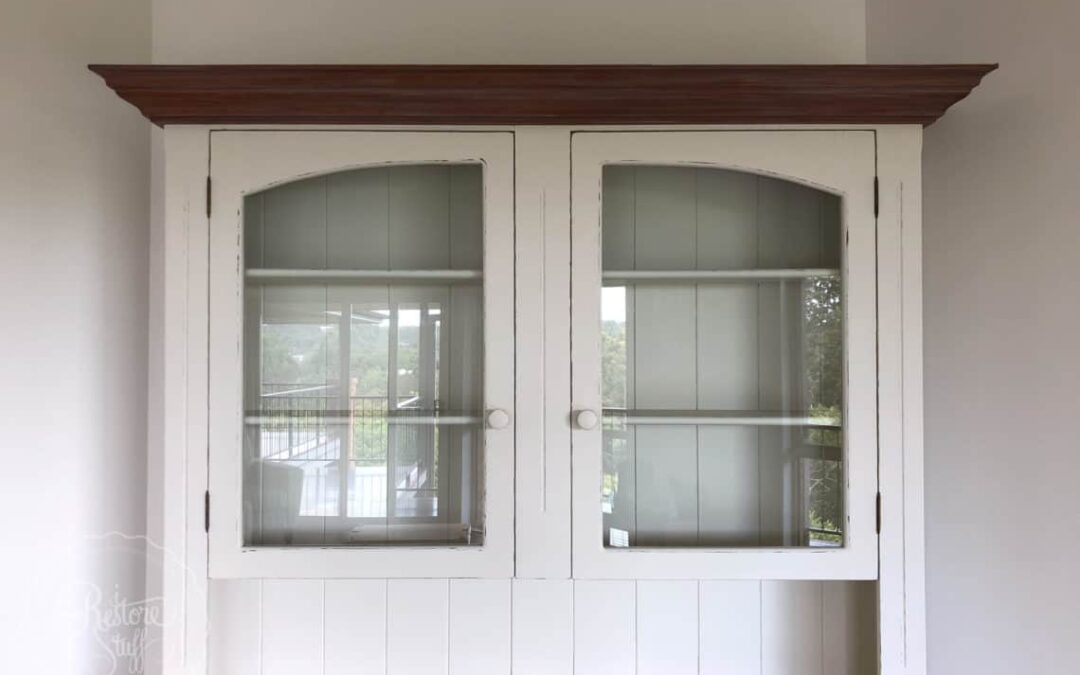
My client wanted a slightly white-washed look on the existing wood trim above the hutch, and the rest painted white. So I sanded to distress the existing varnish, and added Miss Mustard Seed’s White Wax to create a look that she was really happy with. It gave a beautiful subtle lime-washed look.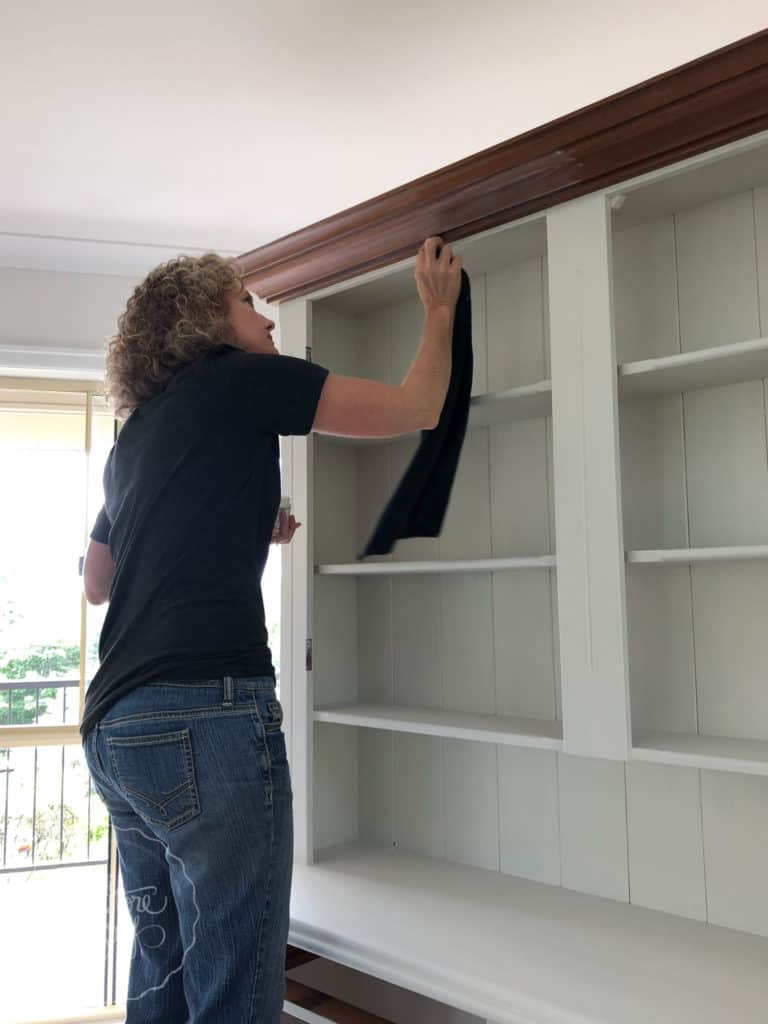
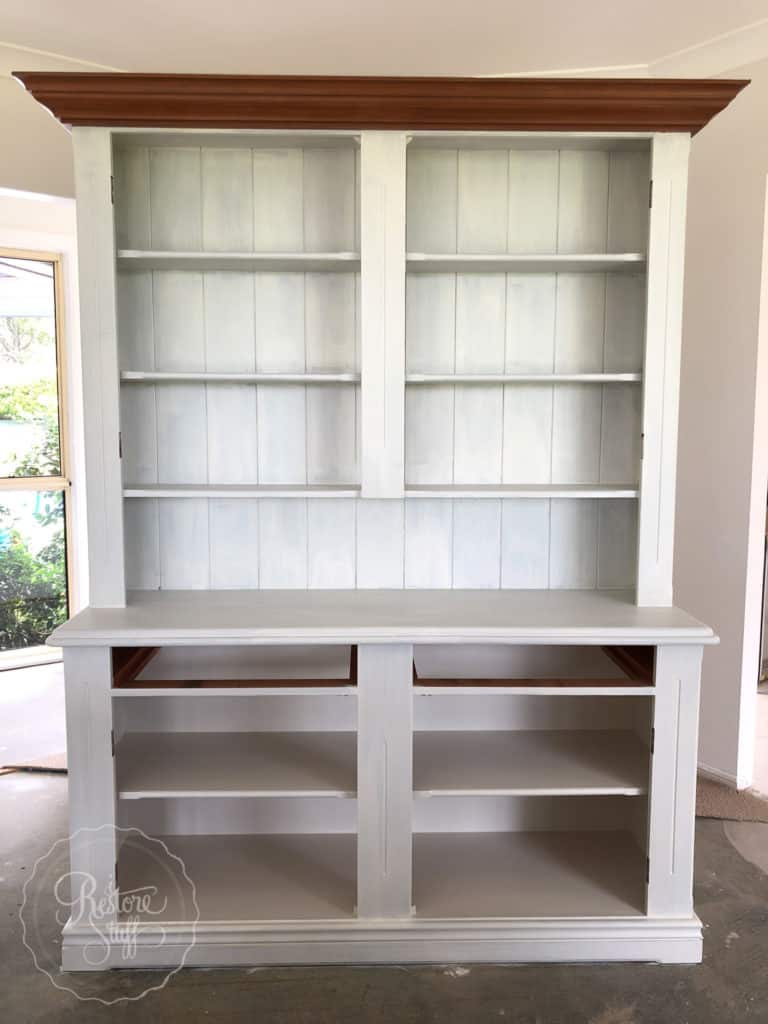
Day Four and I think We’re Almost There:
One of the most important factors to consider when quoting on custom furniture painting jobs, is your time! Time includes:- Hours taken to actually do the physical prep, painting, and finishing. Decide on your hourly rate (this varies from city to city and country to country, so you will need to gather your own research on this to see what the market is like in your area)
- Hours taken to travel to and from the client’s place, if this is your agreed arrangement. This could include tolls, fuel, etc. or you may decide to charge a “half-price” rate for the travel time. Either way, state this in your quote. This custom hutch job was almost 1.5 hours away from where I live, and included two toll roads, so it was really important that I considered my travel time and include it in the quote for the customer to consider.
- You may alternatively decide to transport the item to your place where you can work on the piece in your own time (I almost thought this may have been a better alternative in the case of this hutch, since it took so many days to finish). Remember to factor in transport costs, or ask the client if they’d be willing to arrange this for you – in which case you would not need to add anything extra to the quote.
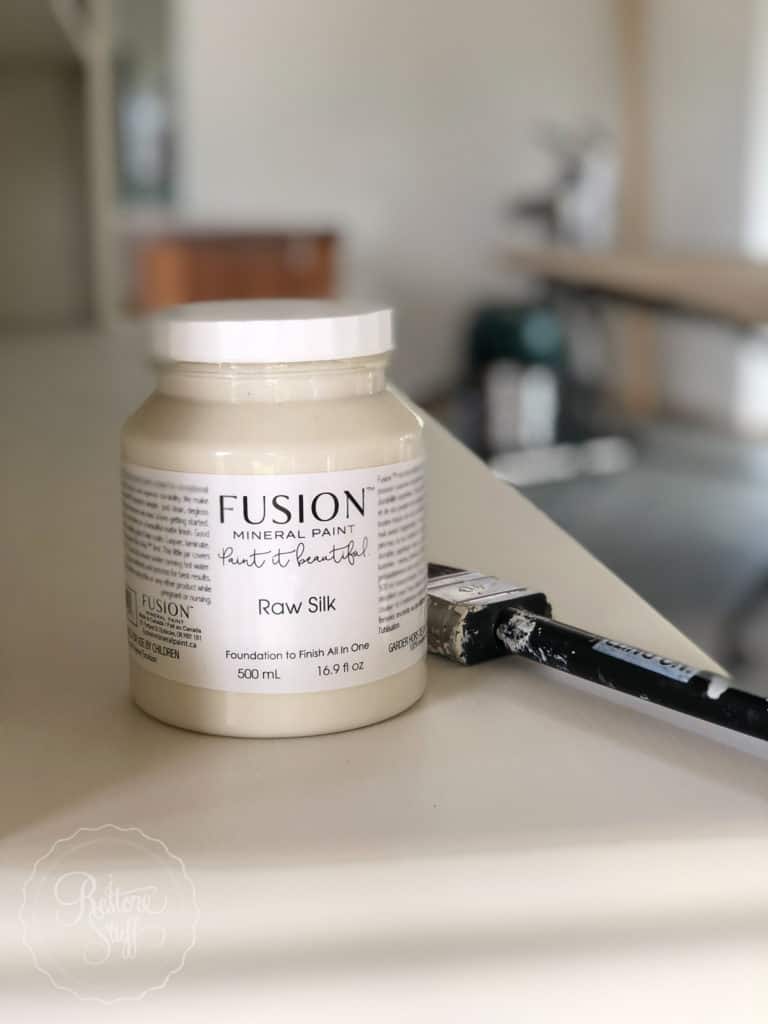
Final coat going down – Fusion’s Raw Silk is such a nice off white.

Cling On Brushes give a smooth finish with minimal brush strokes.
Check in with your Client Along the Way:
It’s important to check often, to make sure your client is happy with progress as you go. Before you start the piece, it’s a good idea to have them sign off on the particular colour they are happy with – paint sample boards with several coats to give a true colour assessment. On this hutch, my client had asked for lightly distressed edges. But this can still be variable and mean different things to different people, so after all coats were dried on the inside area of the bottom section of cupboards, I lightly distressed the edges – remembering that you can always take off more paint, but it’s MUCH more trouble to put it back on once sanded! Once that small shelf was distressed/sanded, I had my client check the finish to make sure she was happy with the amount of distressing that I had achieved.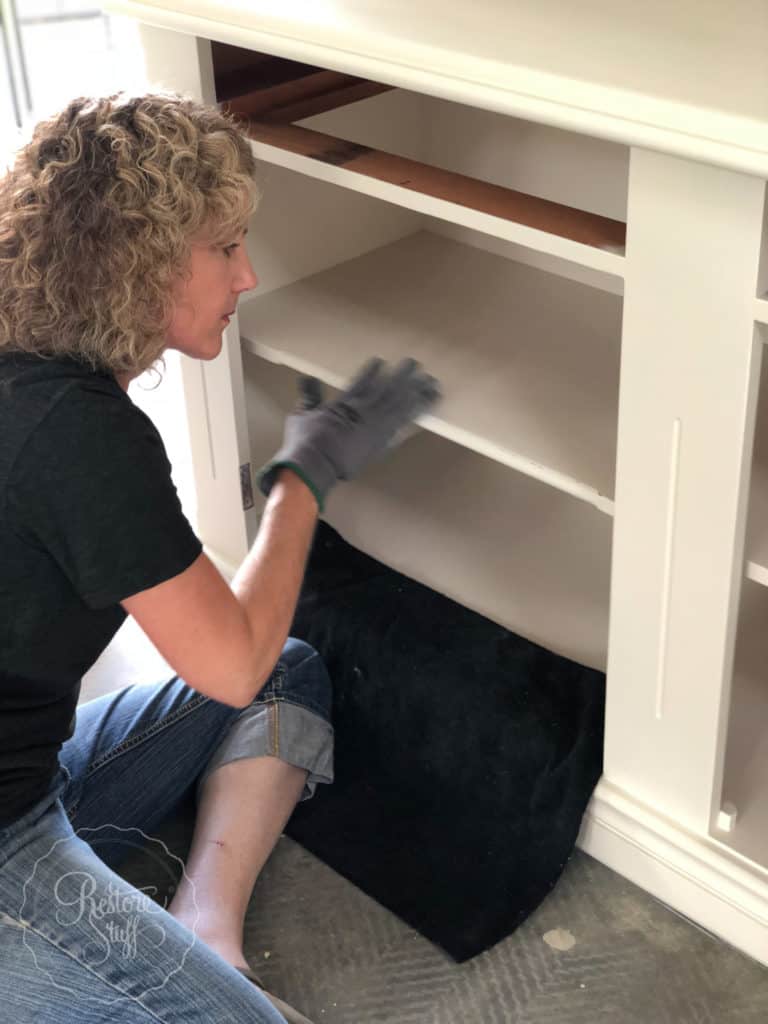
Lightly distressing using my Sandi Hands glove for better control.
Day 4 and all painting was finished. We left to dry and came back to distress the next day.
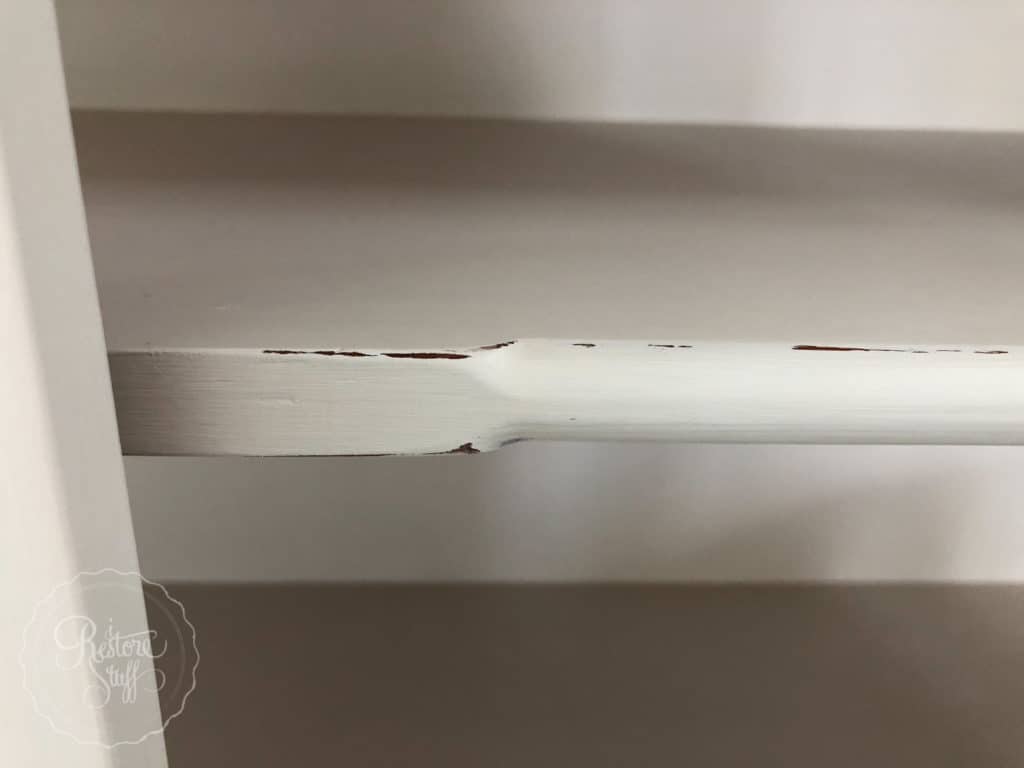
The lower inside cabinet shelf was lightly distressed for client to check and approve the amount of sanding.

My work experience student, Amy, cleaning the glass on the cabinet doors before we re-installed them.
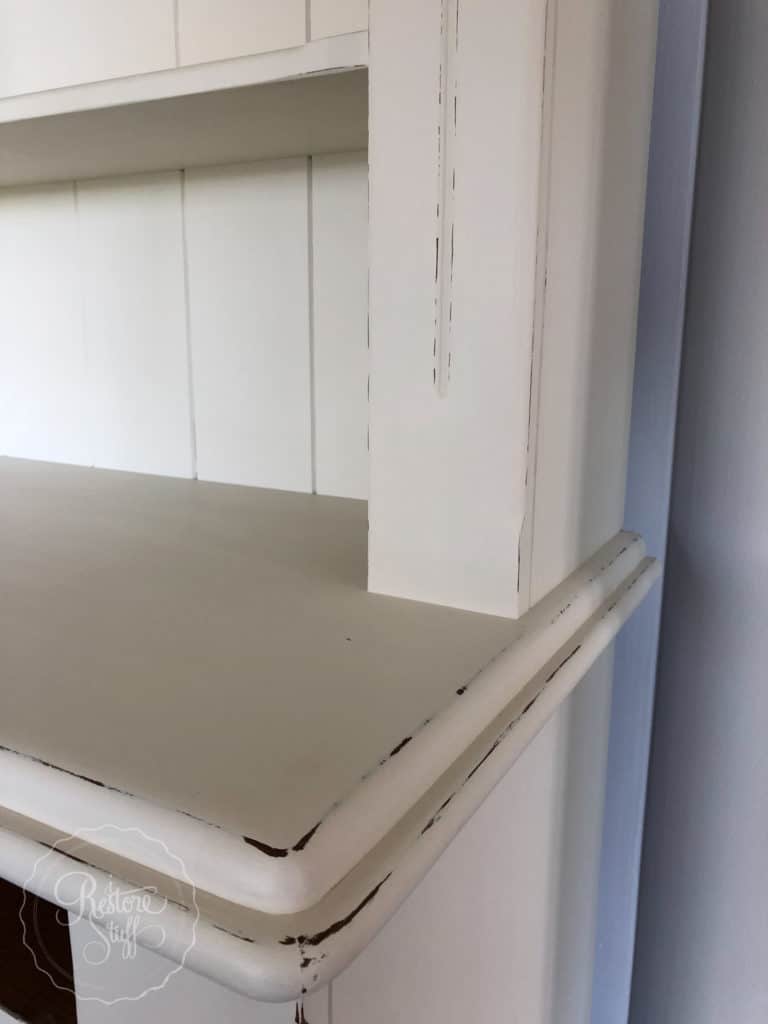
Client very happy with the light distressing on all the edges, leaving the inside back panels untouched, not sanded.
Sometimes it’s Good to Go the Extra Mile:
When the whole hutch was finished, and the client was happy with the look, I felt like I needed to do one last step. Now, some might think, “the client was happy, why not just finish there and head home?” But you know, when you just have that gut feeling that you know you want to finish well, and you know you really need to just do that one thing that your gut is telling you? Listen to that feeling. It looked amazing. But I had this feeling that I just needed to wax the top surface on the white painted main shelf for added protection and for a smoother sheen and finish. So I did that, and it did look just that extra bit more professional as a finish … and I was tempted to stop there … but there was that gut feeling again … and confirmed by my trusty side-kick, Amy, who was such a wonderful helper and is actually a very talented interior decorator. The waxed finish actually slightly altered the look of the finished colour, making the flat cupboard surface look ever so slightly different than the rest of the cabinet. SIGH!! You know what that meant – yep, I waxed the entire cabinet. You know, the average person may not have noticed, but I knew that I noticed, and so did Amy. And that was enough for me to make the call to just do it! Did I add the extra time to my original quote? No. Did I go over my original estimated time for finishing this project? Yes. But, I stuck to my original quote, and I had one very happy client, who insisted that I give her several business cards to pass on to friends and to hand to her professional painter who had been working on their home renovations at the time, and was admiring my work. So I think it was worth going the extra mile.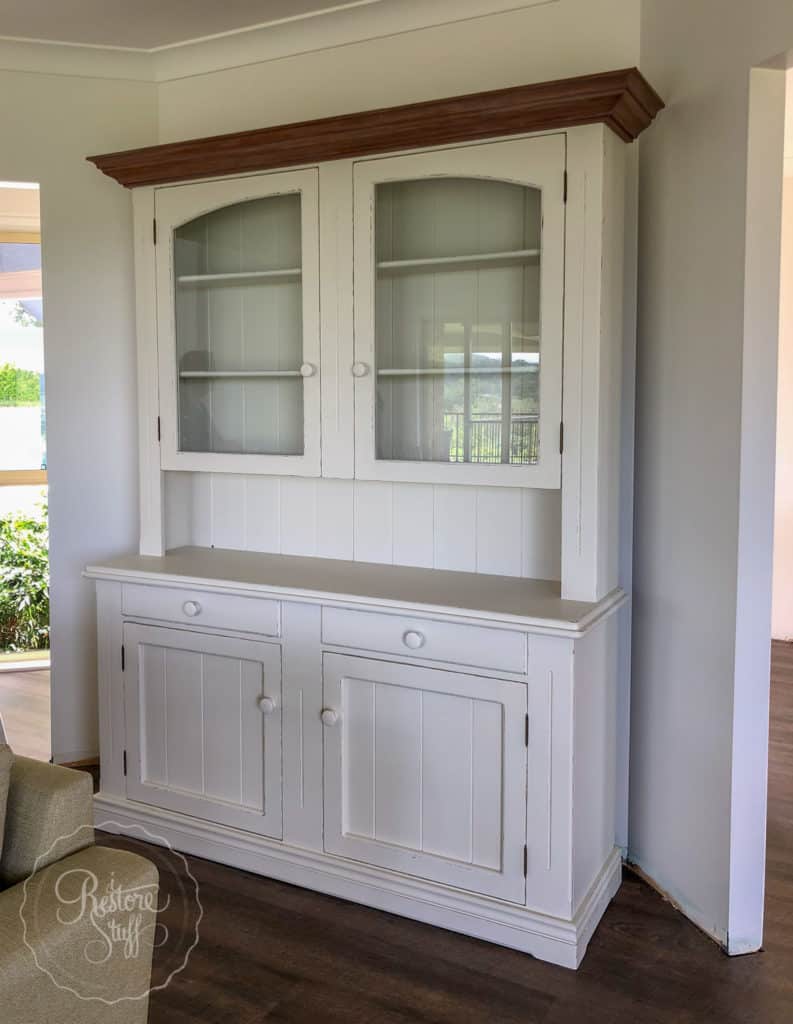
Finished cabinet – doors and drawers all back in place just for the photo. Always explain “cure time” to clients.
Final Instructions:
When doing custom furniture painting, it’s really important to let your client know any final instructions about caring for their newly painted furniture piece. Explain to them about “cure time” – that most furniture paints will take between 21-30 days to CURE – this is when all the moisture from the paint has evaporated over time and the paint has hardened to a point where items can then be placed on the surface. Up until this time, it’s important to explain that heavy items shouldn’t be placed on shelves AND cabinet doors should be left slightly ajar, and drawers that have been painted especially on the sides, should be left out until cured. It is very helpful if you have some printed information that you can give your client, in order to explain or outline these simple steps.BONUS:
Click here for a FREE printable Painted Furniture Care Instructions: Furniture care instructions You can also use the above printable as a guide that you may want to include on a furniture tag for pieces you’ve already painted and are ready to sell in your shop or online marketplace.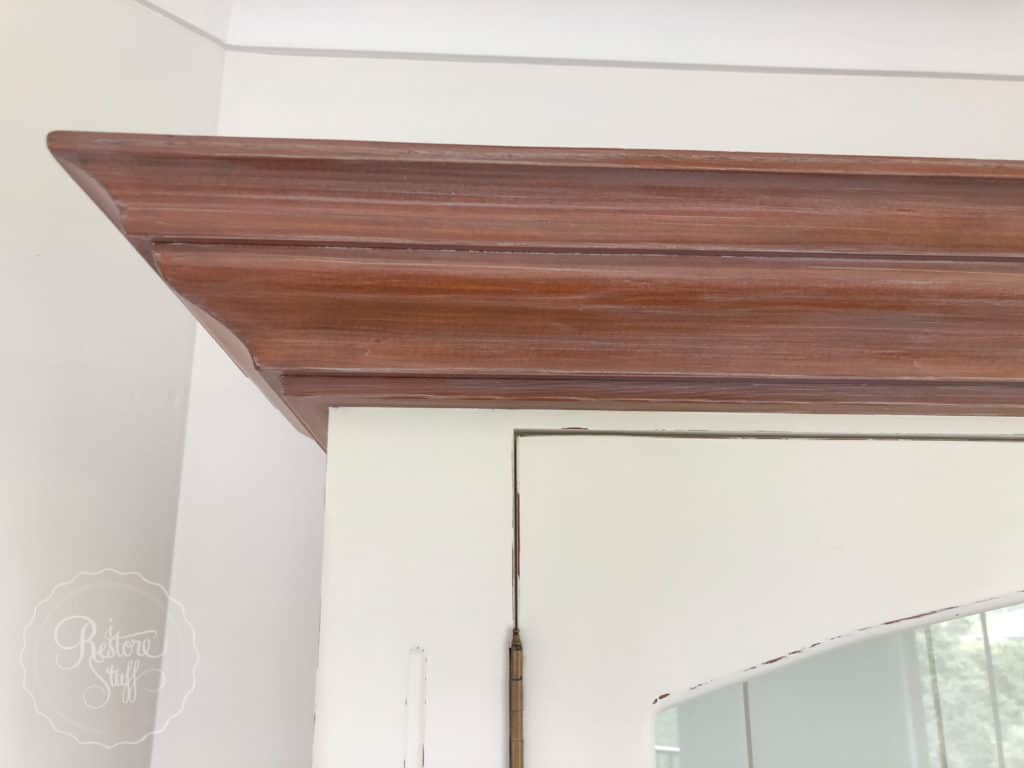 I hope you’ve found these tips useful for your own creative DIY business. Did you think of any other points to consider? Let me know in the comments below, I’d love to hear from you!
Have a great week!
Sharon.
I hope you’ve found these tips useful for your own creative DIY business. Did you think of any other points to consider? Let me know in the comments below, I’d love to hear from you!
Have a great week!
Sharon.
Need Help with your Creative Business?
Why not book in for a one-on-one workshop or “pick my brain” session where we can talk about your business needs. I’d love to help you with any of the topics I cover in the description of my one-on-one WORKSHOP link. [click the image below for more info]