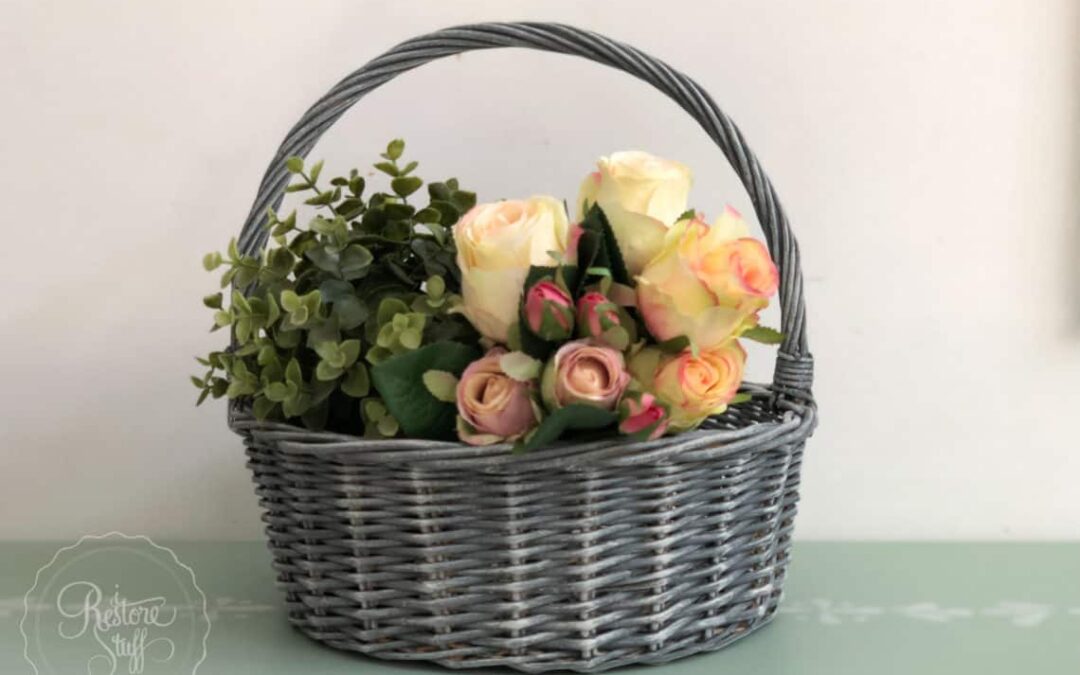
Do you have a cane basket?
This French Country Basket idea is so easy. Maybe you still have one of those wicker or cane baskets laying around the house somewhere from a craft “someday” project? Go grab it NOW! You’ll flip over how super easy it is to create this beautiful French Country basket with gray wash look on an ordinary wicker or cane basket. These are also usually a dime a dozen in local charity stores.
PS: If you already saw this on my Instagram stories or Facebook page, stick around for another DIY BONUS VIDEO TUTORIAL at the end of this post!
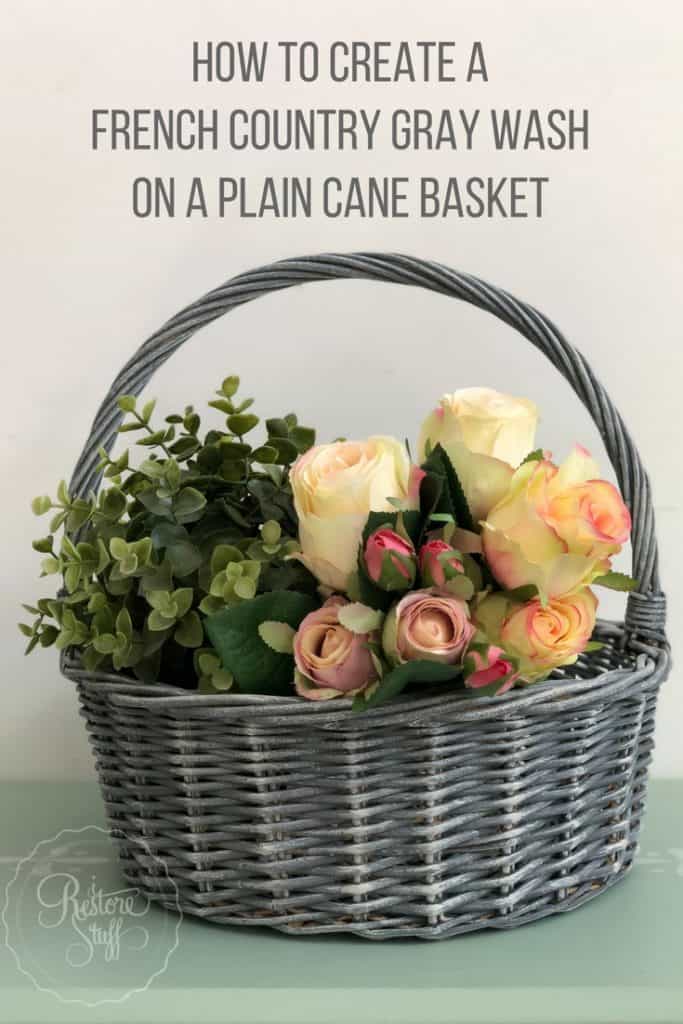
Pin this image to your DIY Pinterest board!
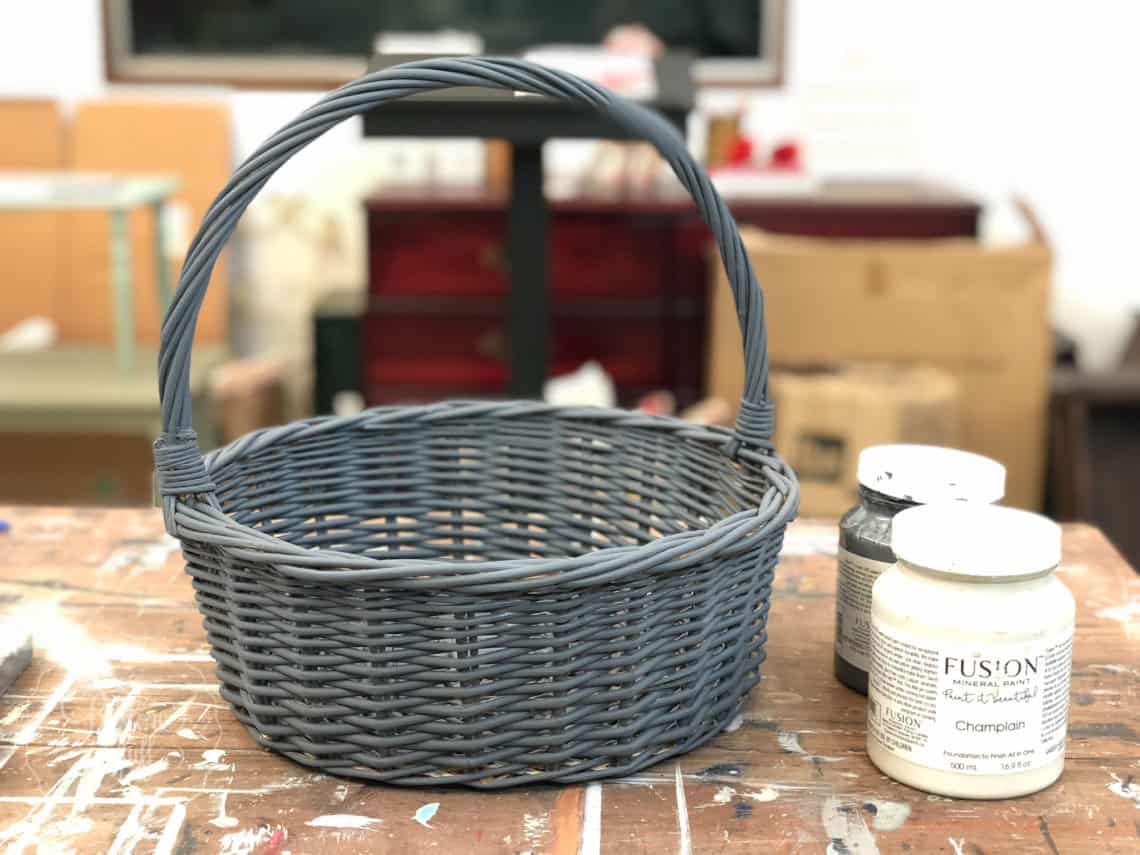
Here’s what I started with …
Just an ordinary plain cane basket that I picked up along my travels somewhere. Can’t even remember when I got this, I’ve had it so long!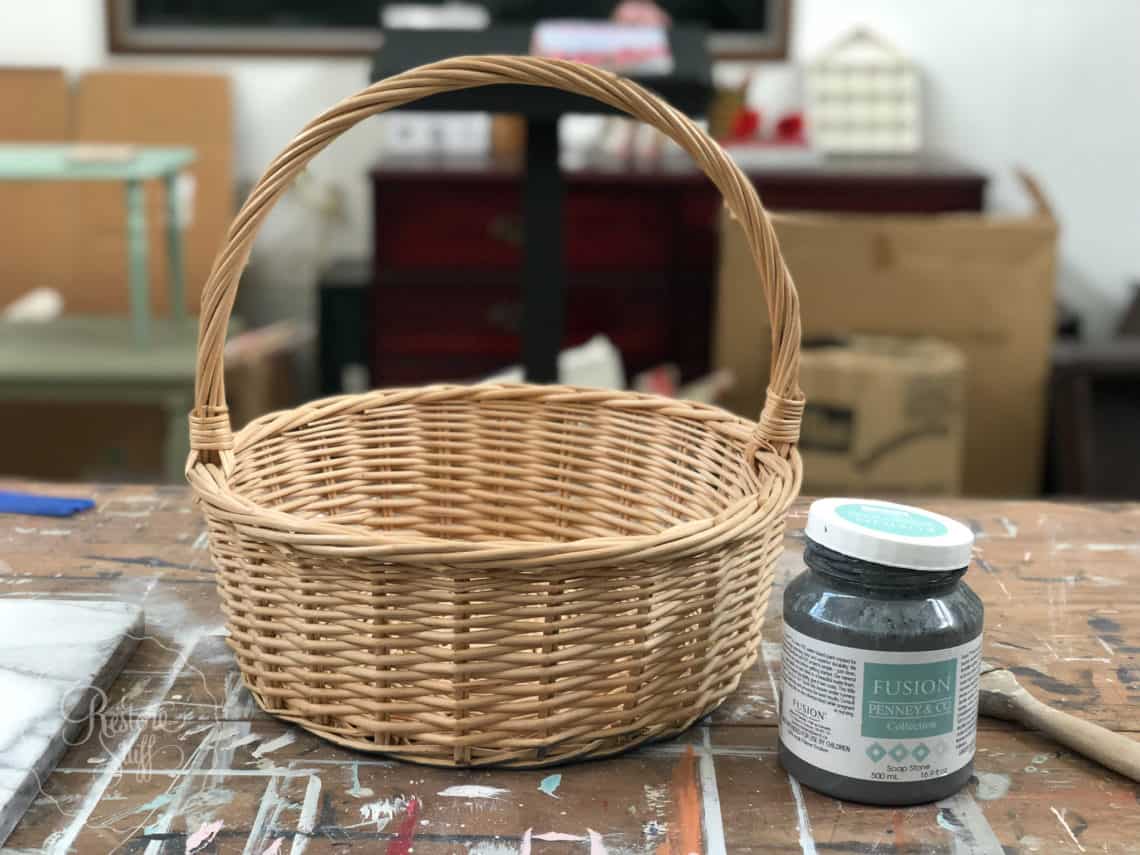
Supply List for French Country Basket:
- Cane basket
- Grey paint – I used Fusion Mineral Paint colour Soap Stone.
- White paint – I used Fusion’s colour, Champlain.
- Paint brush – any will do. I used Miss Mustard Seed’s Small Flat Natural Bristle brush.
- newspaper or brown paper/cardboard to offload your brush.
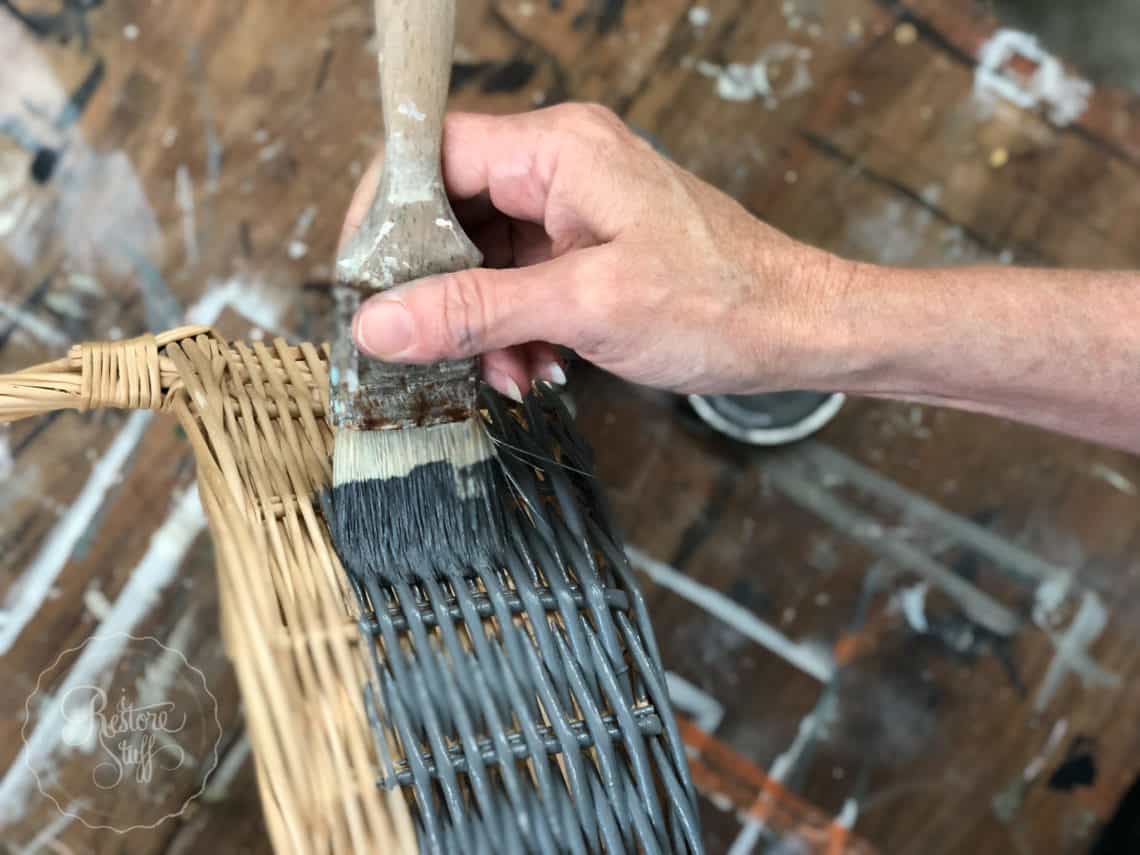
Step One:
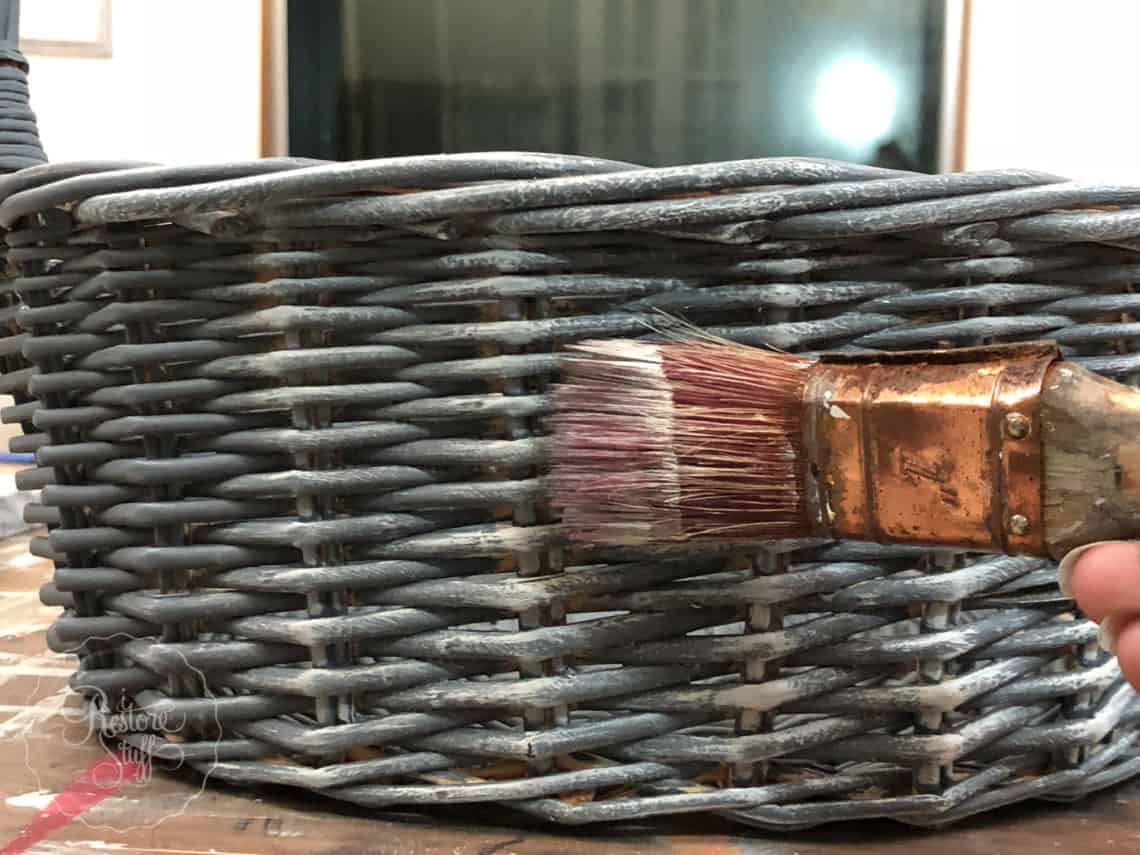
Paint your base colour, gray all over the basket, inside and out, really squishing the bristles of your brush into the cane nooks and crannies.
Step Two:
Once the gray coat is dry, dip your clean brush into the white colour (you can decant some into a small dish if you like) and wipe the excess paint from the brush on the edge of the dish/jar.
Then using your newspaper or cardboard, wipe your brush back and forth to remove even more paint – this is how we achieve “dry brushing” for the next step.
Step Three:
Gently drag the brush across the surface of the gray. This will cause the white paint to just “highlight” the tips of the cane slightly. You can see where I started on the base here.

The key to successful dry-brushing is a very light touch and dragging in the same direction – especially if you want to use this technique on a flat surface for a piece of furniture or a wood sign. I have a video of the dry-brush technique here on a wood sign.
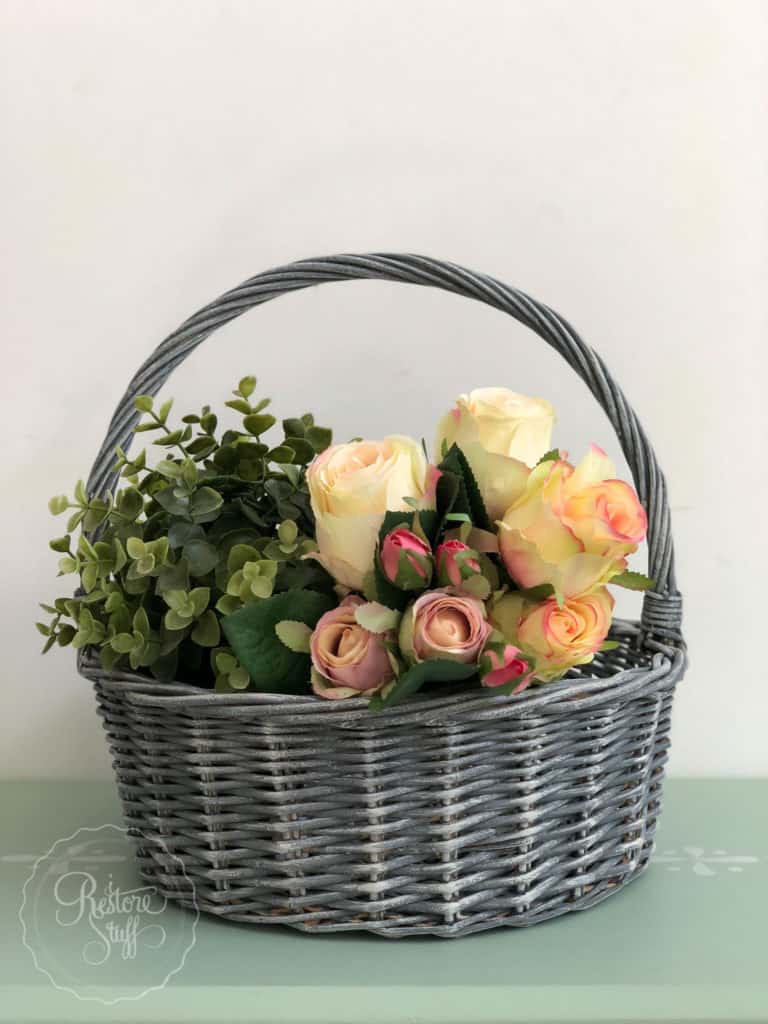
And you are finished! This small project took me less than an hour to complete (normally it’s recommended to leave the first coat dry longer, but we had a very good drying day).

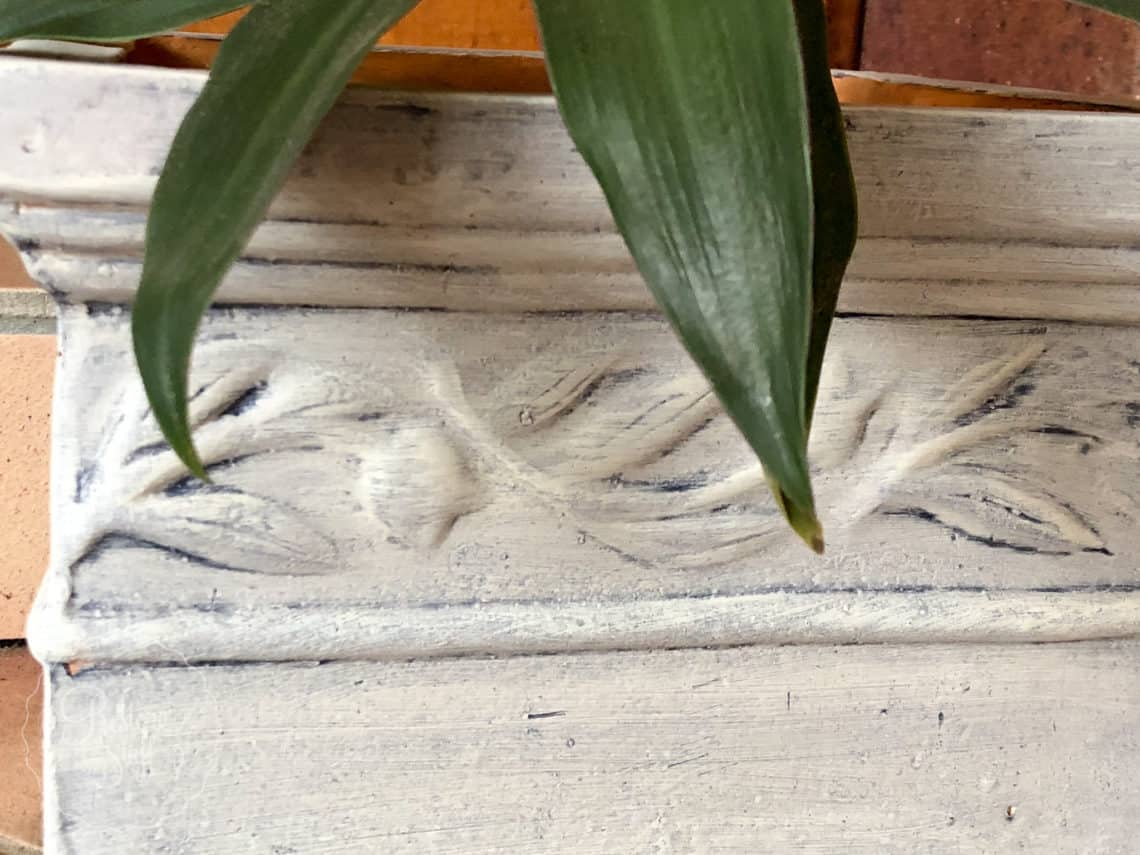
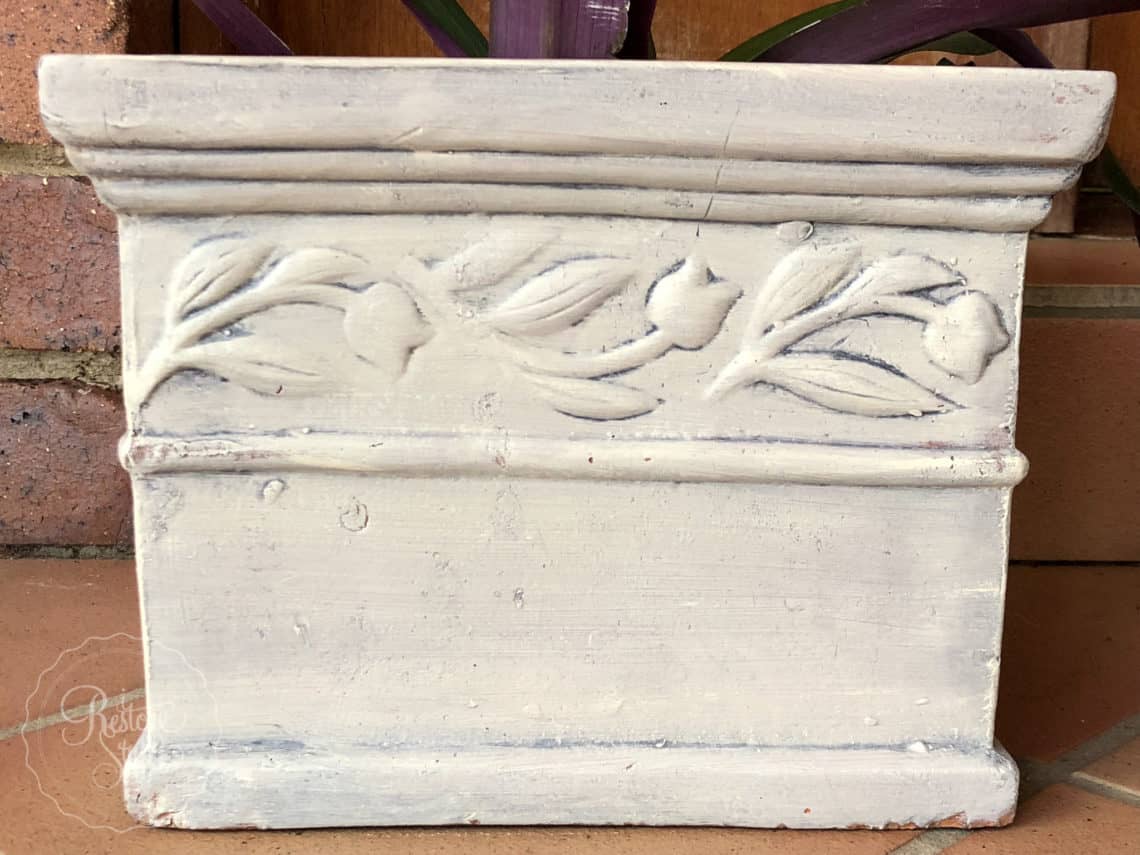
BONUS Video Tutorial – Terracotta Plant Pot Hack!
This week, on my Facebook Page, I did a Live video (scroll below) of another easy DIY hack on some Planter pots I had sitting at our front door for years.
Well, I just went ahead and slapped a bit of paint on them and added a clear glaze mixed with Midnight Blue for this final result: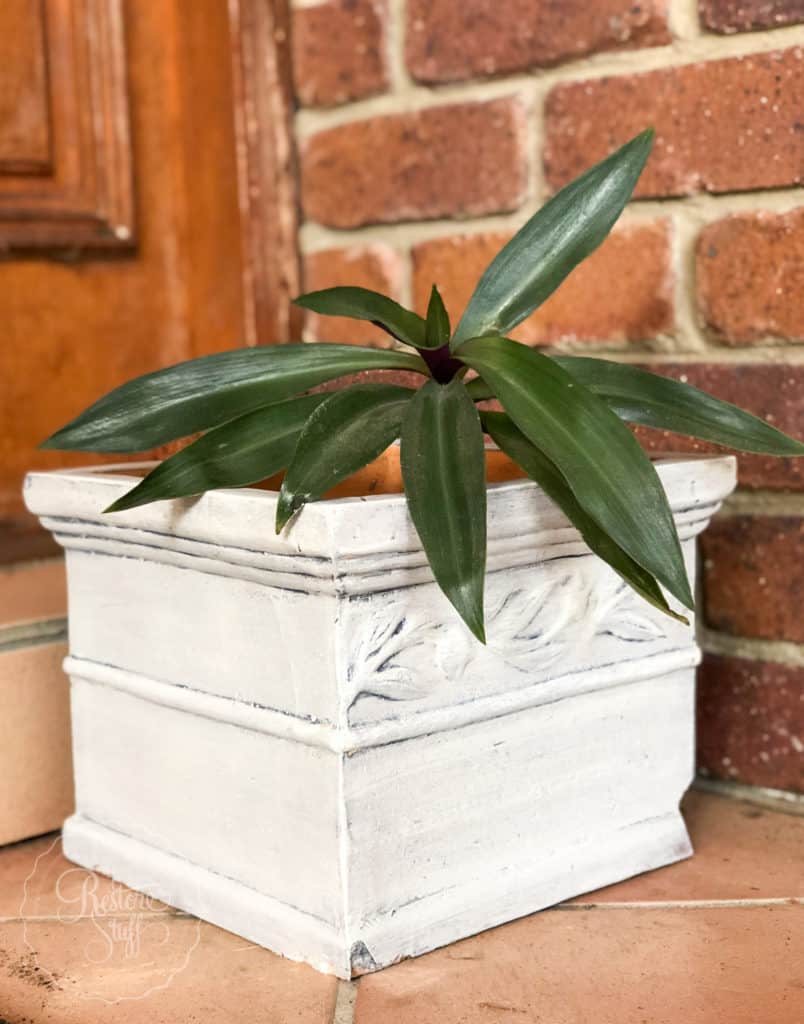
Here’s the full replay of the Live DIY for you. I’ll also give you a demo of what I mean by dry-brushing.
Thanks for joining me here on my blog each week. If you do have any questions, please pop them in the comment section below.
You can also join me in my Facebook Group here – I Restore Stuff, You Can Too – where we share our progress pics or finished pieces we’re working on, sharing tips and techniques and asking questions.
PS: I’ve linked this project up to Silver Pennies Sunday Link Party if you’d like to check it out.