
Wondering what to do with an old dresser drawer?
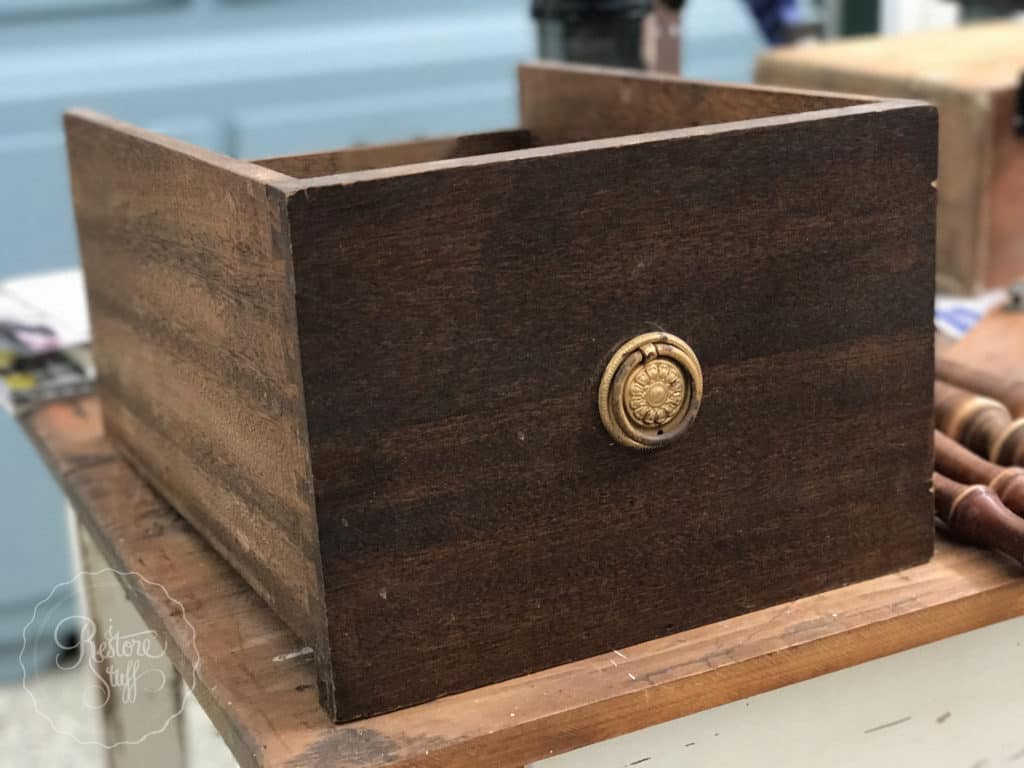
Here’s one of four that I had lying around from an old dresser. The dresser frame was beaten up so much that I took it all apart and cut up the timber top to use as boards for another project. So let me give you one idea for a repurposed drawer …
[Click here to see the full video: Hometalk Live DIY Demo on this exact project]
Adding Casters
I had a choice of a few types of casters to add which I picked up from our local Bunnings (hardware store). But out of all 3, I loved that these ones had a coppery style hardware that held them in place. The others were too shiny looking.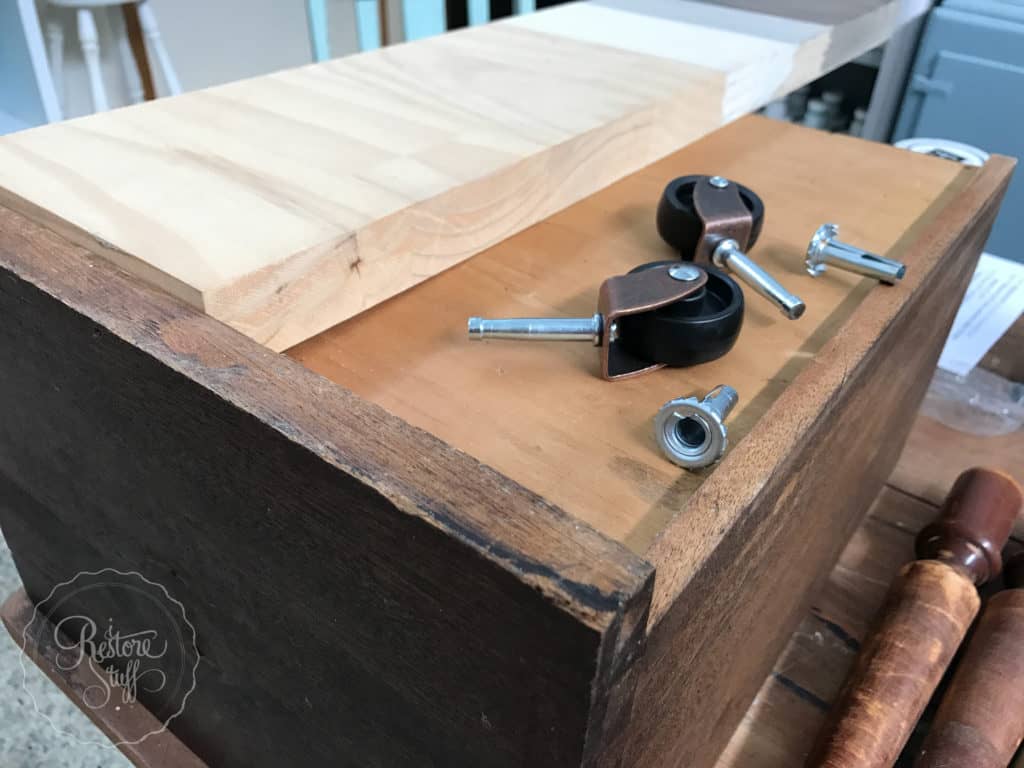 But these were a problem for my project since they are meant for adding to furniture legs with all that depth, and not for a shallow drawer where these shafts would poke right up through!
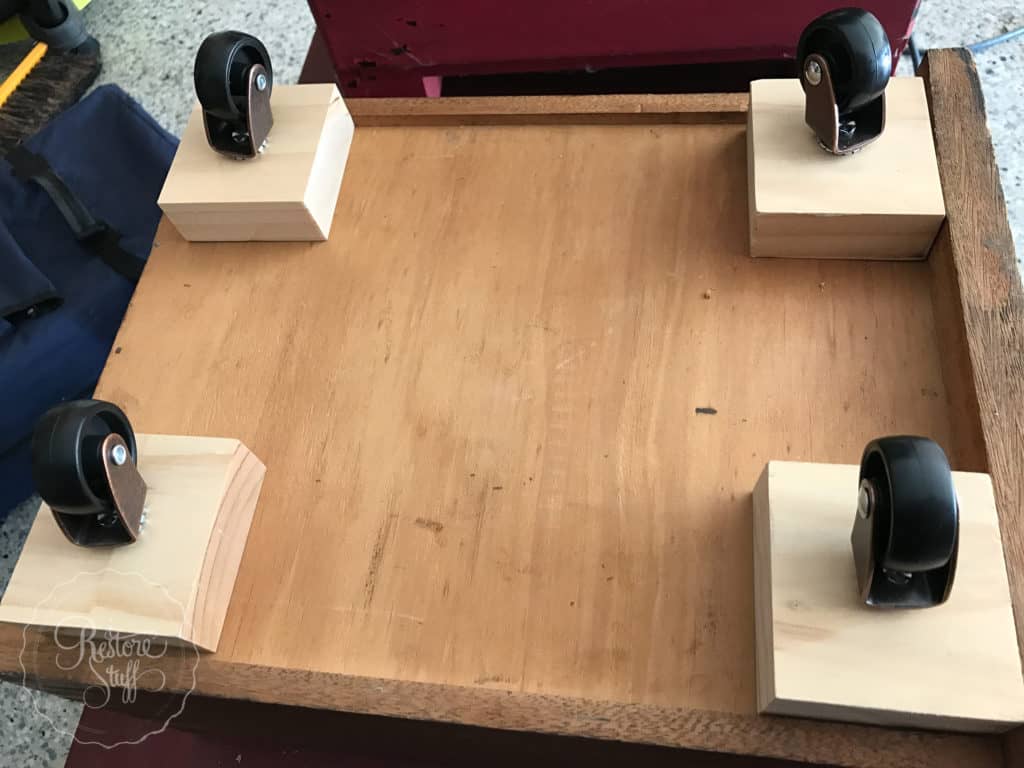
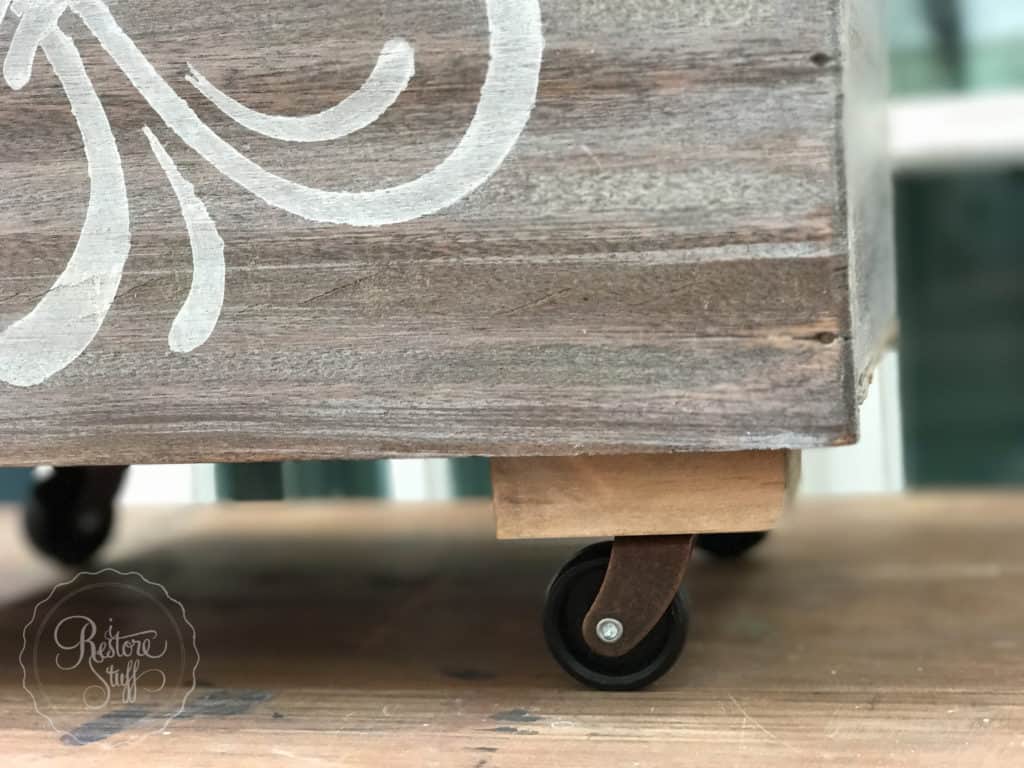
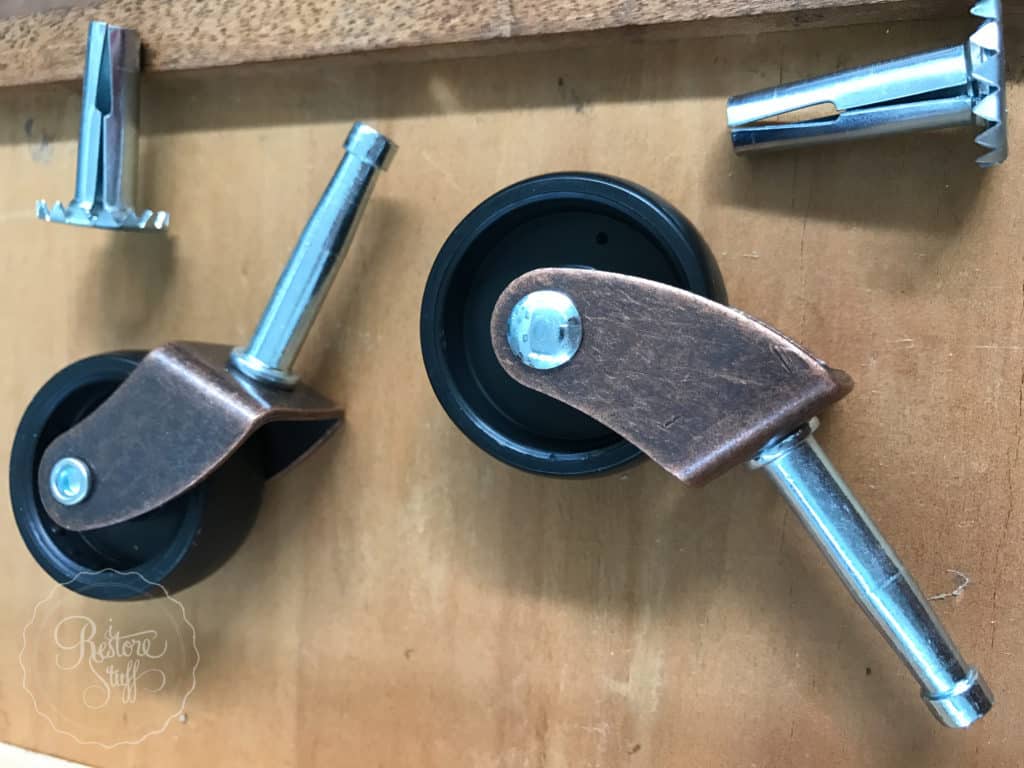 So I used my DIY handy-chick skills and found an old piece of timber that was the same height as the caster shafts.
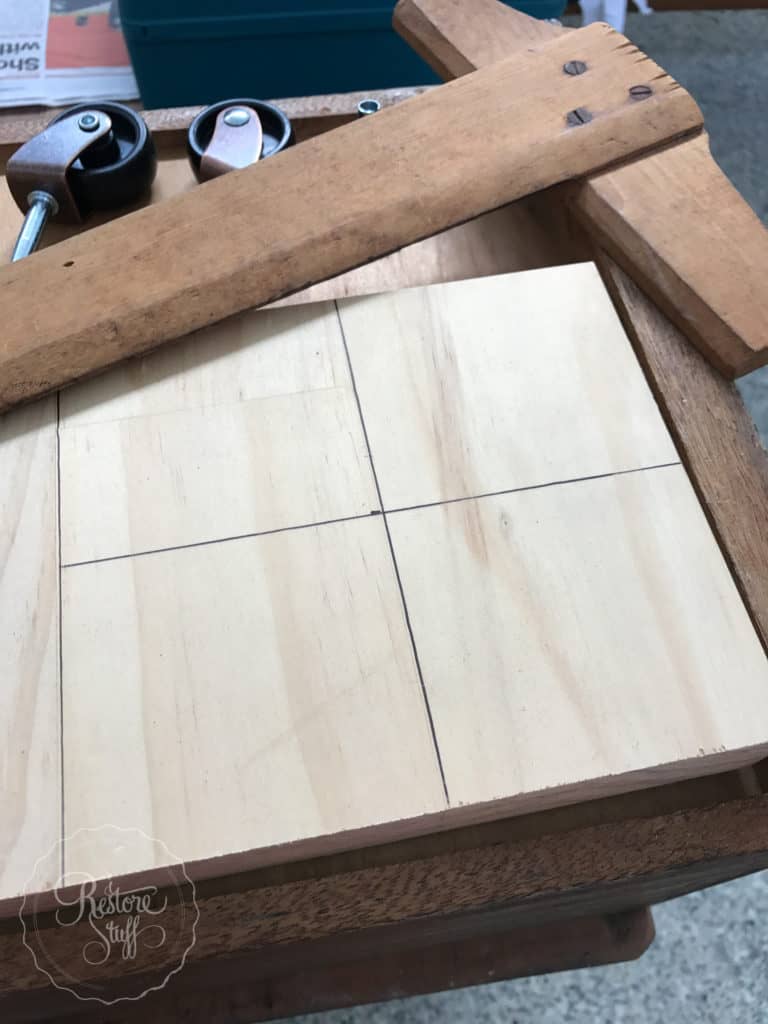 You see where I’m going with this? These blocks will make a base for the shafts to extend through without sticking up through the drawer base.
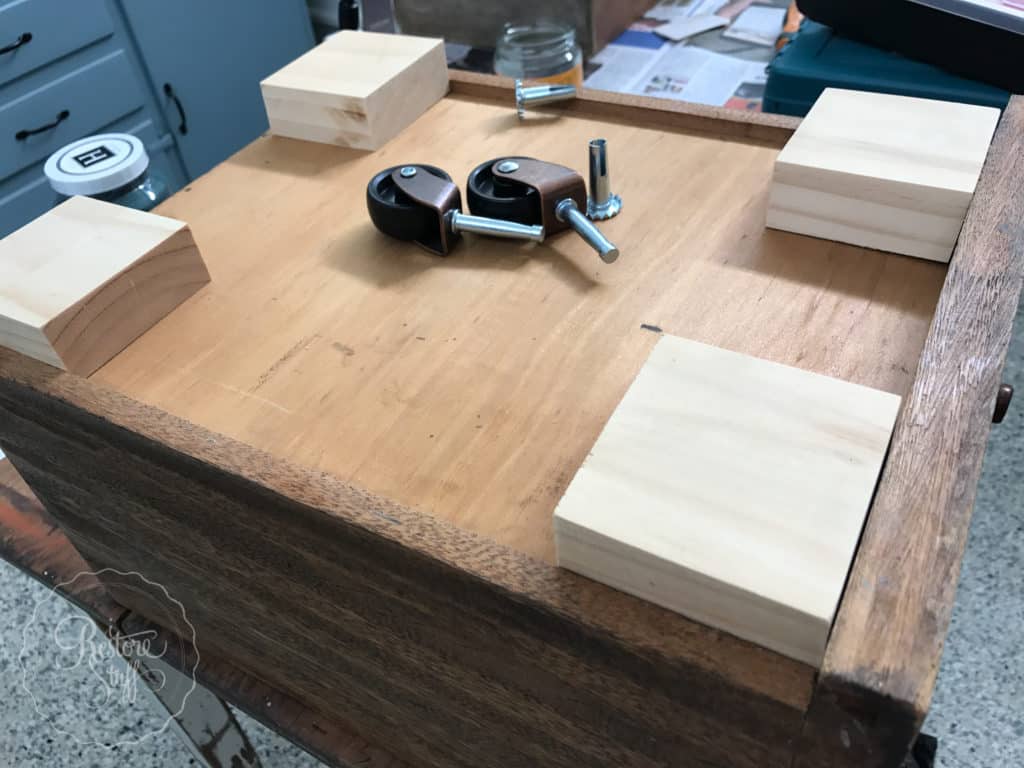 Clamping down the wood blocks, I carefully drilled holes the width of the shaft barrel.
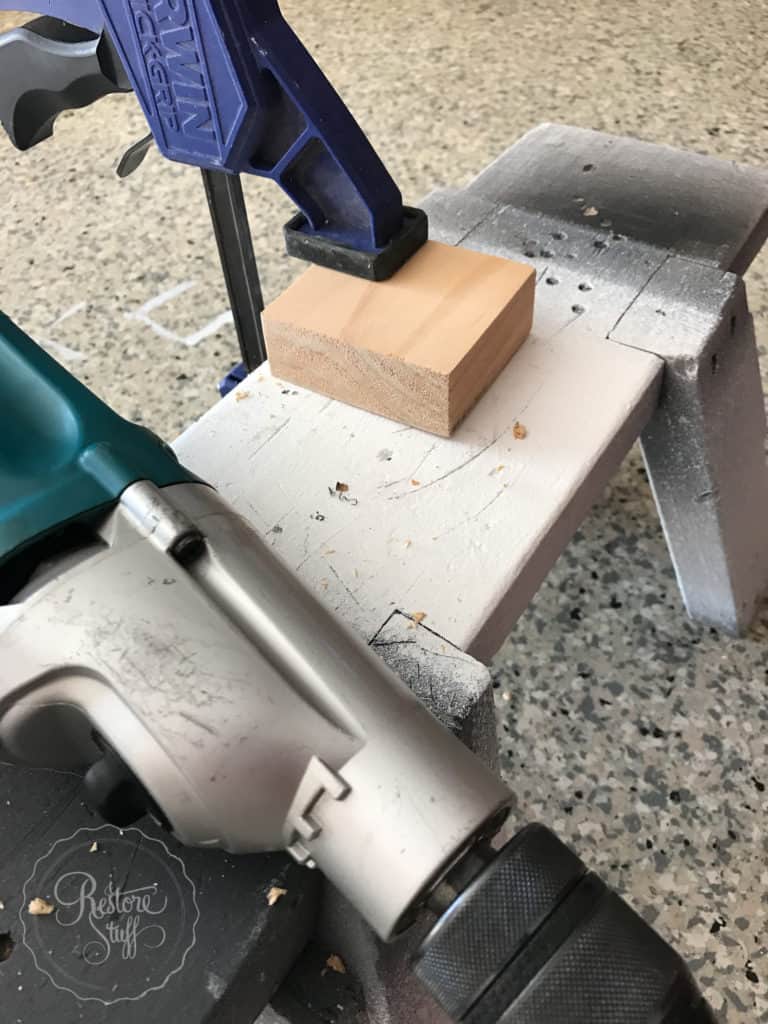
 Then hammered the barrel in place …
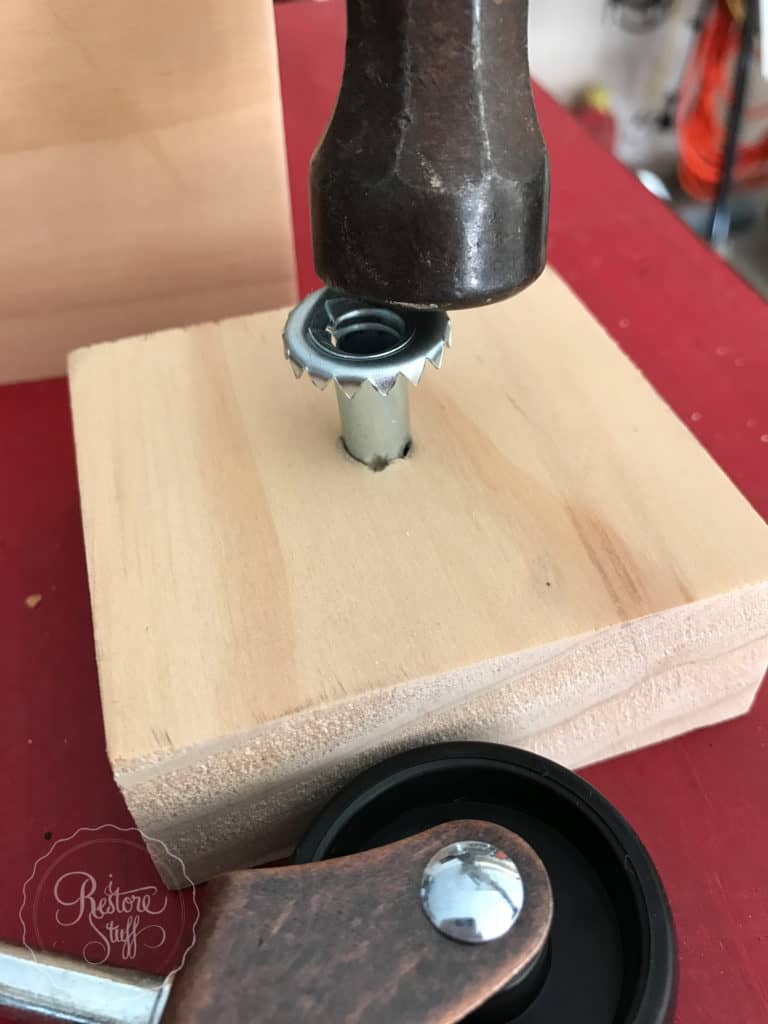
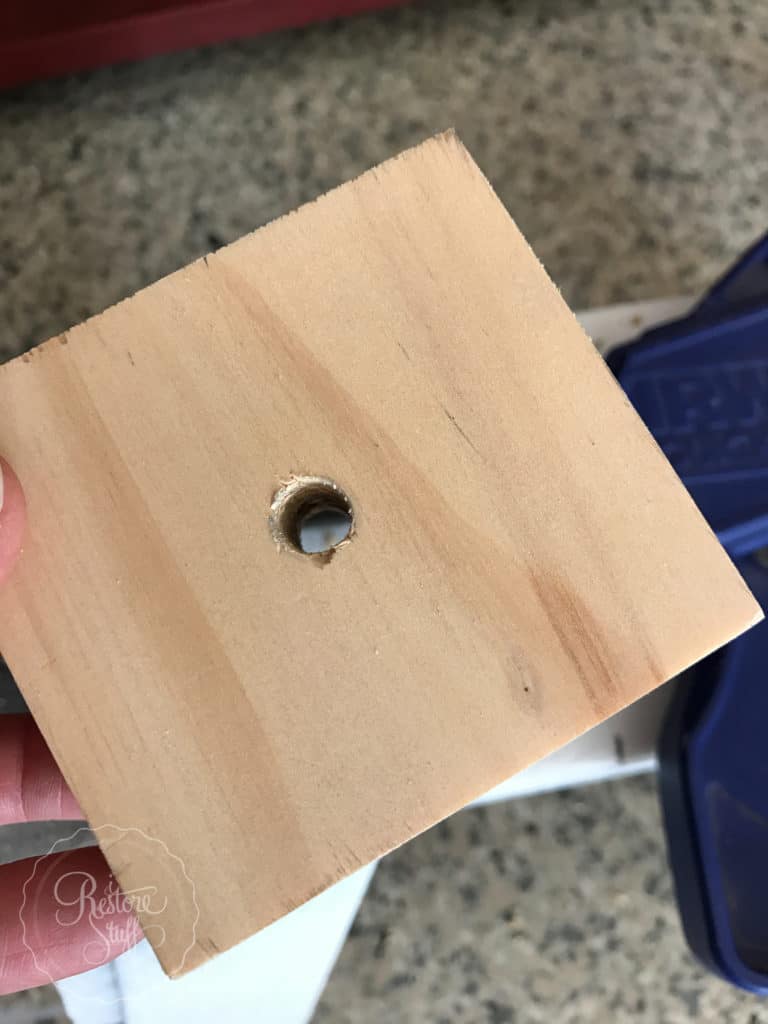
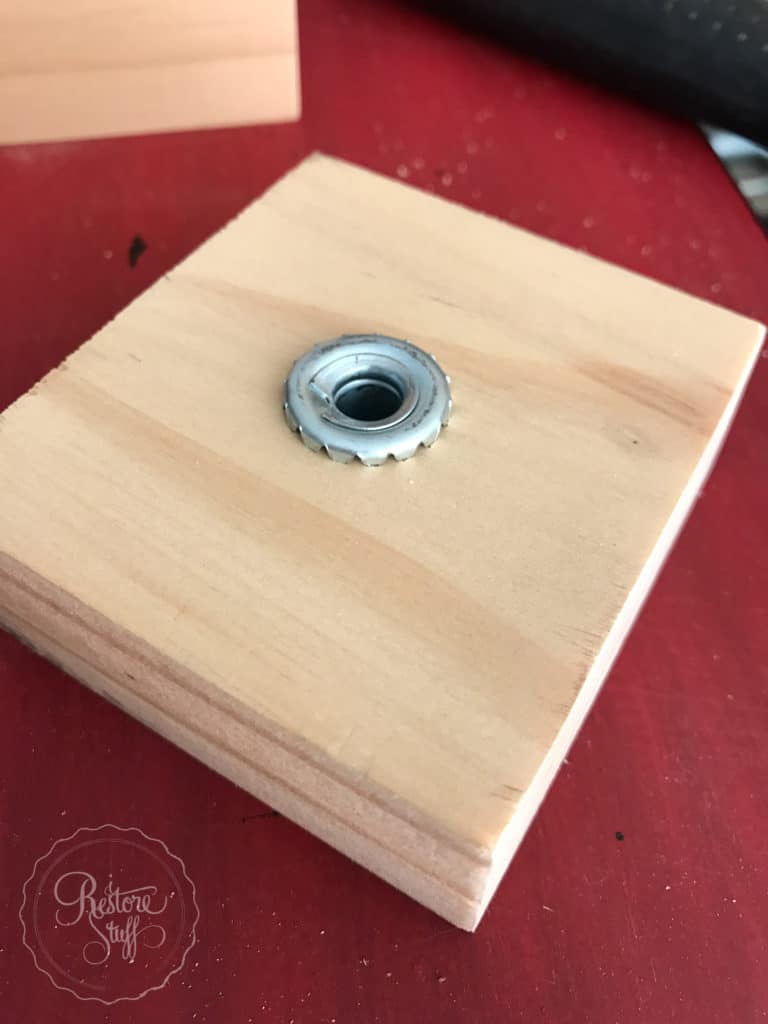 Ummm … okay, so the shaft barrel is exactly the height of the blocks I cut, BUT the shaft actually goes through the shaft and locks in to the other side of it by about 5mm!! Doh!
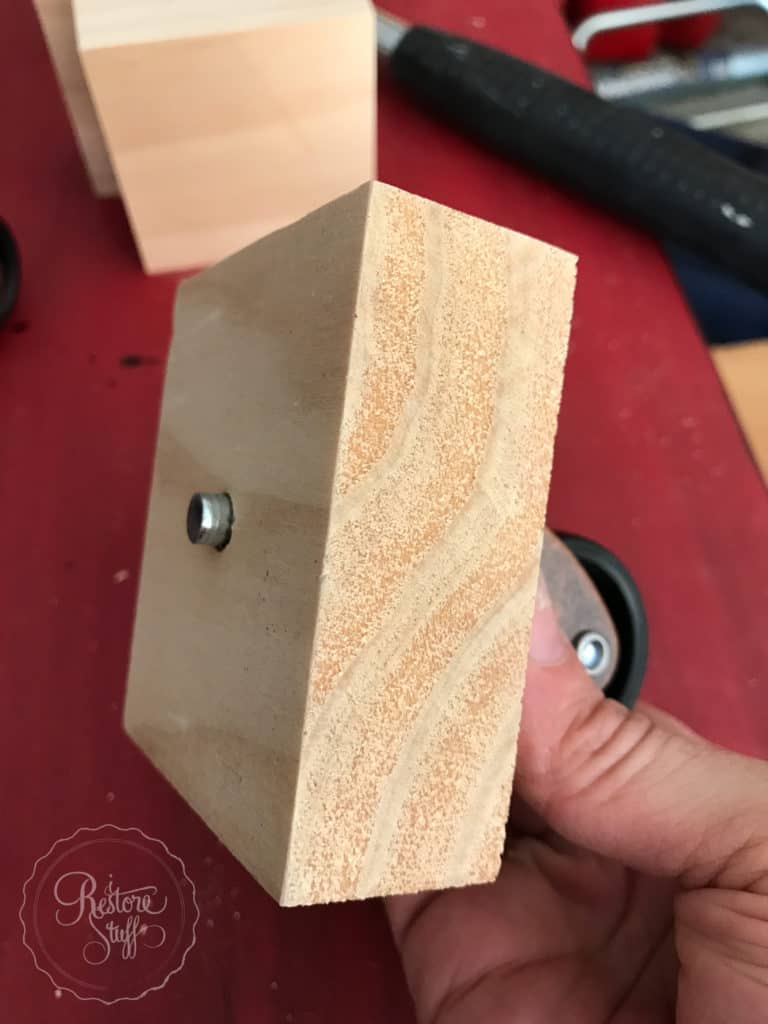
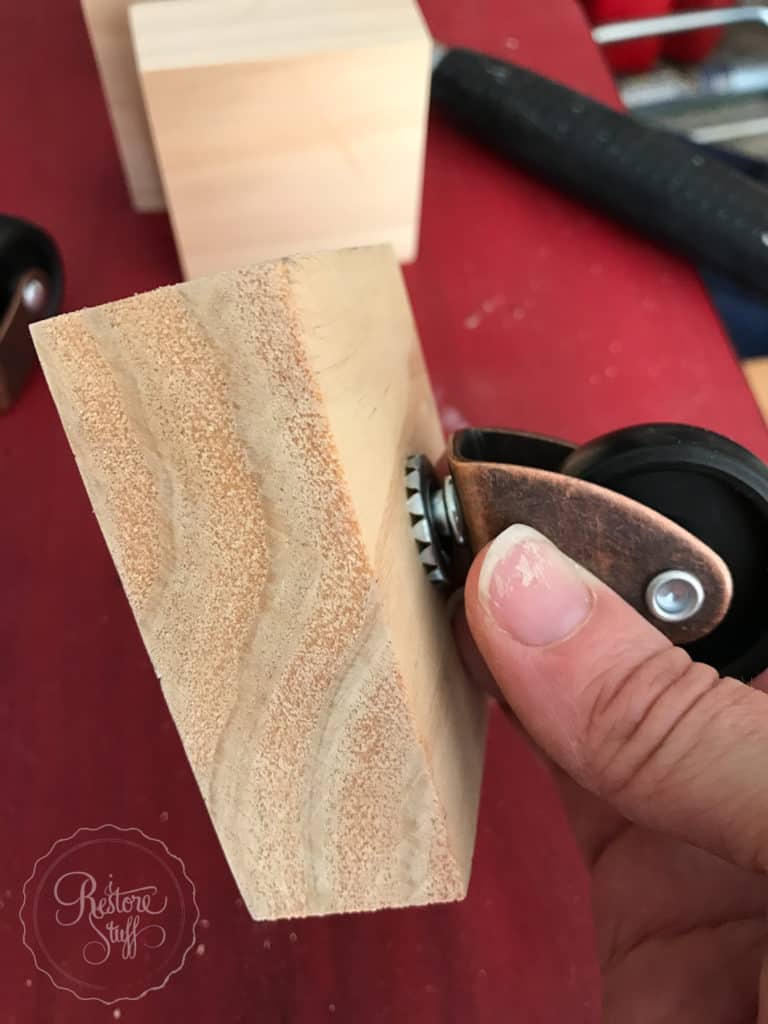
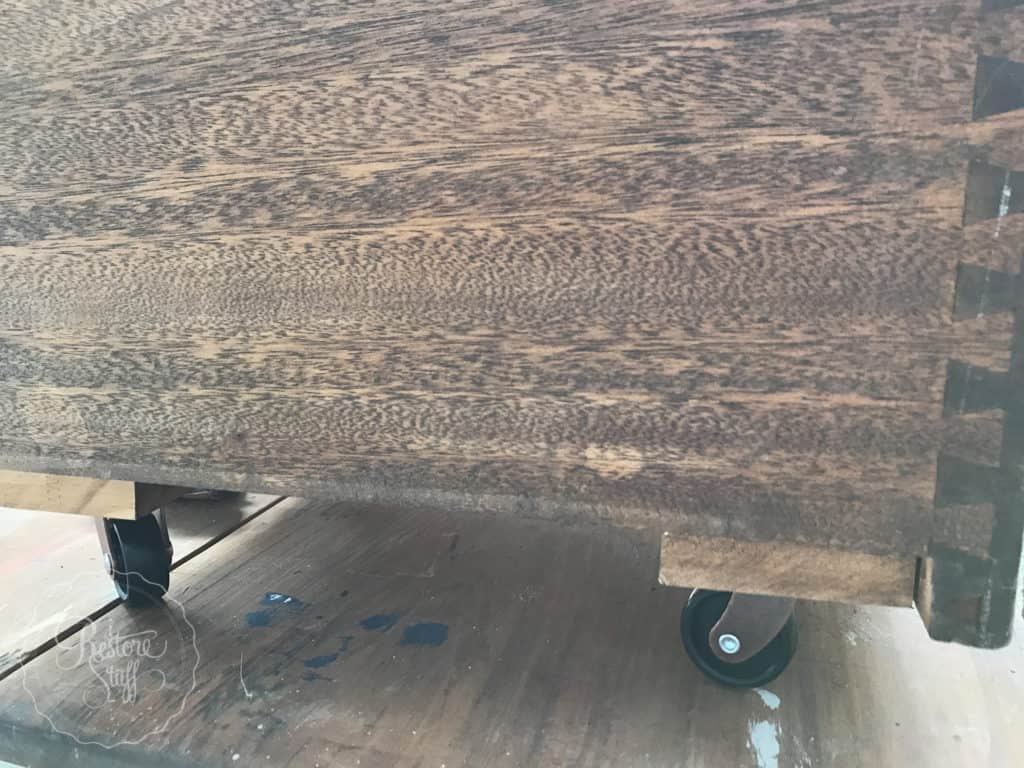
 No problem … so I drilled holes just the size needed for the shaft to go through the drawer and it really doesn’t poke up that much so we’re all good, right!? Then I screwed my wood pieces in place from the inside of the drawer – don’t judge my handiwork, okay?
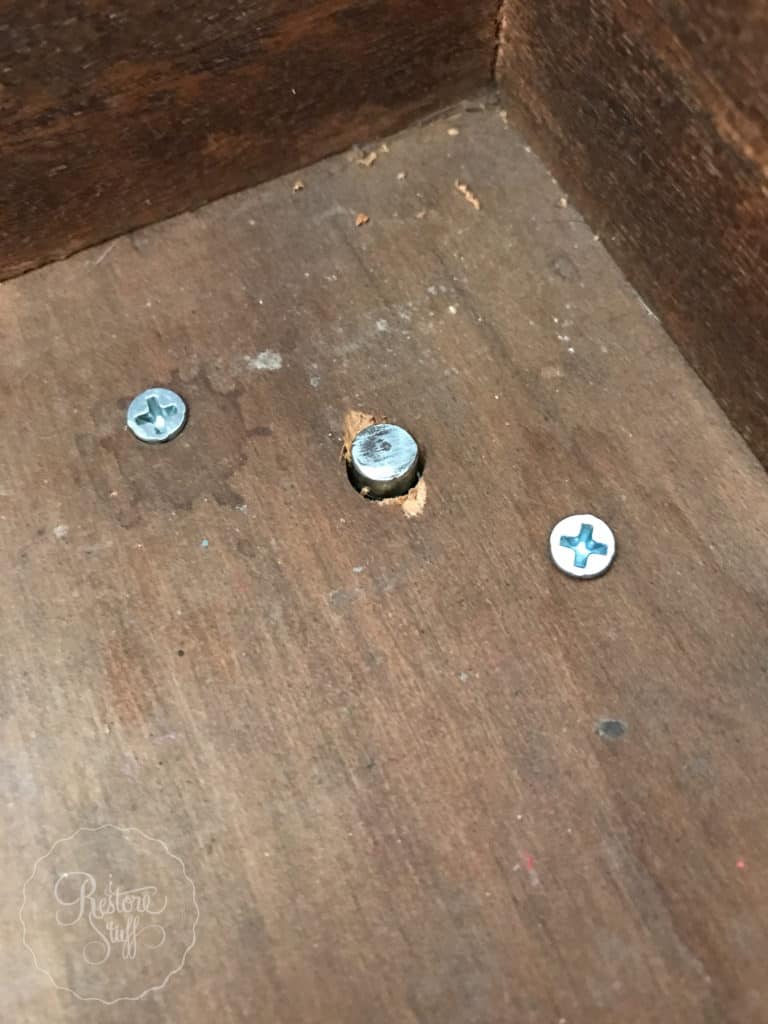
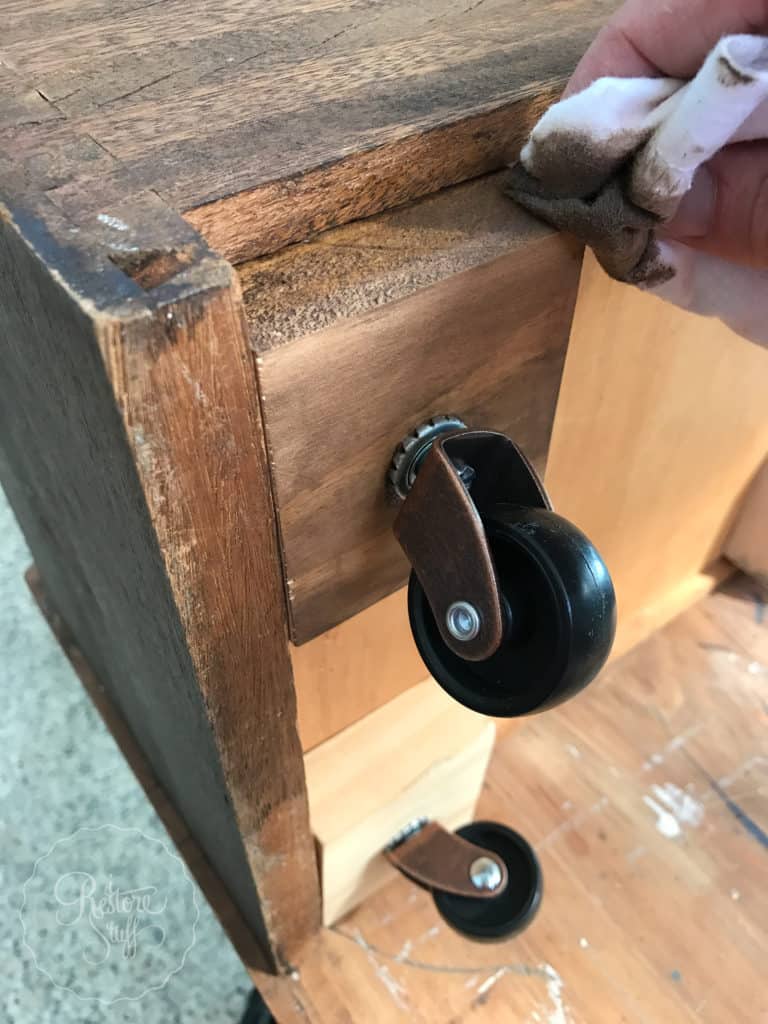
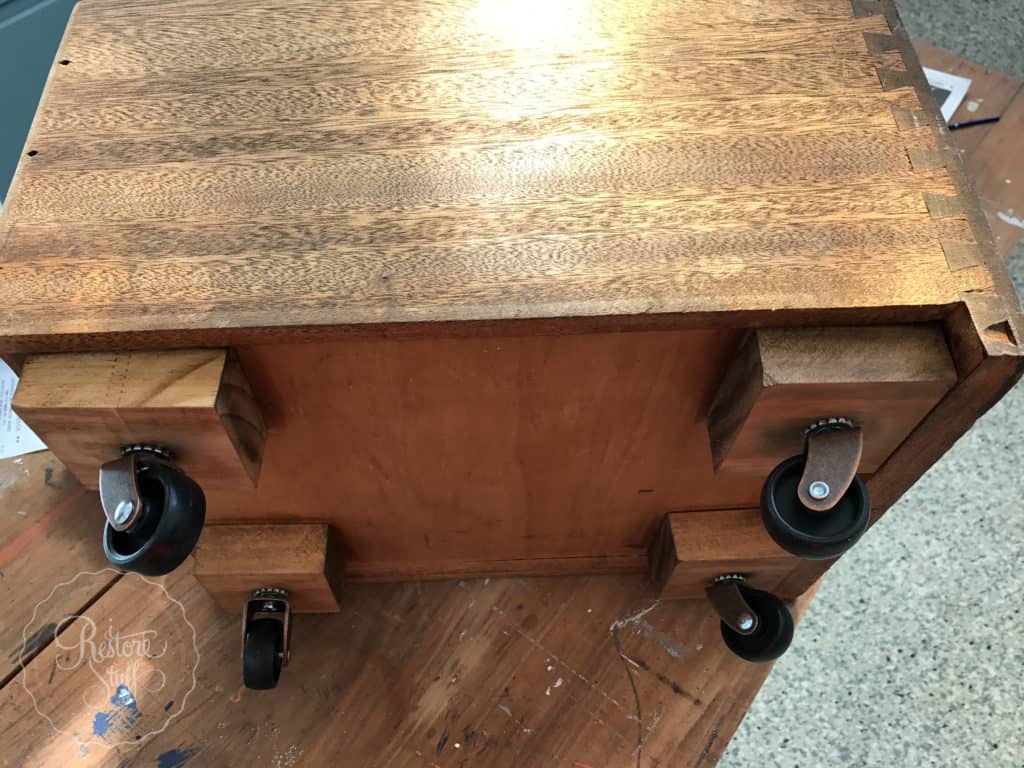
So now I have my wood chocks and casters in place – YAY – but the wood is a bit raw and blonde, so I took out some stain I had on hand, and stained the wood so they wouldn’t stand out too much.
Creating a Barnboard White Washed effect using Milk Paint:
Next I wanted to create a white washed barn board kind of effect, so I pulled out my Farmhouse White Miss Mustard Seed’s Milk Paint powder and mixed as I would a regular paint batch with a ratio of 1 part powder to 1 part water.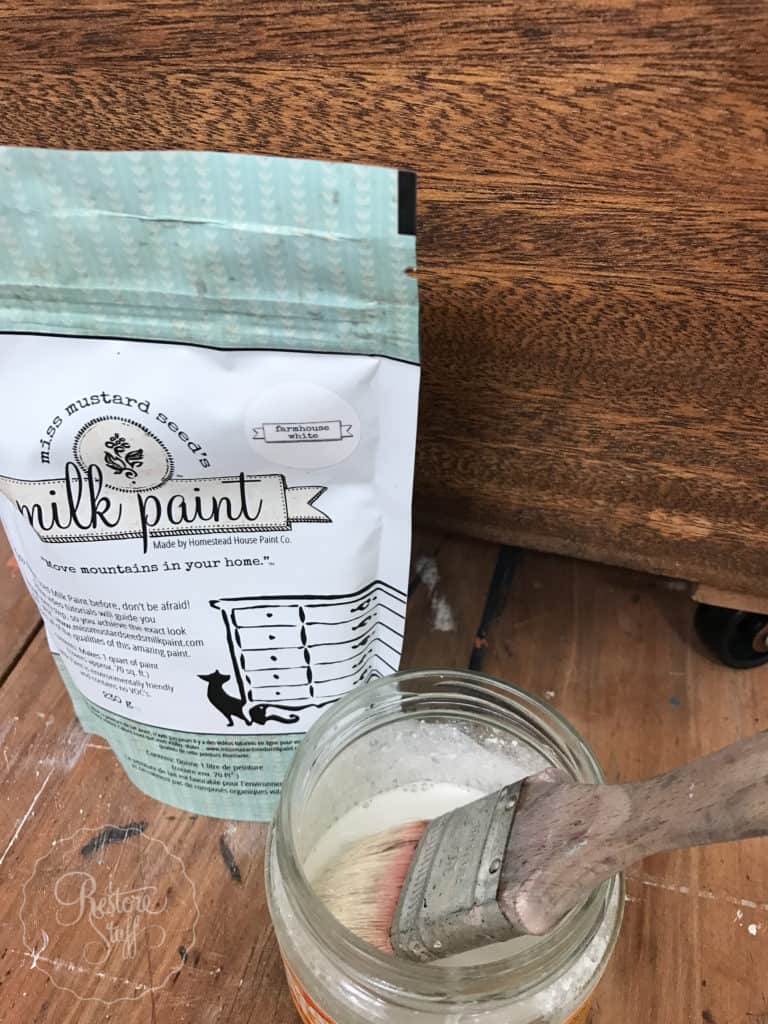 I didn’t prep this drawer other than gave it a good cleaning and a super quick rub over with my Sanding Glove.
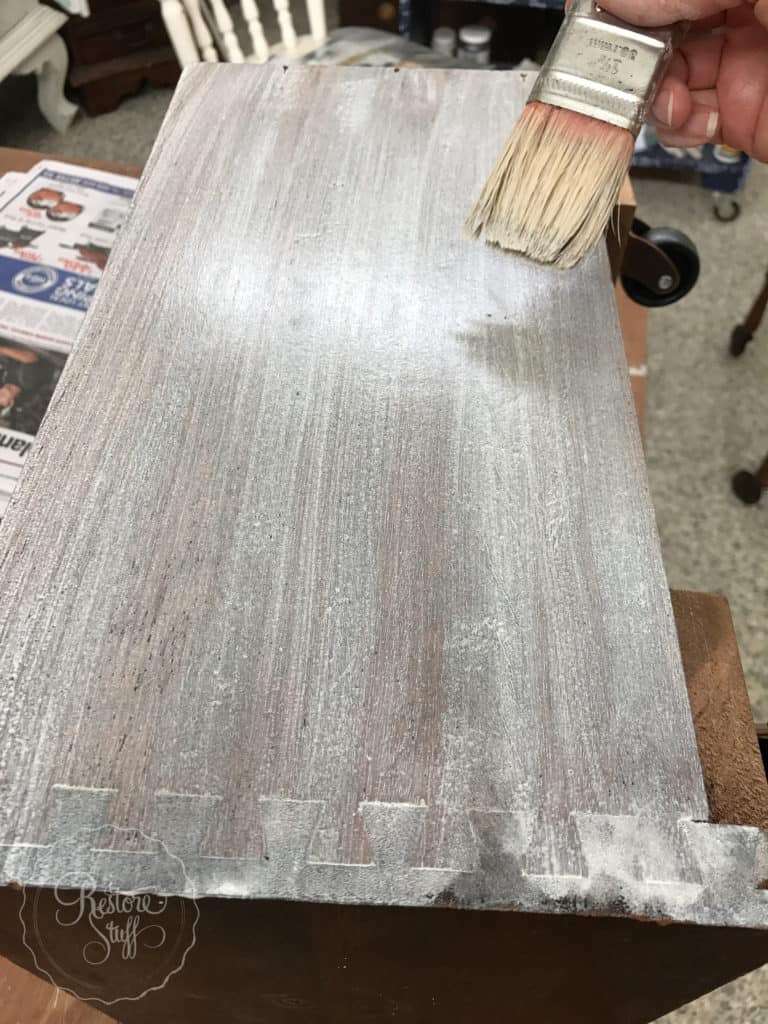
Then I used my natural bristle brush (you could use a synthetic brush too) and started to lay the paint onto the side of the drawer in long even strokes going with the grain.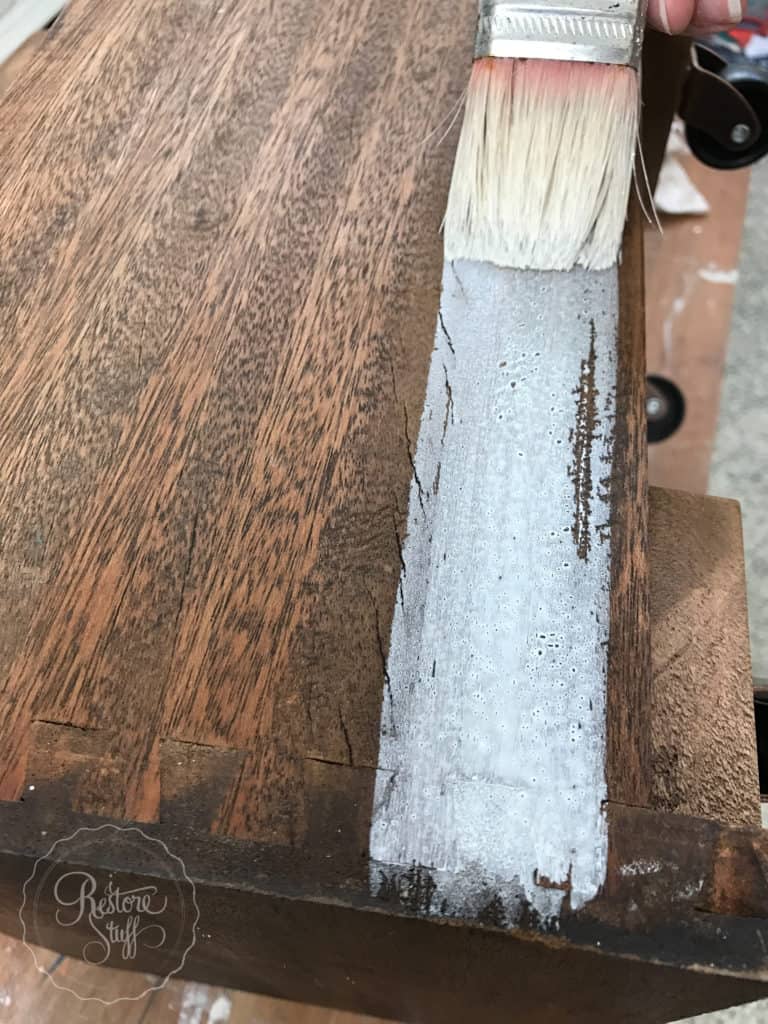 I continued until that side was finished.
 Then super gently, use a clean rag cloth or Chux to remove some of the excess paint. If you remove too much, you can always paint more on later.
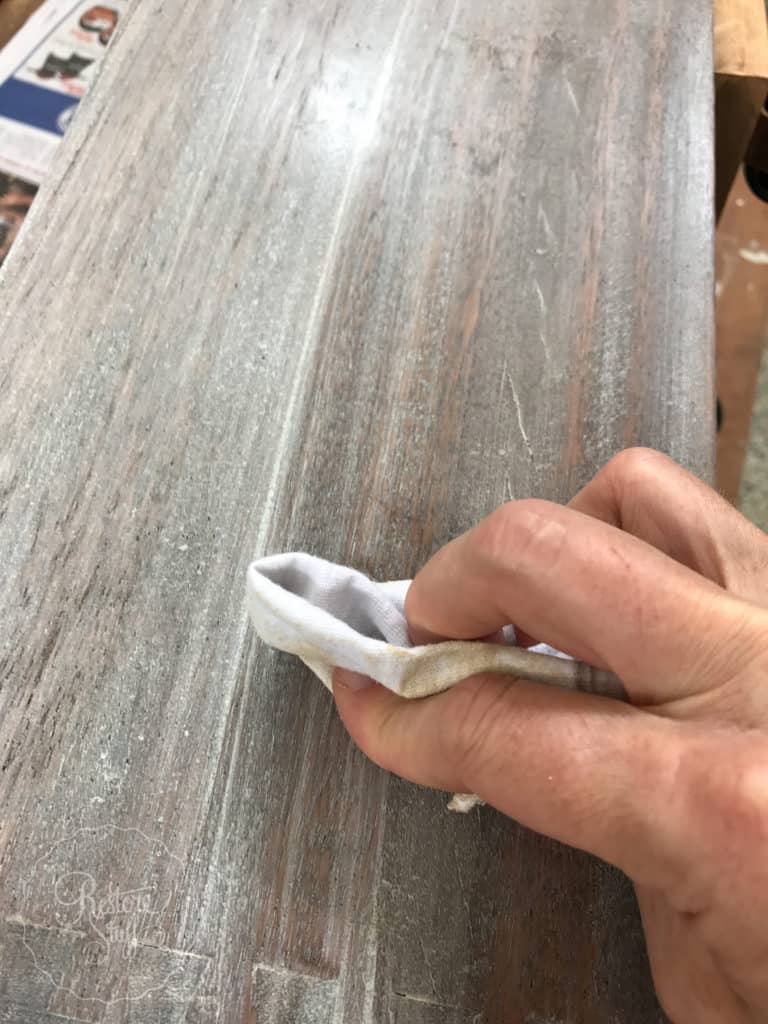 Repeat these steps for the front of the drawer and the remaining sides.
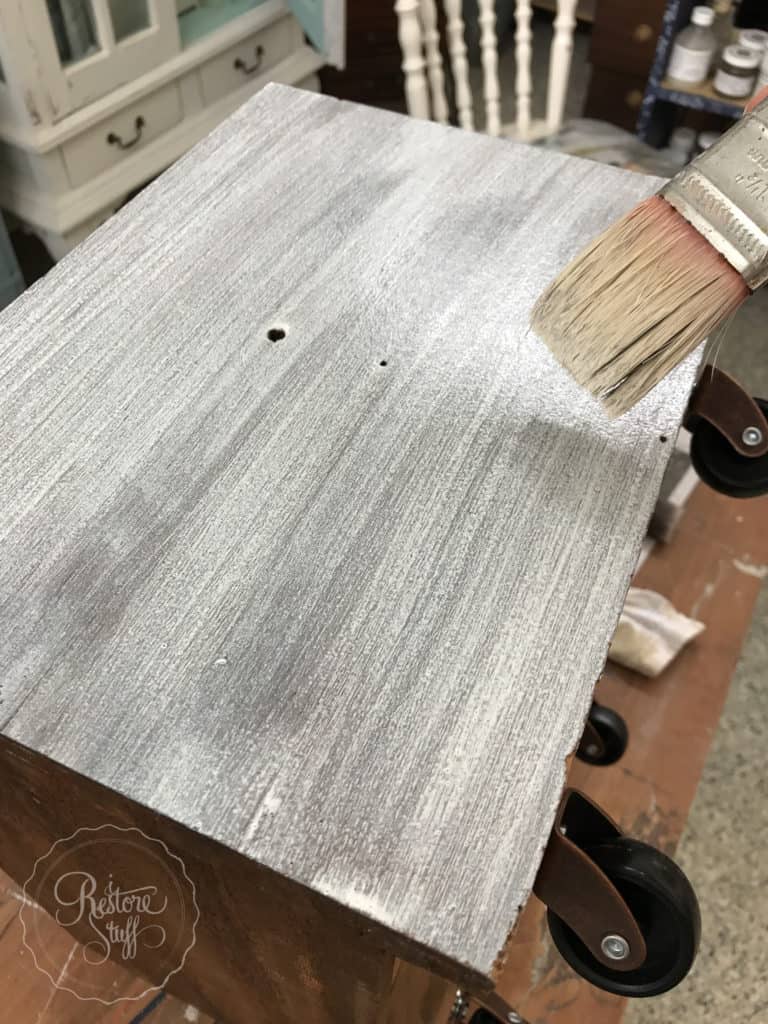
 I also chose to do the insides, although you could totally create a different look for the inside of the drawer using a contrasting colour and fully covering with paint, or decoupaging your favourite design inside.
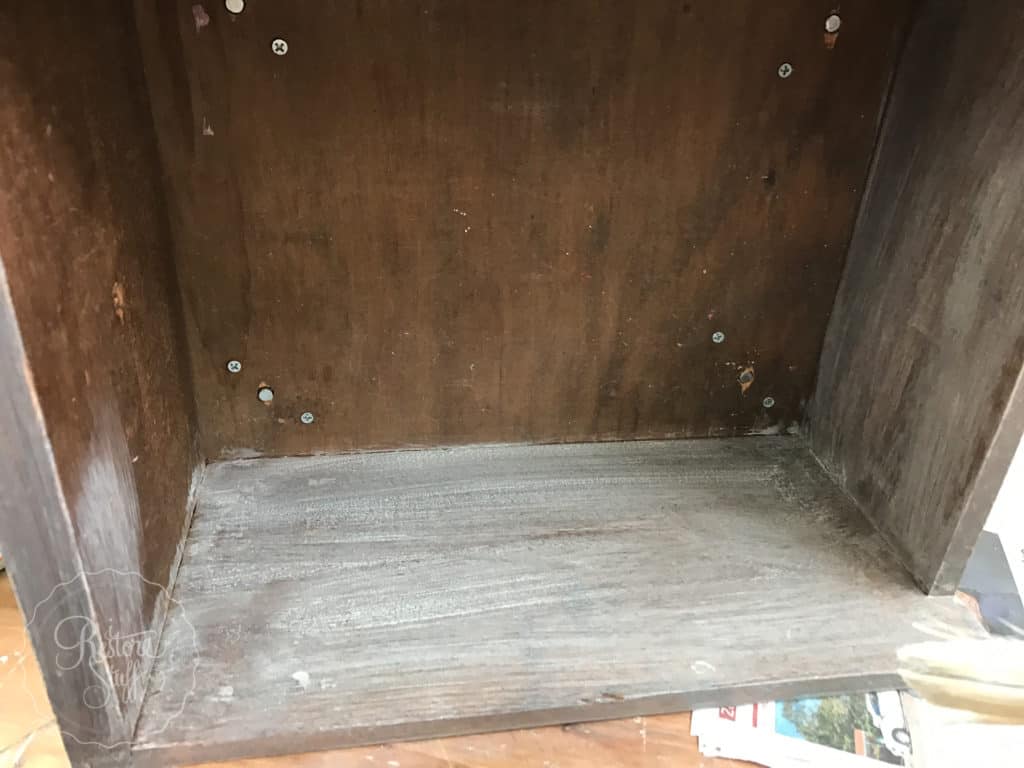 Once that first layer of paint had dried, I took a look and decided I needed to add a little more paint and in a few random places, not all over. This gave the look a little more depth.
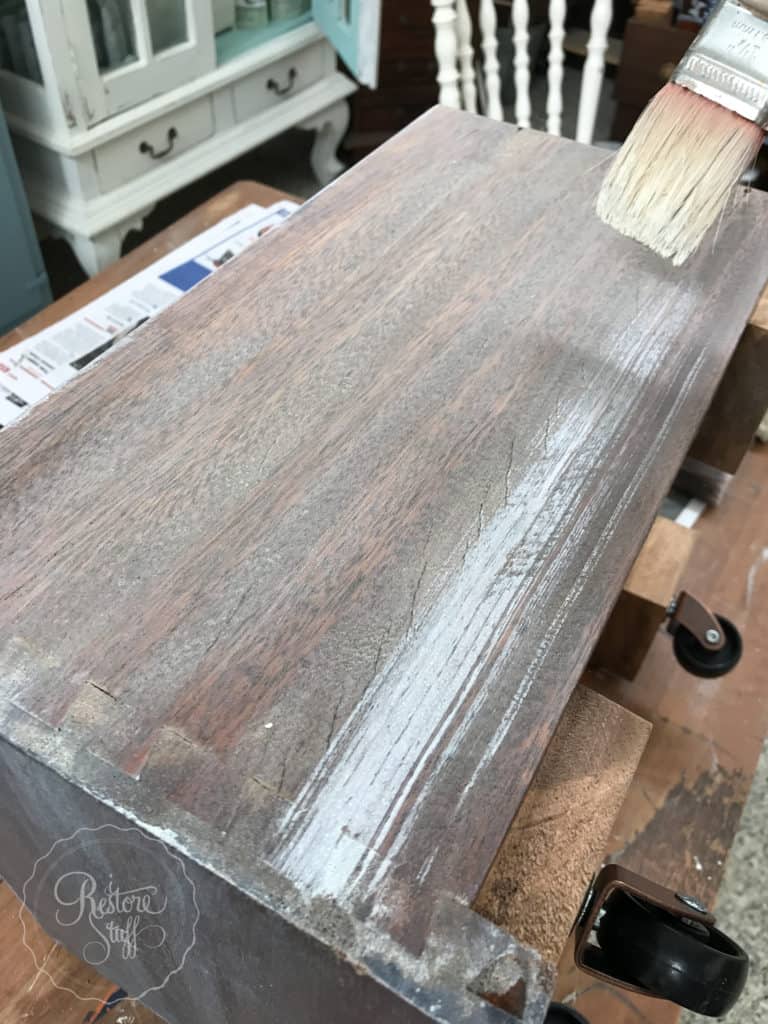
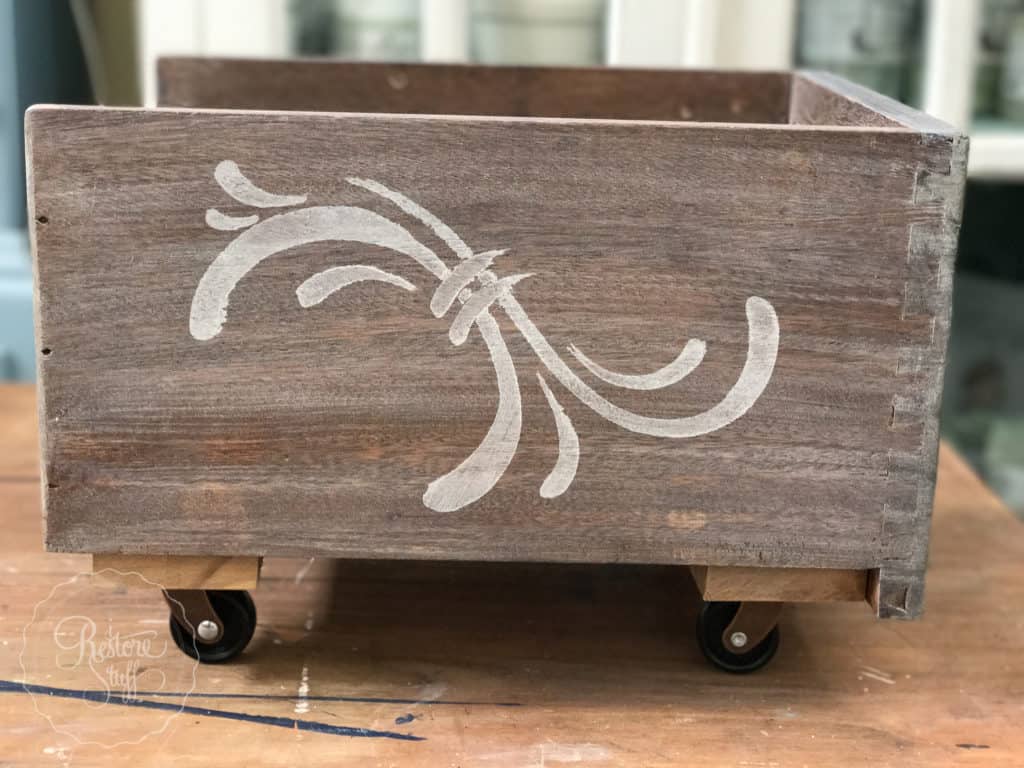
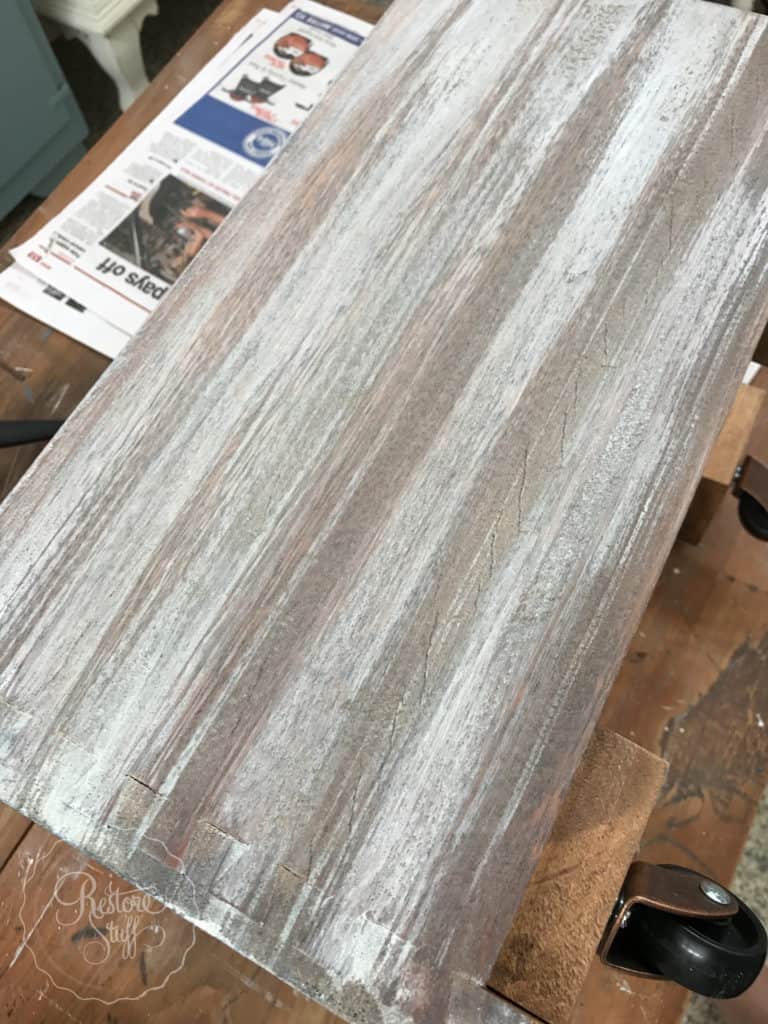 Here’s how the front of the drawer looks after adding some more depth with the white Milk Paint.
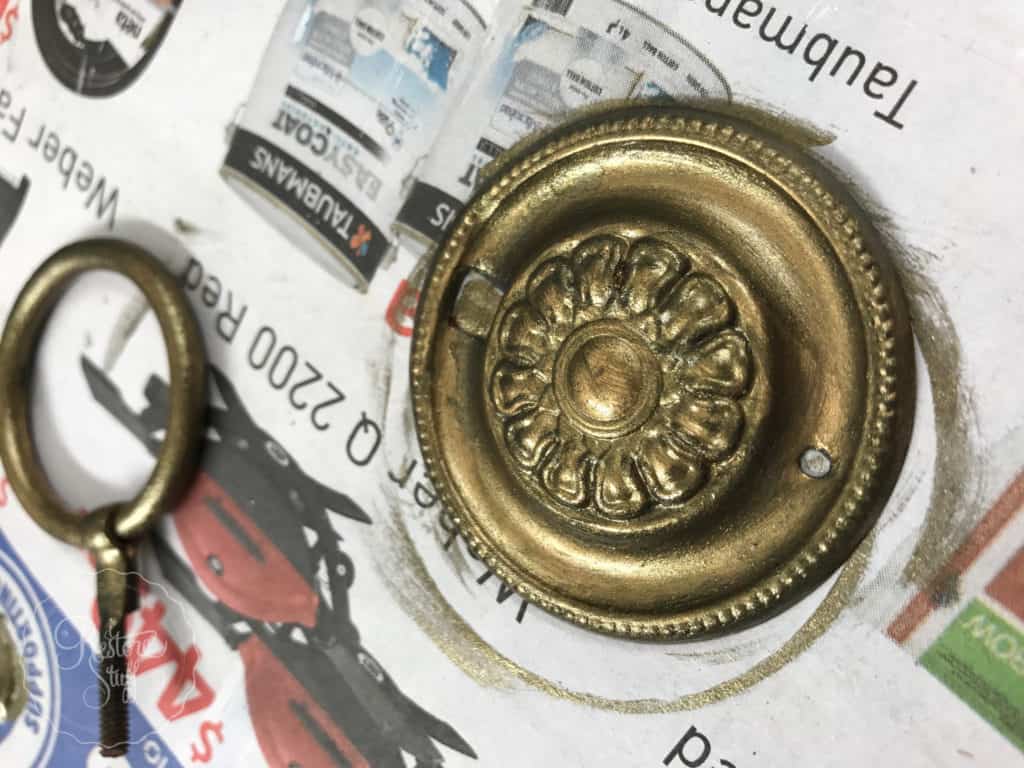
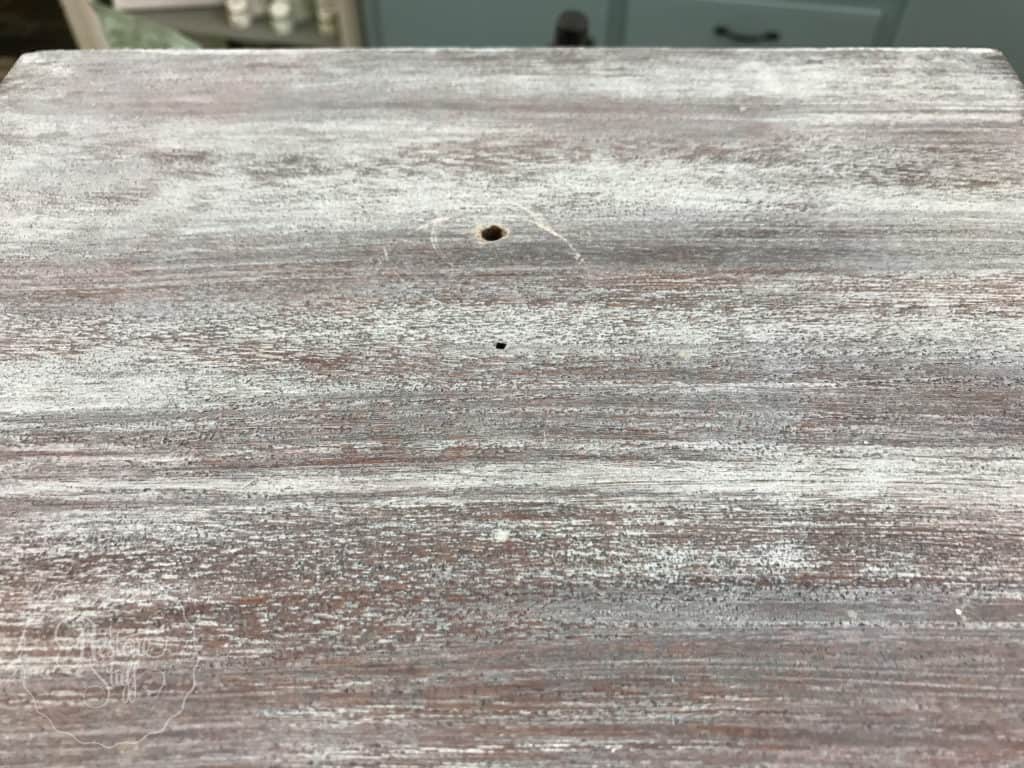 I did like the original drawer pull, but decided to give it a bit of a facelift using some Fusion Mineral Paint in their metallic paint – Bronze. After I put the drawer pull back on at the final step, I decided it didn’t match with the more coppery look of the casters, so I roughly added a layer of Fusion Copper paint over the top of the Bronze – it gave a lovely mix of metallic dirty tones and I was happy with the result of it blending better with the caster colour.
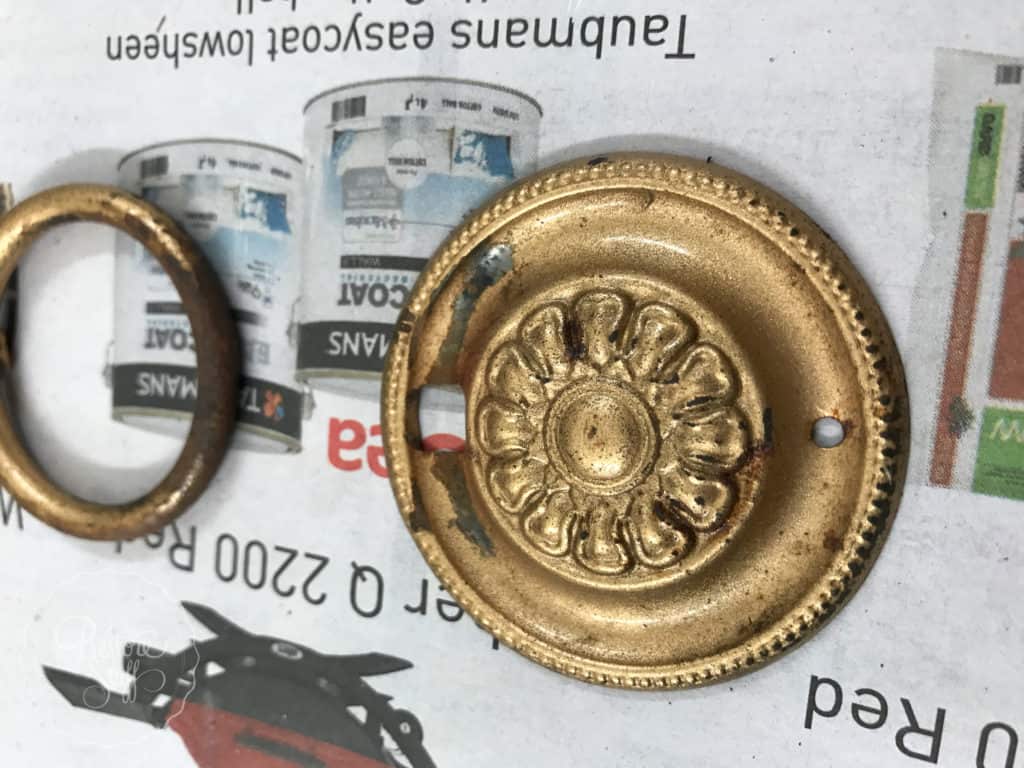
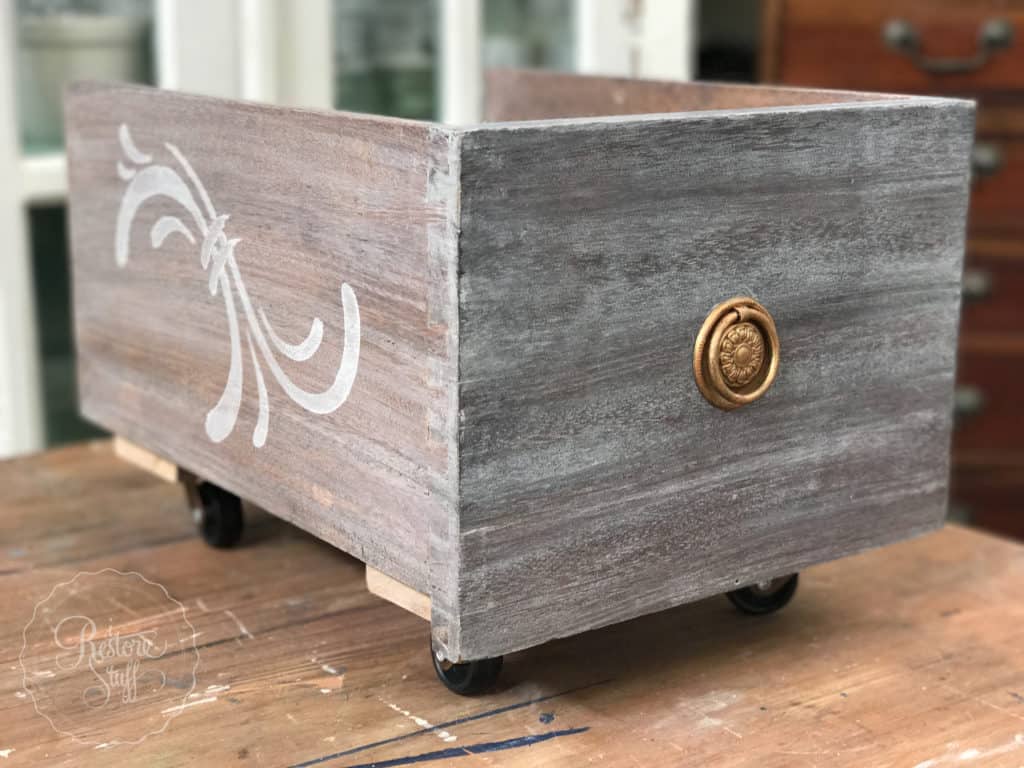
 Here’s that barnboard white washed finish I wanted:
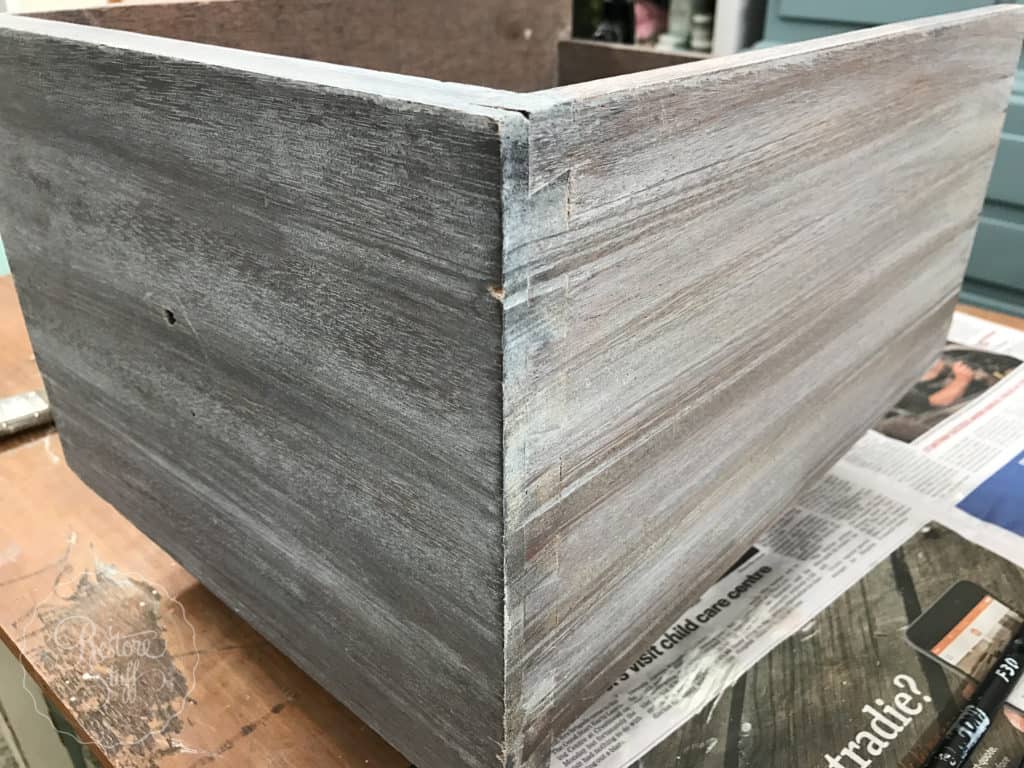
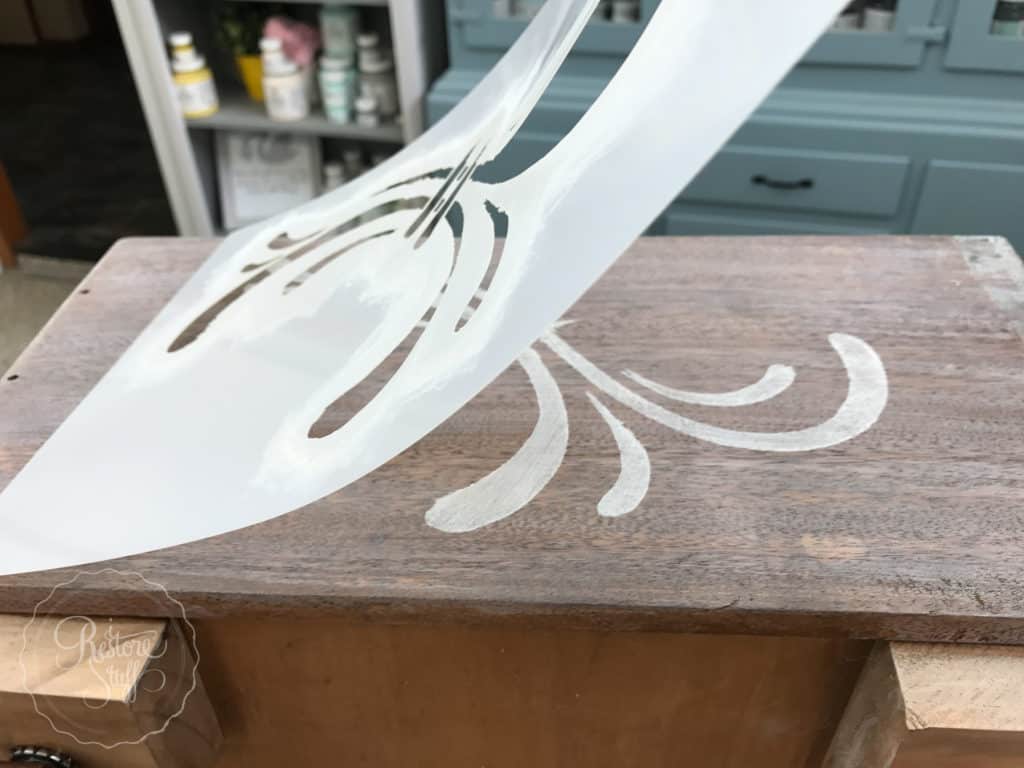
And now to add a pretty stencil:
Miss Mustard Seed has just launched a beautiful range of stencils using her actual brush strokes from her folk-artsy designs she’s been well known for using on her painted furniture pieces. Here’s another example of Marian Parson’s beautiful work on this mini-dresser: 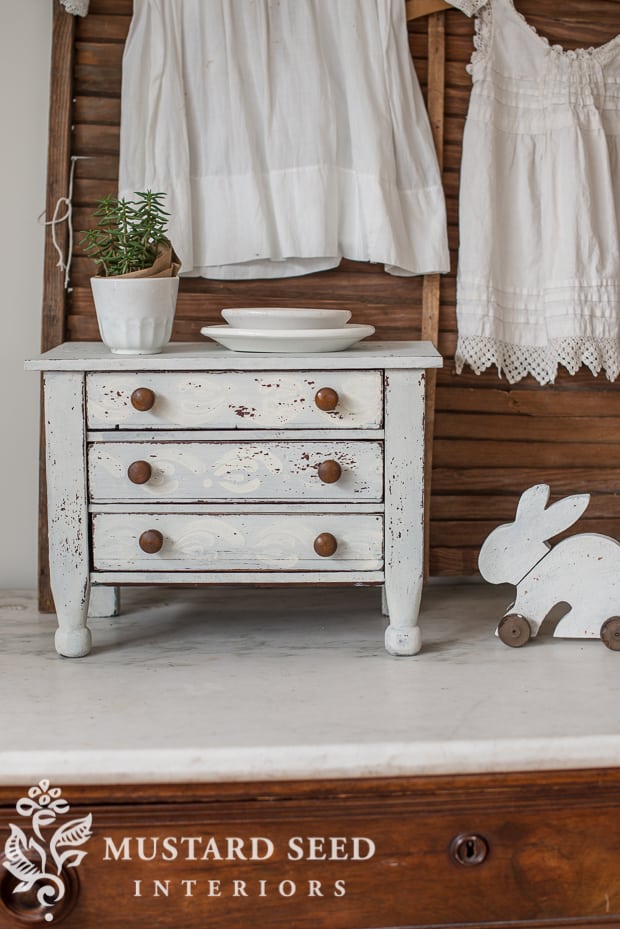
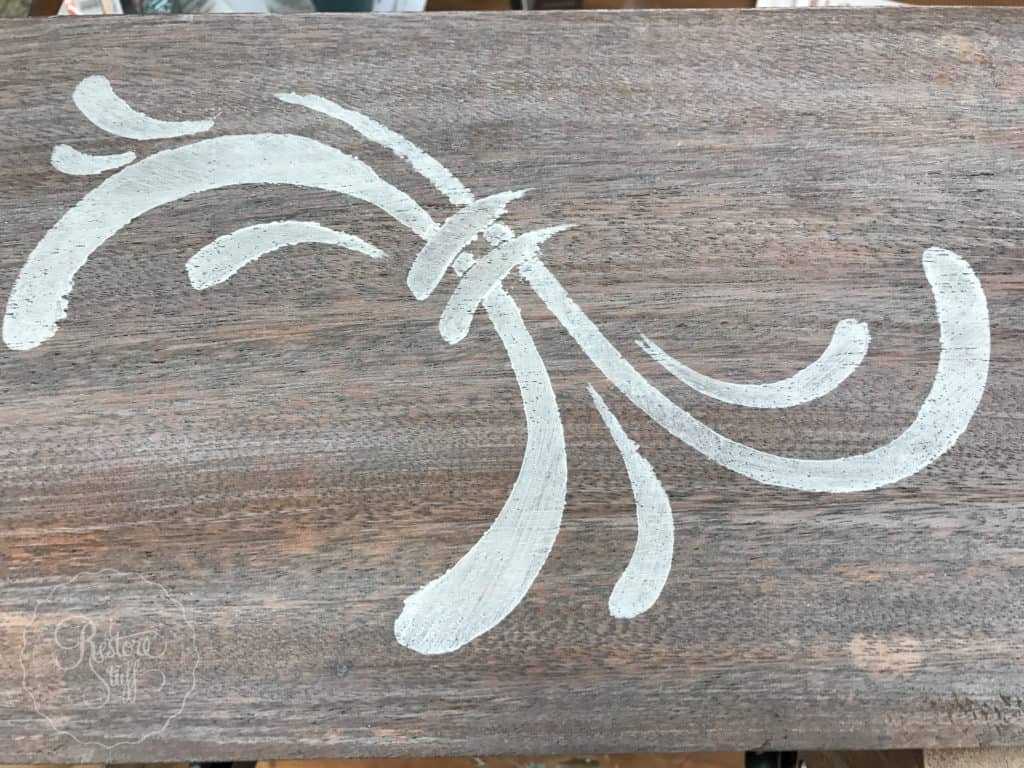
For this drawer I used the stencil named “Susan” – Marian named each of her designs after significant women in her life.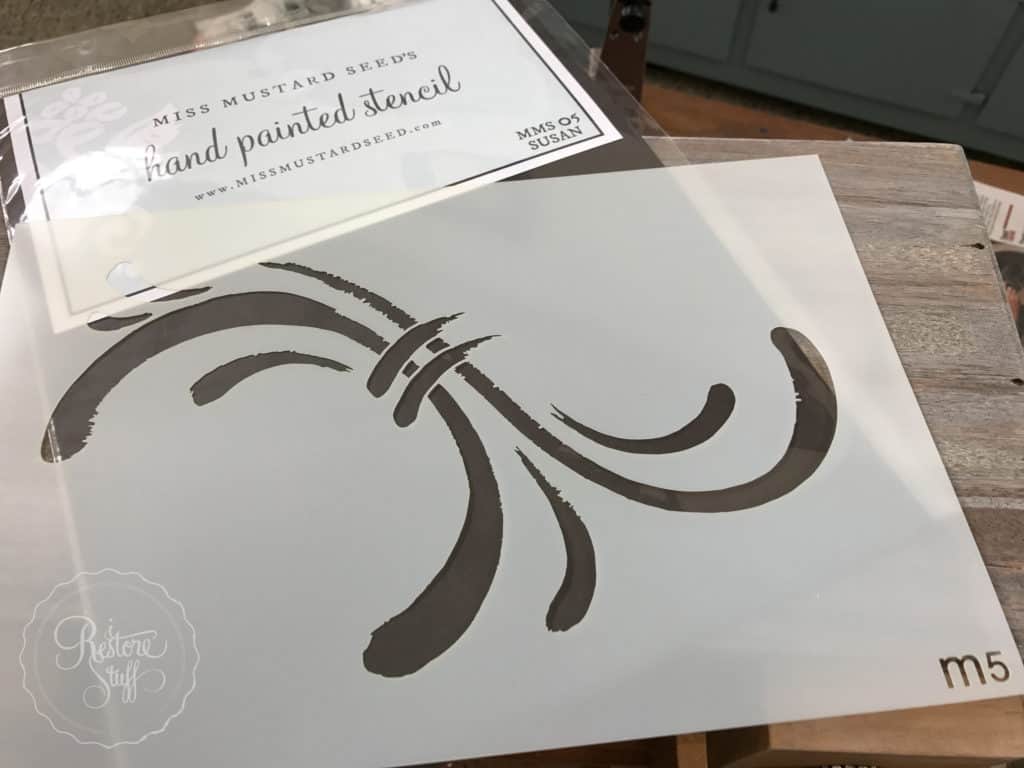
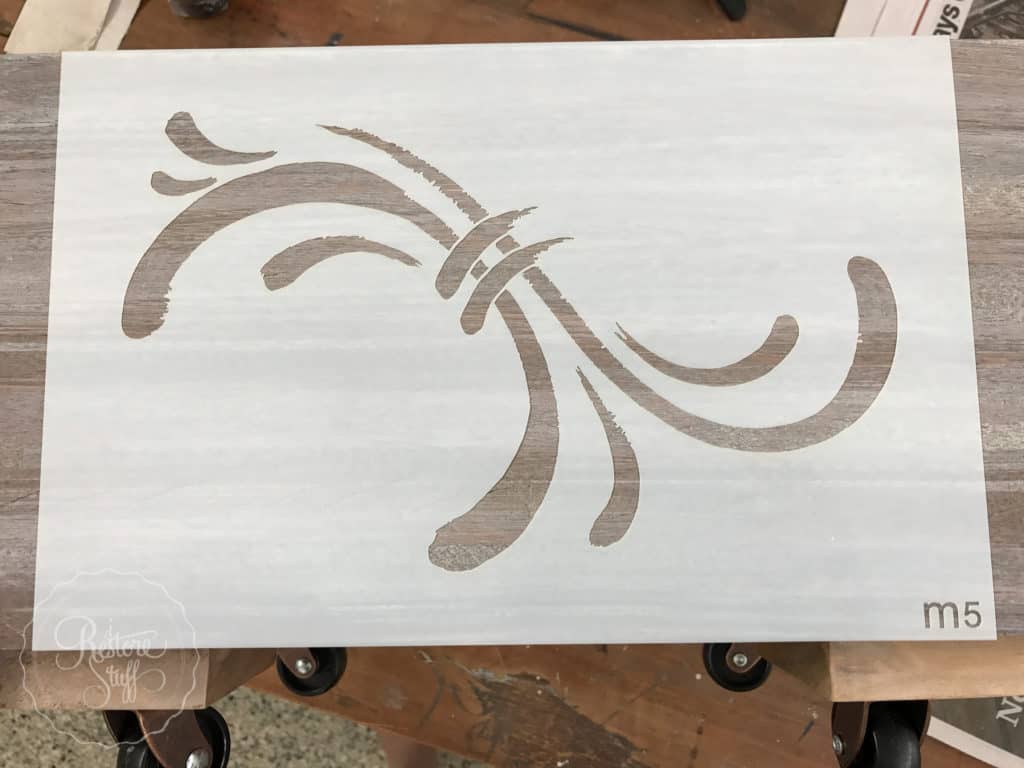 You can check out my tutorial on how I stencil and my top tips for getting nice neat edges, right HERE.
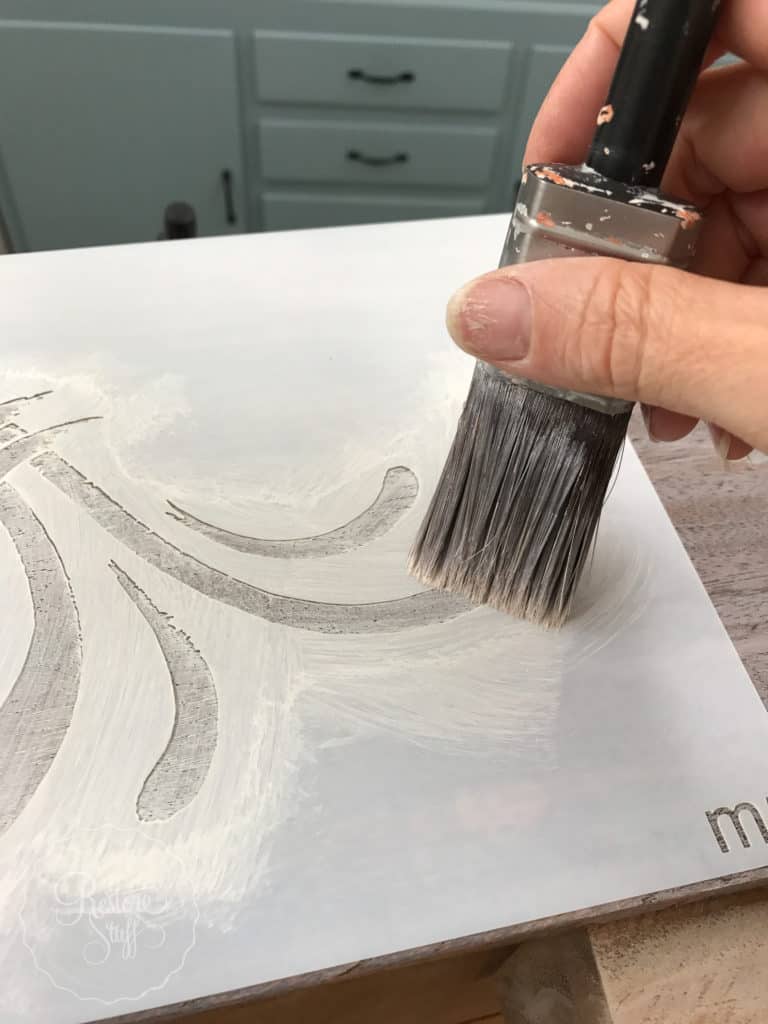
Adding a finish:
Next I added some Miss Mustard Seed’s Furniture Wax to seal in the paint and give it a lovely low sheen. I love using MMSMP waxes for their non-odorous and buttery consistency, helping the whole process to be a whole lot easier than some stinky hard waxes on the market.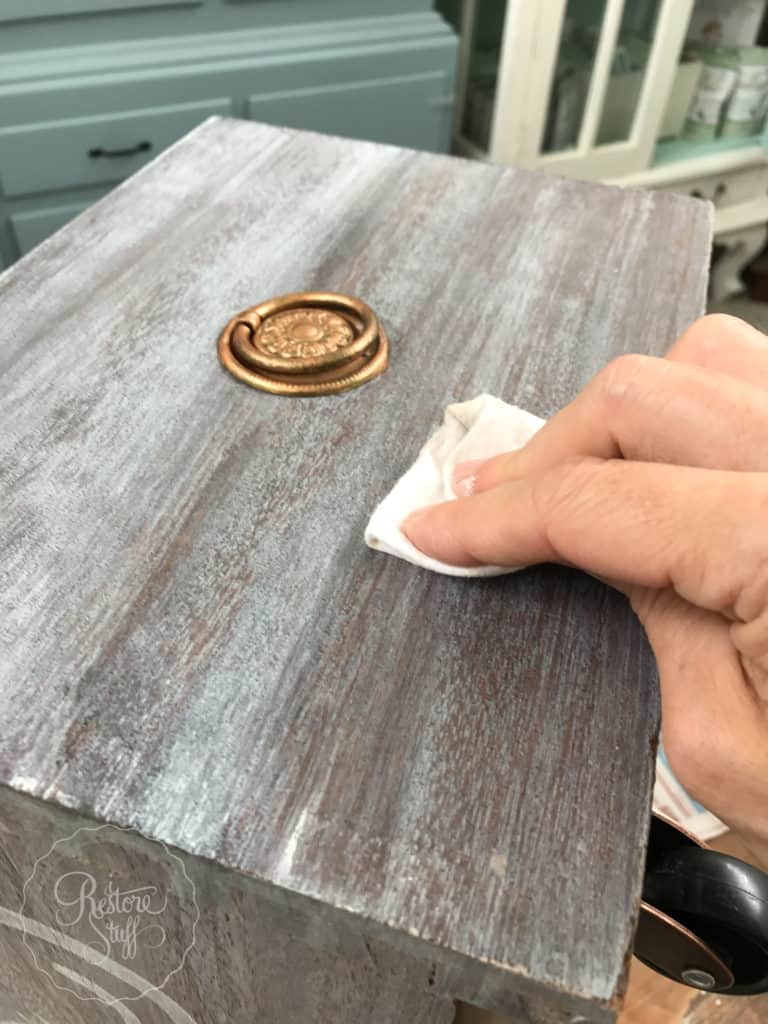 I’m not sure if you can tell here below, but on the left I haven’t waxed yet, and on the right is the buffed wax.
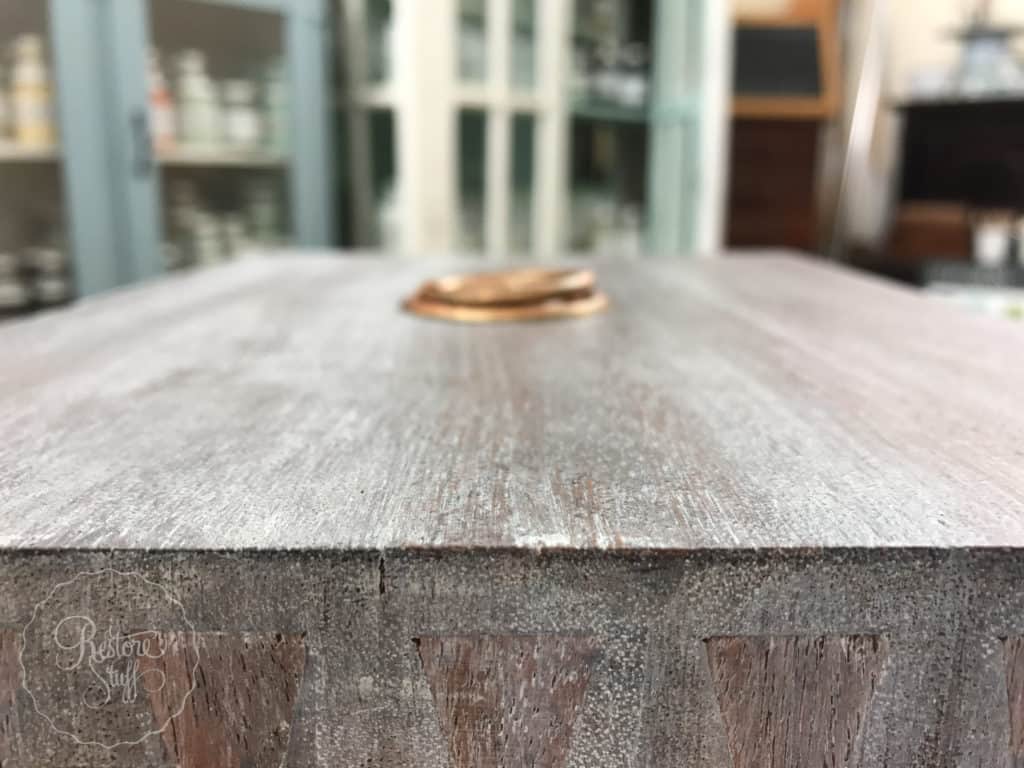
The Finished Look:
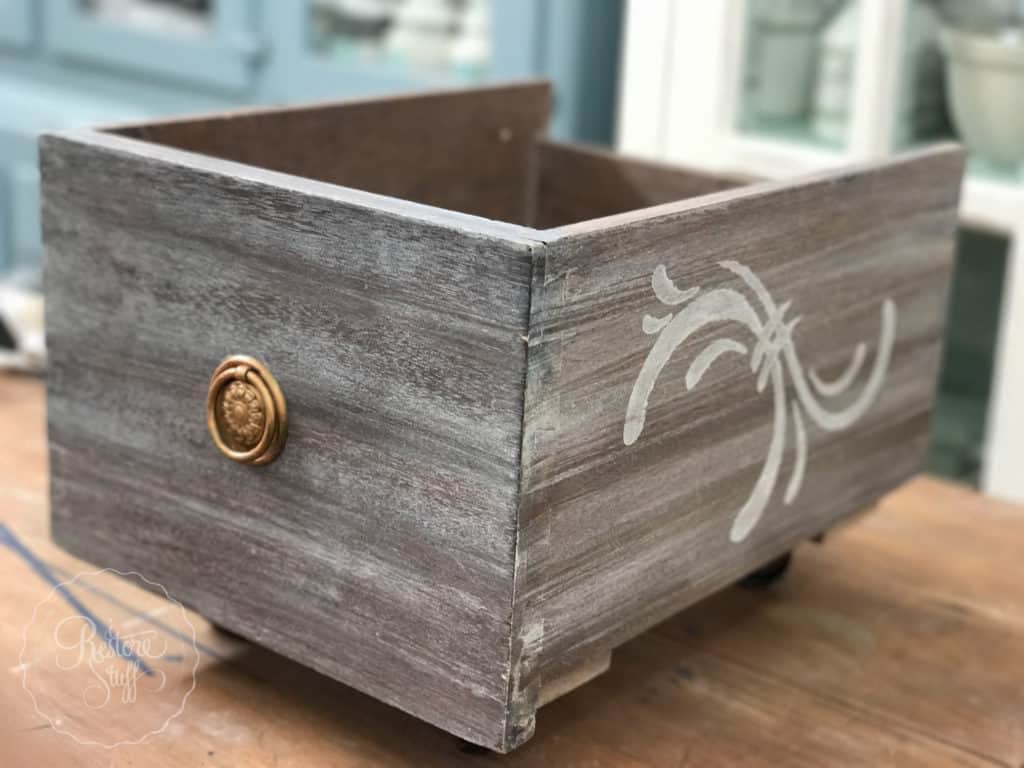
Those caster blocks are still looking a little light so I may add some more stain to them to finish them off properly.
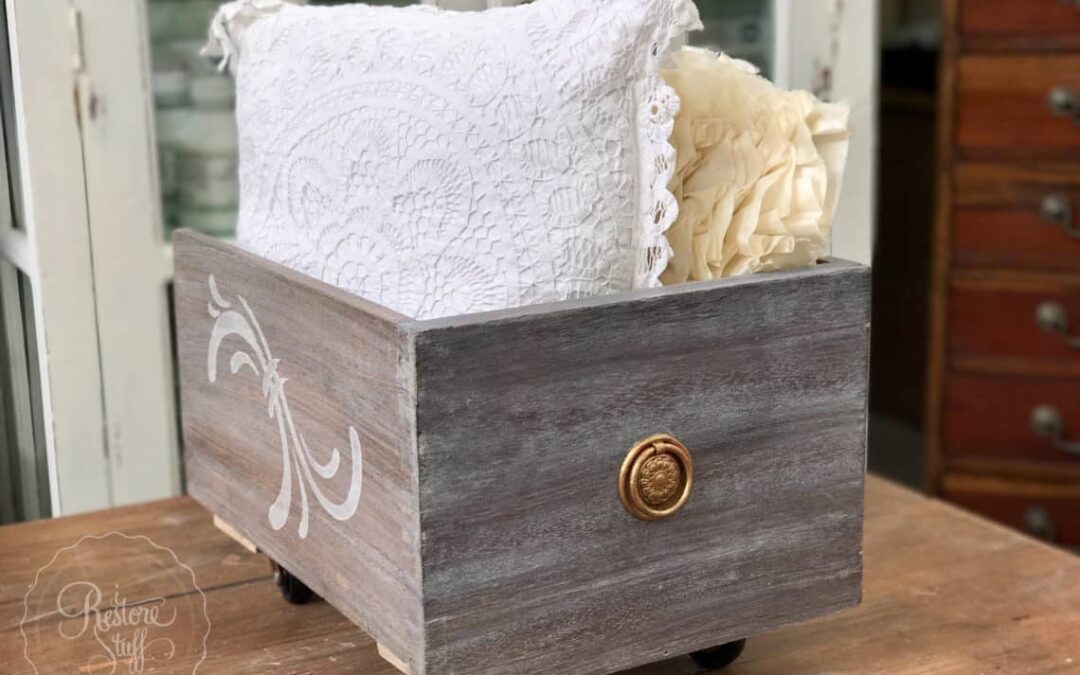
 Ready to add your favourite books or magazines for a living room side storage box:
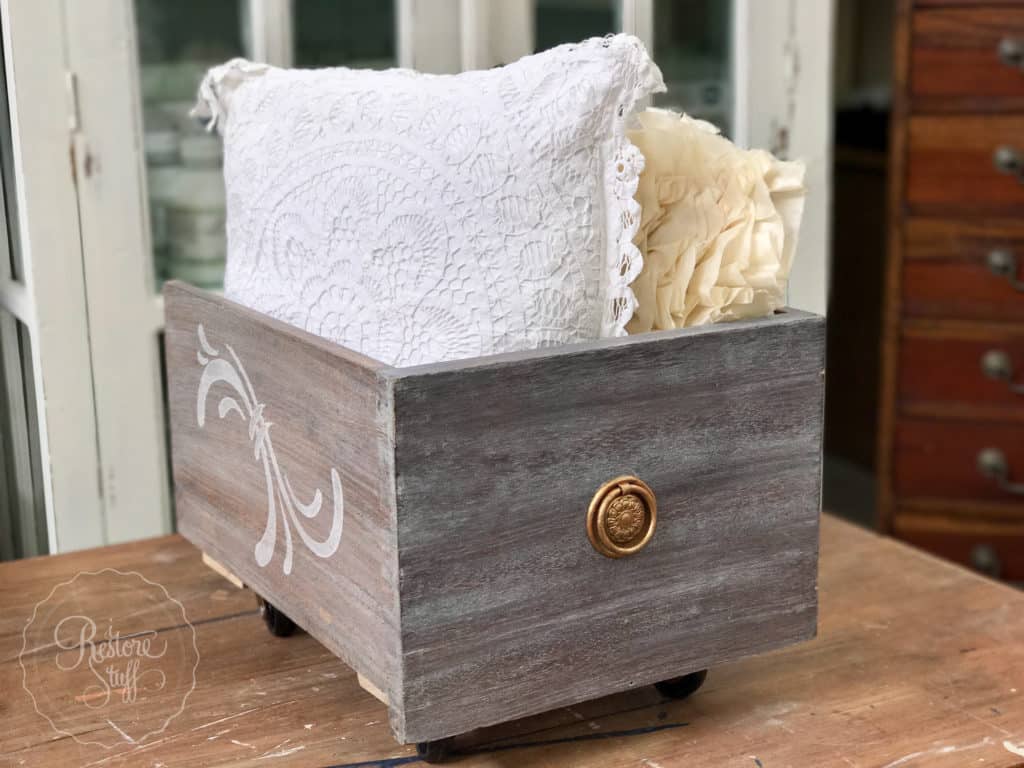
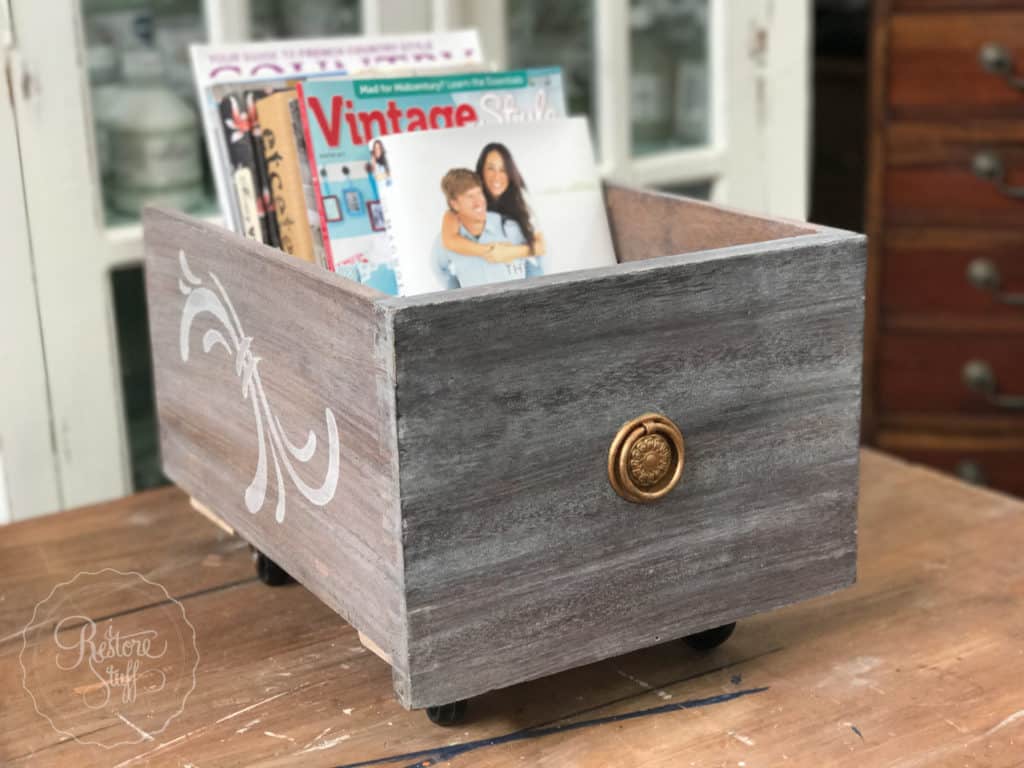 Or store some extra cushions …
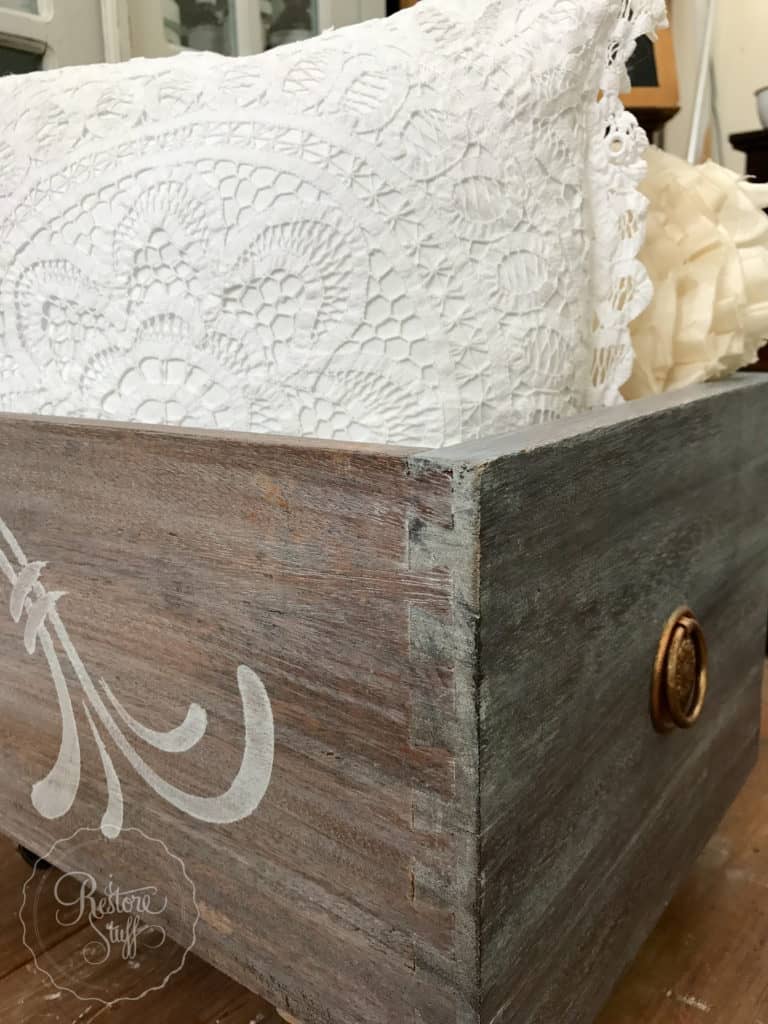
What would you store in your re-purposed drawer??
Let me know in the comments below!
I showed step by step how I did this on Hometalk’s Facebook page last week, and have added the full Live DIY demo here:
I have also added this video to my Youtube channel and shared it on my Facebook page.
Want to save this to your Pinterest board? Save the image below for best Pinterest sized post: