
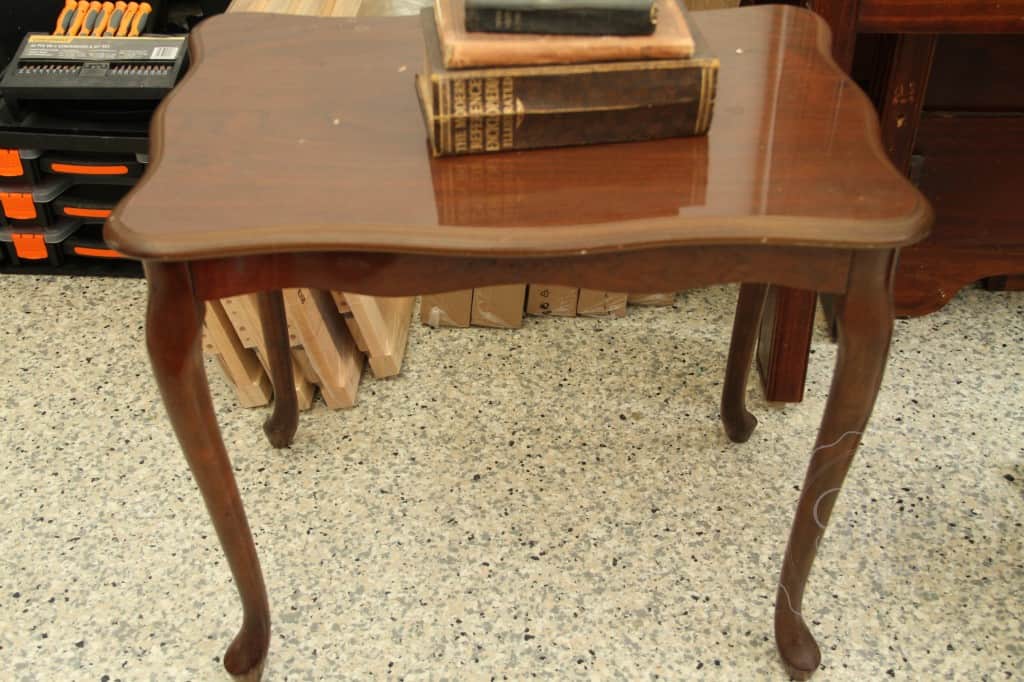
Want to know how you can turn a coffee table like this … from DRAB to FAB?
Well here’s a step by step approach I took to this project:
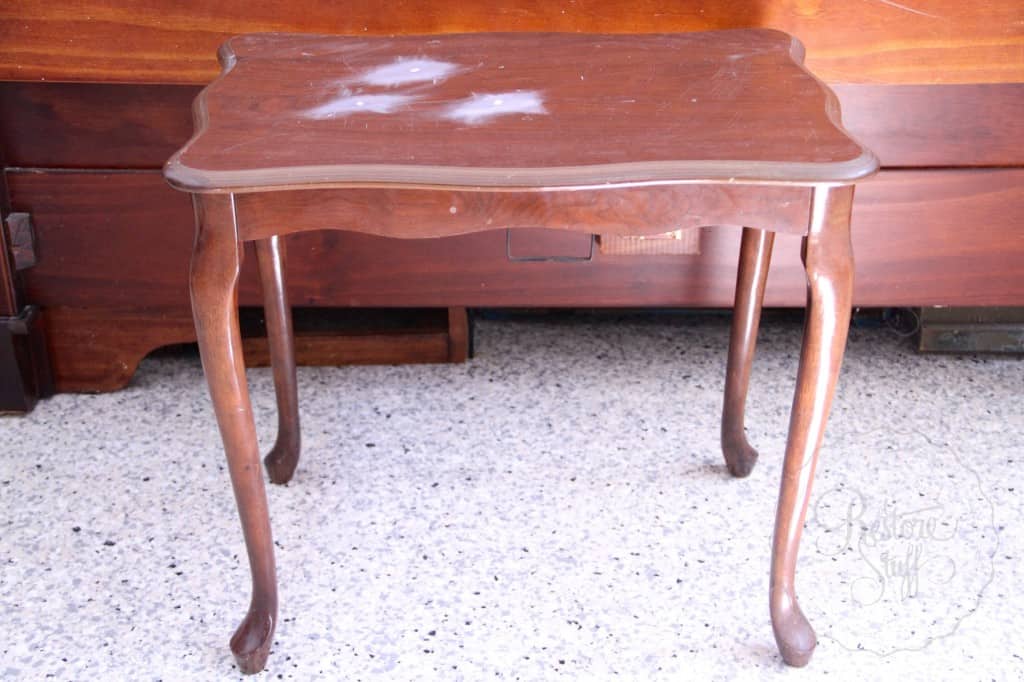
1. Sand & Fill.
This table had a fairly glossy surface with some pitting in the varnish on the tops surface, so I filled the dents with some wood filler, and sanded back for a smooth surface. I also gave a quick overall sand that took a total of about 60 seconds!

2. Mix Paint.
Then I took some Miss Mustard Seed’s Milk Paint powder in September’s colour of the month: Shutter Gray. 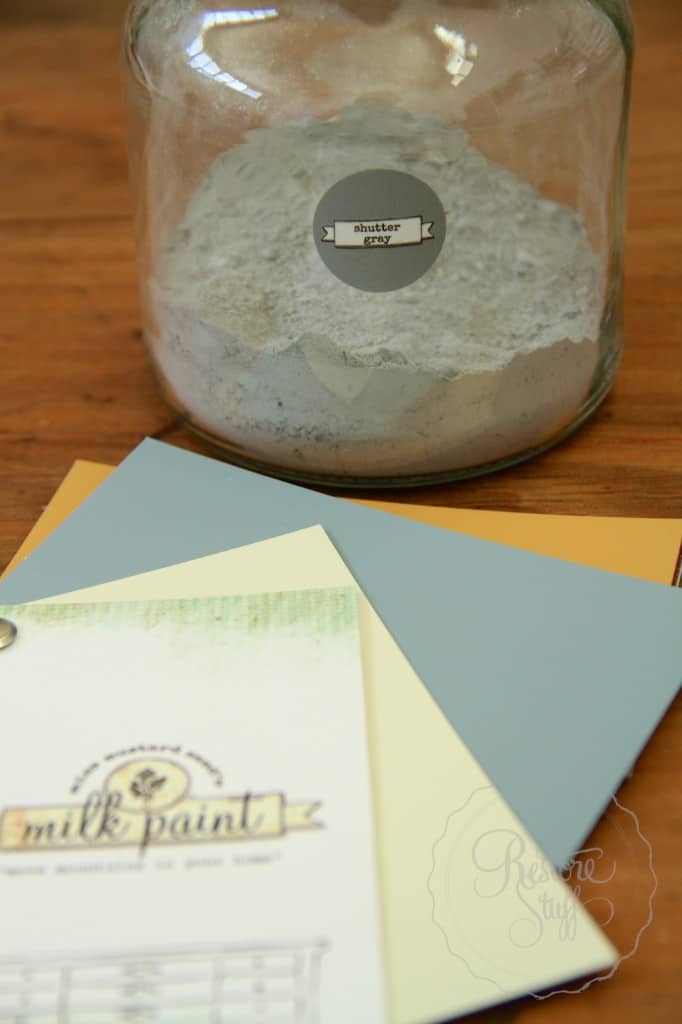
To mix MMSMP I use a 1:1 ratio of powder to water. For this piece I used 2 Tablespoons (metric) of each powder and water.
Because the surface was glossy, I added MMSMP Bonding Agent to the already mixed paint, to make sure I’d get good adhesion, and not so much chipping and flaking. Chipping and flaking can look great on the right piece, but I didn’t feel it would suit this sleek Queen Anne leg coffee table.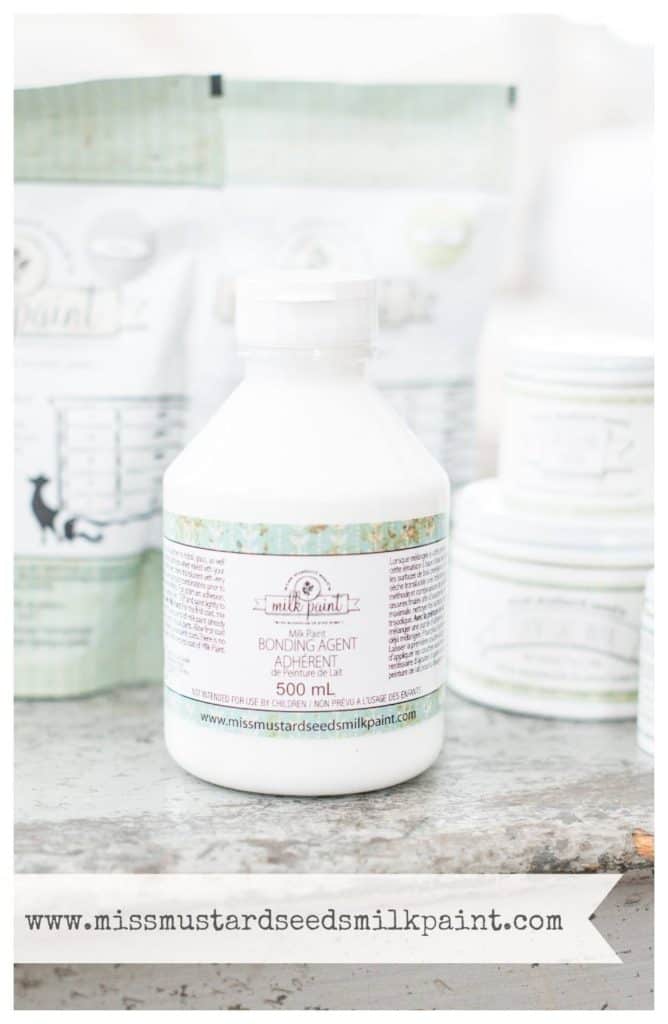 To the already mixed shutter gray paint, I added 1 Tablespoon of bonding agent. Bonding agent only has to be added to the first coat of paint, but I had already mixed enough for the 2 coats I’d be needing.
3. Start painting!
Here’s what one coat of Shutter Gray looks like as it is drying: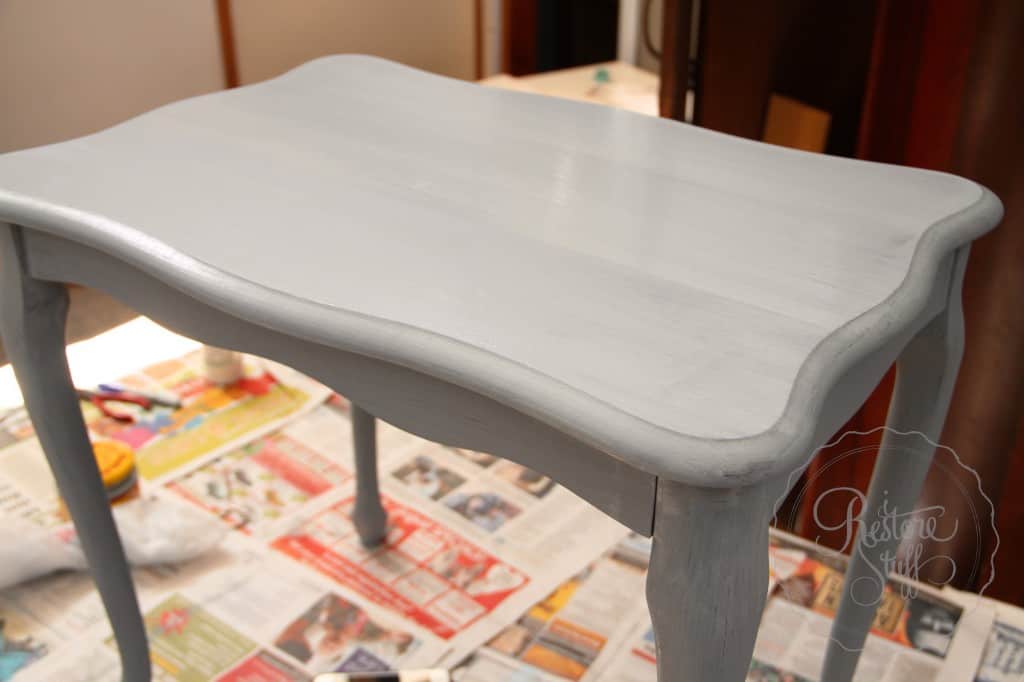
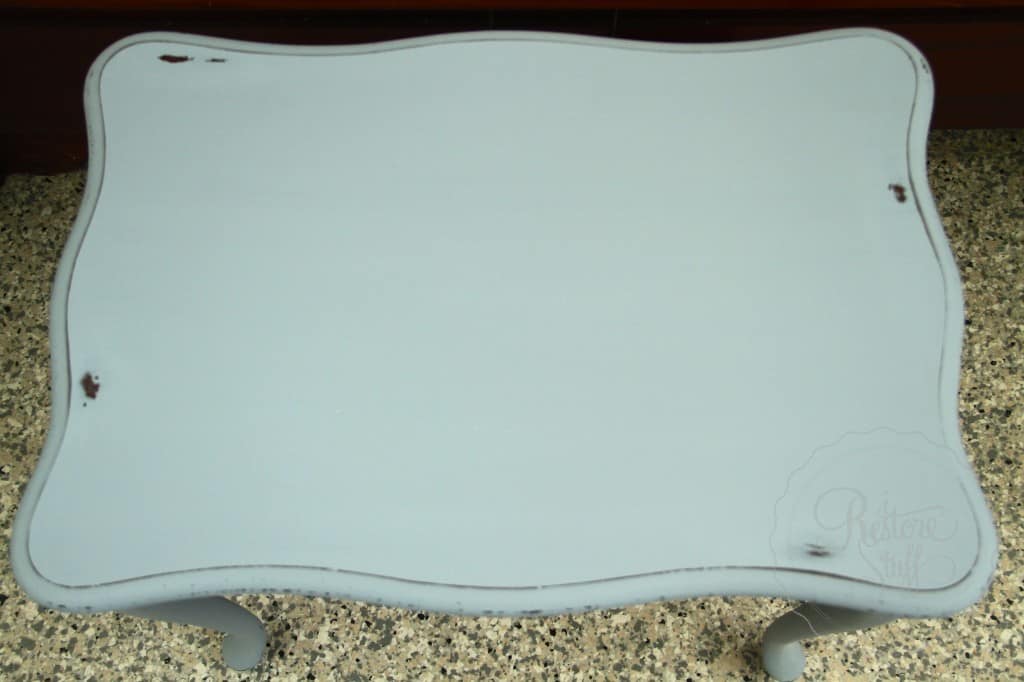
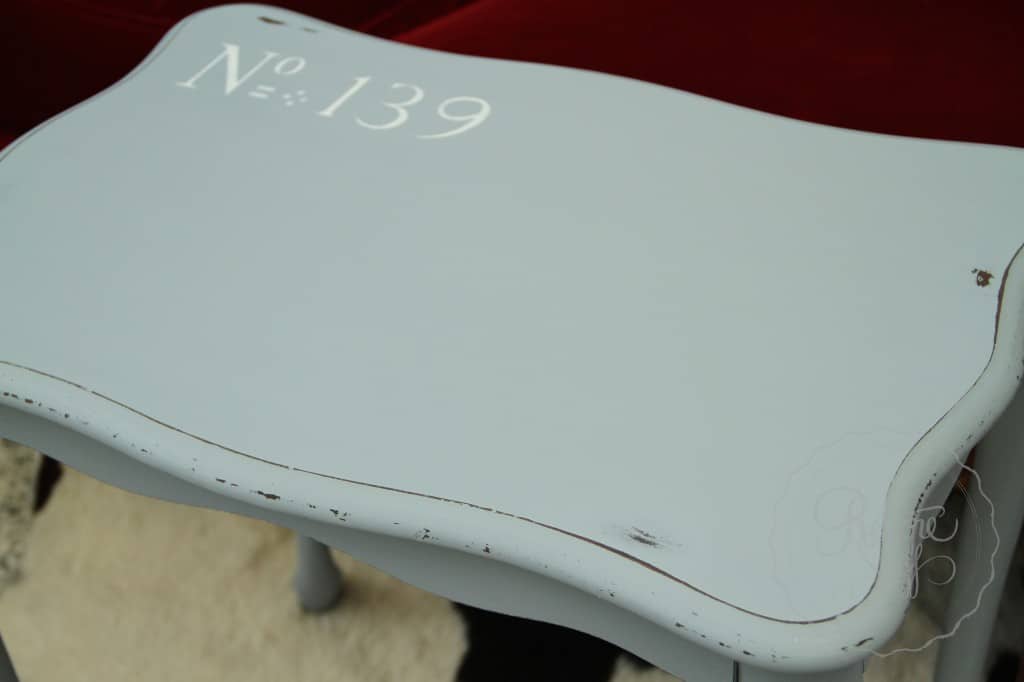
 And here it is after 2 coats and all dried ready for the next step (looks a little bluish in this photo. Probably due to lighting):
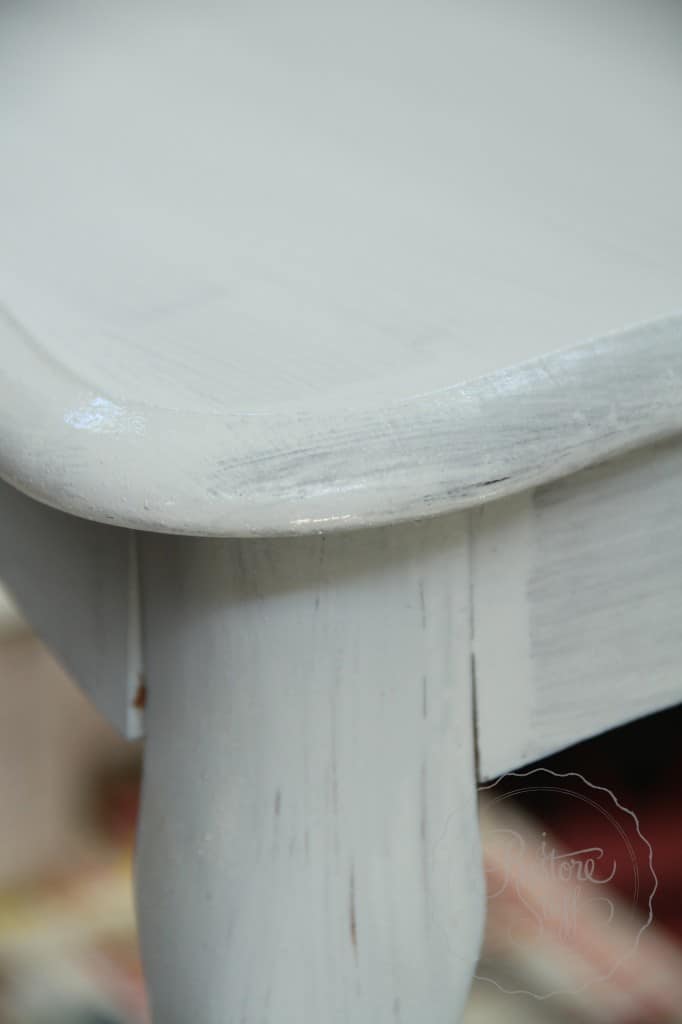
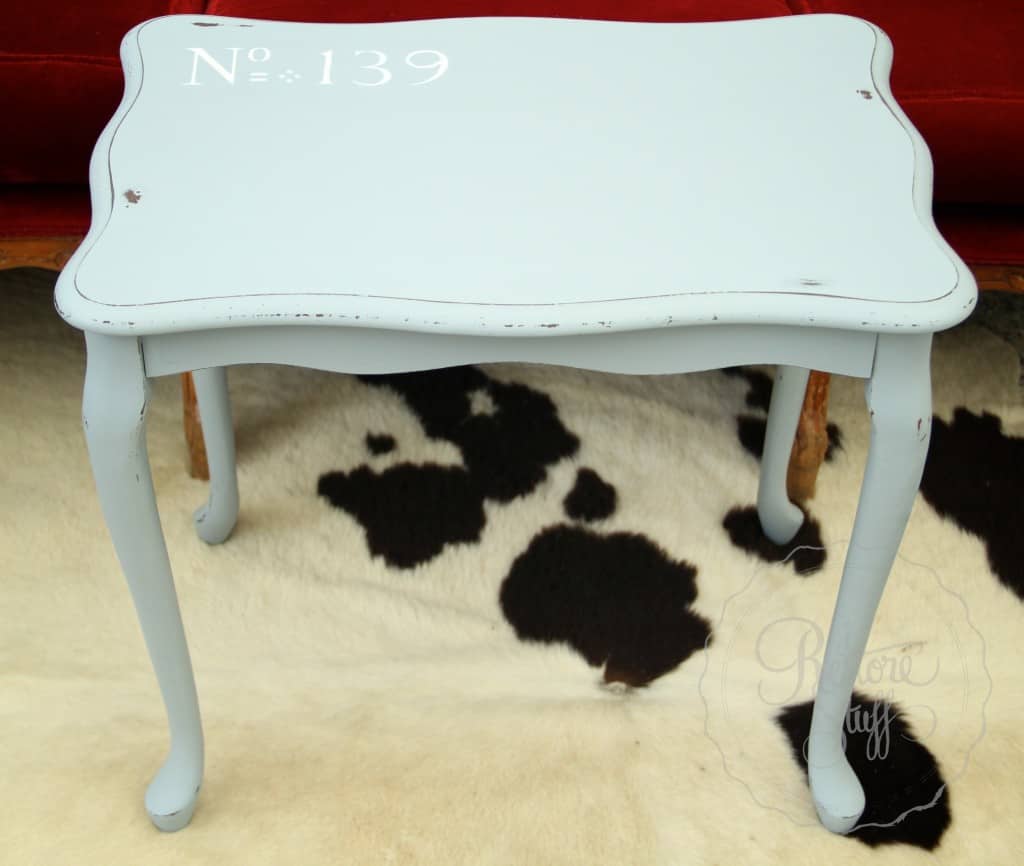
4. Distressing.
At this stage, I sanded back around the edges and parts that might naturally wear. I also gently sand the surface with a very fine grit paper (320) for a smooth finish all over.
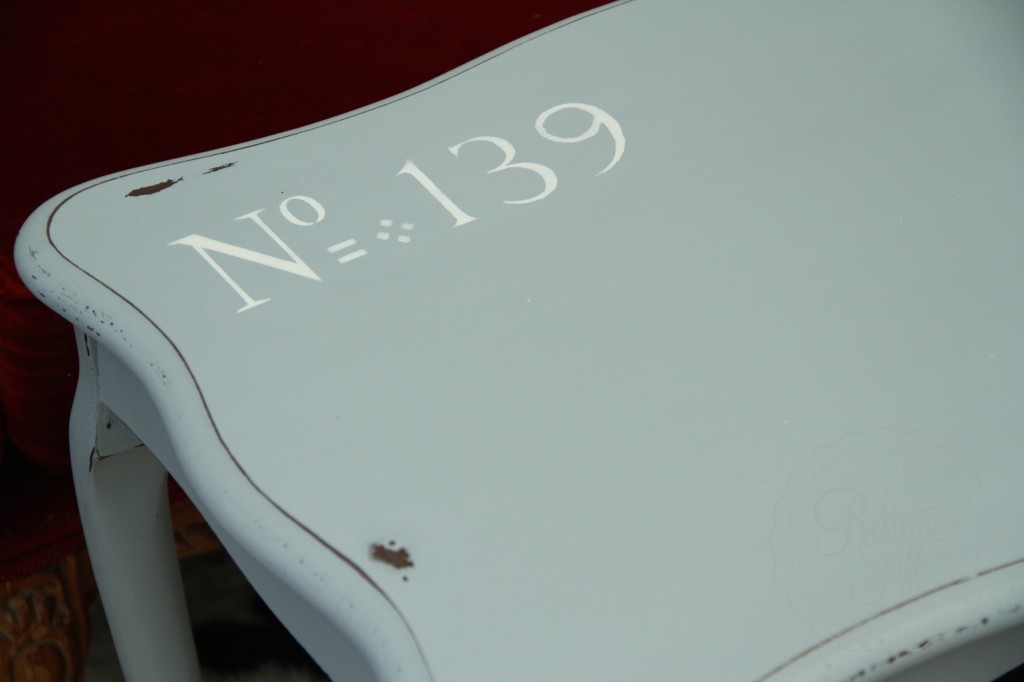
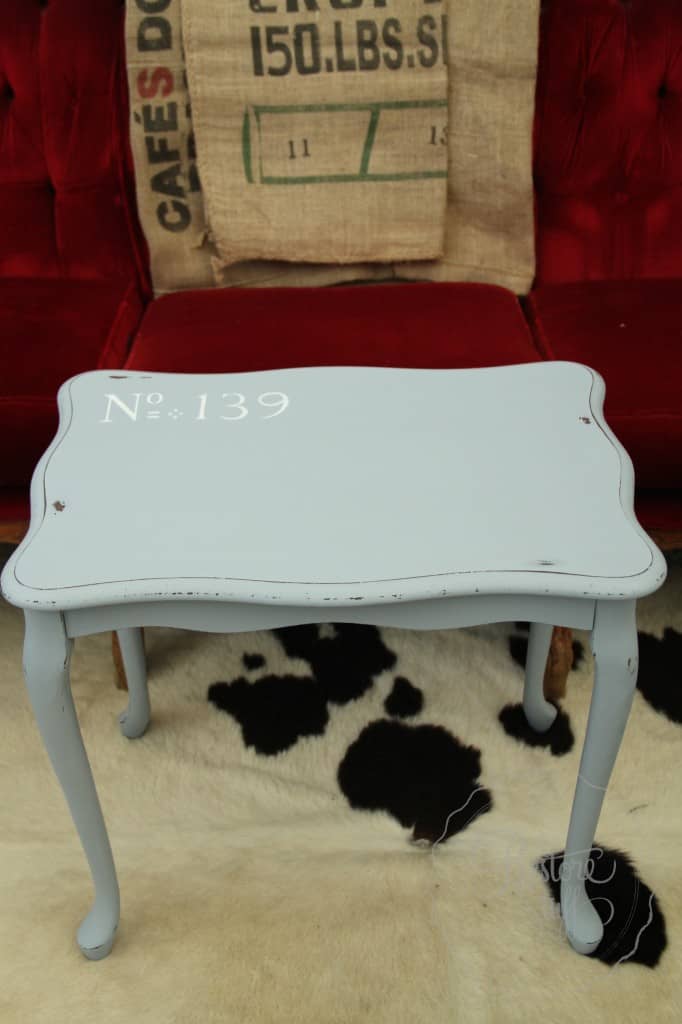
5. Add a stencil.
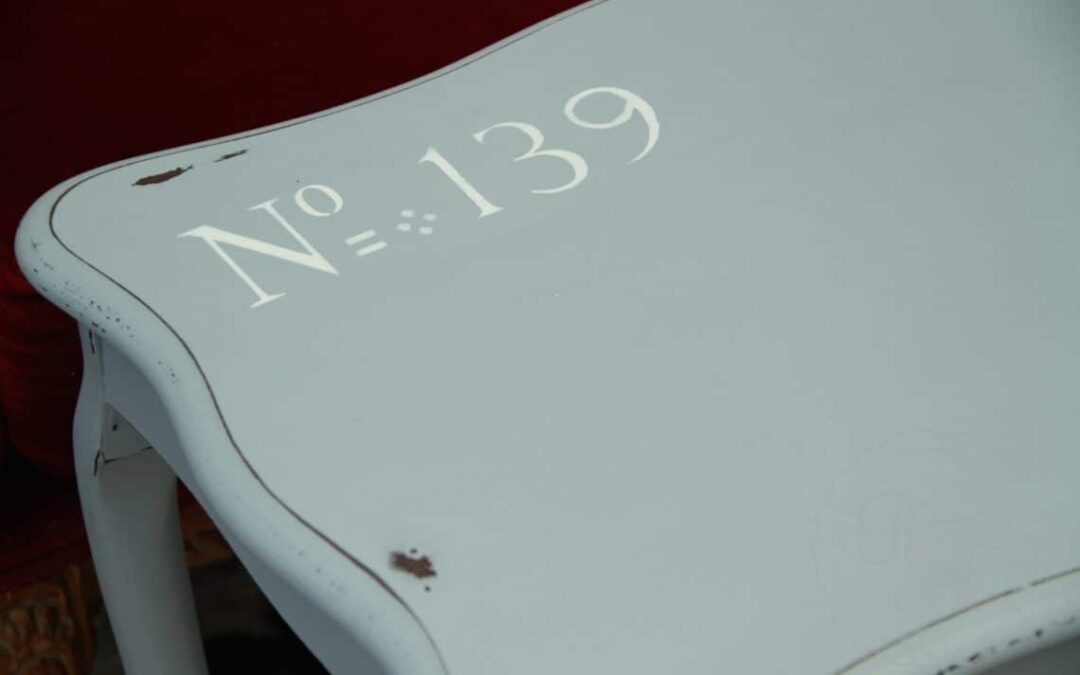
I’ve been enjoying using stencils lately, so I pulled out these. I made the numbers myself using a stanley knife. I bought the “No.” stencil via Blake & Taylor. In this pic, the stencil is freshly done, using White Cliff Autentico Chalk Paint (can purchase in Australia via For the Love Creations).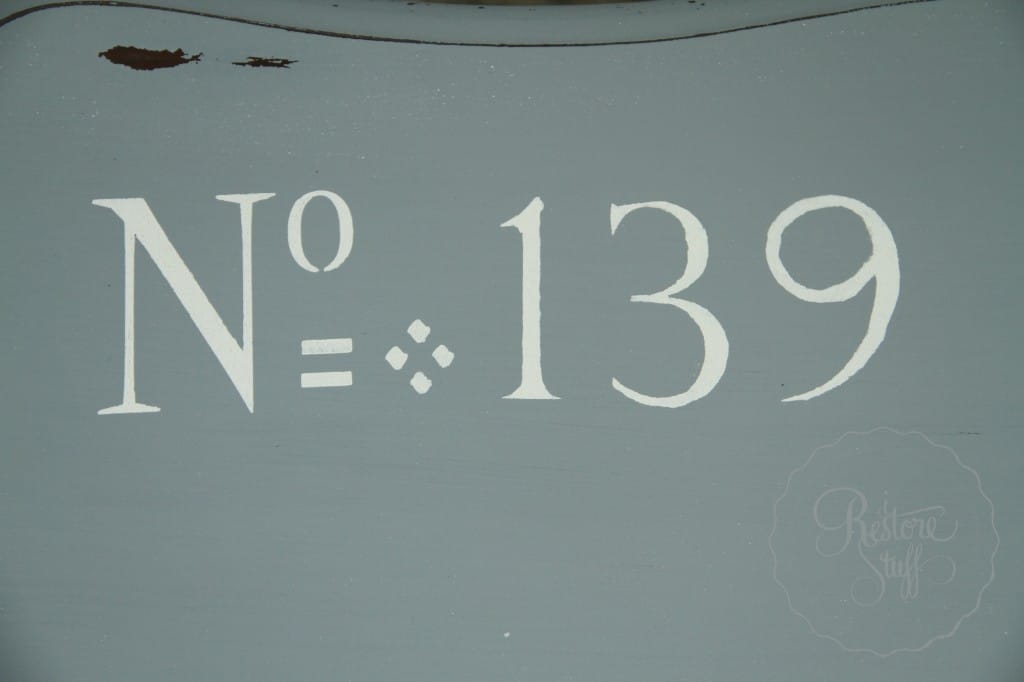 Then I sanded back the stencilled paint after it had dried thoroughly. I’m not sure if you can notice the subtle difference in the next pic, but it just gave a more authentic aged look:
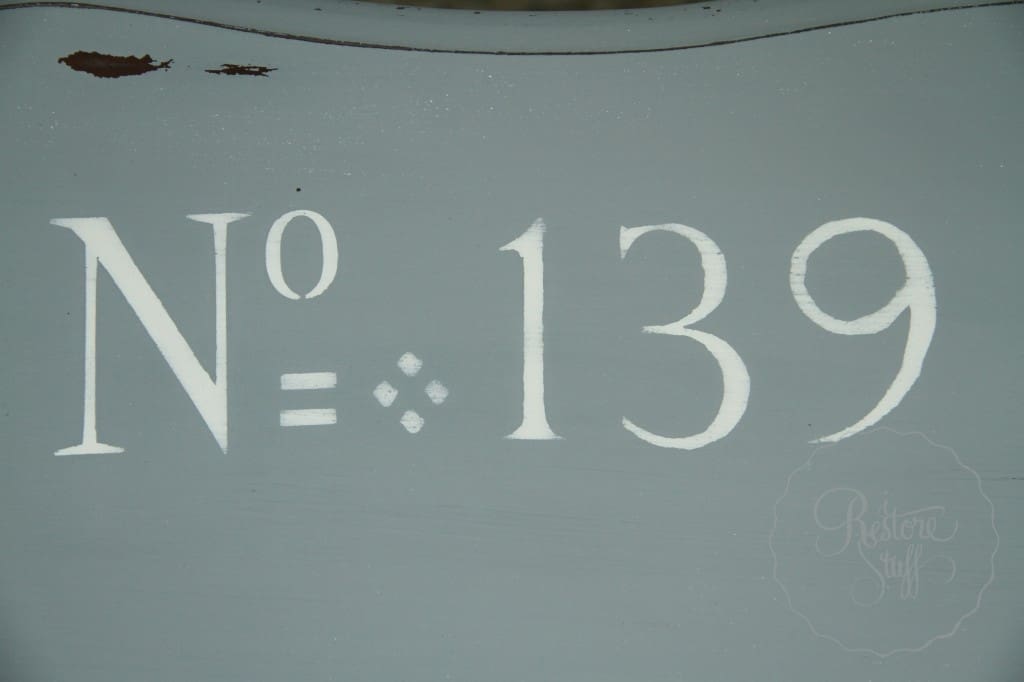
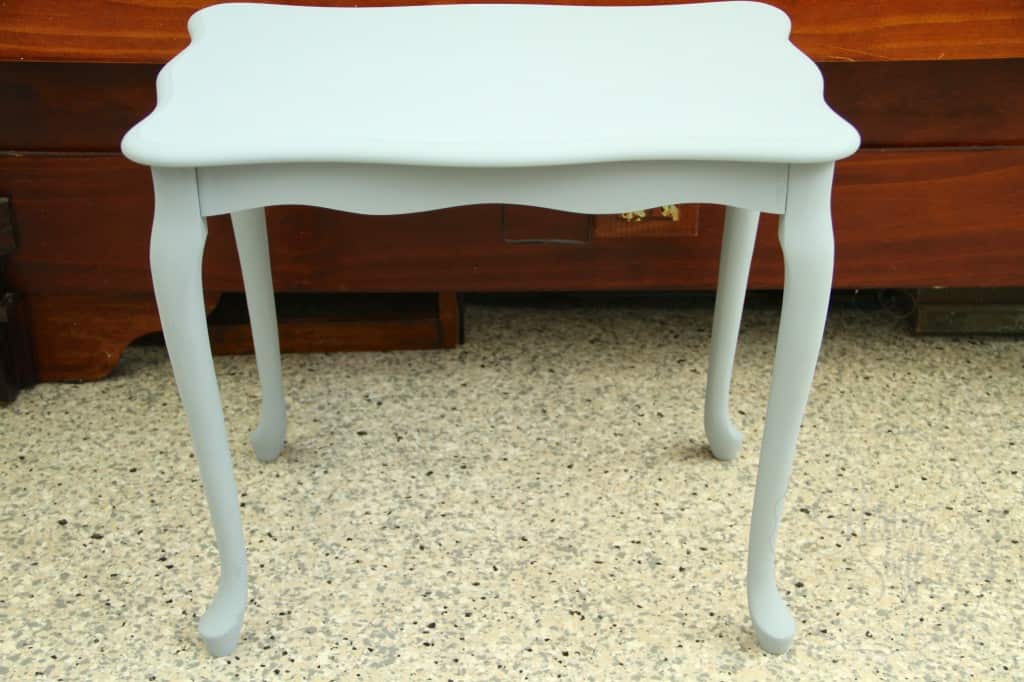
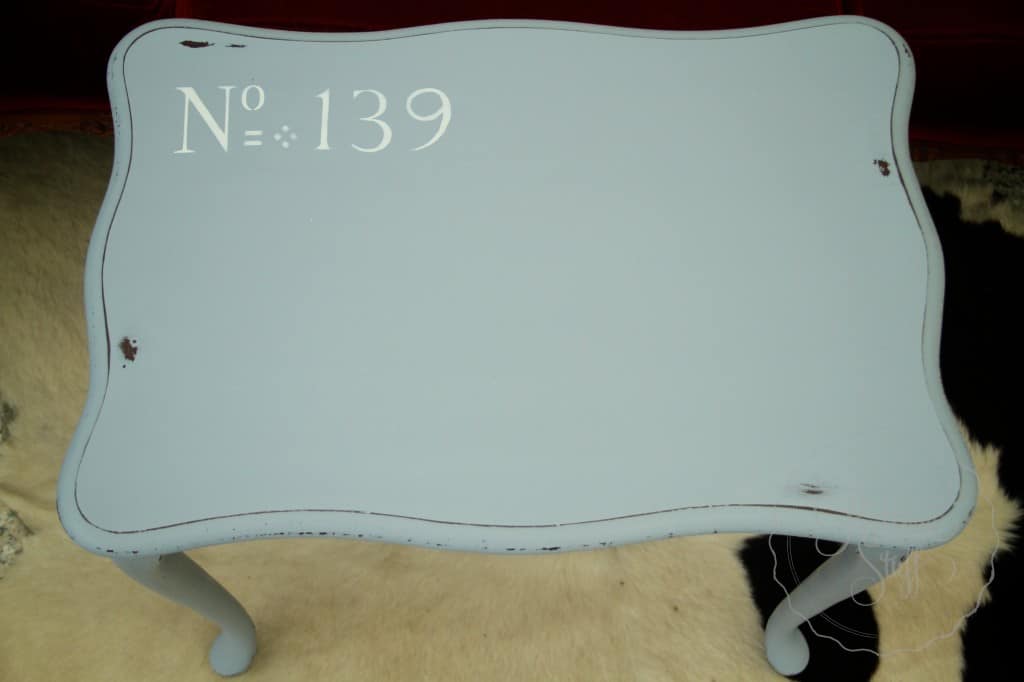
6. Waxing.
The next step is to WAX your project. This gives a smooth protective sheen, and you have to see it close to believe the beautiful difference it makes, deepening the colour of the milk paint or chalk paint if you’ve used chalk paint.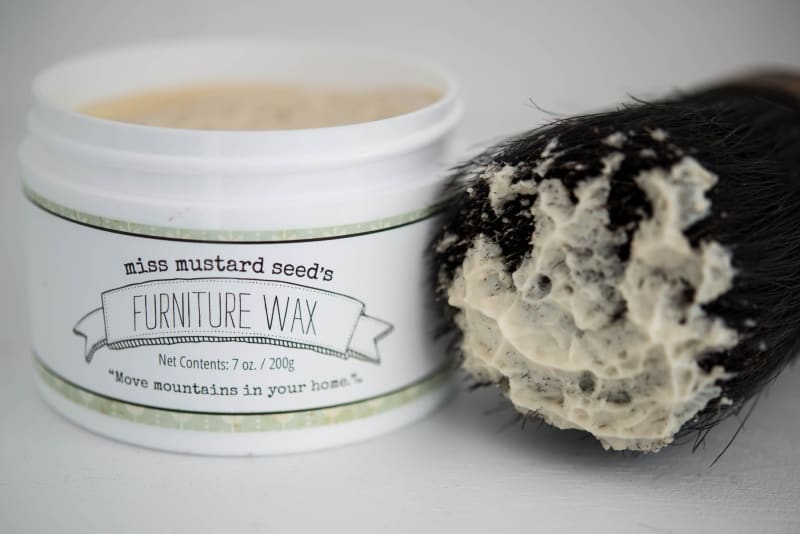 I used Miss Mustard Seed’s Furniture Wax – I can’t say enough how much I LOVE her waxes. SO EASY to apply as they are the texture of margarine and just glide on with a rag or a wax brush. Don’t forget to buff it off after a few minutes and you’ll see a beautiful matte sheen to your lovely furniture. You can use this wax on plain or stained wood too – a lovely finish.
 So there you go – Drab to Fab using Miss Mustard Seed’s Milk Paint products. All of the products I used are available on my website in the products tab above (Australian residents only). If you are outside of Australia, head to www.missmustardseedsmilkpaint.com to find a retailer near you.
I’d love to hear from you if you have any questions about this project or the products I’ve used, please leave a comment below.
You can subscribe to this blog and receive new posts to your inbox via the subscription area on the right hand side of this page.
We hold MMSMP WORKSHOPS in the Brisbane/Logan area. Check out the workshop tab for more info.