I feel like a total noob (as my teens would say) to admit to you that I actually had to Google “Hamptons Style” to see exactly what that meant. That was part of the brief my client gave me for restoring this huge rustic and sturdy table. He wanted a Hampton style, wood top and white distressed bottom and so I learned something new via Google about the beautiful Hamptons, NY, and the coastal elegance of their luxurious homes.
Here’s the “before” of the table. This beauty is heavy!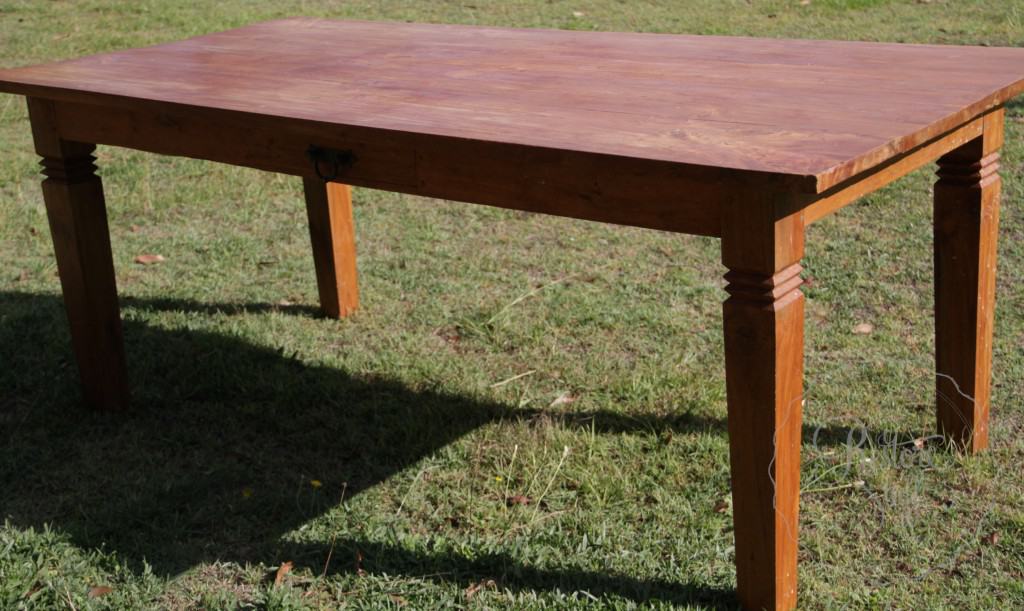 It had been losing its varnish on the top, so this needed to be stripped and sanded back to wood, ready for a darker stain.

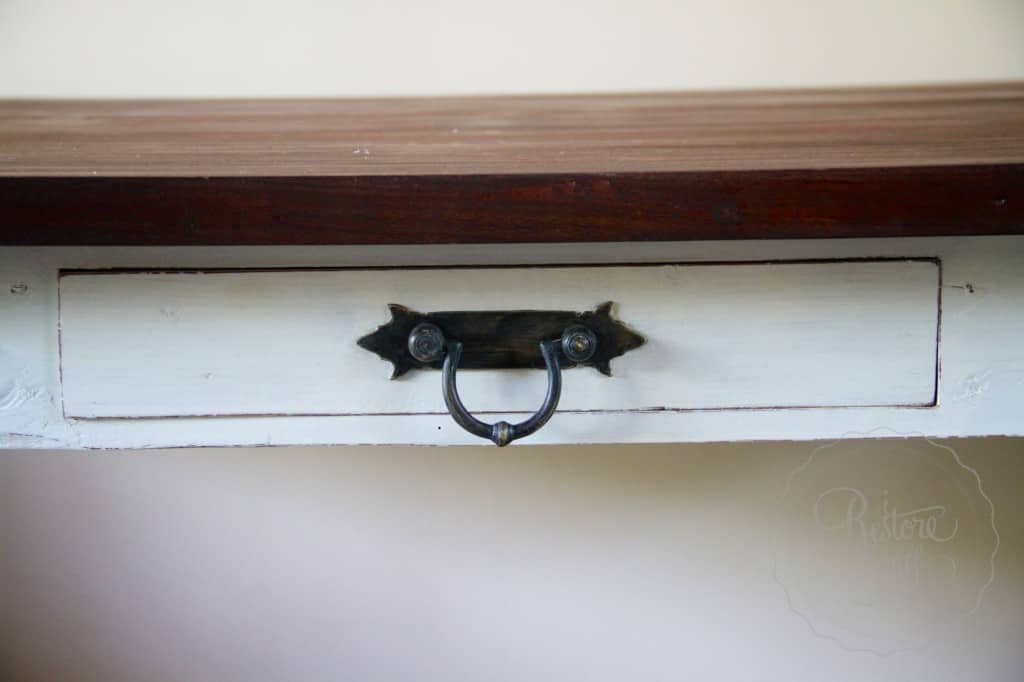
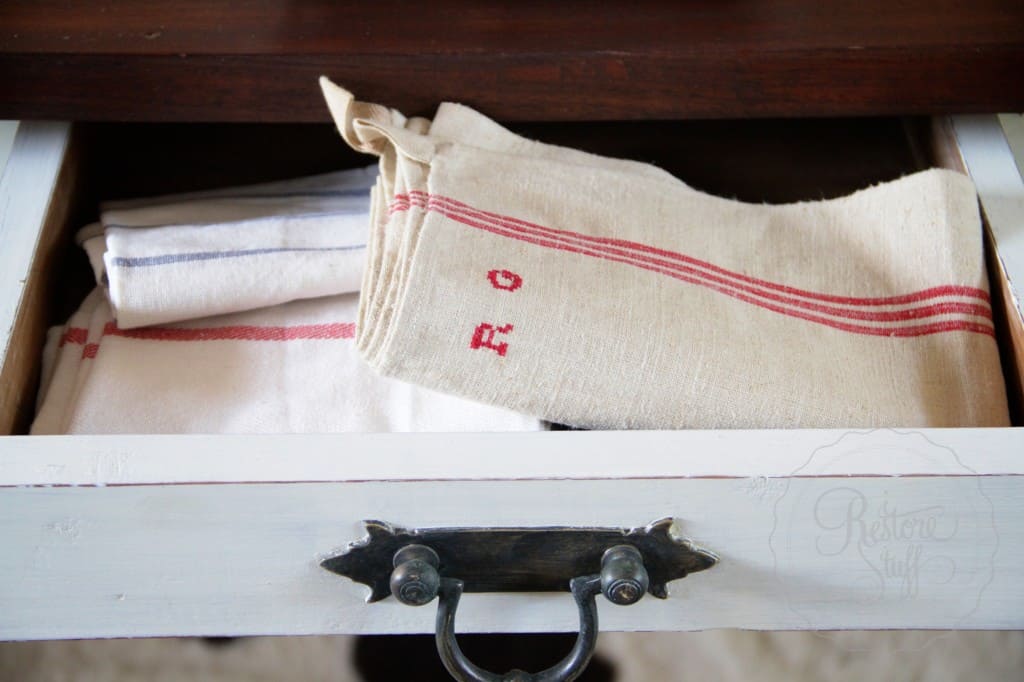
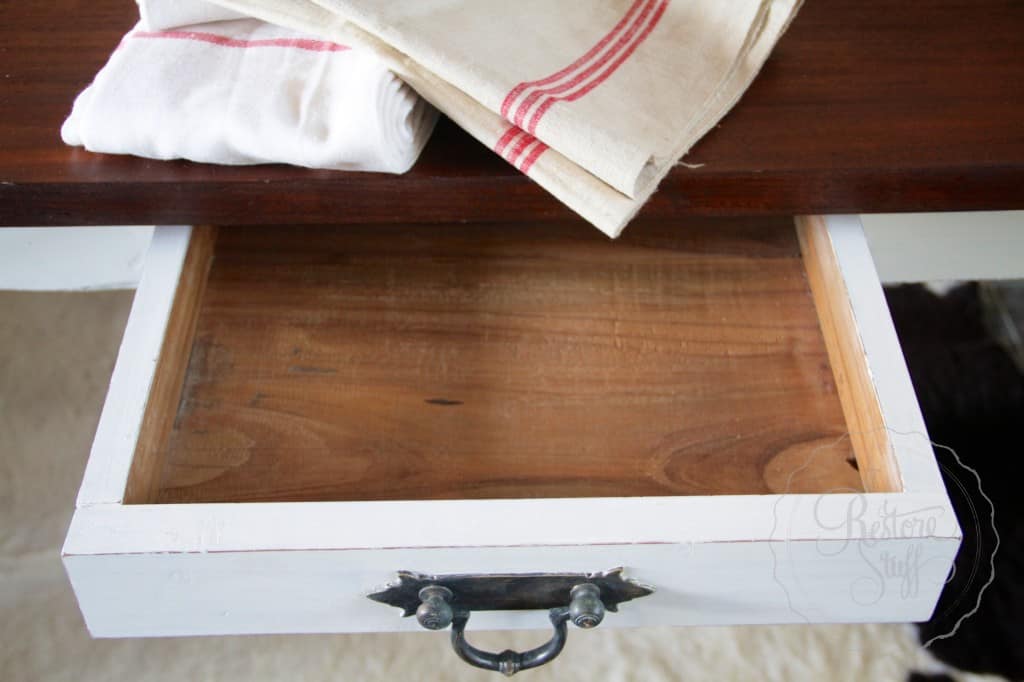
This cute cutlery drawer handle, was unable to be removed, so I had to paint around it.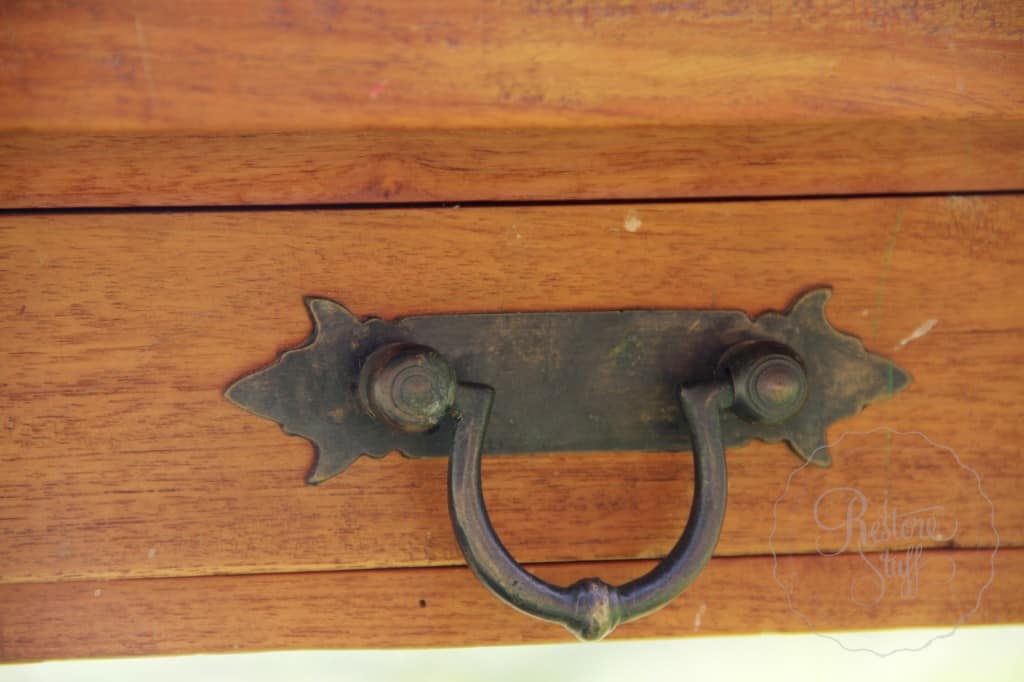 Check out the timber plugs/pegs holding this all together!
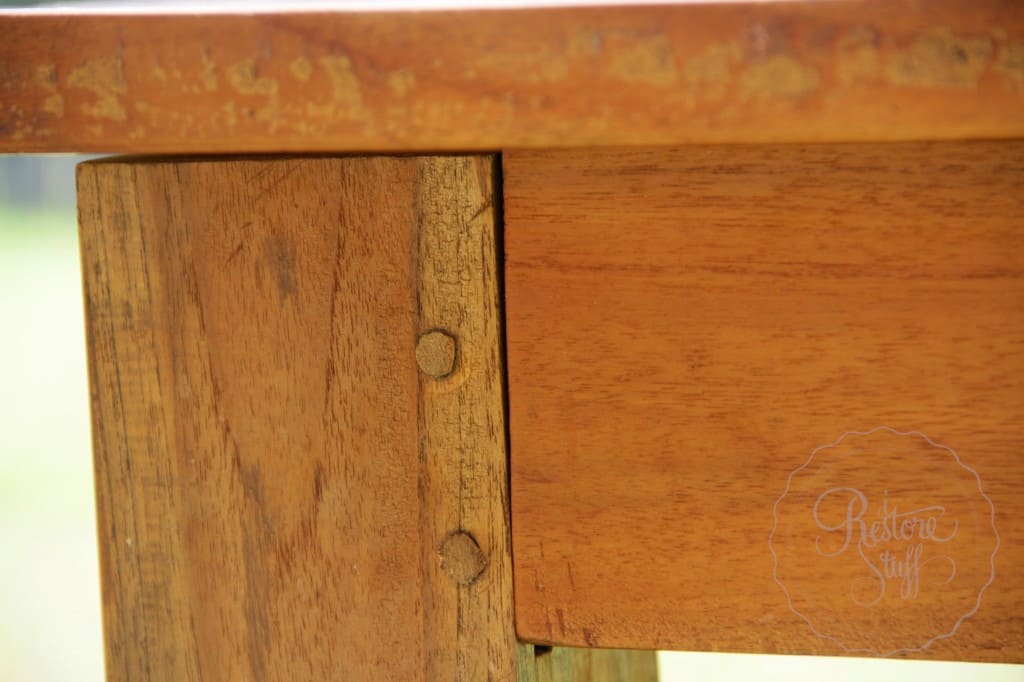 The new orbital sander got a good workout … and so did my upper arms!
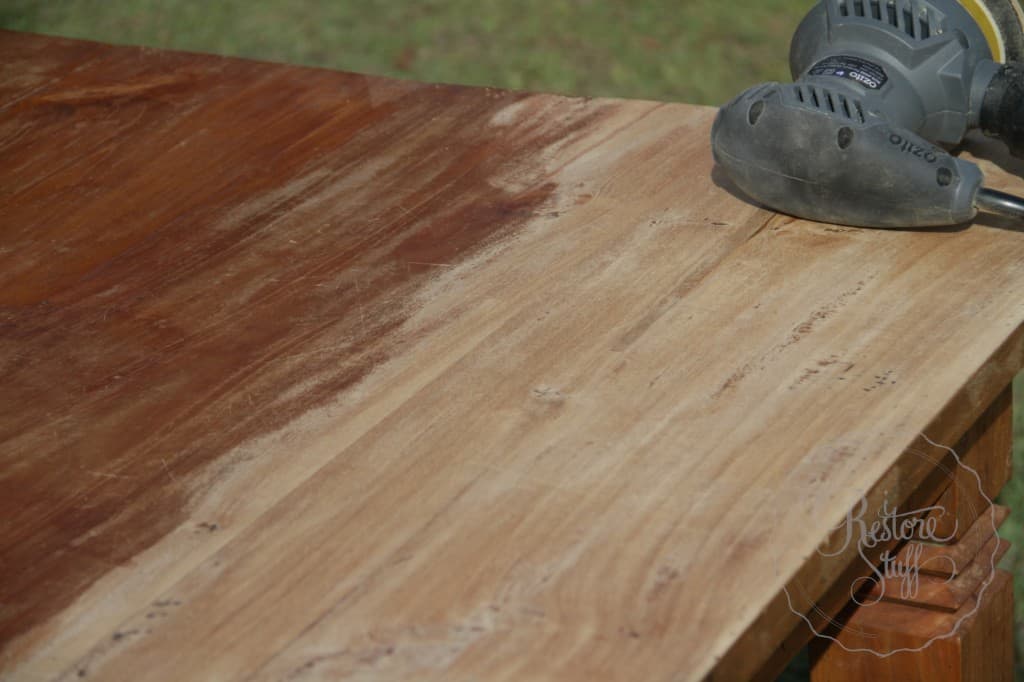 I started with a course grit sandpaper (80) and then went over with a finer grade (120) for a smoother finish. I could have gone finer still, but the surface was smooth enough for this purpose. The timber has a beautiful rustic character, uneven surface and natural historic appeal.
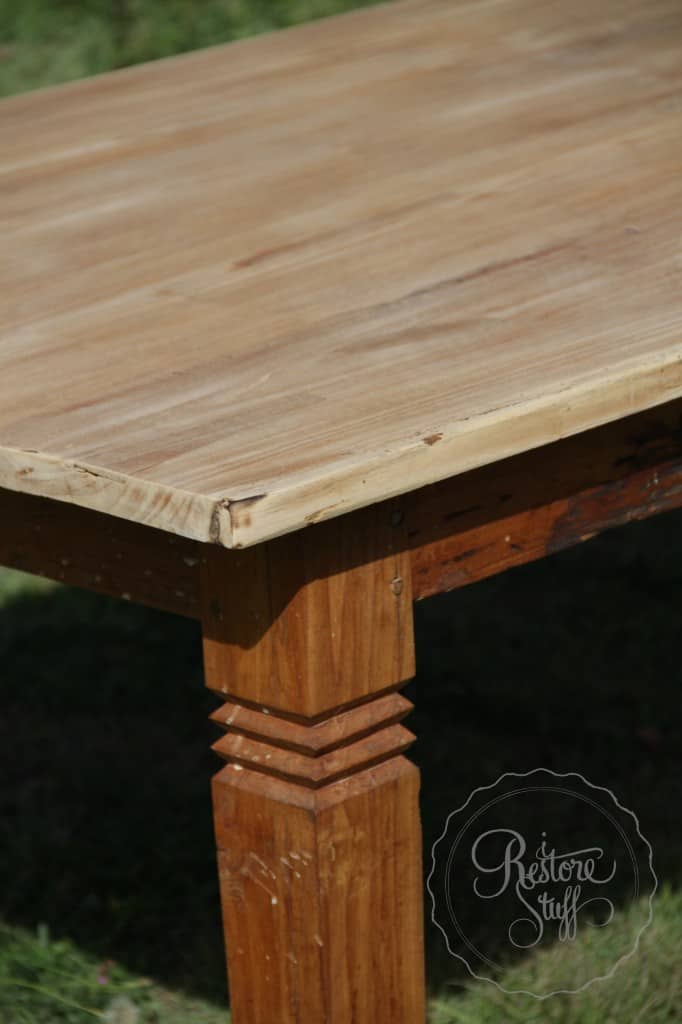 Staining can be tricky. You have to make sure you cover every grain and when the surface of the table is rough and uneven like this one, you have to keep your eyes open for little flecks that you may have missed.
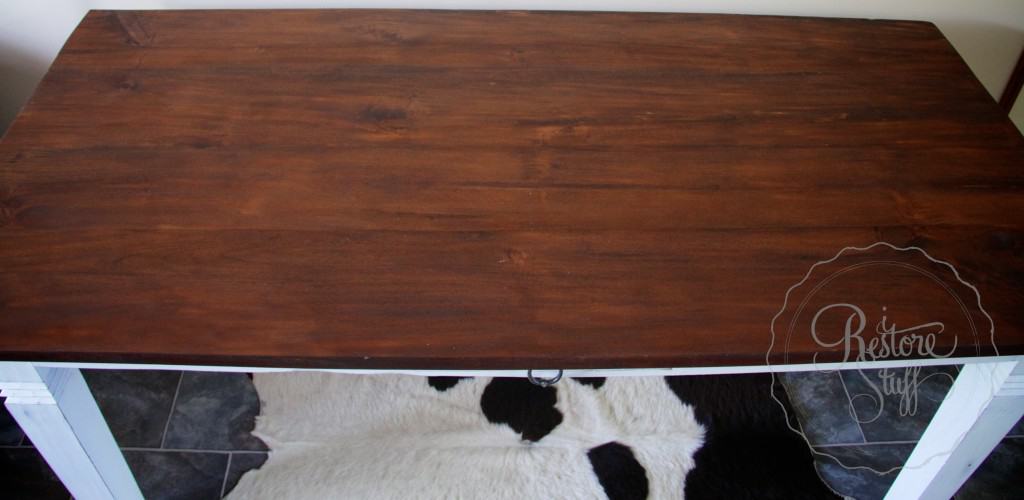
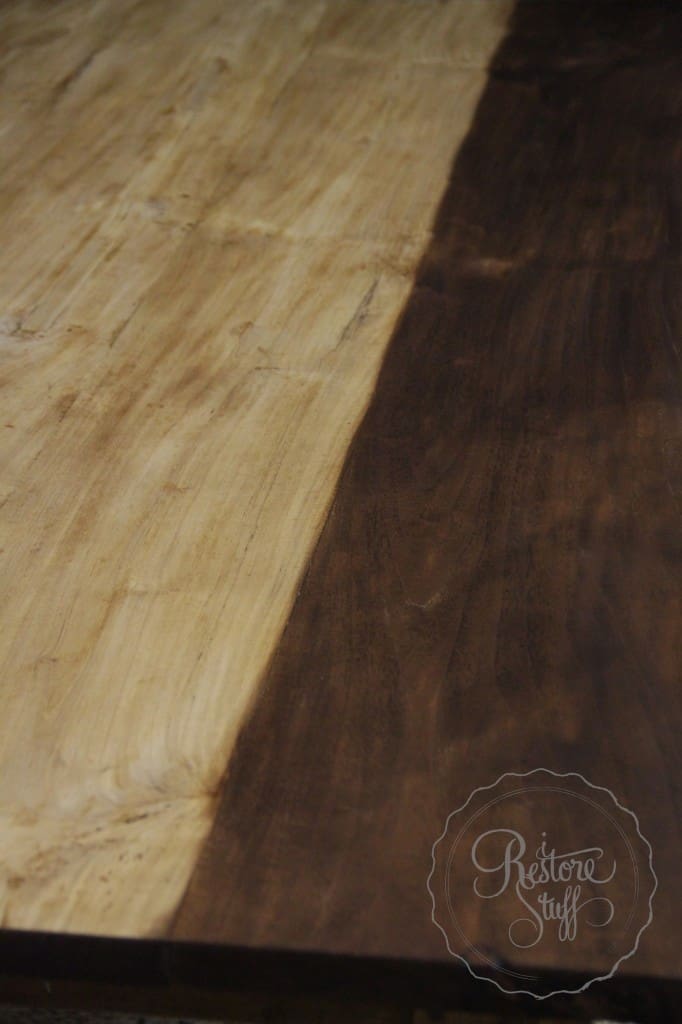 I used a walnut stain by Feast Watson. A nice rich dark timber colour.
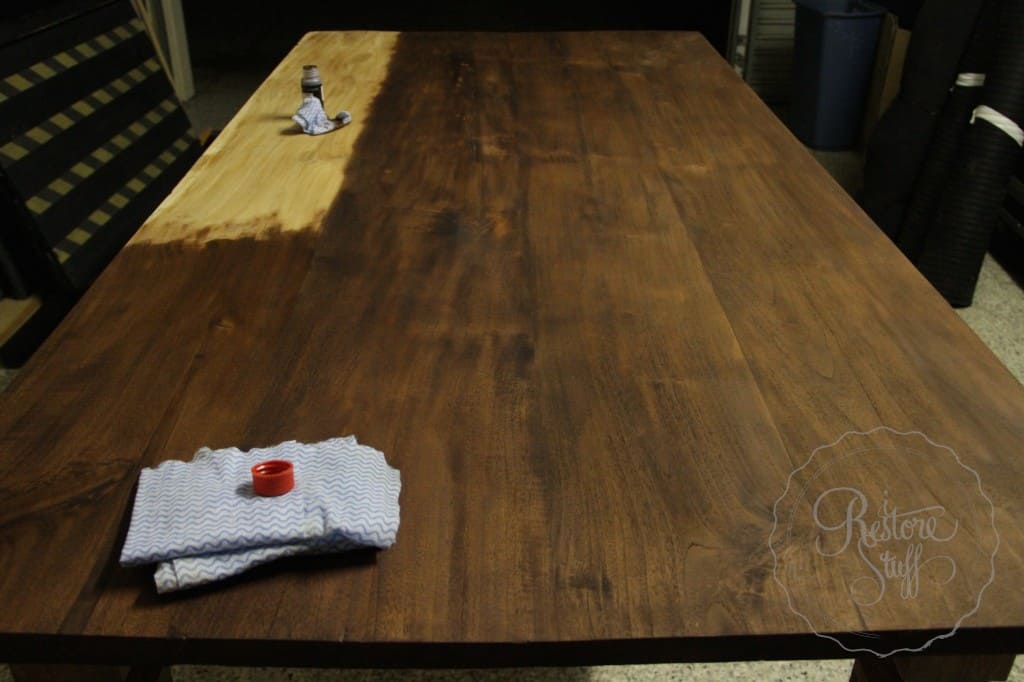
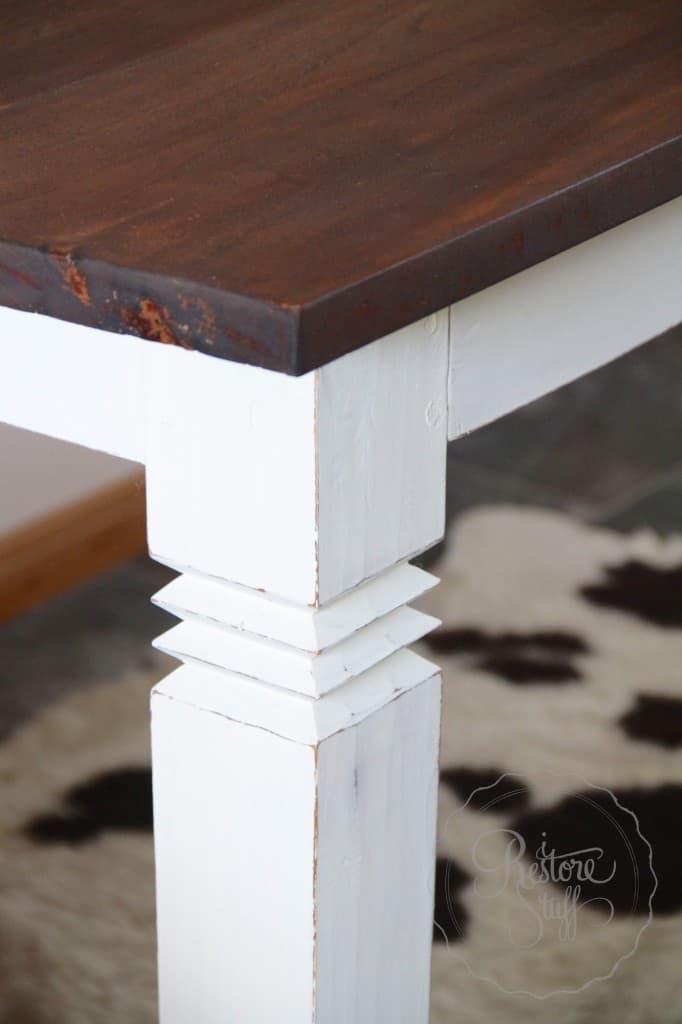
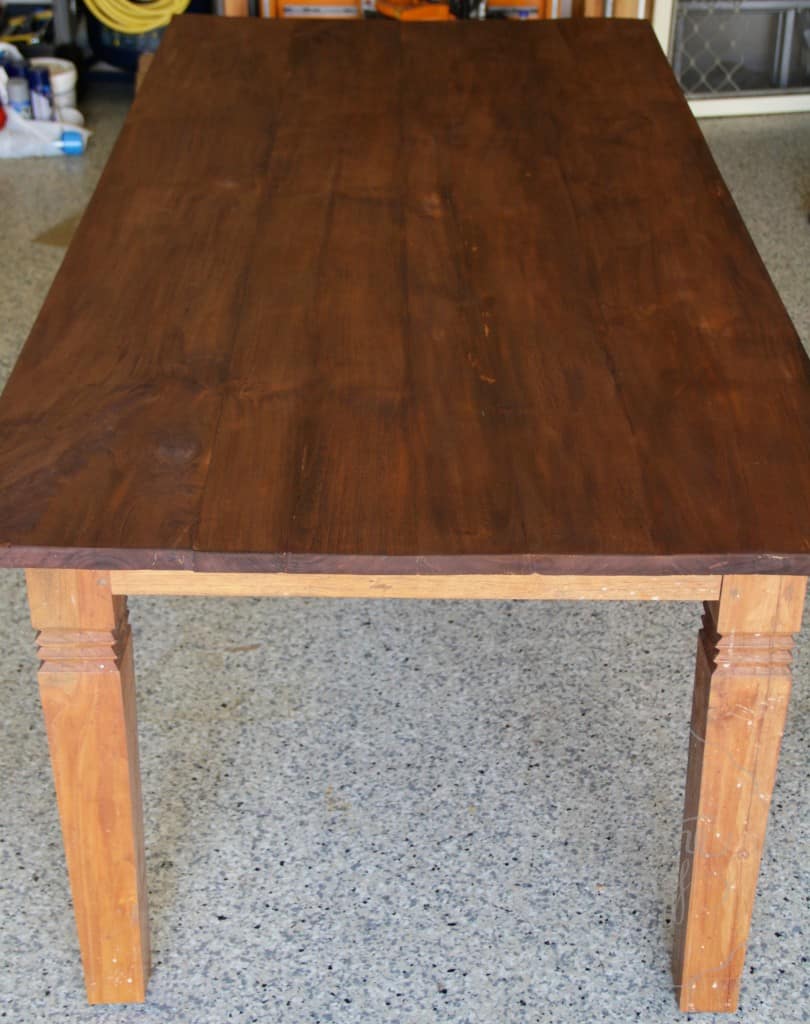 You can see the difference in the original orangey colour of the varnished table if you look at the legs in these pictures.
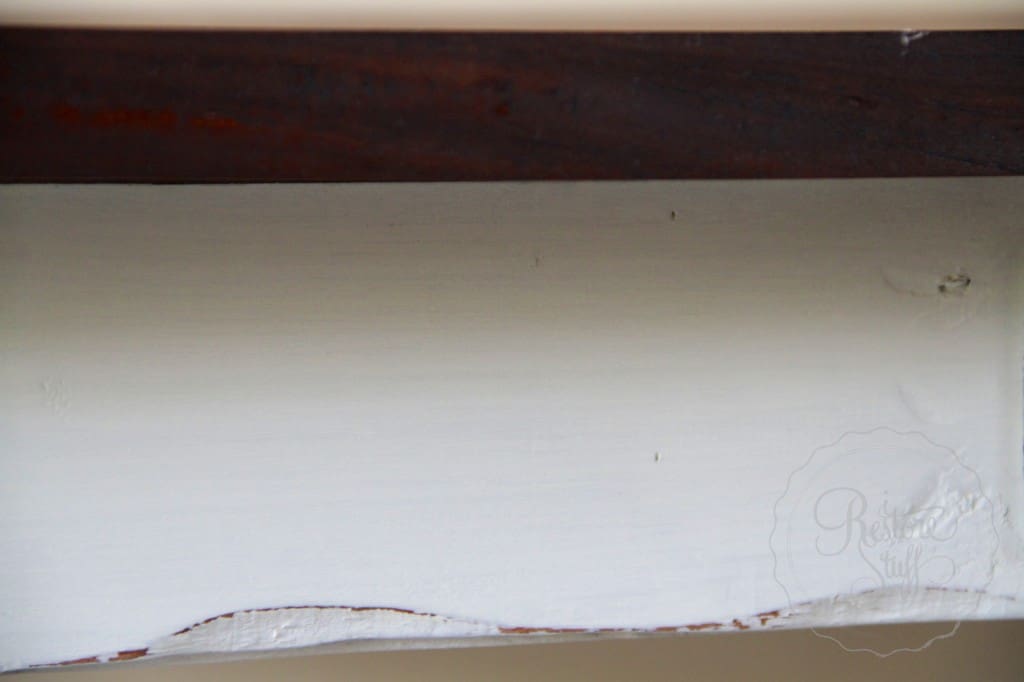
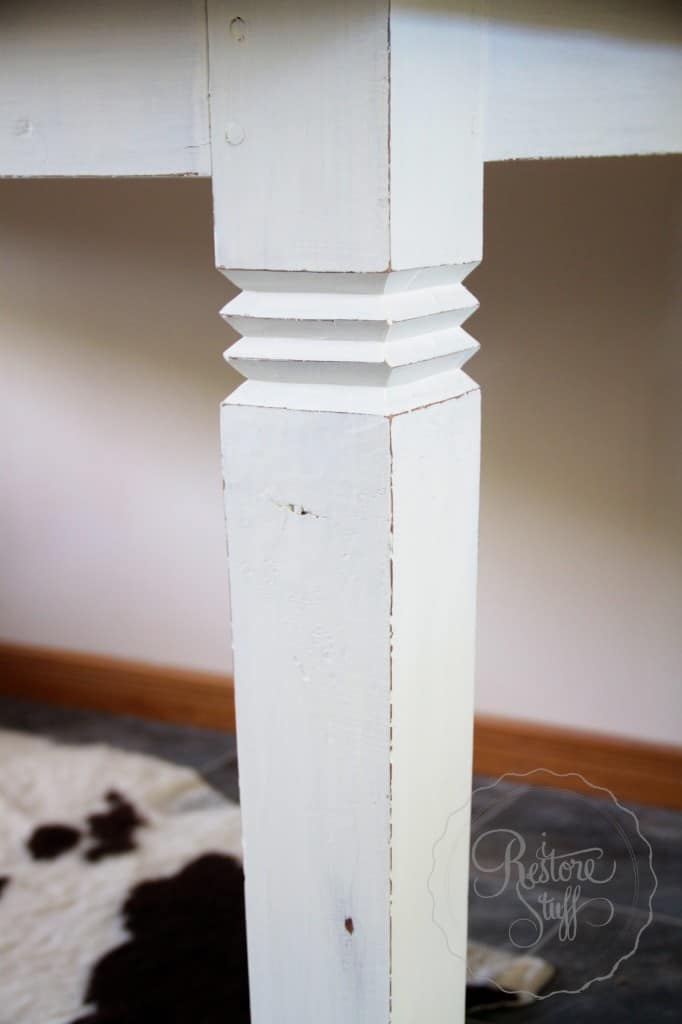
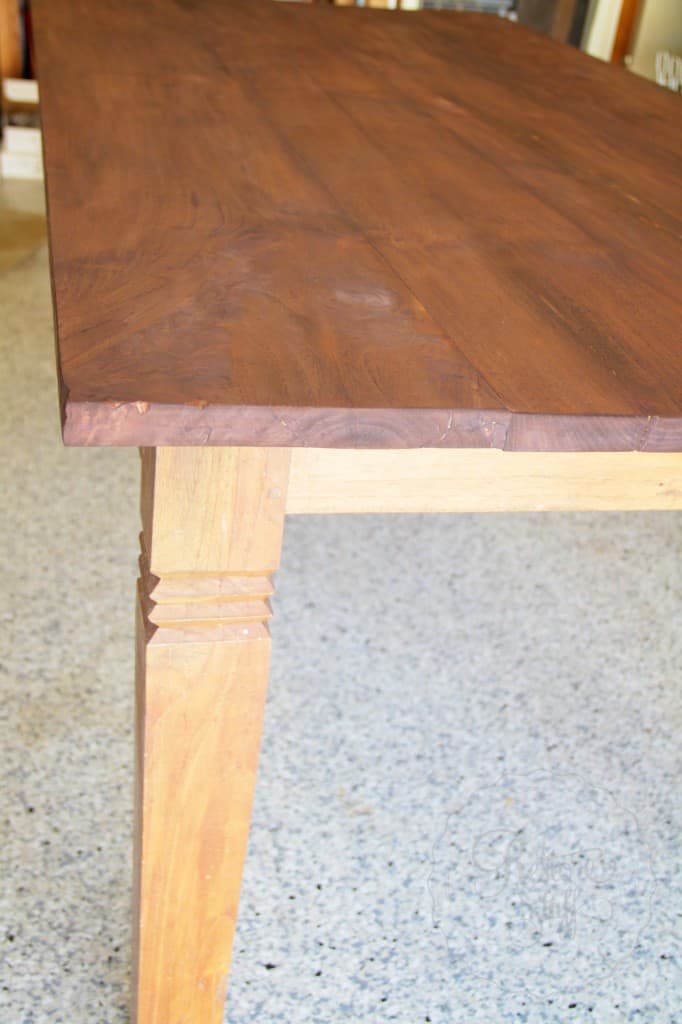 Here’s a progress pic of painting the base of the table. I used Miss Mustard Seed’s Milk Paint in the colour Linen, a lovely antique white. Yes, I can see the drip coming down the back of the leg there … don’t worry I got it!
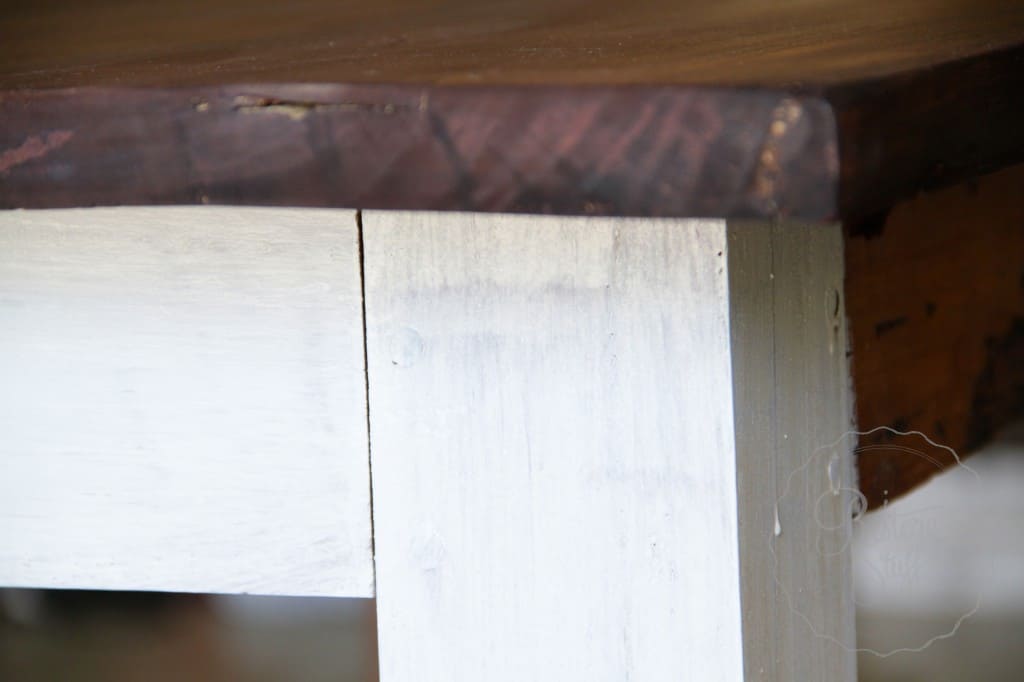 Looking good already. Overall, I did about 3 coats of Linen MMS Milk Paint. This pic below was taken after the first coat.
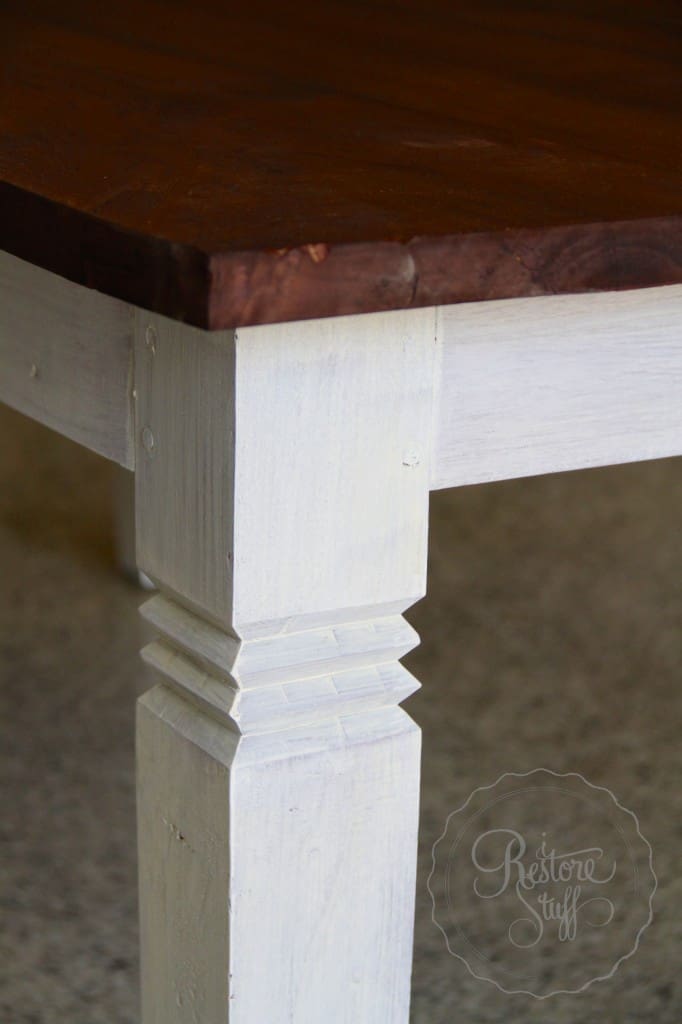 Then I gave the top two coats of Minwax Wipe-On Poly. I love this stuff because you can just wipe it on with a rag and don’t have to mess with brush marks, or brush mess and clean up. Just wipe on and let dry. Gets in the grain well this way. Great protective surface too.
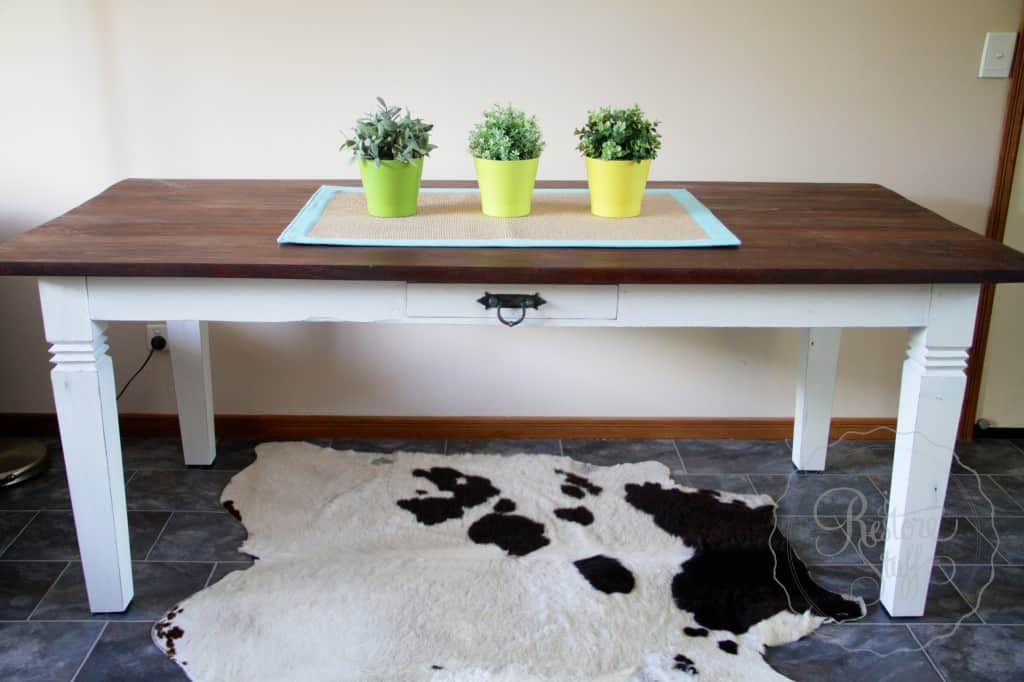
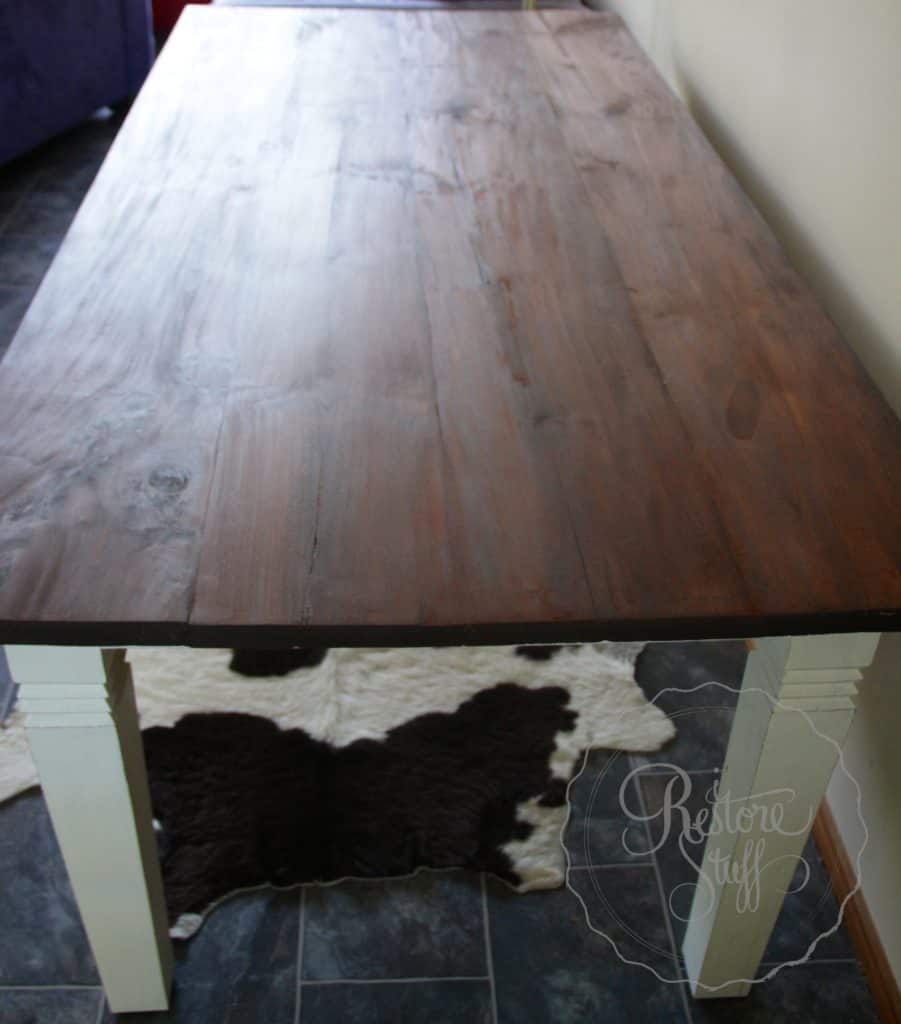
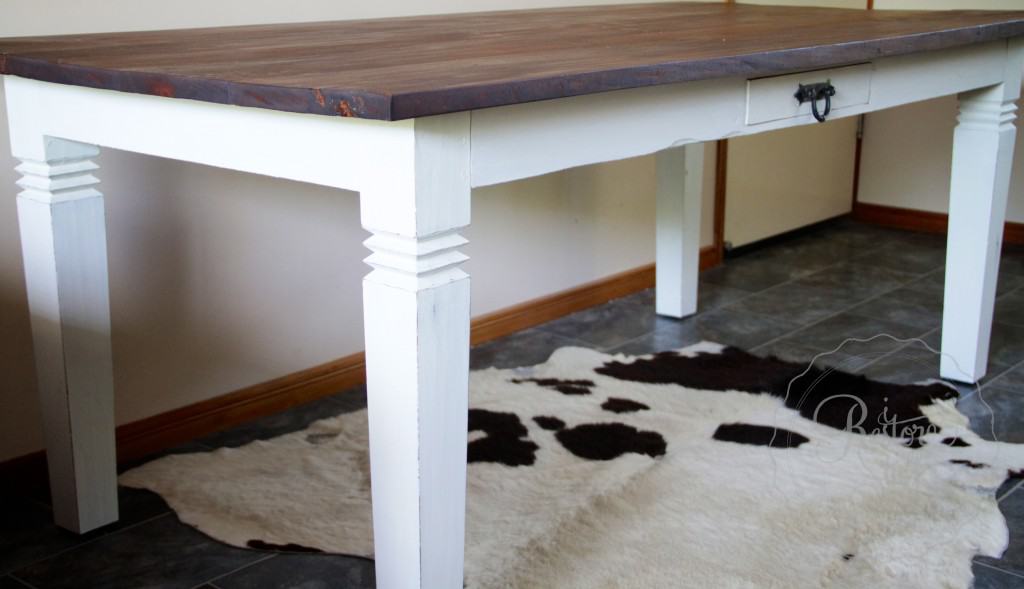
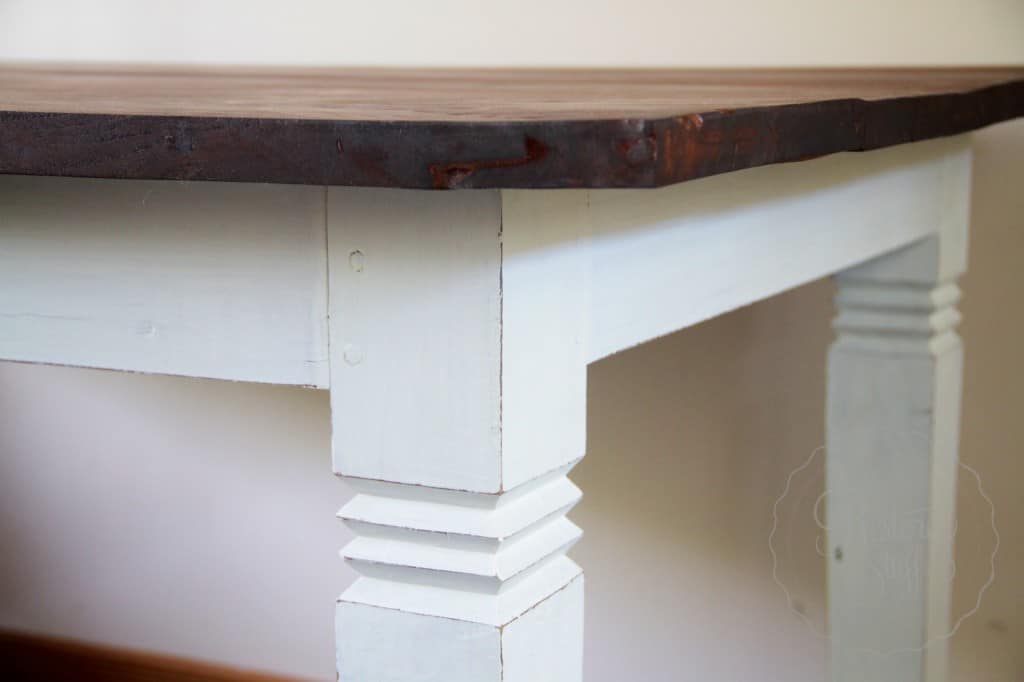
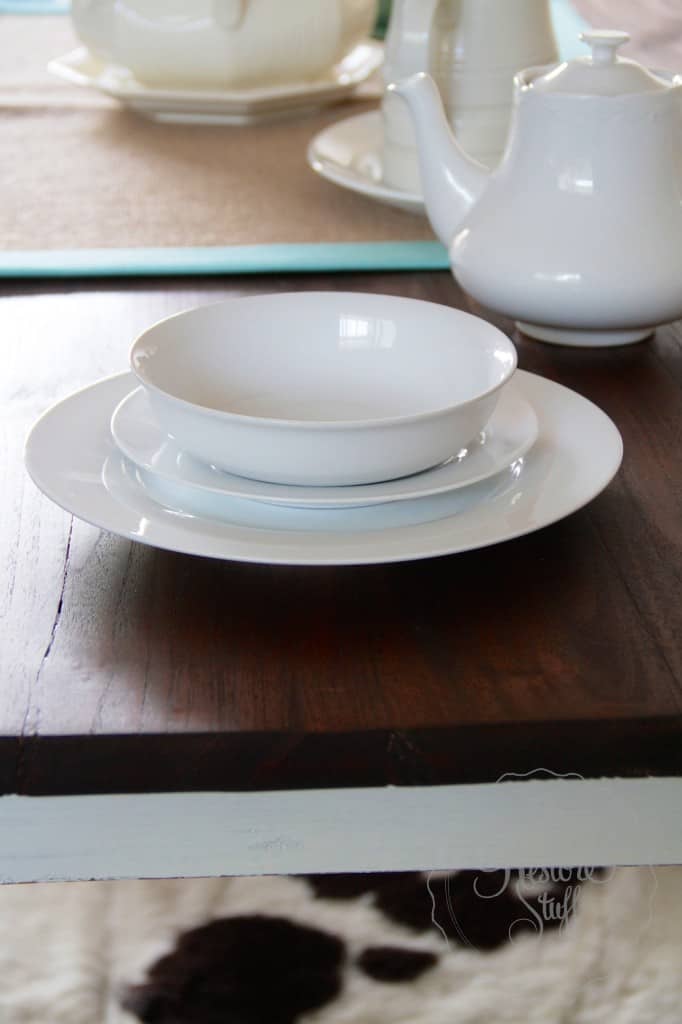
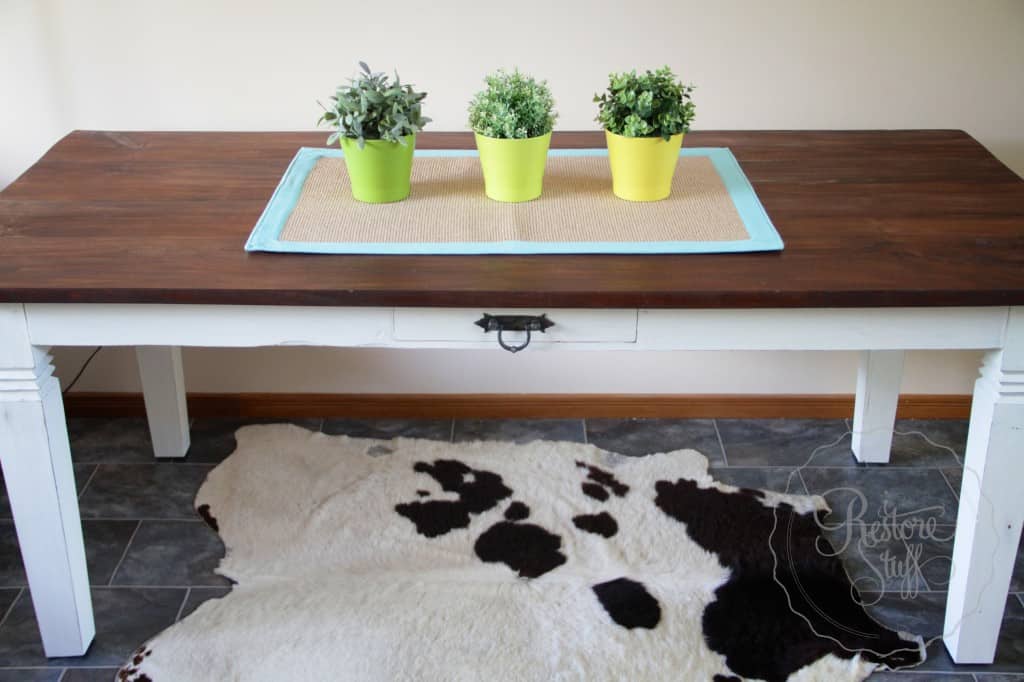
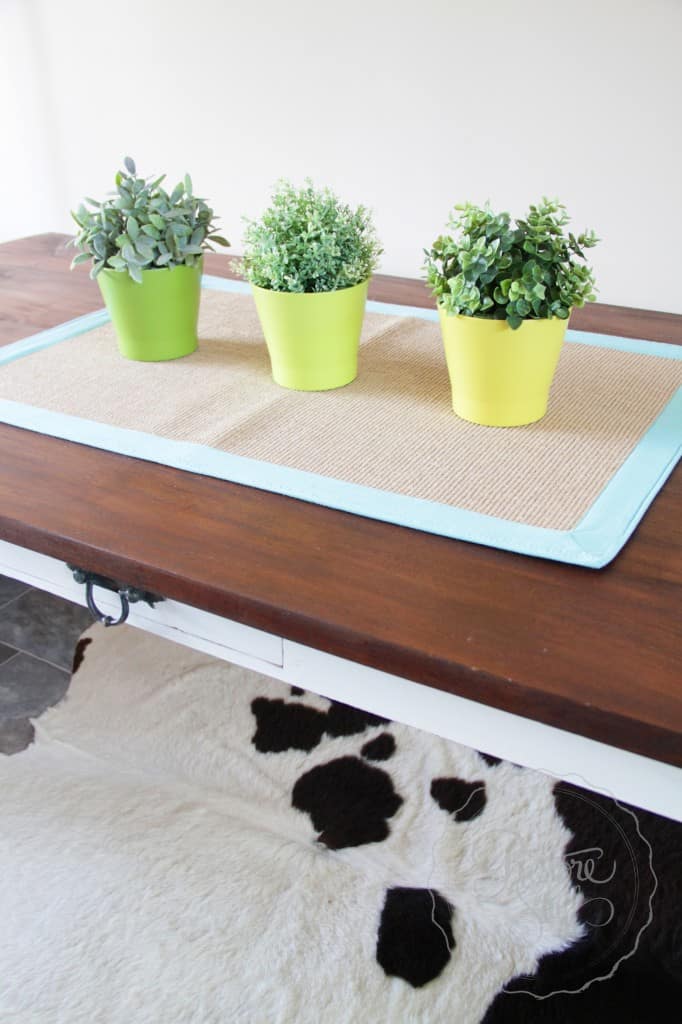
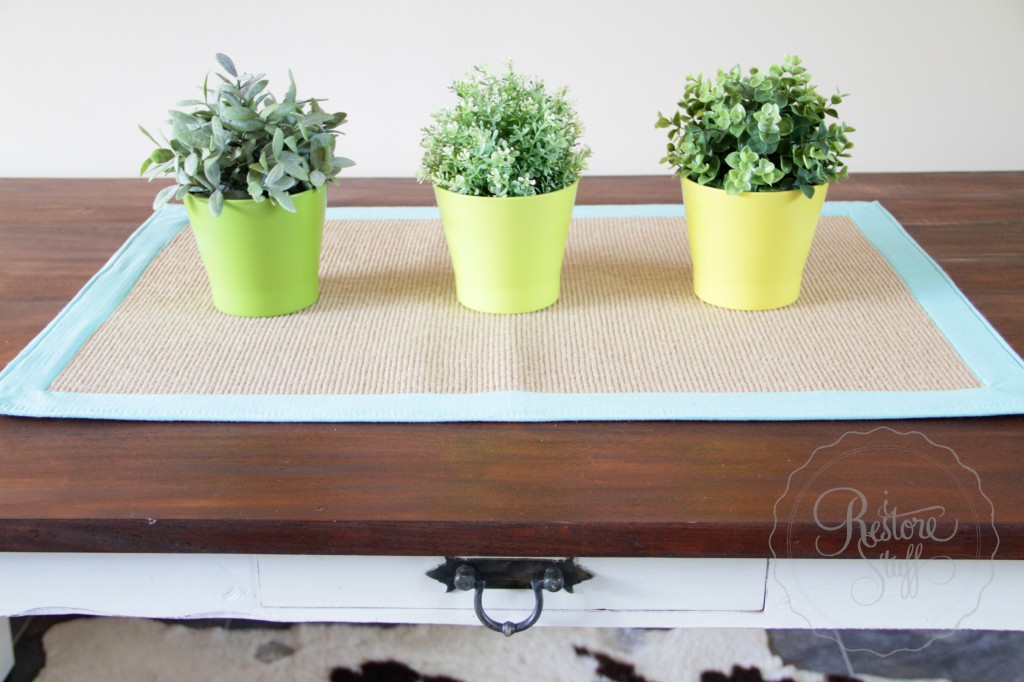
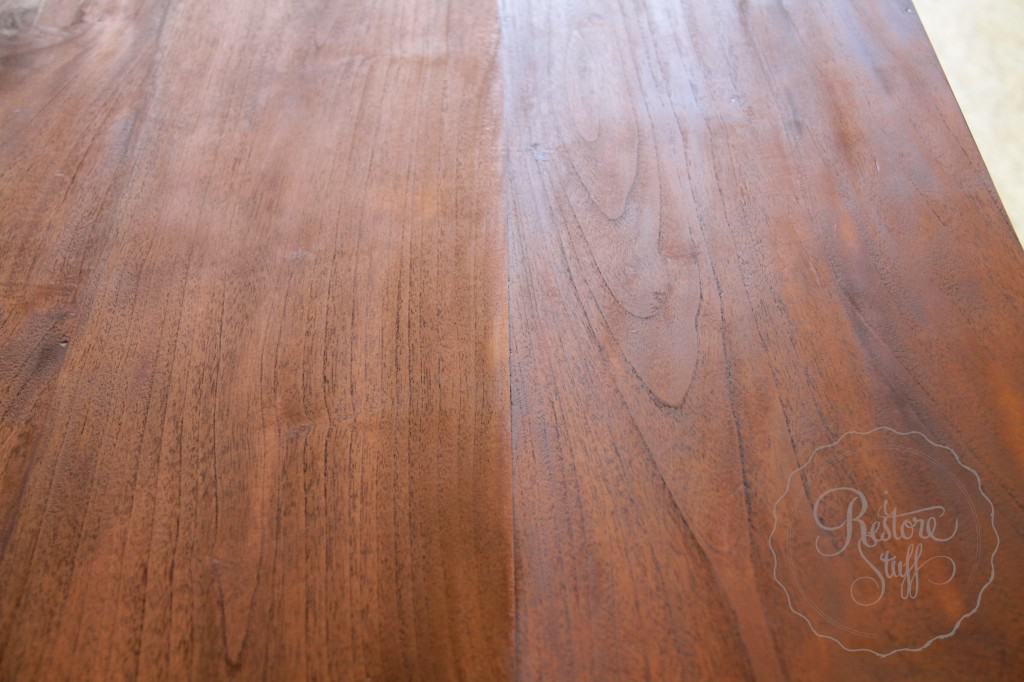 And here are the “AFTER” pics of the finished project. I really like this look. It was such a lovely table to work on.
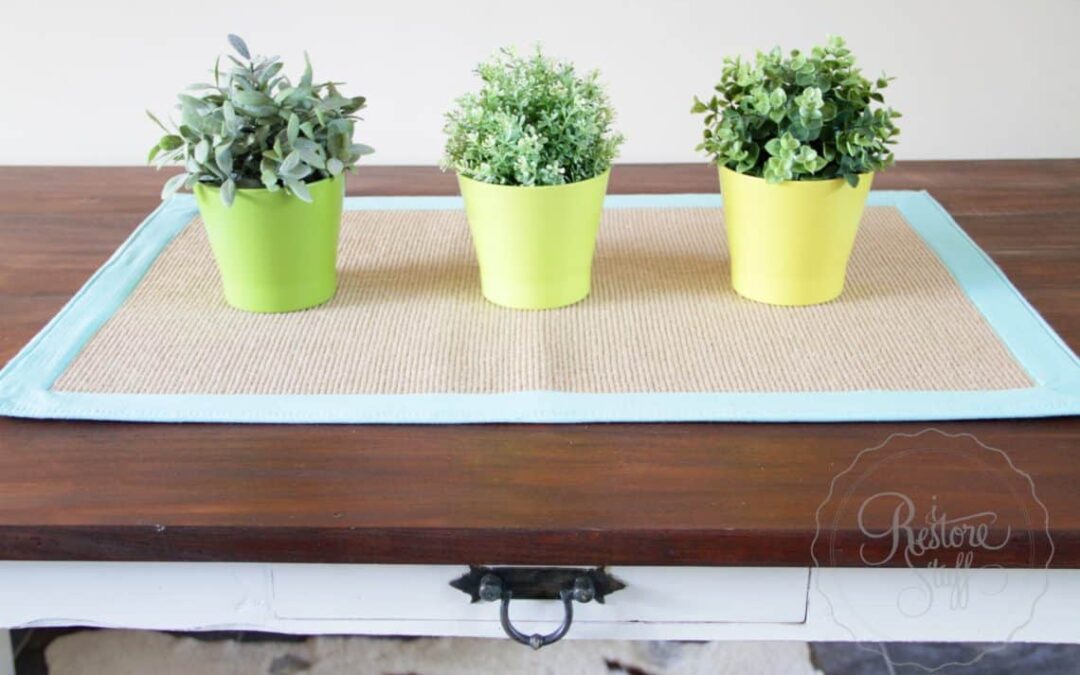
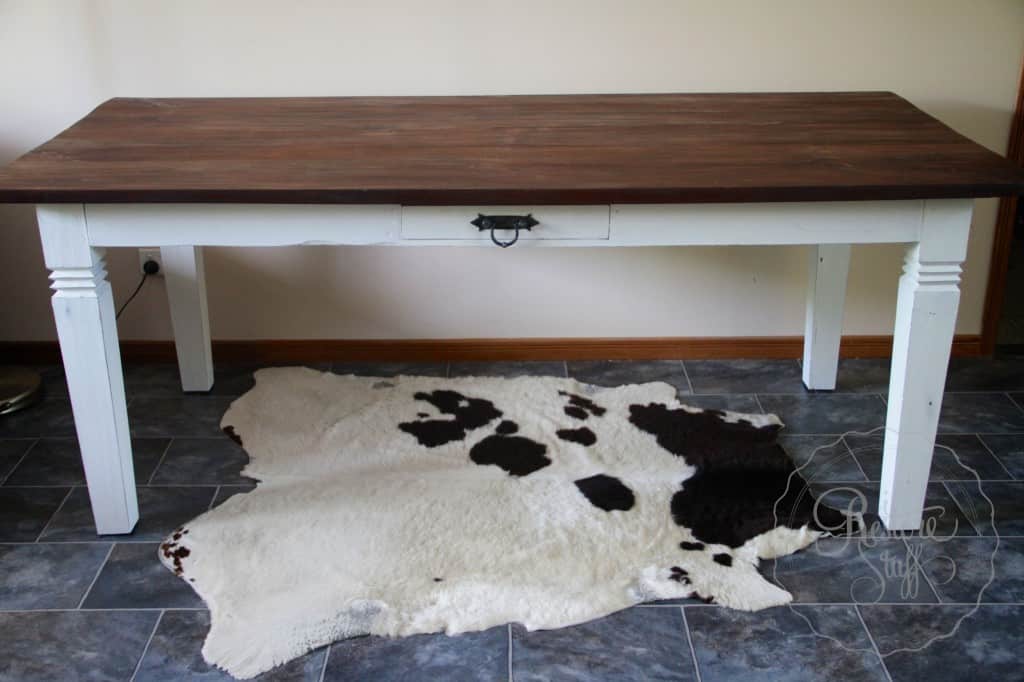
 So just to re-cap:
Before:
 And After: