Pressed Tin with an Old World Feel
Painting pressed tin panels seemed like a daunting task, but a challenge I was up for, when asked by friends and owners of Unveiling Poppy if I could paint the front counters of their newly opened shop in Daisy Hill, QLD. Amy Gurling has been a florist, specialising in weddings, for a number of years, and her husband Gene – a bit of a handyman – built most of their shop fit-out himself. In fact, Gene has been building beautiful custom wedding bouquet boxes for a number of years, and using Miss Mustard Seed’s Milk Paint colour Ironstone, to paint them white. Both he and Amy love using and featuring all natural, eco-friendly products in their business.
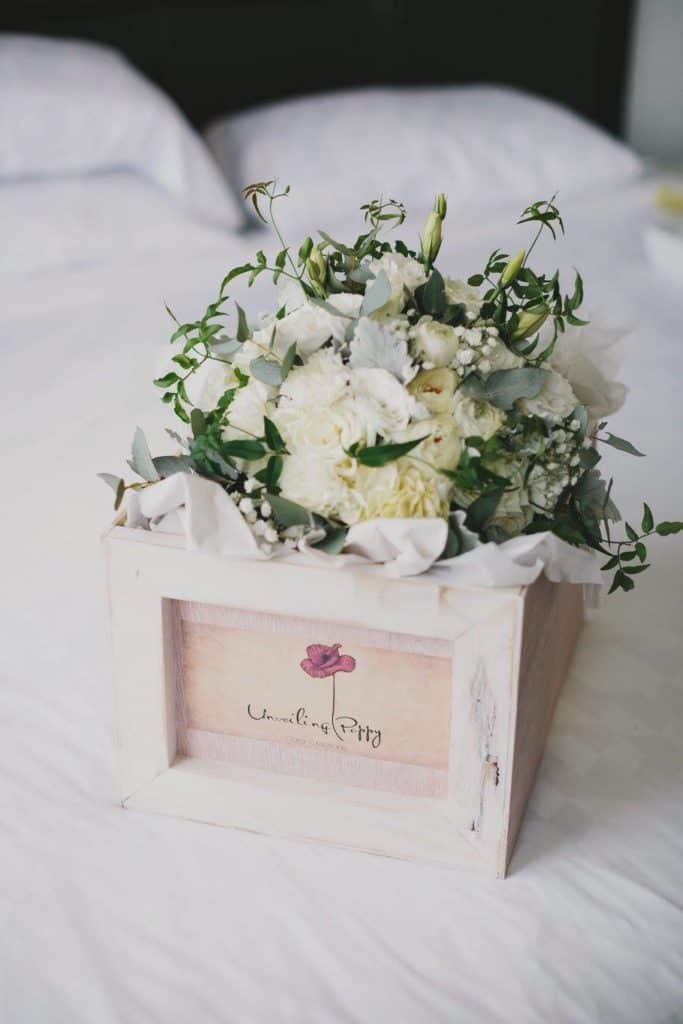
Unveiling Poppy’s custom made boxes painted with MMSMP in Ironstone.
If you follow my Instagram account @irestorestuff you’ll see a lot of “in the moment” behind the scenes of what I get up to on a daily basis. You may have seen my posts last month when I painted their pressed tin panels. It was lots of fun, and although I’d seen this look before, this was a ‘new to me’ technique or surface to paint on, and so I was kind of experimenting along the way.
Thankfully, Gene had a spare panel section for me to “play” with and experiment on when I arrived.
Where Did You Get the Pressed Tin from?
The tin panels were purchased from Pressed Tin Panels in Bathurst. I was asked a lot about where the panels came from when I first posted about this project on Instagram. They have some lovely patterns/designs.
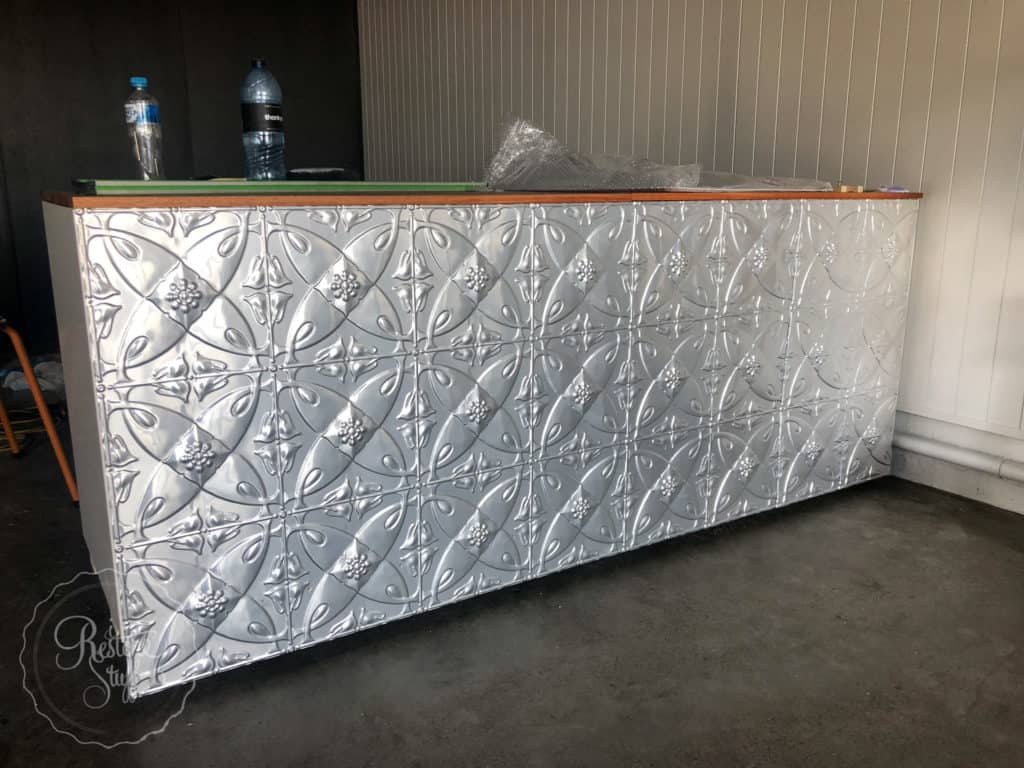
Here are the unpainted pressed tin front counter benches that I began with: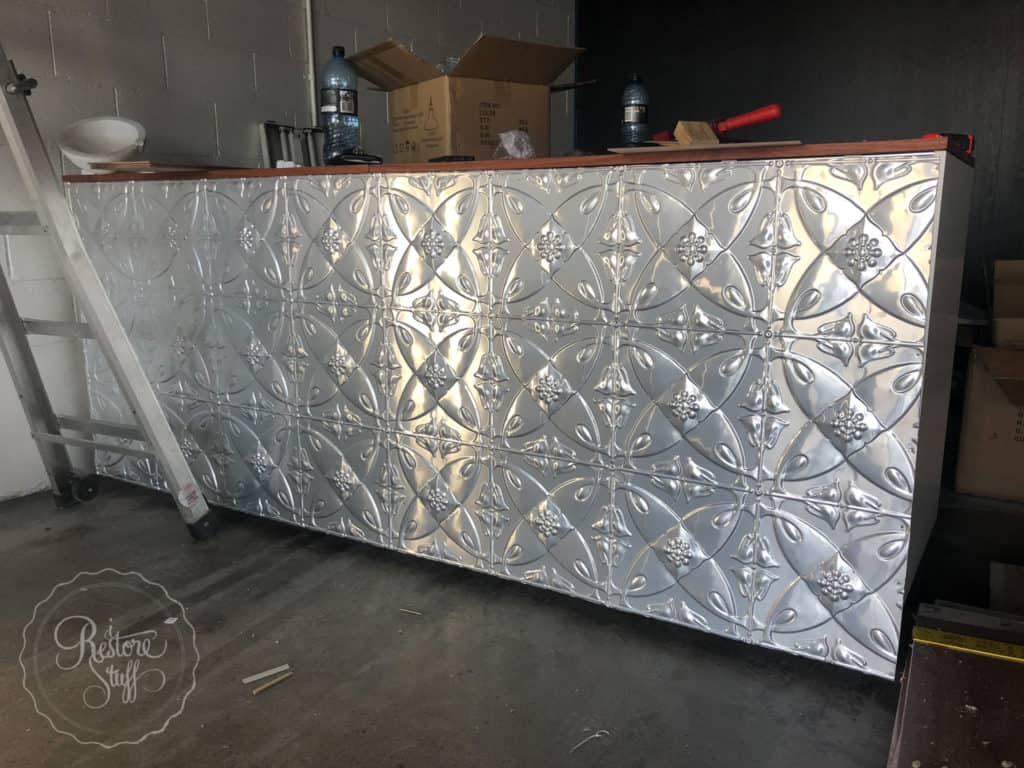
The Painting Process:
I took a few video snippets of the process as I went along and pieced them together for you here on my Youtube channel (psst – I’d love you to subscribe).
I experimented a little first on the scrap panel of tin shown here: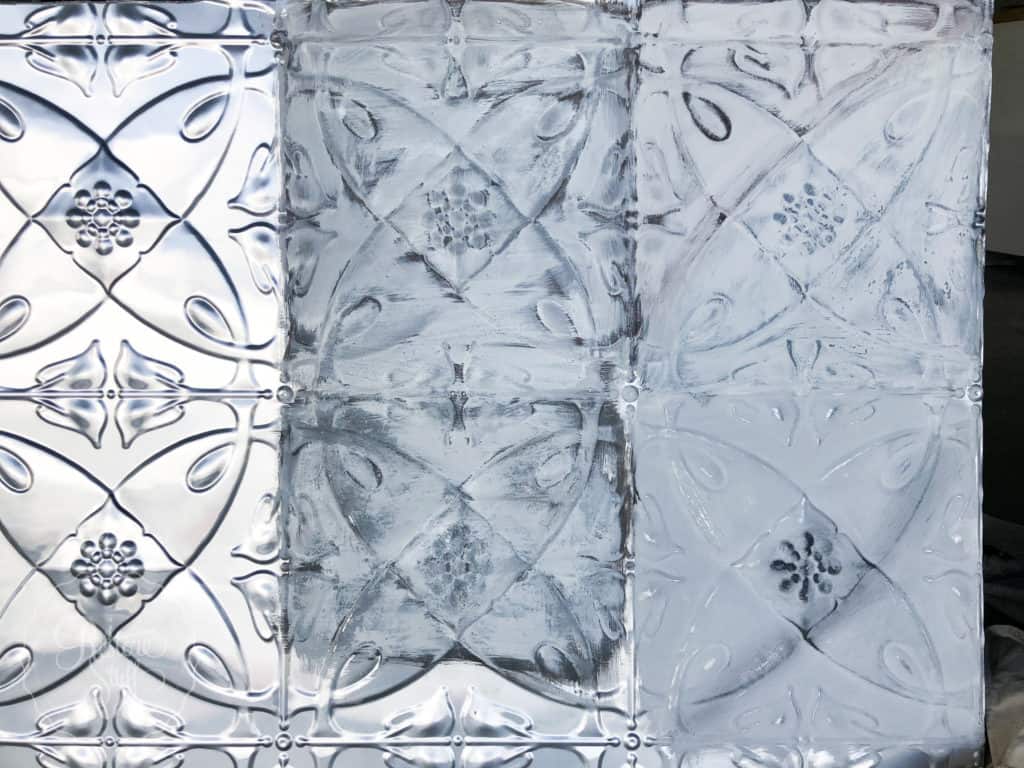
 Here’s the video and I’ll follow with my step by step process below that.
Overview
In case you missed all the steps in the video above, here’s a brief overview of how I completed this aged and chippy look:
- Mix a dark coloured base of MMSMP & paint on pressed tin. I used a combo of Curio, Typewriter & Schloss. You may want to scuff sand the tin first, but as I said in the video, I tested this particular tin, which held the paint very well without any hint of chipping – so I skipped the sanding.
- Apply Miss Mustard Seed’s Furniture Wax randomly over base coat (mostly the high points of tin – I followed the raised lines)
- Mix a white colour of MMSMP & paint over entire surface, working in sections. I used the colour, Ironstone.
- While paint is still drying, gently remove paint with a rag along the waxed areas (dab or gently rub). If dried, use fine grit sandpaper (eg. 400+).
- Allow to completely dry before sealing with MMSMP Tough Coat. I would wait about 12-24 hours.
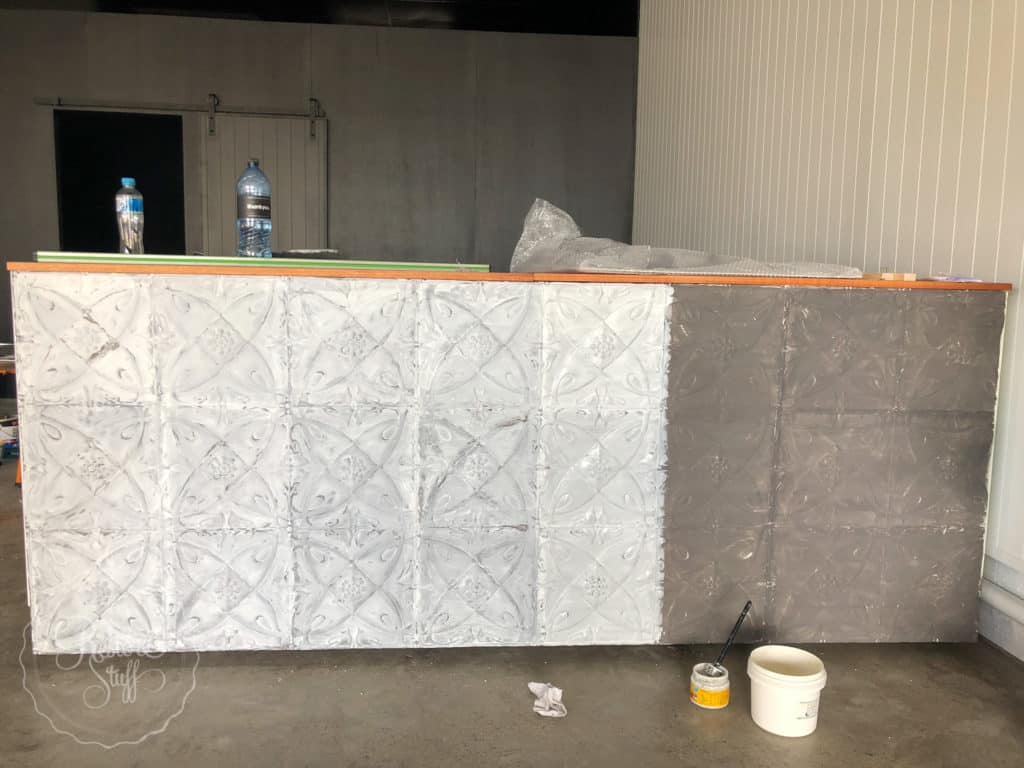
I worked in sections when adding the wax and top coat of Ironstone.
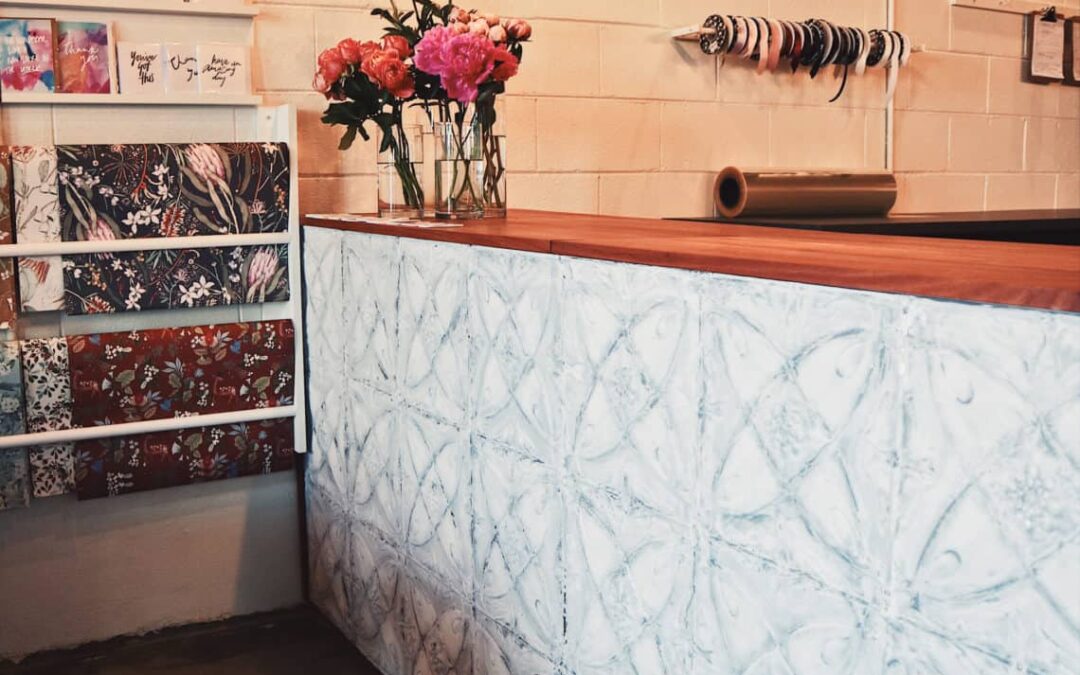
Finished Look
Photos by @ellelove: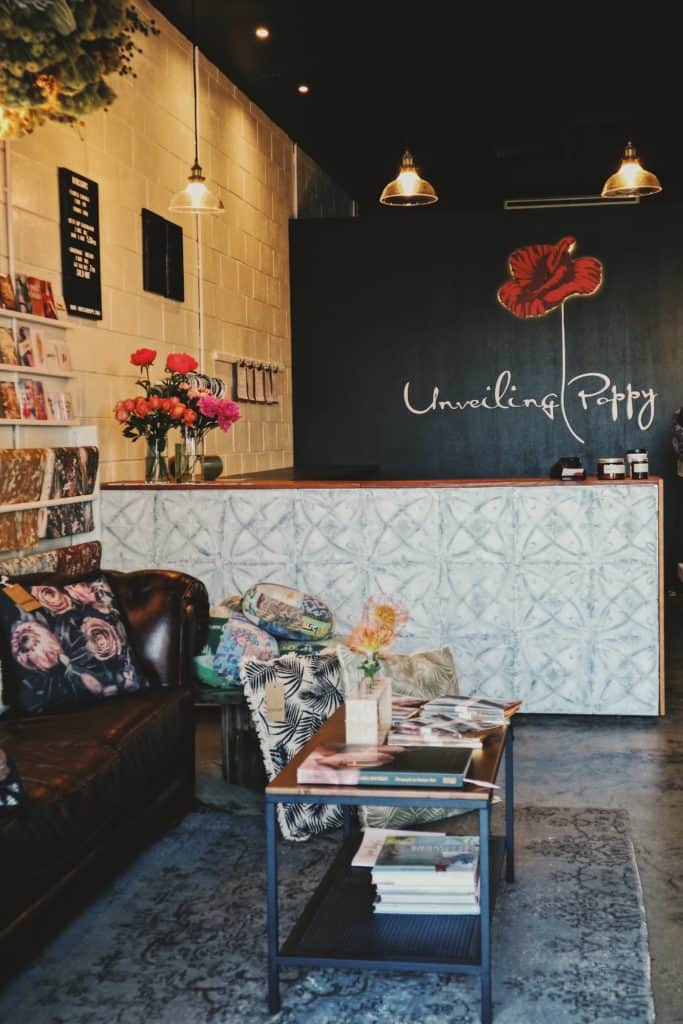

Do you like this effect on pressed tin? Where else could you imagine seeing this old world look?
Drop your thoughts in the comments below – I’d love to hear from you.
Happy Painting,
Sharon.
PS: Don’t forget to subscribe to my Youtube Channel and hit the little “bell” if you want to be notified when a new tutorial video is uploaded.
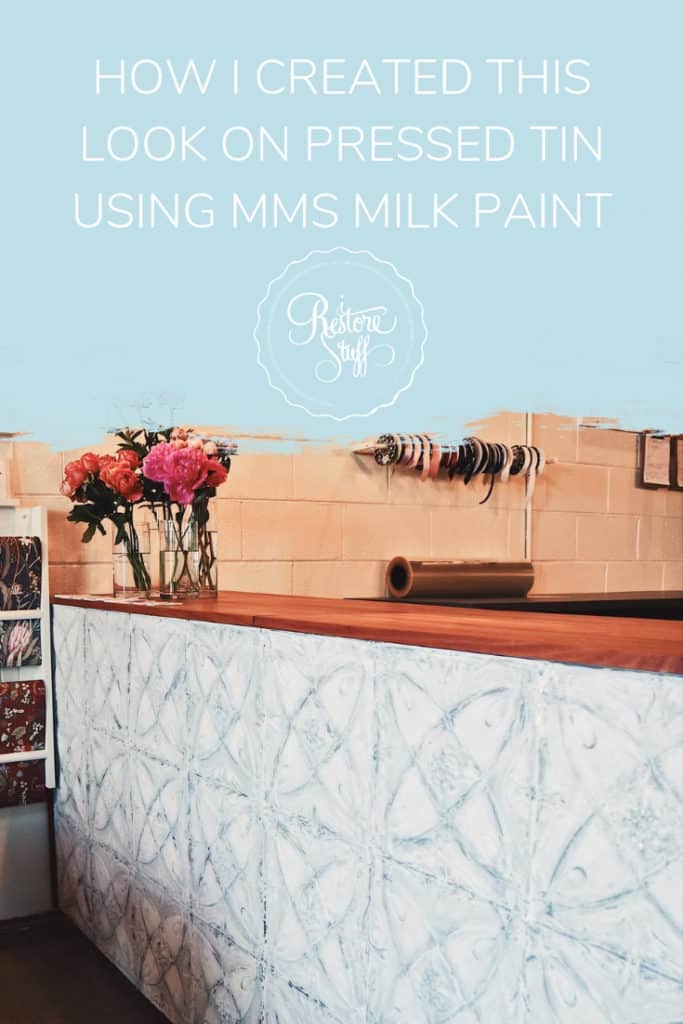
PPS: Here’s a PIN to pin to your Pinterest board … I’d love you to share it.
I linked up this post to Finding Silver Pennies Sunday Link Party: