
Choose your Christmas graphic and let’s make some Holiday wall art…
Transferring graphics onto wood or furniture with a transfer medium has been one of the most asked about methods of transferring images that I have had. In fact, I have also made a couple of Tutorial videos to give further instructions on how to do this HERE and HERE.

Update: Here is the Hometalk Live Demo on video for you to watch.
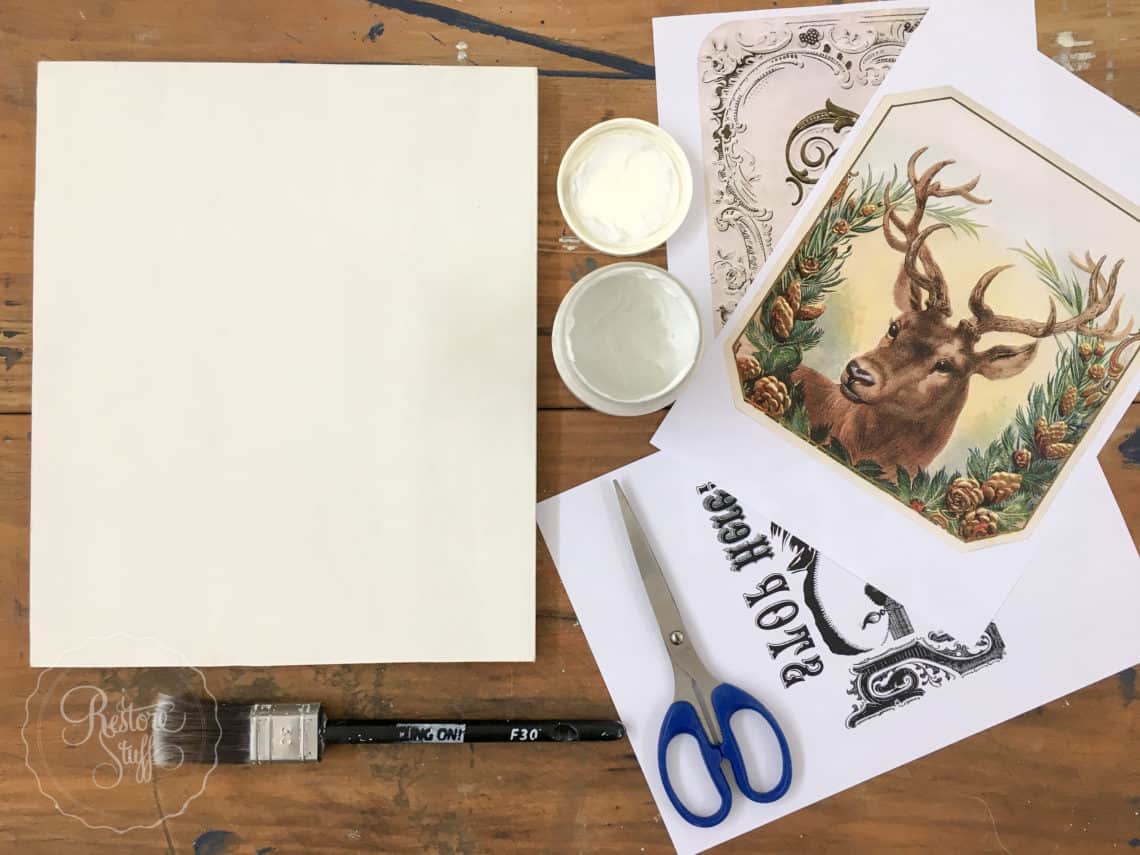
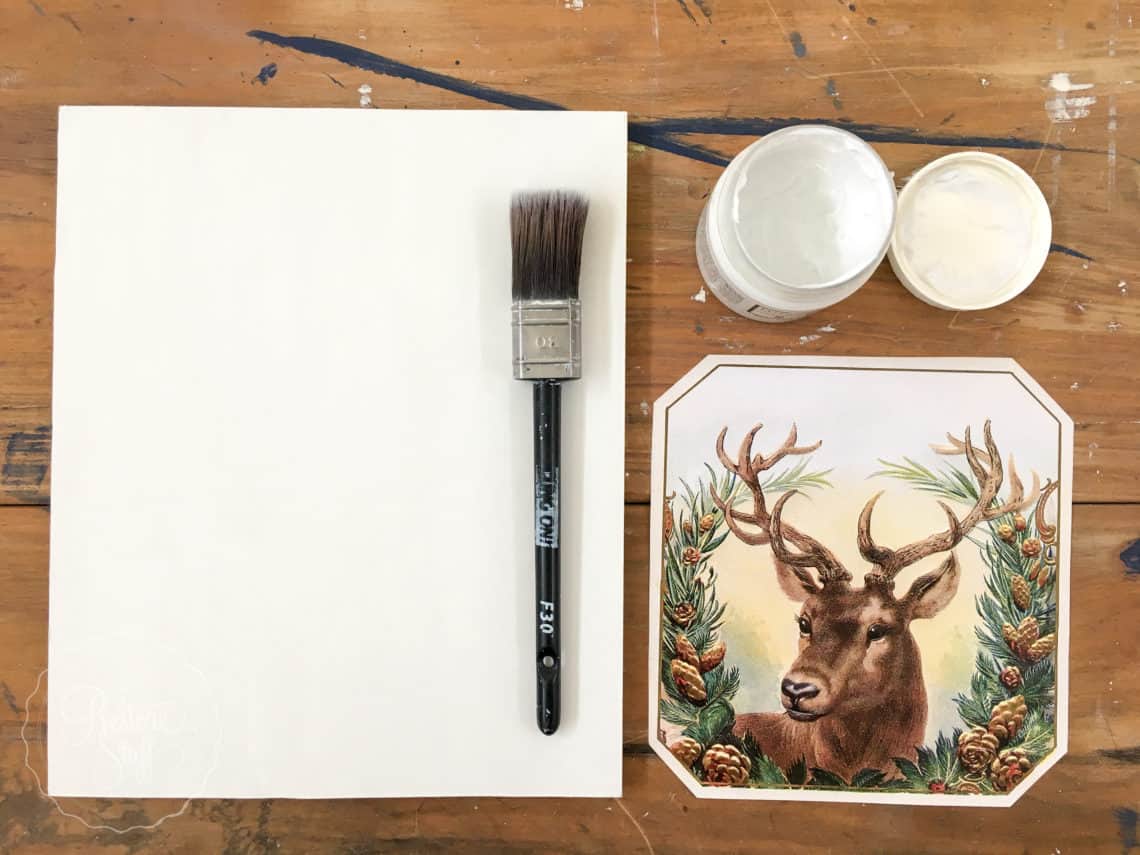
You will need:
- pre-painted board – preferably a white or light coloured matte paint like Fusion Mineral Paint, Milk Paint or a Chalk-type paint.
- an image printed on ordinary A4 paper using a laser printer **NOTE: if using an image with words, print in REVERSE (this setting will be in your printer window that pops up when you go to print) The Graphics Fairy is where I get a lot of my vintage images, these included.
- a transfer gel medium such as Fusion’s Decoupage & Transfer Gel, or similar type medium.
- a paint brush
- water
- a chux or lint free cloth
- a credit card or similar store card (to smooth out bumps on the surface – no, we won’t be shopping today gals!)
- Optional: a sealer or glaze such as Fusion’s Tough Coat Wipe-on Poly or Fusion’s Antiquing Glaze
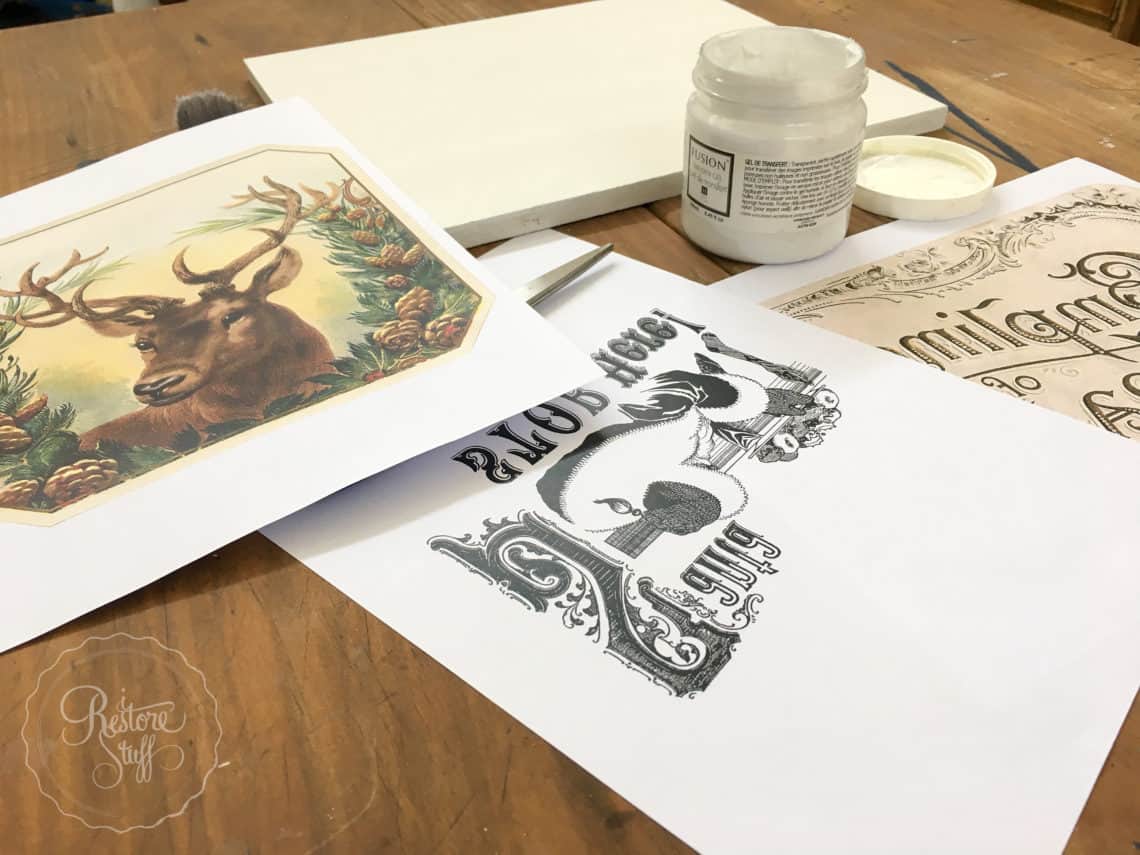
NB: If your chosen graphic has text, print it in reverse!
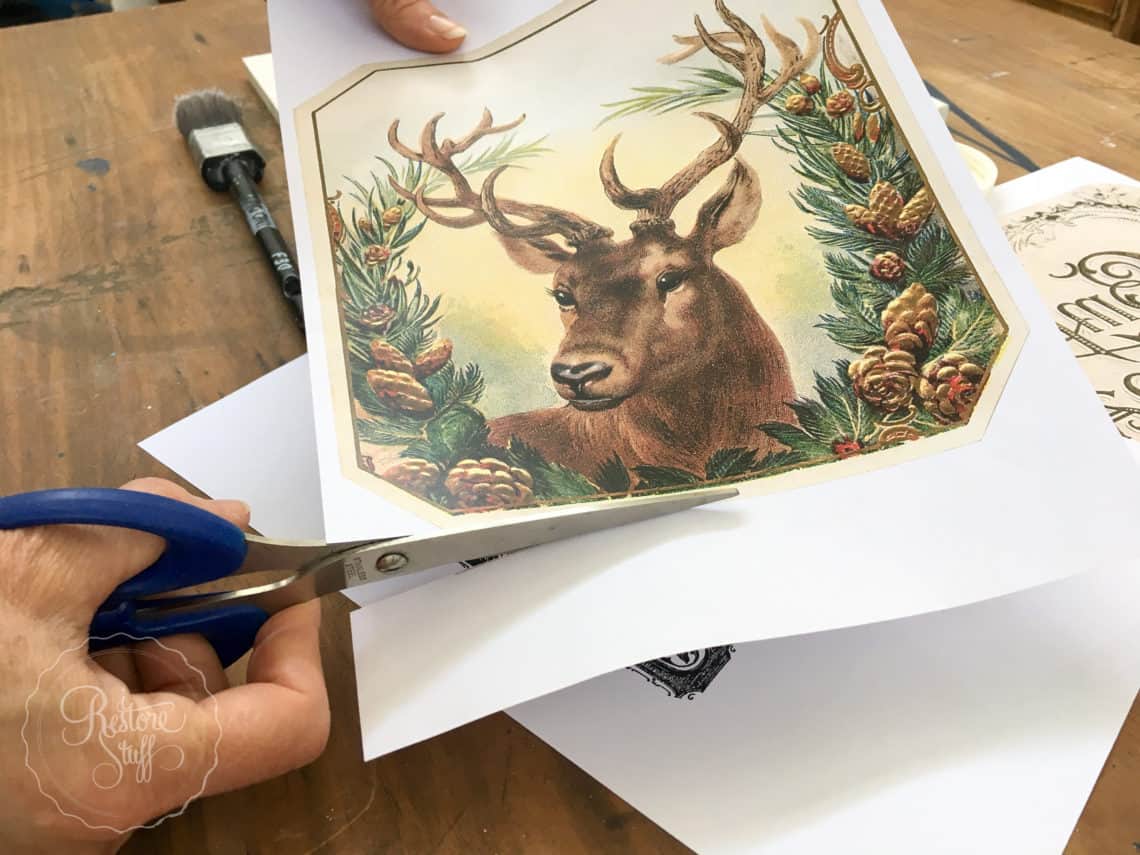
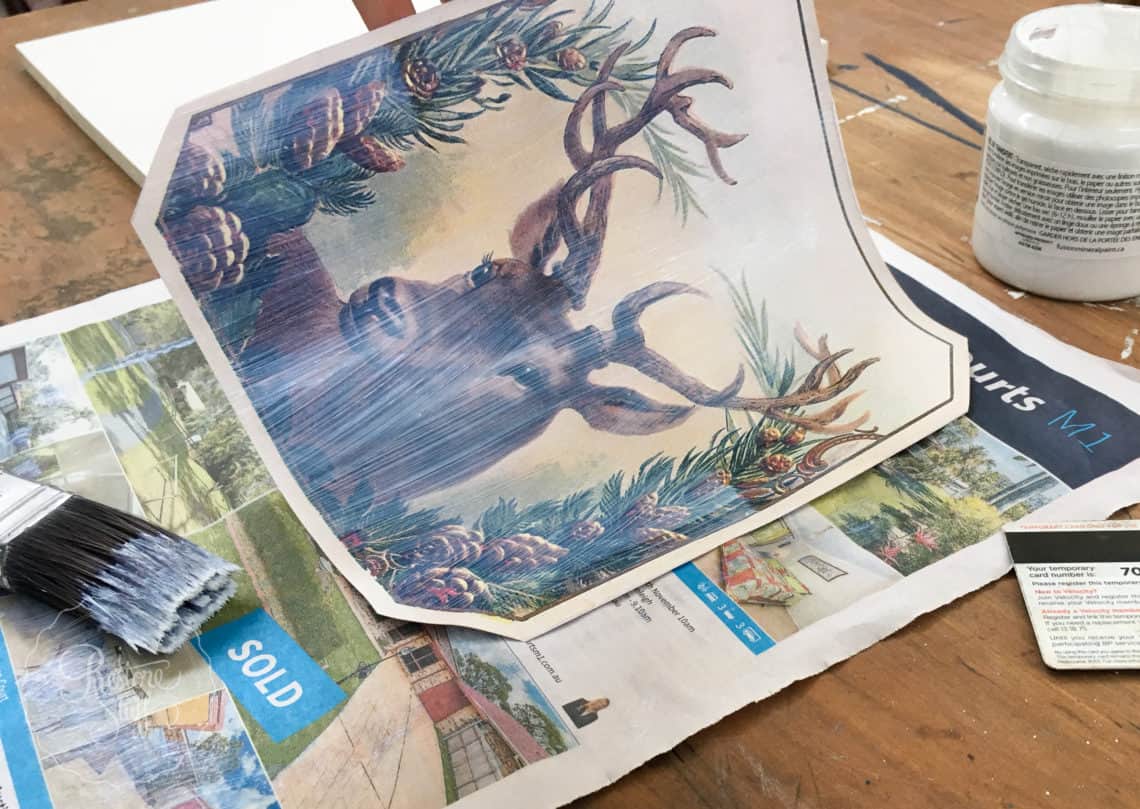
Cut out your graphic image
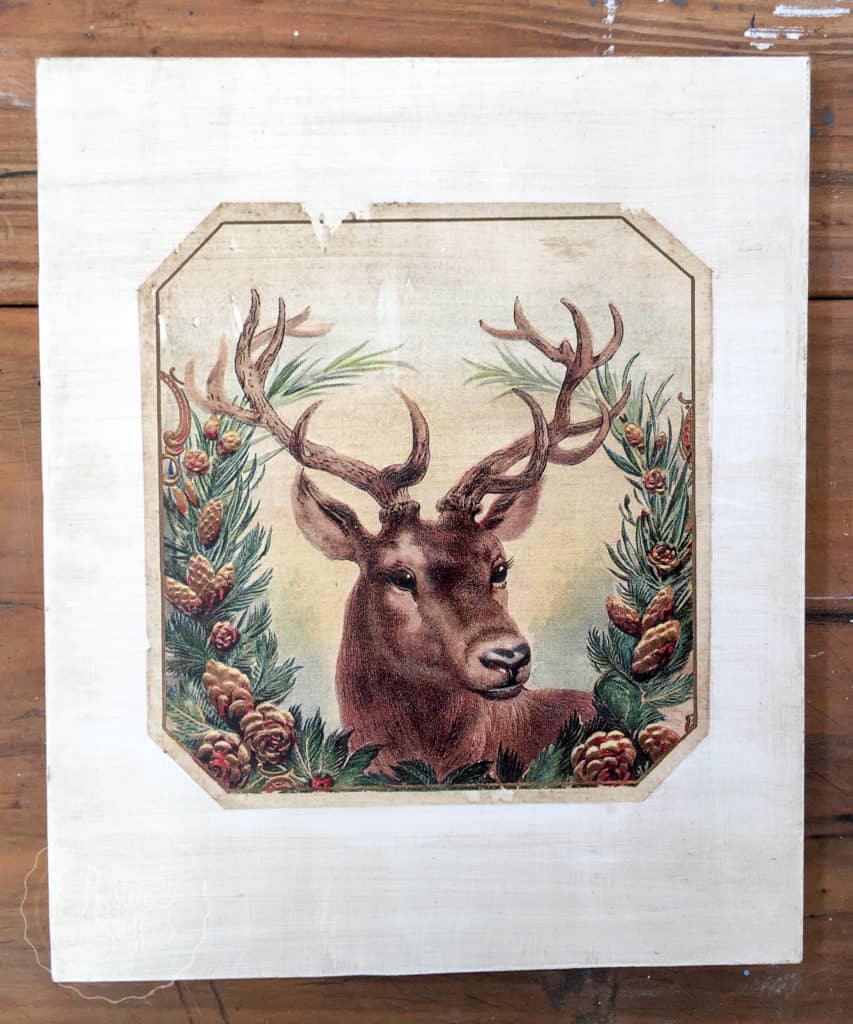
When cutting out your image, leave a small blank margin around the perimeter of the design. In the case of the deer image, I trimmed to the edge of the cream as the edge was already defined.
 Line up your image on your board to see exactly where you’d like to place it.
Remember that the image is going to go FACE DOWN, because it is the ink of the image that will be transferred onto your board using the transfer gel.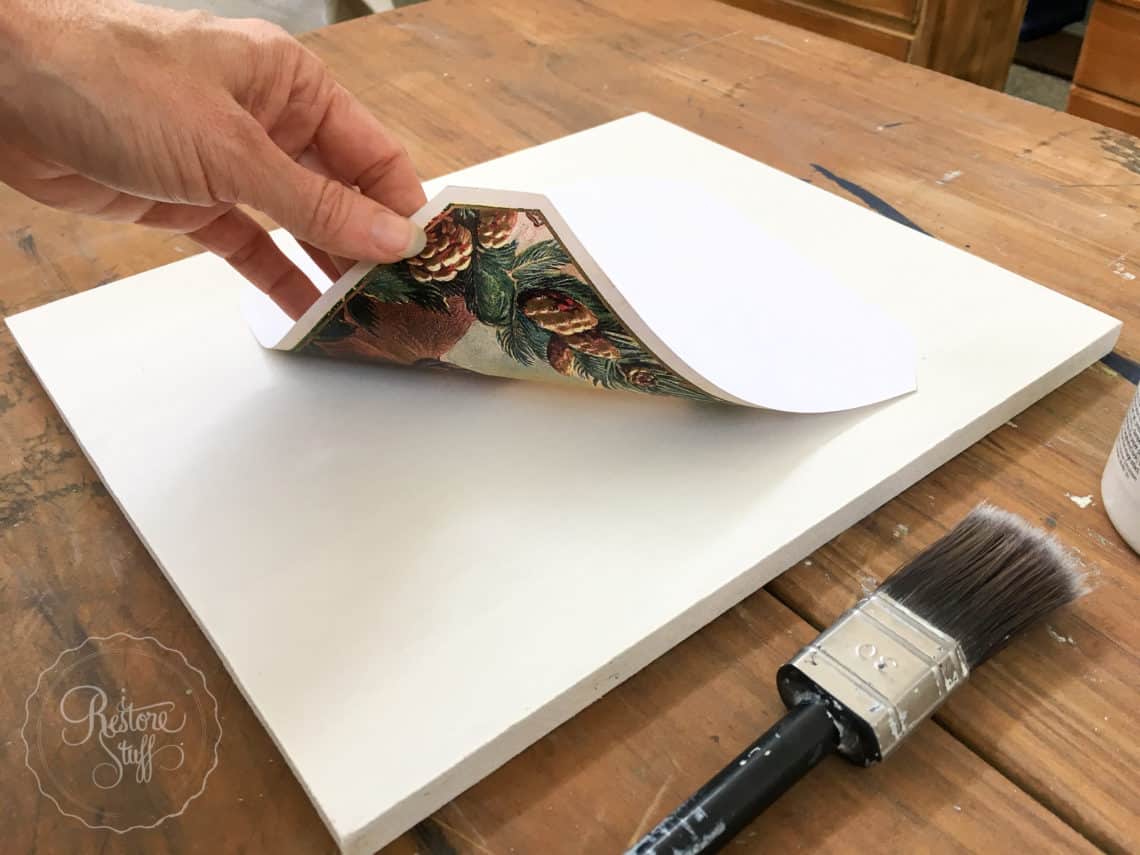 You may like to lay down some newspaper so that you don’t get gel on your workbench or table.
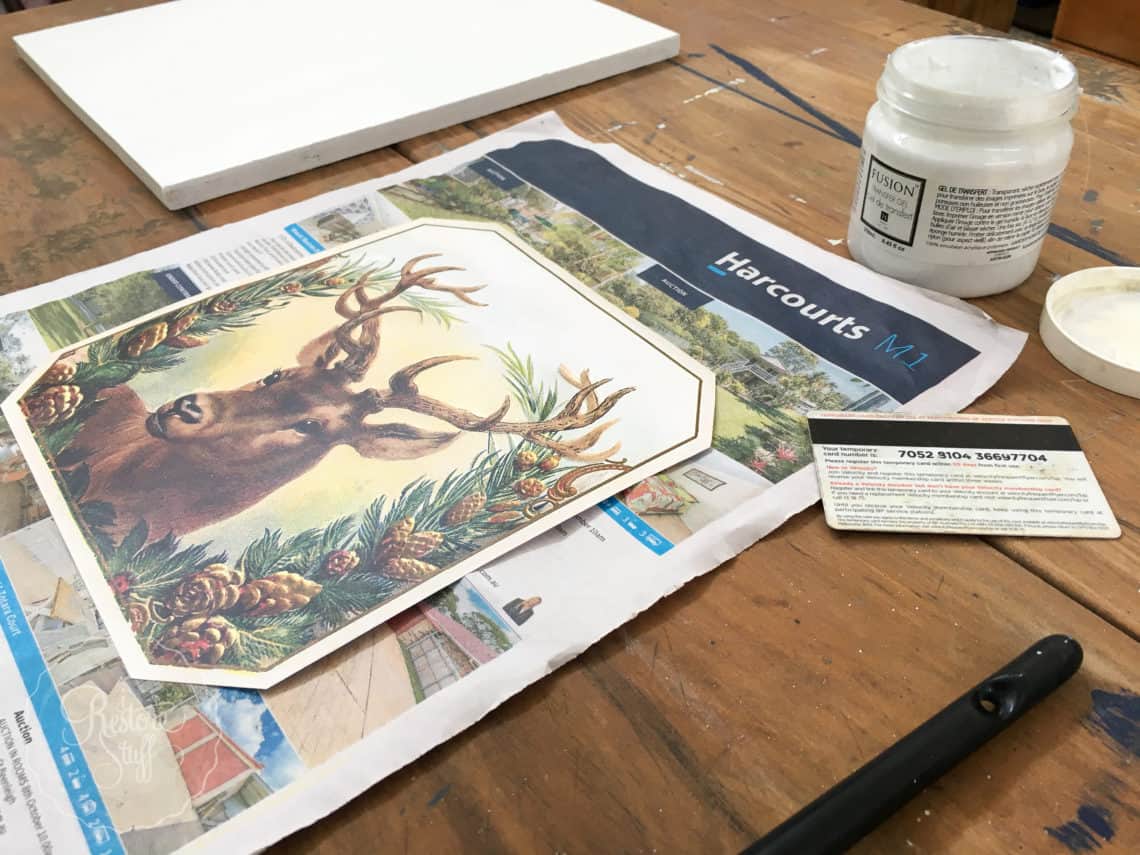
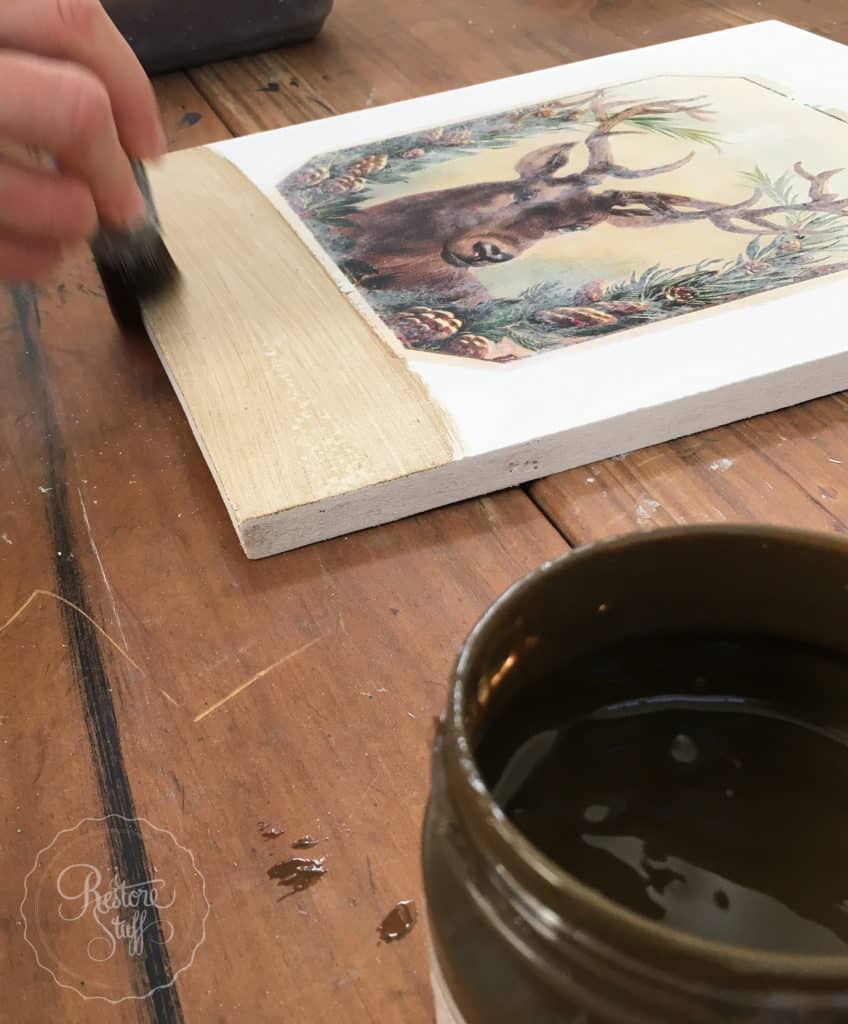
Applying the Transfer Gel
There are two ways to go about this:
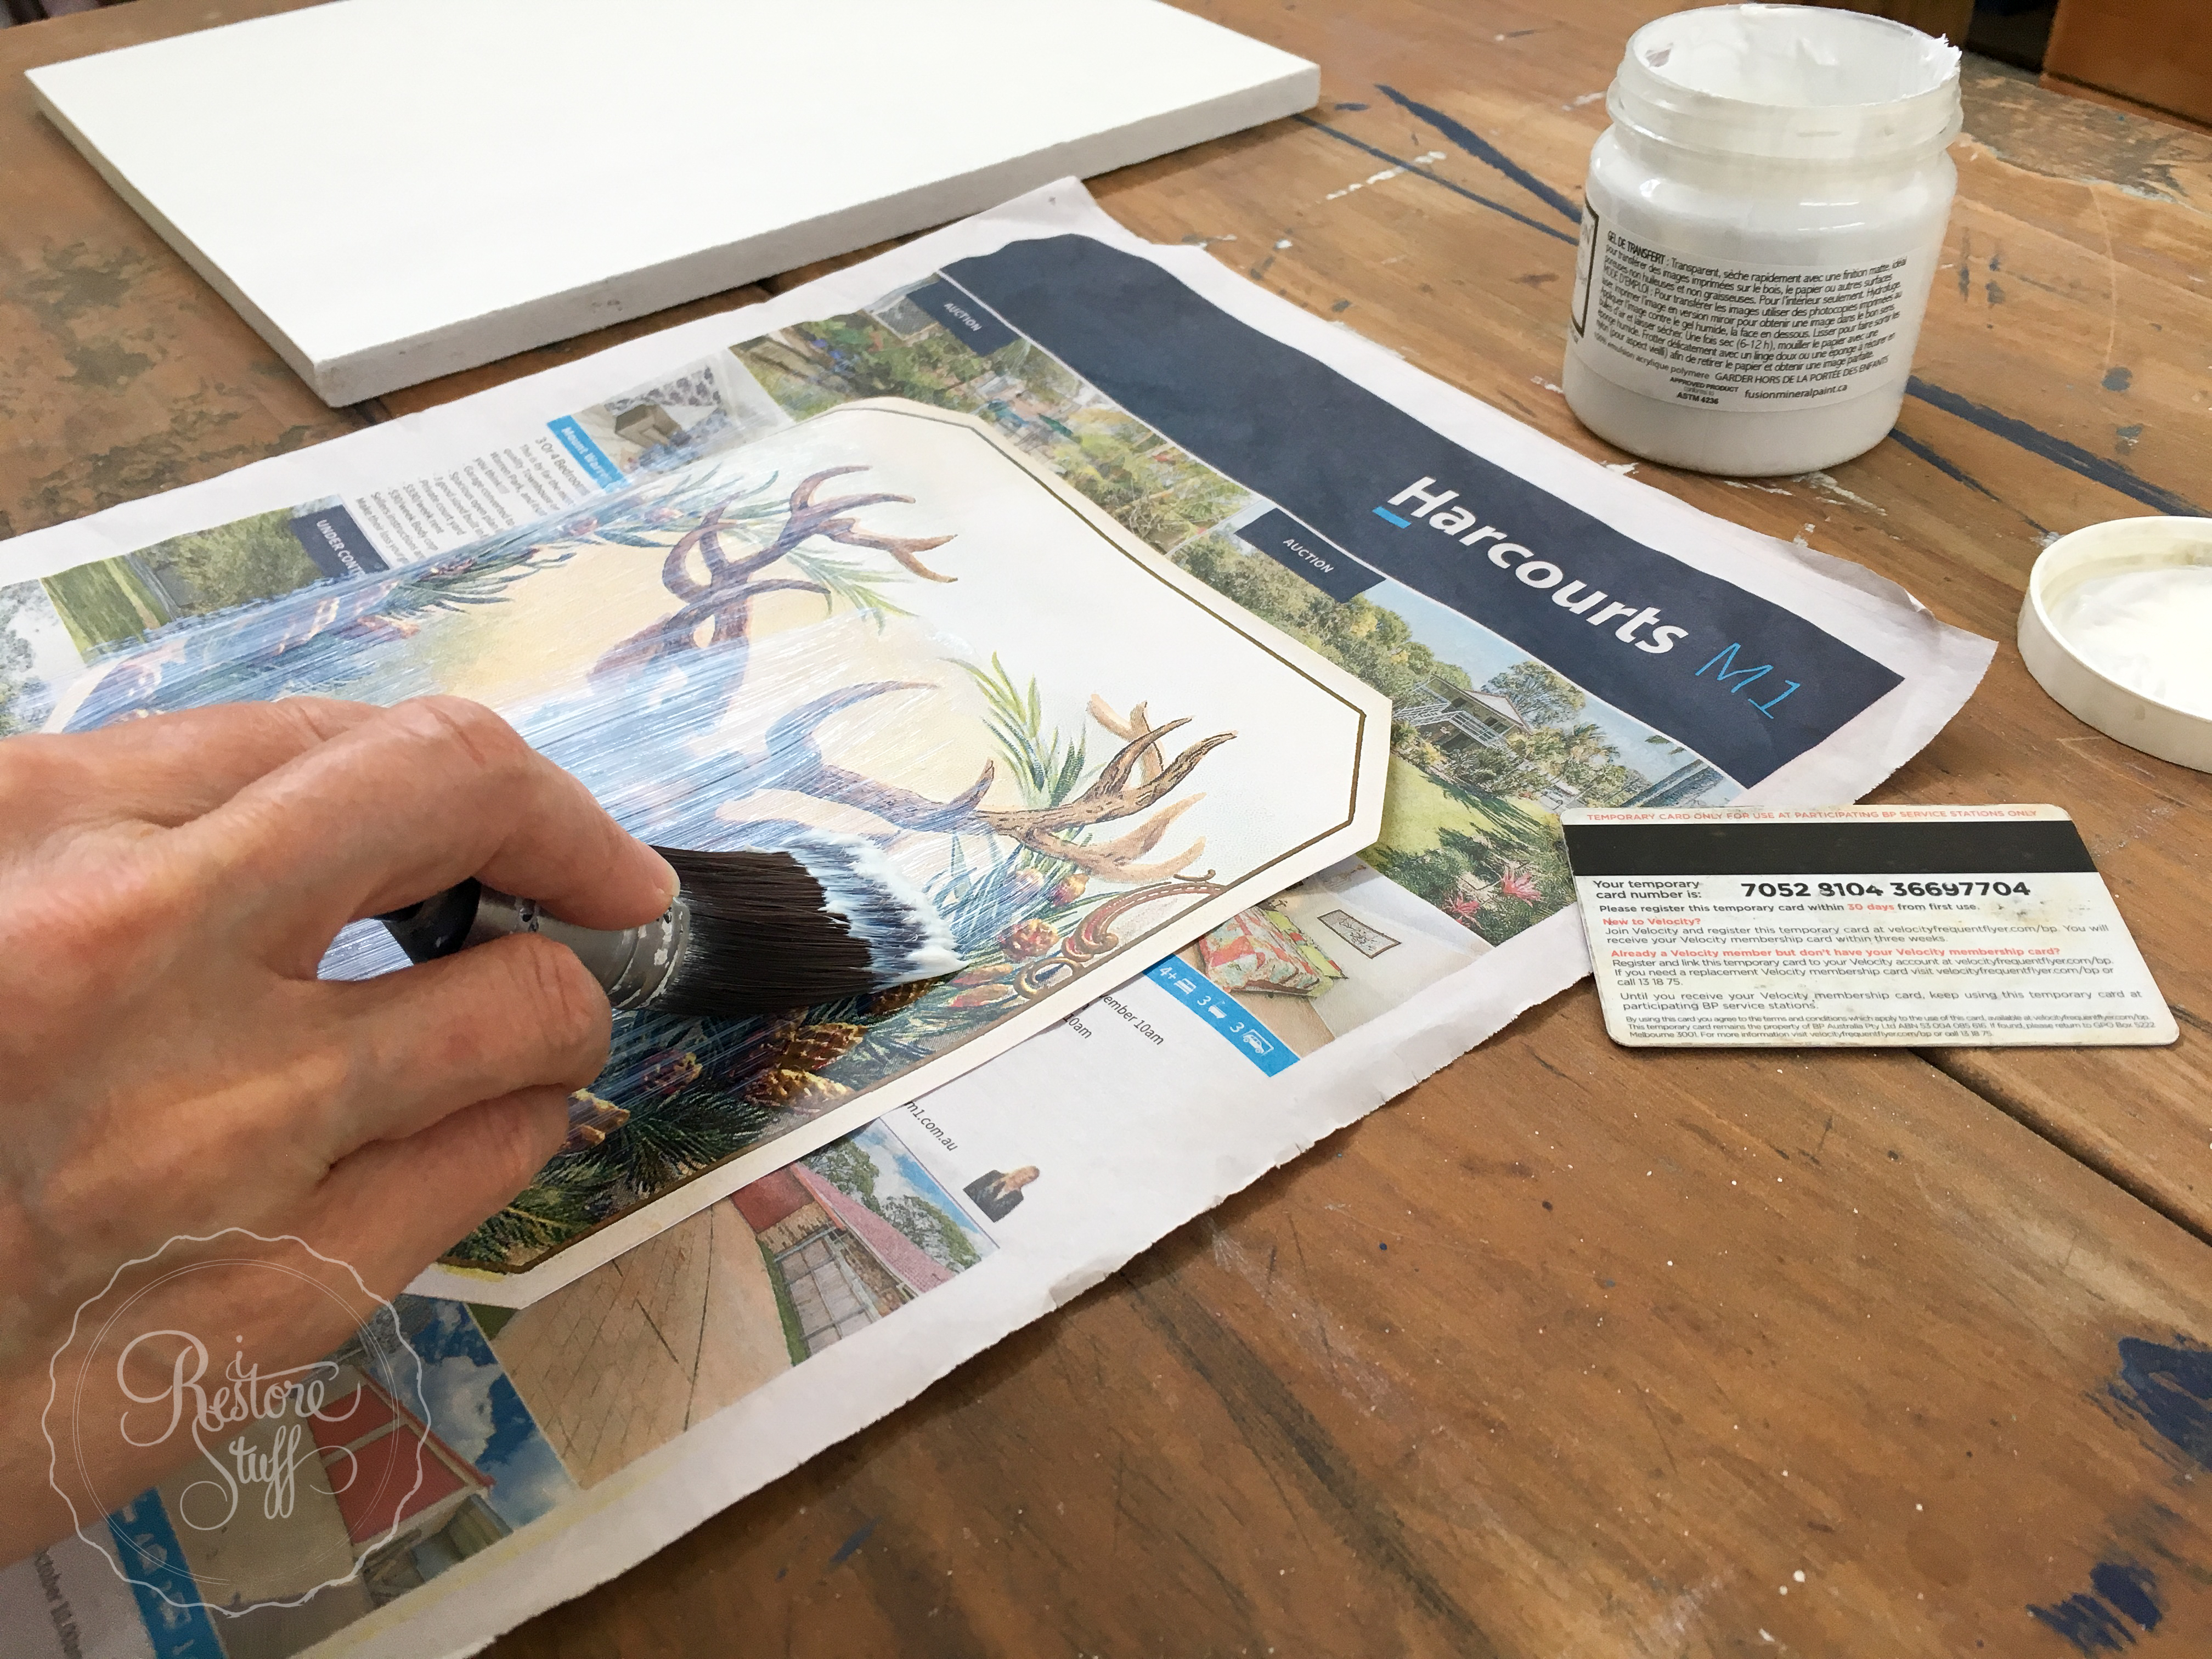
Either paint the printed side of your image with the transfer gel
OR
Paint your board with the transfer gel
Either way works well, sometimes I prefer painting on the board directly as it makes sure you cover every bit of surface, whereas painting on the image itself leaves room for error if you miss slightly on any of the edges.
 Place the image face down in the centre of the board.
Moving from the centre of the paper to the outsides, using a store card or credit card, smooth out the entire sheet, making sure there are no air bubbles trapped under the paper, smoothing right out to the edges.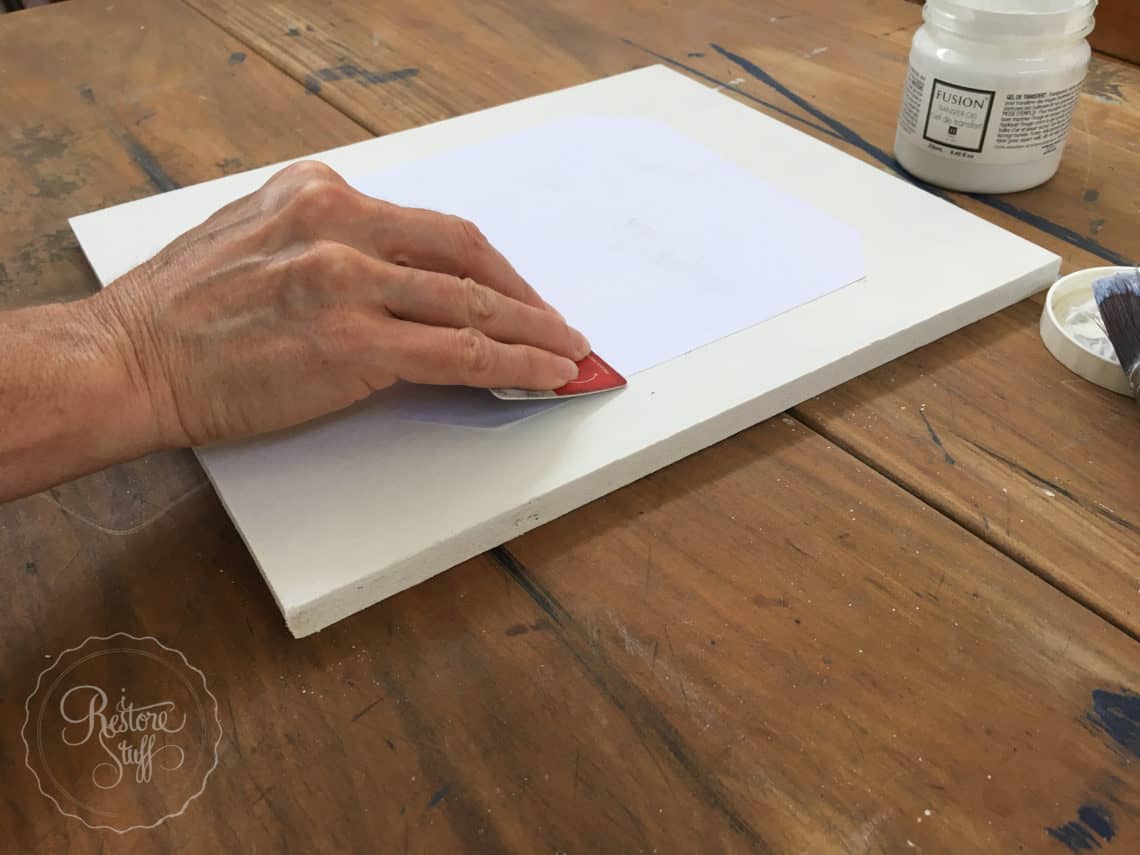
Patience anyone?
Here’s the part where you need to be patient.
Allow the image to completely dry – overnight if possible. I’ll let you in on my little secret, though.
I sometimes need to make things happen a little faster, especially in our sign making workshops where the attendees need to take their pieces home.
So I turn my oven on to a really low temperature, and sit the sign on the shelf for about an hour until it is dry. This is also great for a rainy day, when nothing seems to dry.
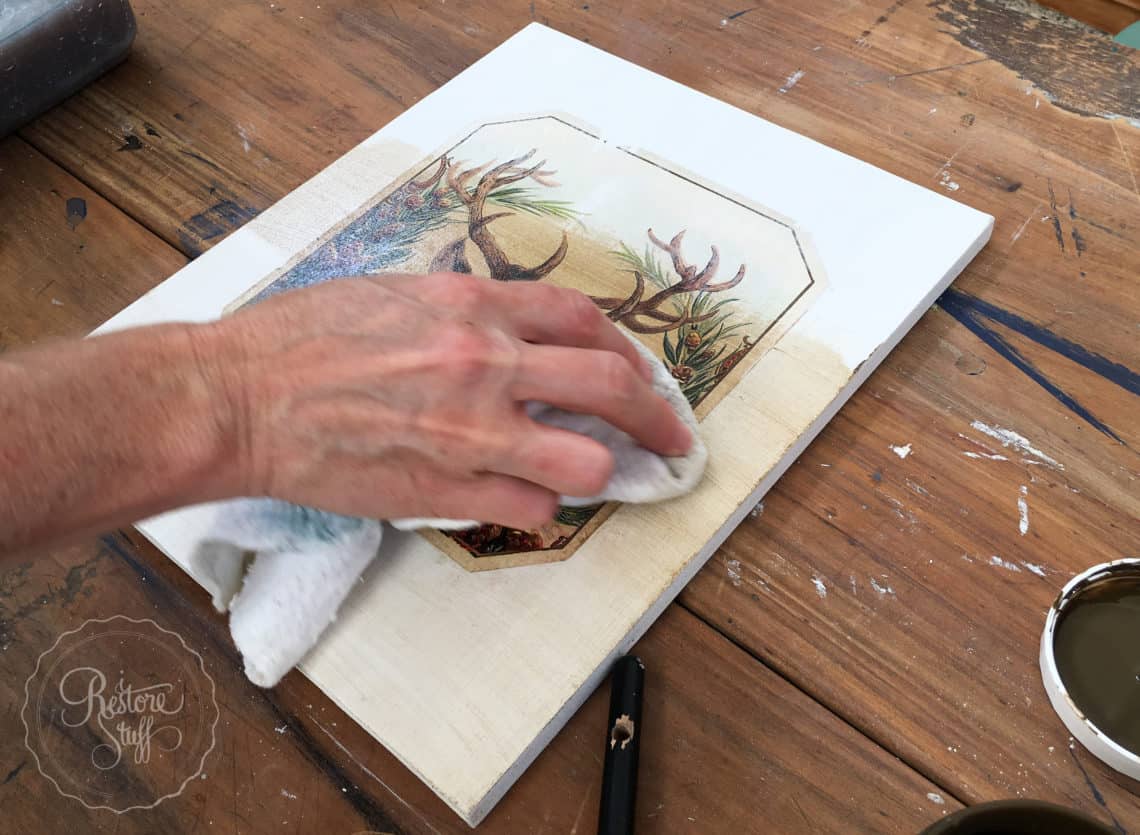
The image reveal
Have your water ready and dampen a cloth. It shouldn’t be dripping, just damp. Lay the damp cloth on the paper so that the dampness begins to soak through. You’ll begin to see the image peeping through the wet paper.
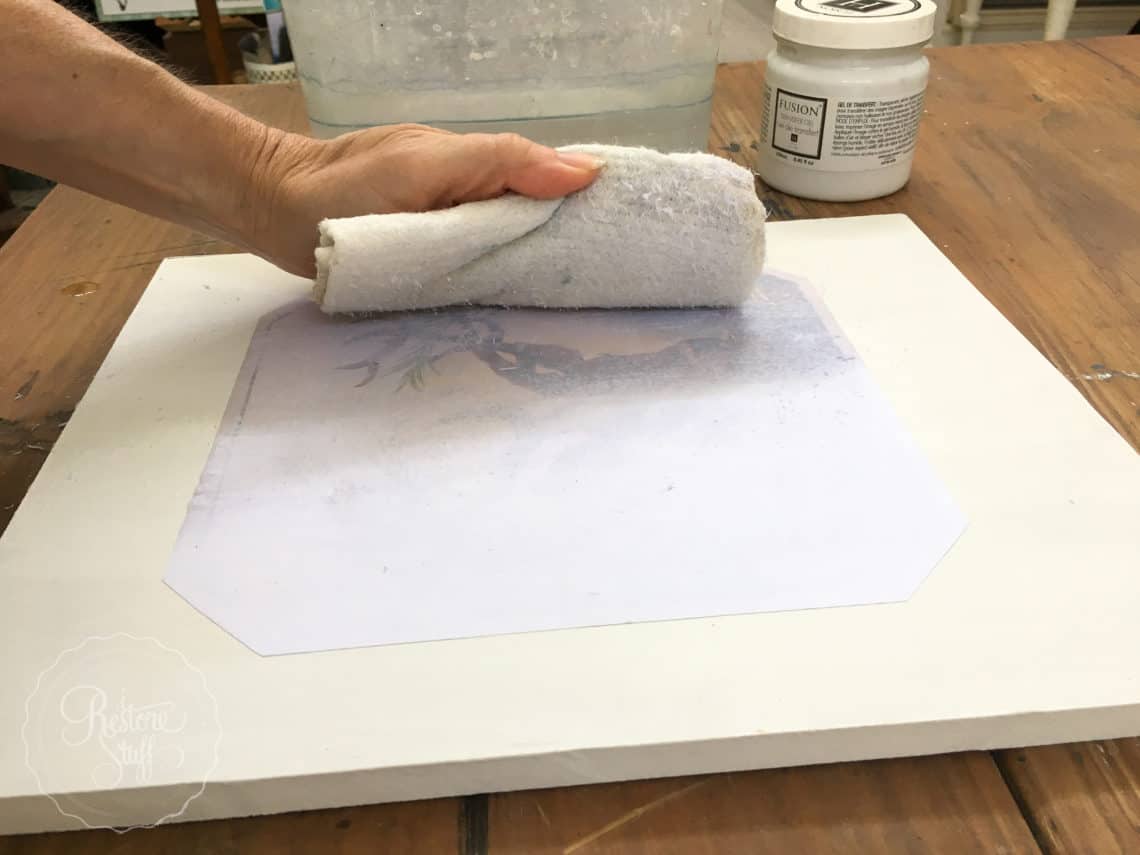 You can now begin to rub gently with the cloth across the paper until the paper comes away, usually in little rolled pieces.
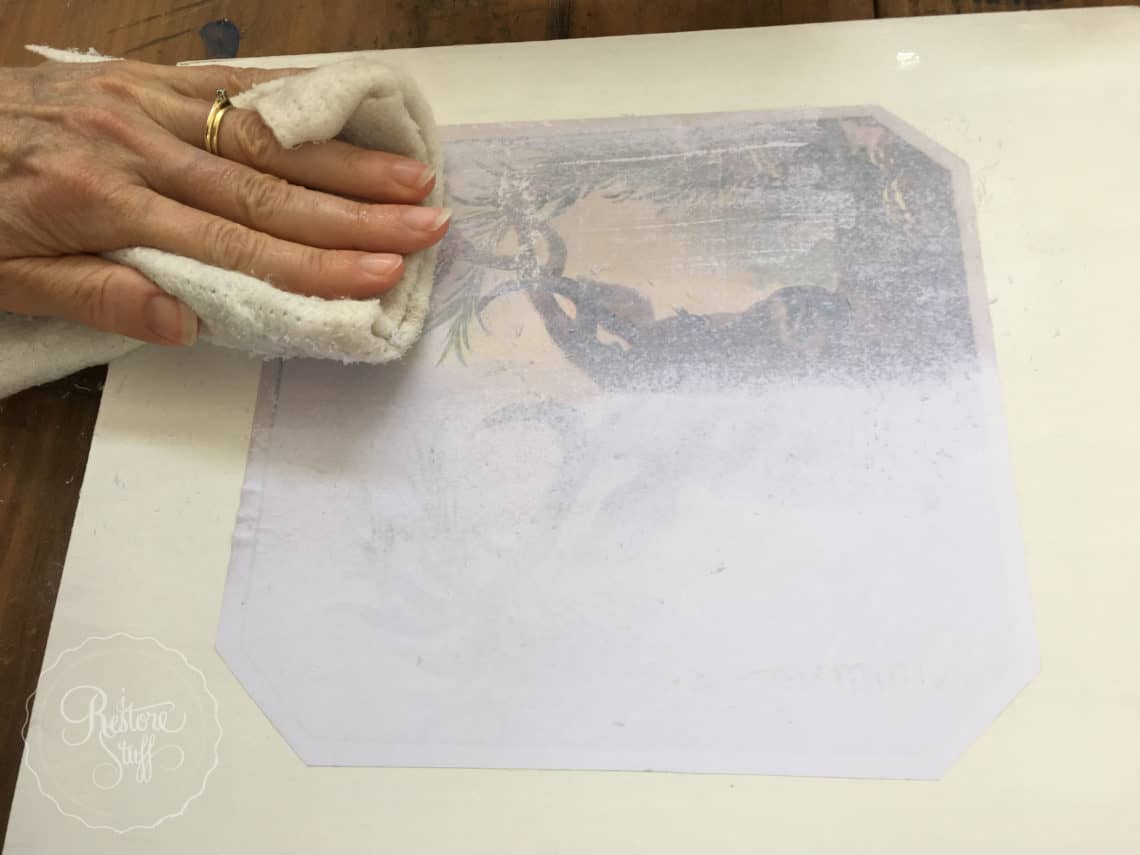 At this point I usually find it easier to rub with my fingers.
Keep rubbing until all the paper is removed.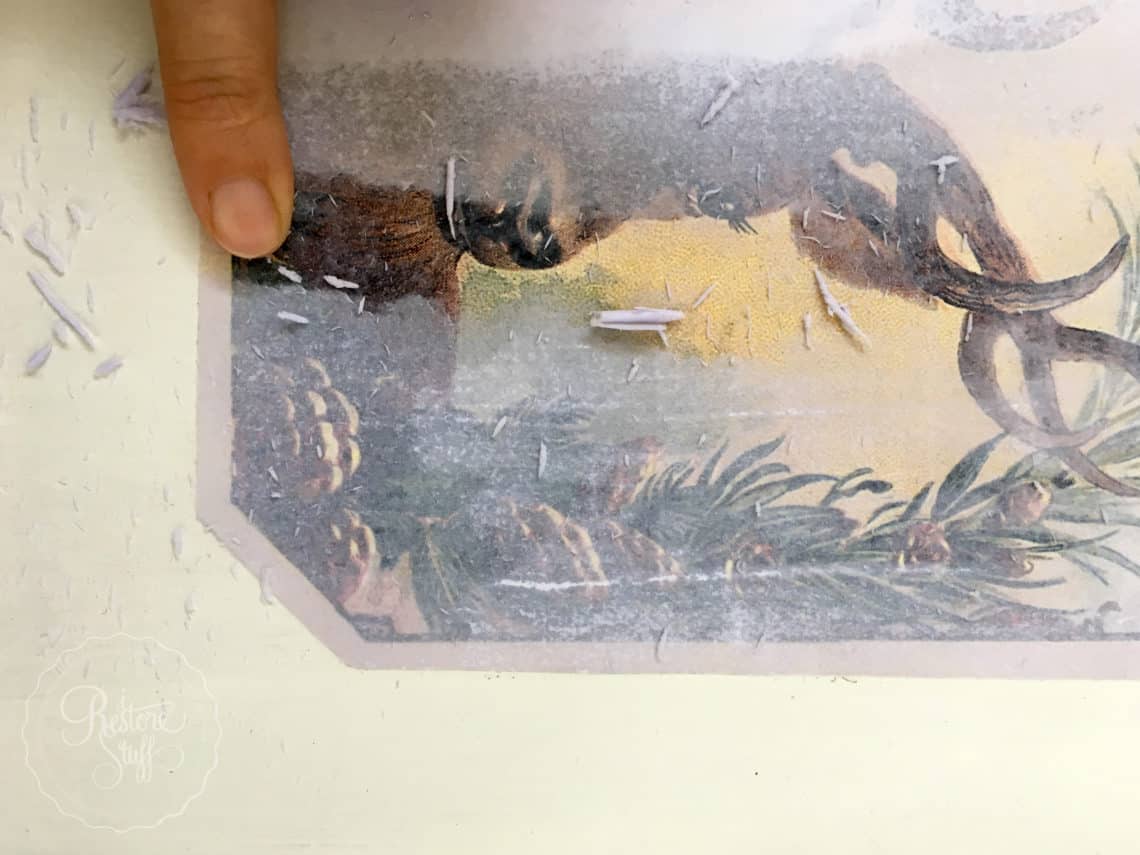 Here I’ve removed half of the image, just to show you how amazing this is going to look!
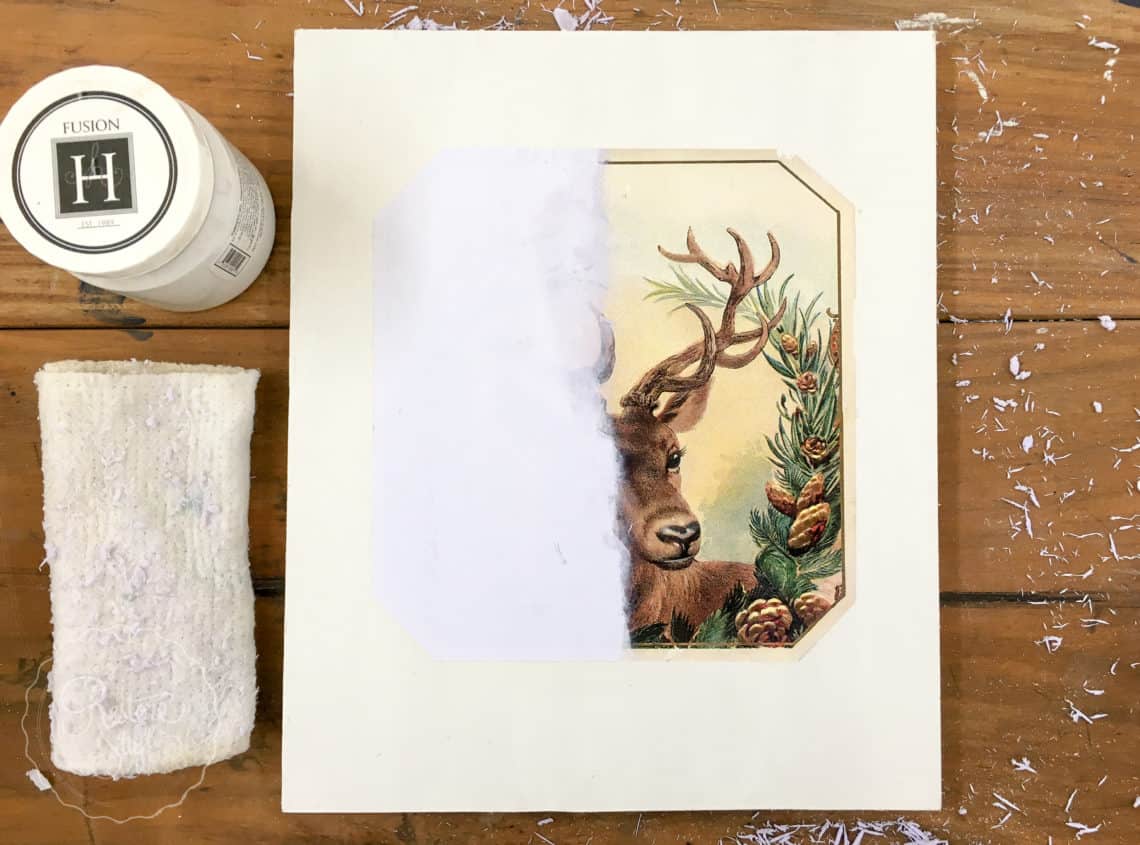 You can see some of the image rubbed away in small areas (below).
 But I don’t mind as it gives an authentic aged and weathered appearance to our already vintage graphic.
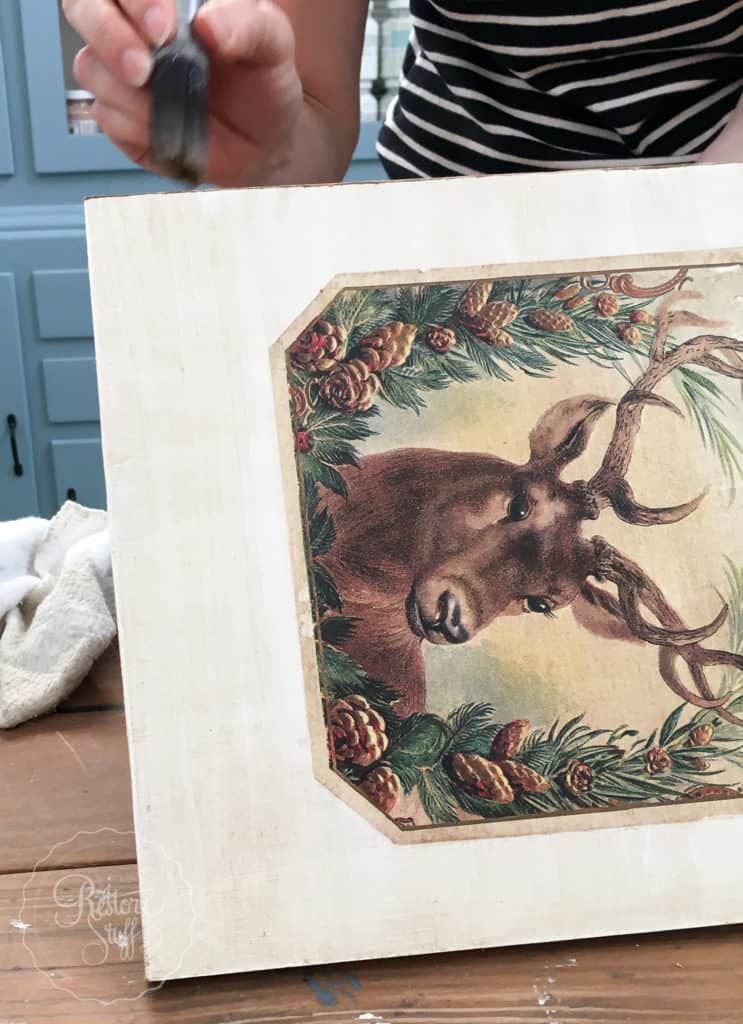
If you are expecting perfection with this method of transferring graphics, you may be a little disappointed if this happens to you. It takes a bit of practice to get the technique right so that you don’t rub off the entire image, but even being gentle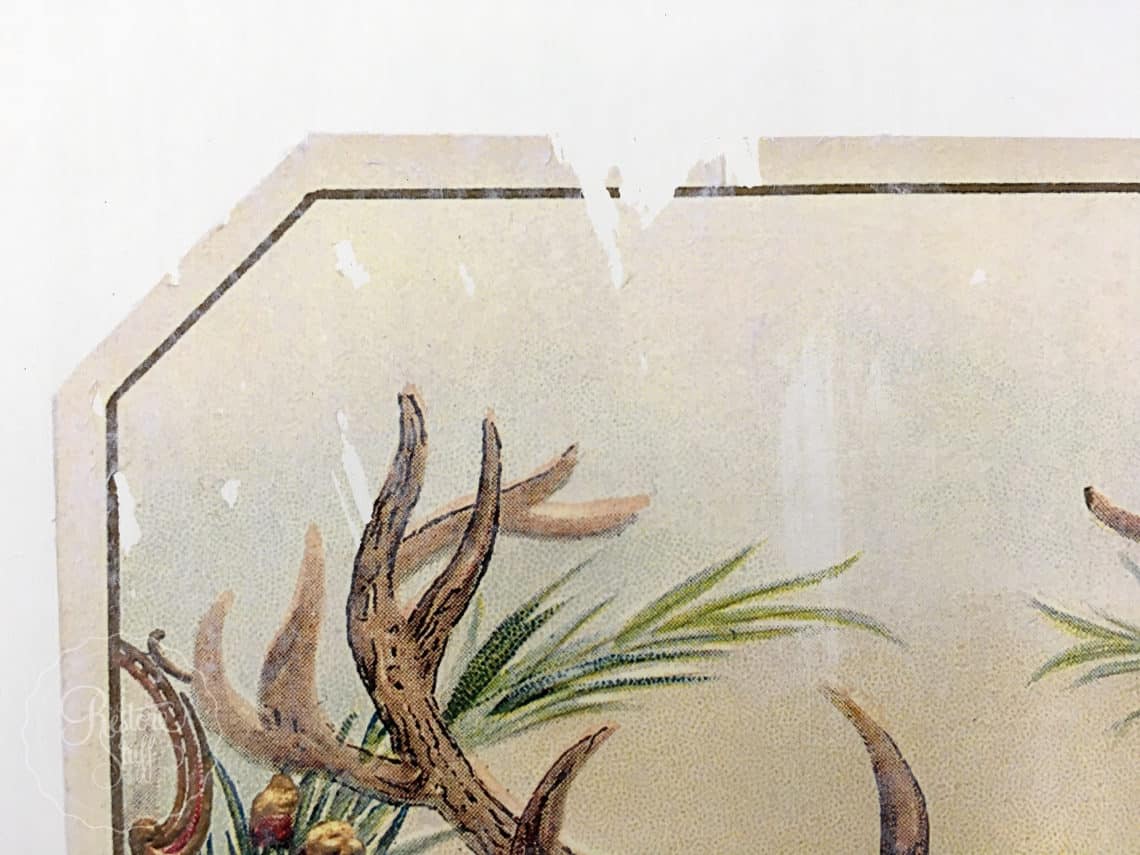 Also, notice in the image below, as the picture starts to dry, you can see patches of fuzzy white where the paper fibres have not yet been rubbed away. Be careful of rubbing to far or trying too hard to remove all of these areas, as it can very easily tear away your image.
Don’t stress too much if you can see very faint patches like you see here. When you seal your image in the next step, these will disappear.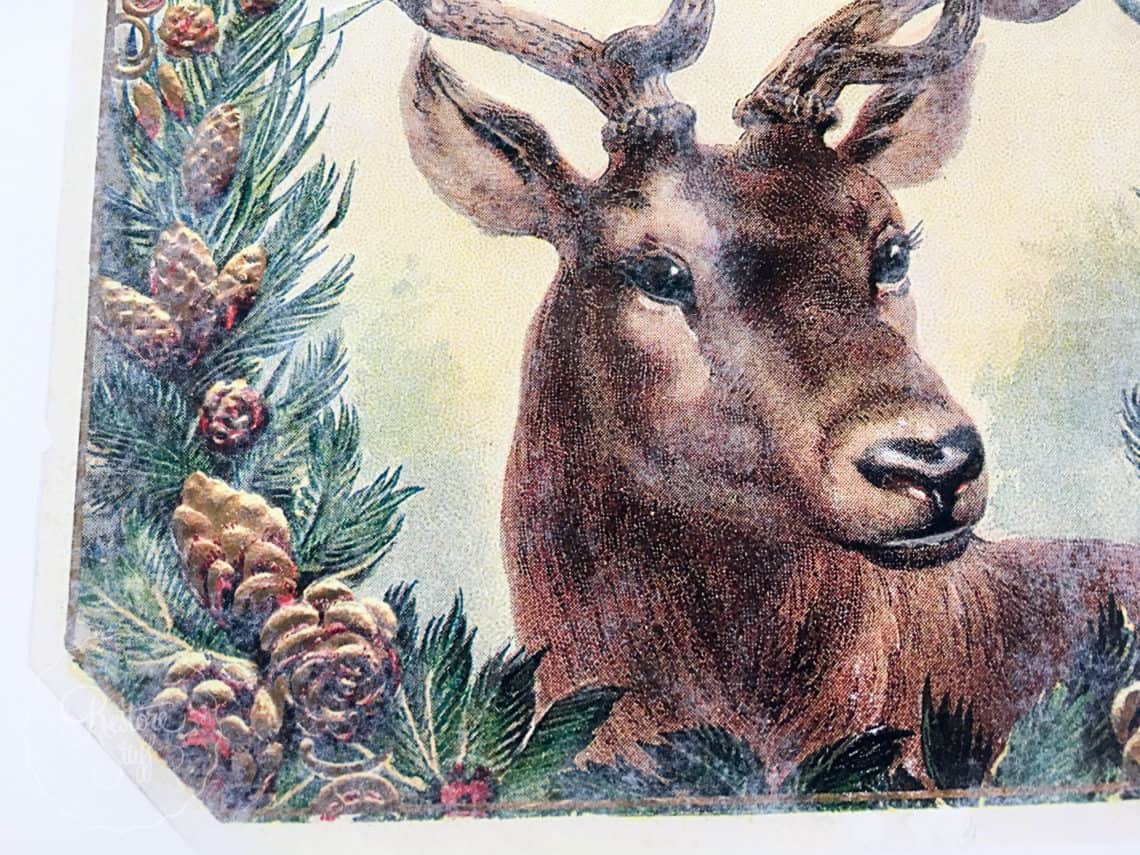
Adding a Sealer
Now it’s time to seal your image.
You could do this by brushing on a coat of polyurethane sealer such as Fusion’s Tough Coat Sealer, or you could use the Transfer medium itself.
Today, I wanted to continue the aged, vintage feel and have decided to add some Antiquing Glaze over the whole board.
Antiquing glaze is easy to use: brush on – then wipe off.
Usually go in the direction of the grain of the wood if you can see it. That way if there are little grains/grooves for the antique glaze to sit in, they’ll be highlighted when you wipe off. Do the “wiping” part gently, you don’t want to wipe it all off again, you are just removing the excess, leaving a lovely antique or aged look on the painted wood and image.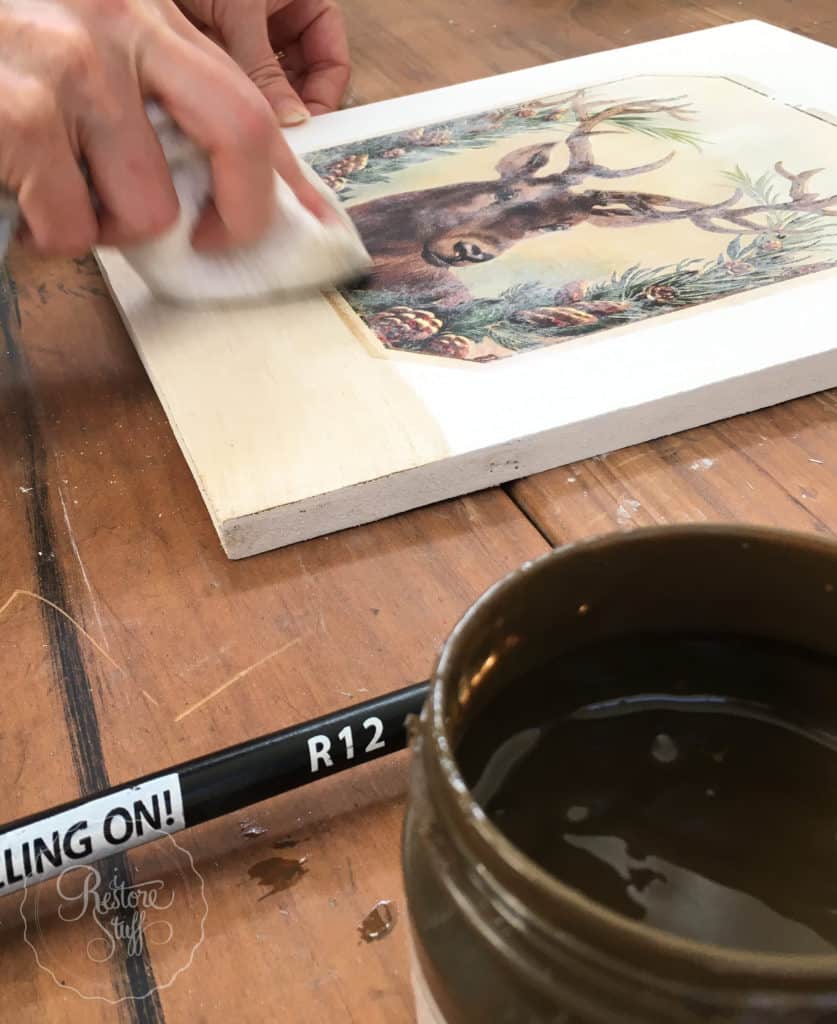 I worked in sections so that it didn’t dry too much before I was able to wipe off the excess.
 Don’t forget to do your edges too, for a uniform look.
To finish, it is best to add a coat of proper sealer when the glaze is completely dry. Glazes are not meant to act as a sealant, so go ahead and brush on a varnish or Polyurethane to fully seal your artwork. This way you can confidently wipe or dust it as the years go by.
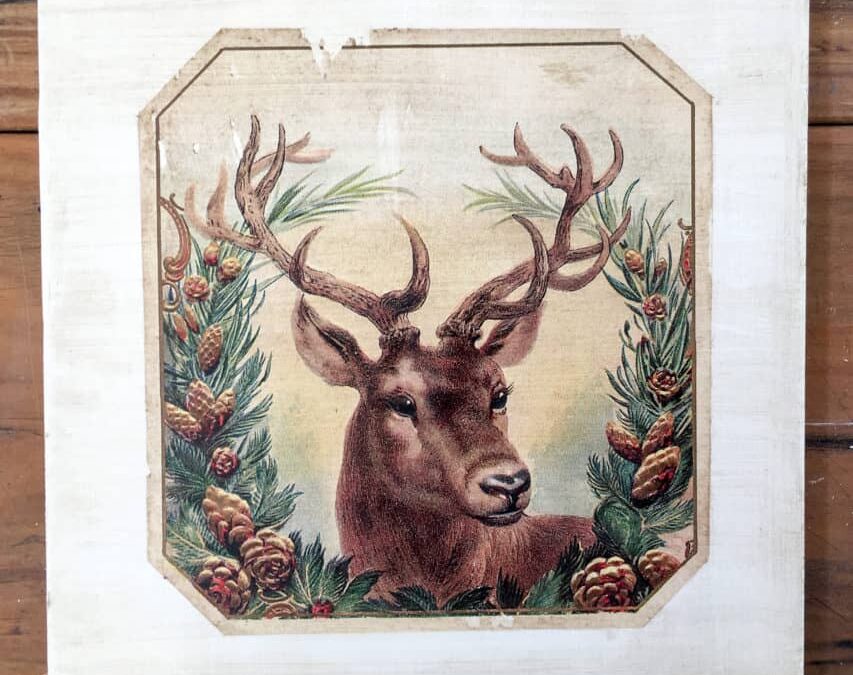
And here she is all ready to hang for the Holiday season!
Don’t forget to check out my Tutorial videos on my Youtube Channel for even further instructions on getting this technique down pat!
Did you like this post? Feel free to Pin this image to your Pinterest Board:
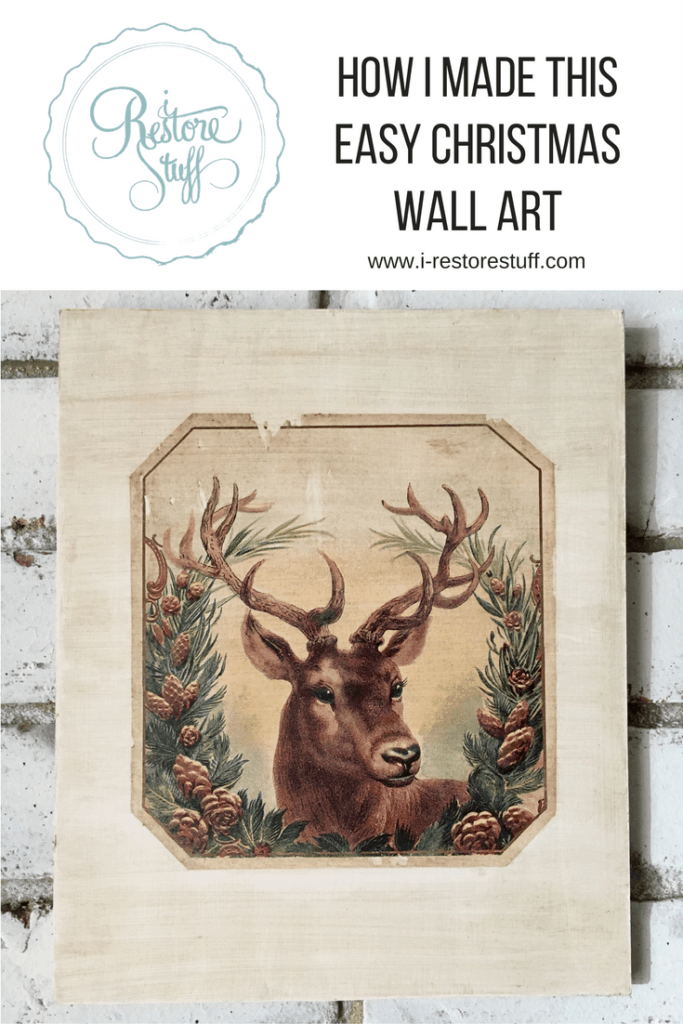
Pin this image to your Pinterest board!