
A Lampshade Workshop with Wendy from Vintage66 studio
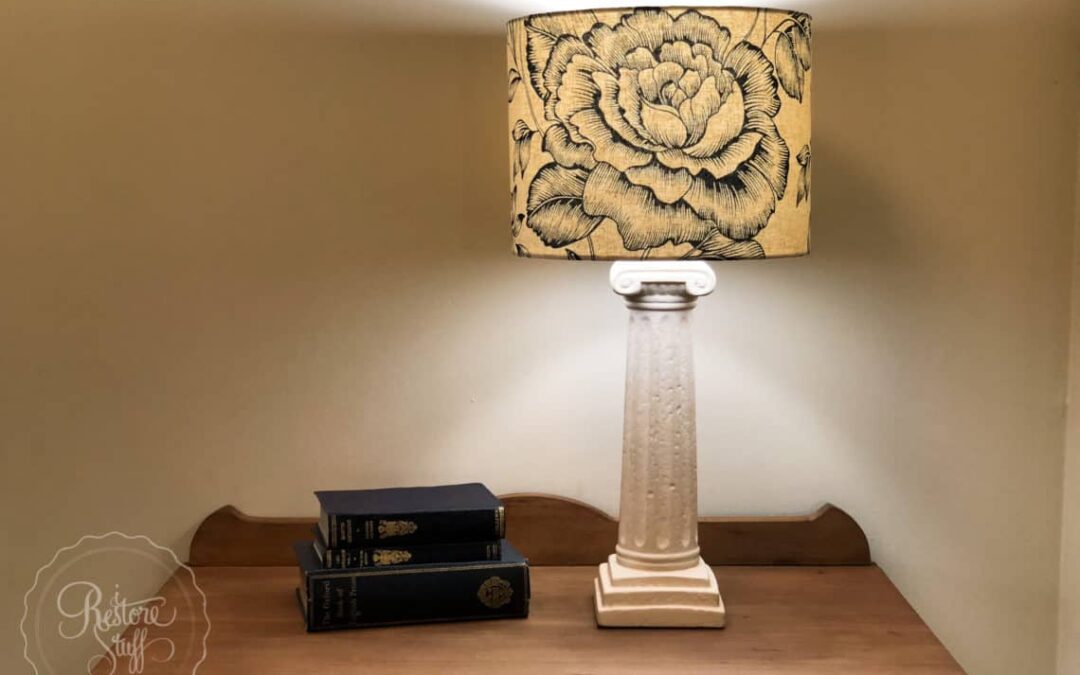
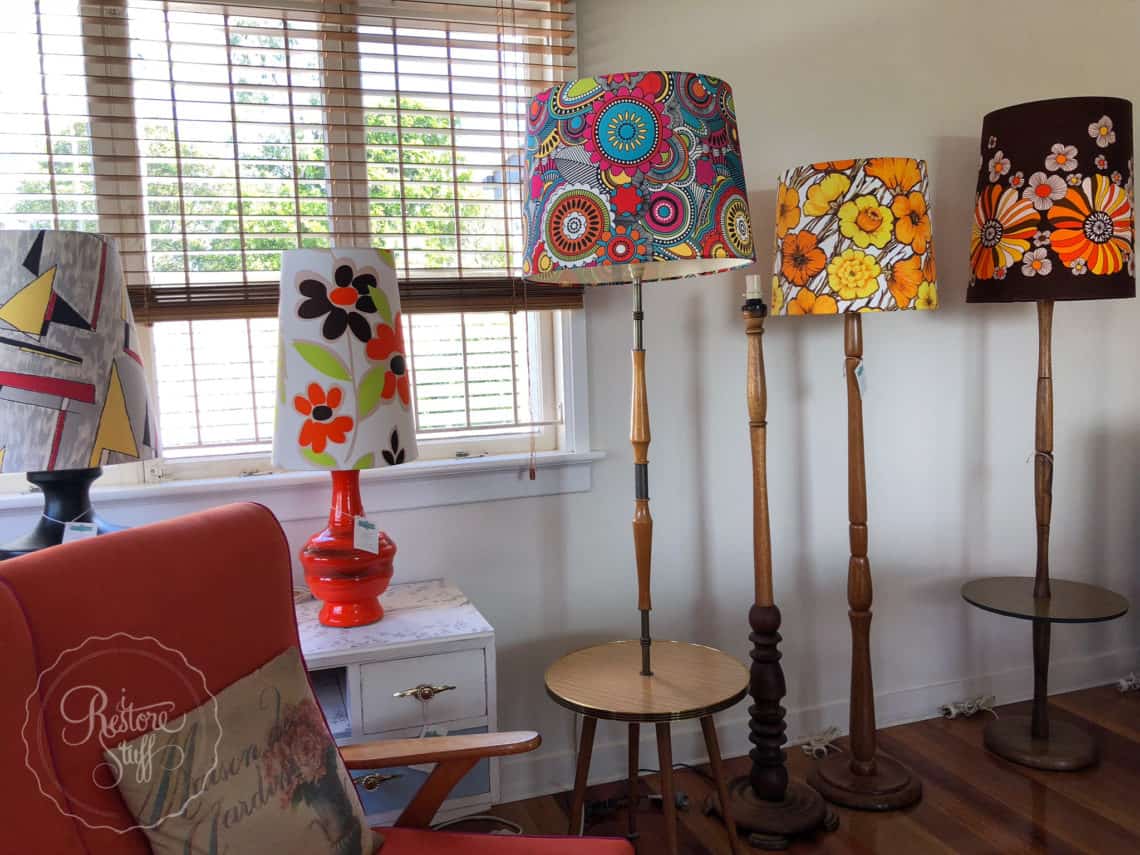
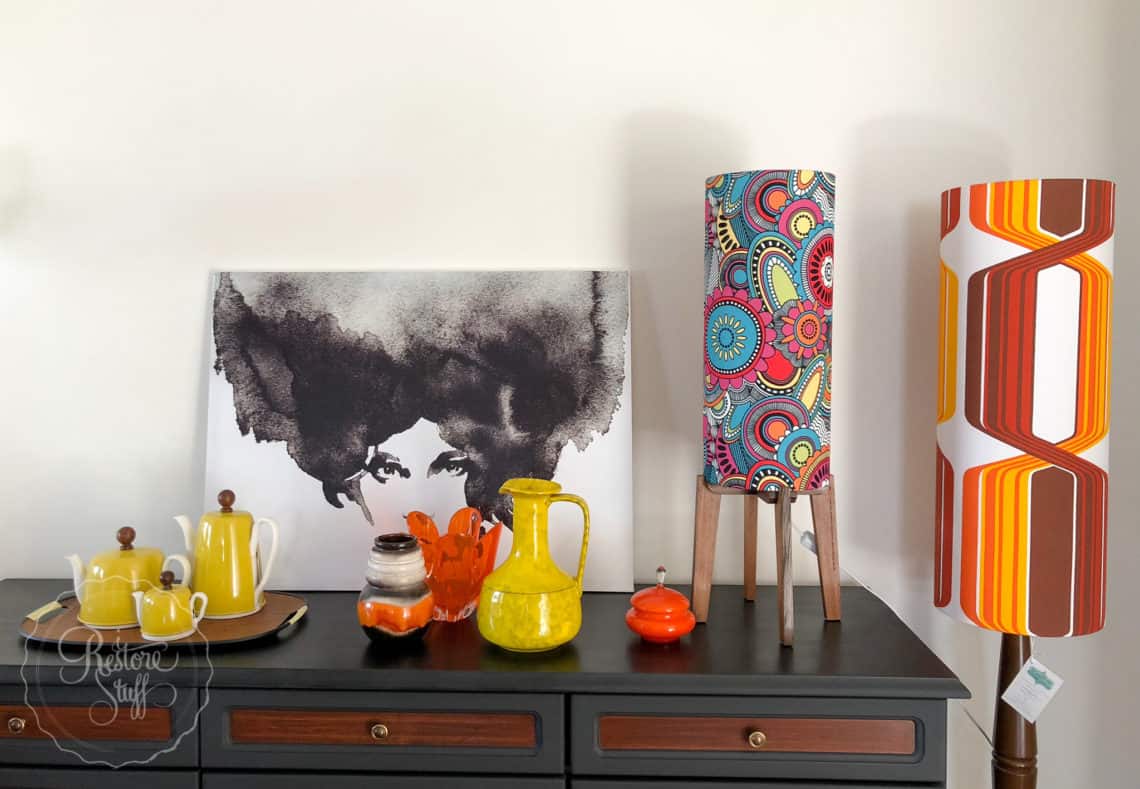
Walking into Wendy’s lampshade workshop space, is like a trip back in time to a retro era of bold patterns, colours and florals, mixed with wood & ceramics. Her beautiful lamps, that she is quickly becoming known for in the bespoke vintage/retro furniture and decor world, adorn her living spaces, showcasing an array of lampstands and shades from eras gone by, along with contemporary styles.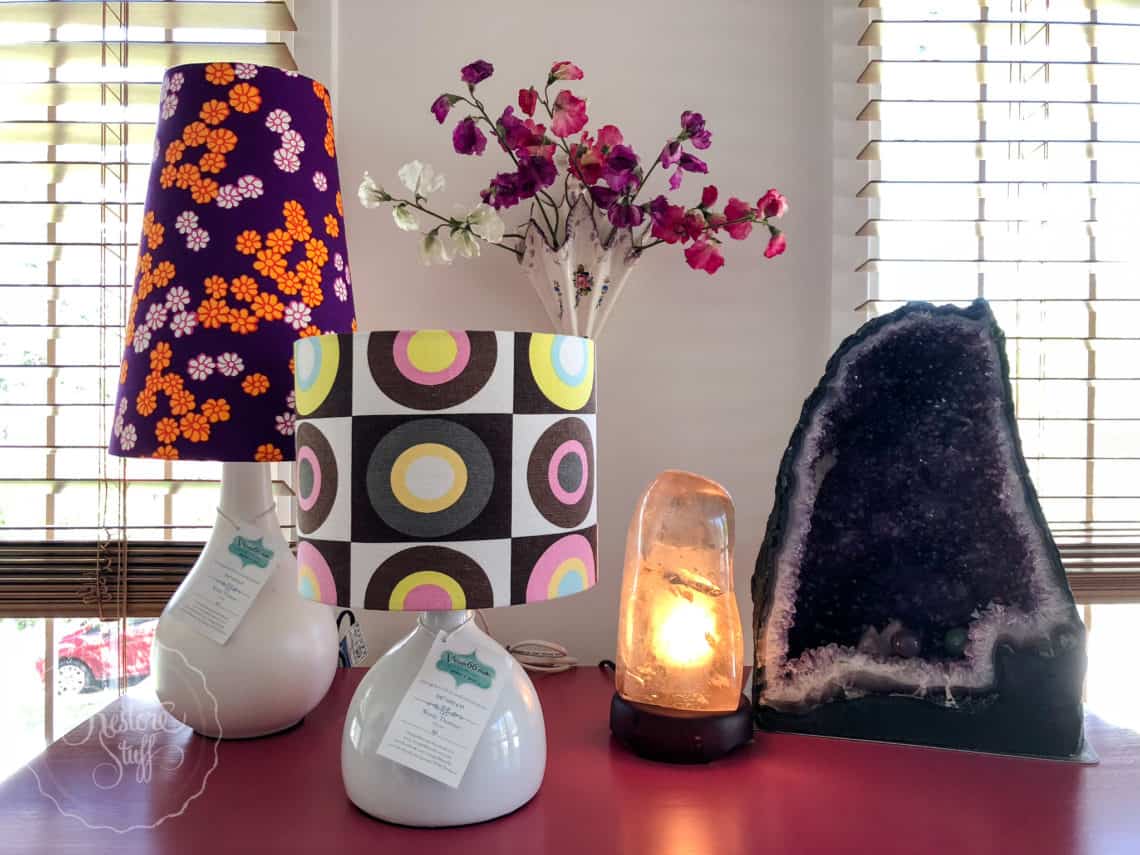 I first met Wendy when she and her sister, who are both fellow furniture flippers, attended one of my furniture painting workshops. Wendy loves to use Fusion Mineral Paint & Chalk Paint on her furniture projects and has also used Fusion Mineral Paint on her lamp bases occasionally to revamp an old lamp.
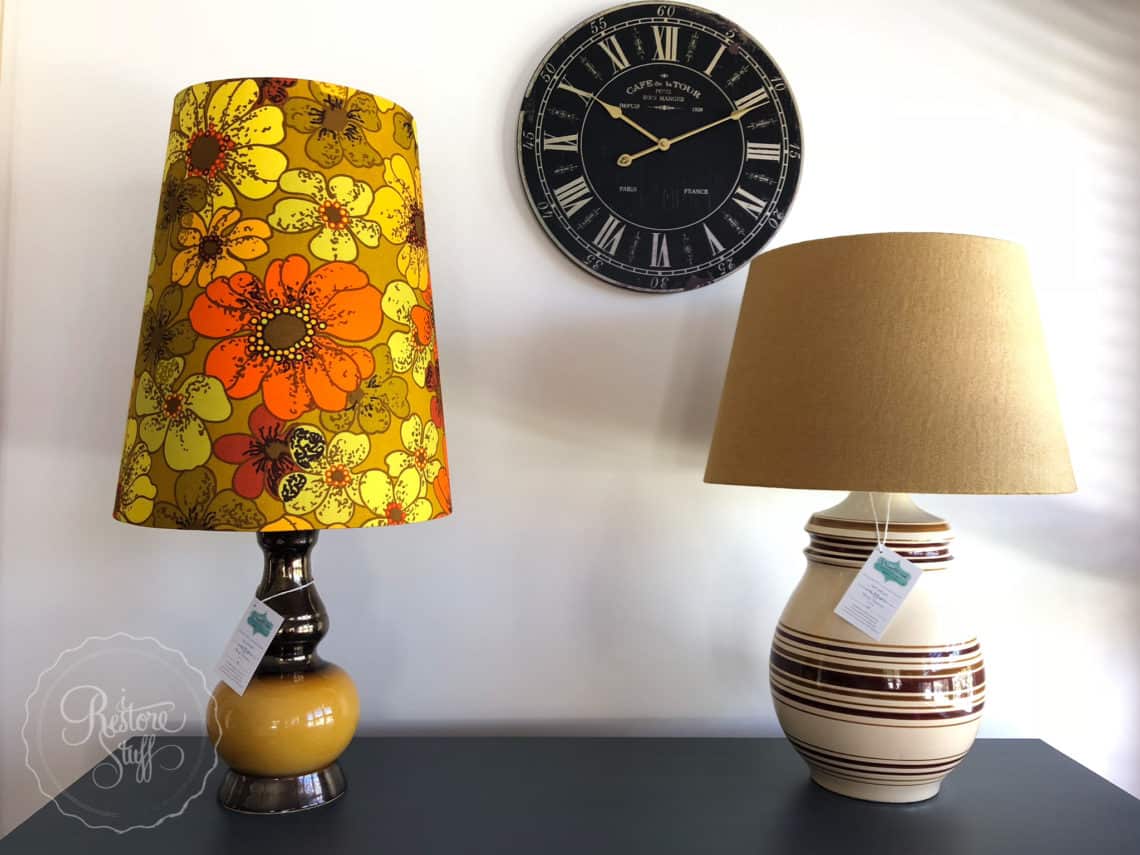
The Workshop
Wendy holds lampshade workshops regularly, so if you’re in the Brisbane area, find her workshop events listed on her Facebook page.
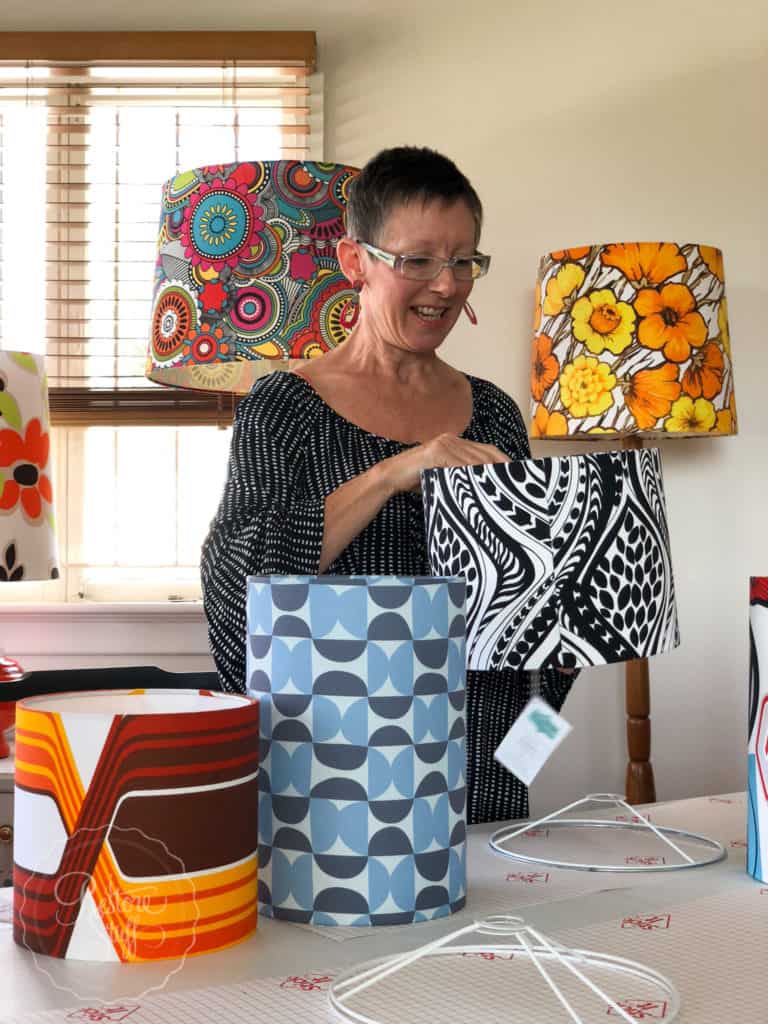
First, a demo of the different size shades available at this workshop:
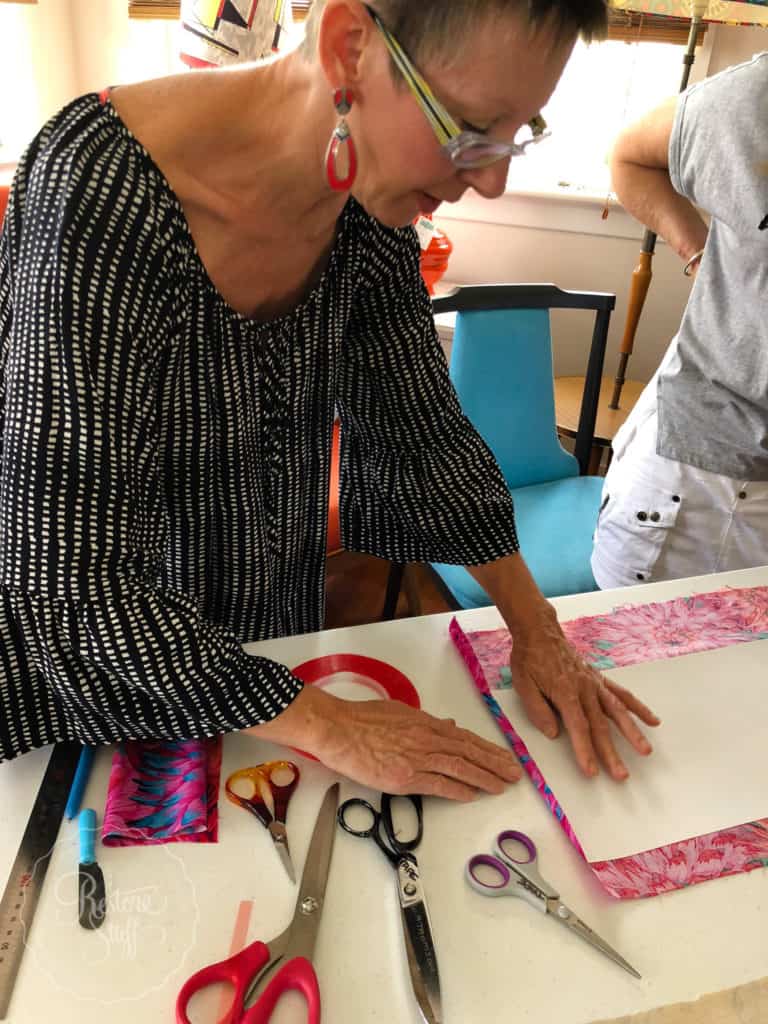
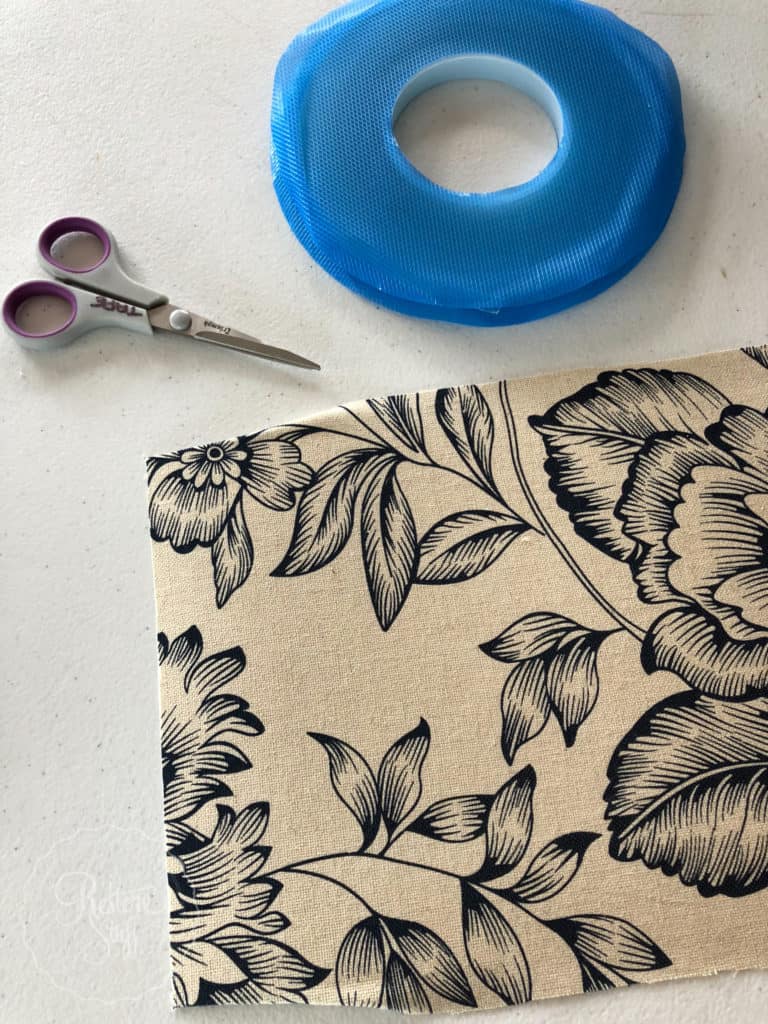
Now to lay out our chosen fabric and attach the PVC adhesive, then cut carefully around the fabric, leaving a margin. Wendy has full instructions with each lampshade kit, which she also provides to those wanting to make a lampshade themselves. I do recommend attending a workshop first, though.
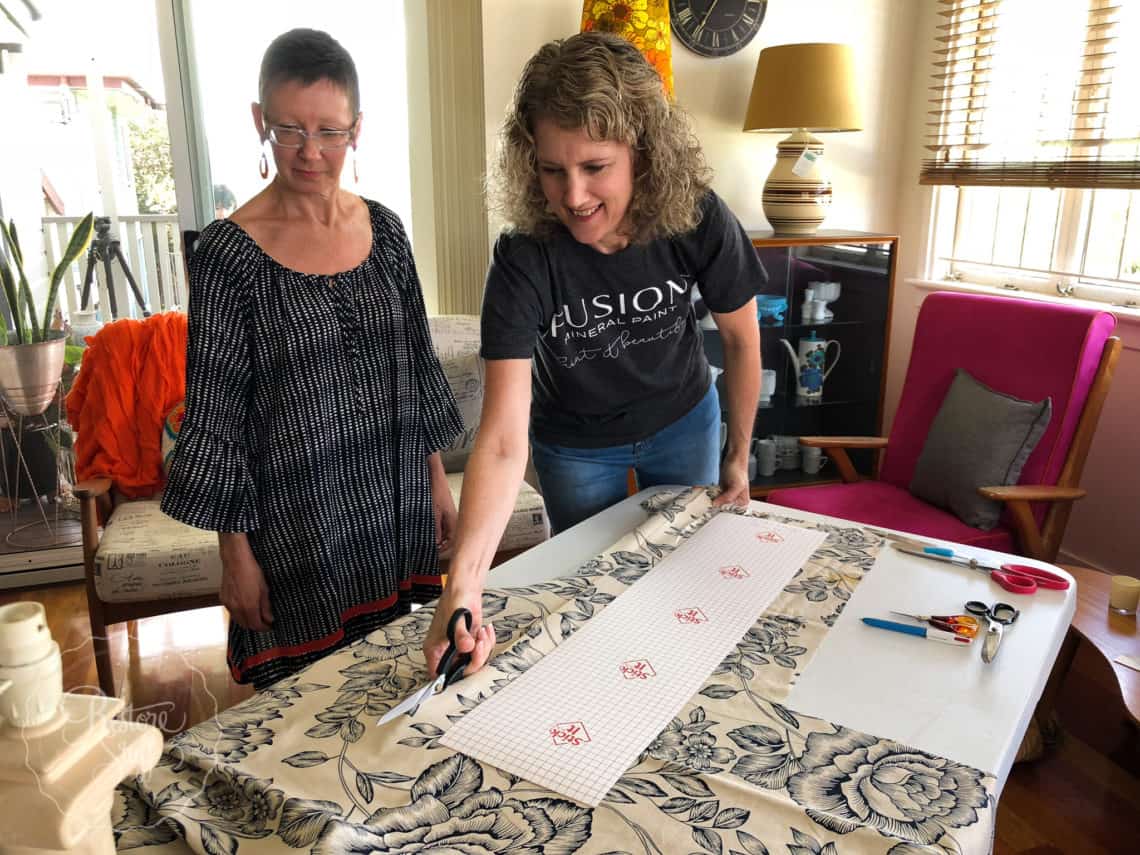
Do you recognise my fabric from other projects I’ve done recently? Like this balloon back chair (read about it HERE)

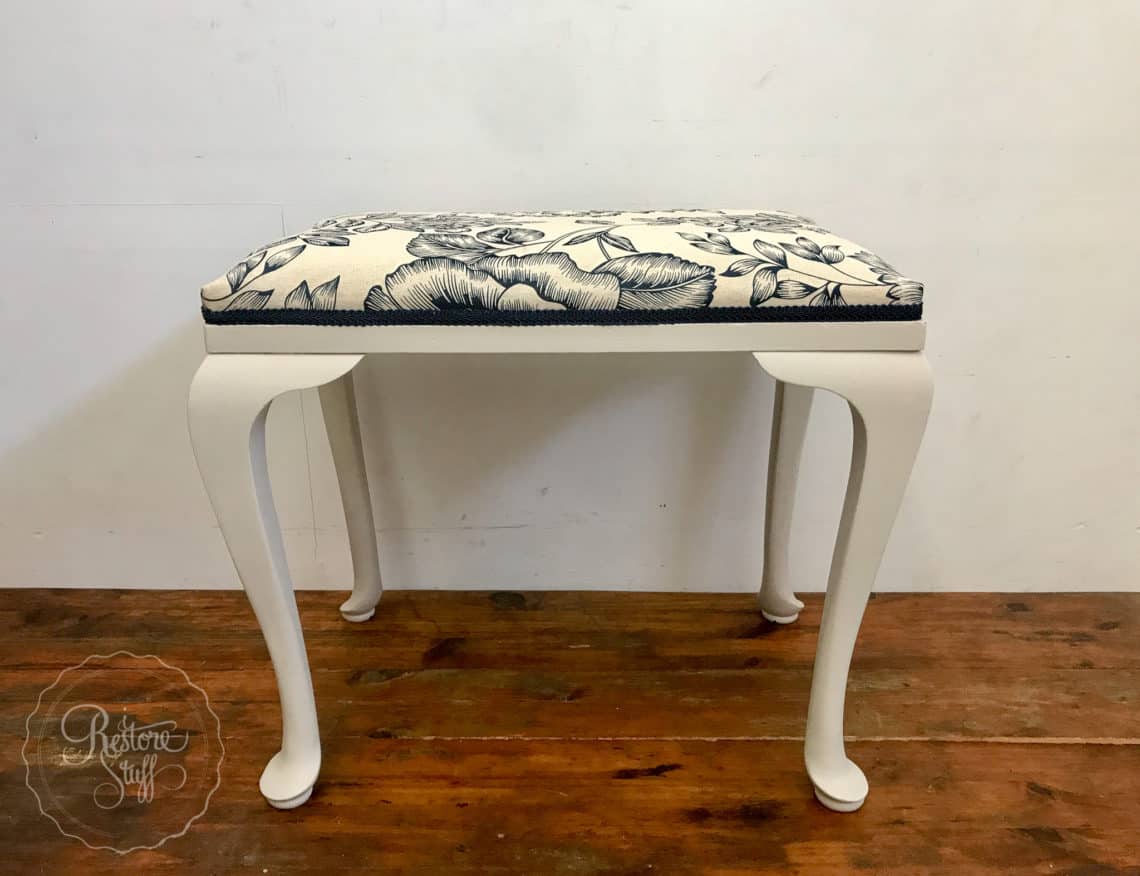
And this custom colour stool (Cathedral Taupe mixed with Plaster in Fusion Mineral Paint) with the same fabric top.
Back to the lampshade workshop … Wendy demonstrates clearly and precisely on how to:
- add the PVC without getting creases from your fabric,
- measuring cut lines from the edge for turning the fabric around the rim of the lamp shade frames,
- and using double-sided Tesa tape to adhere fabric to PVC, as well as seamstick for better adhesion on the finishing edges of the lampshade seam.

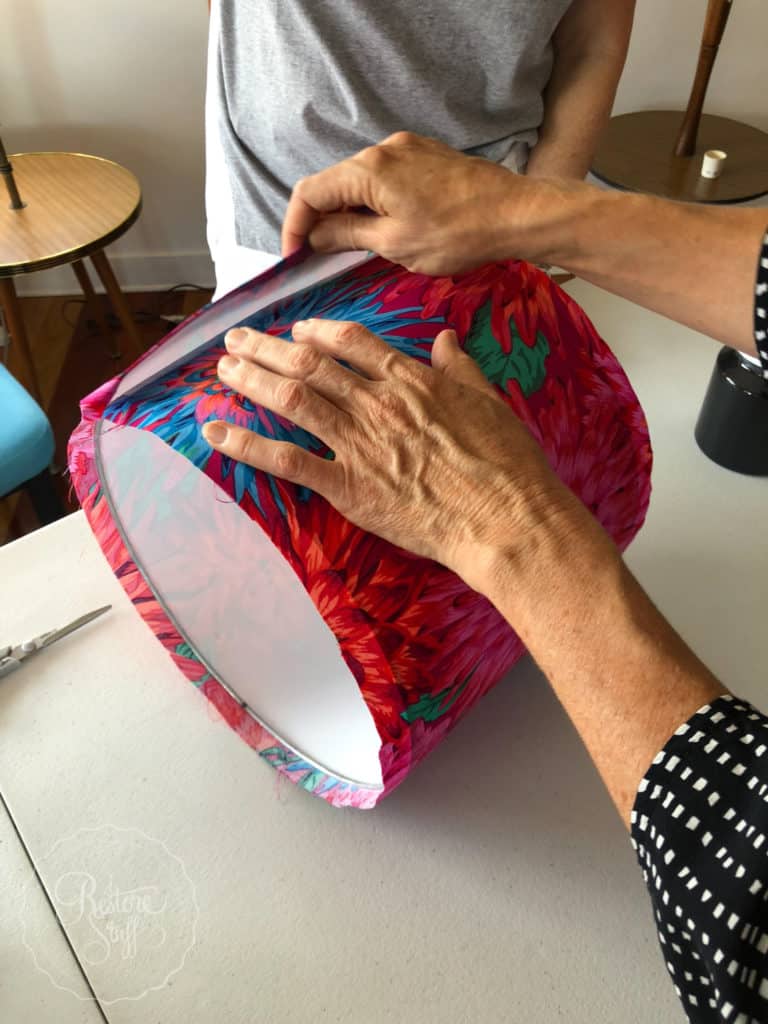
Our next step was tricky – adding the frames to the PVC/Fabric, it really is a bit of a skill to do this by yourself. If you have a friend to help you, you’ll be grateful!
Here’s Wendy showing us how to apply more Tesa Tape to the exterior of both rims: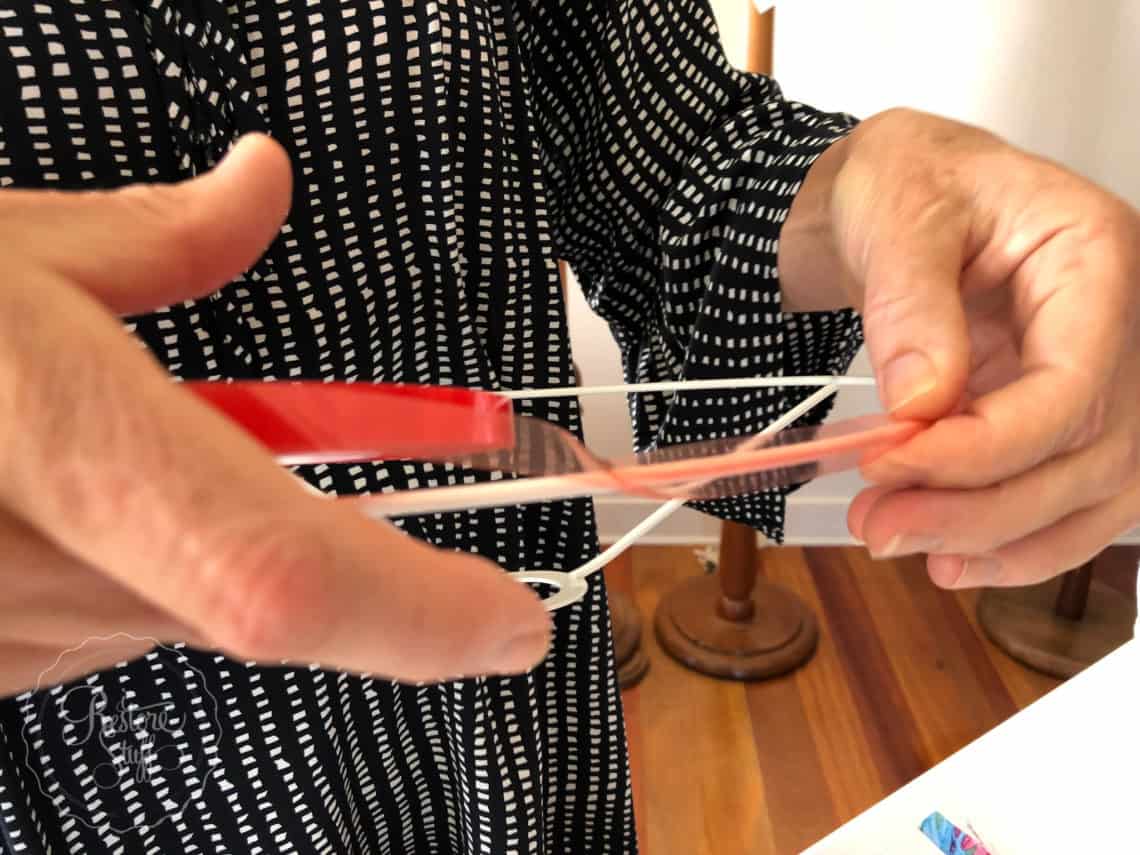 And here’s the tricky part … thankfully at Wendy’s lampshade workshop, she taught us how to use random objects (like the bottles of Fusion Mineral Paint seen in this pic) to steady one frame as you work on getting both frames ready to roll on the PVC/fabric!
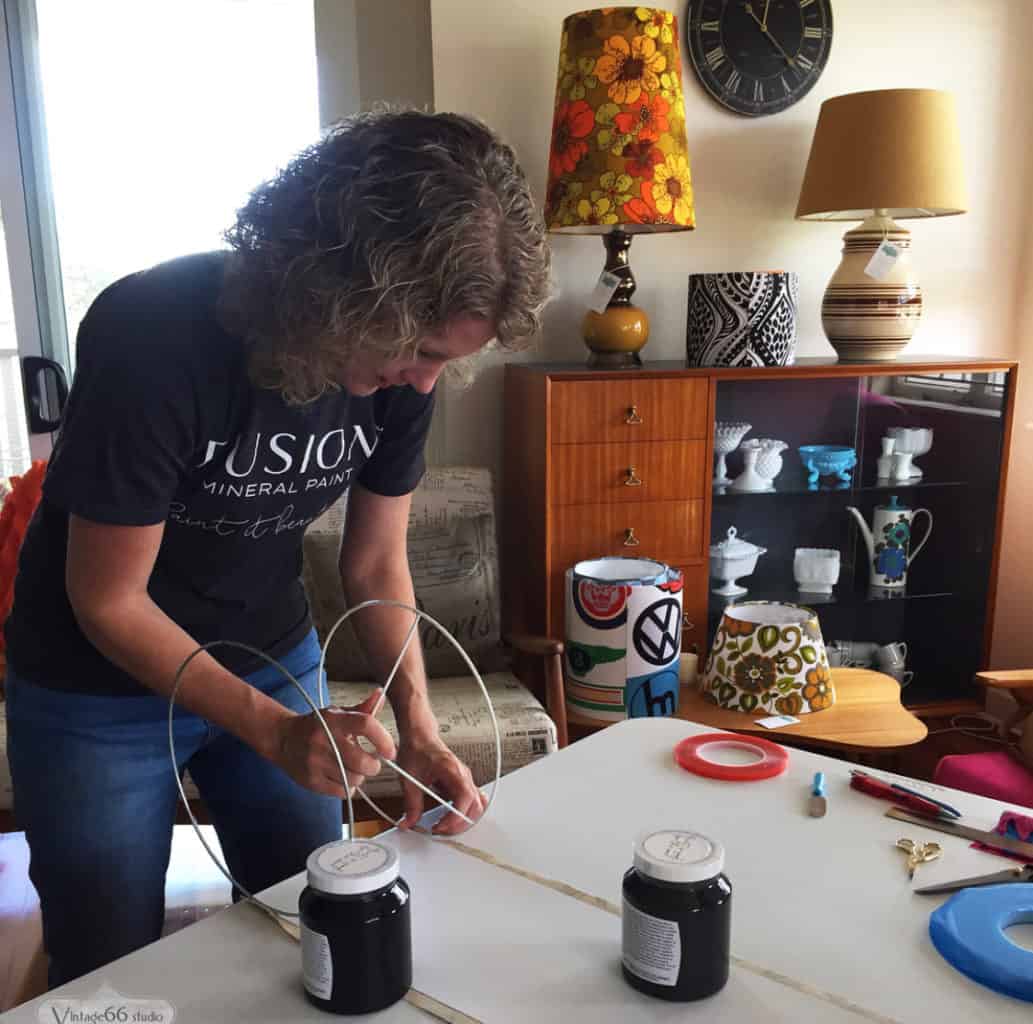
I know, right? Watch below for a demo of my super DIY co-ordination skills!
 And finally, tucking the fabric under the rim of the frame to complete the look, with a rounded end tool like this pâté knife (who can spy my face peeking at you in the reflection of the knife?)
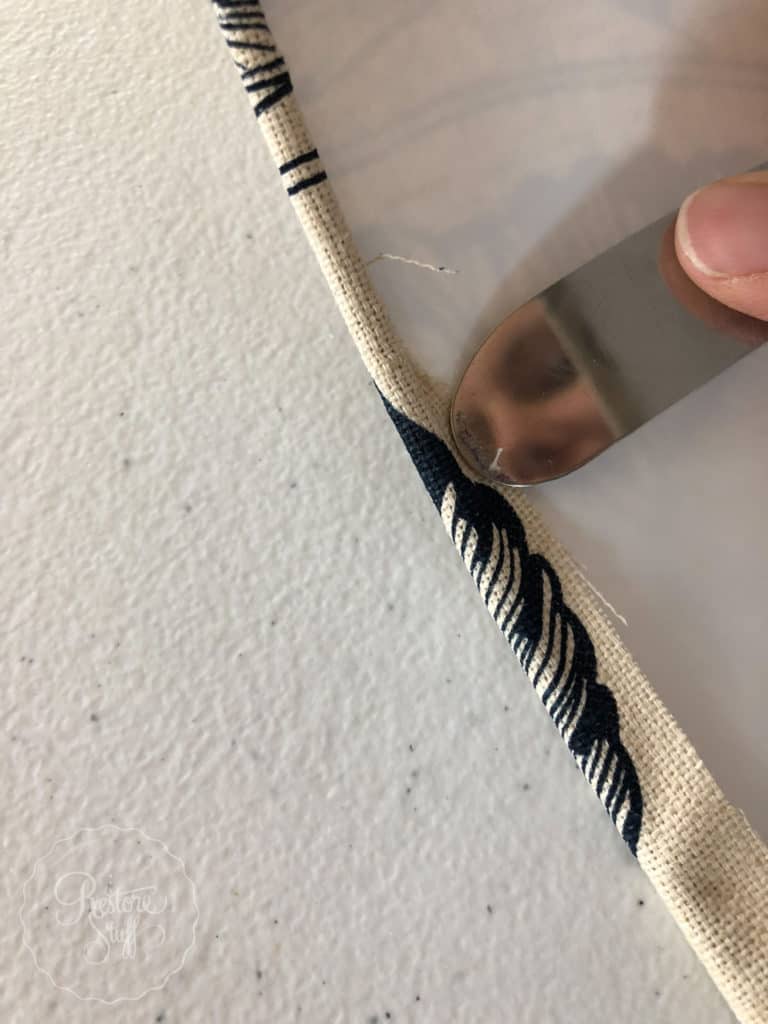
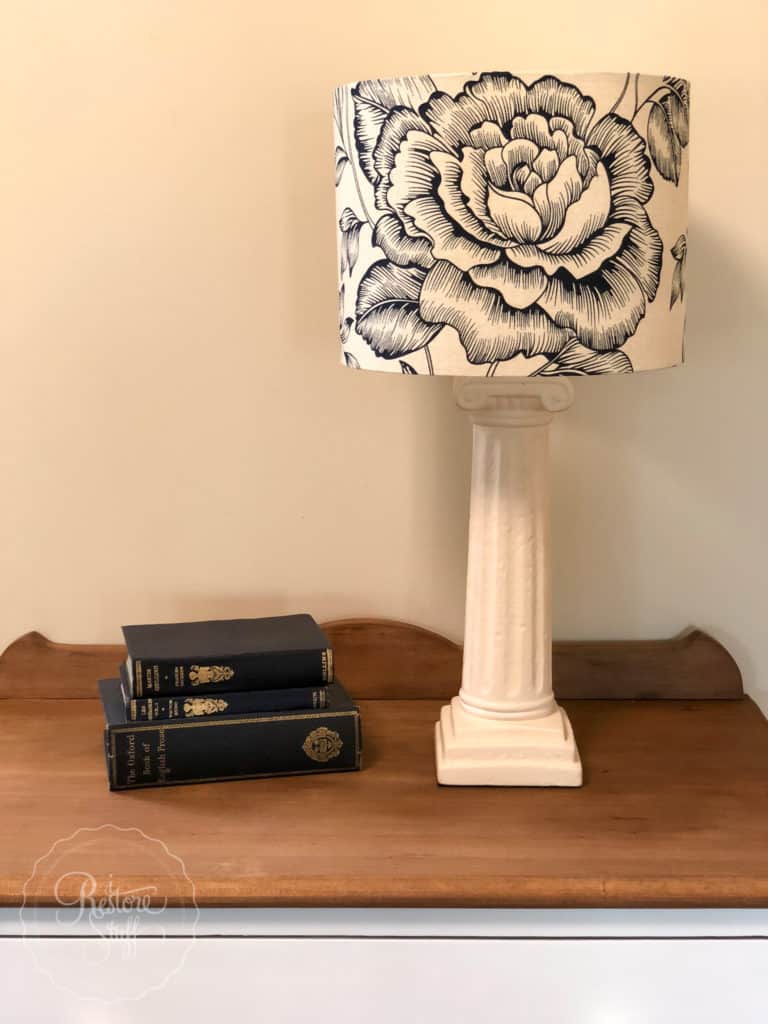
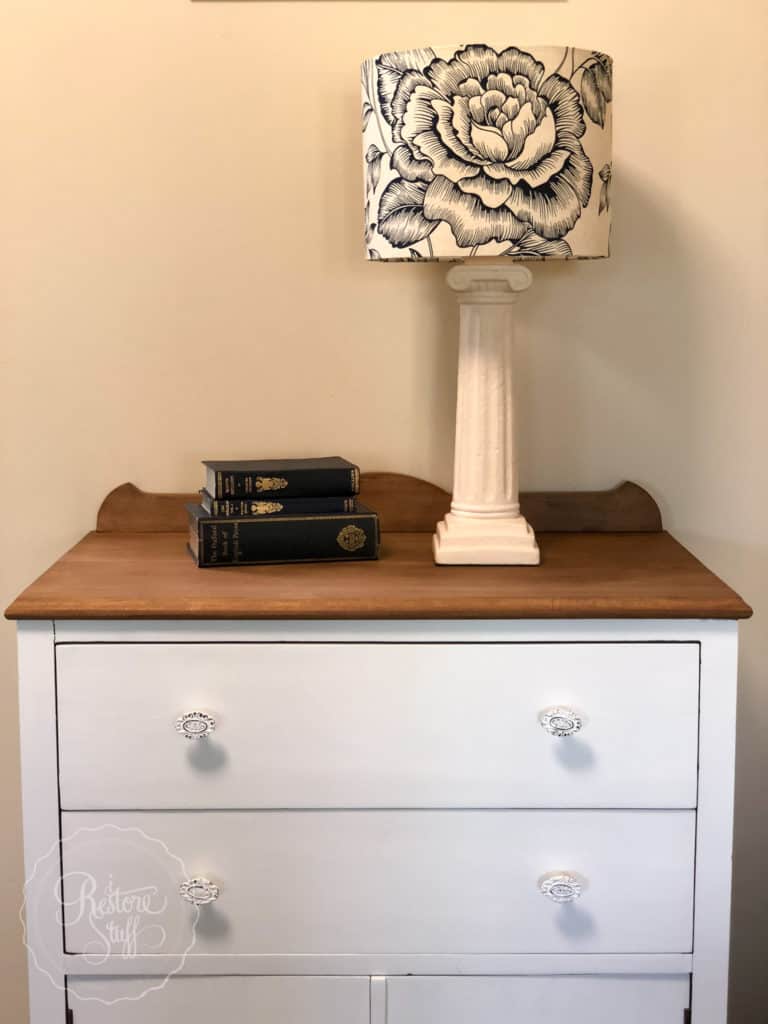
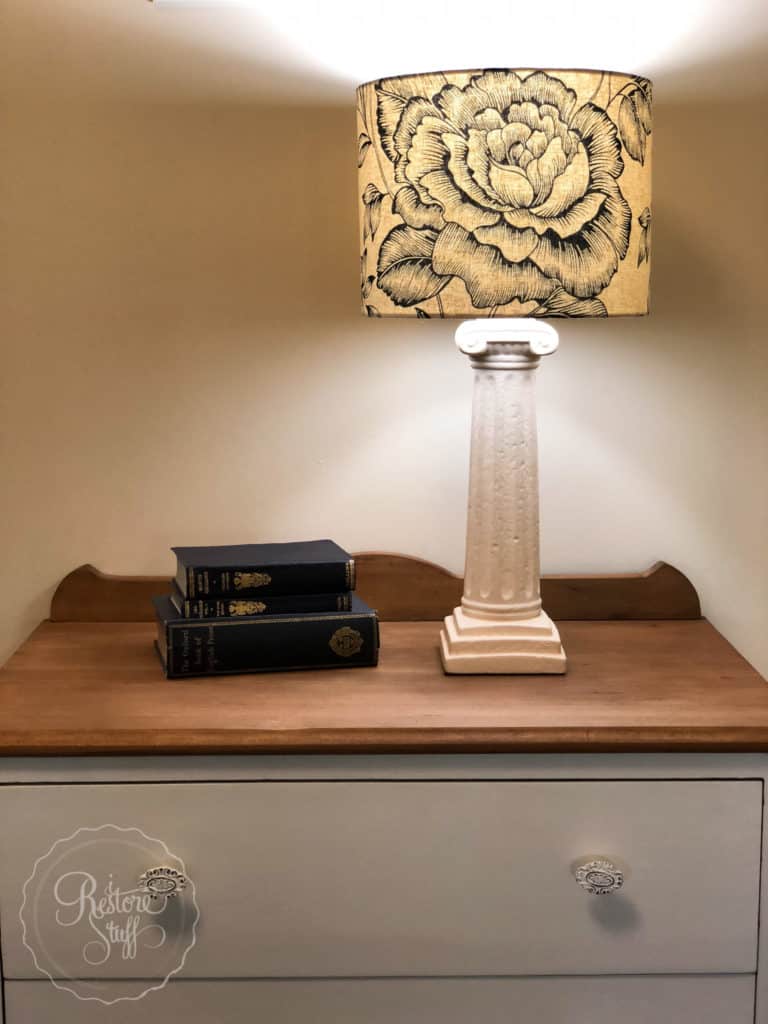
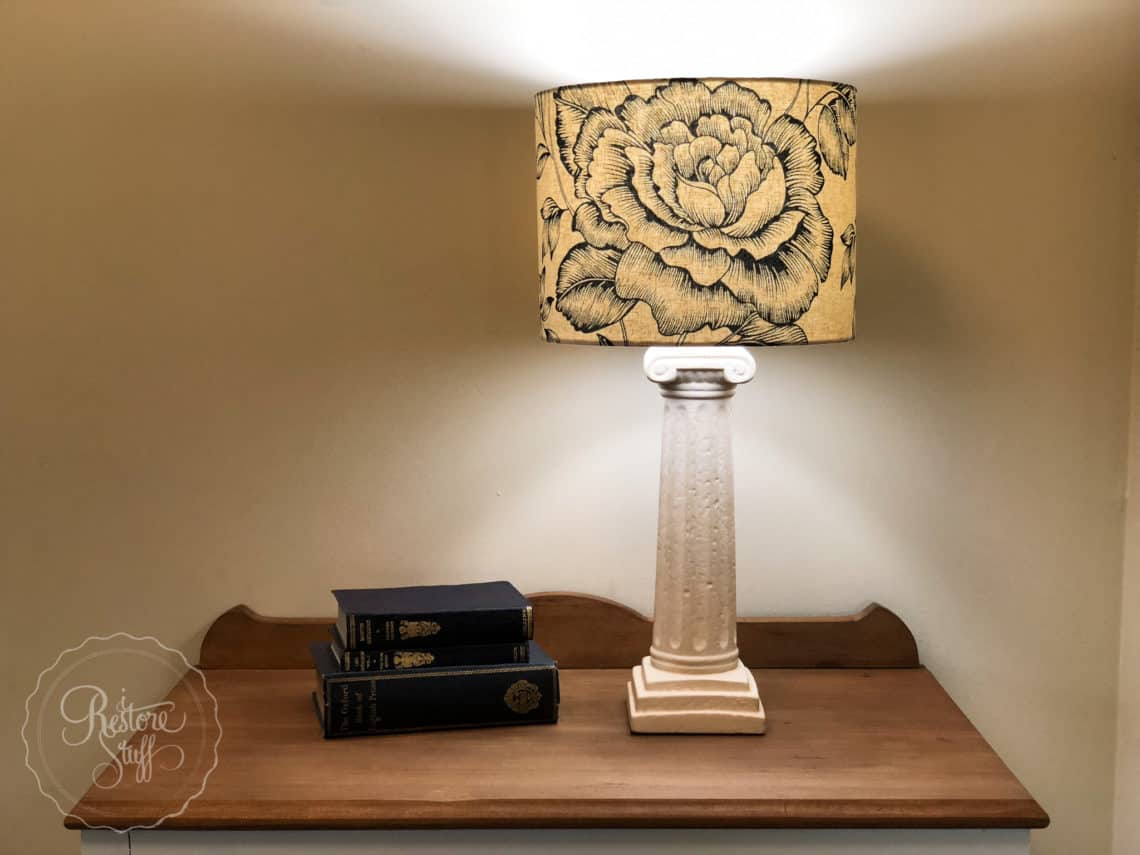
Finished Lampshade!
And we’re done, folks – that’s all there is to it! There’s a bit of instruction involved, and Wendy does provide instructions with ready made kits as I mentioned, but I totally recommend attending a workshop if you prefer that type of learning style. It’s great to meet others and learn as you go. At this particular workshop, Wendy had a film crew in attendance capturing footage for Big Review TV, so I’ll link here to that episode when it goes to air online in the near future.
You can find some of Wendy’s re-created lampshades and upcycled vintage furniture over on her Vintage66 studio Facebook page or Etsy store.
I hope you’ll check out her amazing creations and if you’re in the area – head to the “Events” section of the Facebook page to book a workshop!
Want to pin this post? Use this image for your Pinterest Board: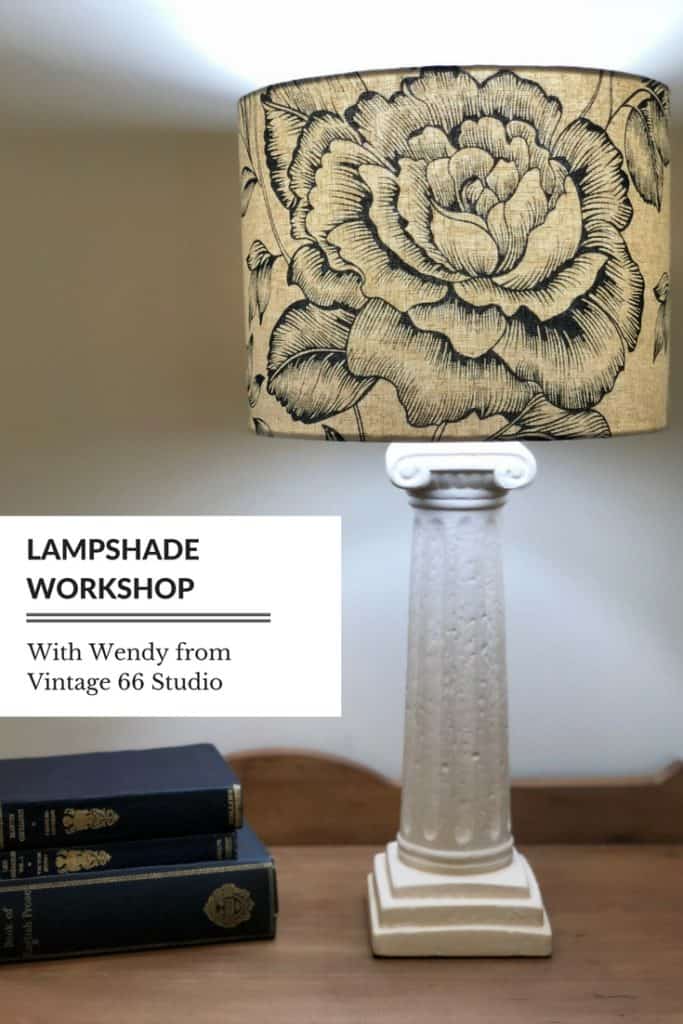
How can I get a kit giving full instructions on how to cover old lampshades. I live too far away and too old to attend a workshop. Any kind of instructional booklet available?
This is a workshop I attended years ago and I’m not sure if the lady does them anymore.