
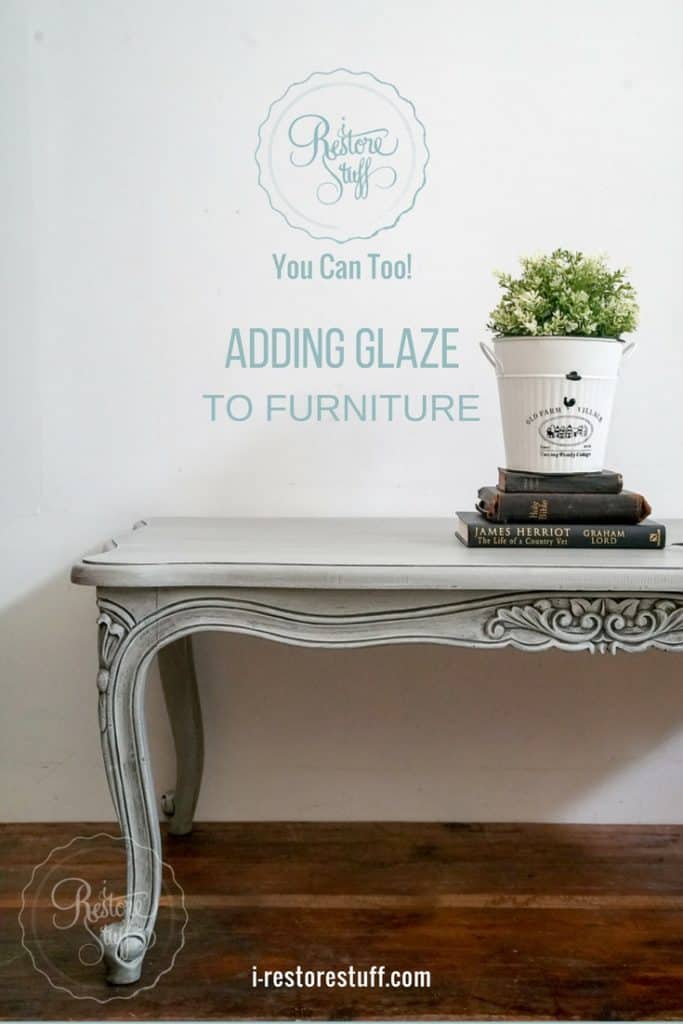
Glazing 101
I went Live on my Facebook page this week to show how easy it is to glaze a piece of furniture, especially those ones with all the pretty details.
So here’s a step by step process to show you how I did this.
 1. Paint your piece
Glaze can also be applied to raw wood pieces or stained pieces, but for the purposes of this post I’m showing how to glaze on painted pieces.
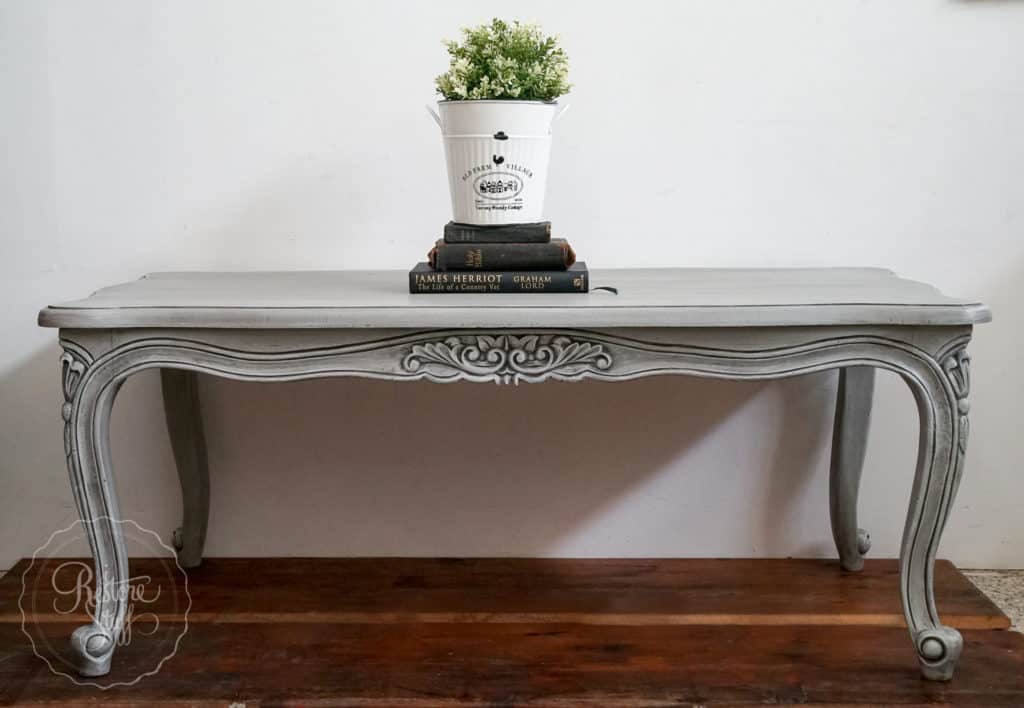
I used Fusion Mineral Paint colour, Pebble on this large coffee table along with a little side table that matched so closely. I used two coats of this colour.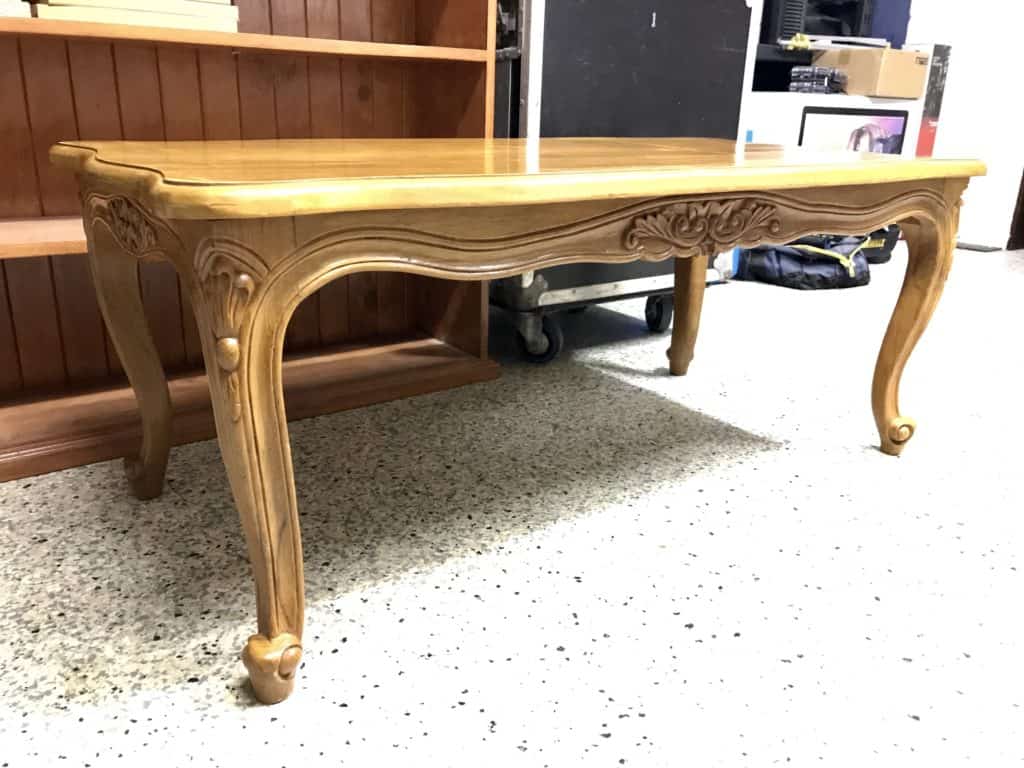
Here’s the small side table all dressed in Pebble: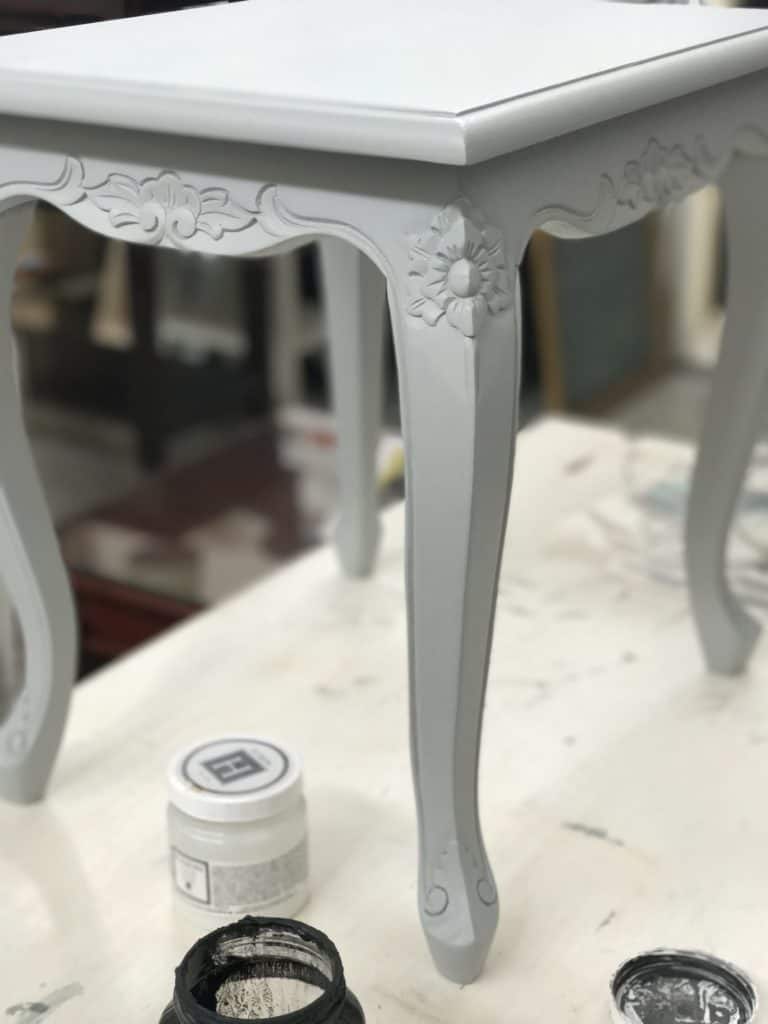
2. Add a colour to some of Fusion’s Clear Glaze
I used the dark grey colour, Ash.
I know someone is going to ask me quantities, but there really isn’t a hard and fast rule. Really, all you are doing is tinting the glaze with the paint colour. You’ll see me demonstrate this in the video further down in this post. For the large table, I probably used approximately 1/4 cup of Clear Glaze to do the entire table (maybe less), mixed with only a tablespoon of Ash colour.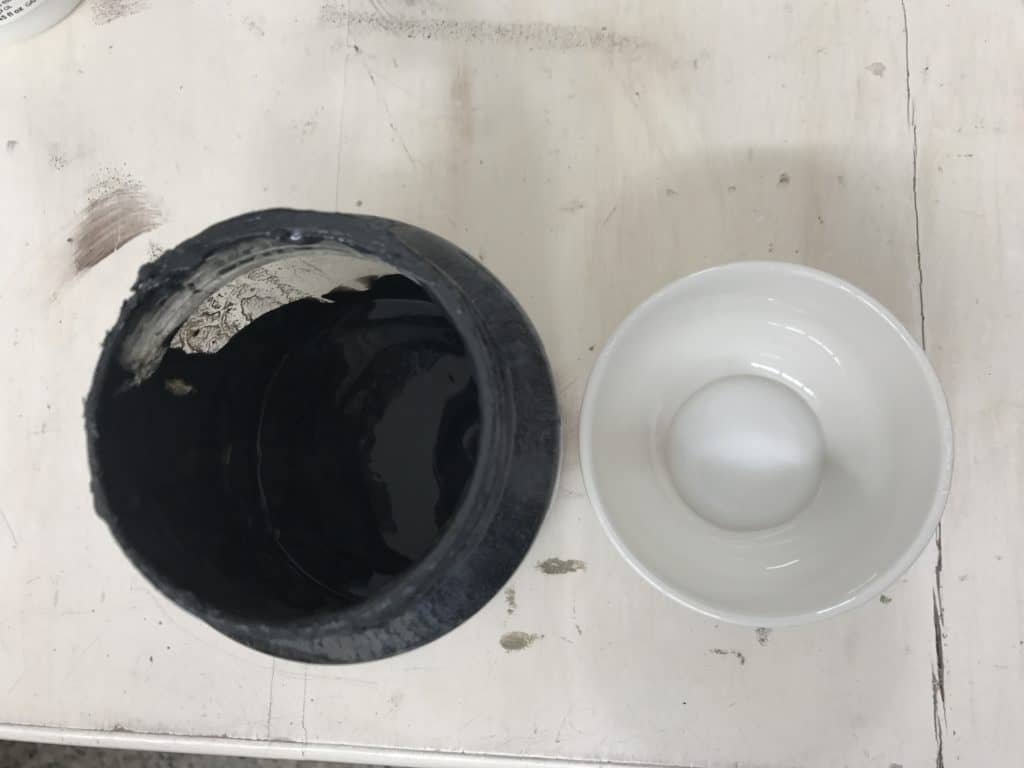
3. Paint on the Tinted Glaze
Using a paintbrush (I used my Cling On O35 or similar) dip into the glaze mixture and brush over the surface of your furniture piece, getting into all the details.
4. Wipe back the Glaze
Using a lint free cloth (eg. Blue Shop cloth) wipe back the glaze going along the direction of the grain if you are doing a flat surface, or just wipe back as much as you can from the detailed areas across the surface of the details. You want to leave the dark glaze in the nooks and crannys.
5. Drybrushing
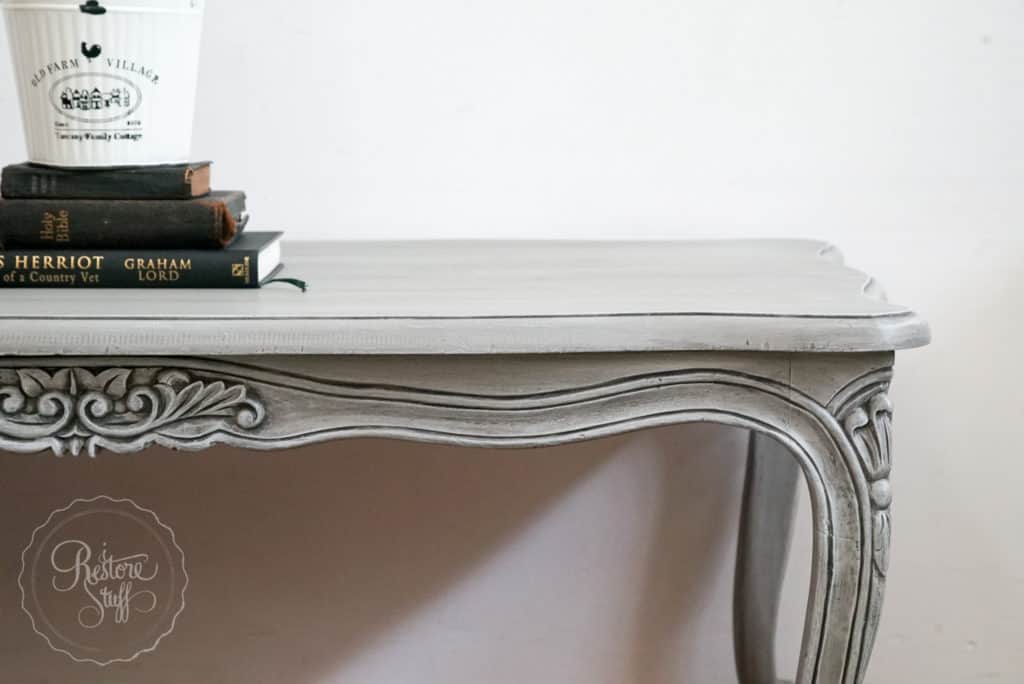
This is an optional step to add further highlights to your piece. The dark glaze sits in the details, and the lighter dry brush colour will highlight the high points of your details and the edges of your piece. you’ll see this in detail in the last part of the video.
I used Fusion Mineral Paint’s Lamp White (an off white with grey undertones). Dip the tips of your paint brush into the paint and wipe off all excess paint onto a paper towel or card/paper. This is drying off the paint from the brush so that it is barely there.
Then gently drag your brush across the surface of the furniture piece. I show you how to do this in the video below.
6. Allow to dry
Glaze has a longer open time than paints or some finishes. This is so that you have more time to work with the glaze and move it across your surface. It can be reactivated with a little water if you have applied too much and it begins to dry. Leave the glaze at least 12-24 hours to dry completely before adding any extra finishes to the surface. Once fully dry, you won’t be able to activate it again with water.
7. Optional: add a finish
Fusion Mineral Paint has a built in topcoat, so there is usually little need to add a top coat like a wax or poly. But for those surfaces that are going to get some harder wearing, like the table-top surface, you can certainly add a wax or some Tough Coat Wipe on Poly.
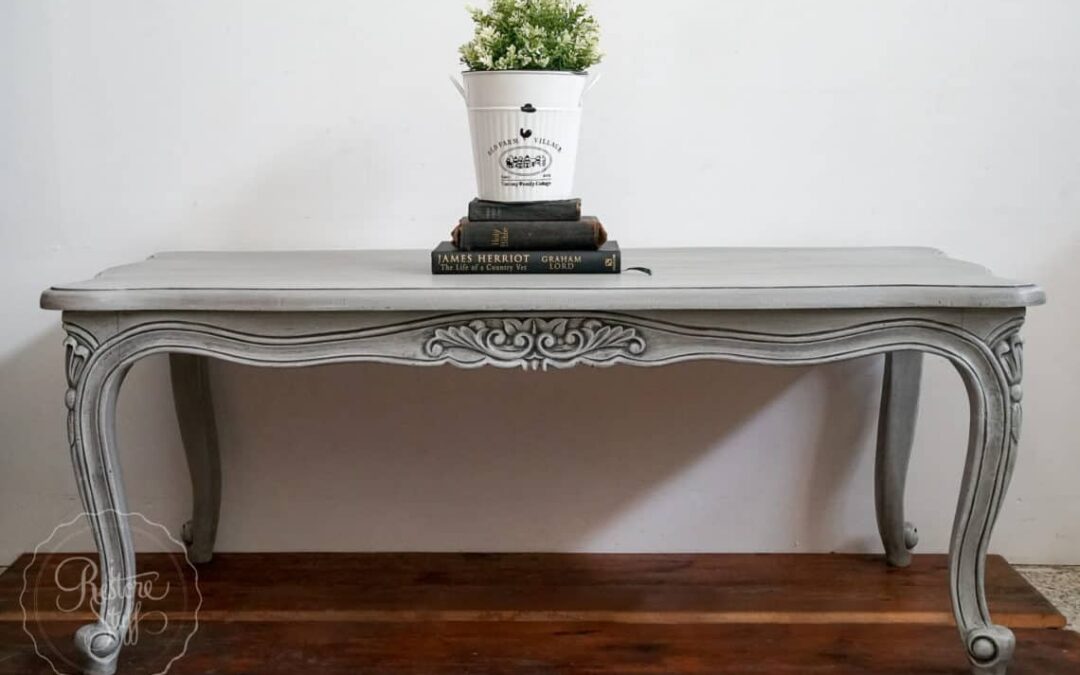
And that is it! Super easy to do, and if you didn’t get to see this on my Facebook page, live, here is the replay for you to follow along. And I’ve added some images of the finished look at the end of the video.
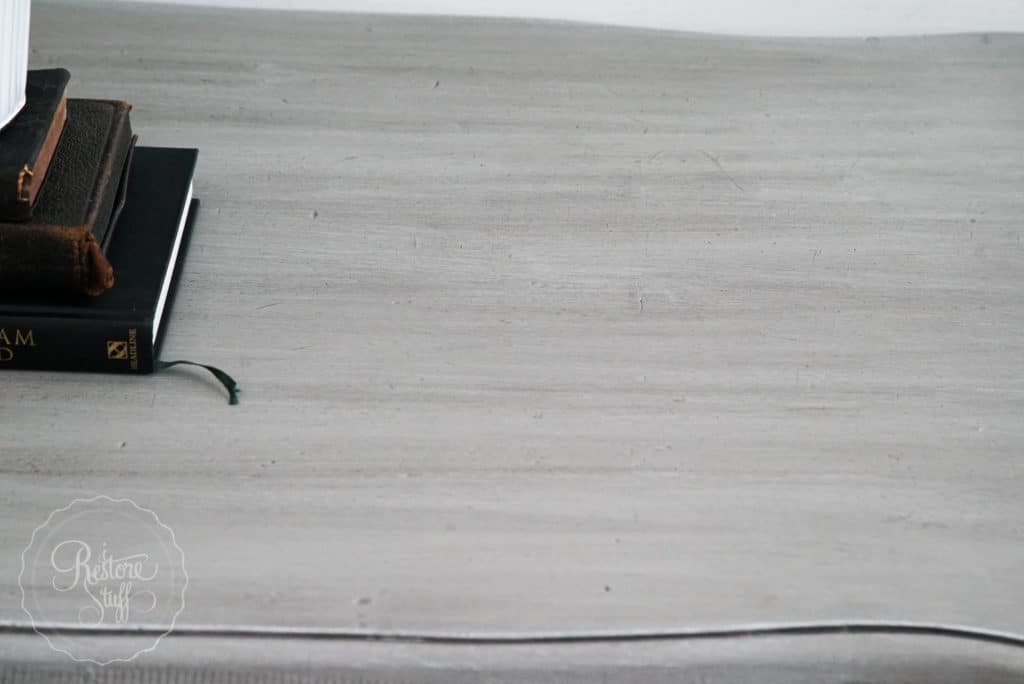
Close up of top surface with the glaze covering the surface.
Linking up this post over at:

Hi Sharon I am in a bit of a pickle. How can I create a walnut colour faux stain?
Thank you
Sonia
I’m wondering if you mean that you’d like to create a faux stain look over the top of existing paint? or did you mean that you have a raw wood surface and instead of actually using a stain, you’d like to create a wash from paint? I have lots of blog posts on creating stains out of a wash. If a faux stain look, I’d use an antique glaze or a clear glaze mixed with brown paint, like Fusion’s Chocolate.