
I love a good “op shop” find
A queen sized vintage blanket caught my eye when I walked into our local Salvos Store, so I tucked it under my arm and kept up my “quick browse” while I was in between appointments … as you do. You too?
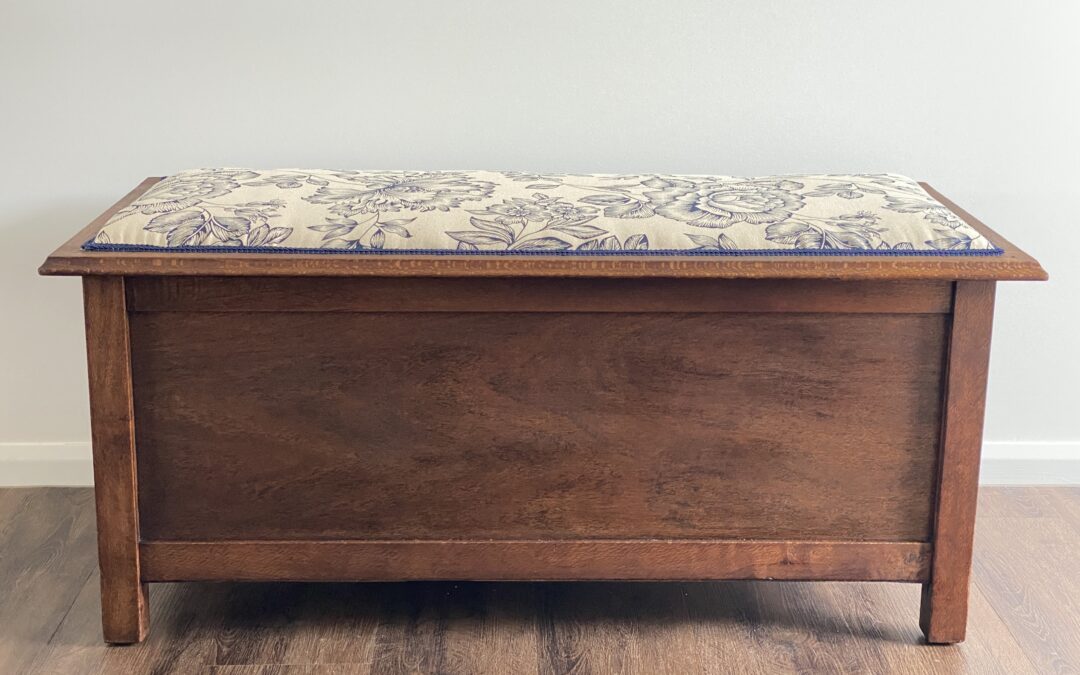
Then I saw an old weathered blanket box tucked in with some other furniture. I could tell it was silky oak and quite old by the style of it and due to the ragged looking fabric that looked like it may have even been a second or third layer over the original. I couldn’t see a price tag, so asked one of the lovely volunteer staff who mentioned it may have just arrived and not been priced yet. She asked if I’d be happy to take it at $45 – um, … absolutely!
And so here I was with a queen size vintage blanket, AND a blanket box to put it in. What were the chances? Well, I don’t really see many vintage or antique pieces around my op shops (thrift stores) these days, so I was pretty happy with these “matching” finds.

Removing furniture tacks
I began to lift the old fabric off the top which was held down by large thumb tacks. The fabric looked like an old sheet from the 70s, maybe.
To remove the tacks and also the nail tacks underneath, I used a staple remover like this one, and often needed the help of a pair of pincers like this. The staple remover gets under the tacks to lift them easily, and once the nail is part way out, you can grab it with the pincers and rock them to lift it out without digging too much into the wood surface beside it, minimizing damage to the surface around the tacks.
You can see the edges and the surface was a little scratched up already, but I’ll show you how I fixed that too.


Original fabric and padding removal
Any guesses as to how old this piece is? If you know, I’d love you to comment below this post.
This old fabric looks so fragile, but I love the way you can faintly see the outlines and colours of some kind of floral print on it.
This layer was held down with tiny tack nails, so many of them needed both the staple remover and the pincers to remove them.
Under this final layer of fabric, was old wadding of some description. It looks like old threads and fluff all packed tightly together. I can imagine the dust would be thick in these parts!
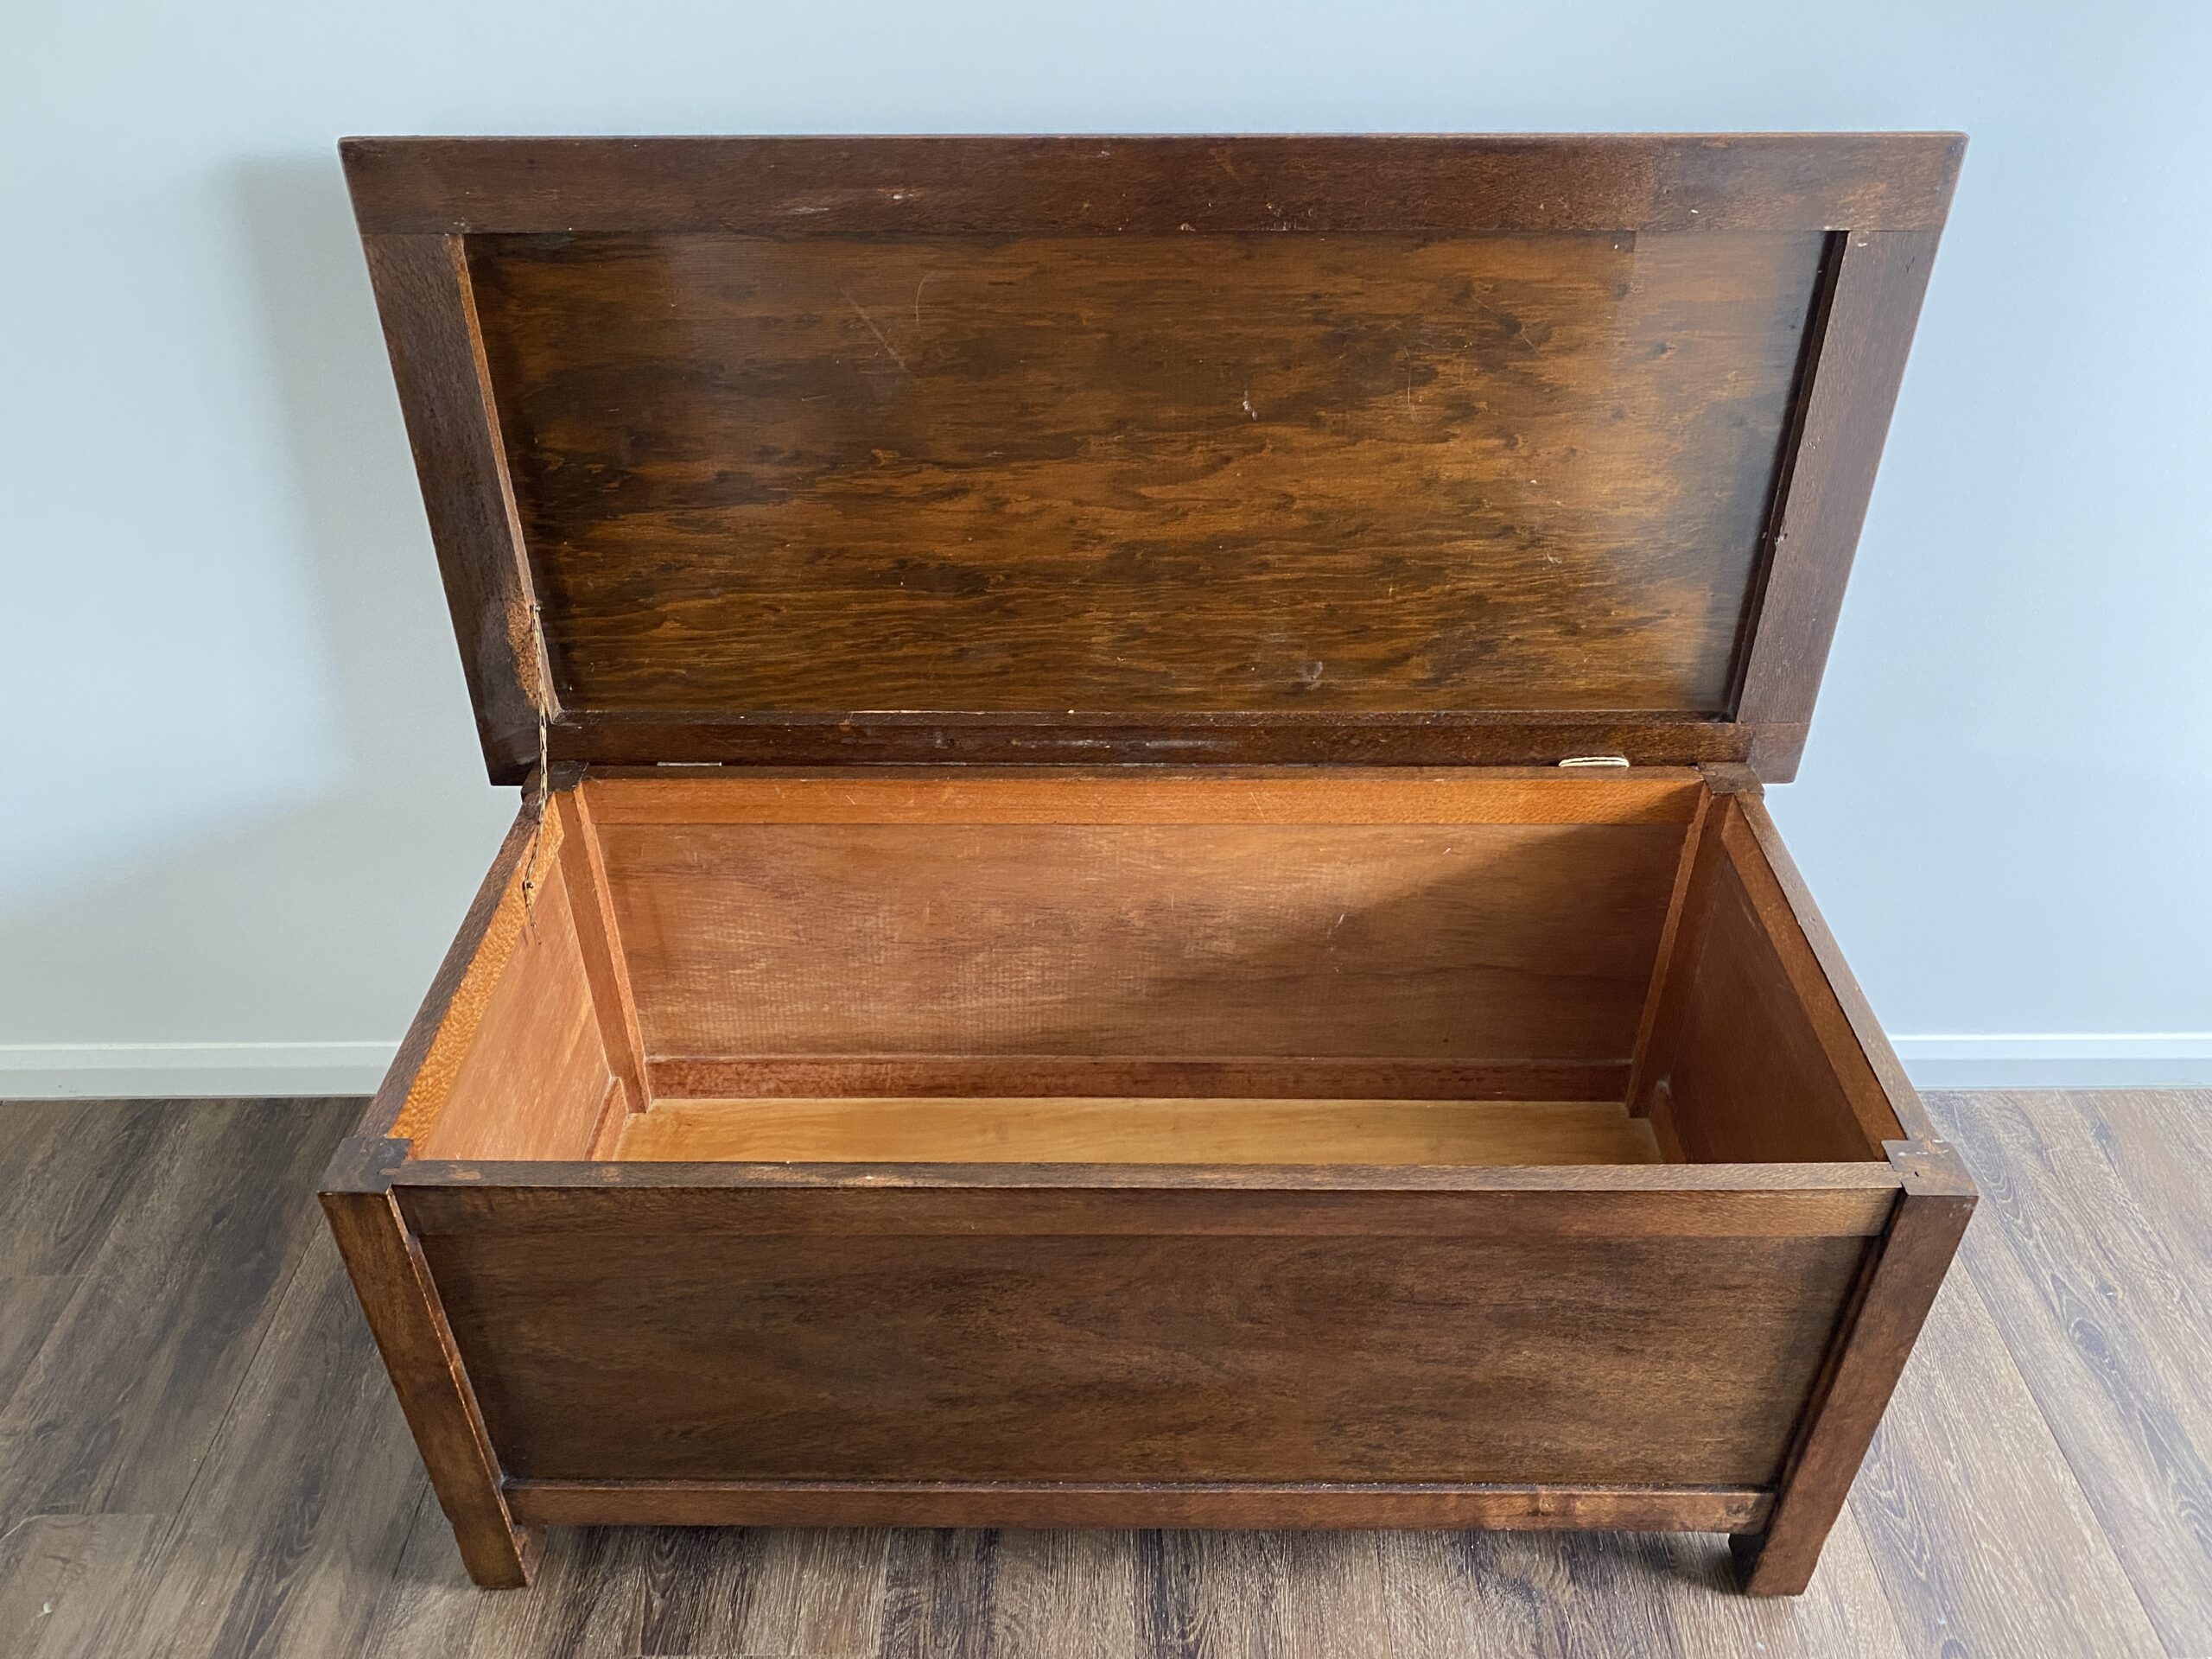
You can see under it all, I’m left with a random piece of cheap wood, that is nothing like the silky oak box itself. So its purpose was to add some strength and height to create the “seat” type padded surface.
I was hoping I might find a nice silky oak top surface to refinish. I did think of removing this top piece, but felt like I’d risk damaging the surface especially if it was glued as well as nailed down.
Do I opted to re-upholster the top with some dacron and fabric.


I did flip the box over to find this original furniture label underneath. I’m still not sure that it gives us much of a clue to its age, but at a guess, I’m going to assume it might be from around the mid 1900s?
Refinishing an old Shellac surface
I’ve included this short one minute video as a quick overview of how I refinished this blanket box.
I use this technique of rejuvenating the existing shellac finish of some of the older pieces I find with a shellac finish.
For more on wood finishes and to find out how to test your old item to see what kind of a finish you have on it, see my 3 part series on Wood Finishes.
Want to learn more about the wood finish on your antique find? I have a three part series on Wood Finishes.

To reactivate an old shellac surface, use methylated spirits (this is known as denatured alcohol or white spirits in some countries).
Using some 0000 grade steel wool, I dip it in the metho (our Aussie slang for Methylated Spirits) and rub along the grain of the wood. This reactivates the shellac finish and cleans the surface, but at the same time, it fills little chips and scratches with the reactivated shellac and blends them all in seamlessly.
I have another video where I have done this on an old bookshelf with a shellac finish, here.
In the image above (or left if you’re on desktop), the surface has not been cleaned up with the metho yet. In the image below, is the same side after I’ve finished rubbing with steel wool and metho.

See how the second picture shows a more even finish and those darker, grungy edges that had chipped areas, are now all more uniform in colour. You can also see the grain more clearly.
Older shellac surfaces often age with layers of wood polishing products over the years, which can create that darkish build up.
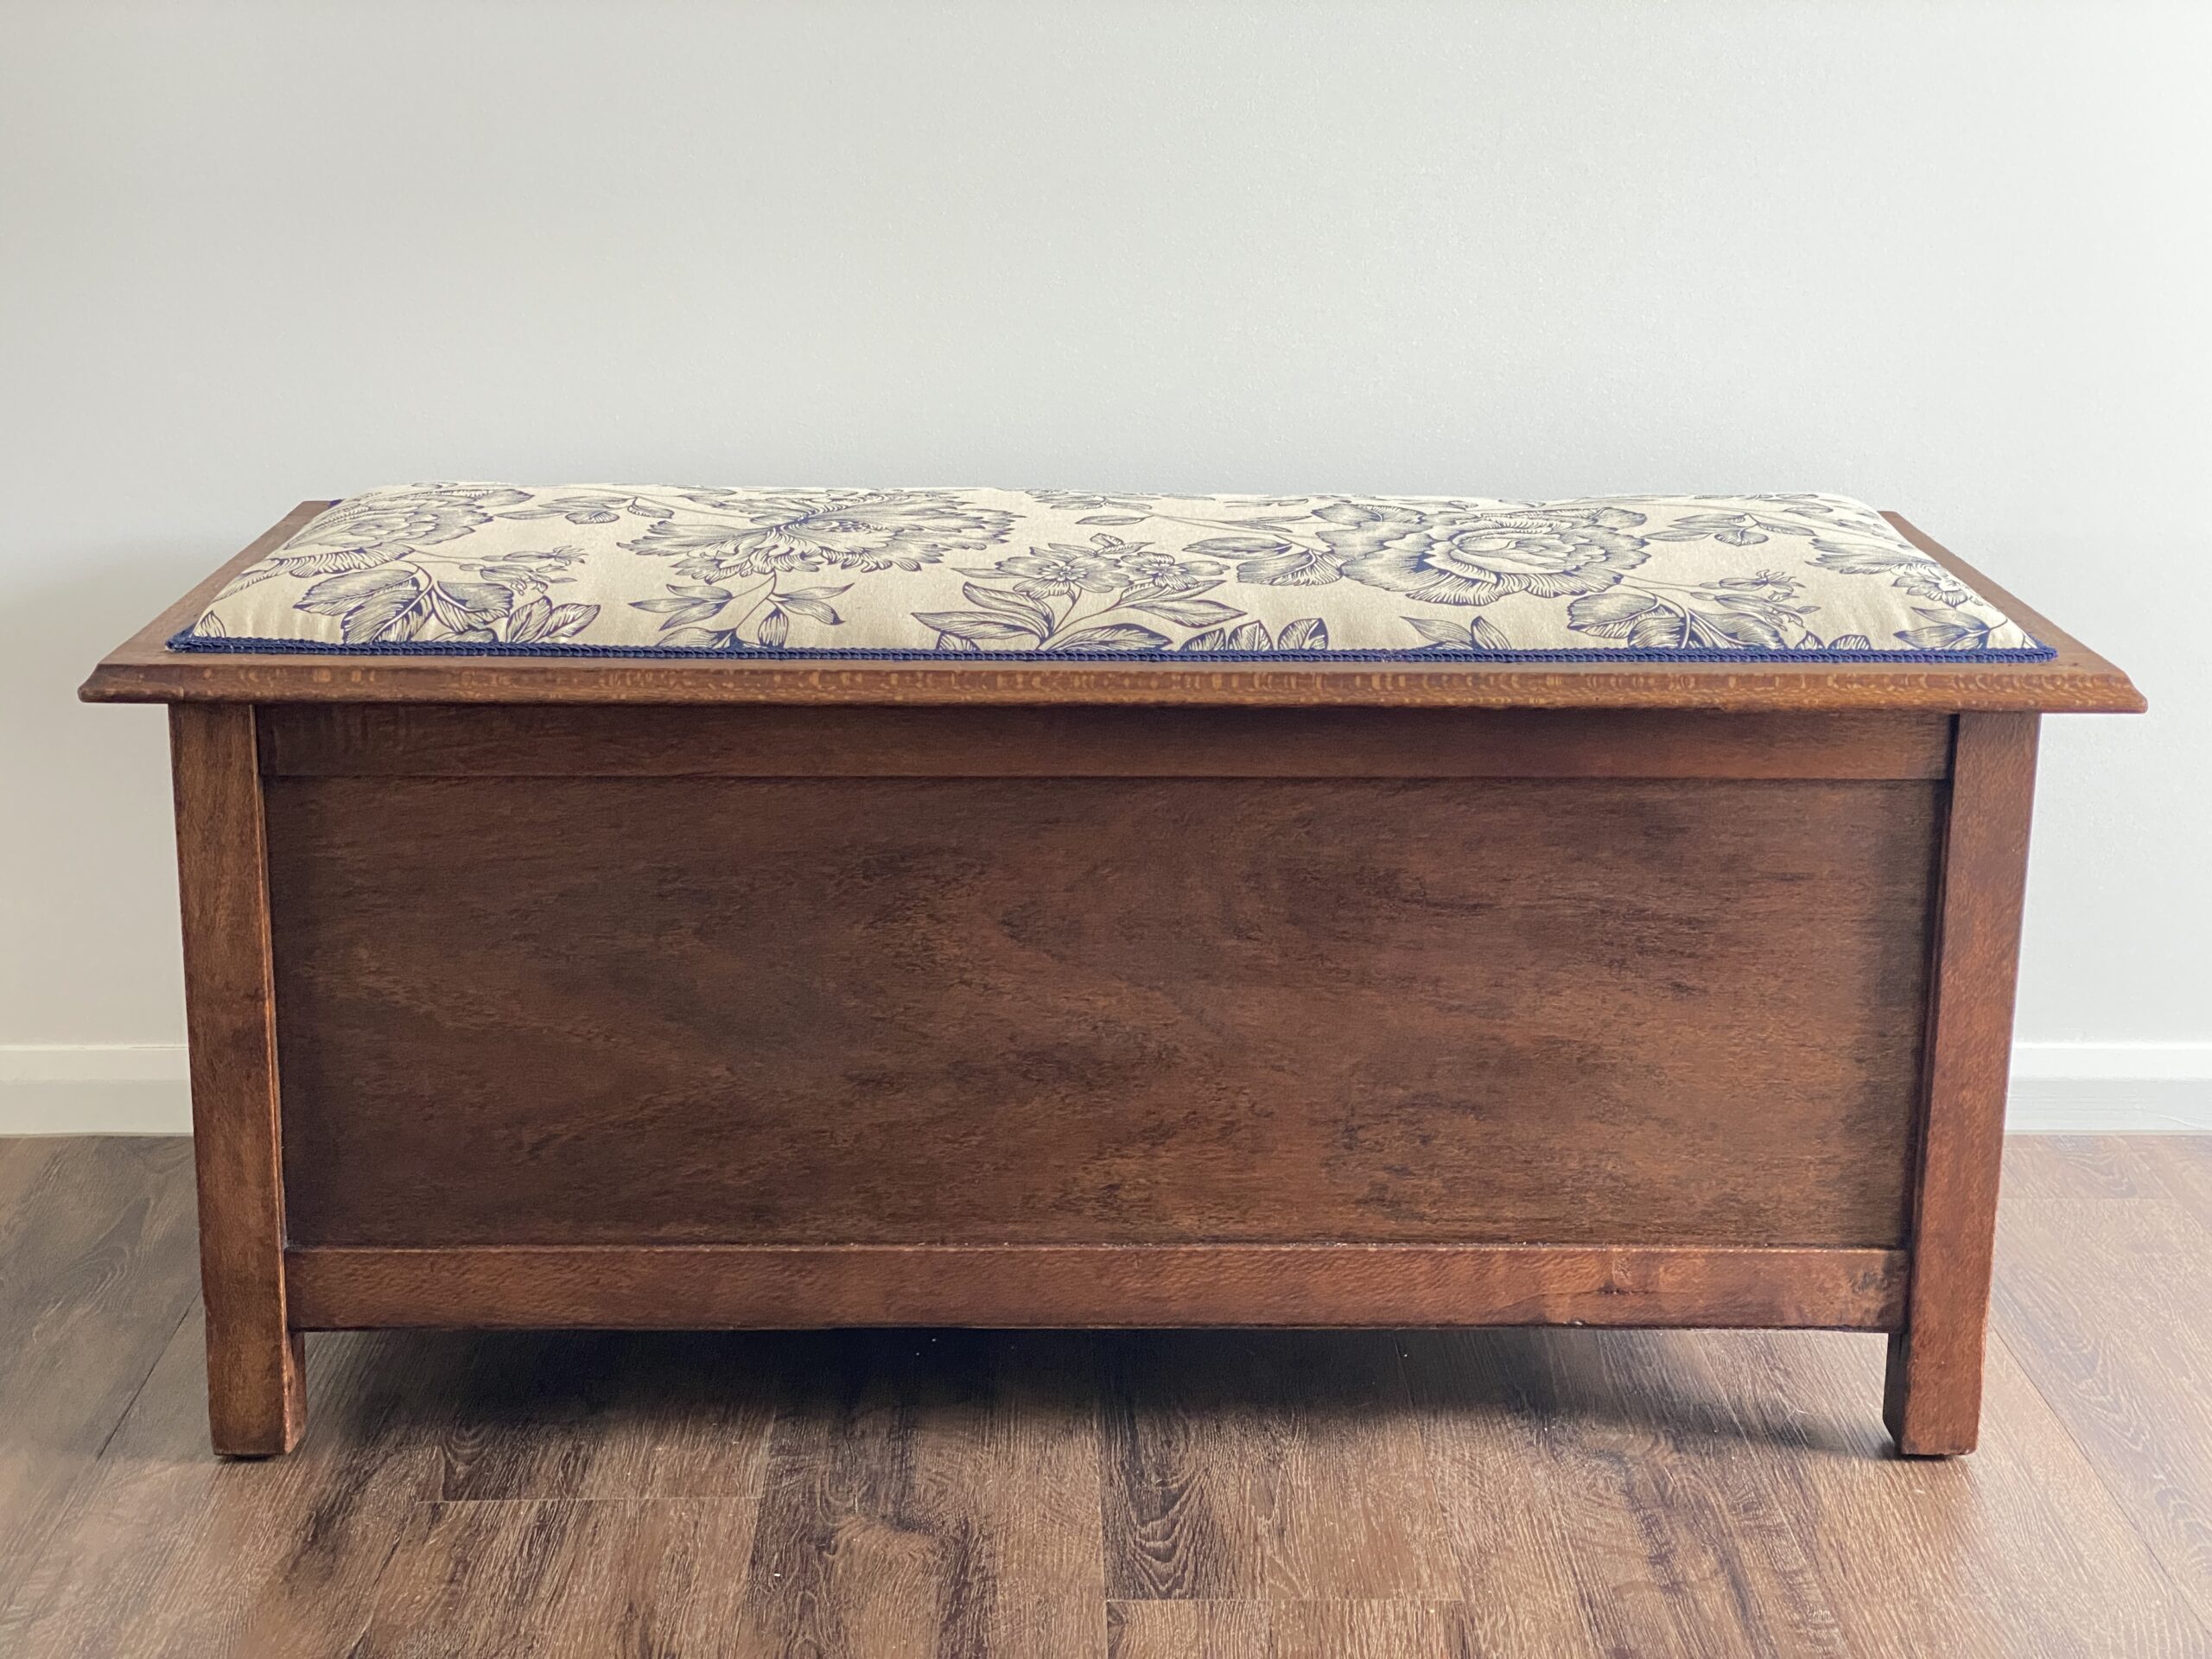
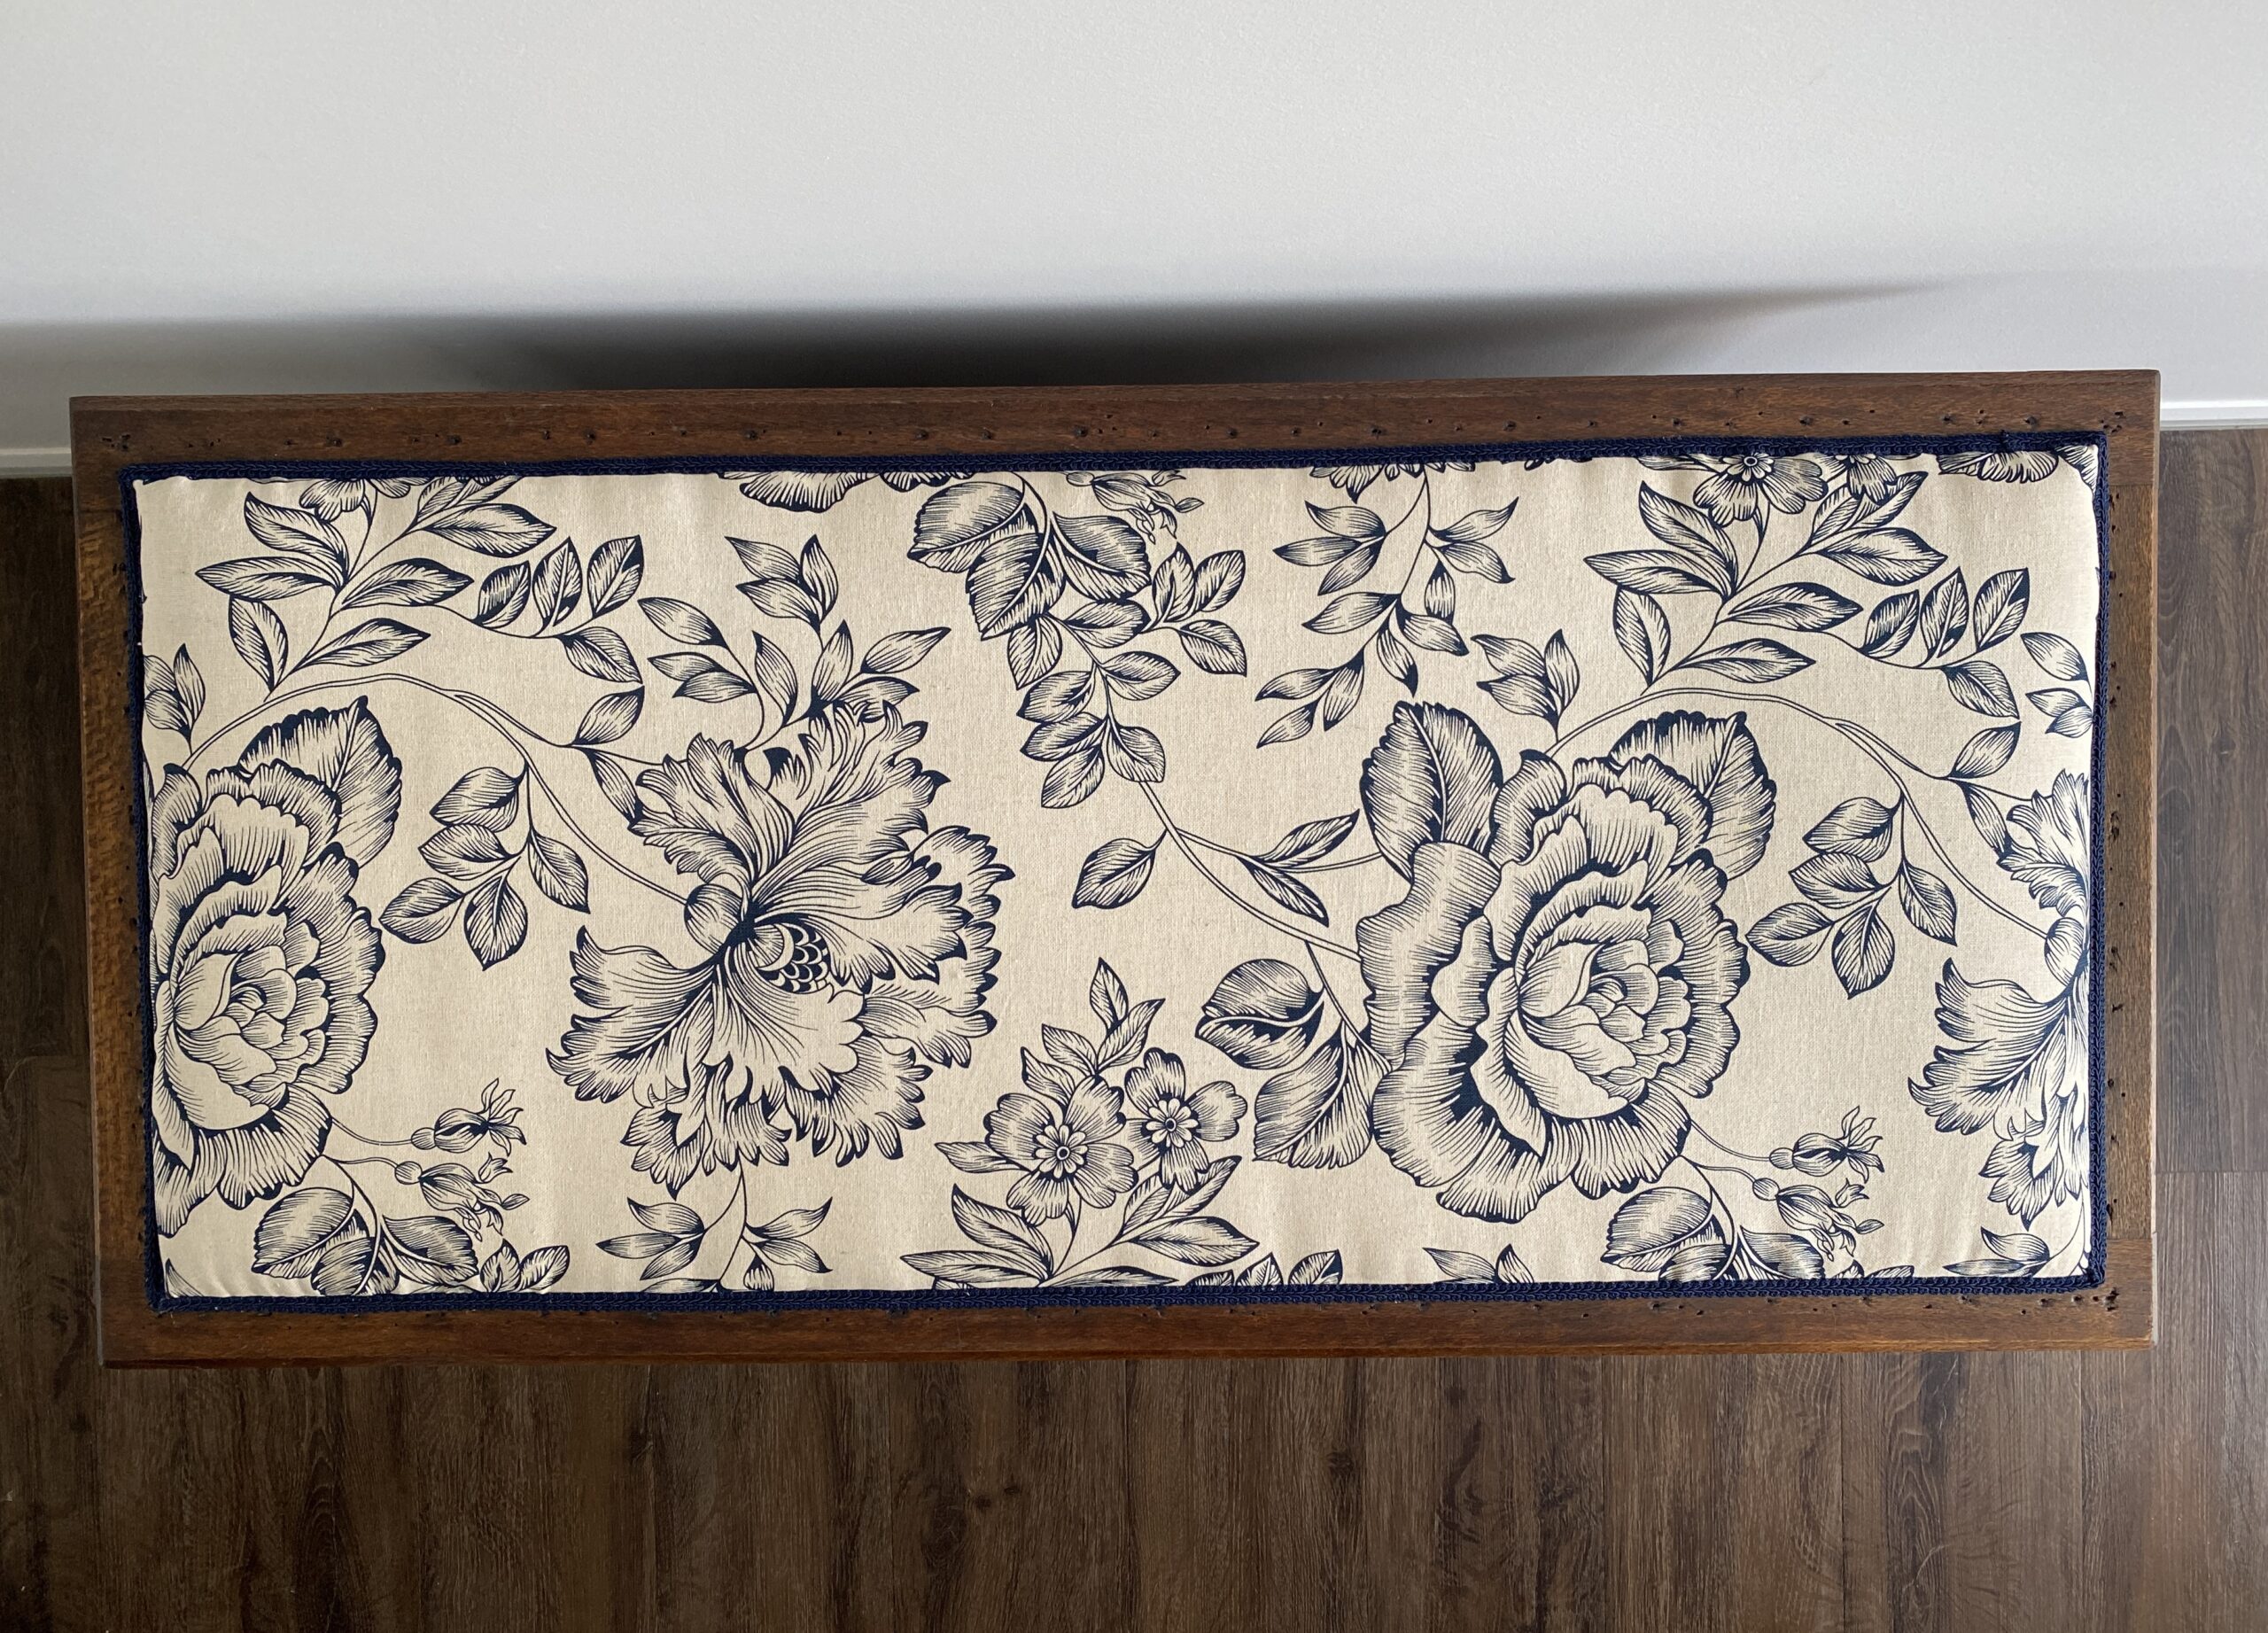
Below, you’ll see the finished box, ready to add some upholstery back on the top. The top of the lid is pretty rough cheap wood, so I added padding, and some fabric I had on hand, then hot glued navy gimp trim around the edges to cover the staples.
I wondered weather I should putty the old tack holes or cover them with the upholstery, but then I would have lost a good part of that nice wood on the edge of the lid, so I opted to leave them there and call it “character”! This box tells a story … I wonder how many secrets it held over the years.
Let me know if you’ve ever had a blanket box and what you used it for, in the comments below.


")
Fantastic job Sharon. The transformation is gorgeous! The fabric you used for the top is perfect!
Thanks so much, Jen. Yes, I’ve used that fabric on a couple of things and love it.
Awesome job!! Love your chose of material for top!
Thanks Kristin
I’m terribly impressed, Sharon, first with your eye for a good op shop find, and secondly for your transformation! I’ve never attempted to reupholster anything, but you have given me the the impetus to have a go. Although not a blanket box, I have my Nanna’s old Glory Box, made from an old Lockwood typewriter box. Her mother was a Lockwood, and although no relation to the typewriter company, it’s a nice little twist. Her fiancée lined it with silk and upholstered in a lovely floral fabric that has disintegrated over time Well, it is 100 years old!
Oh Alison, this is a lovely story of a beautiful glory box that I’m sure is a precious heirloom for your family. Thanks for sharing.
Your box looks 1920’s Arts and Crafts style. If there was plywood anywhere it would not be anything less than the 1920’s for certain. Arts and Crafts would be my guess. Great save!
Thanks, Irene. I agree, it does look Arts and Crafts style. It is really hard to tell if plywood or just a sheet of thin pine board on the top surface that has been nailed to the silky oak lid.
Sharon love your work on this blanket box. Mum has one very similar she used as her glory box. It would be over 60 years old. Will ask her about it for you.
Thanks Maree, oh it does seem like it would be at least 60 years, probably closer to the 80years or more.
This is lovely. I have one that has a “naked” lid at the moment. The fabric had already been removed when I bought it. What did you use for the padding under the fabric please?
I used a quilting type padding we have at our fabric stores here in Australia, called “dacron”. I’m sure its everywhere around the world, but may be called something else in other countries.
This is lovely. You did a great job. I have my mother’s glory box very similar to yours and Im saying it is the 1900’s. Mine is pristine condition so good luck with yours if you ever sell it. Marilyn\