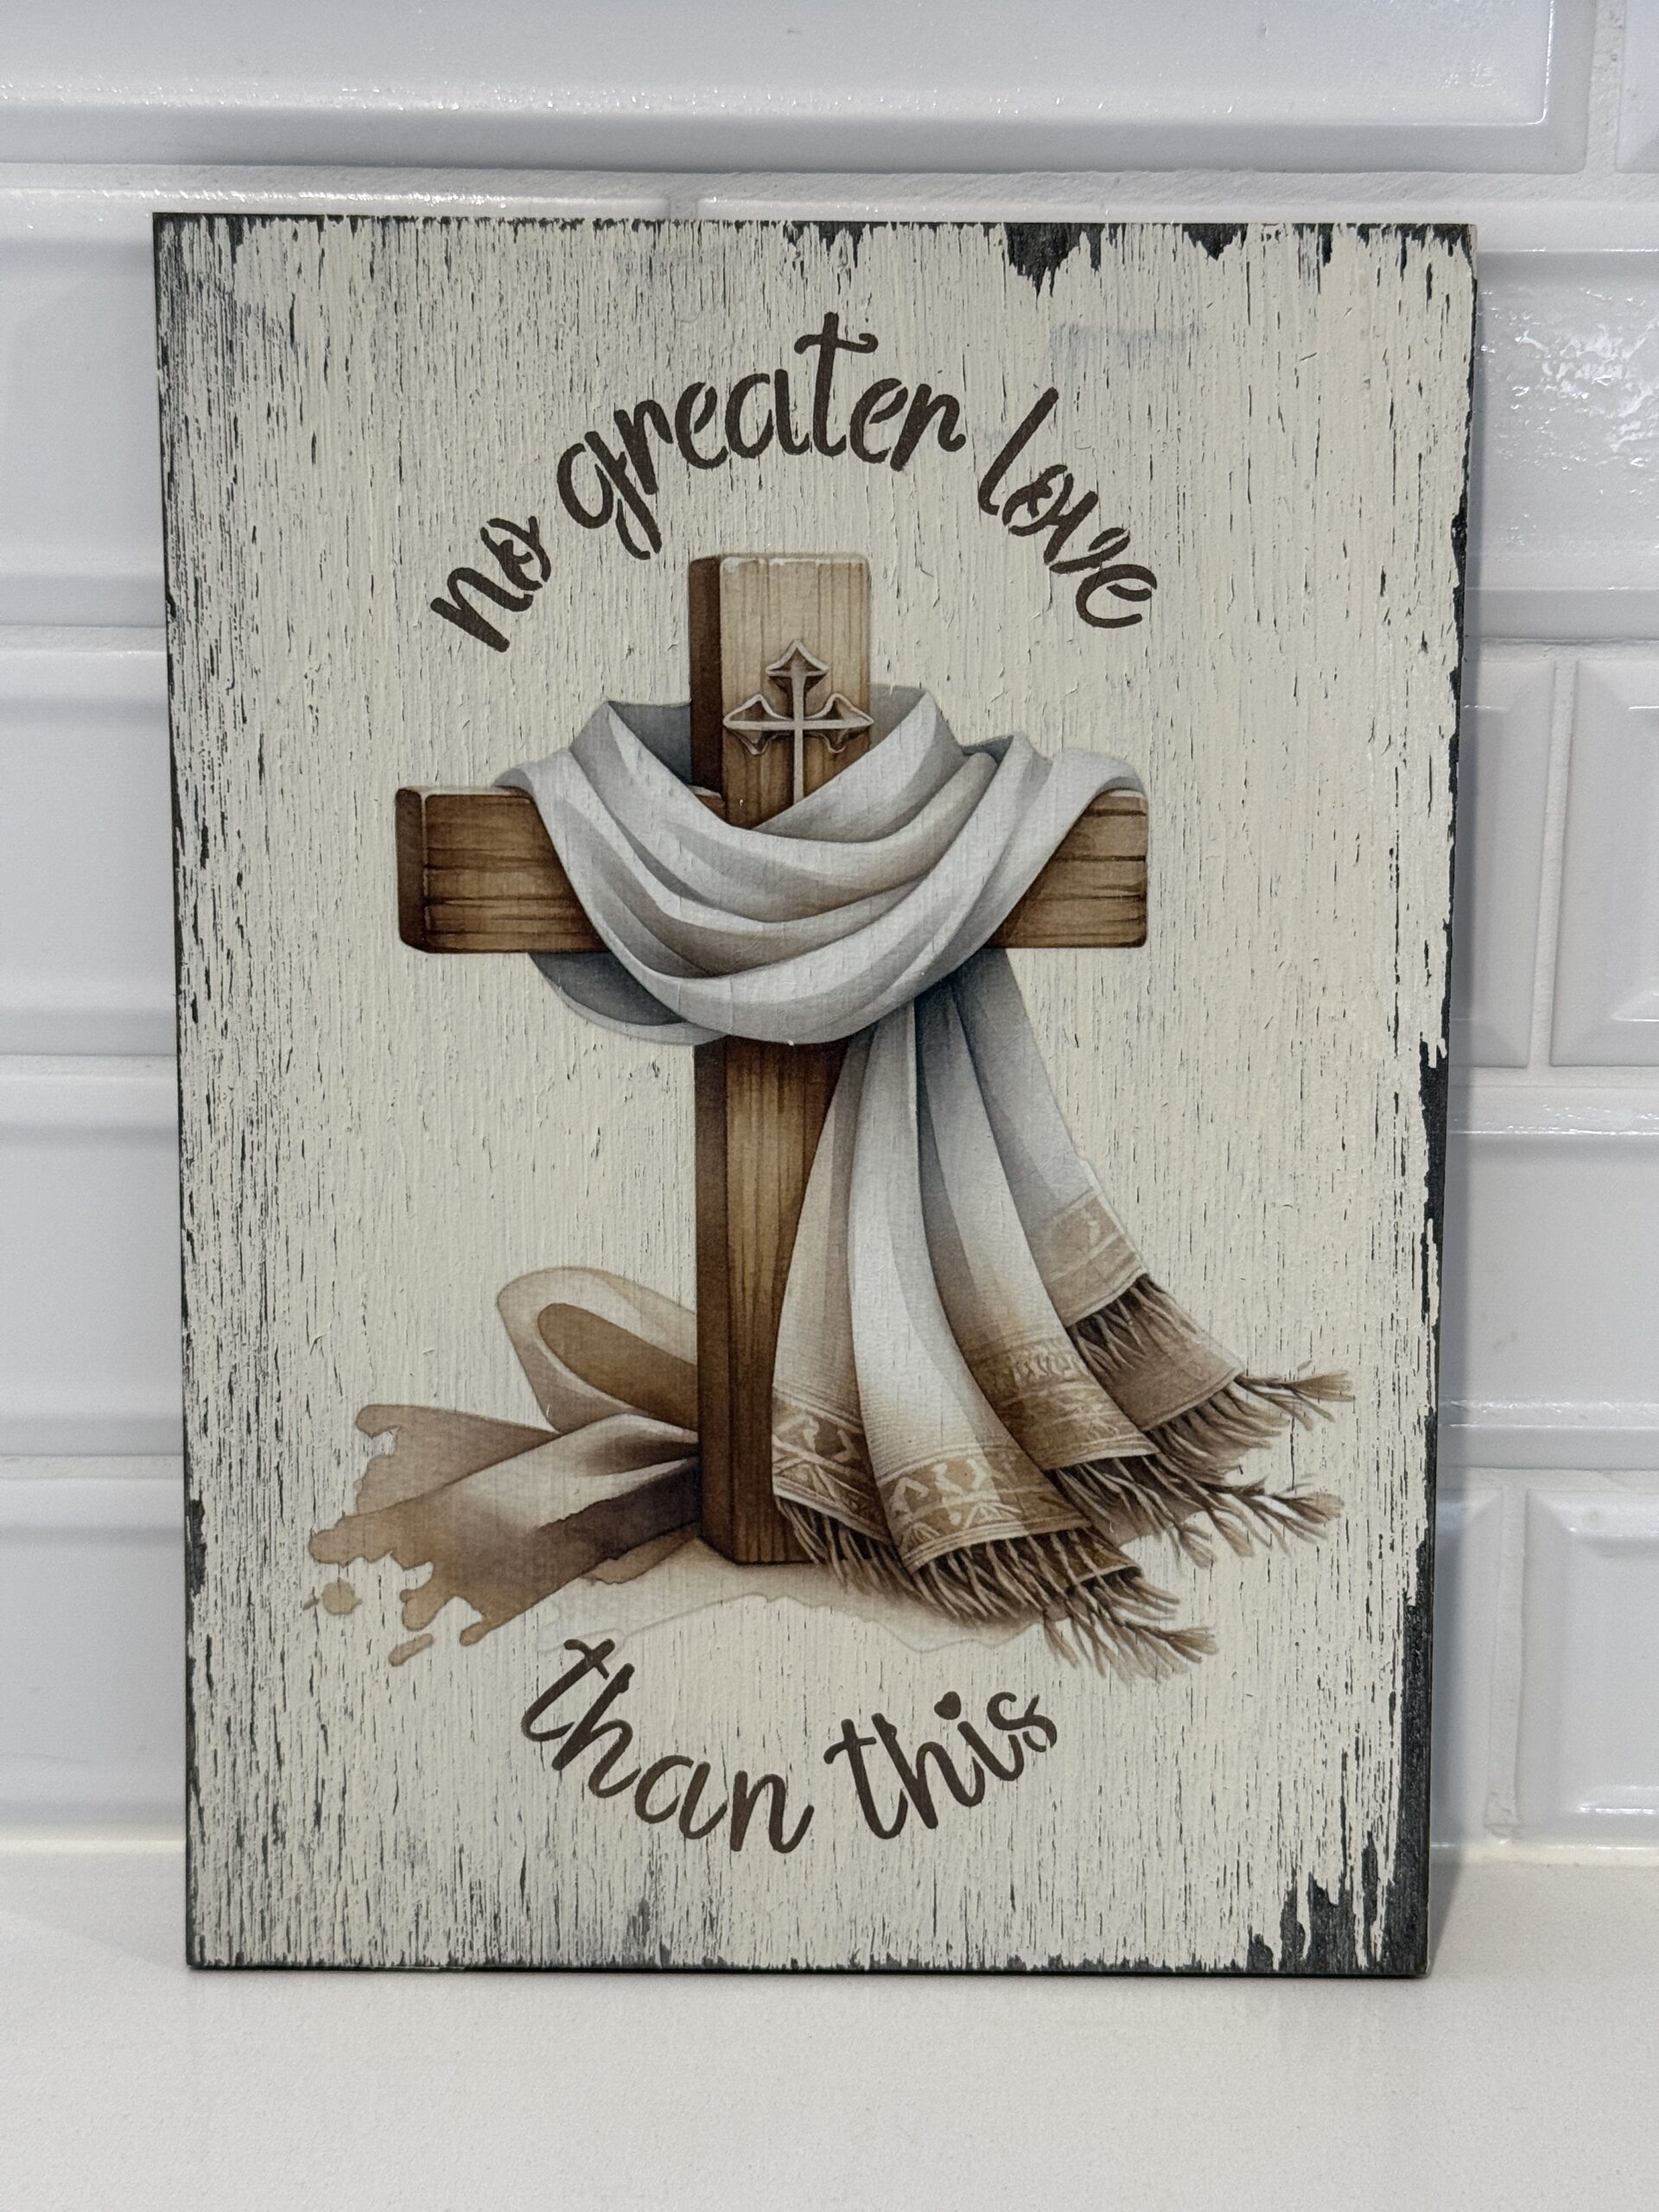
This faux weathered wood look is a technique you can use for many applications, from sign boards, to furniture & home decor, to create an old, aged appearance.
Paint Your Base colour
For this weathered wood look, choose a base colour for your furniture piece or sign board. It’s best to choose a contrasting colour than your final top coat. In this case, I’ve painted my board in Fusion Mineral Paint colour, Oakham. I want the dark rich tones to peek through my top light coat for this aged, weathered look.
Dip the end of your brush into your paint and lay it down at a 45° angle along the grain of your wood, making sure you don’t allow paint to drip over your ends.
For a short video clip on the basic tenchnique I use to paint, head here.


Where to find Fusion Mineral Paint
In this project I’m using a small tester pot of the colour, Oakham.
Fusion comes in larger 500ml pots and small 37ml tester sizes.
Here’s where you can find Fusion:
- in person upstairs in Camp Hill Antique Centre, 545 Old Cleveland Road, Camp Hill.
- online right here on my website in the Shop tab in the menu for Australia wide shipping (free shipping over $175).
- In USA/Canada, use code IRESTORESTUFF at my affil link here and save 10%: FUSION USA/Canada
Apply a “resist” to selected areas
When creating this type of weathered and worn look, we want to use a “resist” like wax or oil, to put on our base layer.
Then when we paint our final light layer on top, these will be the areas where that top coat will resist the oil or wax, and be easily removed when sanded.
In this step, I recommend Fusion’s Clear Wax. (*USA/Canada here: Clear Wax)
Apply small dabs around the areas that you would think would naturally wear and tear – eg. edges, corners. In this example, I’m adding a transfer to the centre of the sign board, so I want to avoid placing wax in the centre or the transfer may not stick. *SEE VIDEO BELOW.


ADD a top coat, dry, gently sand
As shown in the above video, I gently lay on a top coat of Fusion’s Raw Silk over the entire board, even the waxed areas.
You may notice the waxed areas “bead” where the paint is resisting the wax. Wait for your paint to completely dry.
Then gently sand with approx 240 grit sandpaper or sanding pad. This should gently lift the white paint where the areas of wax are, and possibly other areas too, depending how hard you apply pressure to the sandpaper.
In my 2nd video below, I’ll show you how I finished of the sign using one of Essential Stencil‘s Easter Stencils and Transfers.
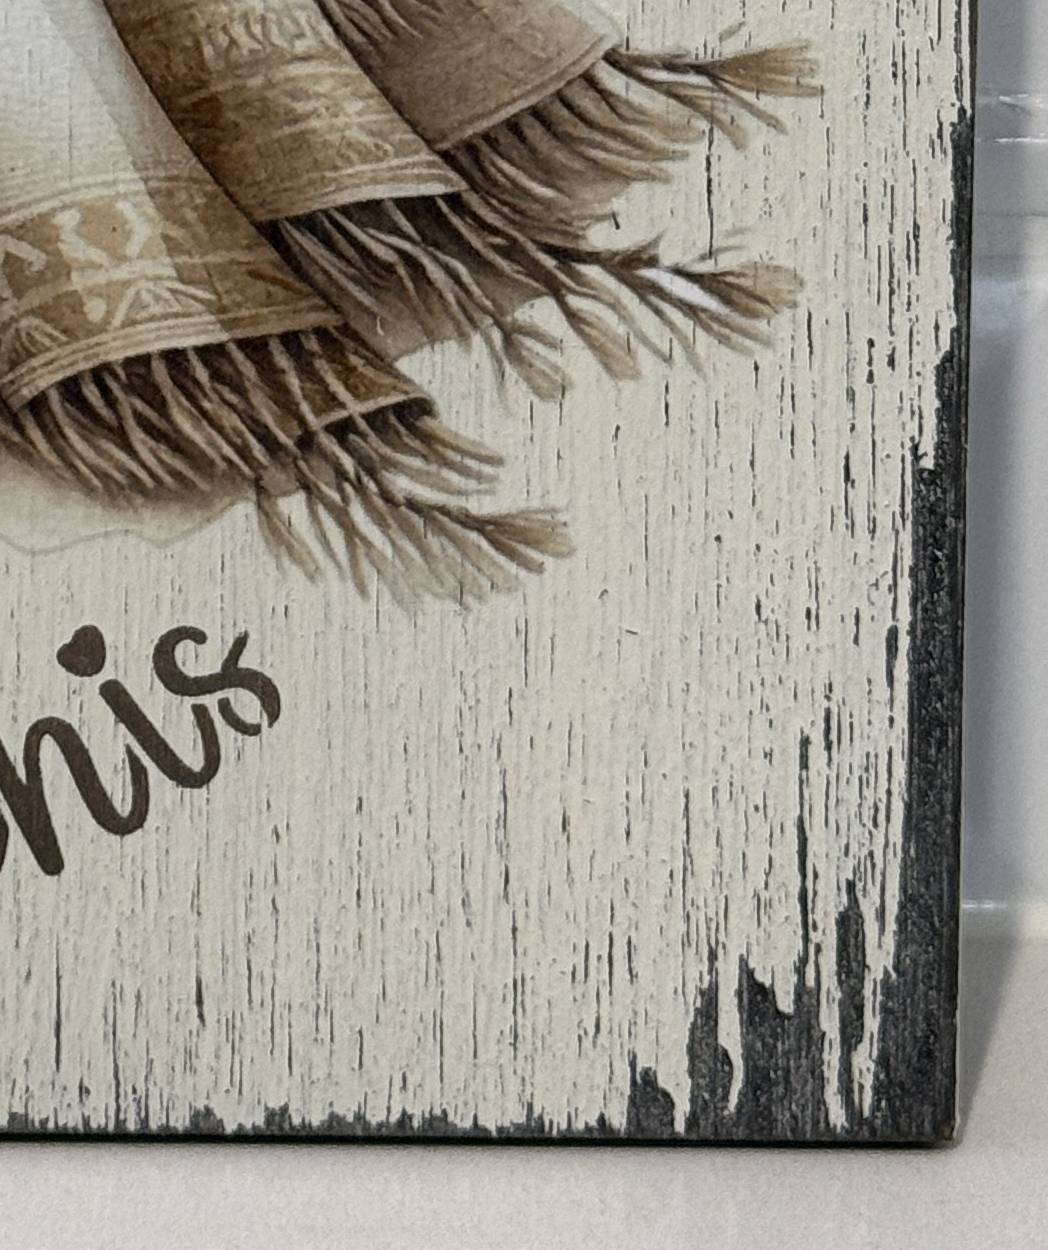
Tap the right of the image below for a close up of the worn, weathered look finish.
Once finished stenciling or transferring, seal your board, sign or furniture using a water-based poly sealer such as Fusion’s Tough Coat which comes in Matt or Gloss.
If you have any questions about this DIY project, leave a comment below.