
Today, I’m sharing links from one of my favourite Aussie DIY bloggers, Kristine, from The Painted Hive. Kristine has been generously creating amazing FREE Printables for a while now, and her newly released Christmas printables are perfect for my easy DIY Christmas decor project that I worked on this week.
*Note: Video demo included in this post further down.
Totally inspired by Kristine’s images that she provided on her blog post, displaying her prints in various frames, creating a range of Christmas “looks” for your home, I chose to create the simple wood ends for my printed A4 size printables. (See the Painted Hive image below for my inspiration.)
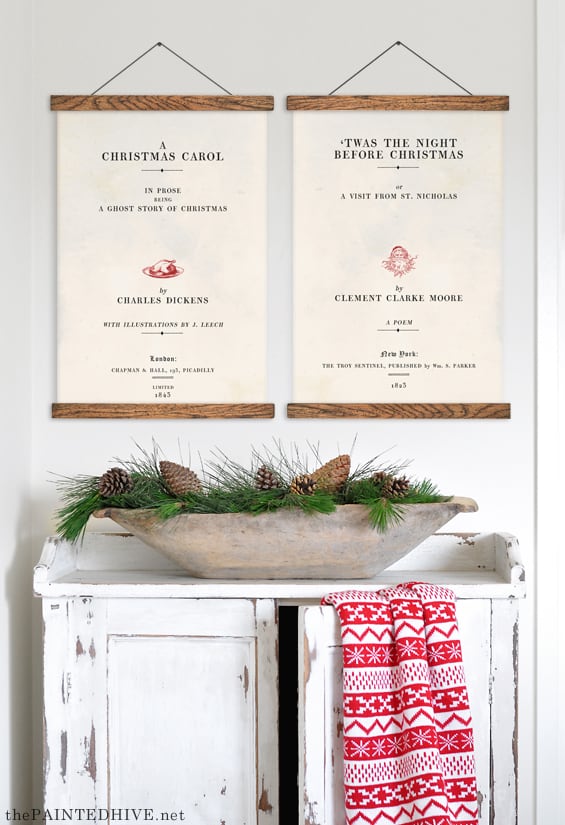
[Image via The Painted Hive.net]
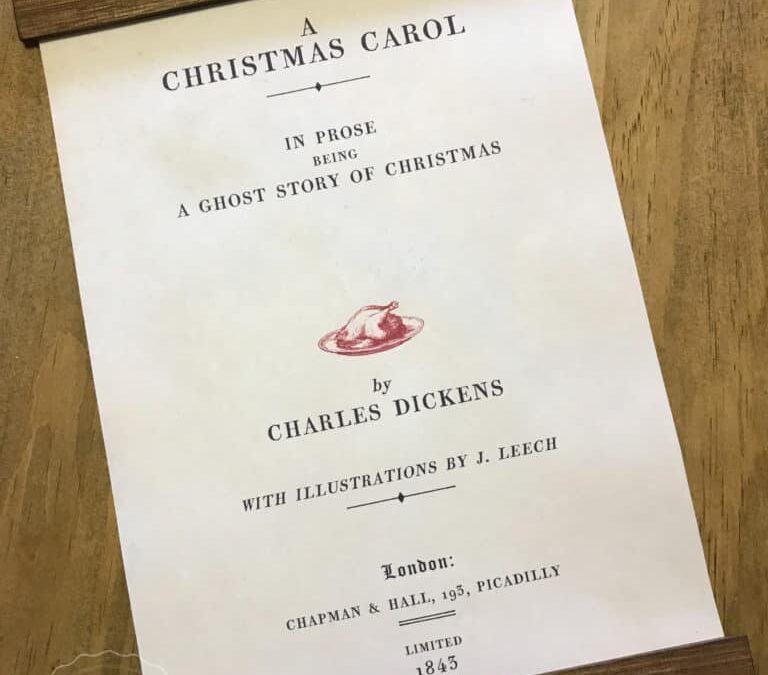
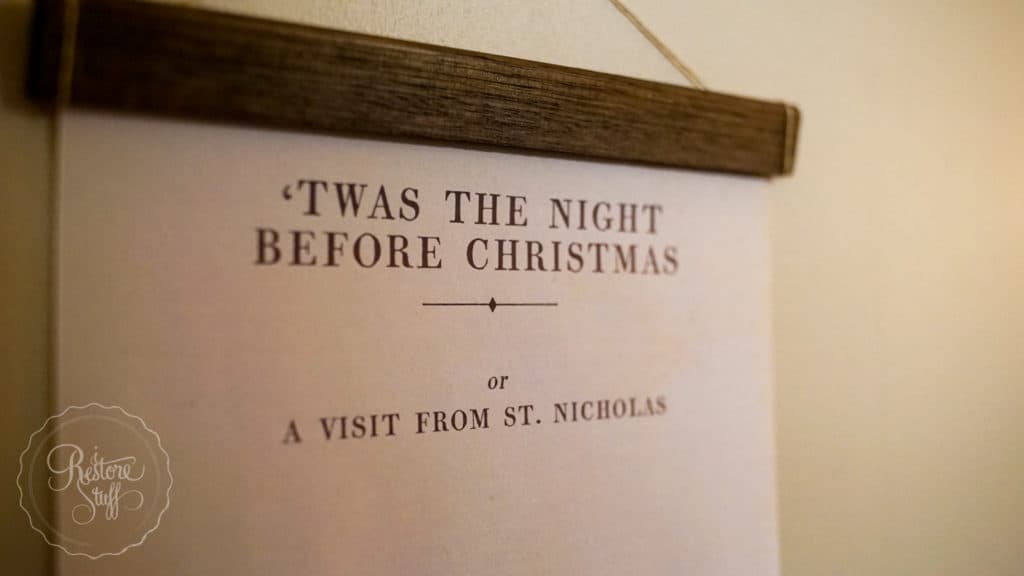
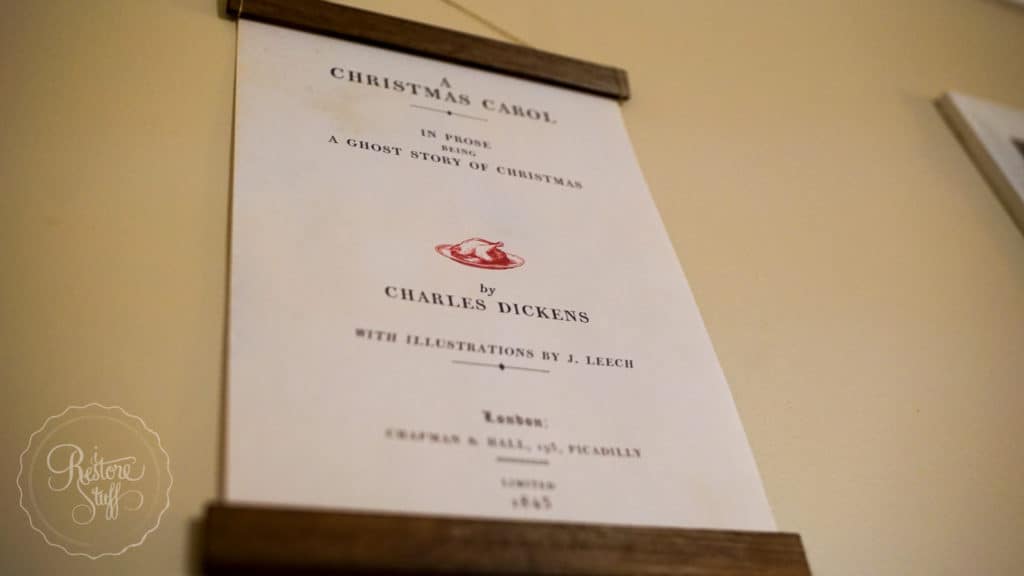
Kristine has a few different design styles to choose from: Ivory or Cream background, and black/white or red details in the image.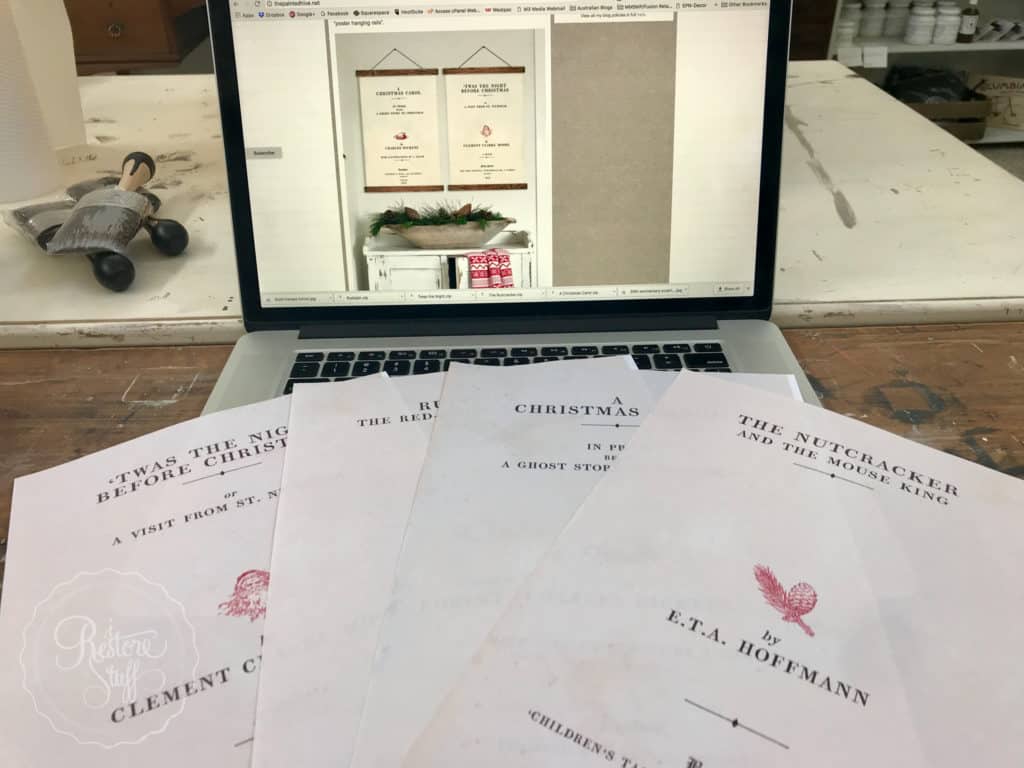
I happened to find some wood trim in our workshop/garage that would suit my project – I always love to “find” stuff in the garage rather than take a special trip out to buy trim just for one project – who’s with me on that?
This trim has a small lip rolled under to create a mini ledge for the paper to sit against, which worked nicely. However, just a plain piece of flat edged wood trim would work fine.
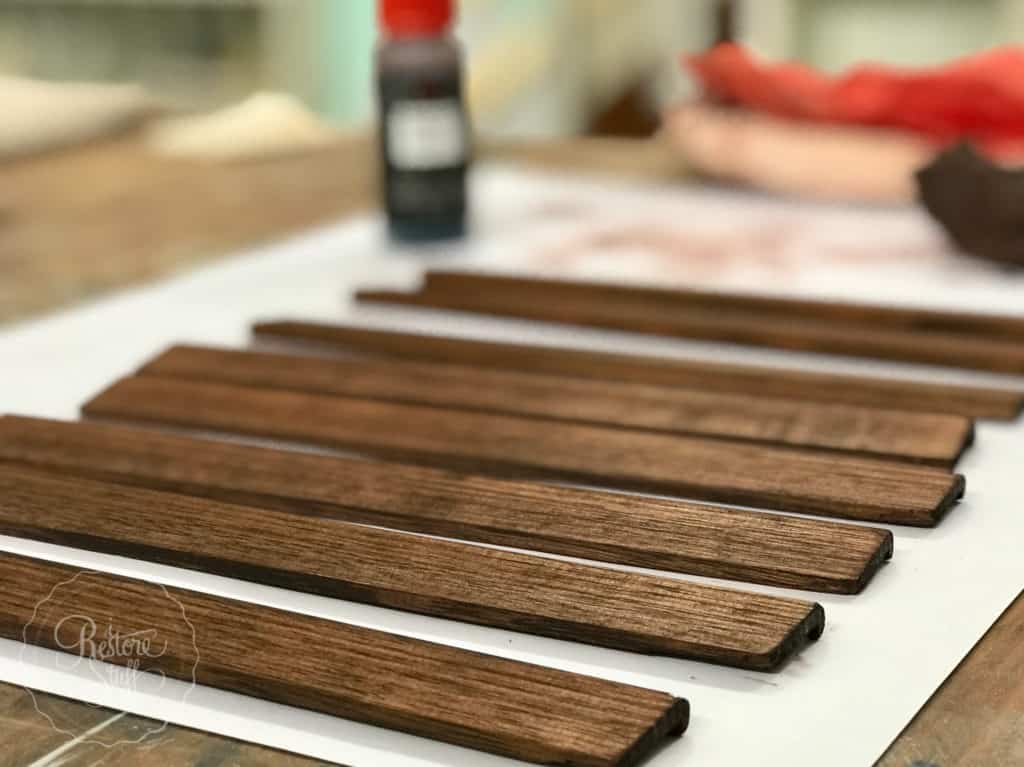
We measured and hand cut (with hand saw) each piece that we would need to use for our art top and bottom. For our A4 size, this was just about 1/2-1cm extending outside of each edge.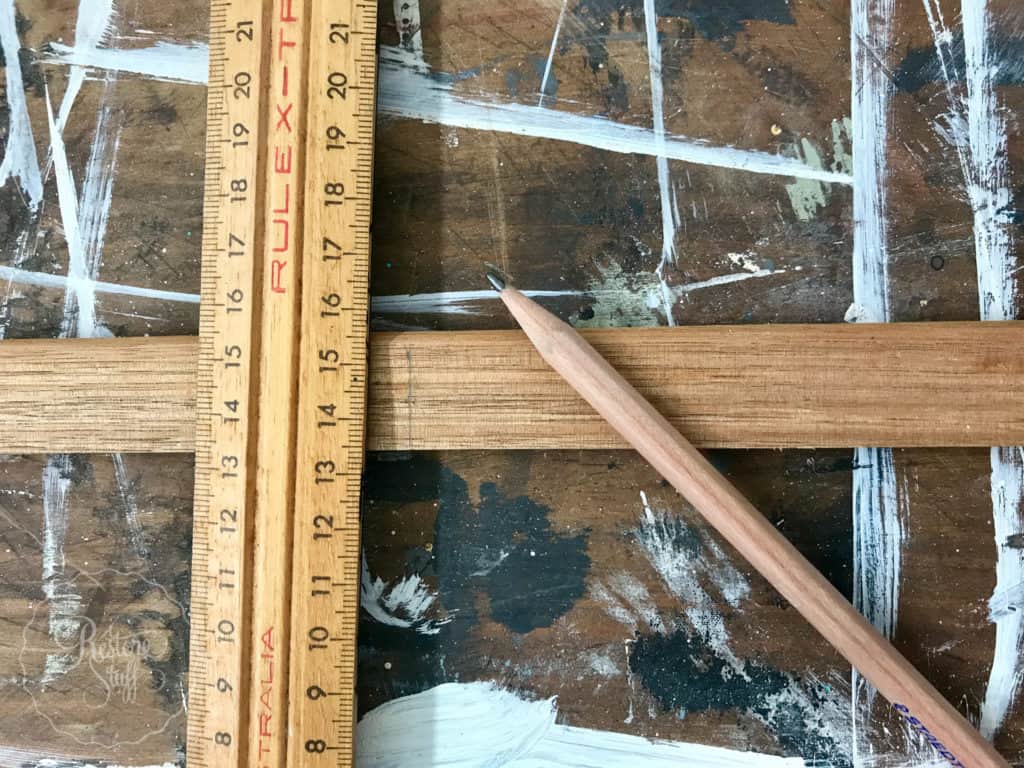
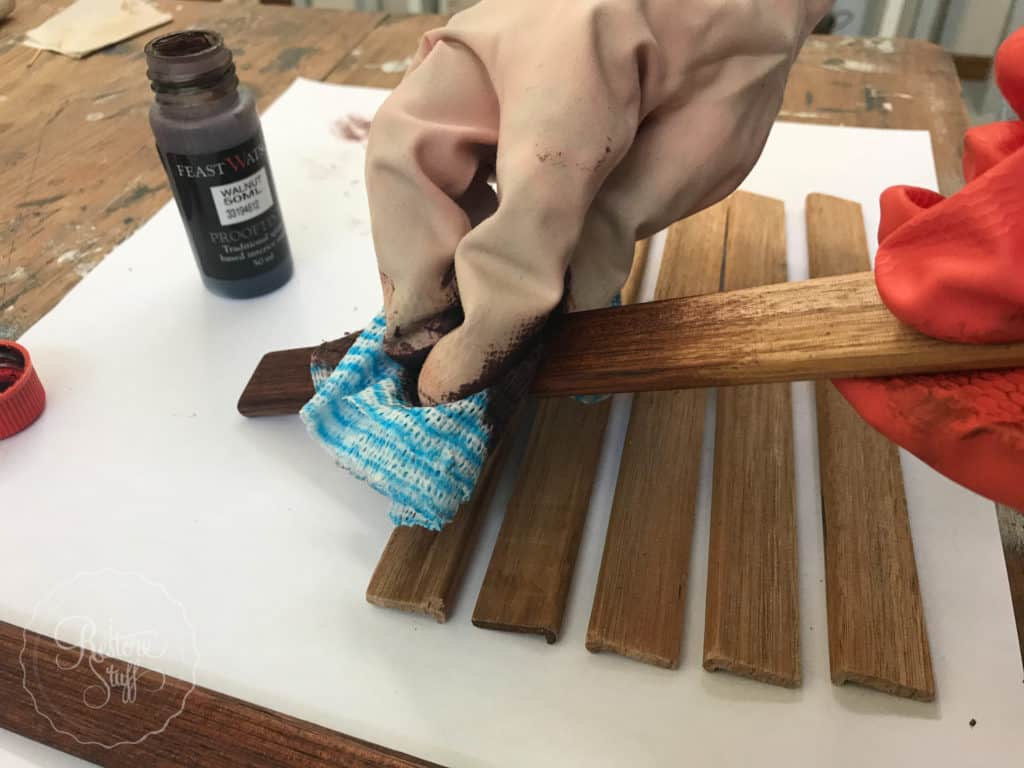
After cutting all the pieces to size, I grabbed some Walnut stain I had on hand and stained each piece. UPDATE: You could use our Fusion SFO in Walnut for this. Don’t forget to use GLOVES!
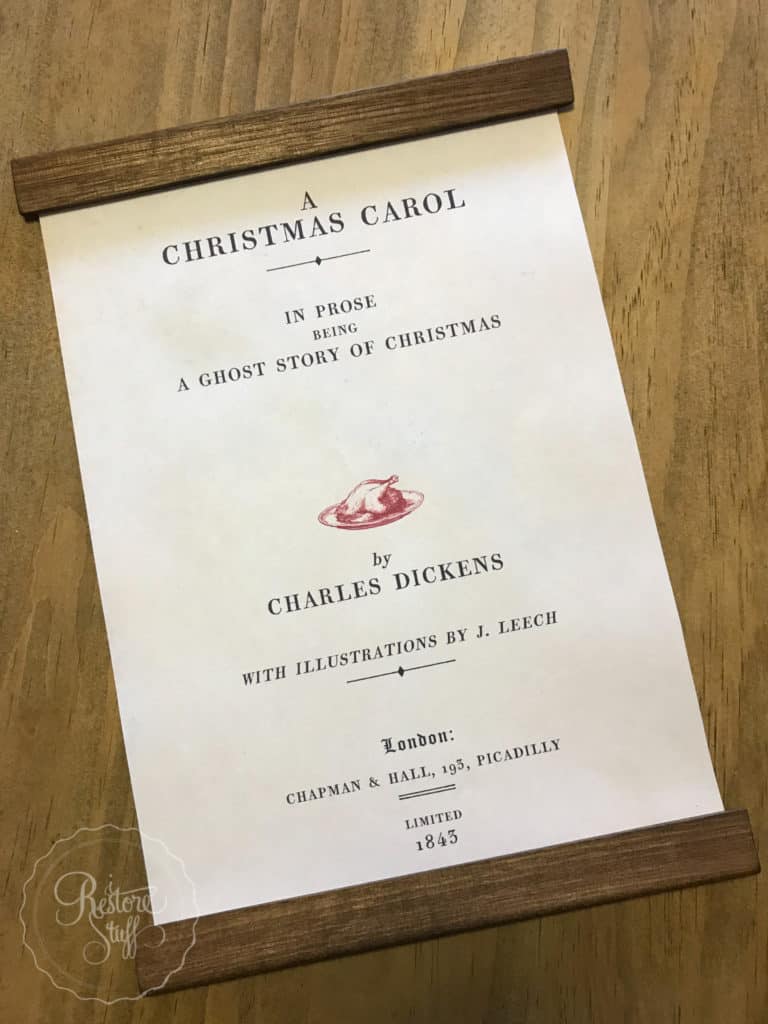
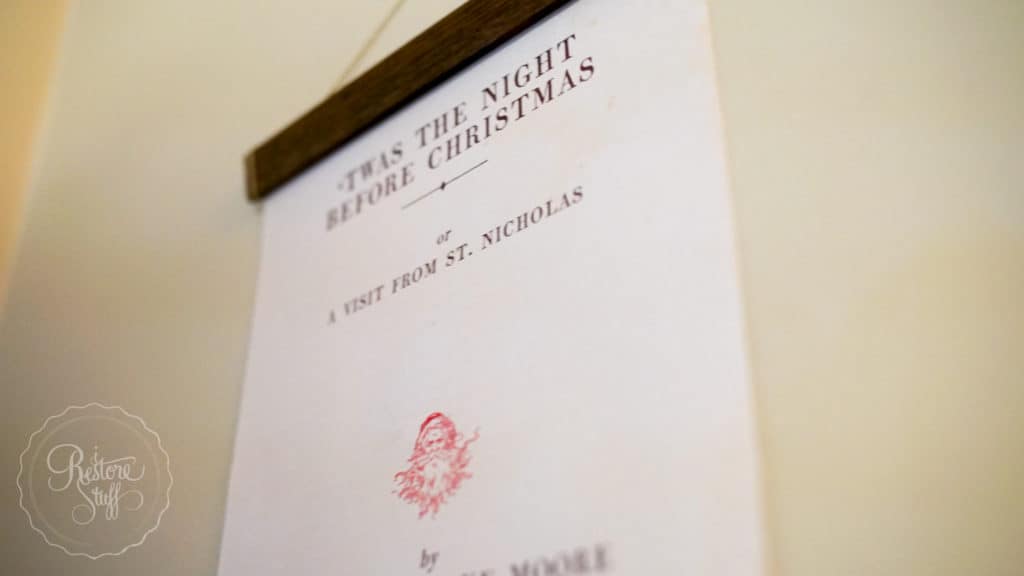
Then I added some double sided tape to the back of the wood trim, lined up my graphic image to ensure none of the image wording would be covered up by the width of my wood trim, then laid it on the tape to secure in place.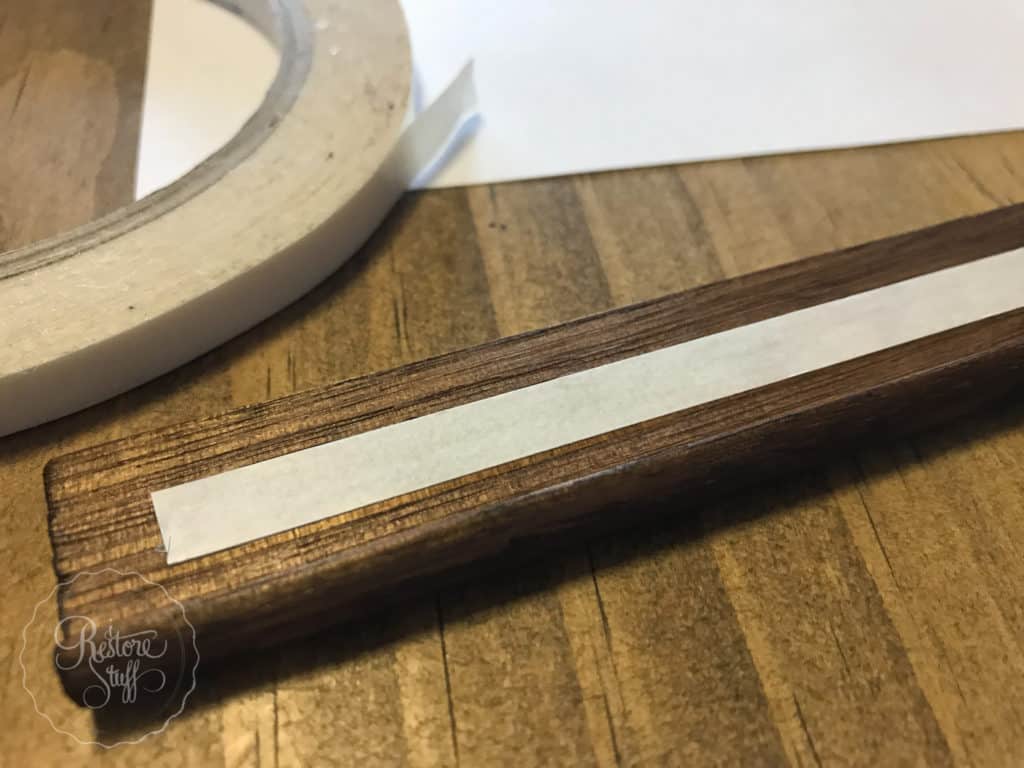
Here’s where I was a little frustrated at not being able to come up with a better solution to hang these. Any screw, staple or tack would have come straight through the very thin wood trim, so best I could come up with was some string tied around each end to hang them. (Let me know in comments if you can think of something better. Would love to hear your ideas).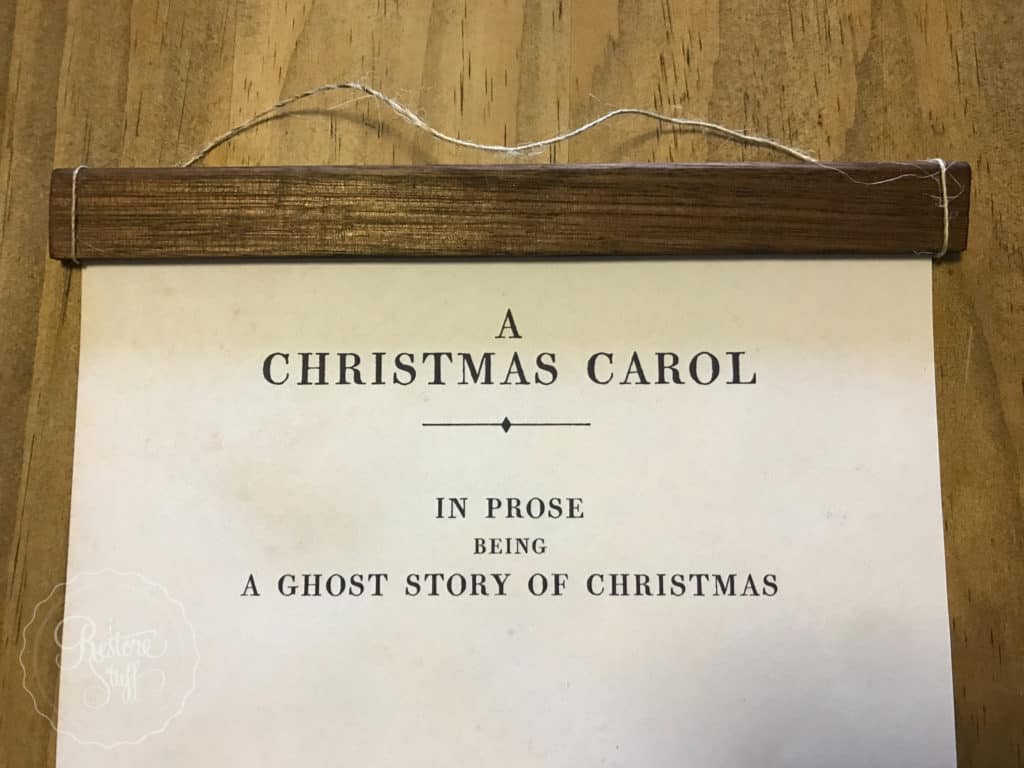 And here they are hanging on the wall in our living room. Yes, I think A3 size would have been better.
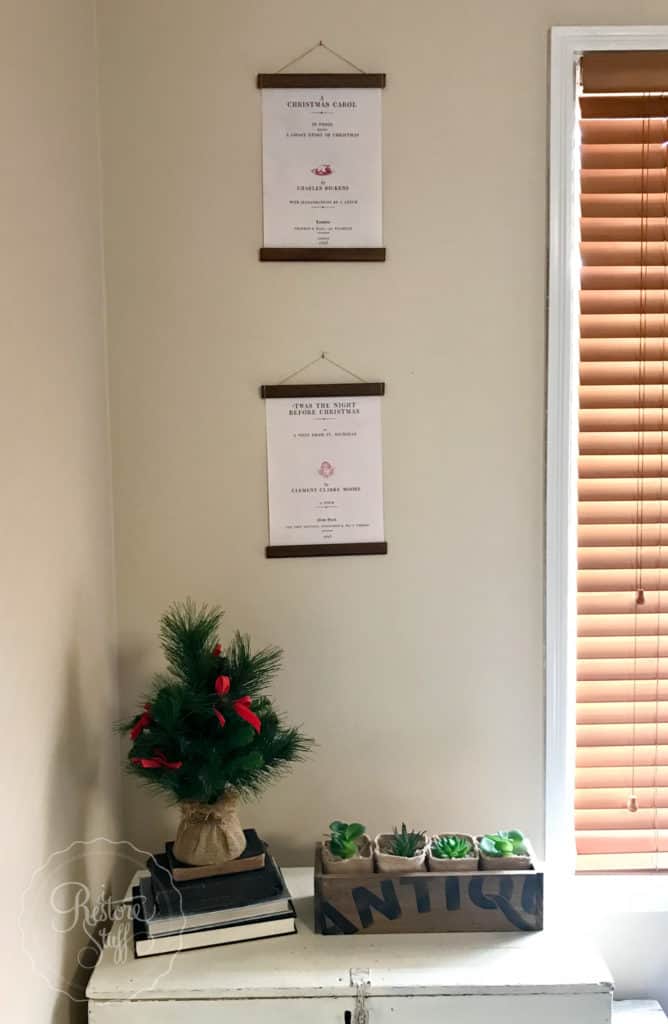
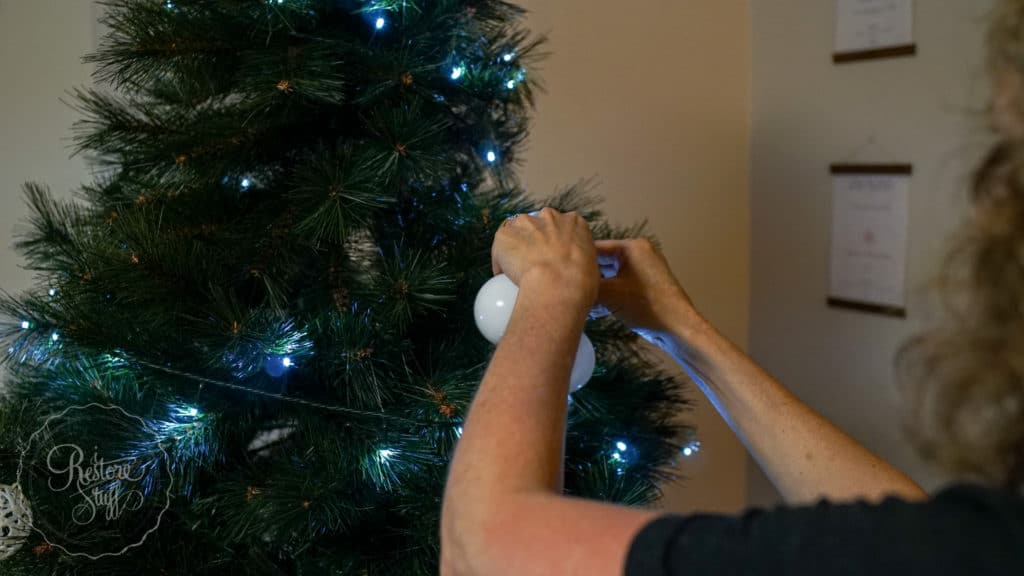
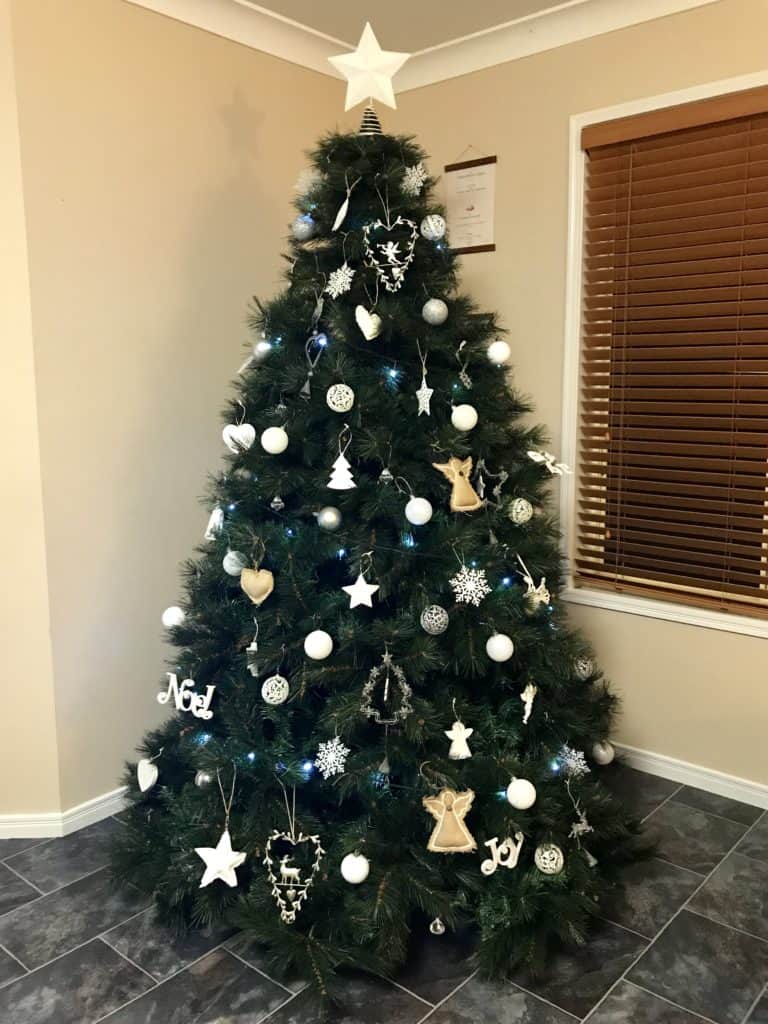
And of course we found a moment where we were all home together, so we took this time to put up our tree a little earlier than the traditional December 1st. We usually find at this time of year, the best time is when we HAVE the time! 😉
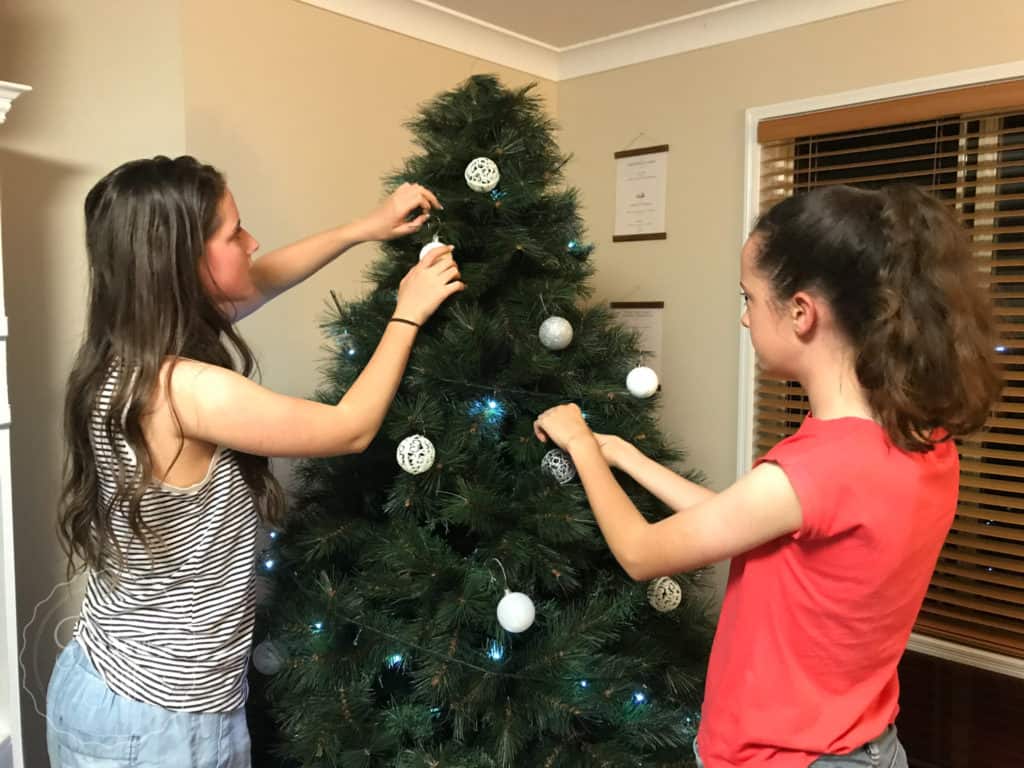
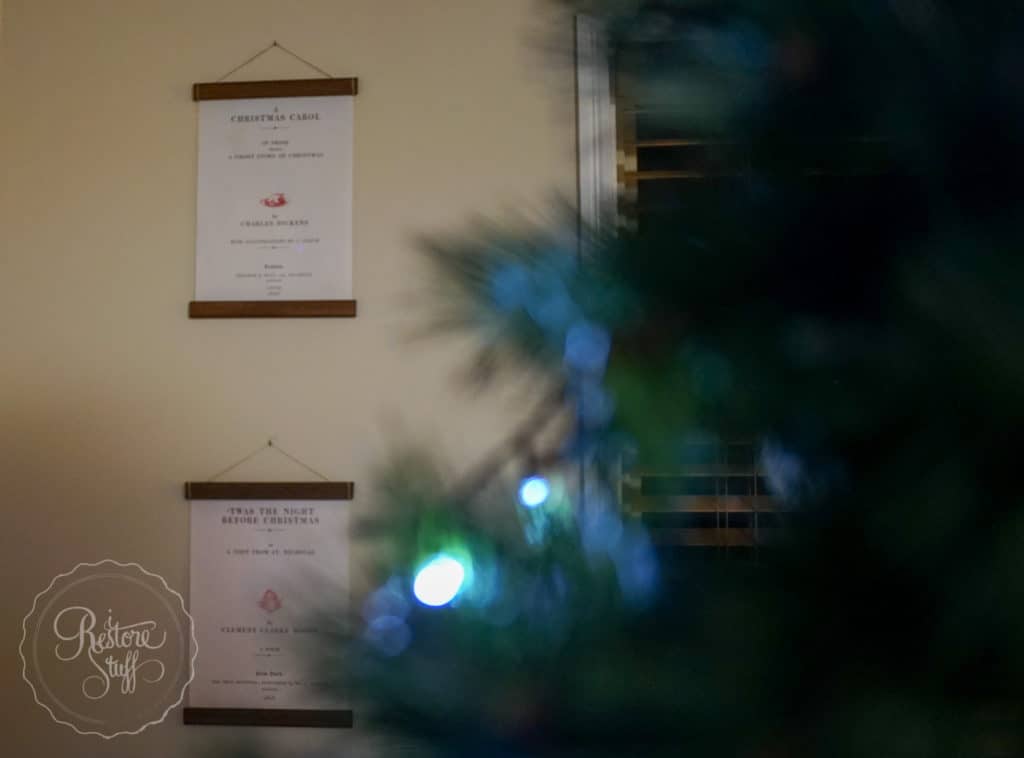

 I tried hard to get a good pic of the whole room, but as you can see, the wall art looks small in comparison to the tree, so I do recommend going with A3 size prints instead of the A4. But for now, I’m happy with a little bit of subtle Christmas themed printable art hanging in this room.
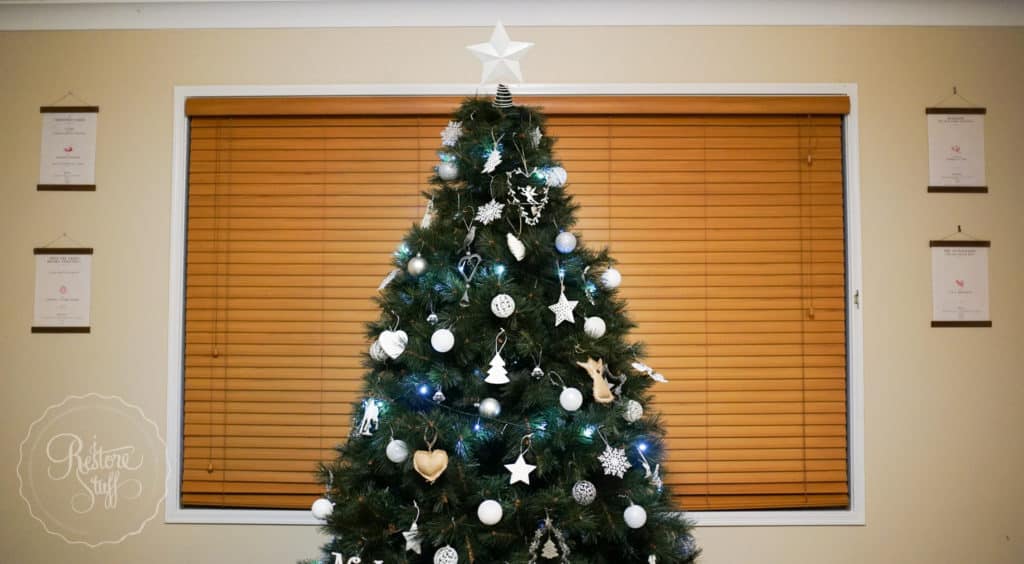
How’s your Christmas decorating going? Are you preparing your home for the holidays? or are you going away?
Do you still put up your tree if you aren’t home for Christmas?
 For more amazing antique printables, head over to The Painted Hive’s free printable section.
For the Christmas decor printables I used in this post, head to The Painted Hive blog post for step by step details on using these, by Kristine herself, including a few variations to hang them.
Here’s a replay of my Hometalk Live where I demo this: