Before we get to my Coffee Station makeover, do you ever paint a piece, use it in your house for a while, then decide it’s time for another makeover to either keep or on-sell?
This is about the 3rd makeover I’ve done on this piece. I’ve loved it from the start when friends were getting rid of it, and placed it in my care! Here’s how it started when it came to be with me:
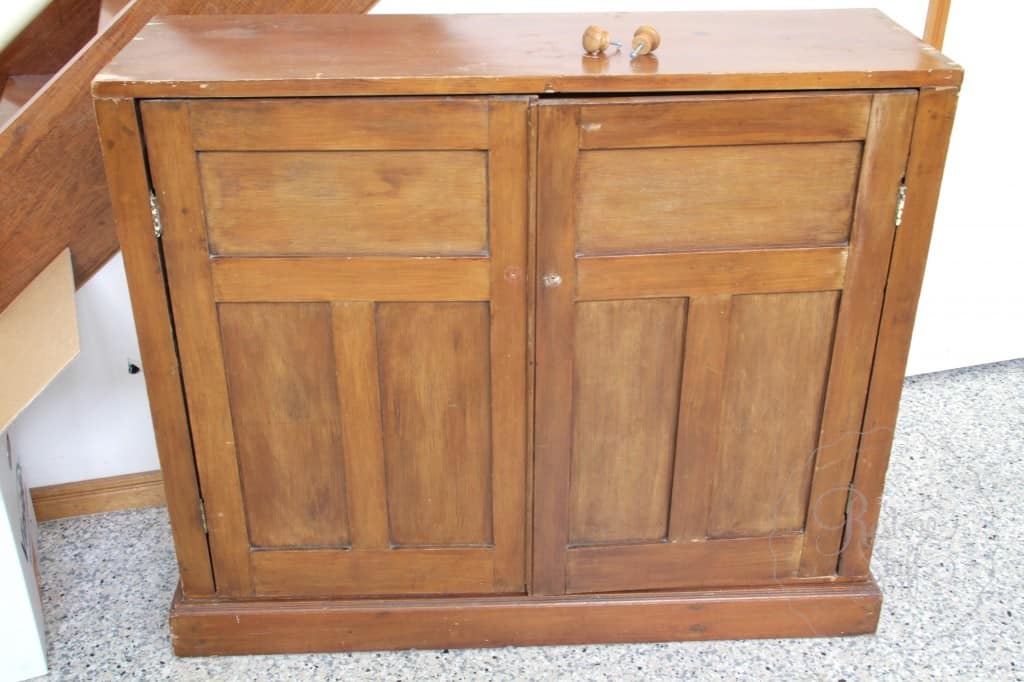
This was one of my first makeovers before I started really researching furniture paints, and in fact, before any of the main furniture paint brands really came to Australia. So here is the first makeover in some kind of wall paint from the hardware store:
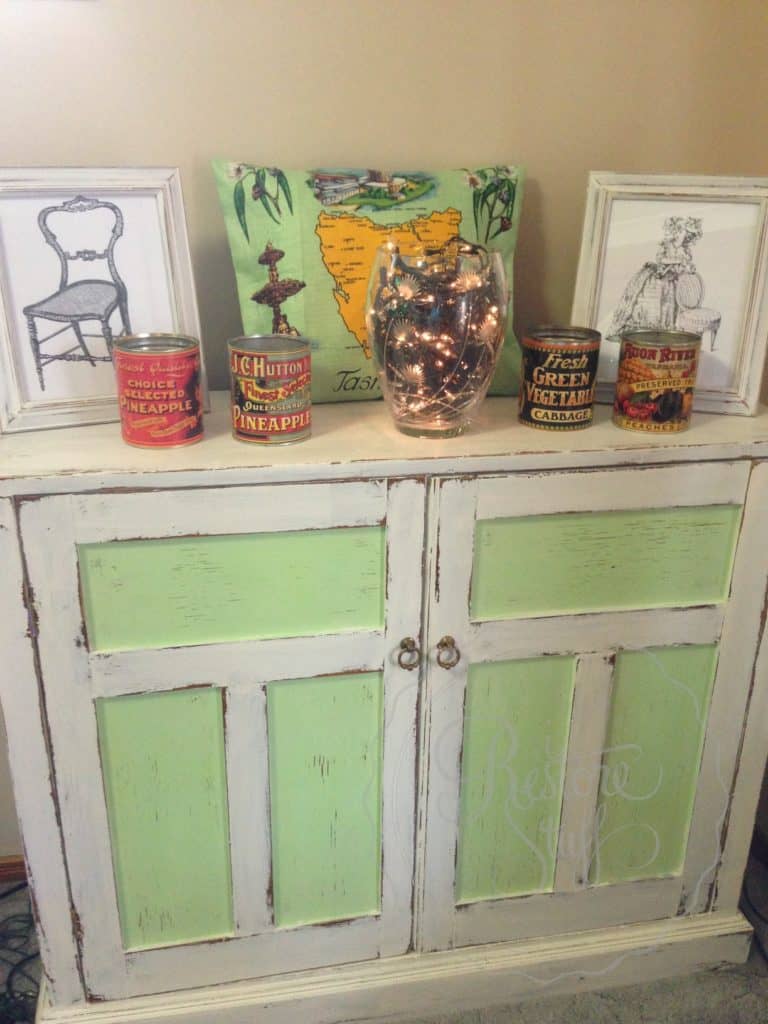
Then it received a Miss Mustard Seed’s Milk Paint makeover that you can read about HERE.
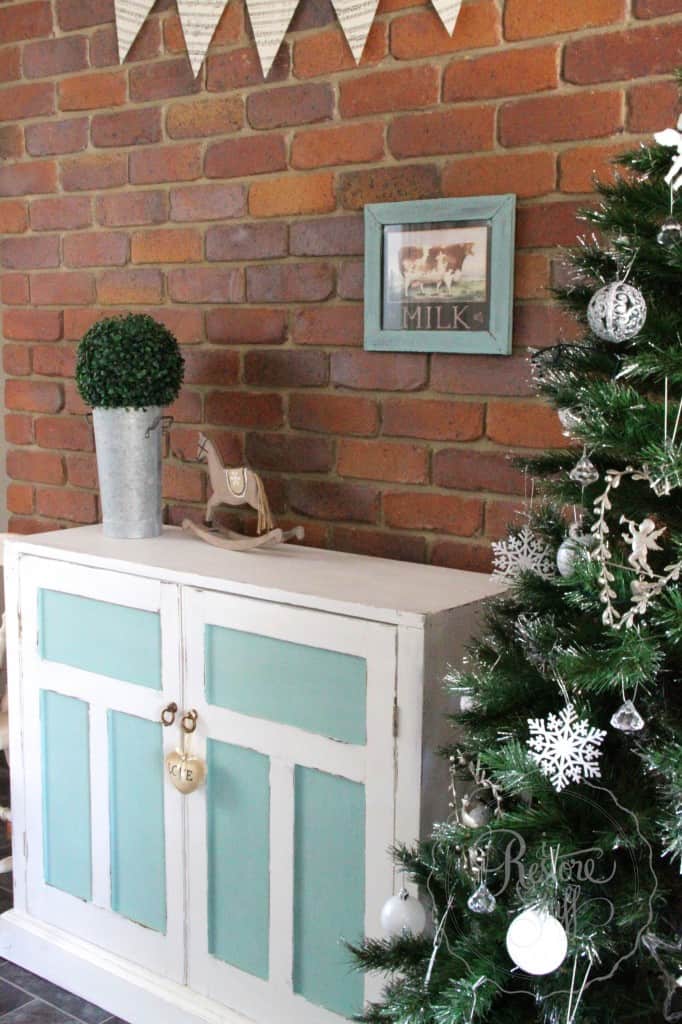
Third and Final Makeover – a Coffee Station
You may not ever notice until you have to move this cupboard, that there is actually no top piece to grip onto – which is kind of handy when moving a cupboard! The side edges just continue straight up, there’s nowhere to grip onto the back and you have to open the cupboard doors to get your hand underneath to try move it.
So I had this thought to repaint this piece again and get it ready to sell, but before doing so, I wanted to add some kind of top to the whole piece, to add some extra dimension – AND to make it easier for moving around the room or house if needed.
One day, my sister was getting rid of a single bed, and although I didn’t want the bed frame, I told her I’d love to use the slats as they looked flat and would make great sign boards for future projects.
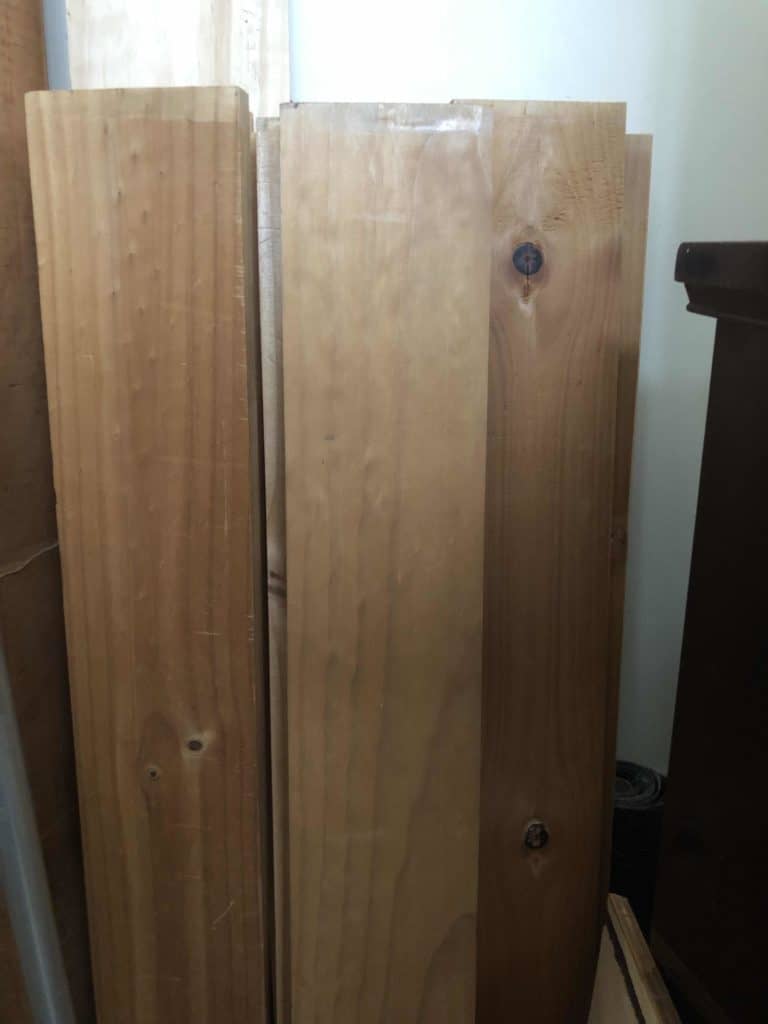
Taking three of the bed slats, they fit perfectly to the width of the cupboard. I had them cut to size, leaving a little overhang room each end, matching the overhang at the front edge. We glued and clamped them together and glued and screwed to the top of the cupboard.
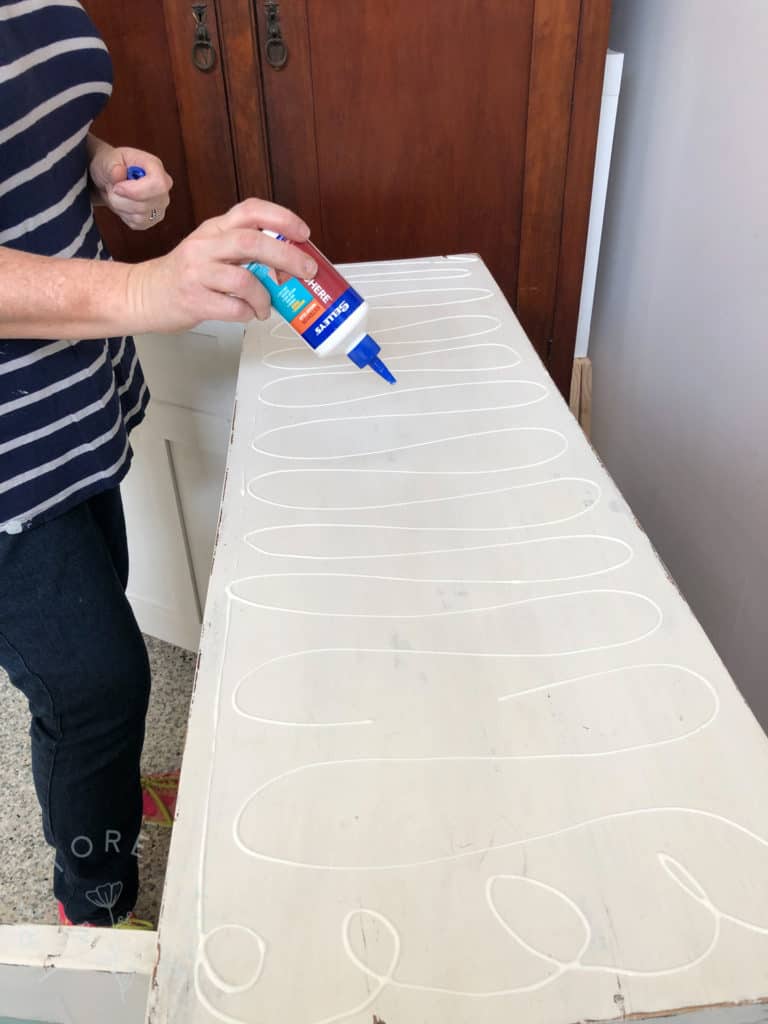
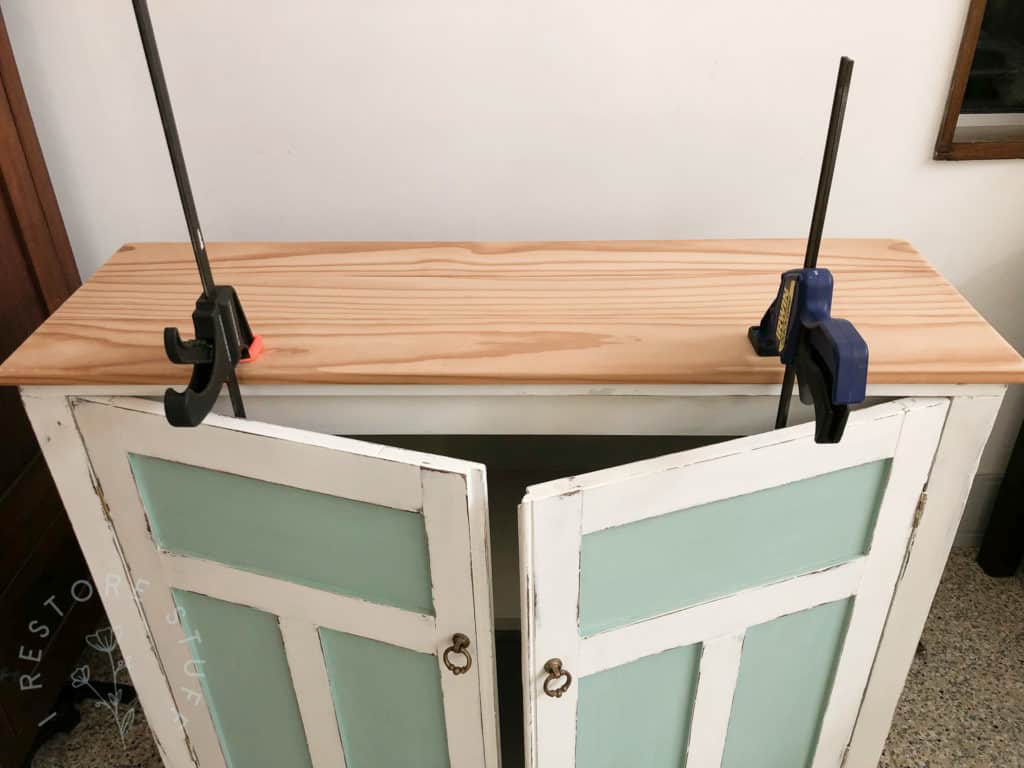
The making of a Coffee station
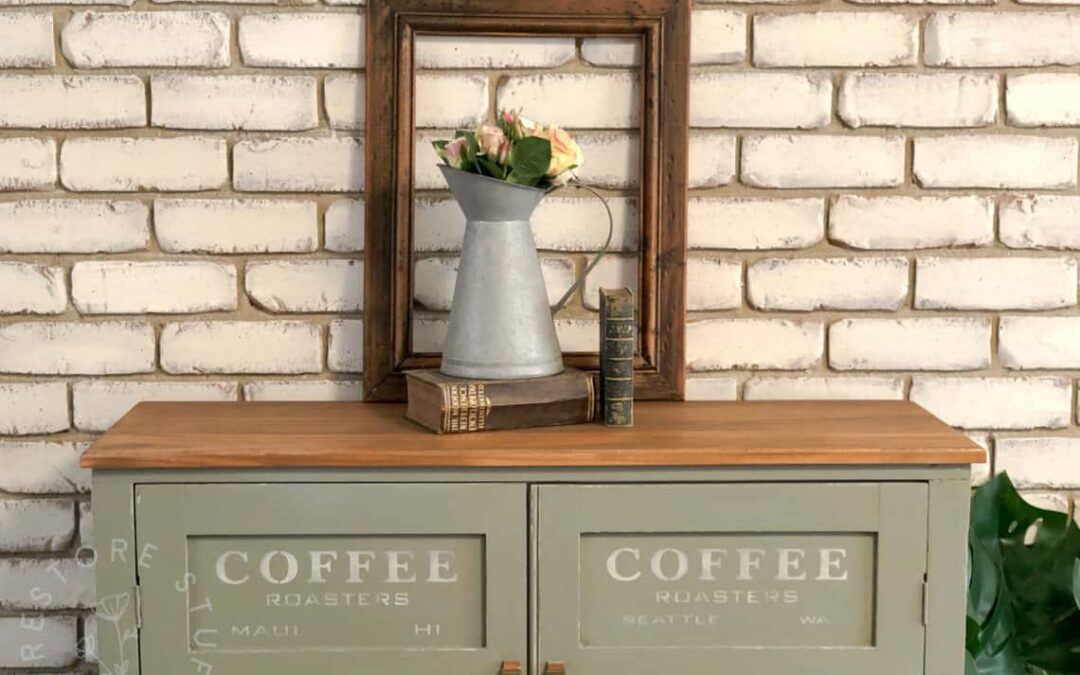
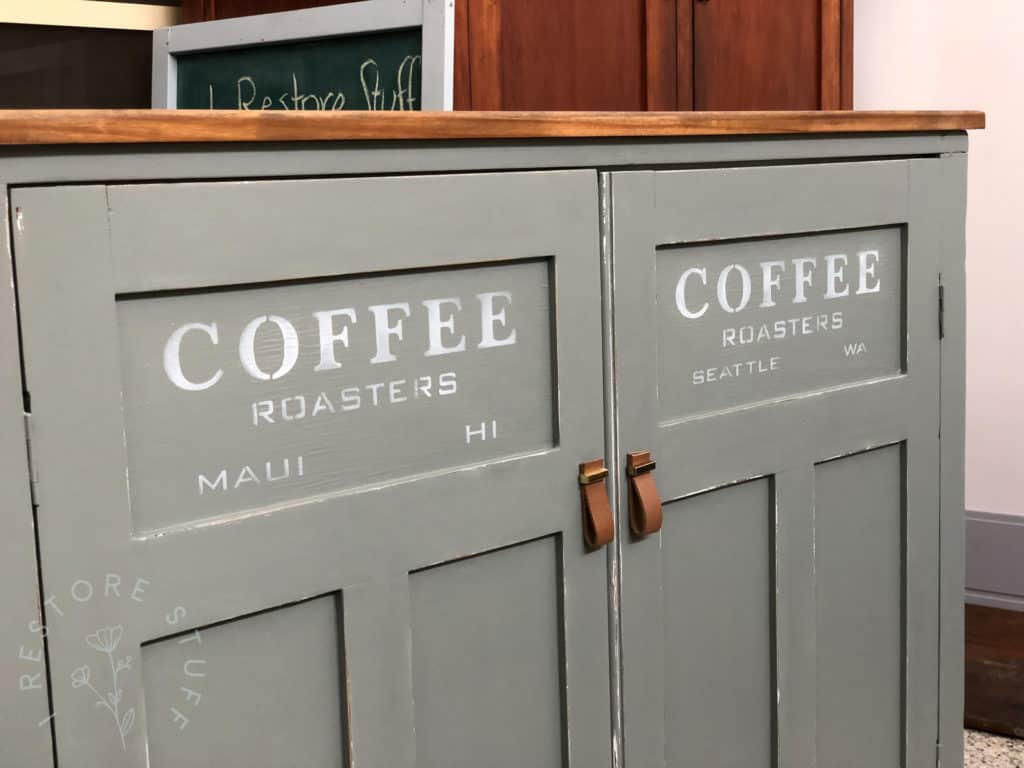
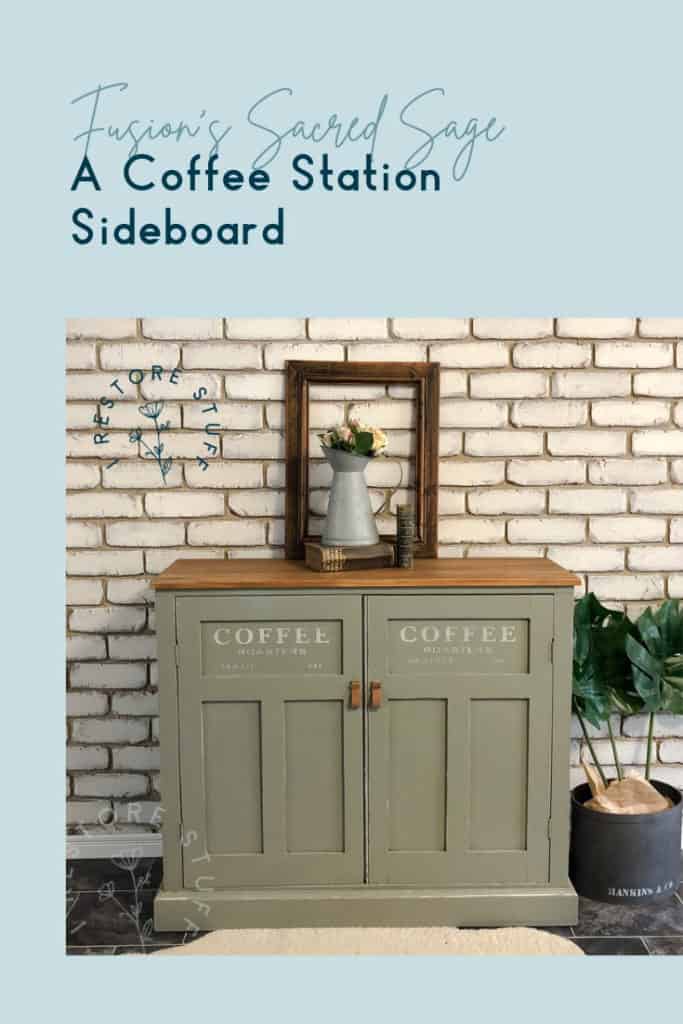
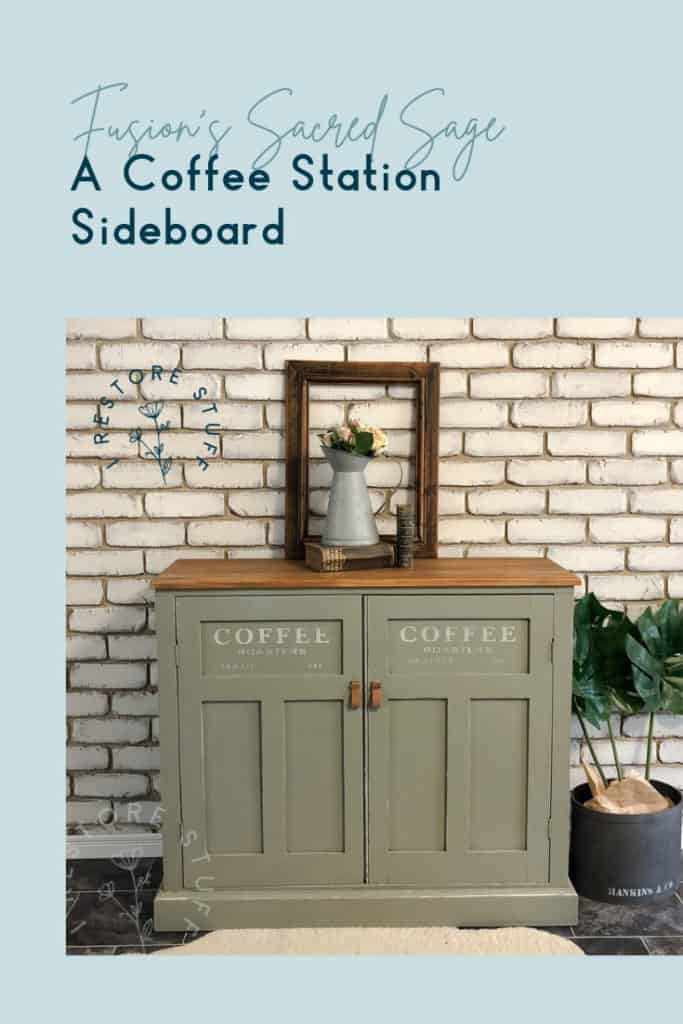
Next, I painted it in Fusion’s Sacred Sage – a beautiful grey/green colour, and stained the top in a half mix of Stain & Finishing Oil (half Cappuccino, half Natural). I added some leather handle pulls that I had on hand. You can find similar ones HERE.
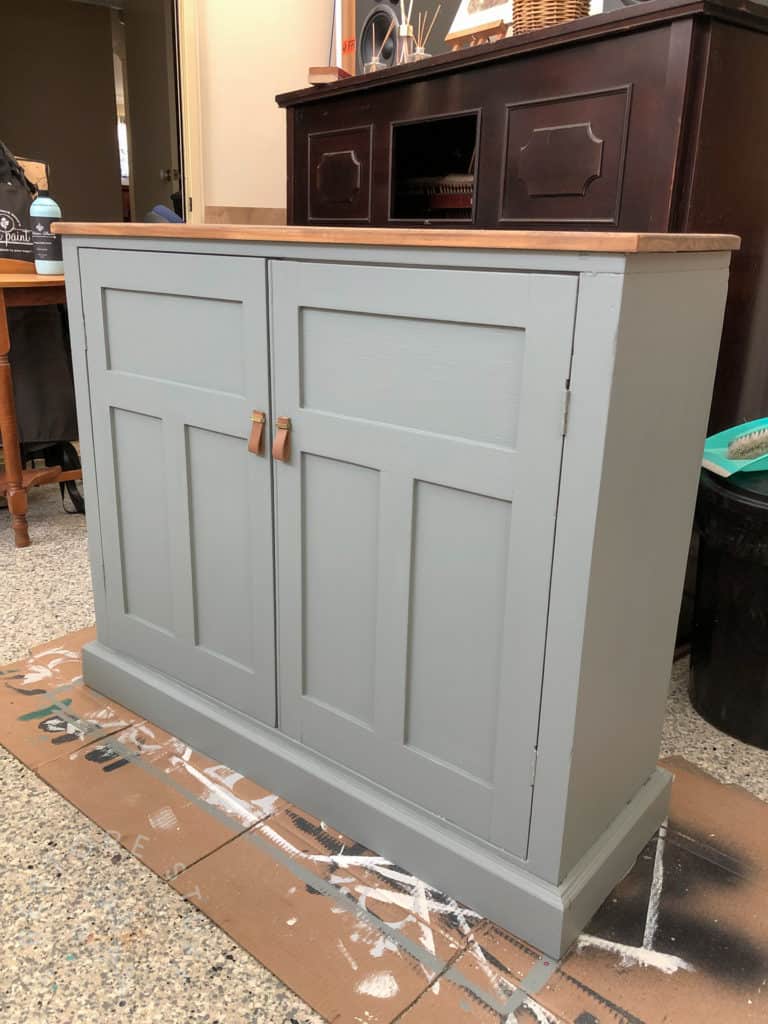
I imagined this cupboard as a great addition to someone’s dining area as a coffee station. So I grabbed my Funky Junk Old Sign Coffee Stencil, and added it to the front of both doors. To do this, I found it easier to lay the whole cupboard on it’s back like so:
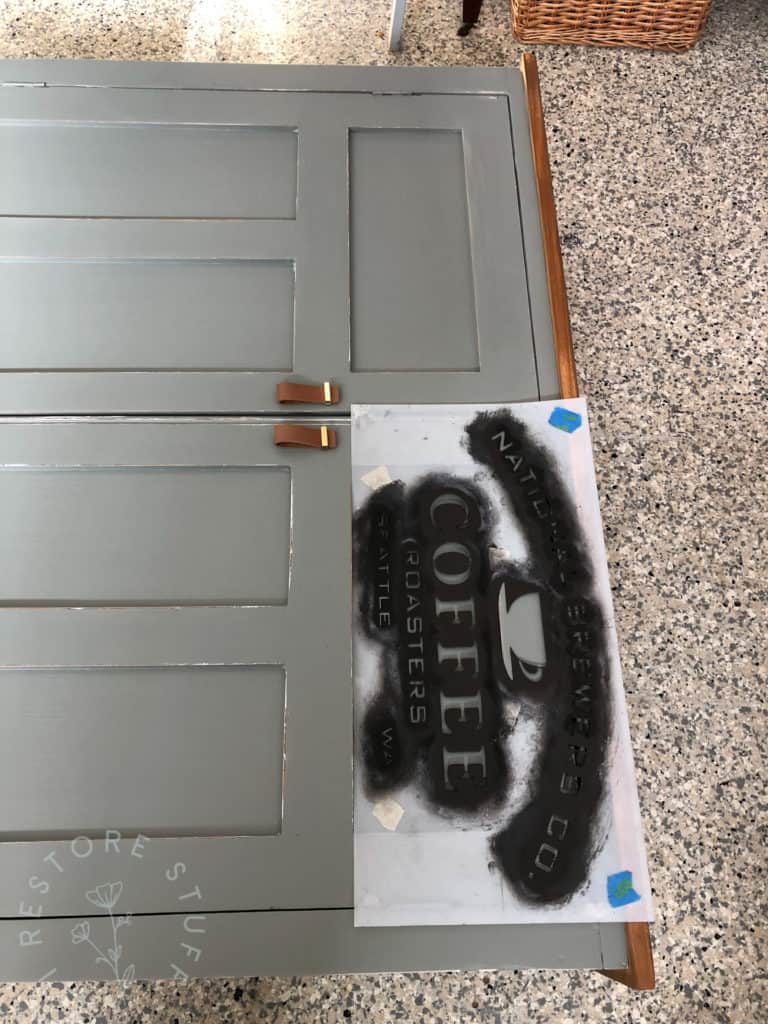
Fusion’s white colour, Casement was used for the stencil, and I distressed the edges of the whole piece to allow a little of the white paint show through from underneath. I still felt like it was a little too fresh looking for the age of the cupboard, and I wanted to make it older looking …
Using antiquing glaze as a finish
Using Fusion’s Antiquing Glaze, I brushed it on, working in sections and wiped away the excess. As it is wiped along the grain with even strokes, the glaze stays in the recesses of the doors and gives a lovely aged appearance to the overall colour, including the stark white of the stencils. (Here’s a video where I show how to use Antiquing Glaze at the end, over this image transfer – WATCH)
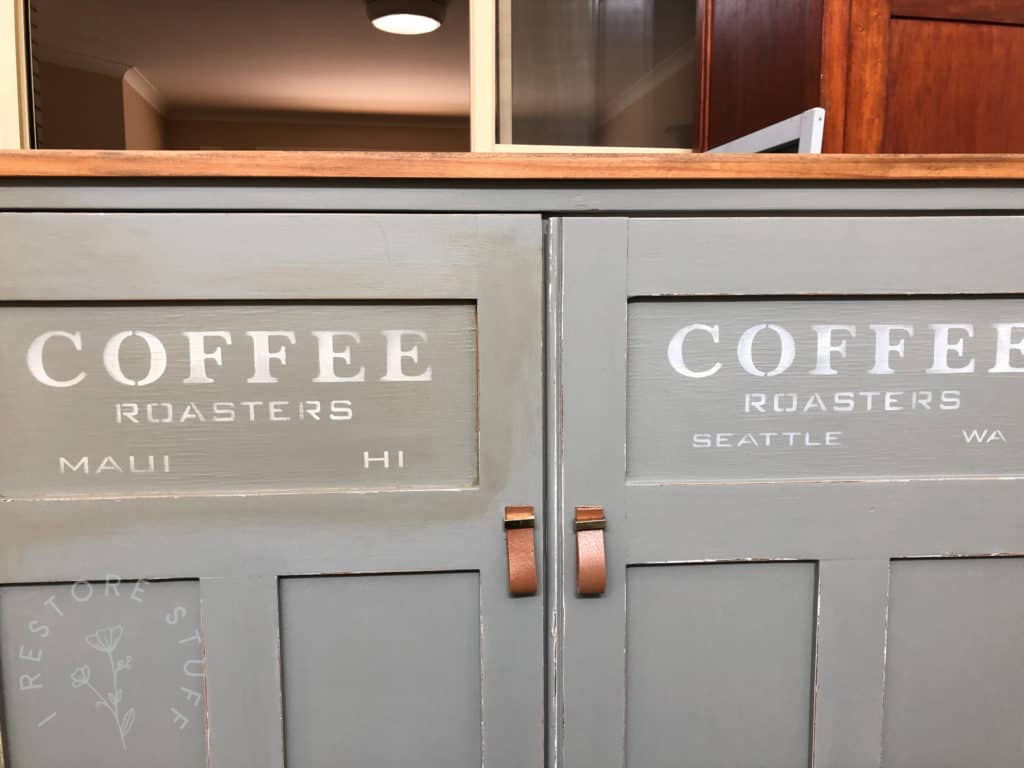
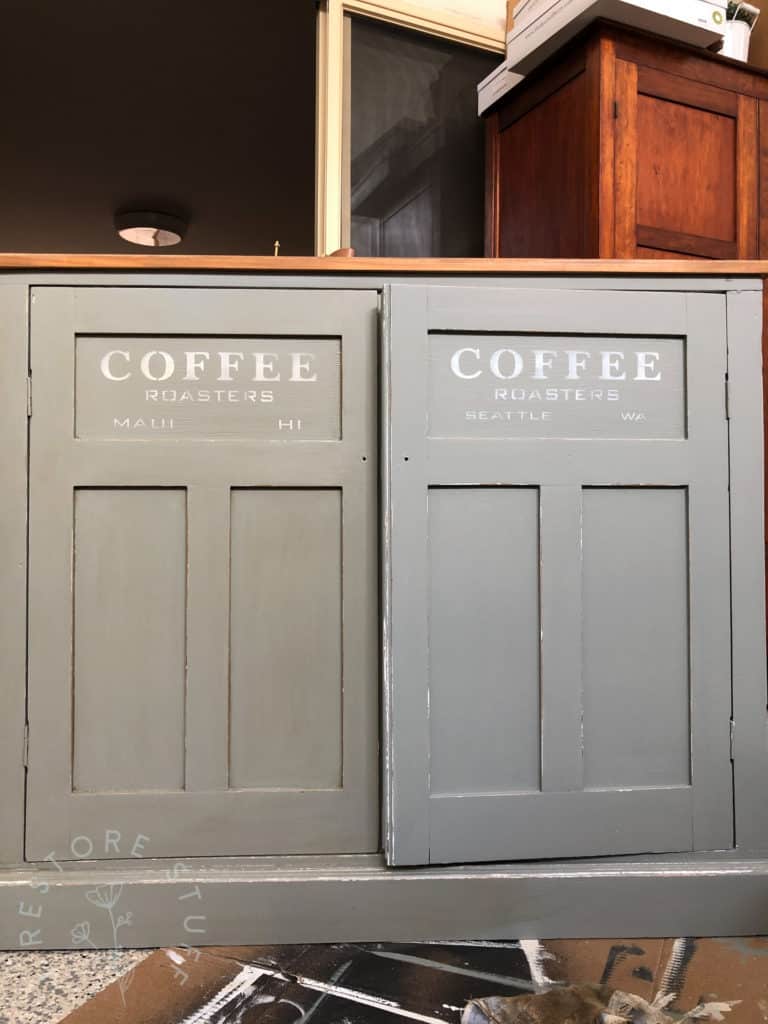
Coffee Station Finished:
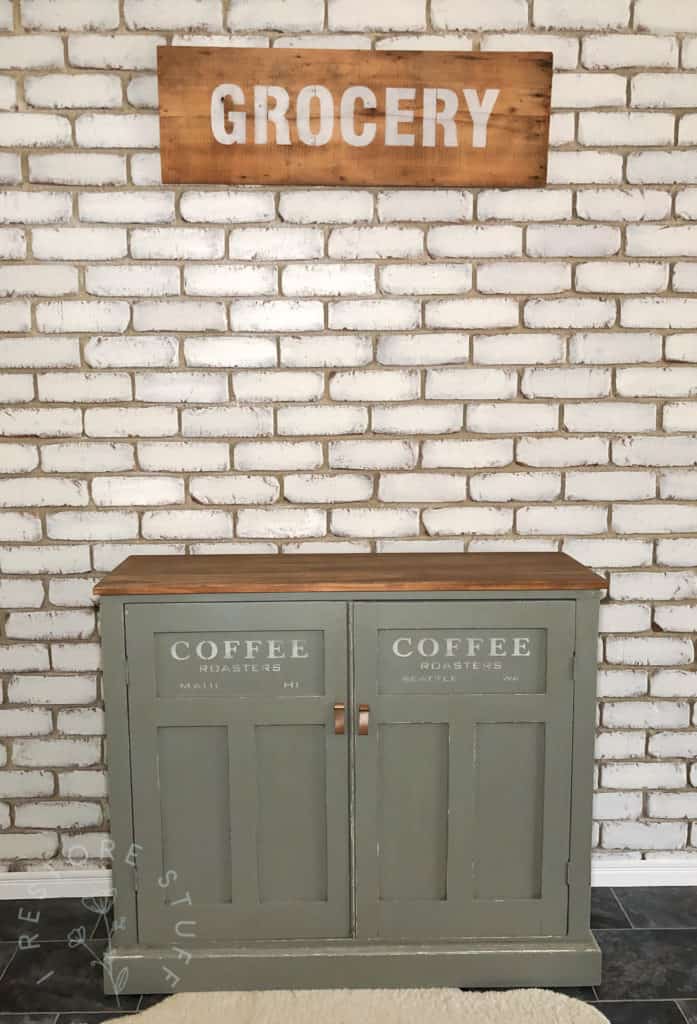

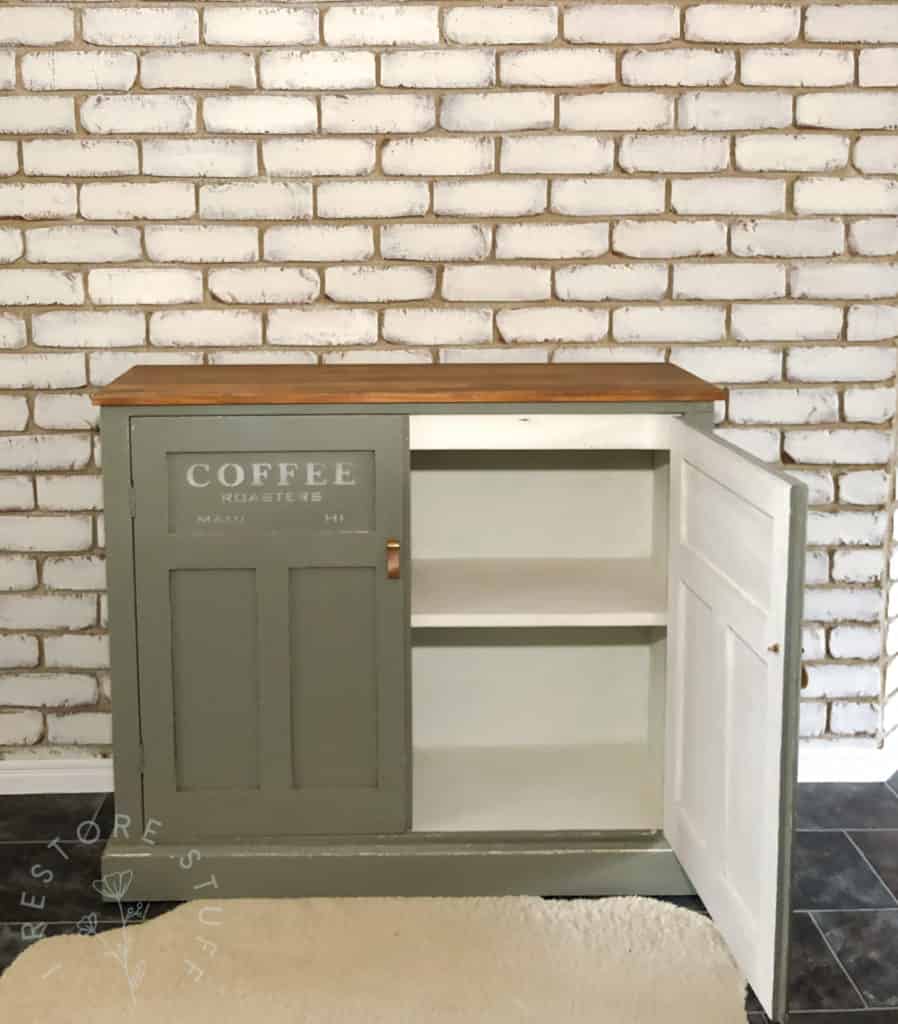
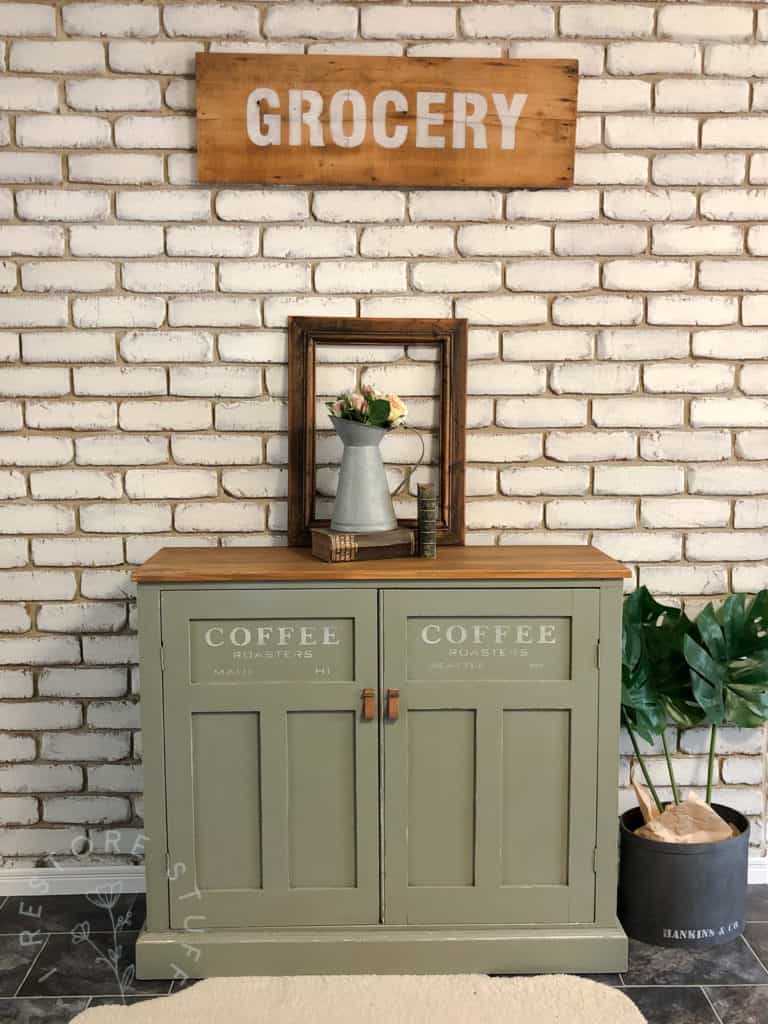
I sold this one on Marketplace within the first few days of advertising, which was great! I love how it turned out, and how the leather pulls compliment the SFO stained top. Now, it is so much easier for the new owners to grip on to move it around if they need to.
Lots of people ask me where they can buy this Coffee Stencil – you can purchase HERE from Funky Junk Old Sign Stencils. (Affiliate link)
Product List for this makeover:
- Fusion Mineral Paint – Sacred Sage
- Coffee Stencil by Funky Junk Old Sign Stencils
- Fusion Mineral Paint – Casement (for stenciling)
- Fusion’s Antiquing Glaze
- Leather drawer pulls (Australia) – find similar in USA HERE.
(This post contains affiliate links)
