
What is Bleed Through?
If you’ve been painting furniture for a while, you may have come across “bleed through” – the problem of the underlying stain or pigment of the stained wood, bleeding through the paint you have just coated your lovely piece of furniture with! Well, there are some ways to fix that or prevent that. So let’s chat …
This is one of those times I forgot to take a before pic of this little side table, which had a deep red cherry stained finish.

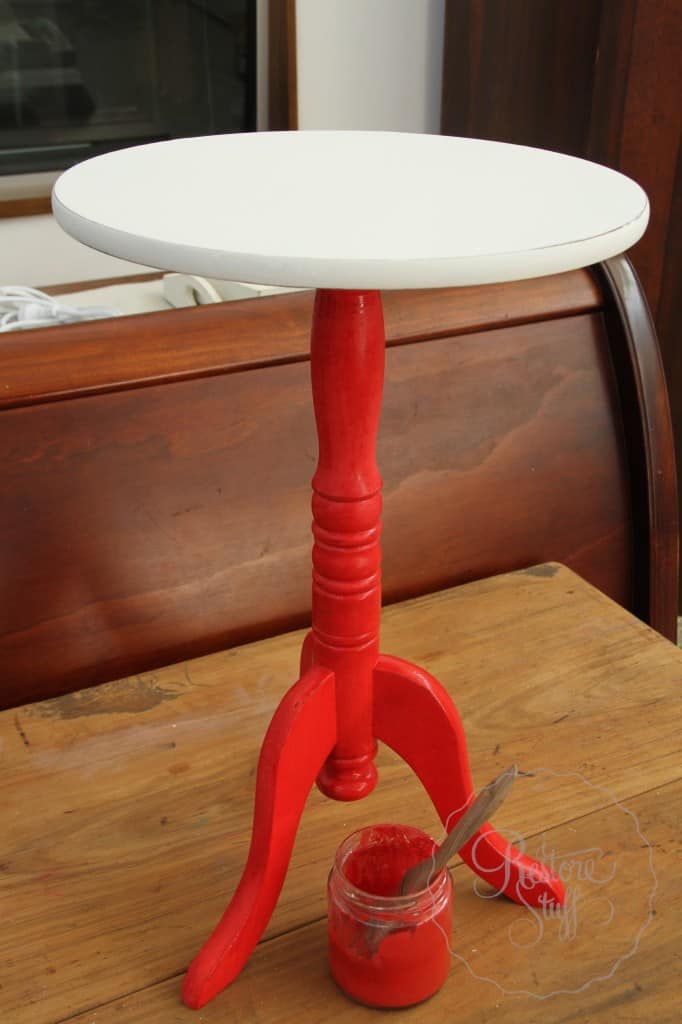
Table after one coat of Milk Paint in Ironstone
So I should’ve guessed I just might have a problem with the stain in this piece, bleeding through after the second coat of Miss Mustard Seed’s Ironstone white colour! But sometimes you just can’t tell what a piece is going to do. Grrrr!
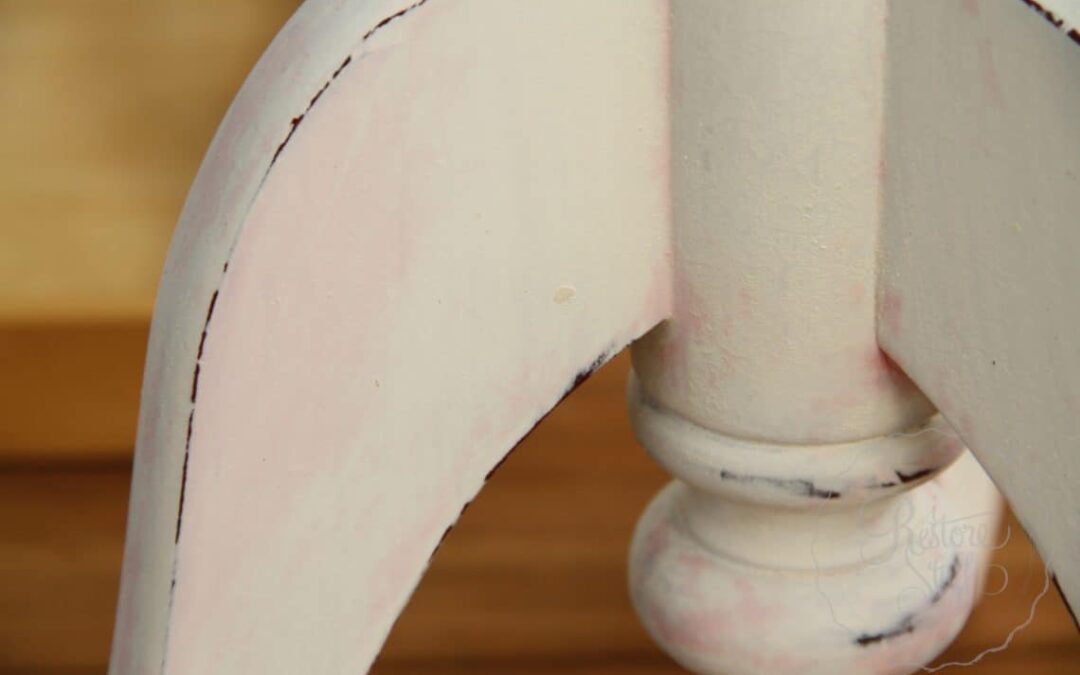
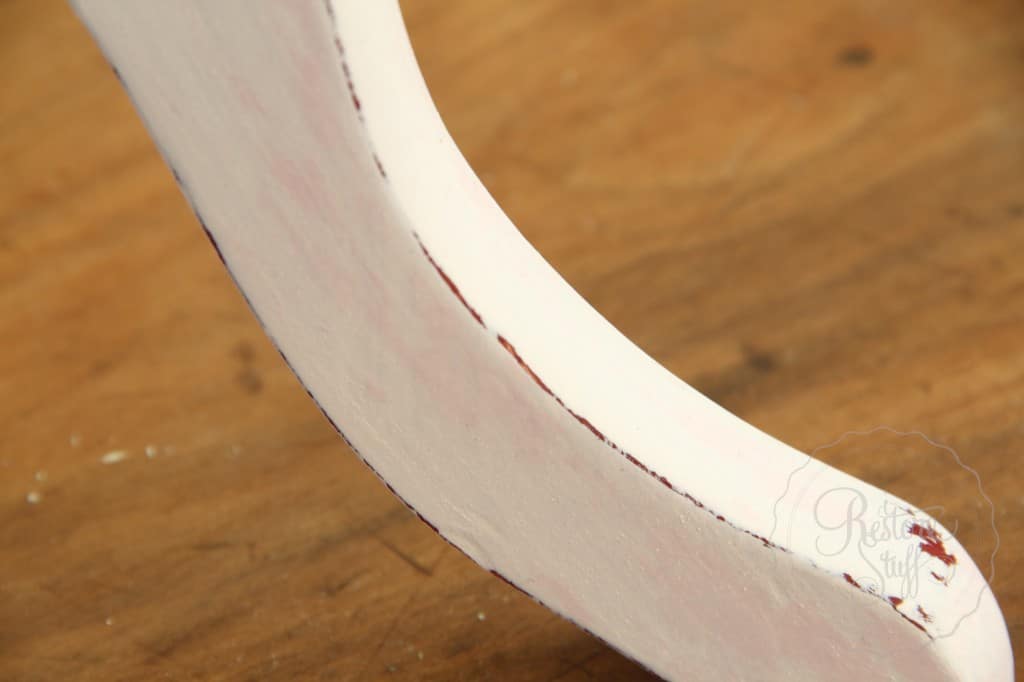
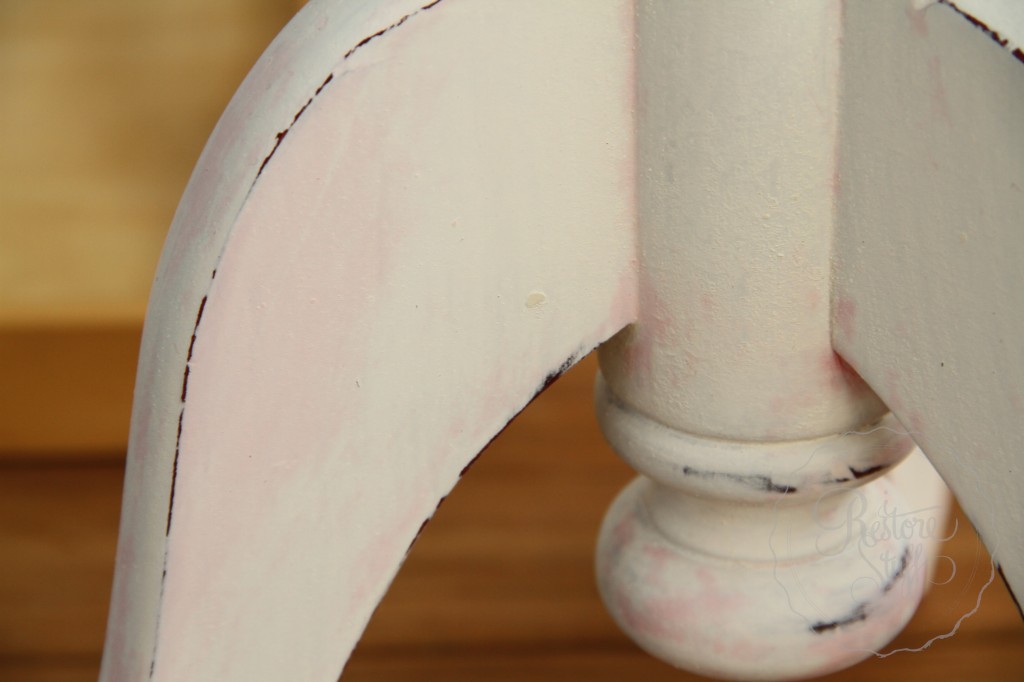
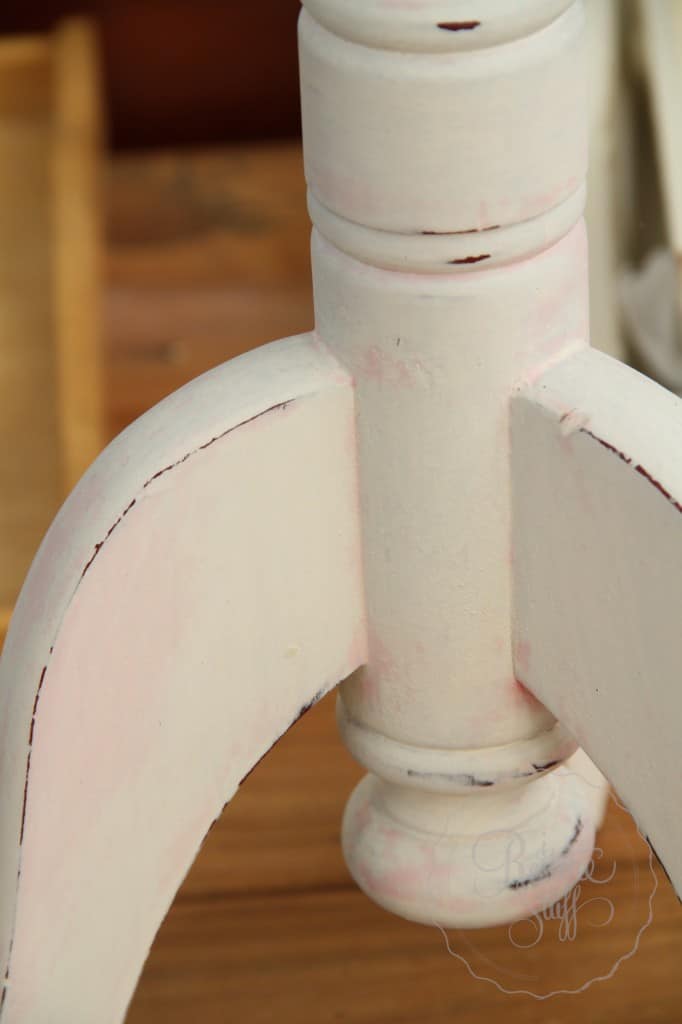
The pics below show my side table after two coats of Milk Paint Ironstone, distressed, then as soon as I began to wax with furniture wax, I could see the pinkish stain starting to peek through.

 What to do! What to do!
 What to do! What to do!
Now, I knew there was a proper way to do this, and so I’m going to share some tips from some of my favourite bloggers who have written about this problem that can occur from time to time in certain types of furniture.
Fiona from Lillyfield Life has some excellent tips HERE and she even gives an explanation as to why certain timbers/stains do this. I love Fiona’s work, she has given back life to some beautiful ornate pieces of furniture.
The Purple Painted Lady also has a great blog post about dealing with “bleed through”, and how to fix it or prevent it by using shellac.
However, I did not use any of the above methods of dealing with bleed through on my pretty white little table …
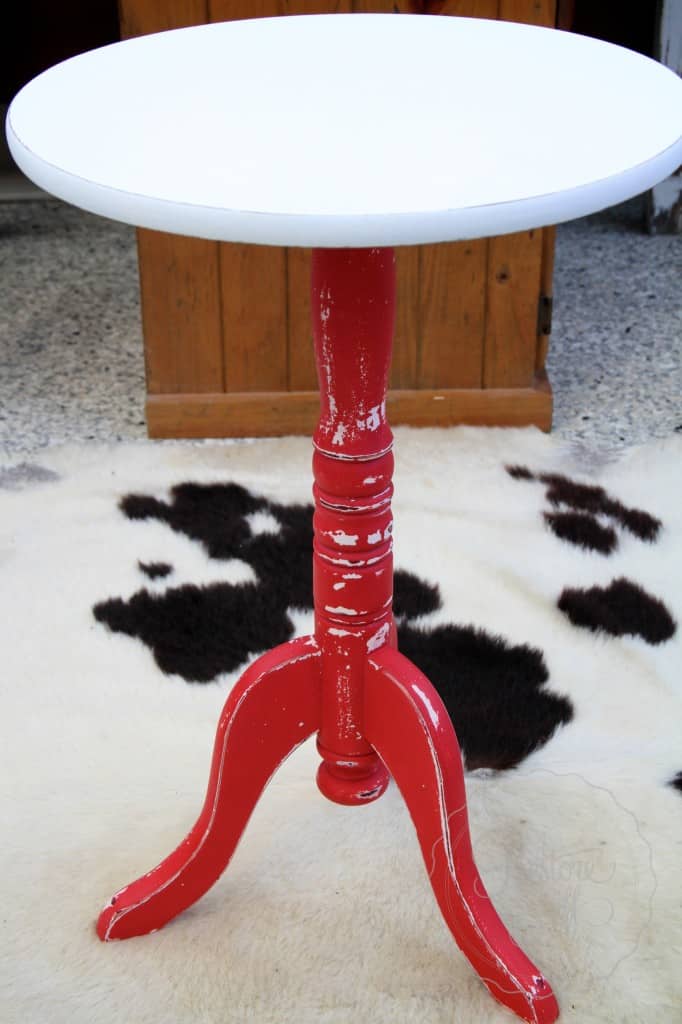
No, I took one look over at my paint stash, and saw that jar of left over Milk Paint in Tricycle red and thought to myself, “that’ll do it”! And it did! Fixed my unsightly stain-bleeding-through-the-white problem in a jiffy!
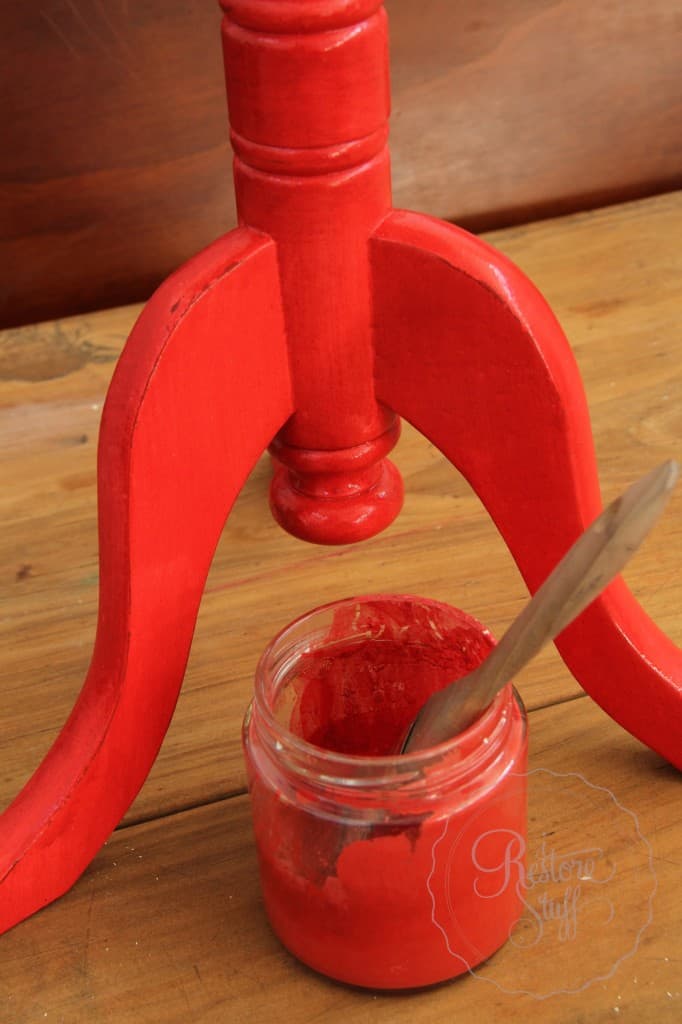
Two coats of Tricycle – great cover up!
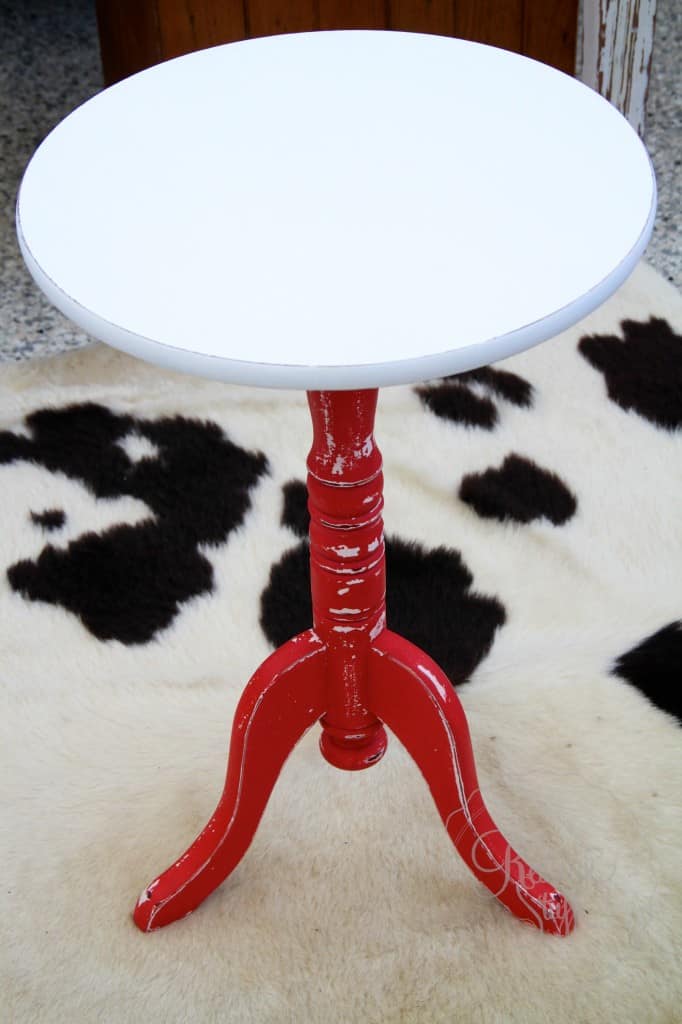
Now, the table top didn’t have a problem with any bleed through, so I just left it white, slightly distressing the edges.
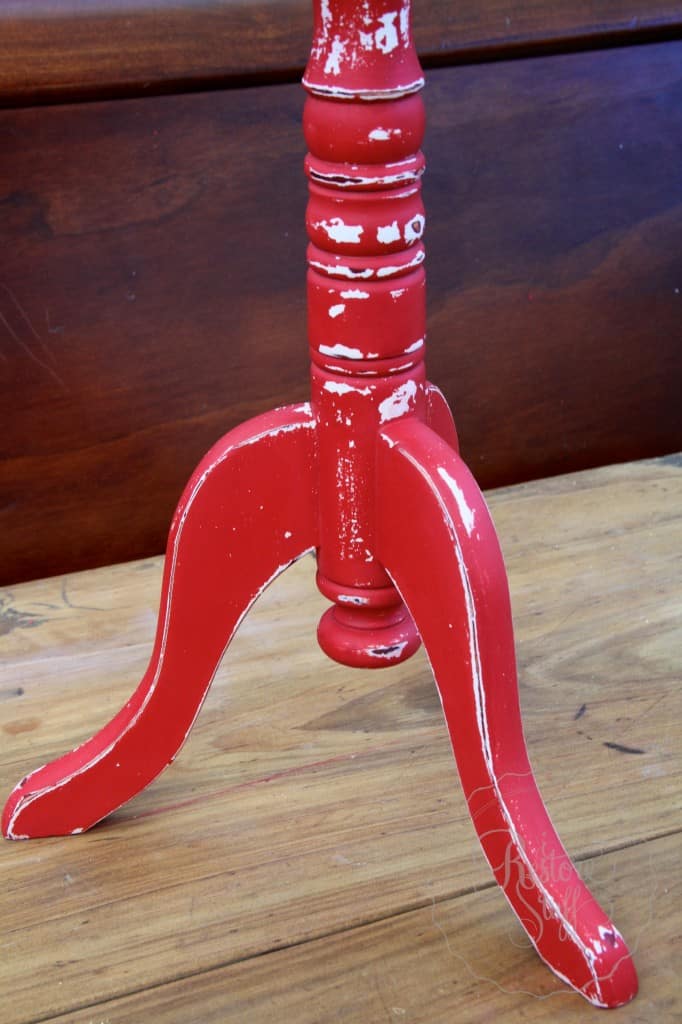
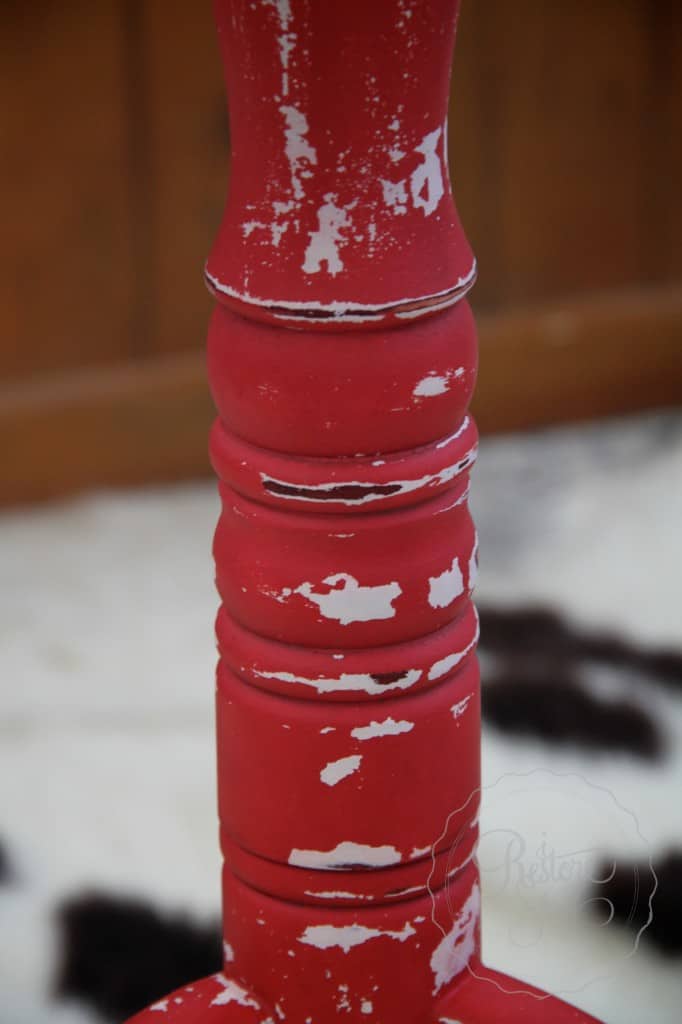
Before distressing the red.
Then I distressed and sanded back with a fine grade sandpaper (320 grit). I love how the white has chipped off more in some places. This would be because I had already used wax on this piece before I noticed the bleed through, and it acted as a resist to the red paint. (To see a video on “resists” and how this works, click HERE)
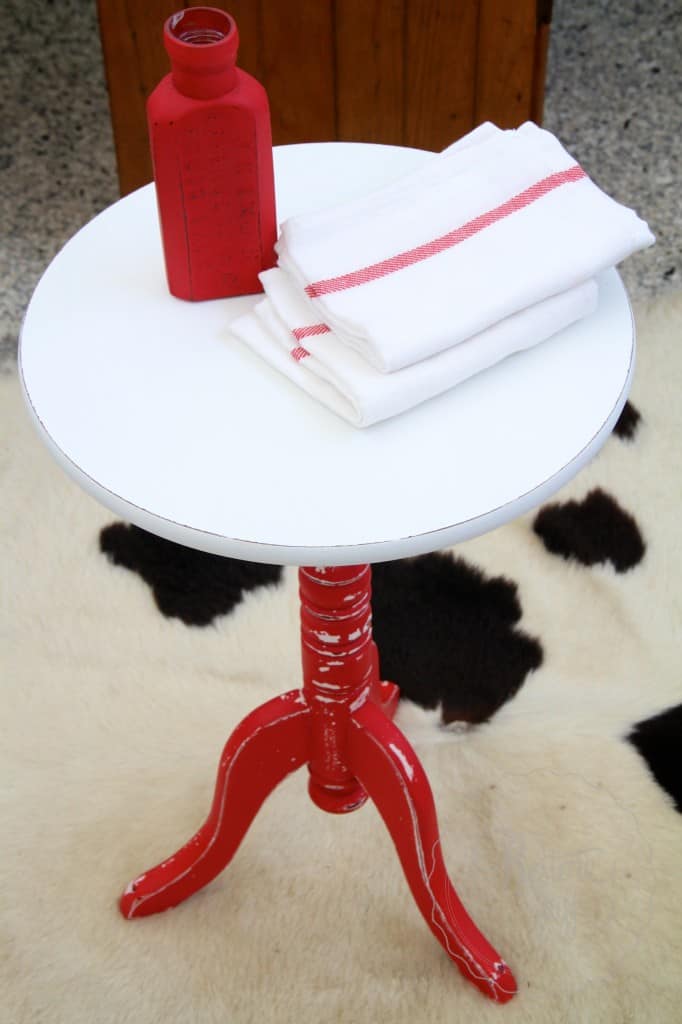
 Here’s what else I did with some of that leftover paint – this cute antique bottle was too scratched up inside after being buried for so long, that it wasn’t pretty enough to display. So I coated with 2 coats of MMSMP Tricycle (no bonding agent) and distressed as I normally would on a wood piece, around the edges.
Yes – Milk Paint sticks to GLASS!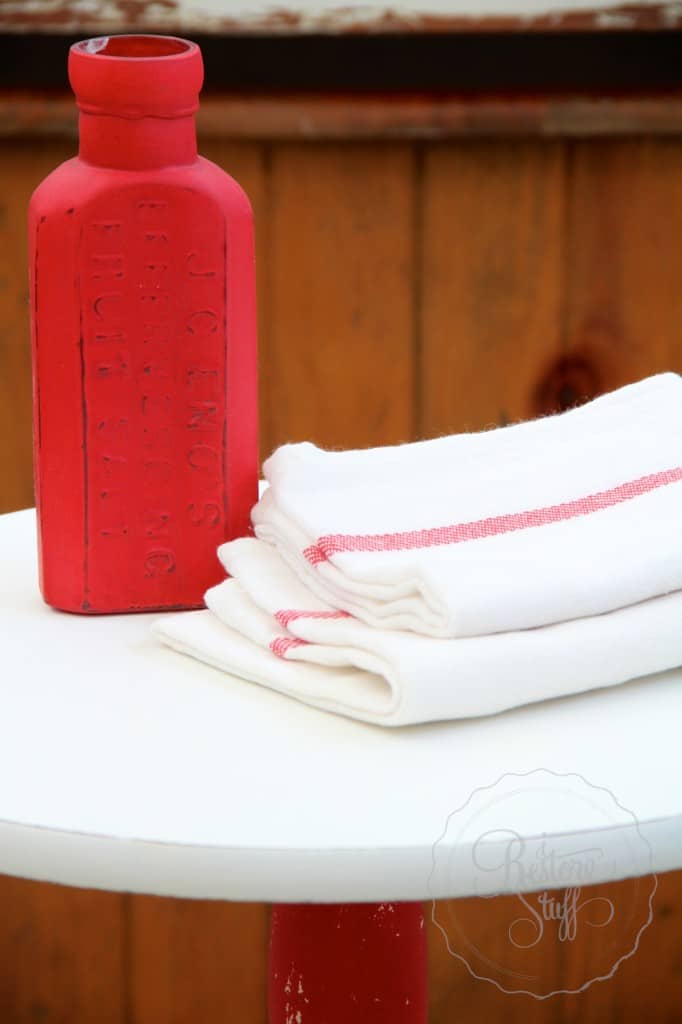
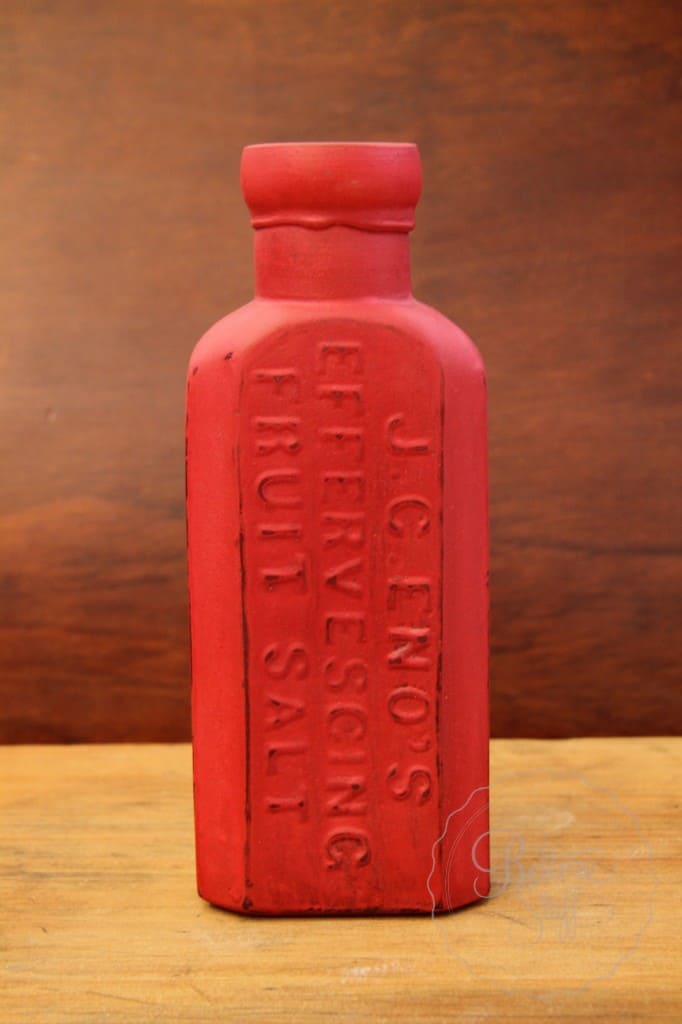 I love how the words stand out a little more with that bit of distressing.
Don’t forget to check out my Youtube channel for more tutorials and you can also type in the search bar at the top of this blog to see if there’s another topic you’d like to know about.
Happy painting!