
 A Room Reset

I was inspired by Marian Parson’s newest book, The Home Design Doodle Book, to do a Room Reset in my own house, so I decided to start with our formal lounge room. I’ll get to how to paint the window sills and trims after we take a look at the existing room. The Home Design Doodle Book page 27 – Room Reset
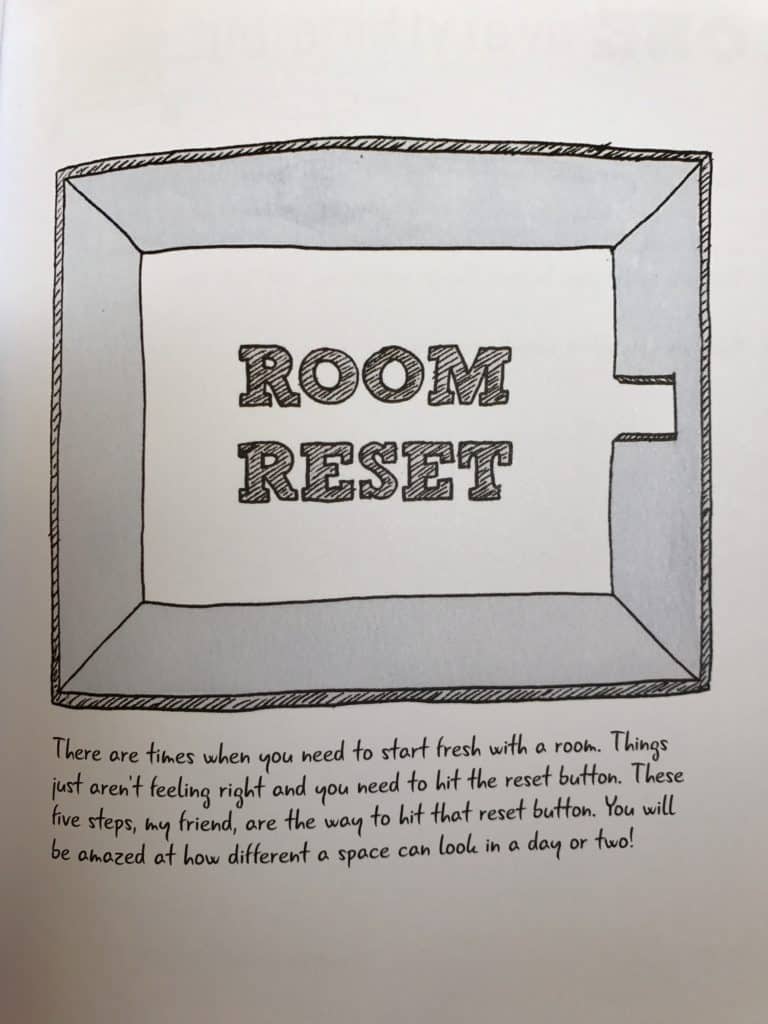
Lounge Room Before:
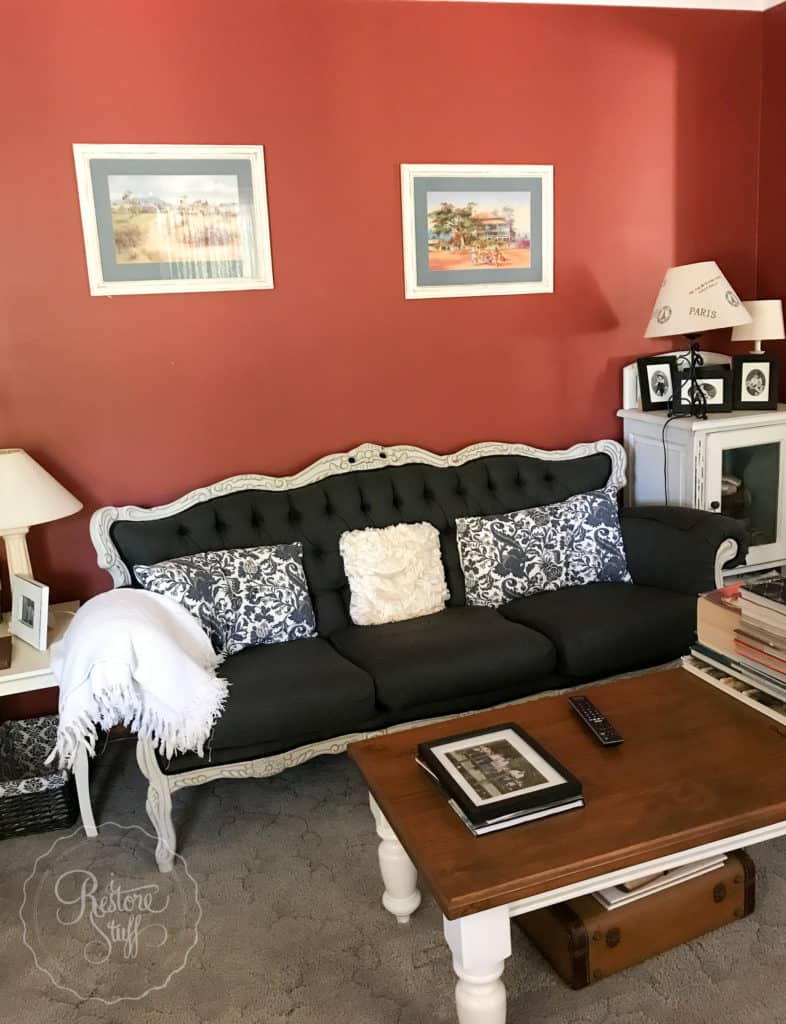
As you can see in this pic, we had painted feature walls in our house about 10 years ago, and clearly it is time for them to go. Obviously, I’m going to show you how you can paint a room like this yourself, if that’s what you want to do. If you want some painting done in your house but don’t want to do it yourself, it may be a good idea to check out ottawa painters if you want a professional painting service carried out in your home.
 On the far side of this area, you can see a big space against the wall where our orange pine bookcase was. I had removed it to be sanded in our back yard, so all our books are in those boxes and stacked on the coffee table. And beyond this room is where I display my “For Sale” furniture.
 Just those two walls are this red colour in this room, below is the other side of the wall where the couch is and this wall colour is the same throughout the main areas of the house, and for those interested, the colour is Dusted Fields, by British Paints.
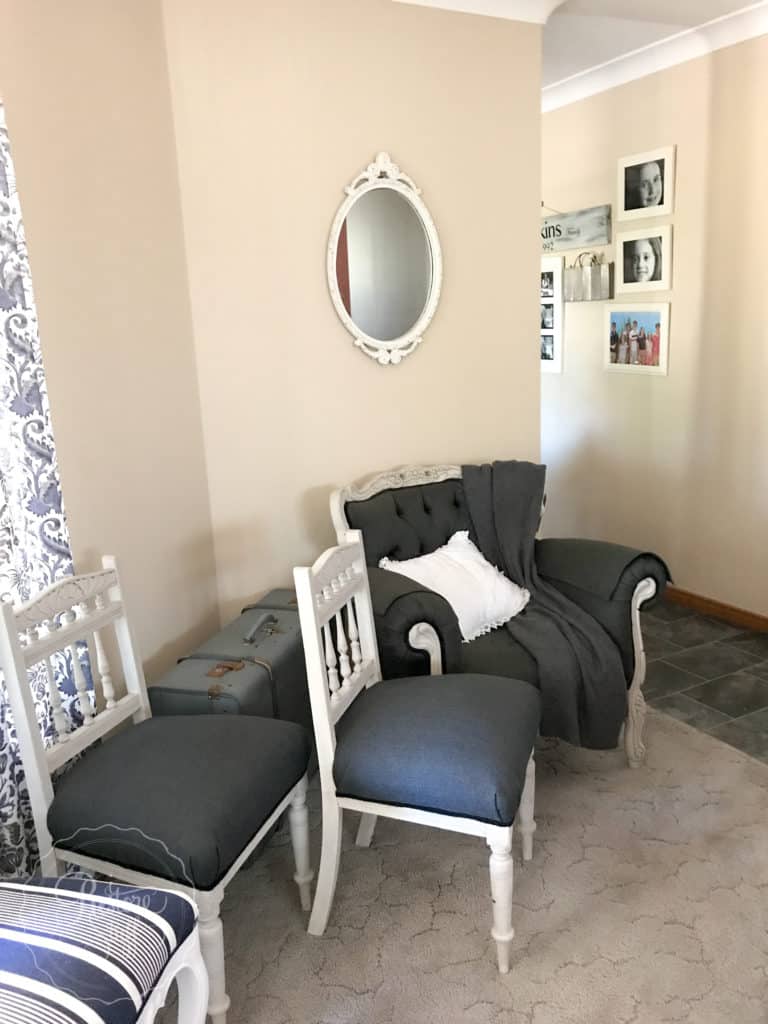
Bookcase Makeover
And here’s that orangey pine bookcase outside getting ready for it’s makeover!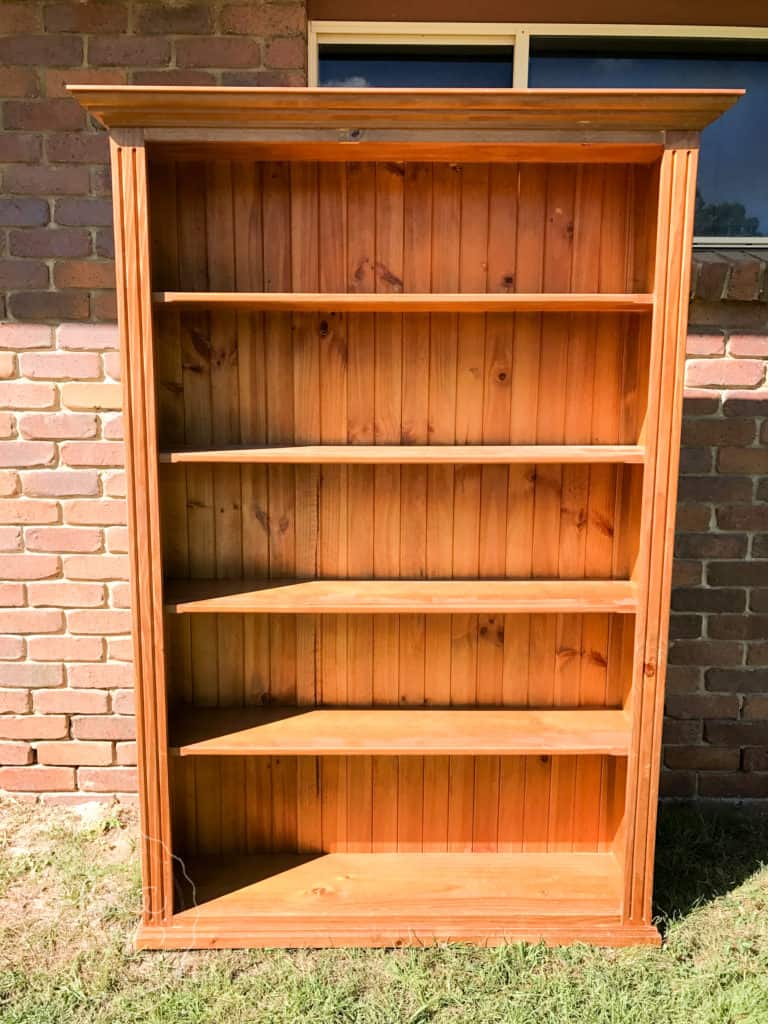 In deciding on colours for the bookshelf, I wanted a dark blue inside and white outside, and I was aiming to get something close to the blue in my curtains and cushions here.
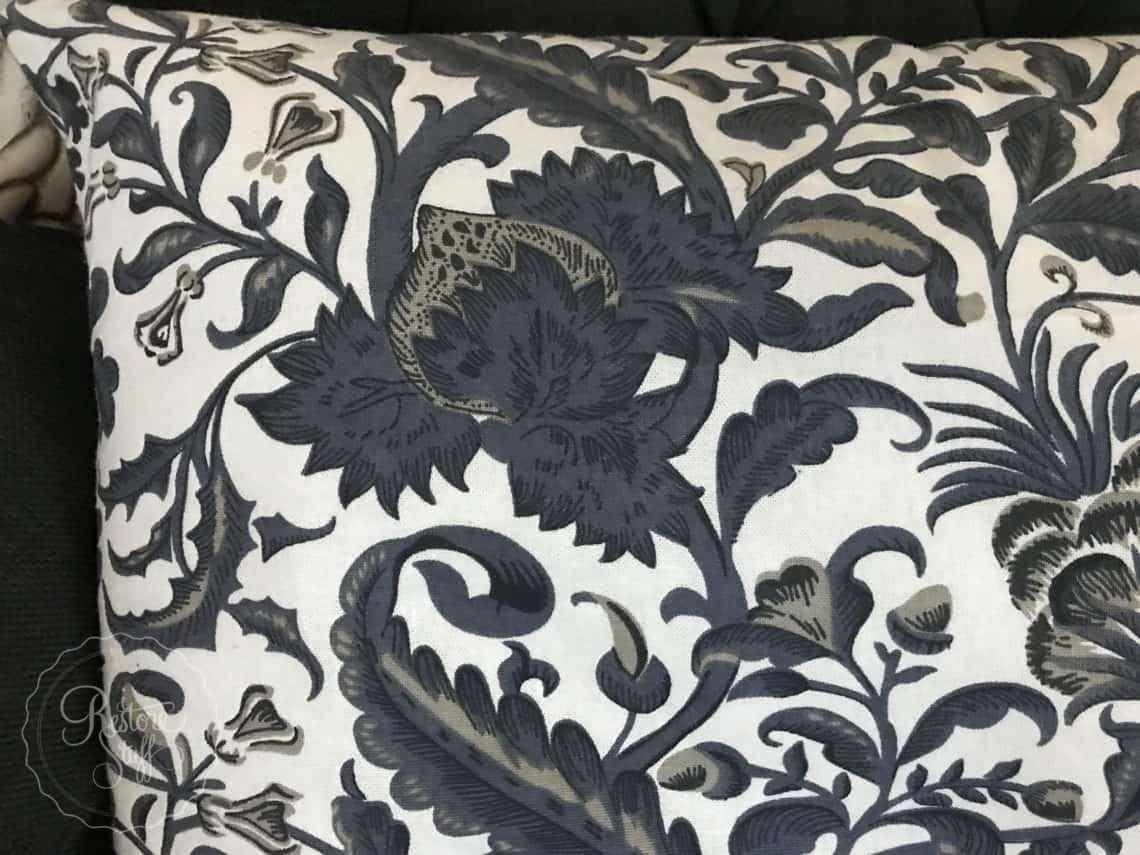 So I mixed equal parts of Fusion Mineral Paint in Midnight Blue and Liberty Blue. Here’s how it turned out on the sample sticks:
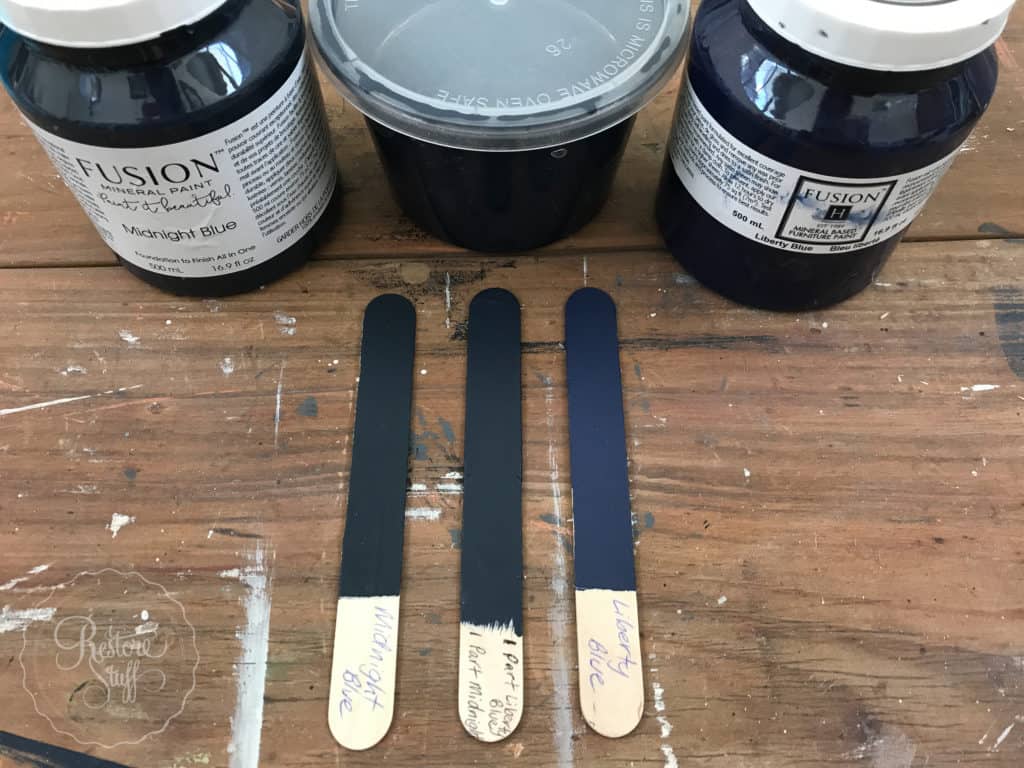
Here’s the inside after one coat of the blue…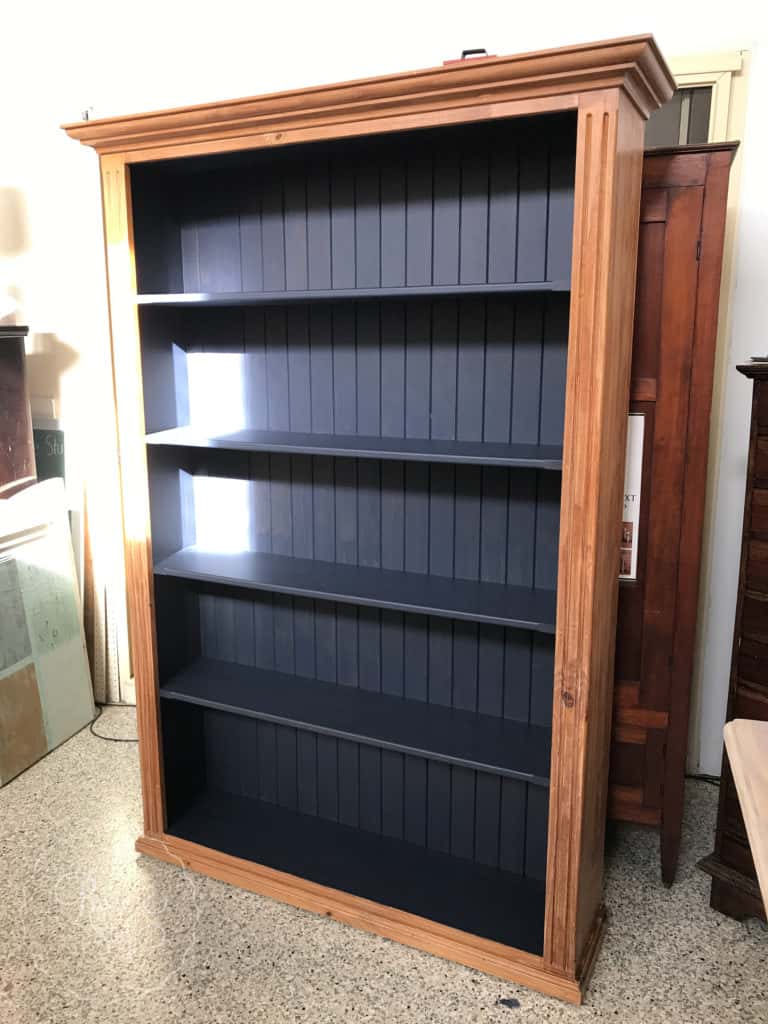 And here’s a peek of the new look bookcase against the newly painted “Dusted Fields” wall. (quality of pic is a little grainy, sorry. Taken at night)
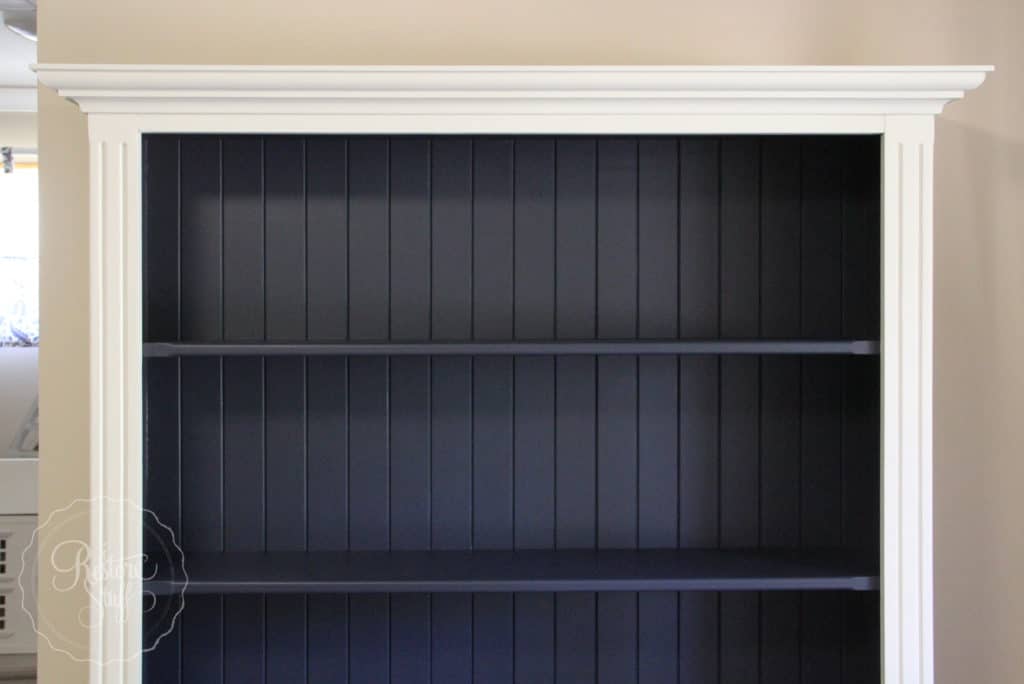
Time to change up the Trims & Window Sills
Our house has wood trims and window sills throughout, so to change these in just one room, is not likely to be a wise decorating idea. So once I decided to tackle the trims in this room, I knew I was up for the whole house-full of trims!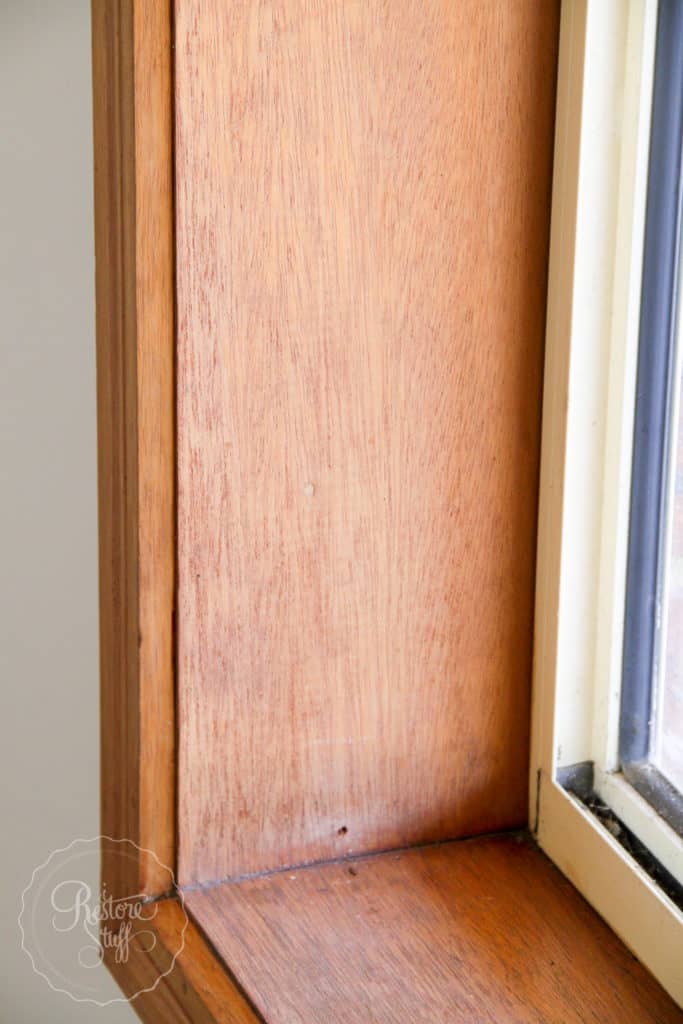 Some areas that had sun exposure were looking quite weathered.
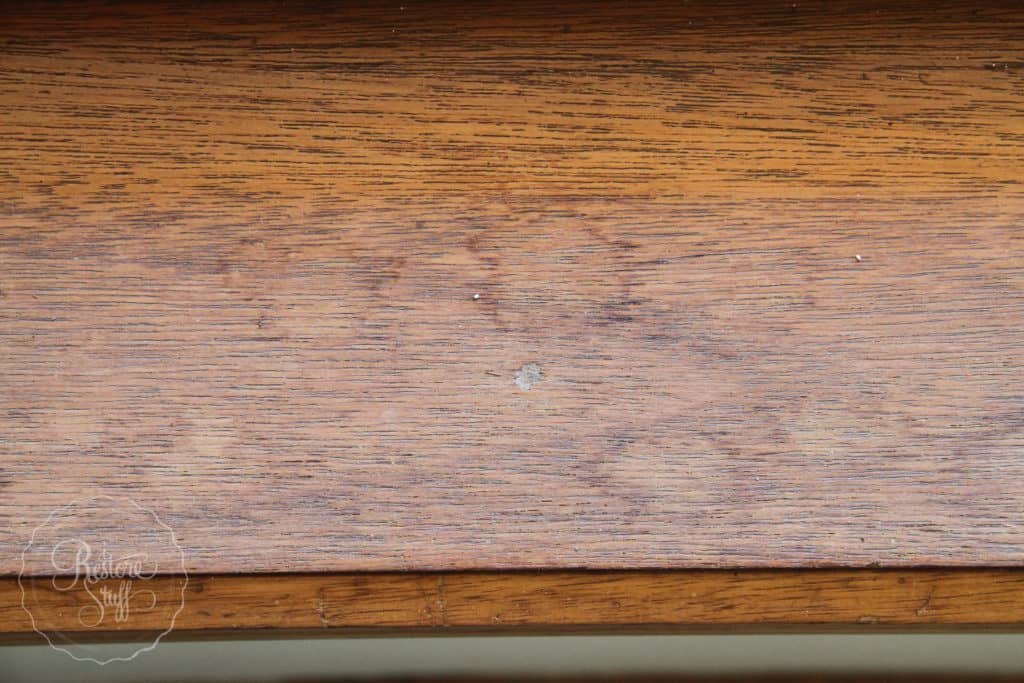 And these trims … !! I’m sorry you even had to see this …
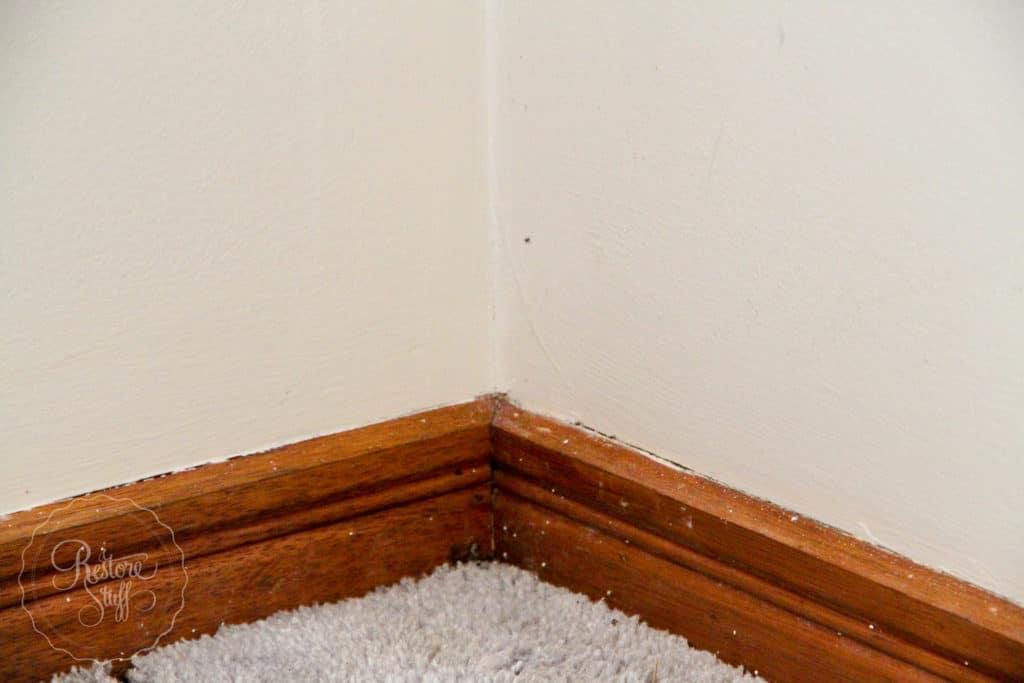 I began puttying any holes – these were from old curtain rails. And yes, I’ll need to repaint and patch that section above the window trims, repainting over the pencil marks, hmmm. For a more effective finish, I reccomend that you try replacing the windows themselves. A nice new window and frame can make your new window sill look even better! The main problem with painting your window sill is that normally your window frame looks less bright and more dated, this means that although your painted sill looks great, the two combined look rather odd and sometimes can make the project look worse than it did to start off with. You should order some new double glazed windows with a company like MWT Windows before you start painting, then you’ll know that your window sill will look much brighter and brand new once again!

Taping up
I learned a great trick when it comes to taping up carpeted floor beside the trim.
I used a wide painters tape for this job. Start by laying the tape down on the carpet, but allowing it to sit up against the trim slightly.
 Using a plastic paint scraper, tuck the painter’s tape down beside the carpet all along the trim.
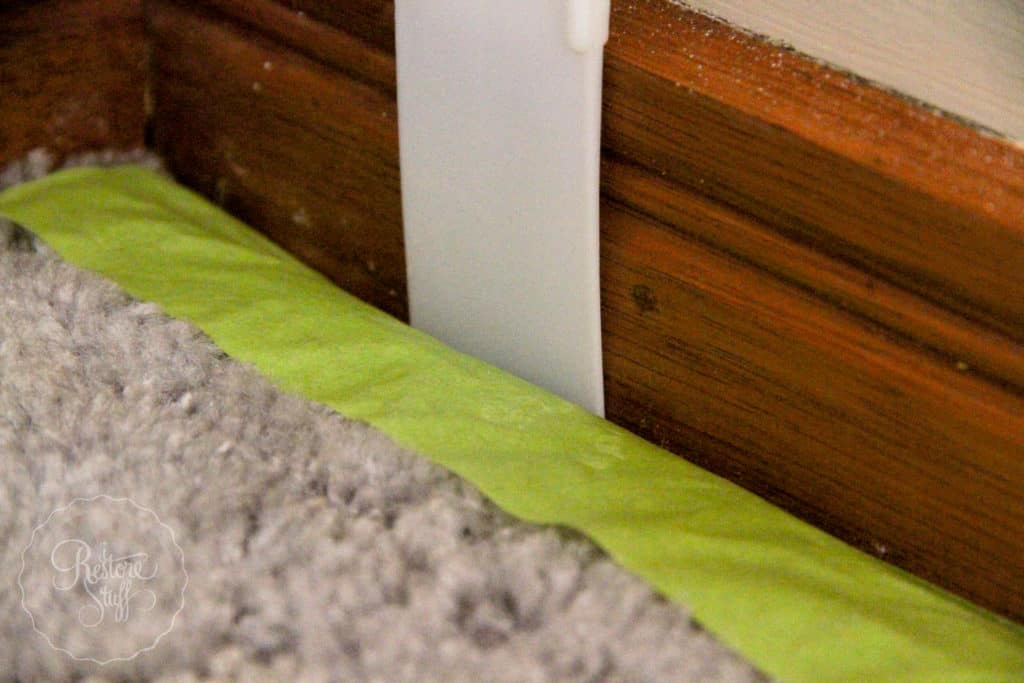 Don’t forget to tape above the trim also.
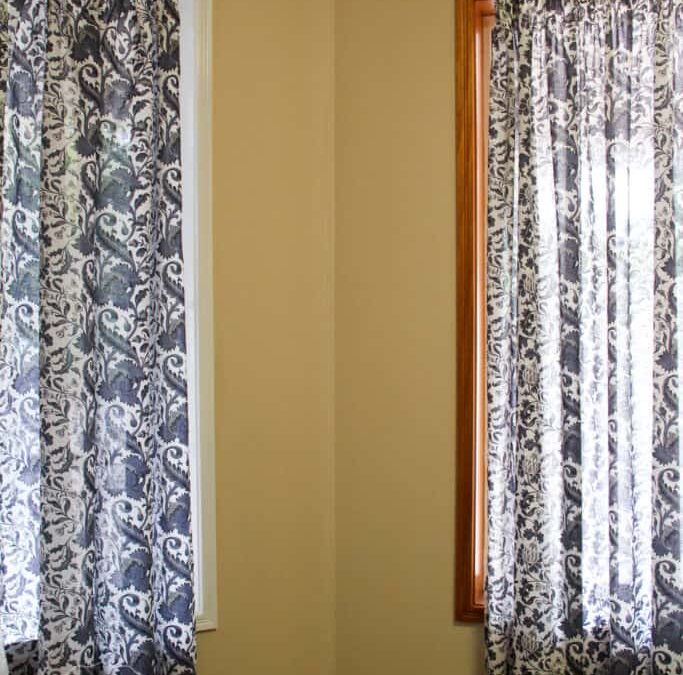
I used an acrylic undercoat first, then applied a water based enamel for the top coat in the colour Antique White USA (Dulux).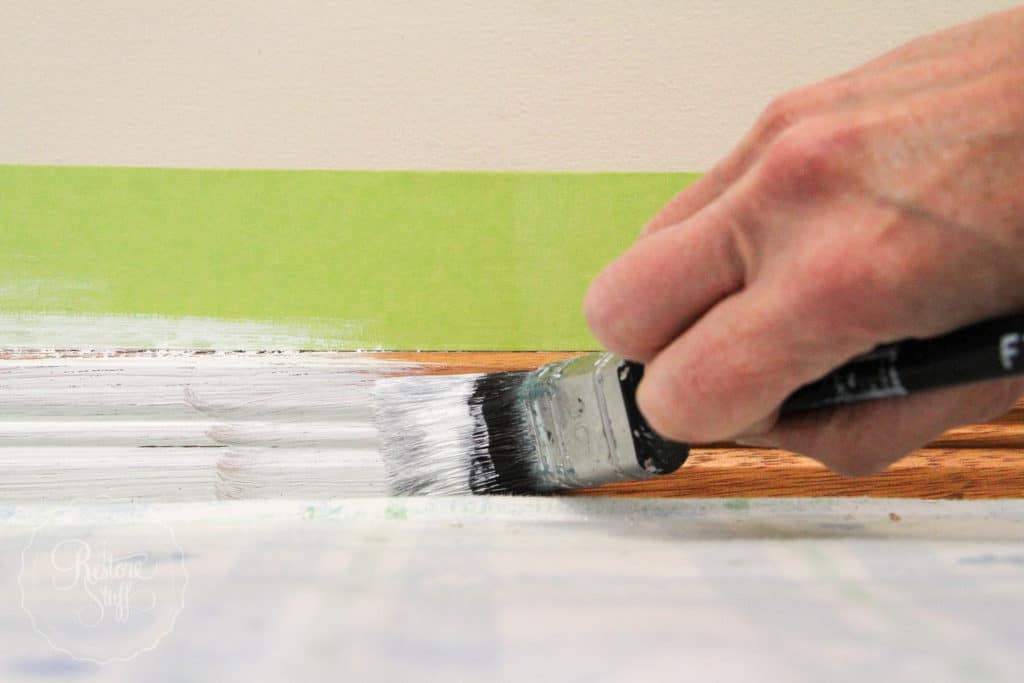 It has certainly brightened up this little space.
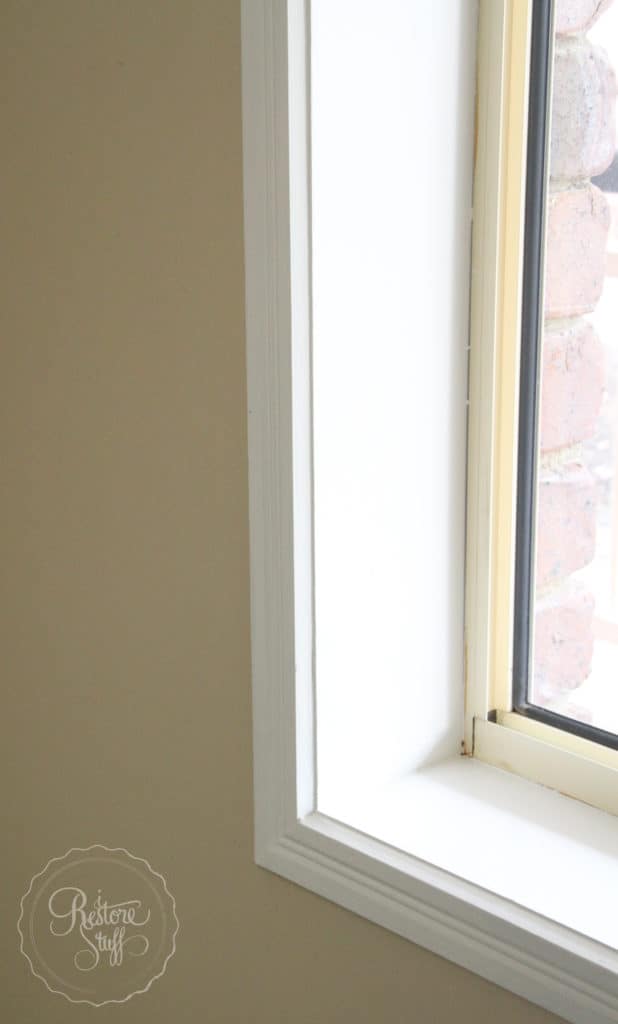
 Removing the painter’s tape took a bit of a nack, as you don’t want to just tear it up and risk lifting any paint that has dried on the tape, causing the paint to peel away with the tape on the trim.
I’ll show this in more detail during my Hometalk Live over on Hometalk’s Facebook page this week!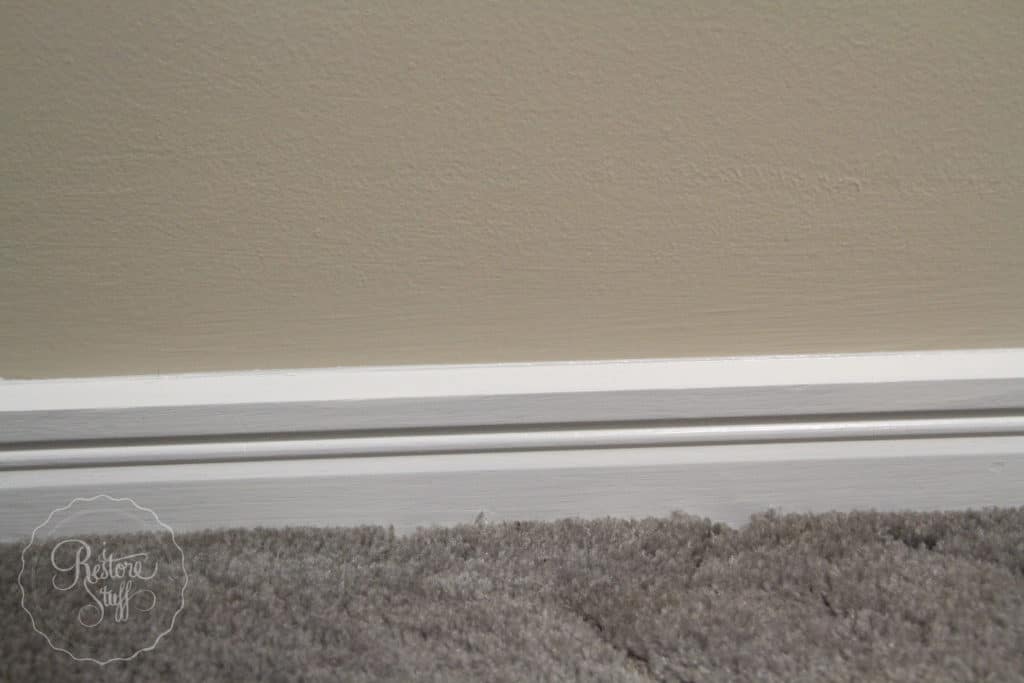

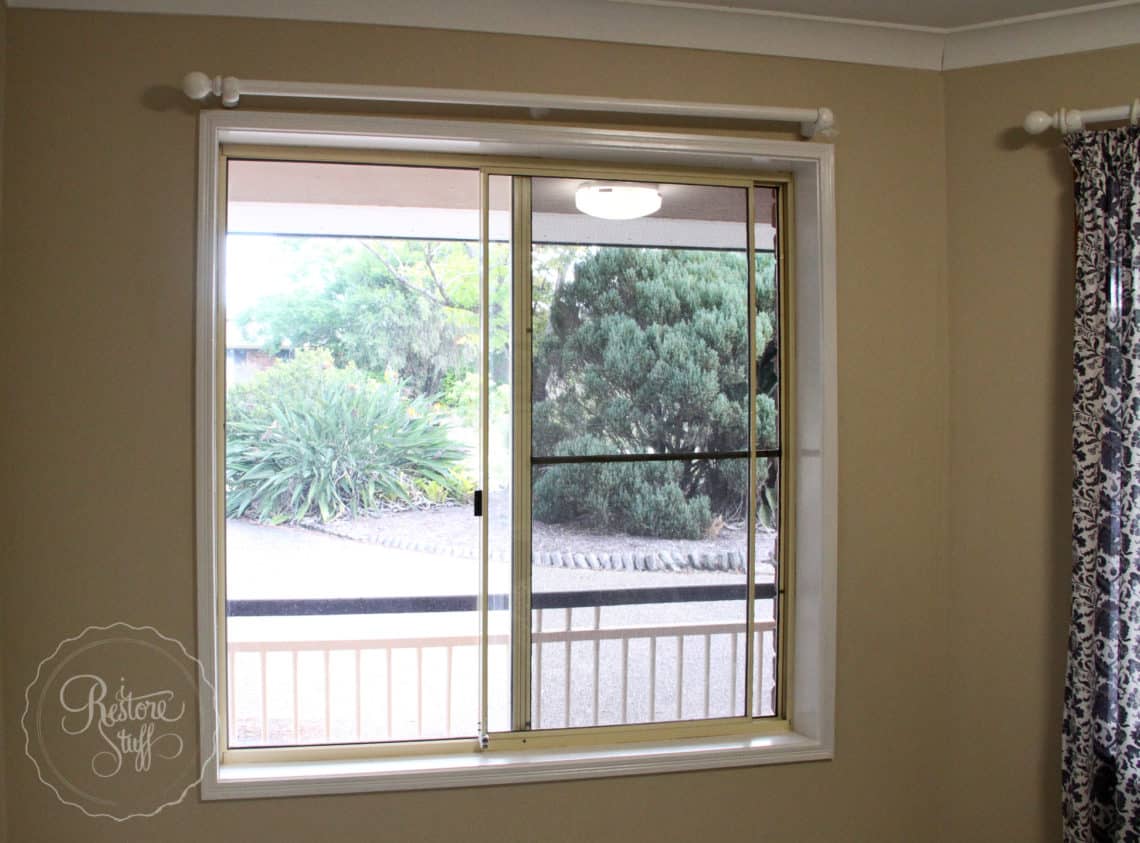
Before and After side by side
In the pic below, I purposely only completed half of the room to show a comparison of the sill and trim side by side. This week I’ll be on Hometalk’s Facebook page with a Live demo on how to paint trim, so I hope you’ll join me!
 What areas of your home do you want to give an update to?
Sometimes just changing the colour of a wall or painting the trims can really lift a space!
Stay tuned for the fully finished room reset in the coming weeks.
Have you subscribed to receive our newsletter and blog posts to your email inbox? Sign up HERE.