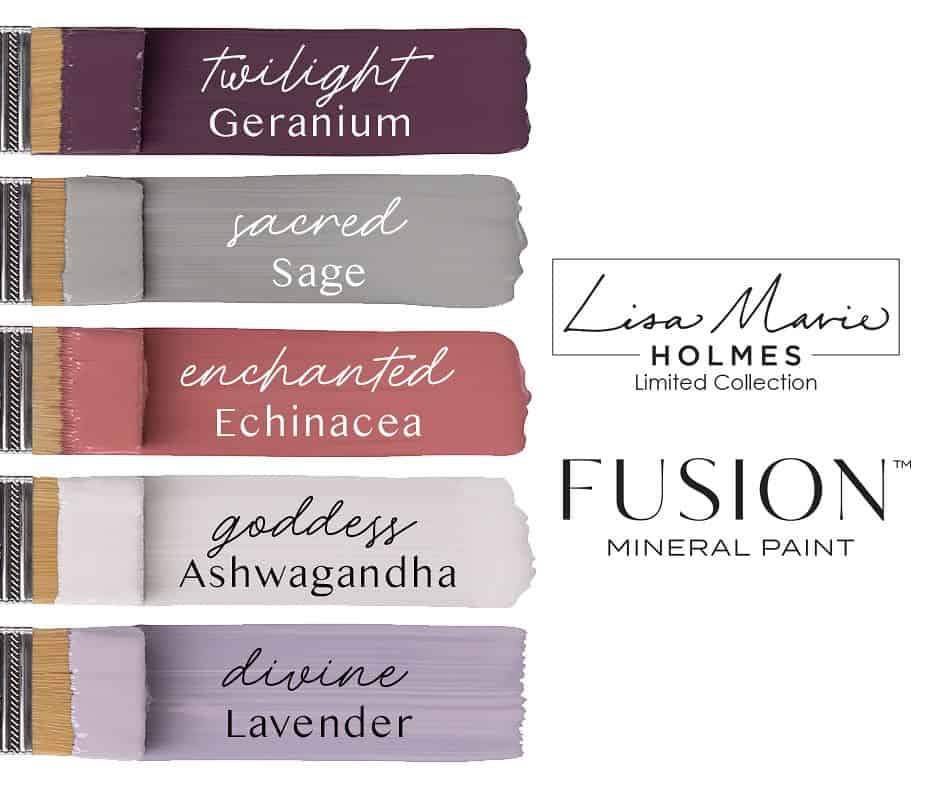
Fusion’s new colours have reached our shores here in Australia, so we’re jumping with excitement and people are busy painting pieces in these fun hues!
I too, couldn’t wait to paint something in the new colours from the Lisa Marie Holmes collection. So, I grabbed the nearest piece of furniture from my stash – a recently acquired set of antique drawers.
Drawers for the new colour Goddess Ashwagandha
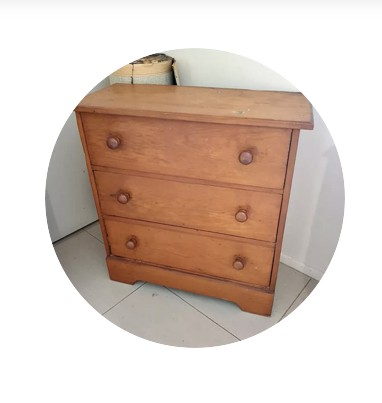
My “before” pic of this one comes straight from the ad on Facebook Marketplace where I bought it from. The drawers were a bit wonky, so we used some fill at the back of the drawer ledges either side where it had worn. Now it was good to go, ready to paint.
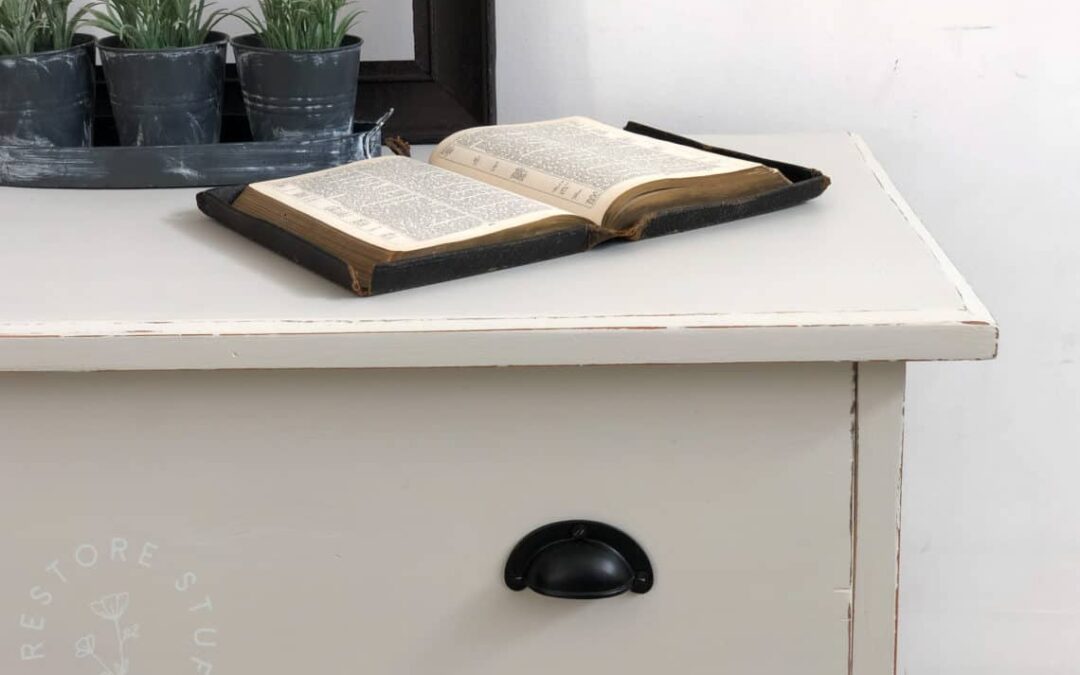
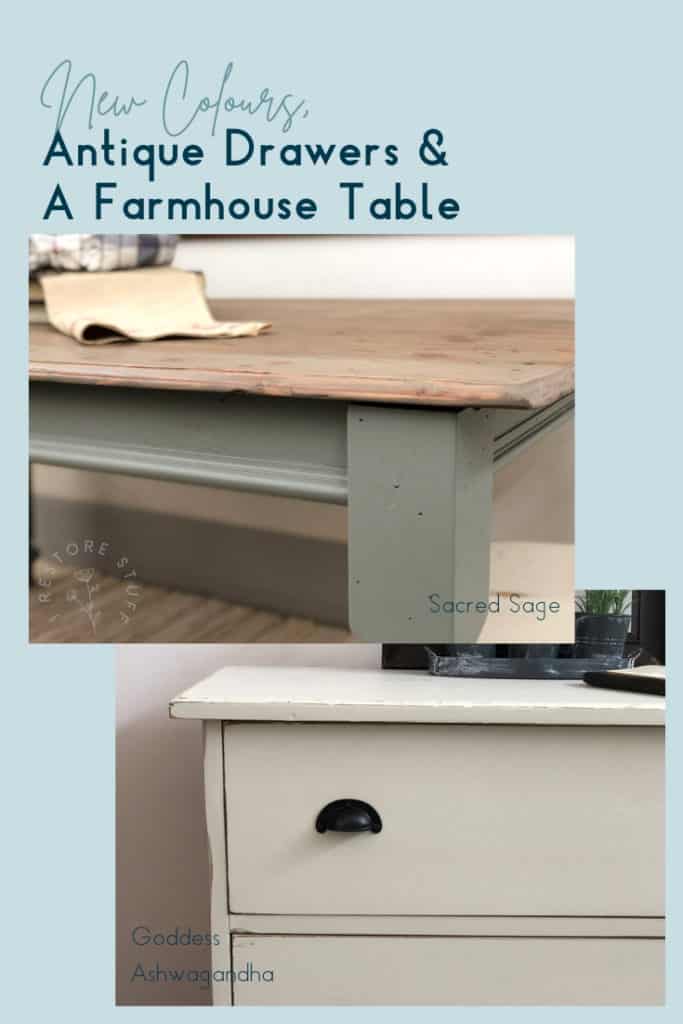
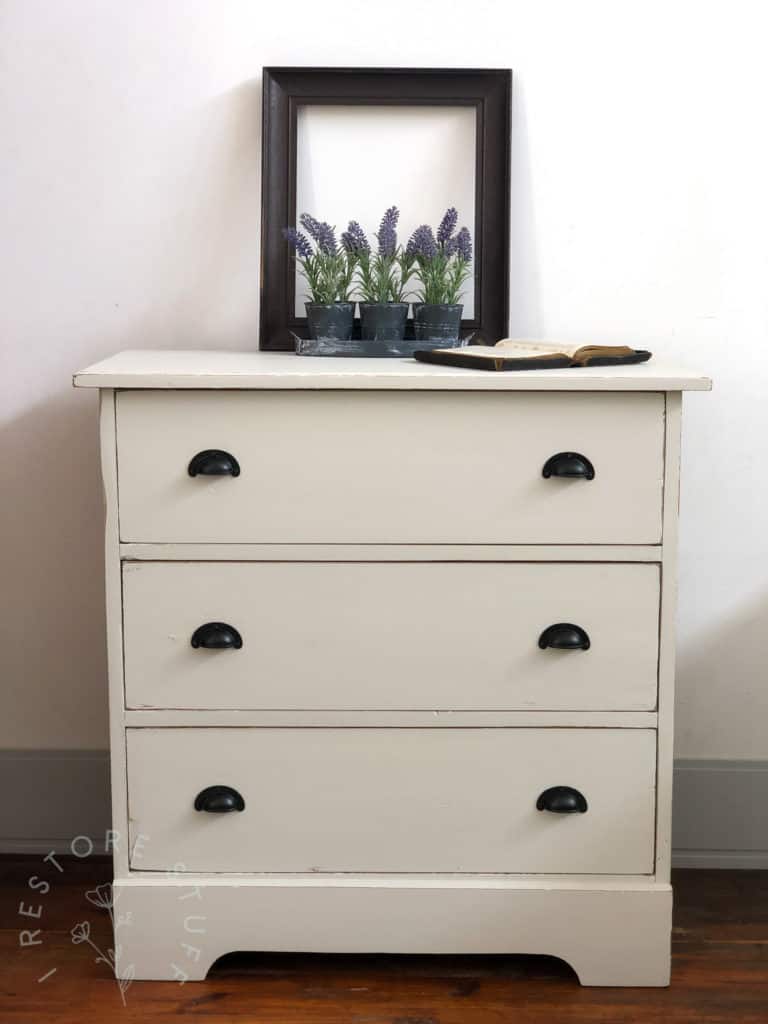
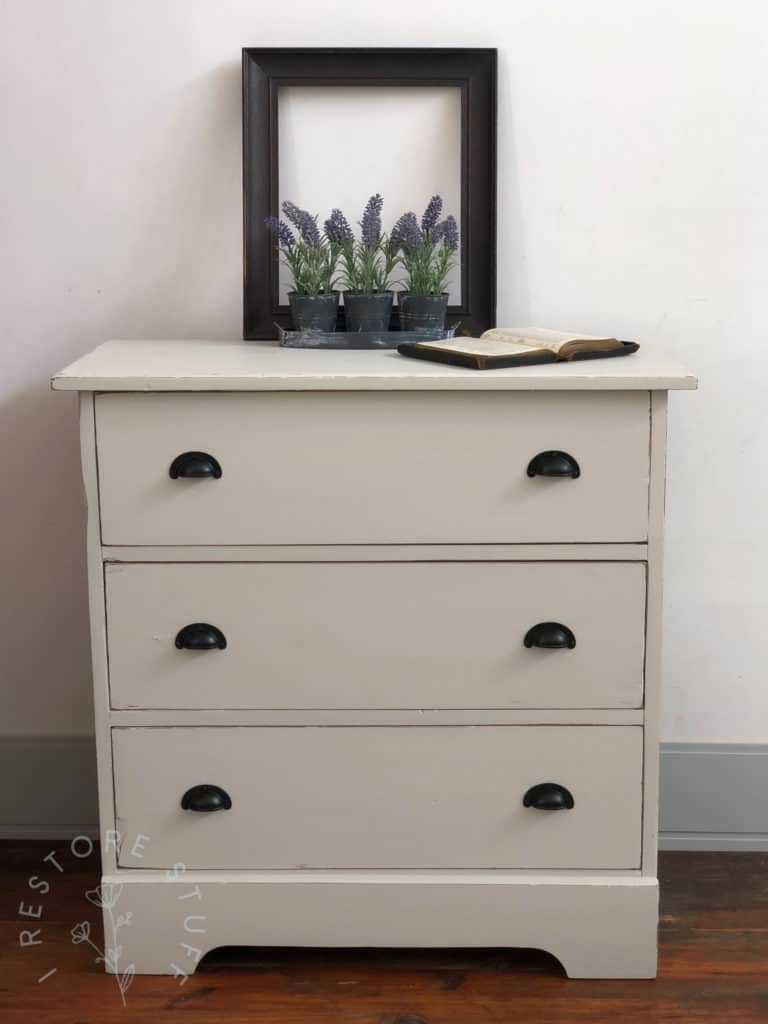
Here is the after, in the new colour Goddess Ashwagandha. It’s such a simple elegant vintage style for this beautiful off white, with greyish green undertones. The new black metal pull cups for the handles, really set off the neutral tones.
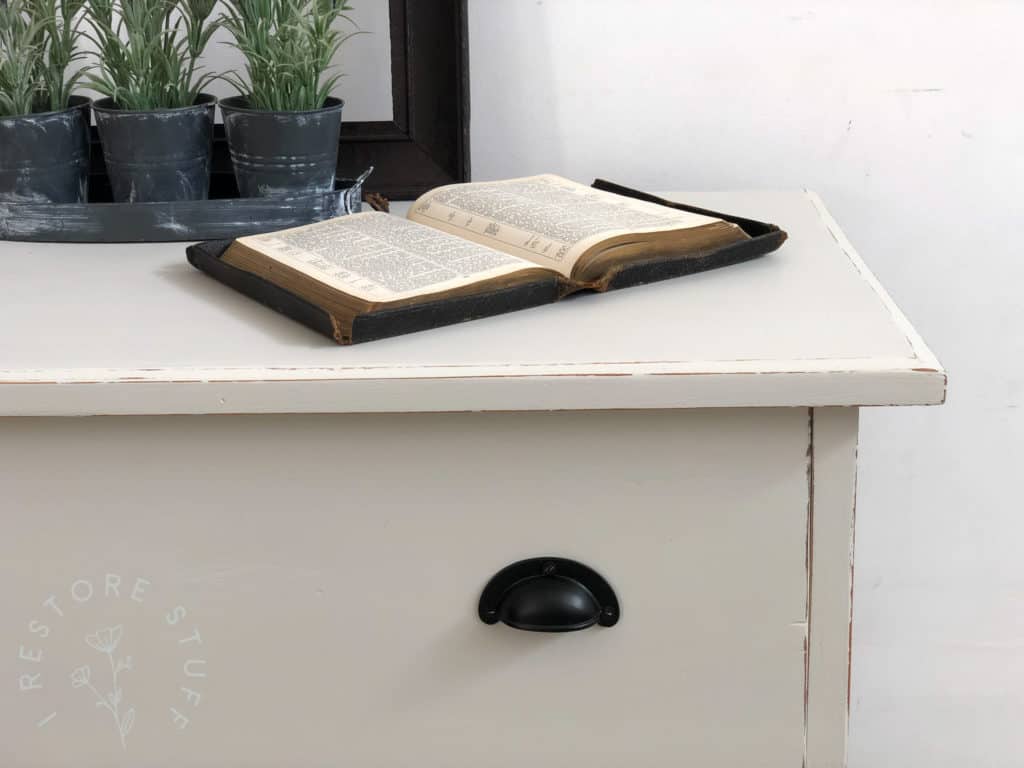
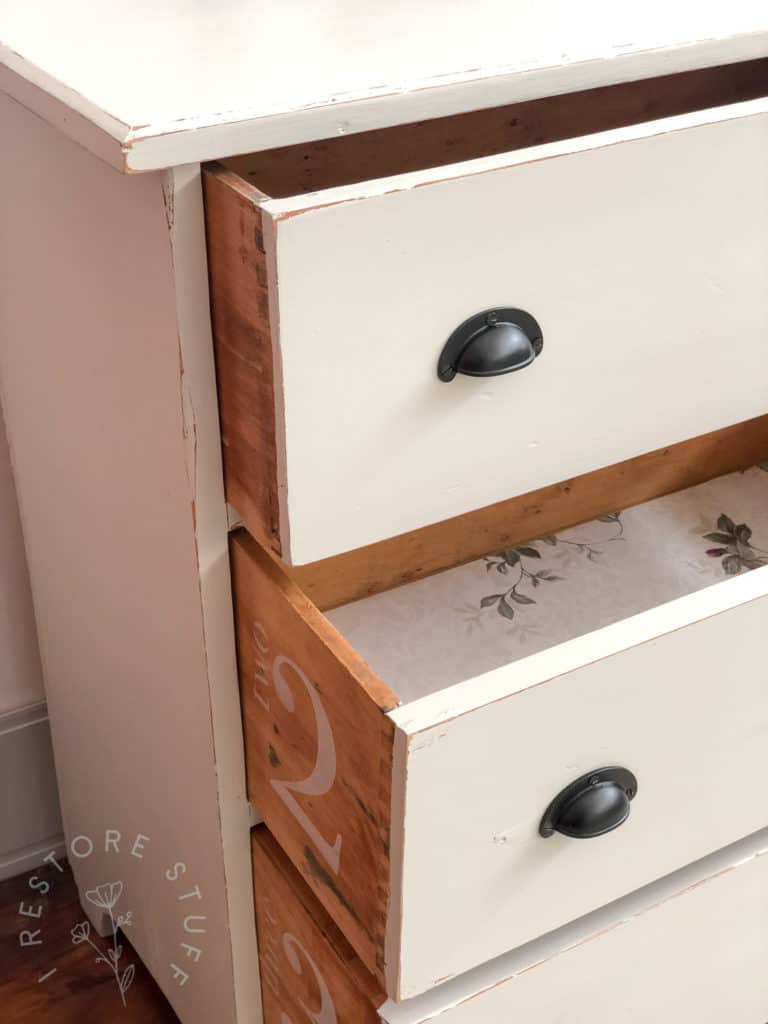
I distressed the edges with some light scuff sanding using my Sandi Hands gloves, which make it easier to control the sanding and distressing.
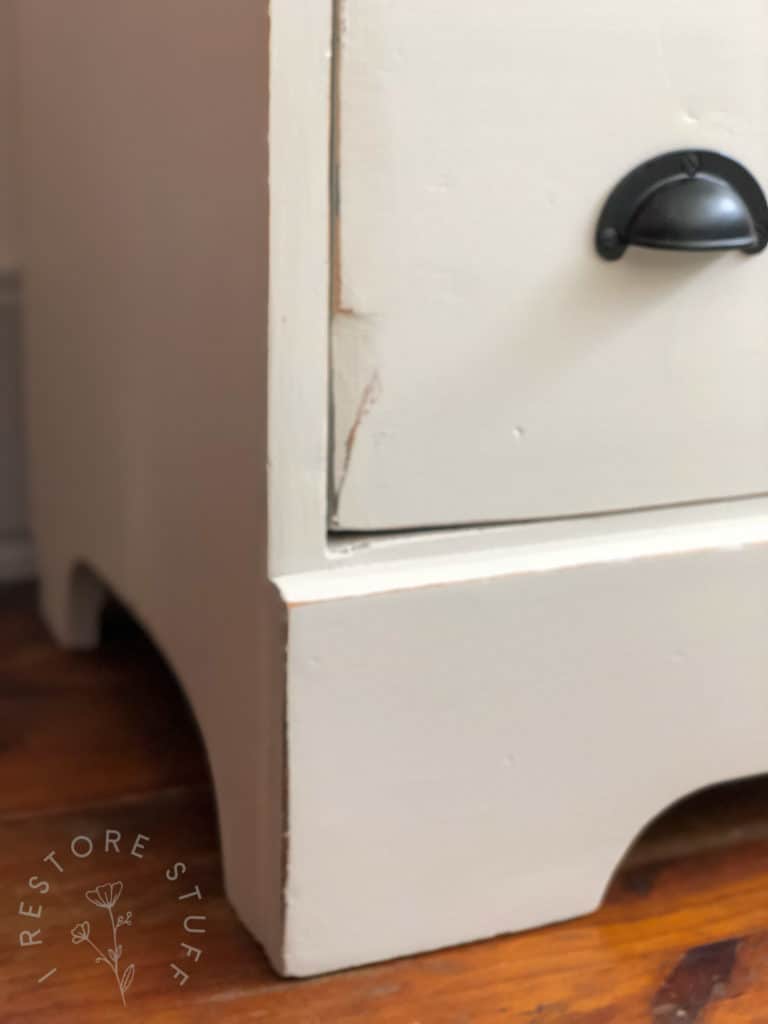
Distressing where there are dings and rough edges, really shows the piece’s age and history. I love that! You can see a big chunk like the section in the lower drawer area (below). Instead of trying to hide these areas, I highlight them with a light sand to distress the paint and show the wood peeking through.
surprises inside – a pop of prettiness
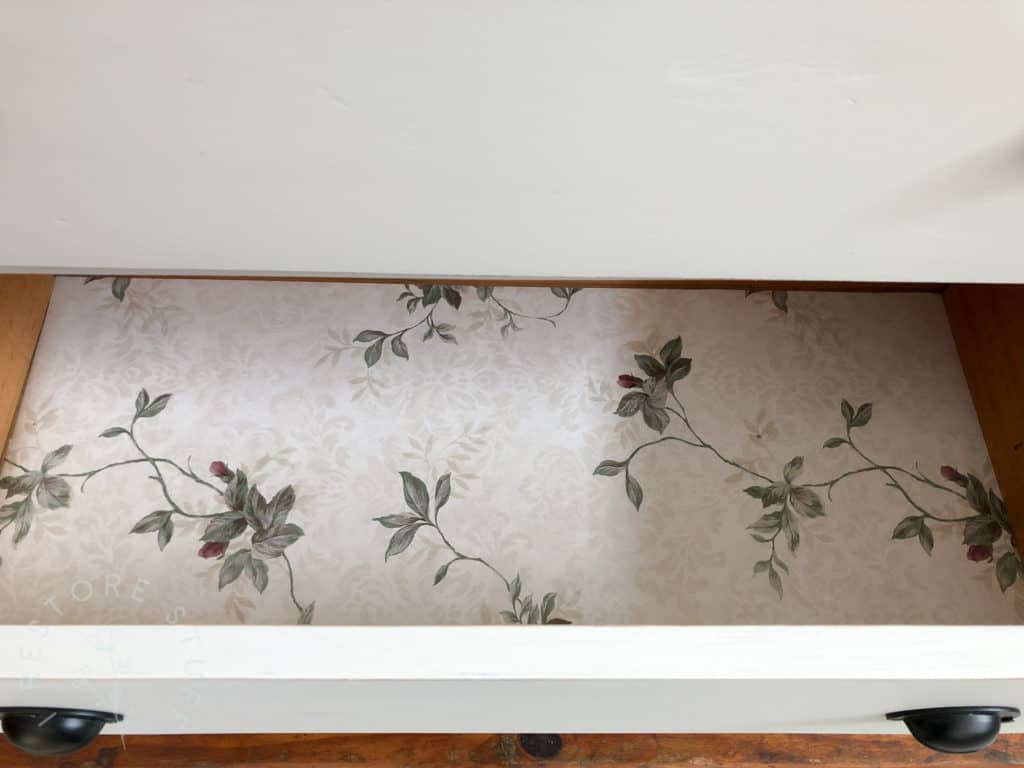
Take a look inside the drawers. I had some vintage wallpaper on hand that went really well with the tones of the Ashwagandha colour. So I lined the drawers with the paper.
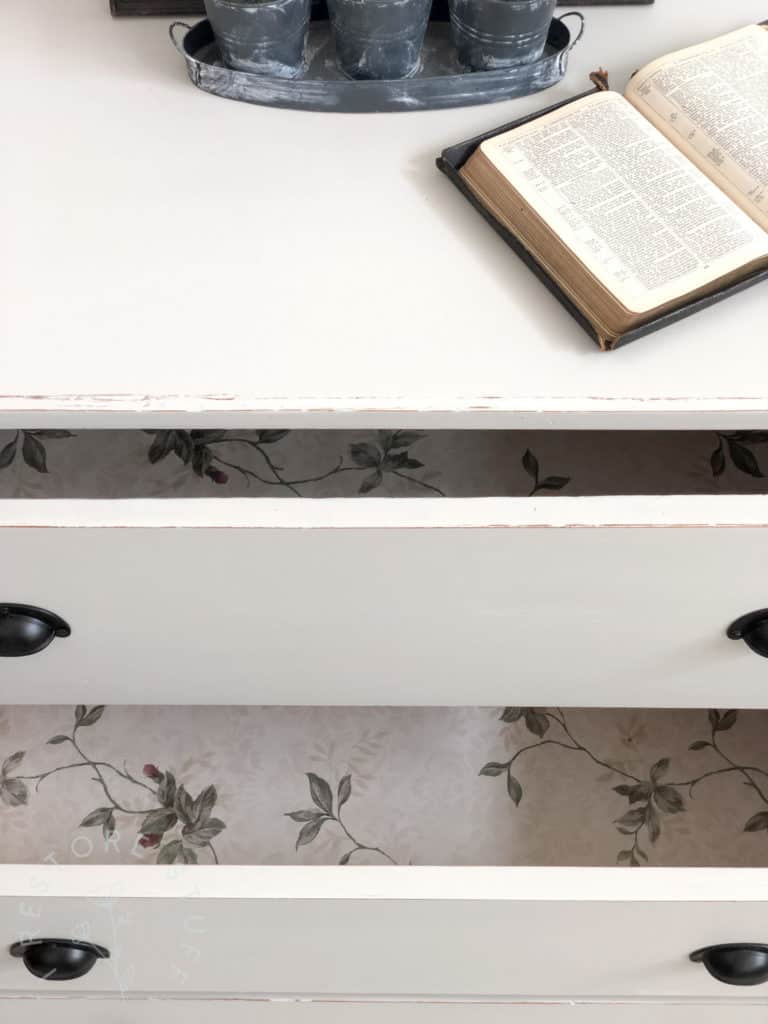
TIP: when lining these drawers with the wallpaper, instead of wetting the paper and lining it as you would wallpaper, I used a piece of double sided tape on each corner and simply taped it down. I figured the next person who wanted to change out the drawers or give them a makeover, would thank me for it! I know I hate it when I come across contact adhesive lined drawers or other paper which makes for a messy project trying to get it out of there.
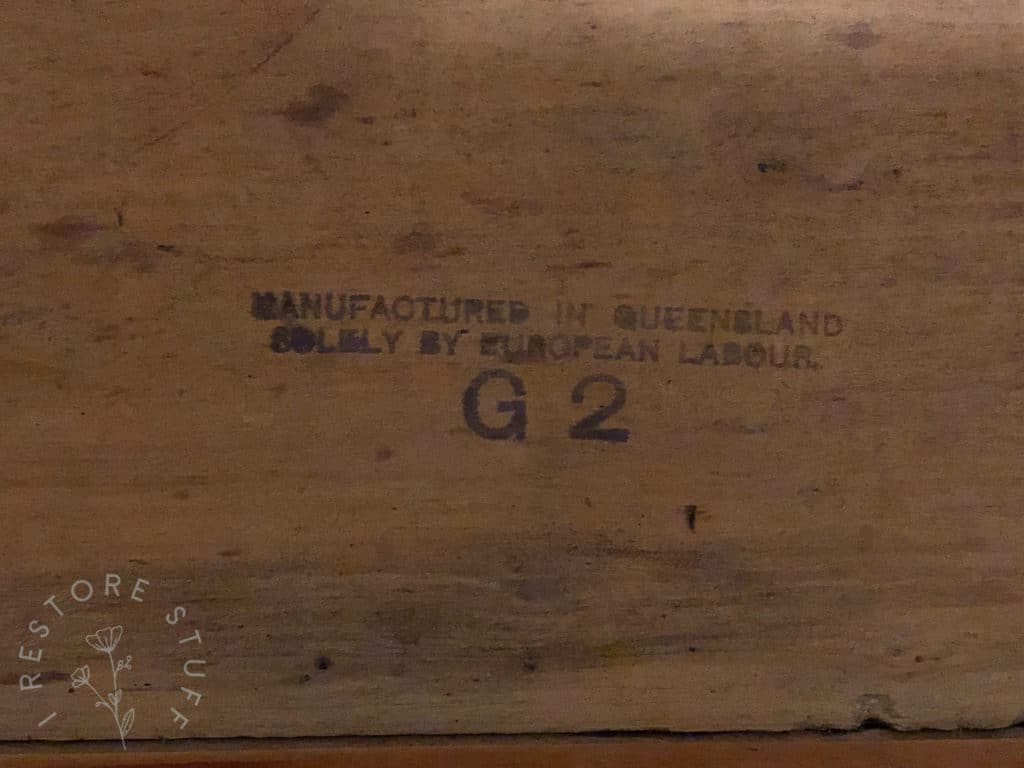
Another bit of historical info my helper, Celia found while working on these drawers, was the maker’s mark inside one of the drawers (below). You can find more info on the old Queensland or Australian labour laws in this interesting article, here. This stamp dates this piece of furniture to pre 1960s.
Surprise number two – number stencilled drawers
As we were putting the drawers back into place, Celia had numbered them for me while taking them out, so we’d know which drawer came from which slot. This is a pretty well known tip, especially for older drawers, as often they are hand made and may not always line up or fit correctly if placed in a different drawer slot.
So I thought we could emphasise the drawer number order with some fun stencils from Essential Stencil.
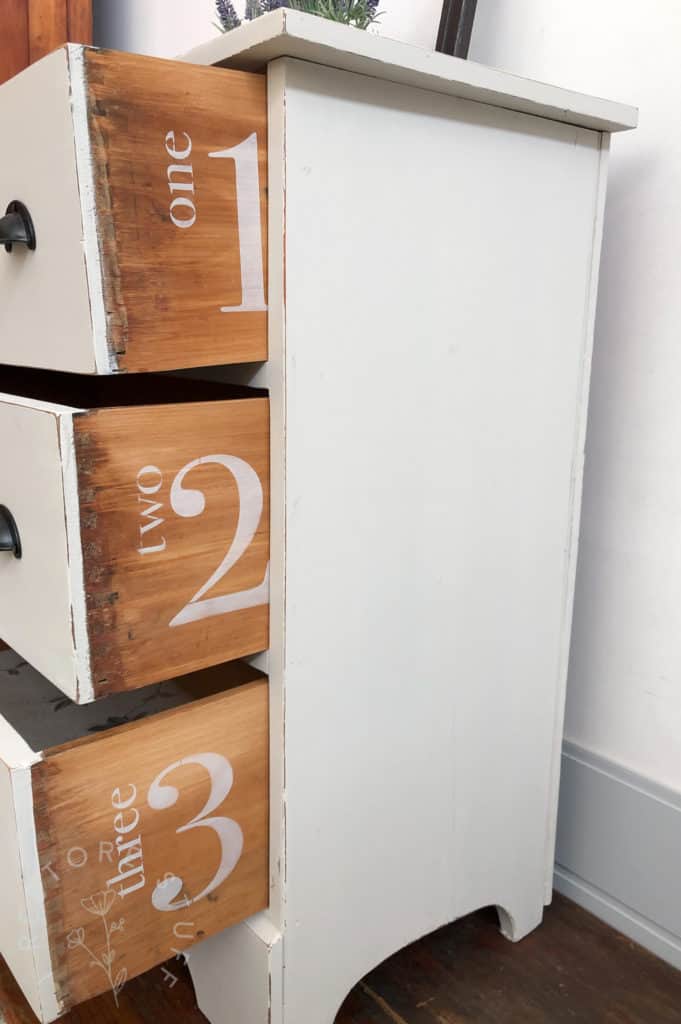
It’s such a great way to add some interest to a set of drawers. You can use any stencils really. I’ve done this before on some other projects, like this cabinet makeover here.
I have an affiliate coupon code for you to use with Essential Stencils for 10% off your order if you use this LINK with coupon code: irestorestuff (the coupon code may insert automatically if you use my link mentioned.).
Here’s another look at this dresser makeover in the new colour, Goddess Ashwagandha.
A Farmhouse Table in new colour, Sacred Sage
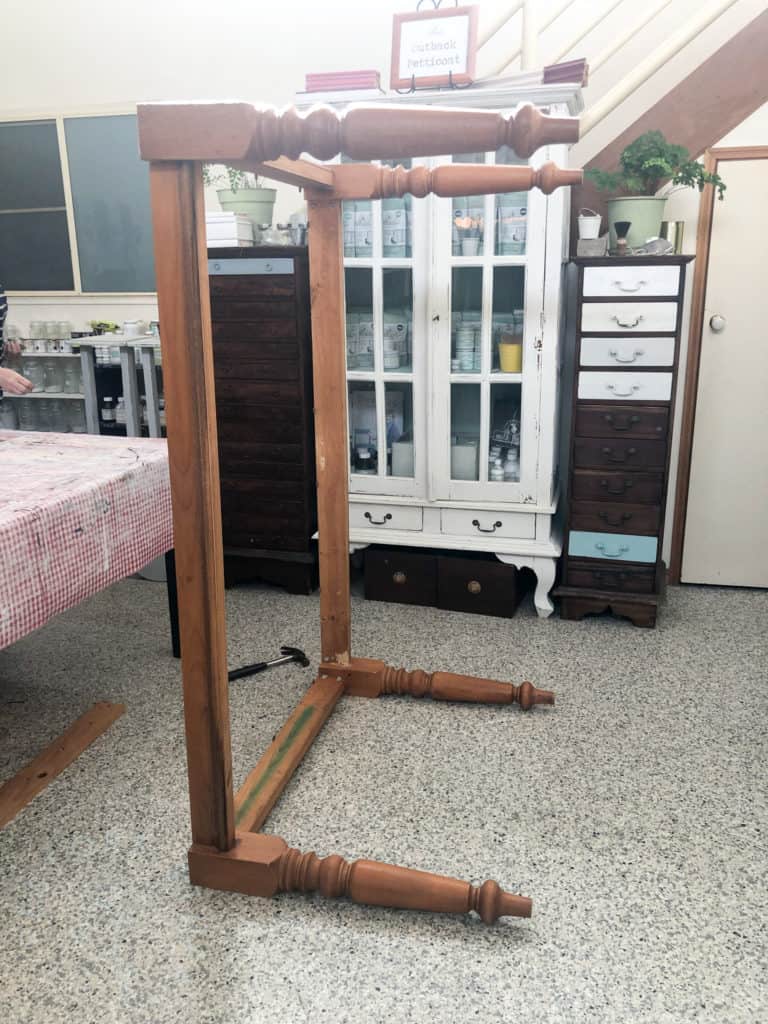
For this next makeover, once again, I forgot to take a before picture of the large table. But here it is after we took it apart to repair the uneven top. The base was easier to sand each piece this way, though.
Here’s the base all screwed back together.
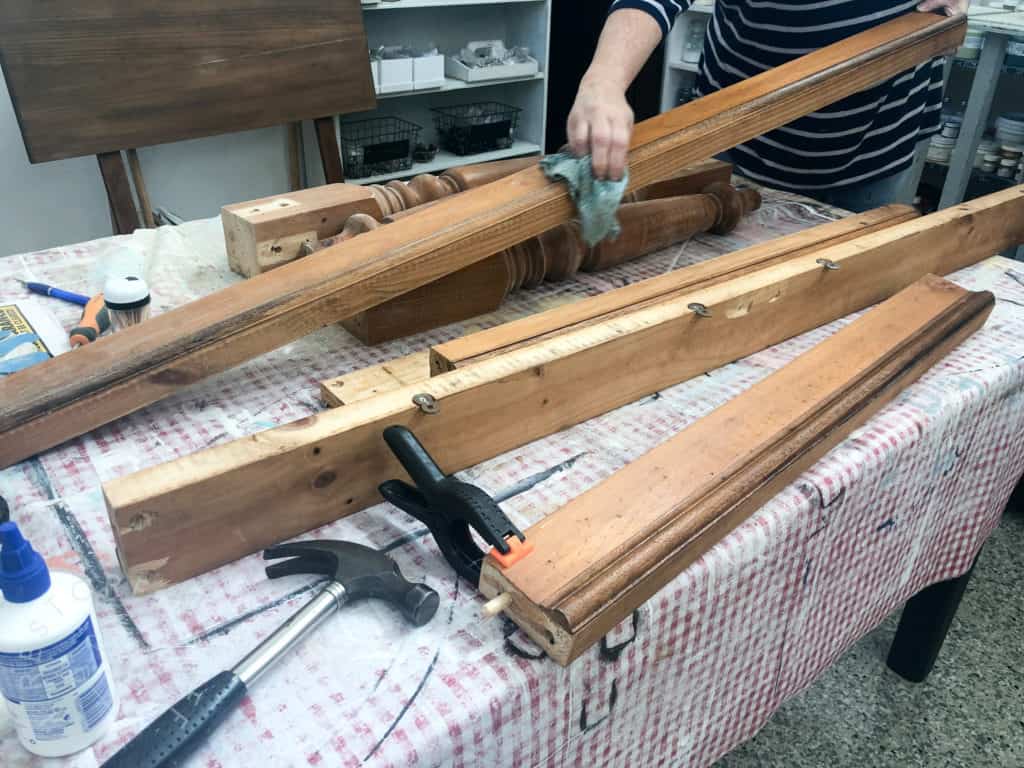
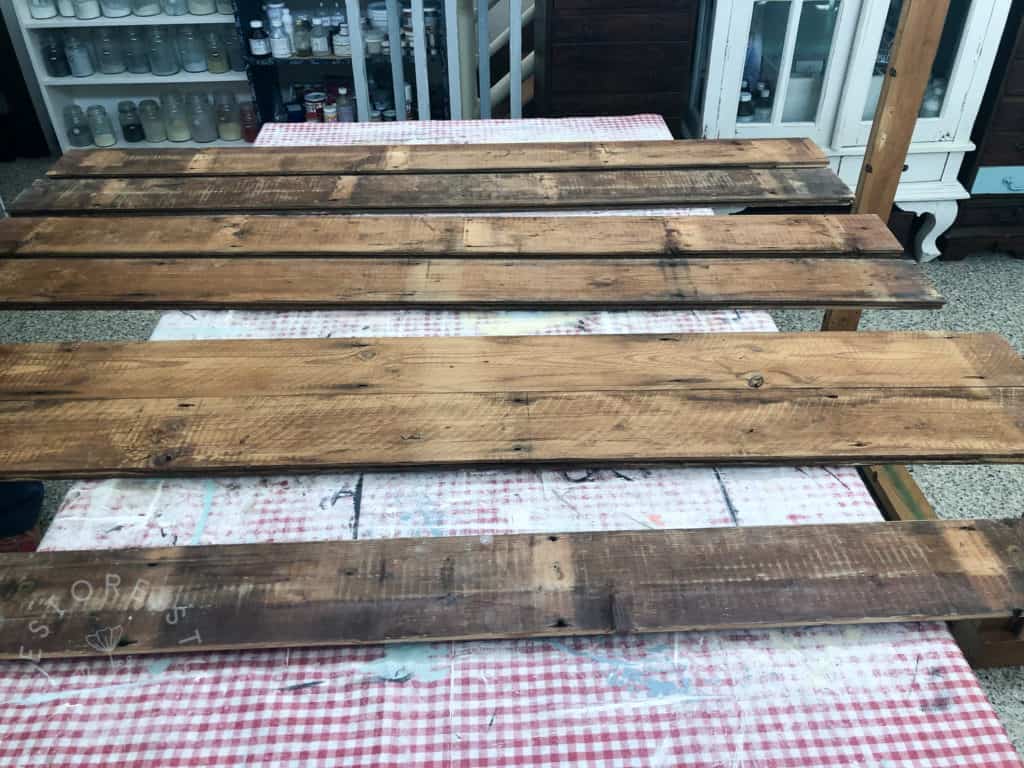
The entire table top was made up of reclaimed wood, pieced together, but they needed to be stripped/sanded back and re-glued together. My helper, Celia, did a fantastic job of sanding the tops, which were heavily varnished. In the pic below, the pieces are face down.
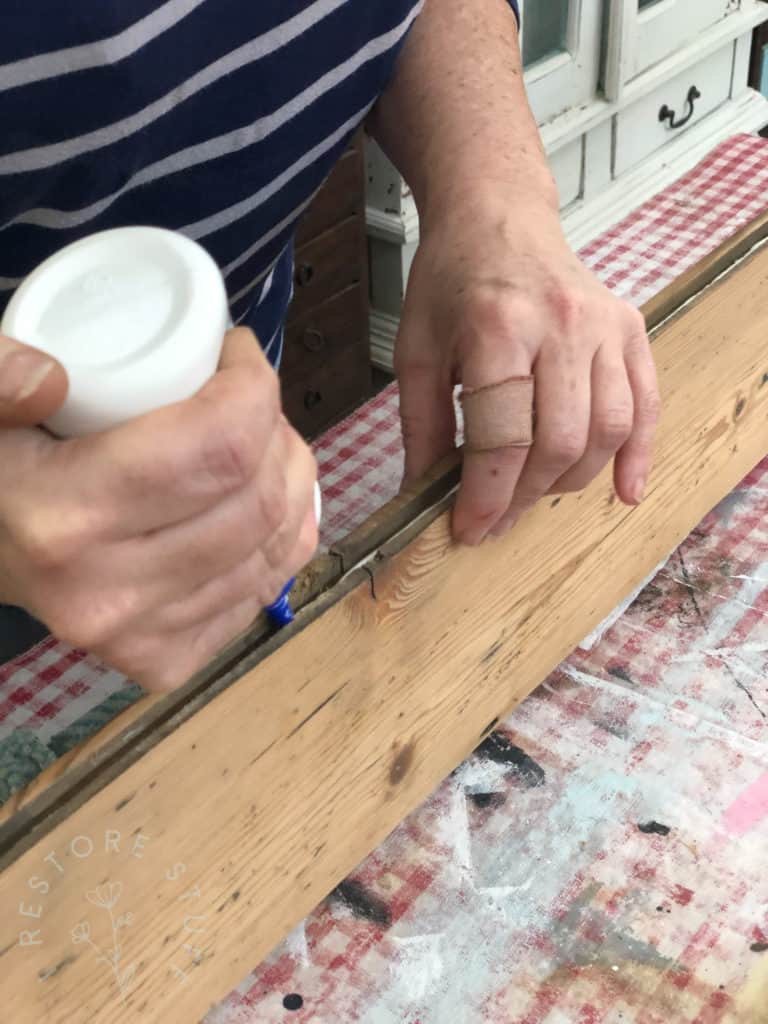
Once sanded down, we used wood glue to piece them back together and then used ratchet straps to clamp them all together.
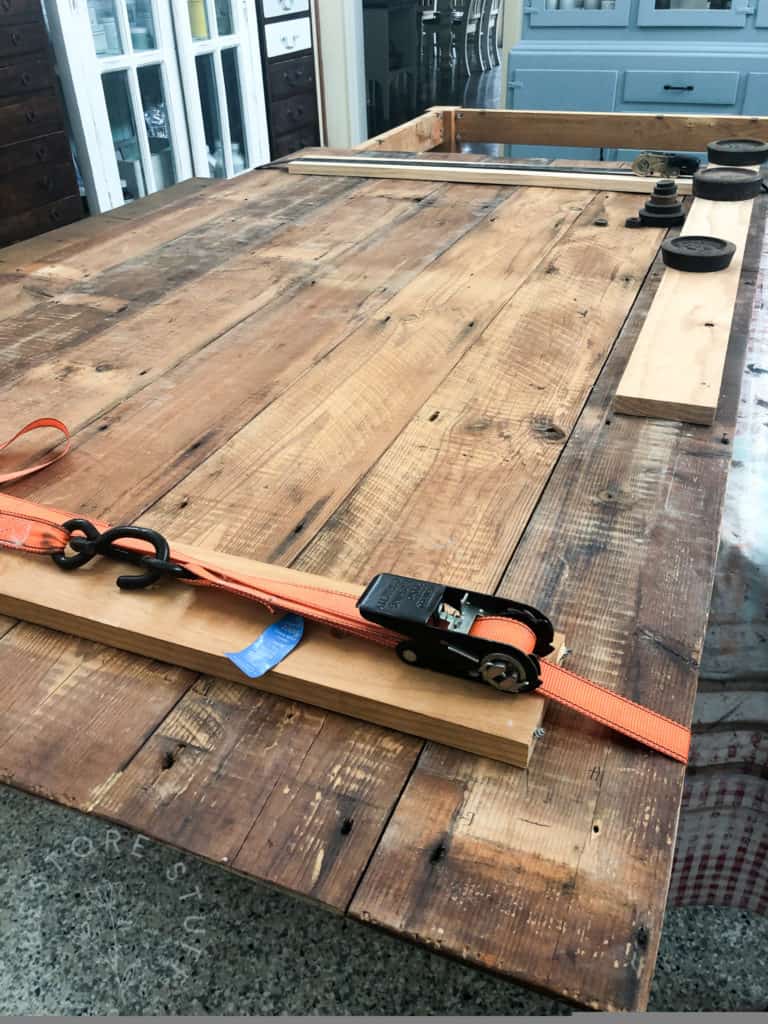
We added the planks of wood at each strap, and some weights to make sure the table top boards would stay flat.
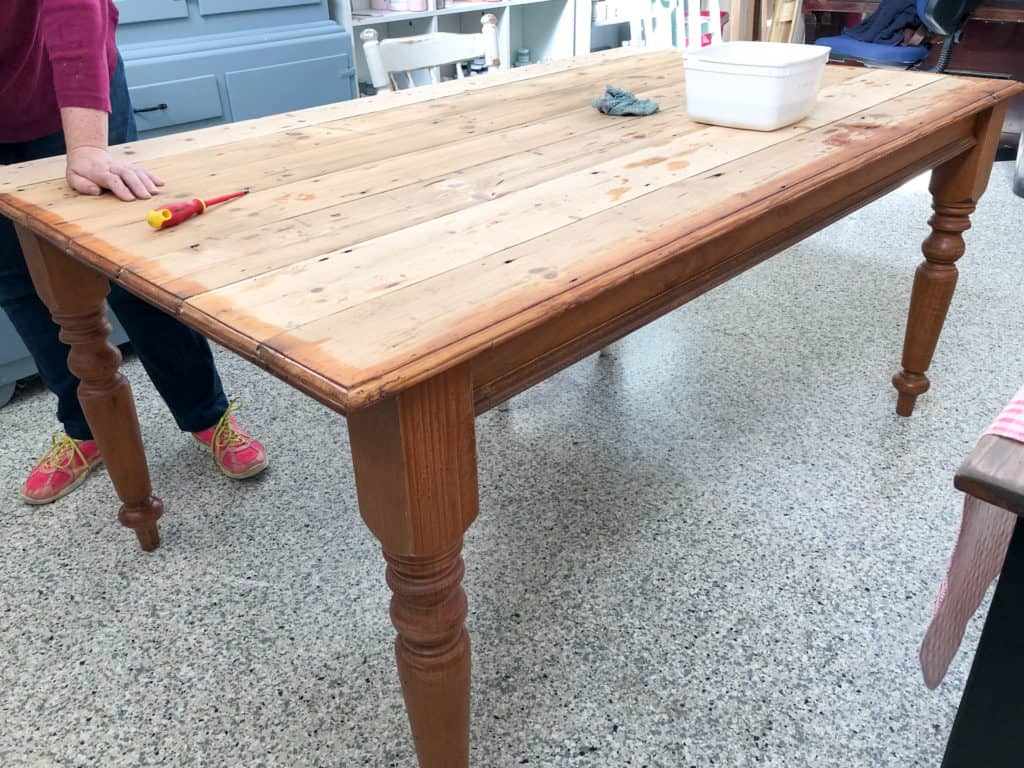
So after we put it all back together, we still needed to strip a bit of the varnish out of the table top edges. Once this was all removed, we were ready to start the fun part of painting this beautiful piece!
New colour, Sacred Sage, is a lovely greenish gray that looks more green in the bottle or when wet. But it actually dries more gray. I have the feeling this new colour is going to be one of the most popular for it’s classic vintage vibe.
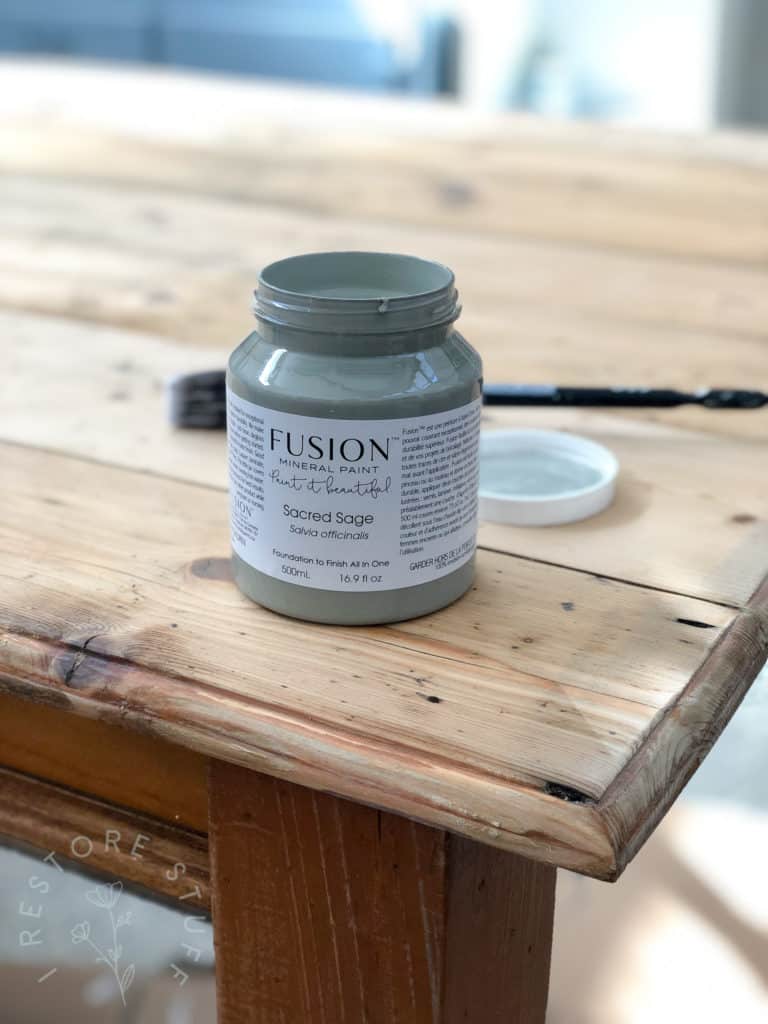
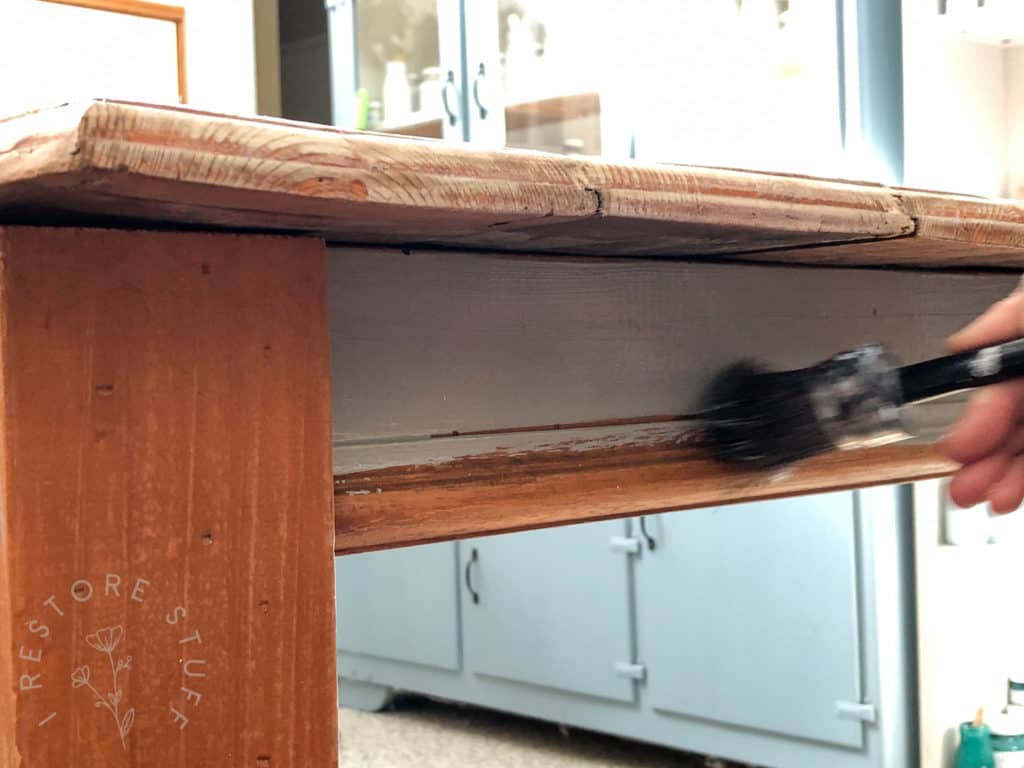
The coverage is exceptional, and honestly, I feel like we could have left this at just one coat. But I like to go the extra mile and just in case, I gave it two coats. Each of the new colours in the Lisa Marie Holmes collection has amazing coverage, even the off white colour, Goddess Ashwagandha.
The finished table in Sacred Sage
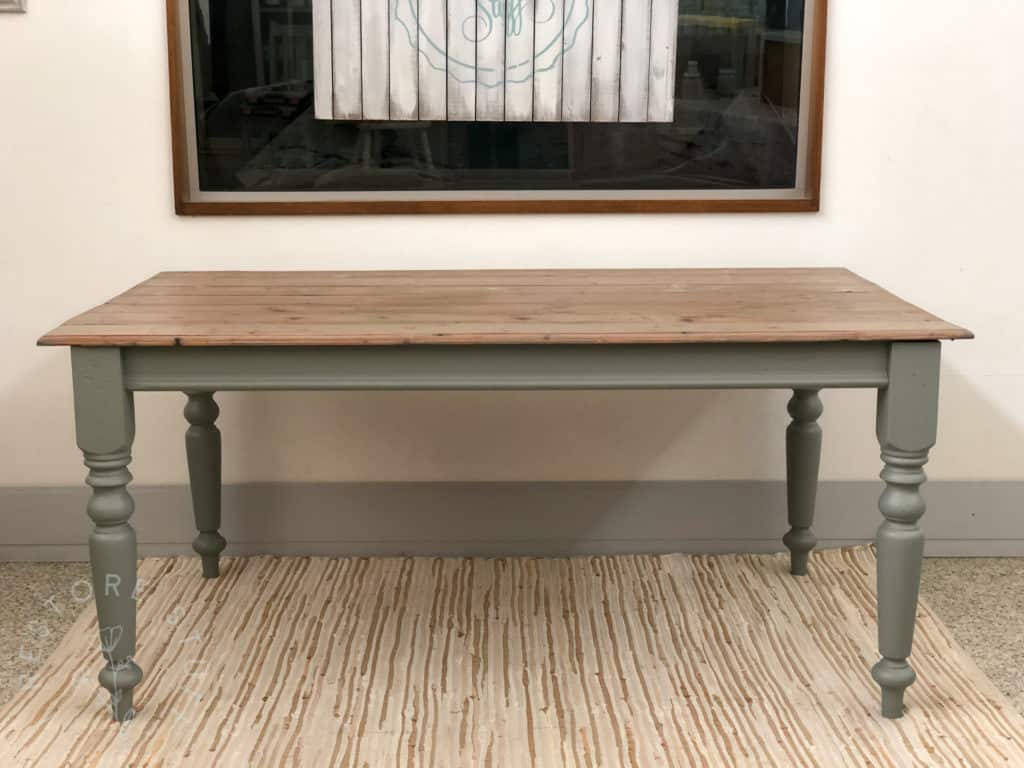
I finished the top using Fusion’s Stain & Finishing Oil in the stain colour, Driftwood. This colour was perfect to compliment the gray tones of the new colour, Sacred Sage.
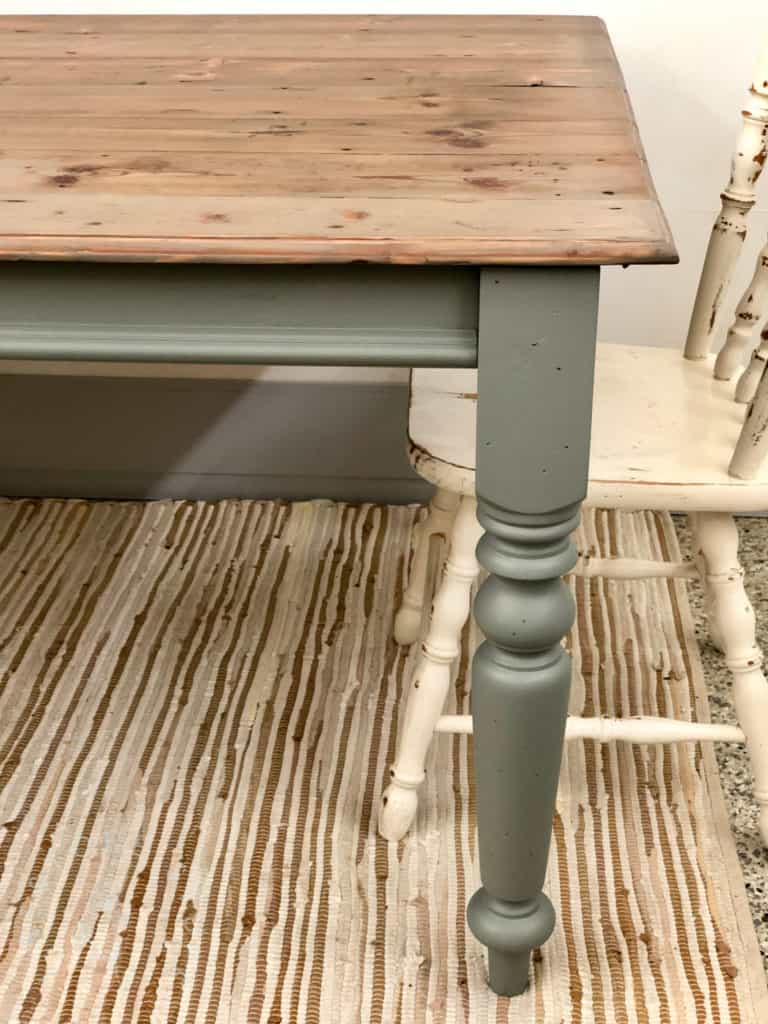
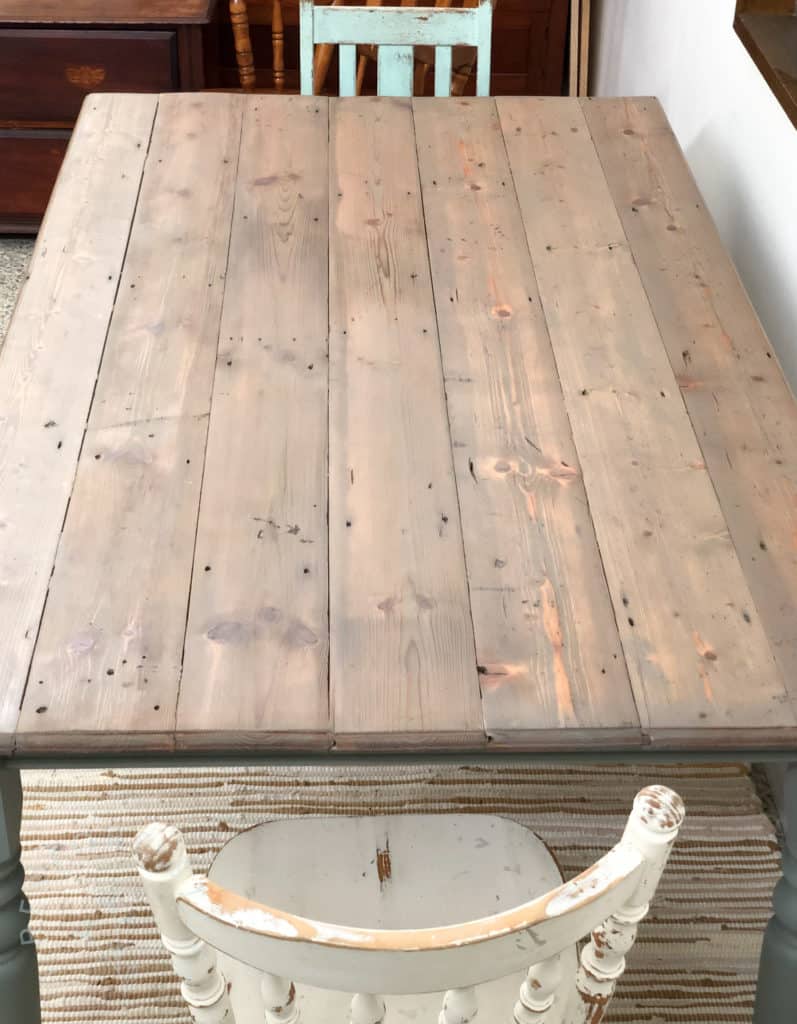
Here it is unstaged by itself in my workshop space.
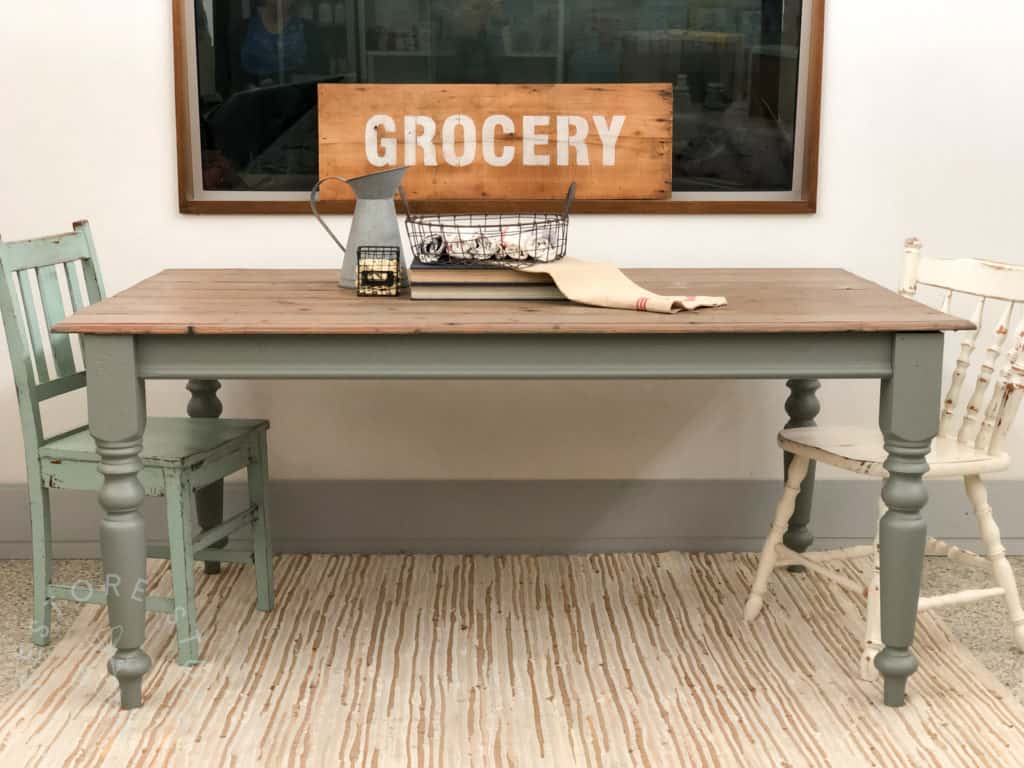
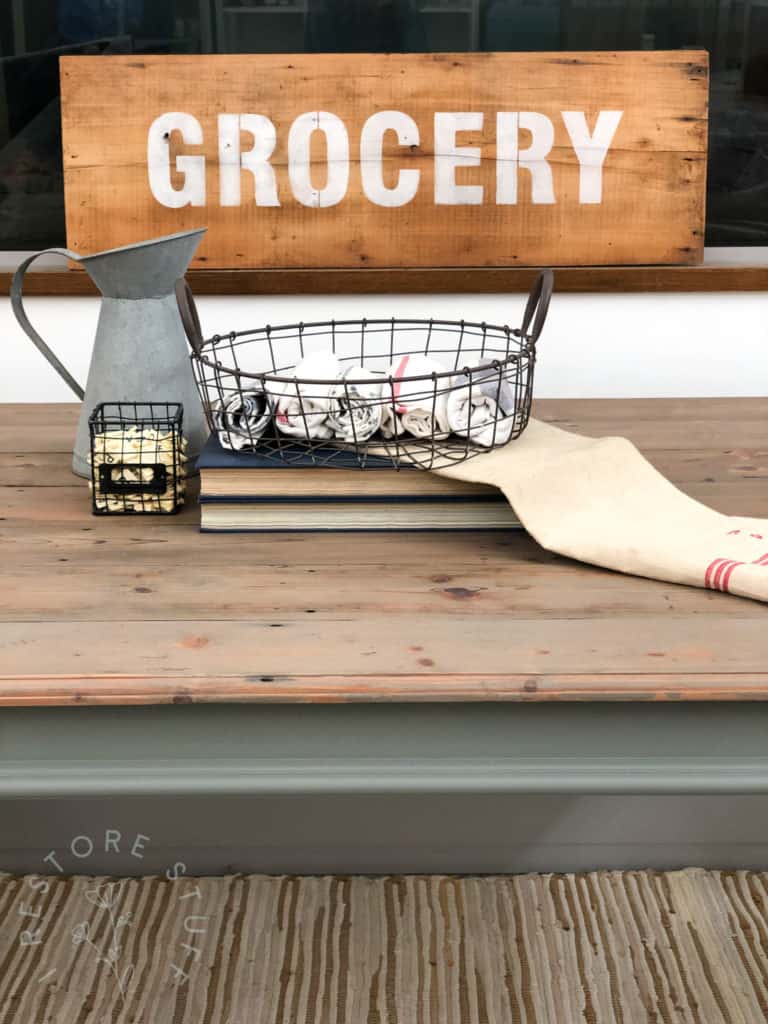
The table is being sold by itself, but I grabbed a few of my antique milk painted workshop chairs to stage it ready for selling on Facebook Marketplace.
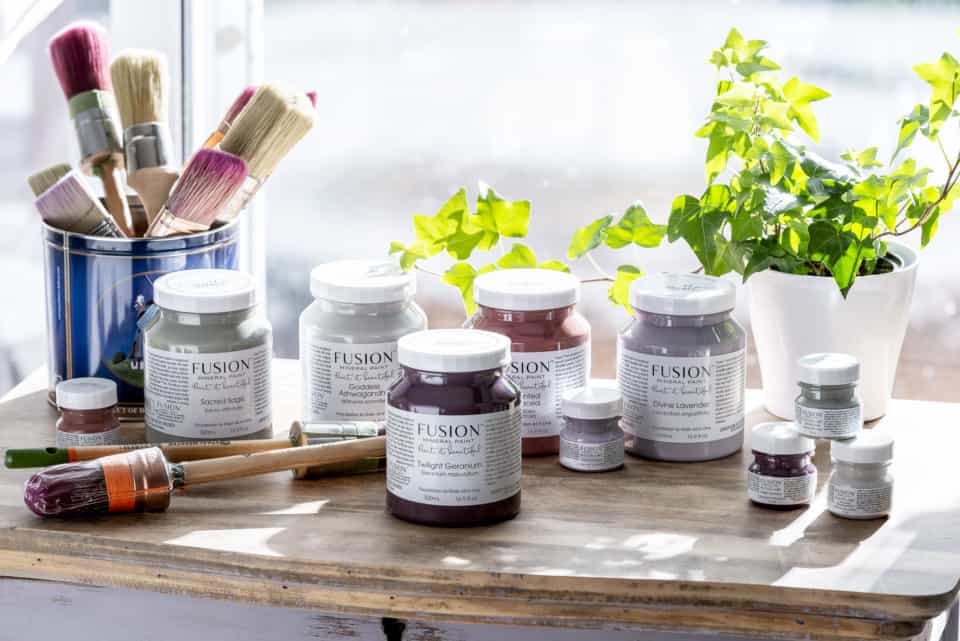
So there you go – two of the 5 brand new Fusion colours I have had the chance to play with! What would be your favourite out of the 5 colours below? Tell me in the comments, and let me know what you would paint with this colour?
