More Faux Denim Fun and another Hometalk DIY Demo!

Last week I showed you a video tutorial I made with my daughter and her friend, showing you how to create faux denim art. You can check it out HERE.

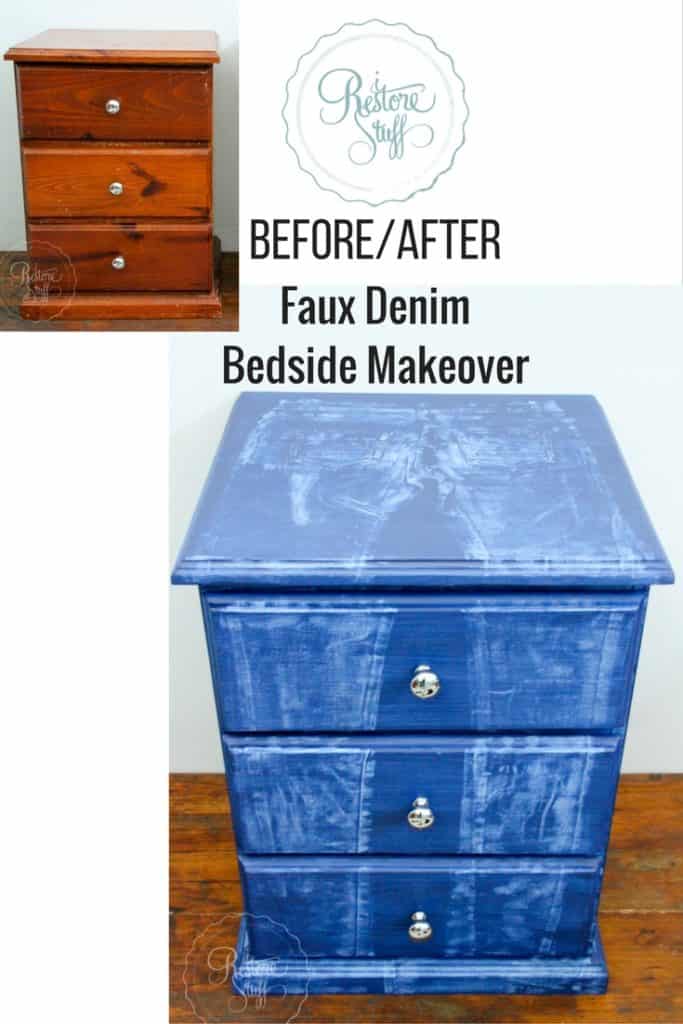
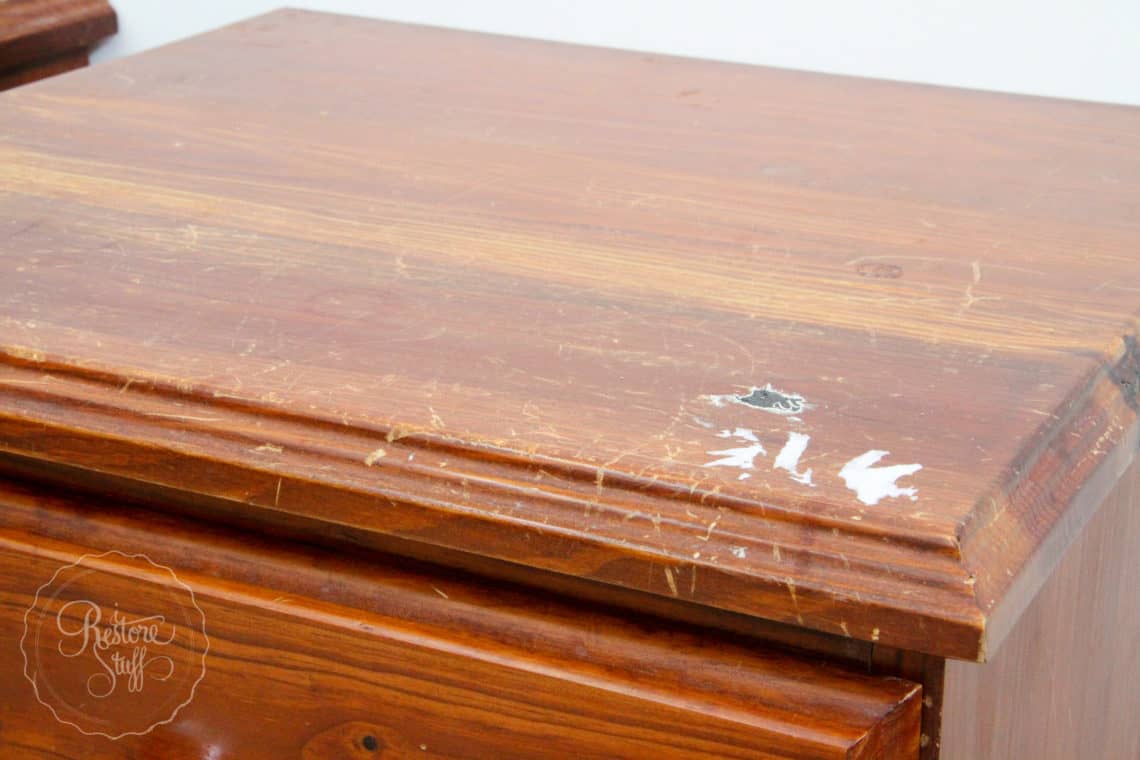
The Orange Pine Bedside Tables
So I thought it would be fun to apply this technique to furniture and here is our canvas to start with … two adorable orange pine bedsides, complete with well used scratches and all. The perfect candidates for a restoration makeover.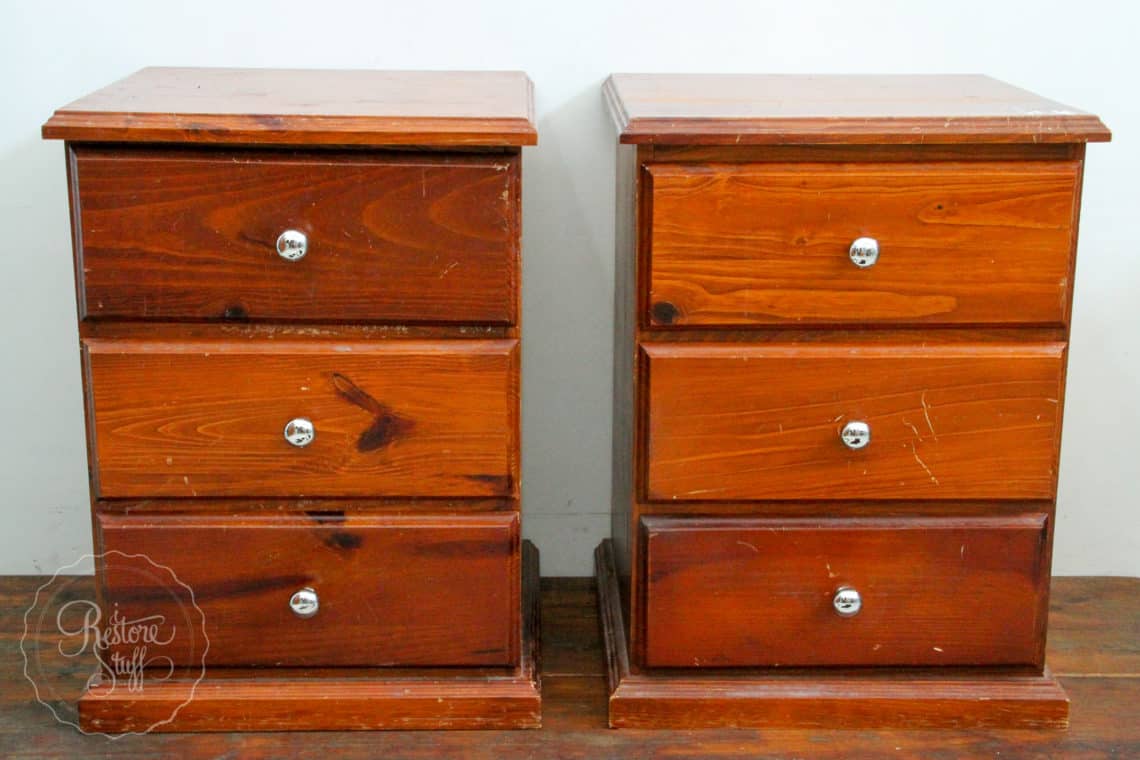
My List of Supplies for this Project
- Piece of furniture such as bedside table, chest of drawers
- Sander, sanding paper, or sanding gloves
- White furniture paint – I used Fusion Mineral Paint, Casement
- Blue furniture paint – I used Fusion Mineral Paint, Liberty Blue
- Old pair of denim jeans
Here is the LIVE DEMO on how to do this project which I filmed over on Hometalk’s Facebook page this week!
Sanding
If you’ve been following my blog, you’ll know that I usually don’t sand back this excessively and to be honest, a quick sanding with Sandi Hands Sanding gloves is usually all I’d use for an update with furniture paint. However, with the deep grooves and gouges on these sad little drawers, I just took to the orbital sander.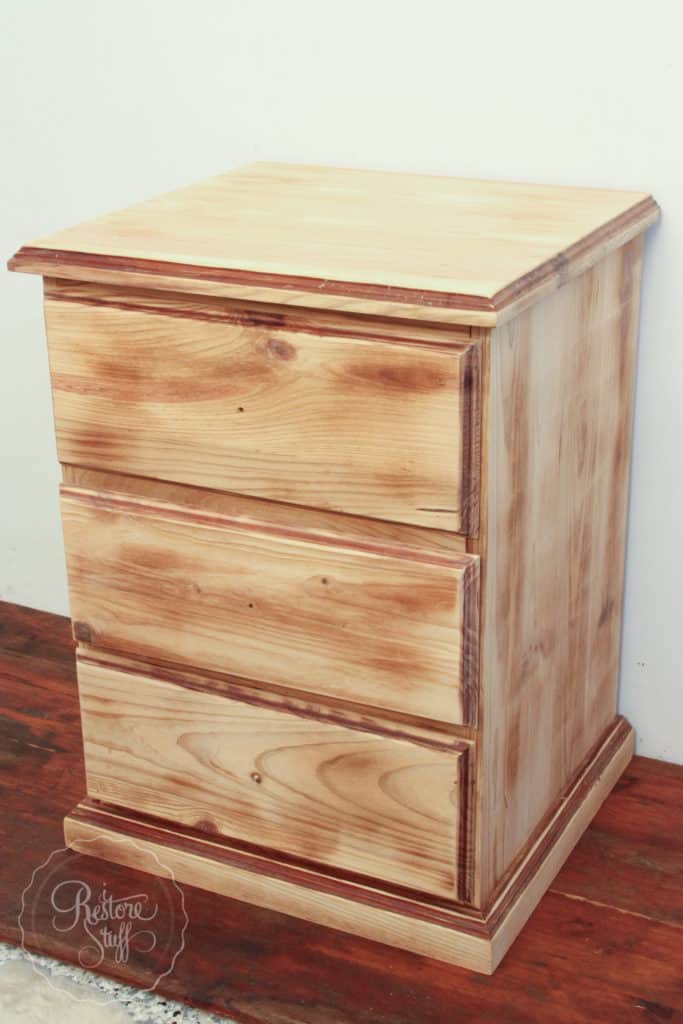
The Base Coat
For this project, the base coat of white is an essential part of creating the faux denim look. I used Fusion Mineral Paint‘s white colour, Casement. You will only need one coat, as a full coverage is not necessary.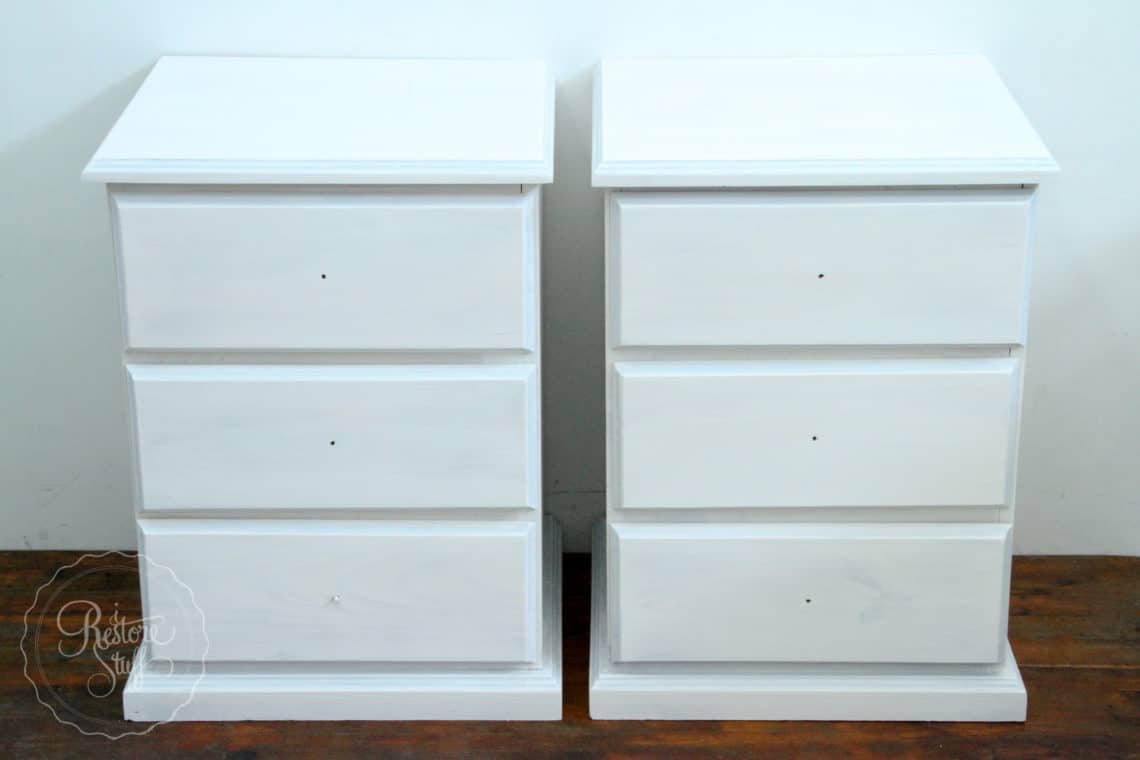
Have Everything Ready for the Next Step
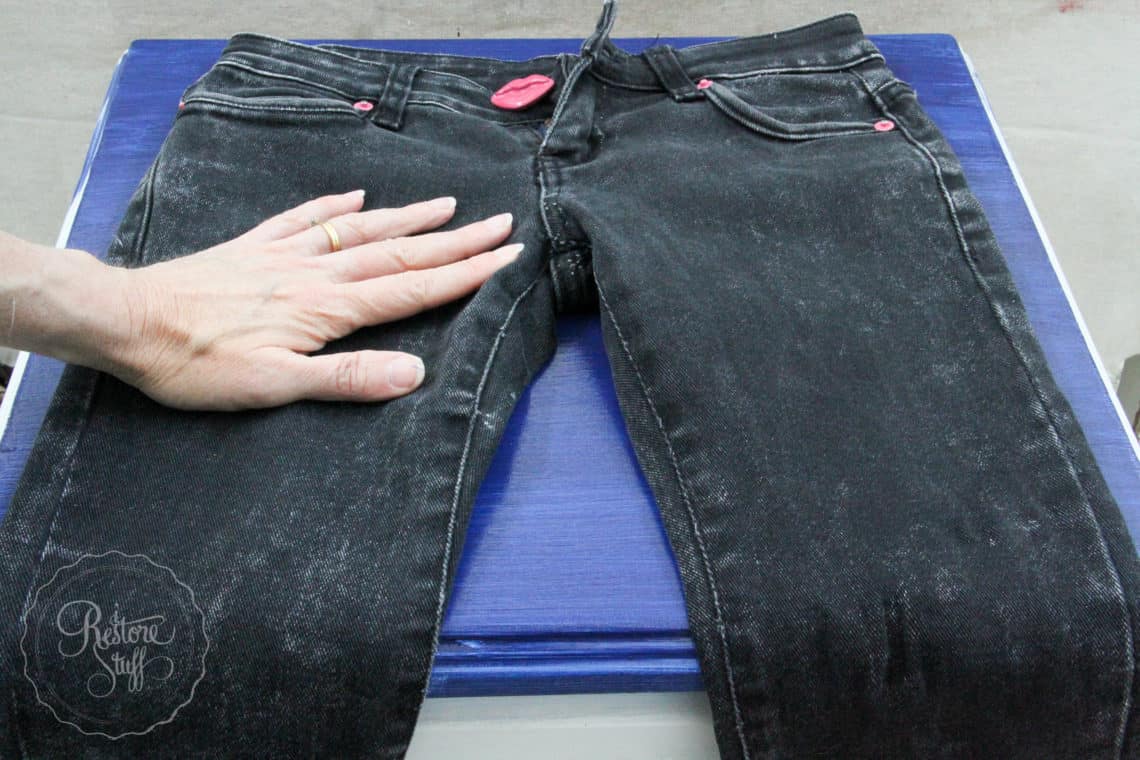
Next, you’ll need to have the blue furniture paint – I used Fusion Mineral Paint colour, Liberty Blue – and the old pair of jeans, ready to go.
 You will need to work on this part a section at a time.
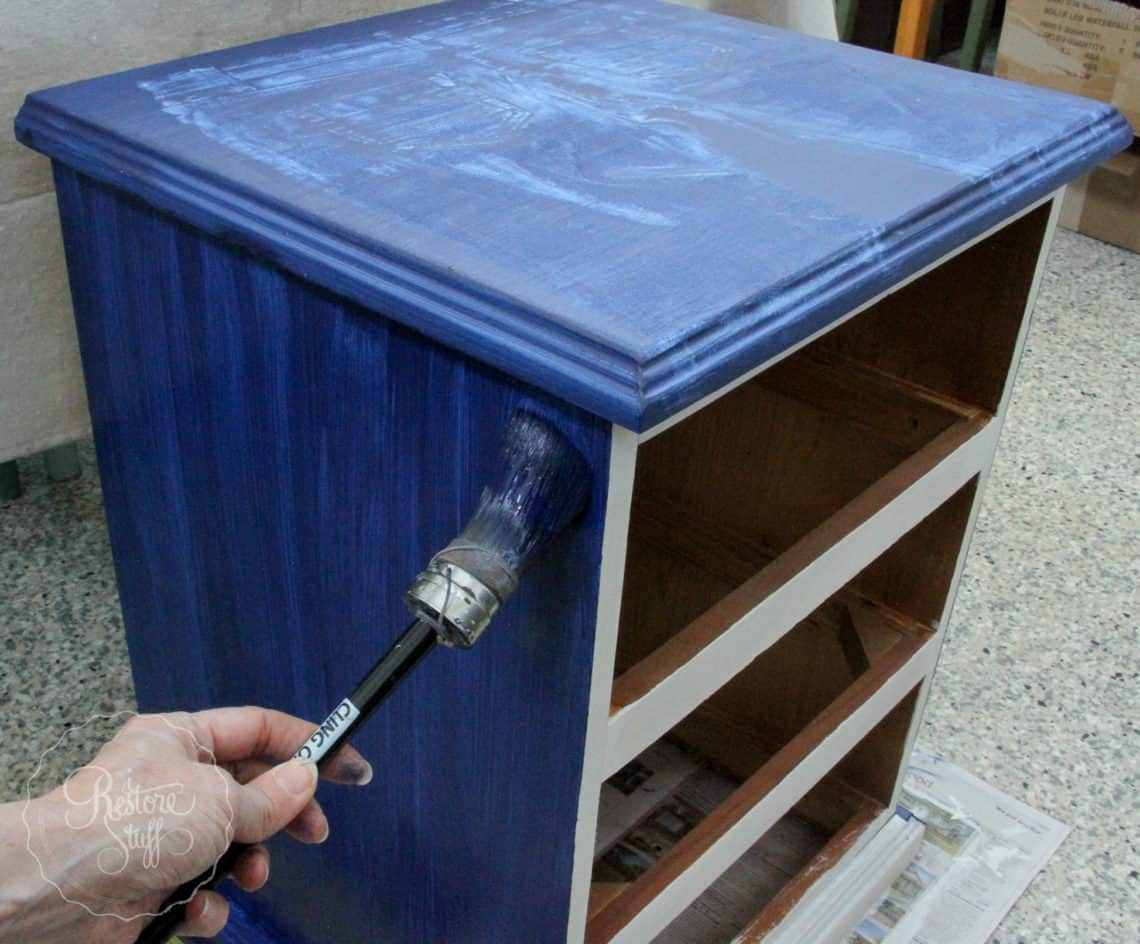
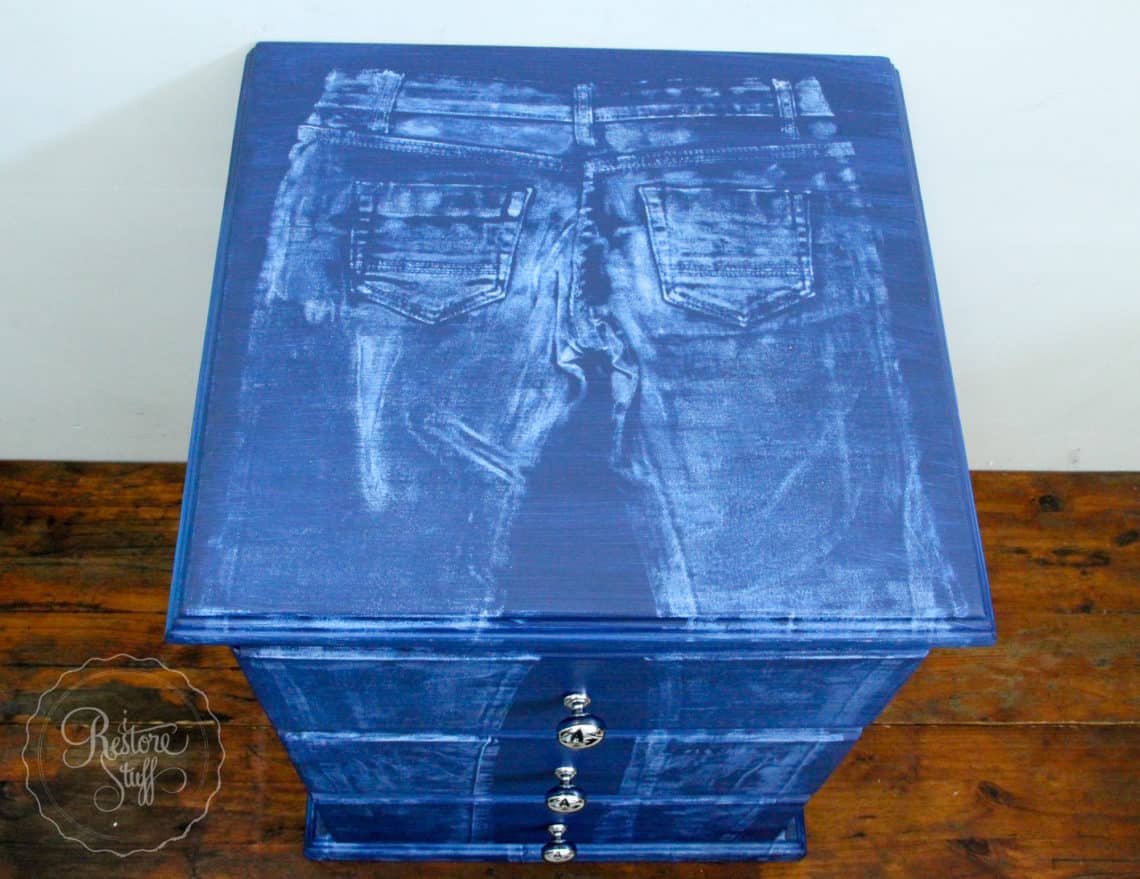
I started with the top of the bedside, painting the full top in a coat of Liberty Blue.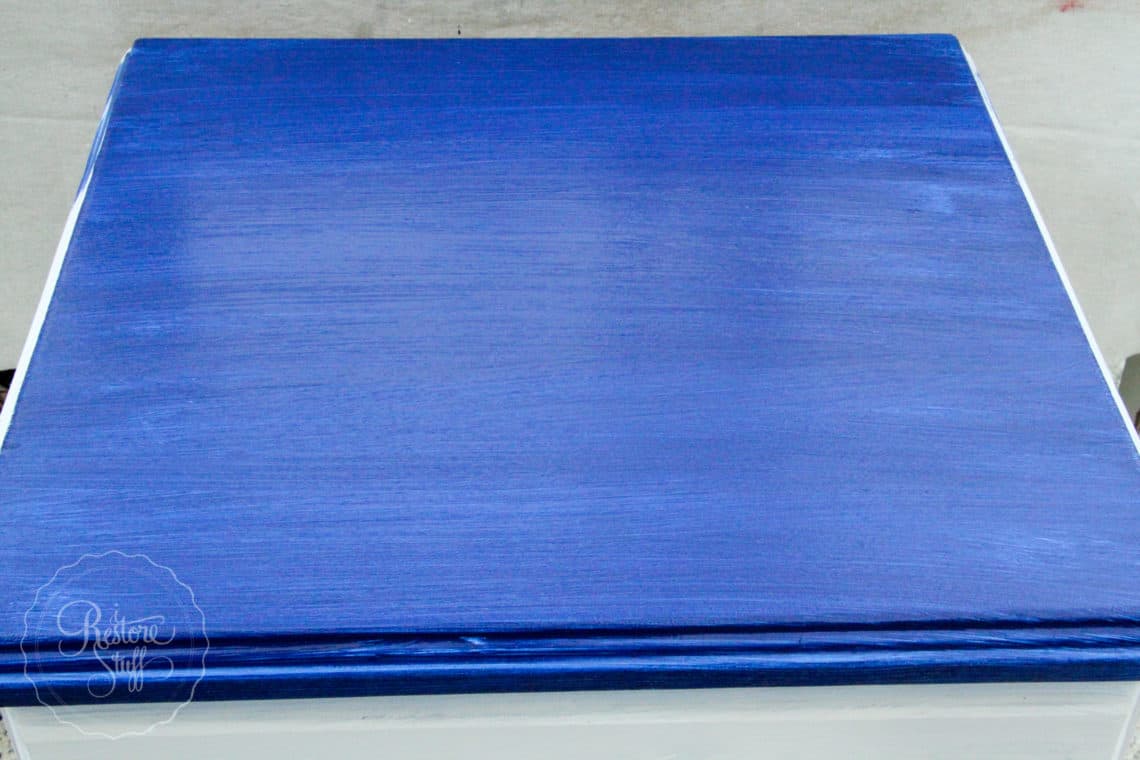
While the paint is still wet, lay the old pair of jeans carefully on top, lining up the legs where you’d like them to go.
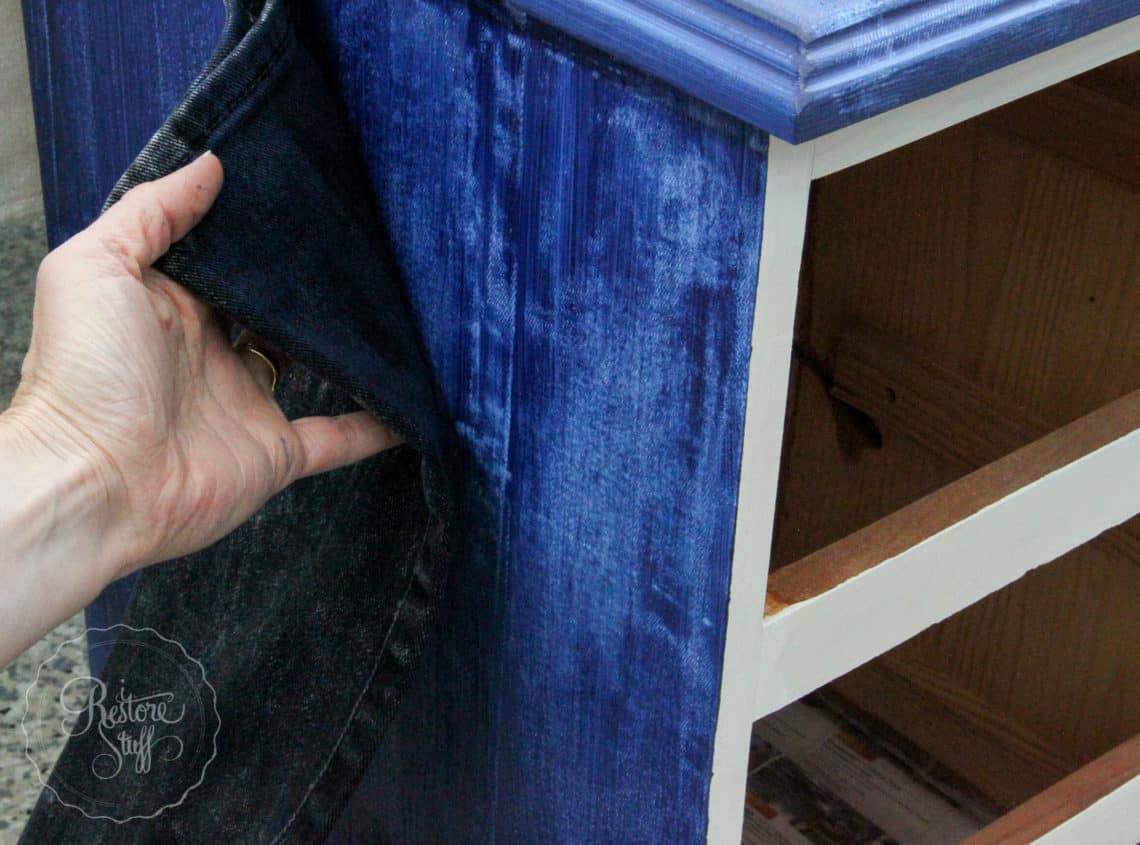
Press the jeans into the paint, rubbing along the seams, pushing the jeans pockets into the paint.
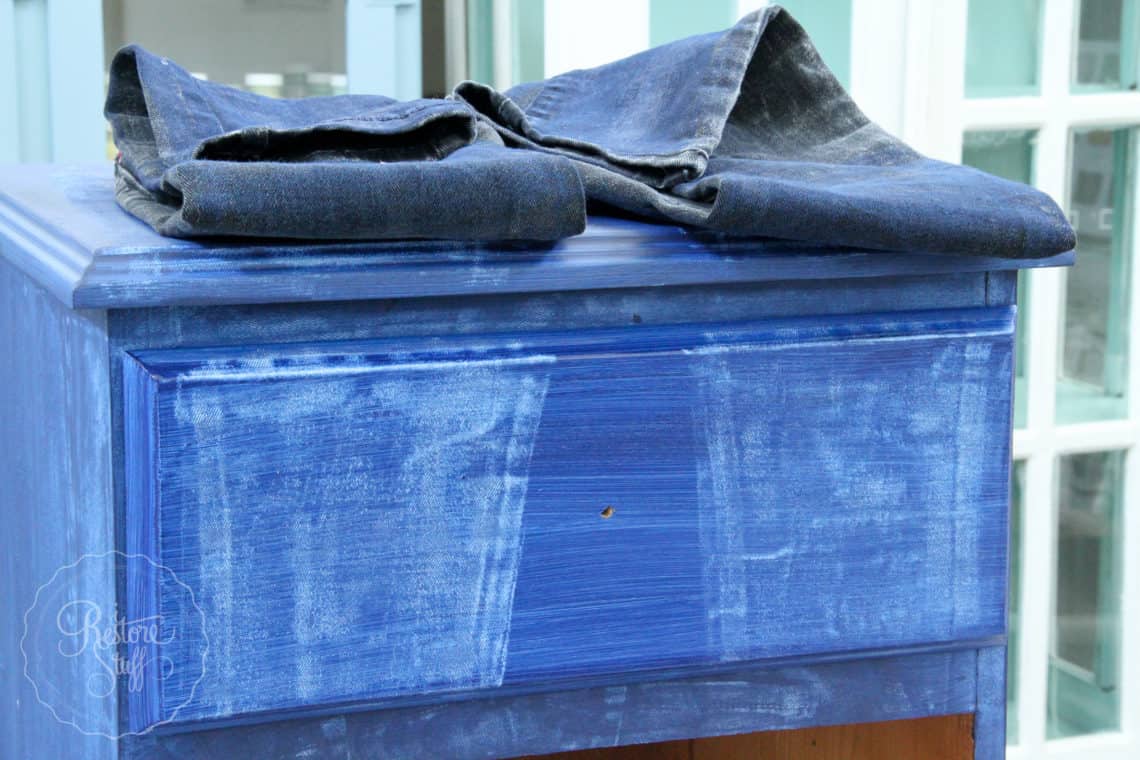
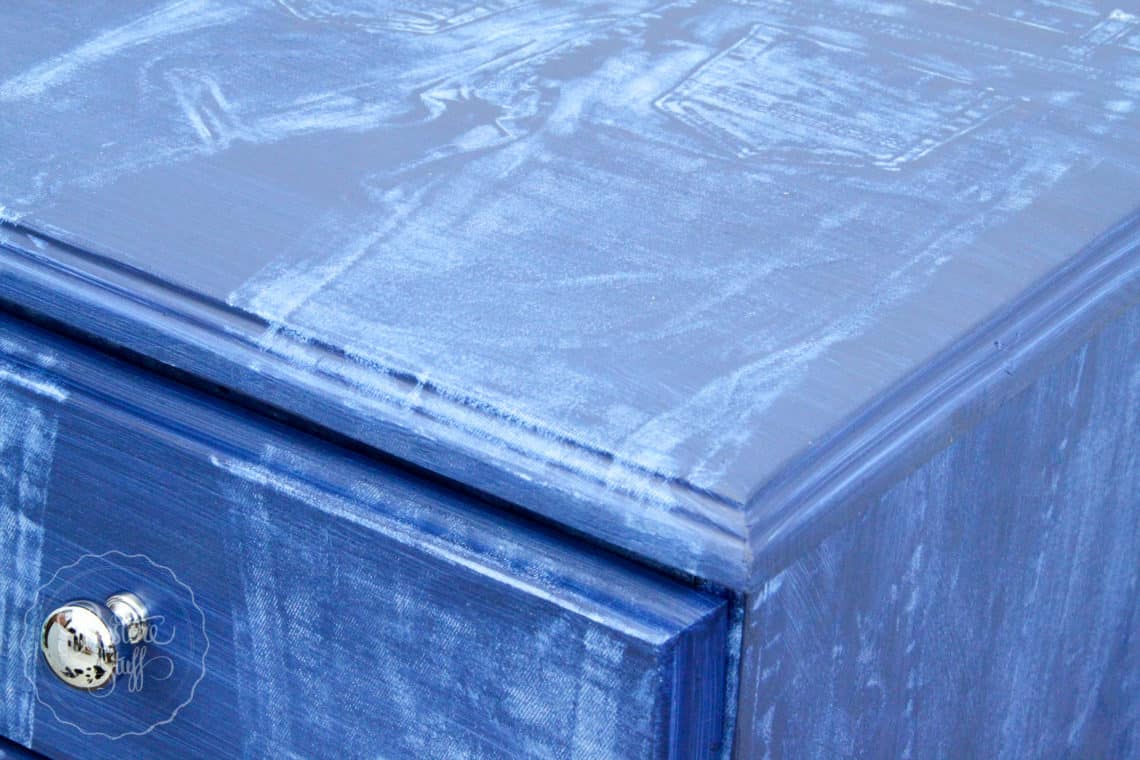
 Gently peel the jeans away from the paint. Check it out!!
Painting the Sides
Paint the sides of the base, one at a time.
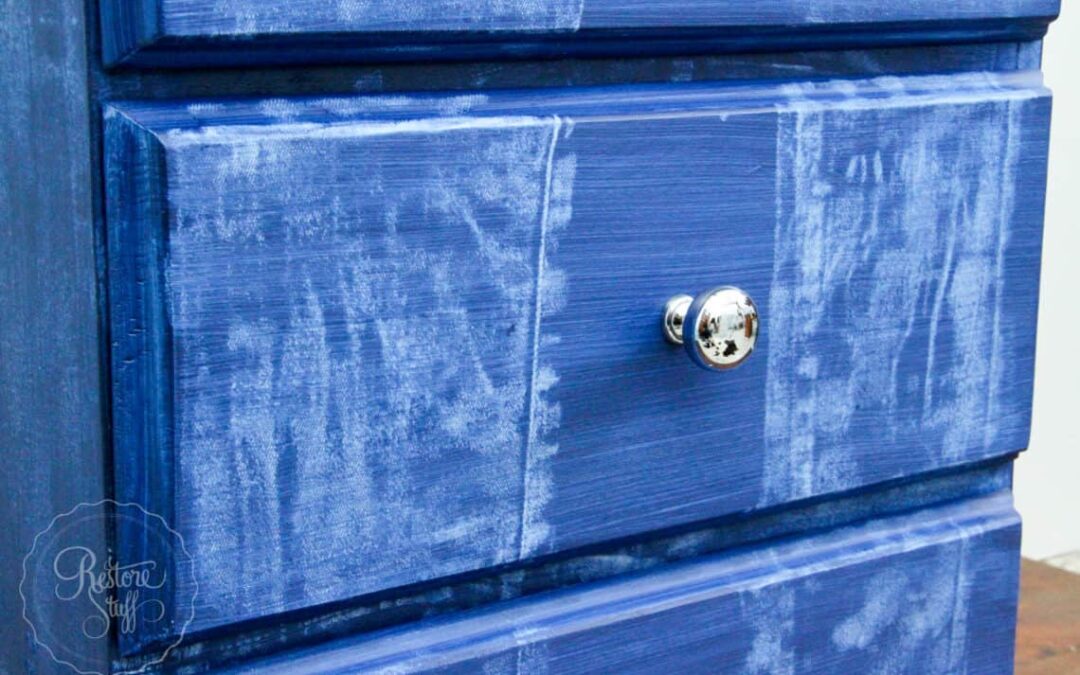
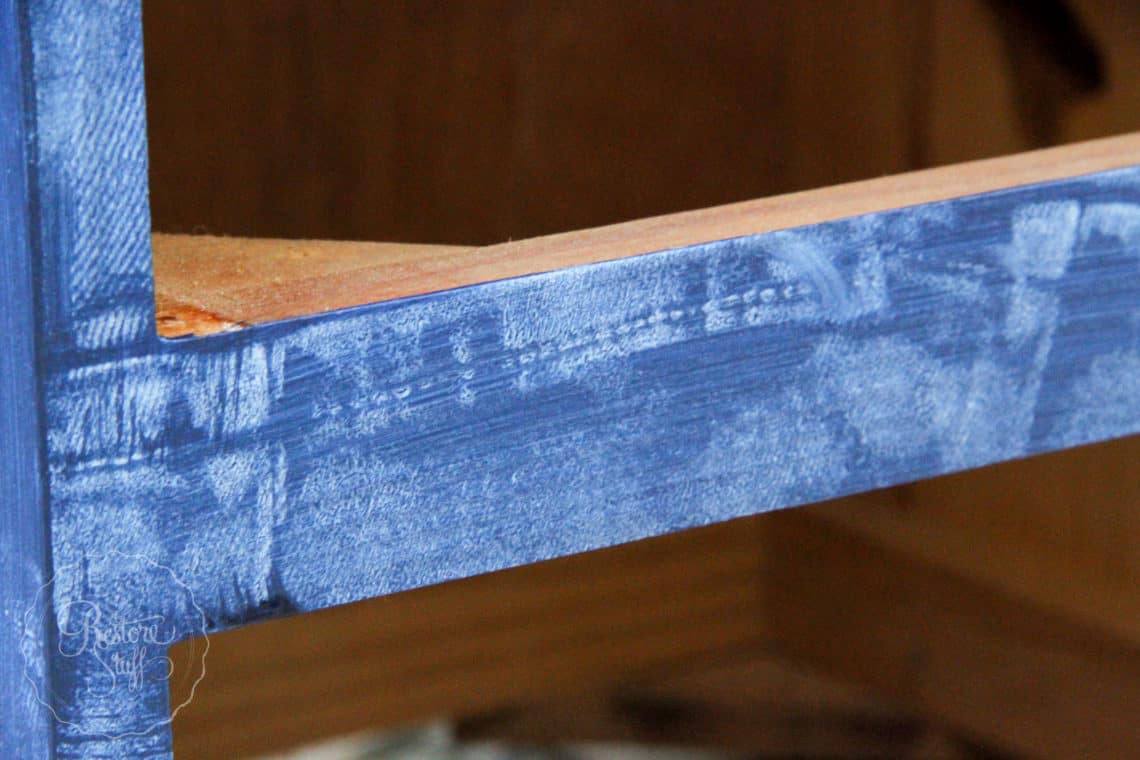
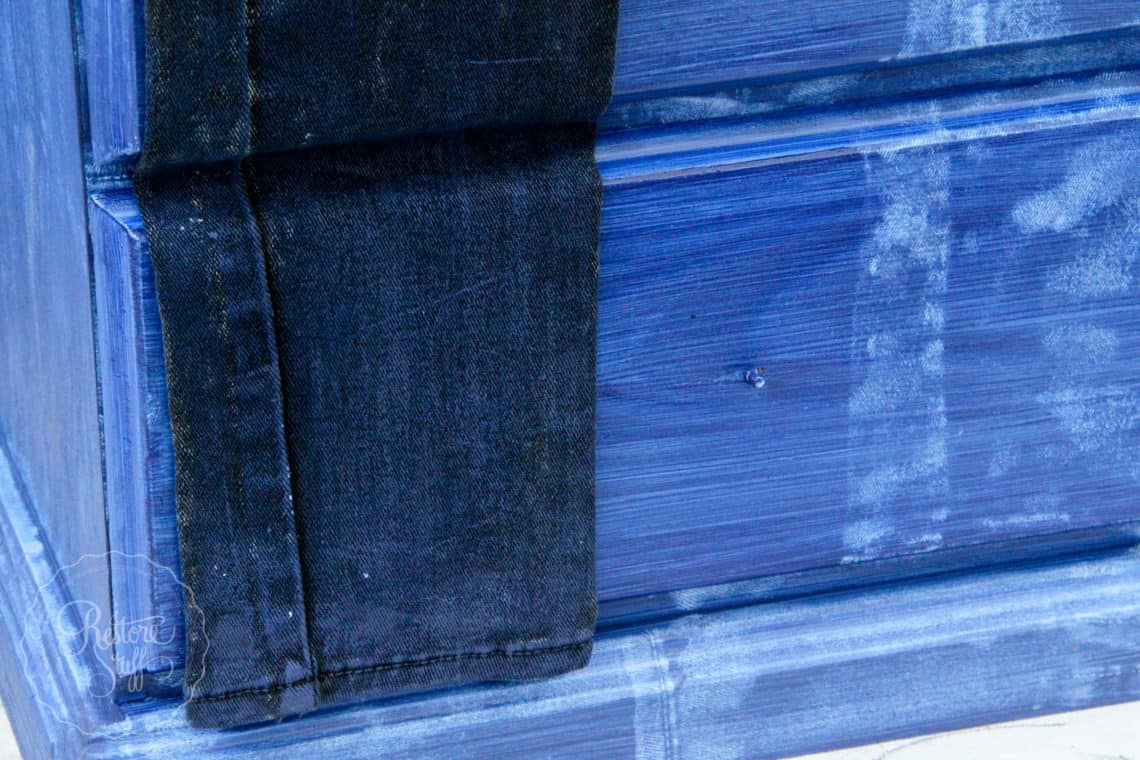
With the sides and front panels, I chose to press the denim jeans & seams into the paint creating the faux denim randomly as a denim textured finish.

 After the sides and front seams are done, the top of the table should be dried,
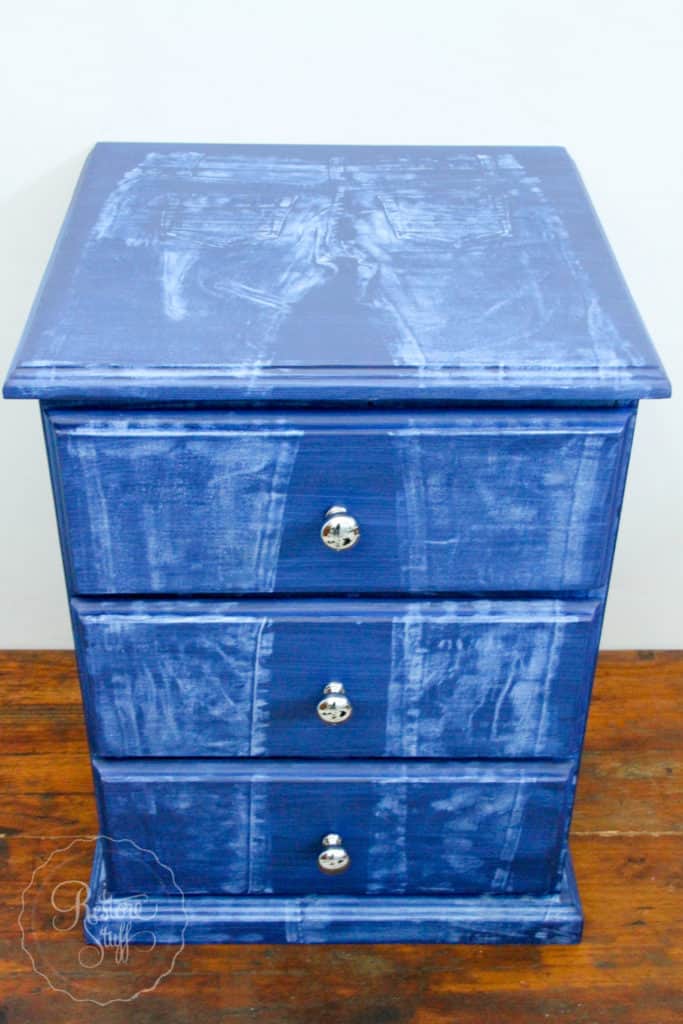
 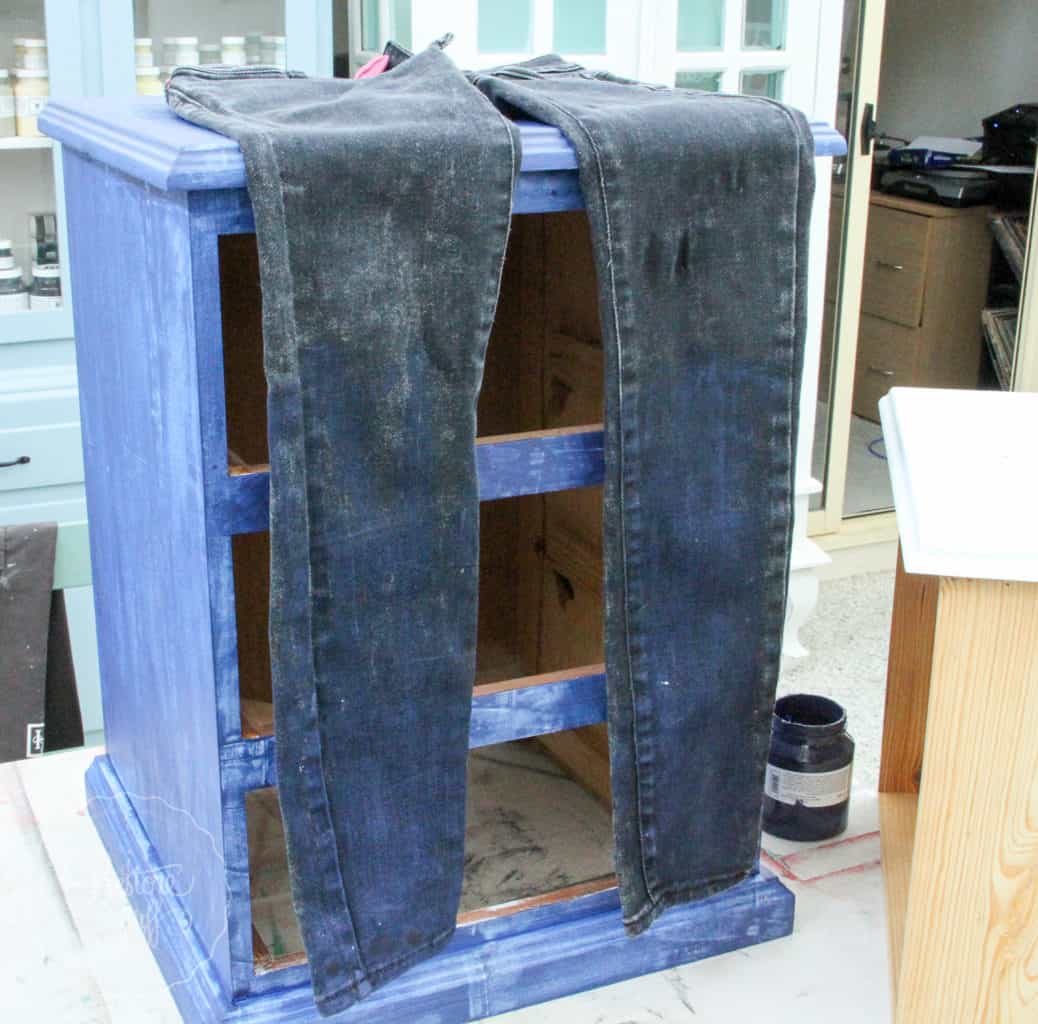 Paint the first drawer, then lay the jeans legs down on the drawer, pressing them into the paint.
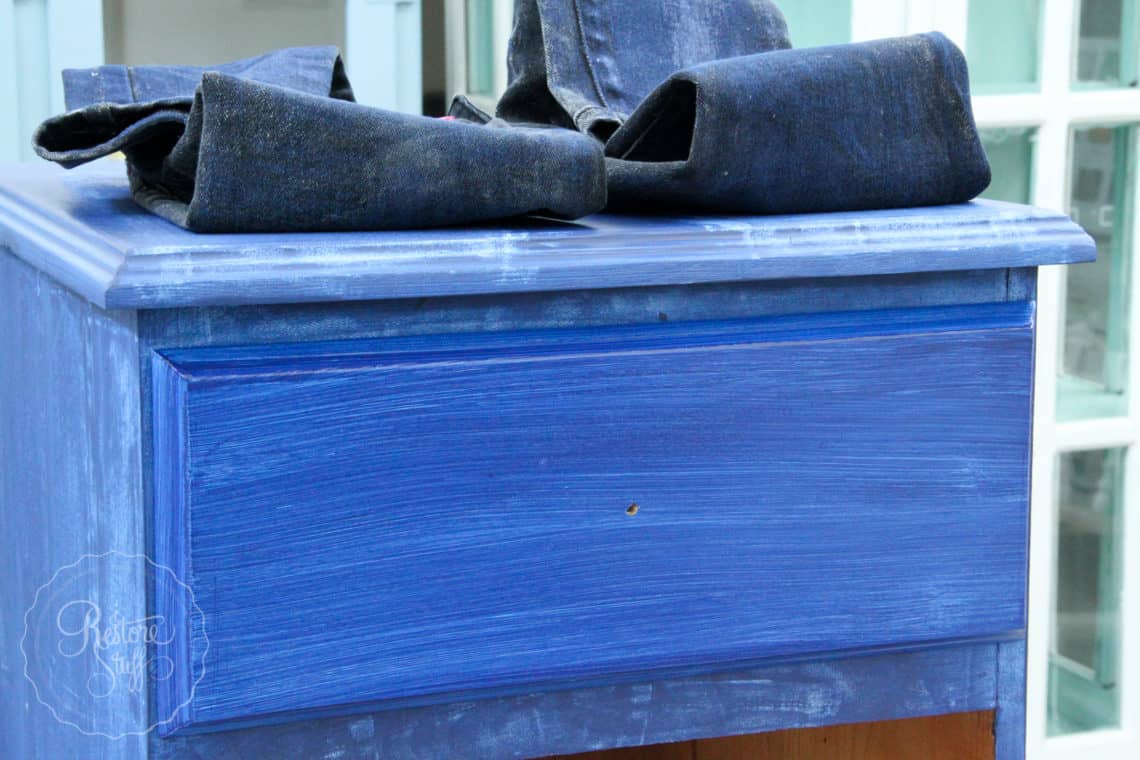
Continue with the second and third drawers.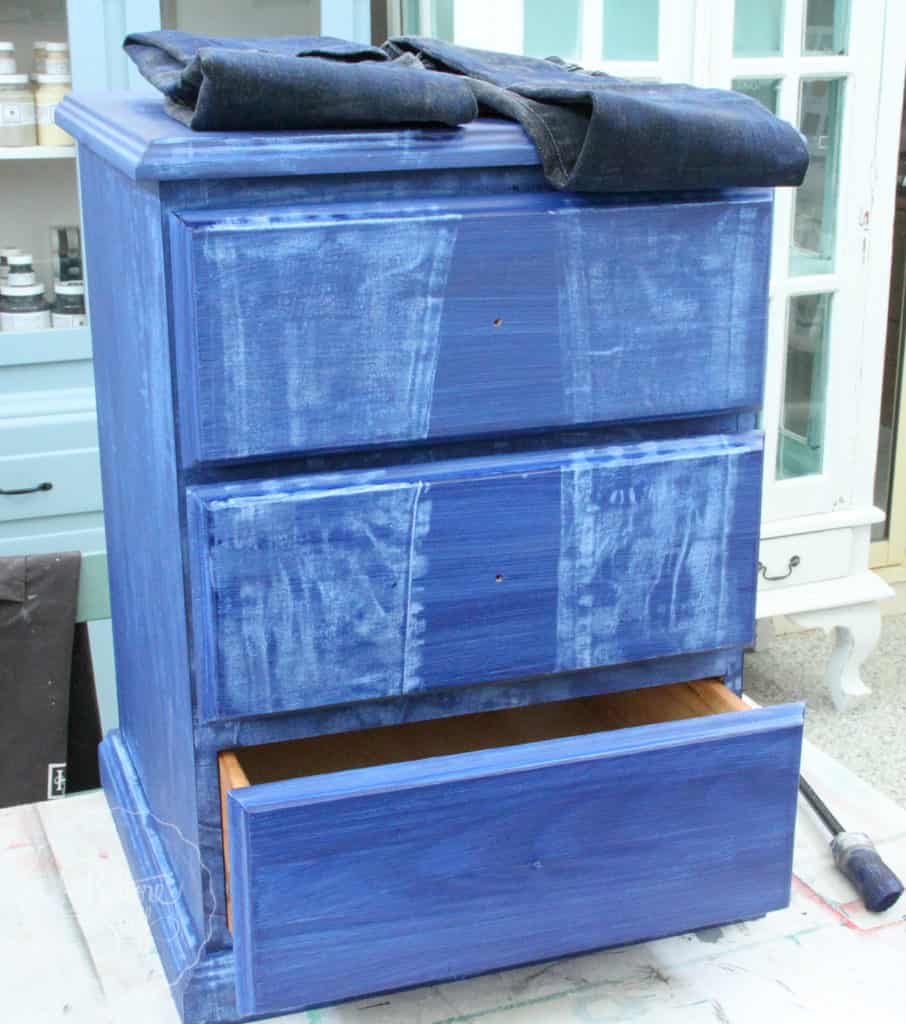
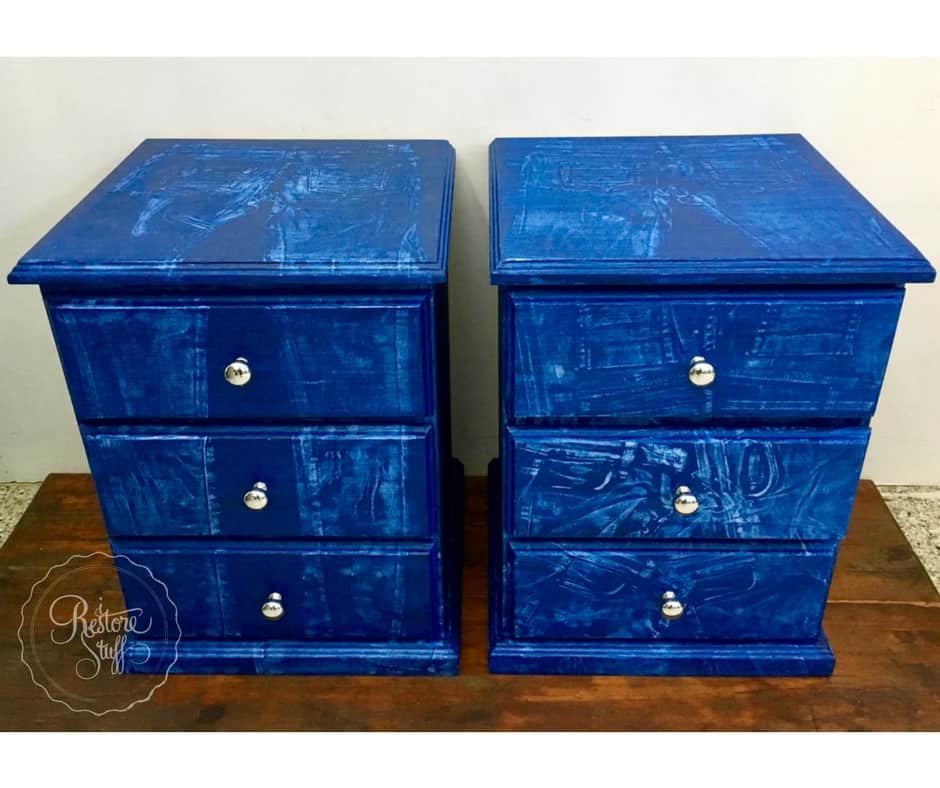
I kept the silver knobs that these drawers came with since I figured they were reminiscent of silver jeans buttons, albeit very large ones. 


More Possibilities? Let’s Brainstorm!
There are so many possibilities with this technique, which I first learned via Fiona Debell, Furniture Painting Workshop specialist. Here are some more options/ideas:
- You don’t have to make the jeans hang down over the drawers, for example, you can use the same random pressing technique I used on the sides of the drawers, for all over the entire piece.
- You could use a different colour paint – imagine black denim, white wash pale blue denim, red denim!
- What about a different base colour? What would you use?
- Create a sign board for hanging hooks using a faux denim background.
- Find an old worn out pair of your favourite jeans brand. Press in that logo on the label for a branded imprint. Remember this would turn out in reverse, so I’m not sure how you’d create the logo the right way around. Any ideas?
I’d love to hear any other ideas you come up with?
**I’ve just completed the second bedside table, and showed the step by step process LIVE on Facebook this week.