
The Secret of Sandstone Texture
I have mentioned Fusion Mineral Paint’s Textured mediums before, but I have mainly used their Smooth Pearl Embossing Paste for raised stenciling. Today I’m going to show you a super easy way of transforming an ordinary plant pot into a faux concrete pot using the Sandstone Texture.
If you Google “concrete pot” you’ll see how ‘on trend’ these are at the moment and the kind of look I had going on in my head when I thought of using Sandstone texture to create this cement or concrete look for this old paint splattered, blue terracotta pot.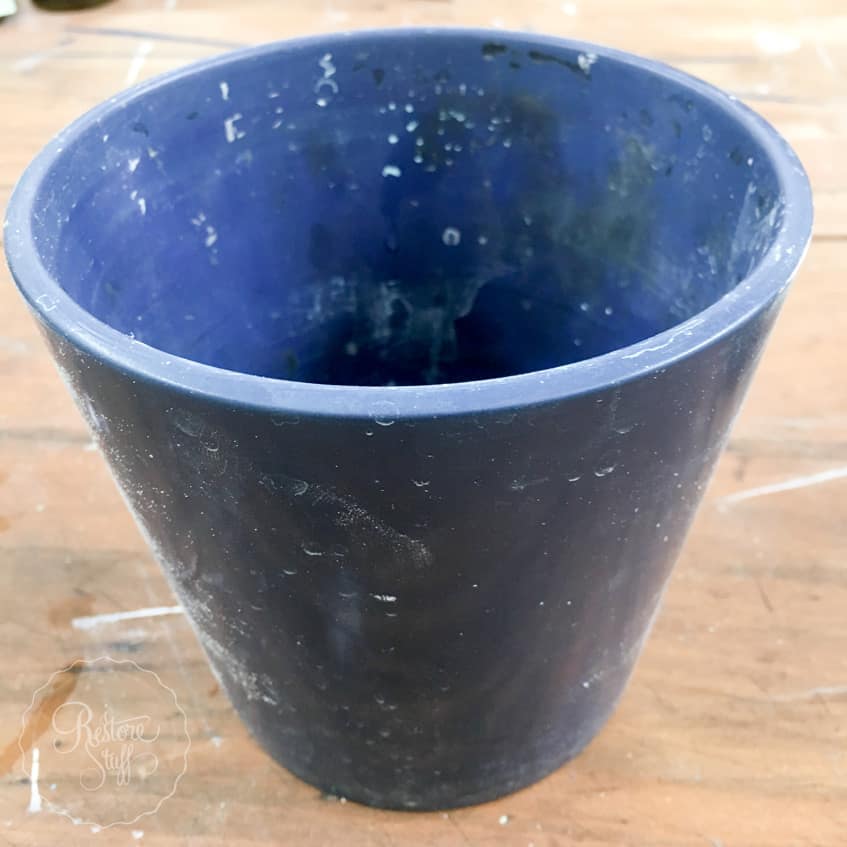
Here’s what you’ll need:

- A plant pot – can be ordinary terracotta. See the one I used above? It was a pot I was using for washing my paint brushes. It is painted, but I just roughed up the surface with some sandpaper and it’s good to go.
- Fusion’s Sandstone Texture medium.
- Paint for faux concrete – this ideally needs to be a grey concrete colour, such as Fusion’s Soapstone or Little Lamb
- Paint for colour on base – this can be any contrasting colour. For this example, I’m using Casement (white), but imagine how pretty some of our pastel shades would look? or Fusion’s Metallics?
- Paint brush
Step One
For the pot I painted, I used approx. 1 Tablespoon of Sandstone Texture mixed with approx 1 tablespoon of Soapstone (grey) colour paint.
 Mix until combined well.
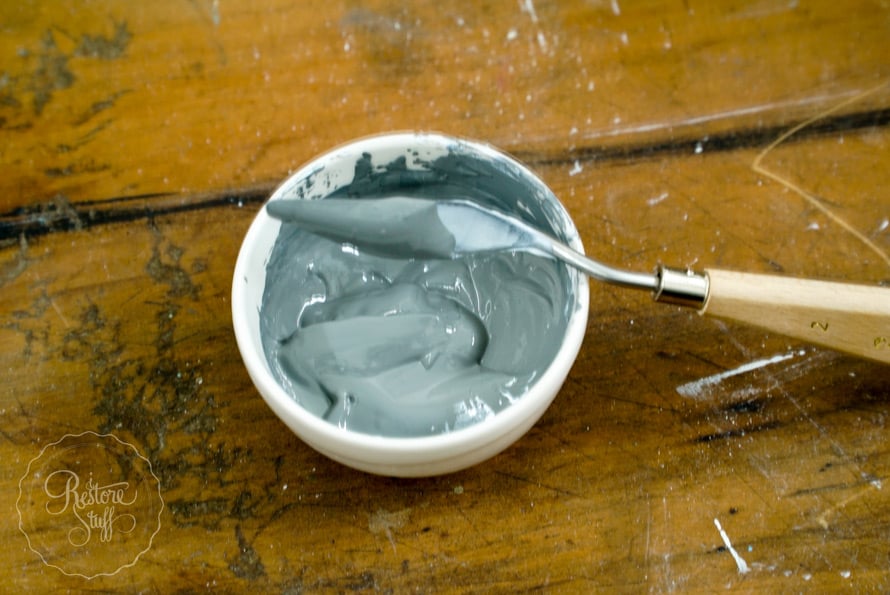
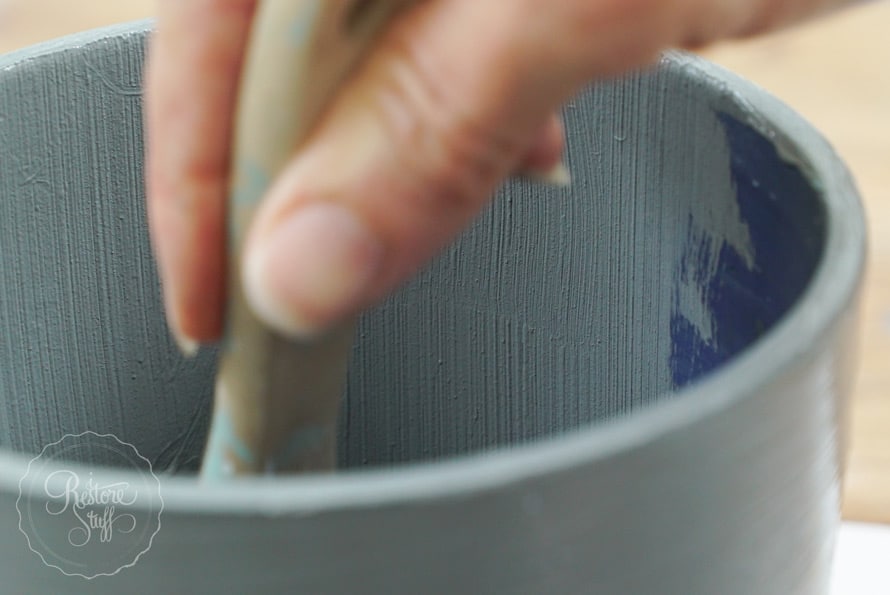
Step Two
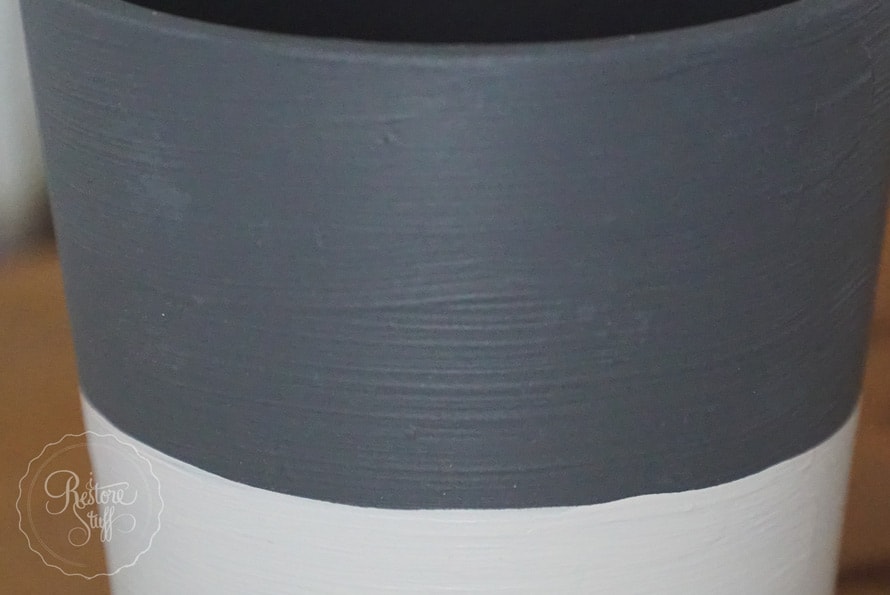
Using your paint brush, paint the Sandstone texture mixture onto the pot. I brushed around the width of the pot, keeping the brush strokes even around the pot for a textured look. The sandstone will feel gritty but should still paint fairly smoothly around your pot without lumps.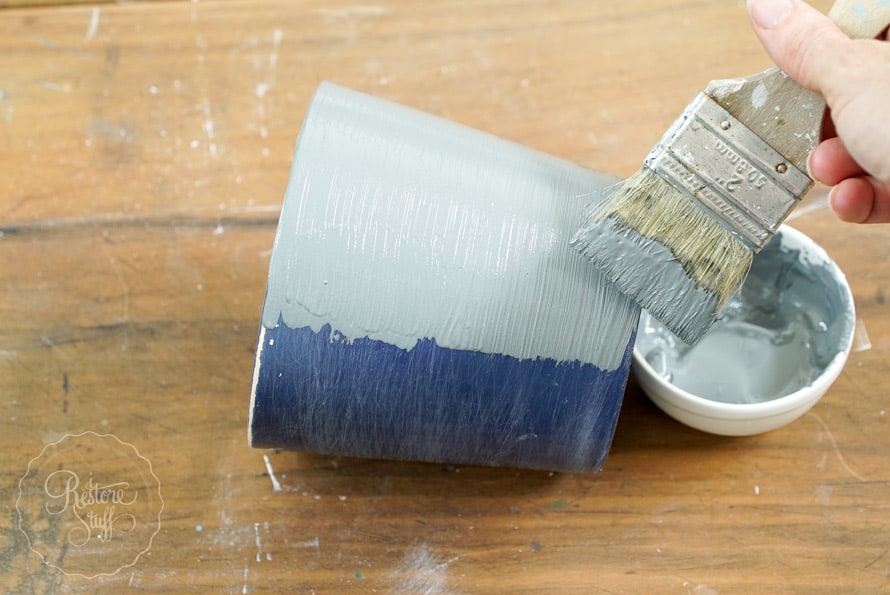
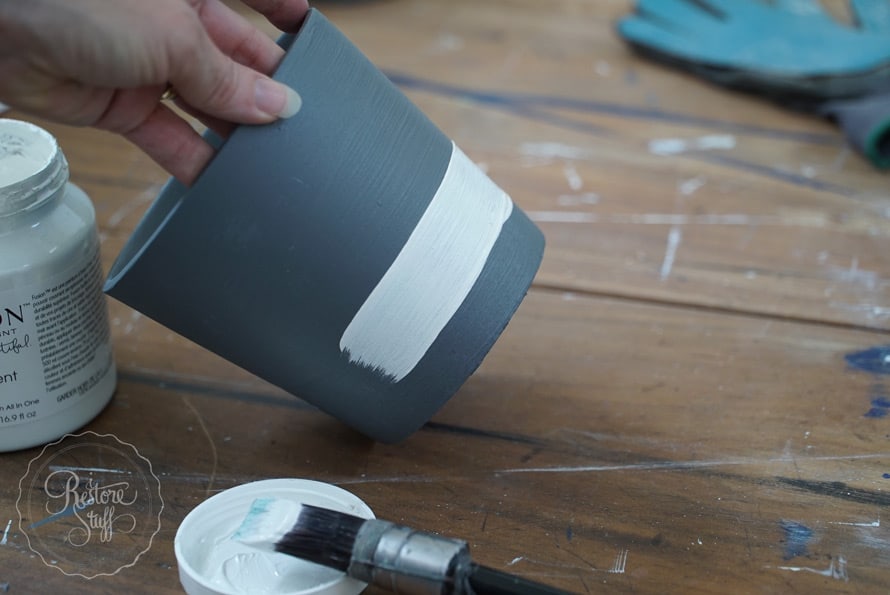
Step Three
When your faux concrete layer is finished – yes go ahead and feel it, doesn’t it feel like a real cement surface? – you are now ready for painting the base of your pot.
Select your contrasting colour or metallic paint.
If you like, you can use painters tape to mark where you want to paint up to. I did this free hand to give more of a “hand made” look.

 Don’t forget to paint the base of your pot.
You may need two or three coats of this coloured layer to cover well.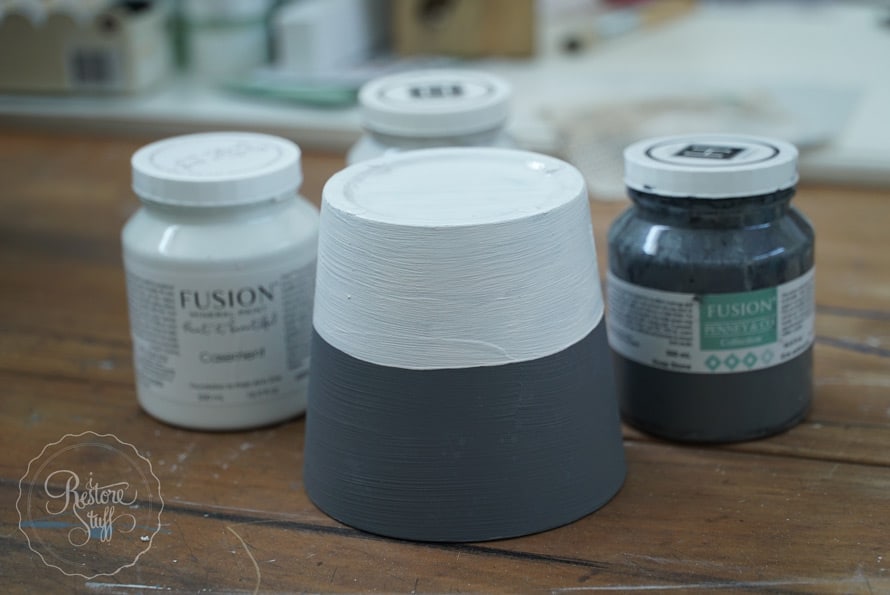
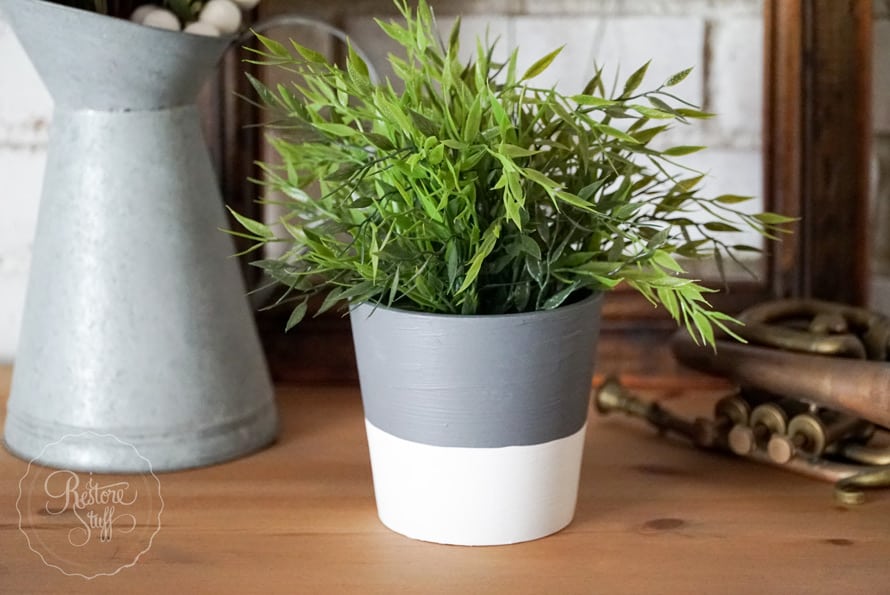
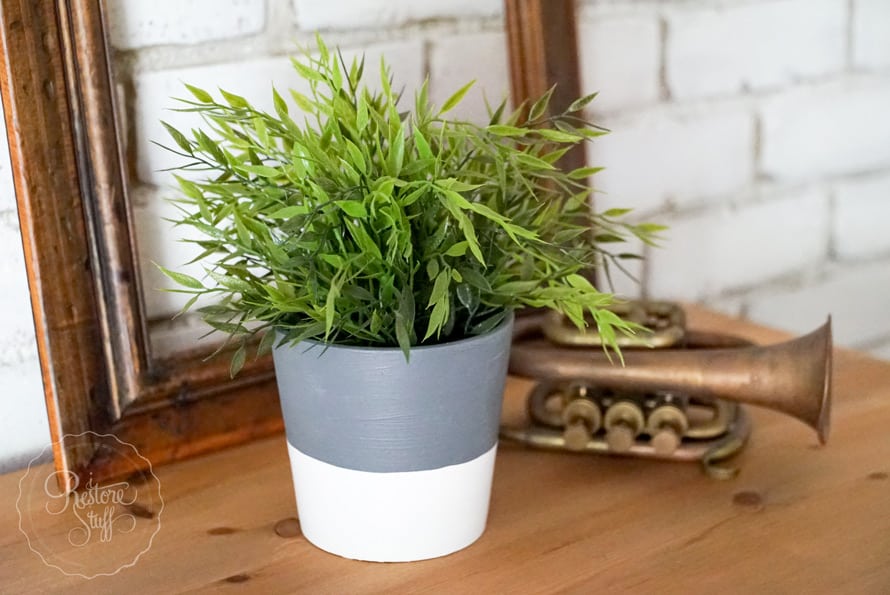
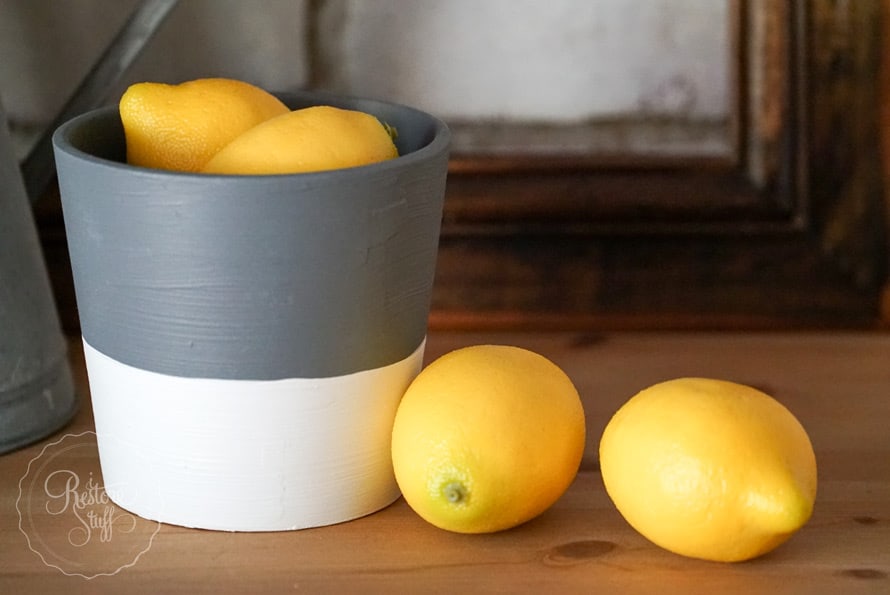
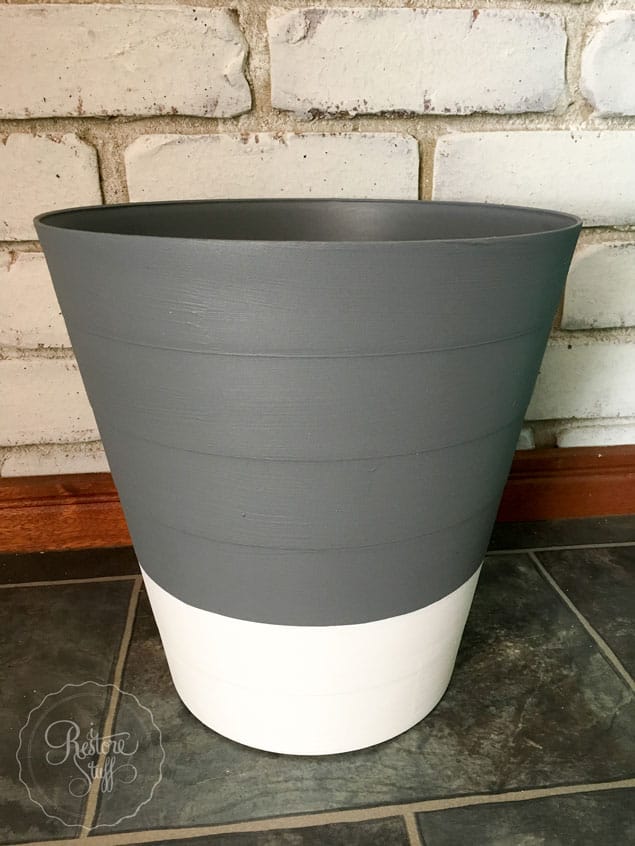
Finished!
And there you have it! Three easy steps to creating your own faux concrete planter pot, ready to add to your home decor.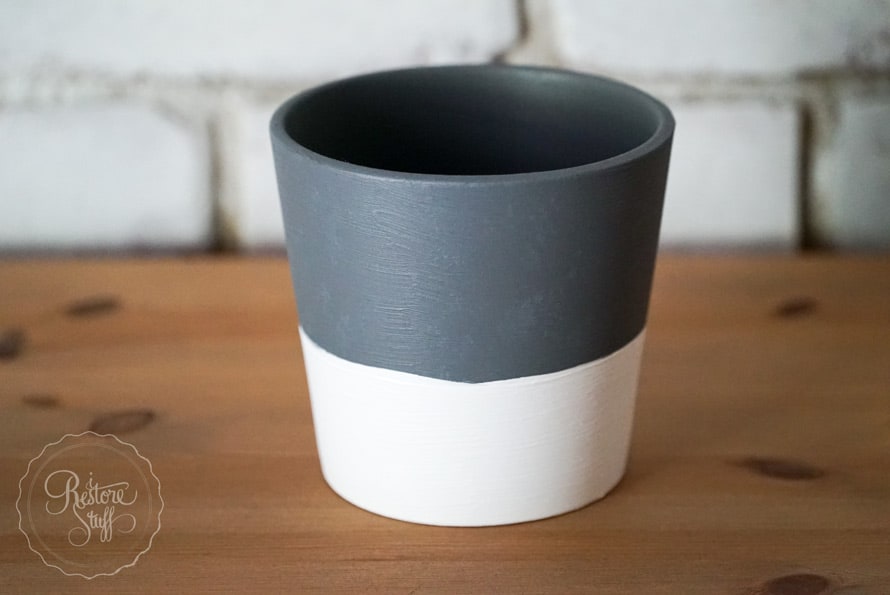

But wait, there’s more …
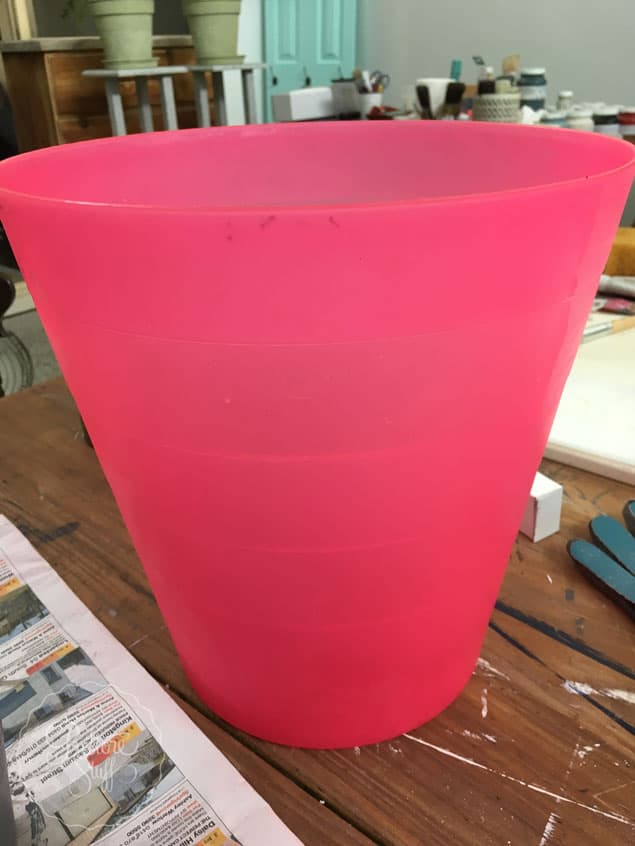
I couldn’t help myself, and since I had more paint and texture waiting right there … I picked up my daughter’s waste paper bin from her room, and … well, let’s just say it’s NOT hot pink anymore!
I have linked this post here:

If you’re in Australia, all of the products used in this tutorial are available right here on our website at the links provided throughout this post. We ship Australia wide for a flat rate of $12 shipping fee.
If you are local to the Brisbane area, check out our Workshops we have from time to time HERE.
You can also sign up for our newsletter and receive my weekly-ish blog posts here:

Save this post to your Pinterest Board.