
Furniture Painting 101
Let’s look at the basics of painting furniture using Fusion Mineral Paint in this easy to follow blog post tutorial. If you are new to painting furniture, this is a good place to start. Find a piece that you want to “practice” on, and let’s get started.
When it comes to the basics of painting furniture, there are SO many variables!
From the type of wood, to the painted or varnished surface, there can be many differences in the types of furniture you’ll bring home to your hoard collection of precious paintable pieces! From antiques from places like Camp Hill Antique Centre here in Brisbane, or hand-me-downs from your family, there is always a way you can do up your furniture to make it looking as good as new.
If you need a guide to some of the things to look for when selecting possible pieces to flip or makeover, I’ve posted about that in “Seven Tips on Selecting Quality Restorable Furniture“.
And if you want to know, here are my Top 10 Places to Find Furniture to Restore.
I found this example piece below on Facebook’s Marketplace in a local buy/swap/sell page.
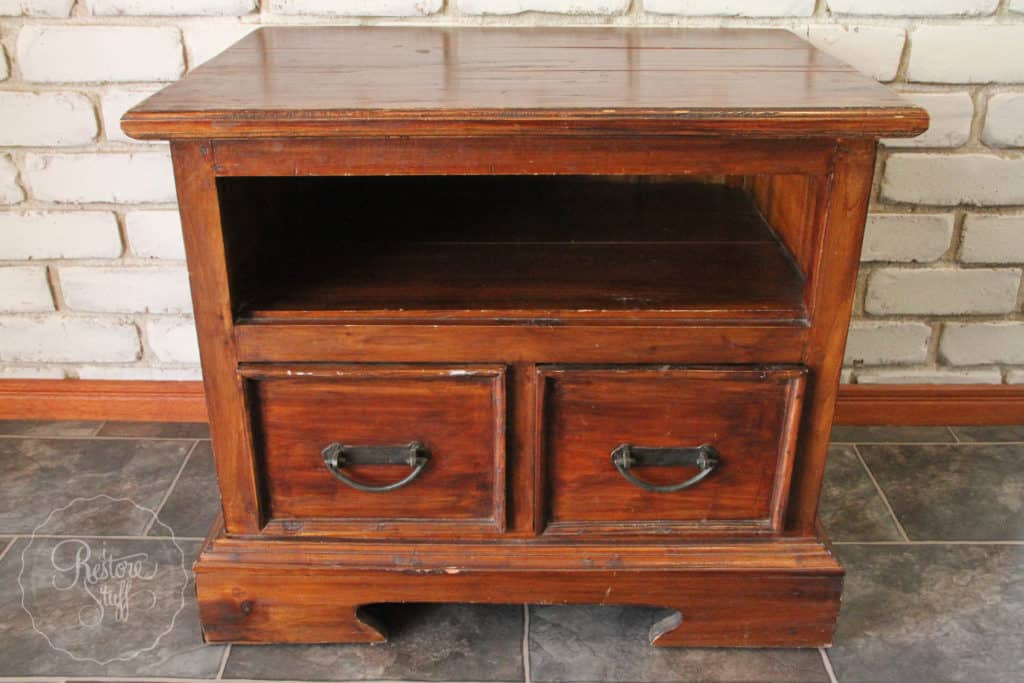 It is kinda chunky, and looks to be one of the many Balinese type of pieces that are pretty common in our area.
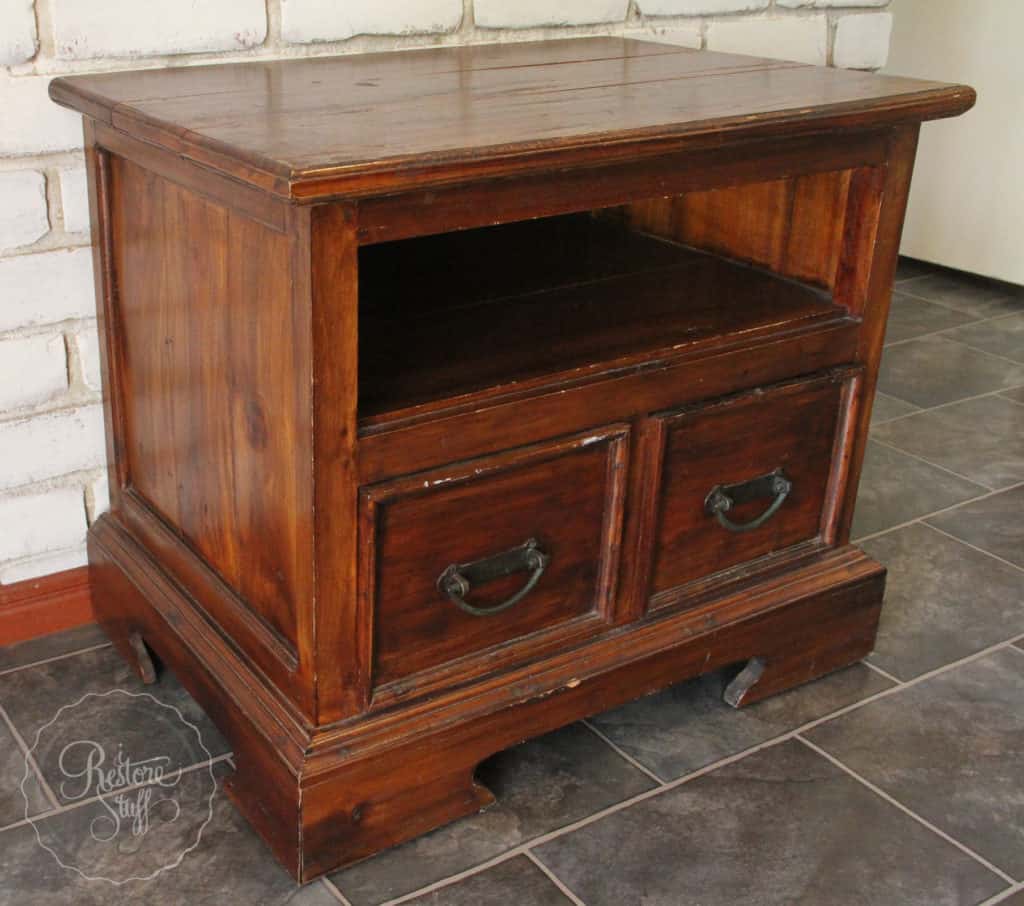
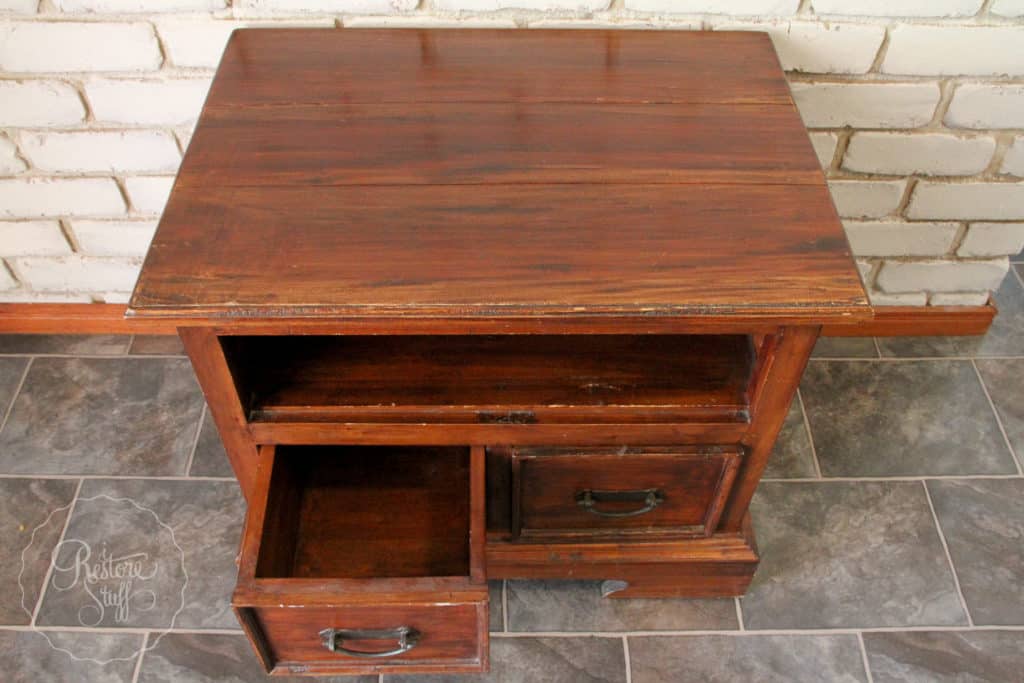
There are some hesitations with these kind of pieces as they are notorious for rustic rough wood finishes and the dreaded “bleed through” when it comes to painting them.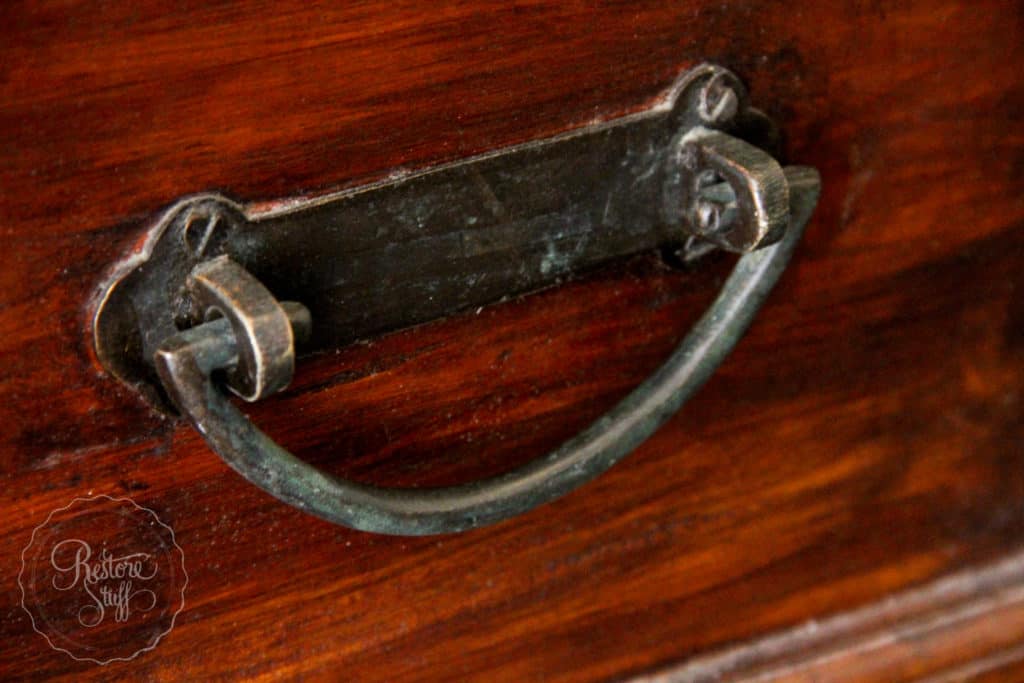 I was not going to let these fears deter me, so I plunged ahead and gave it just a light sanding all over with my SandiHands glove.
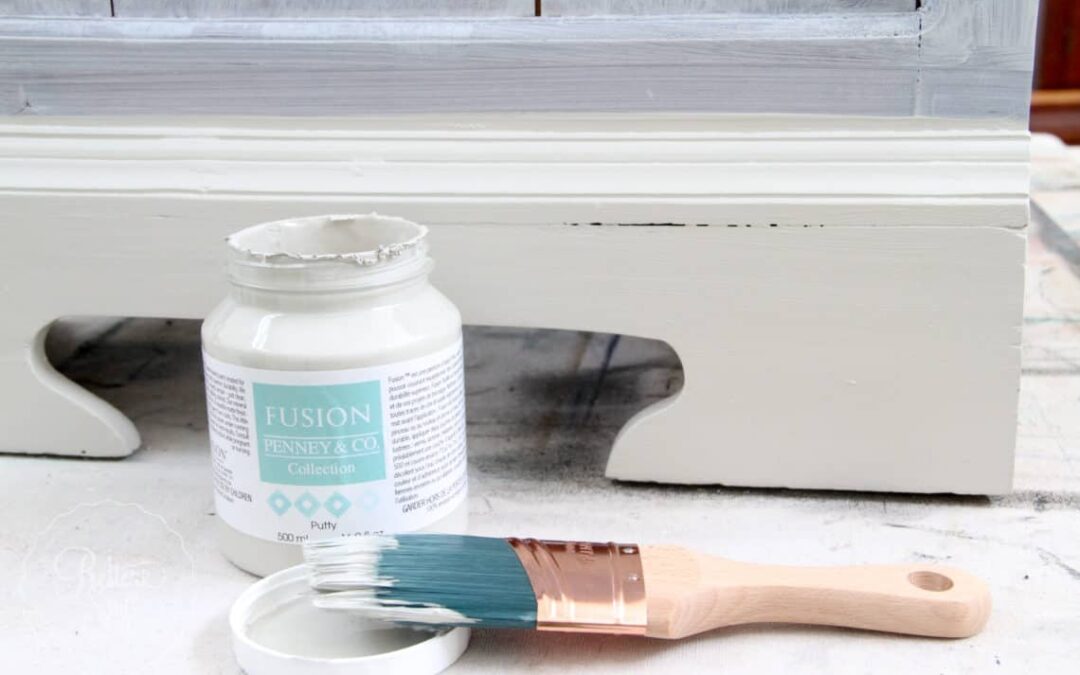
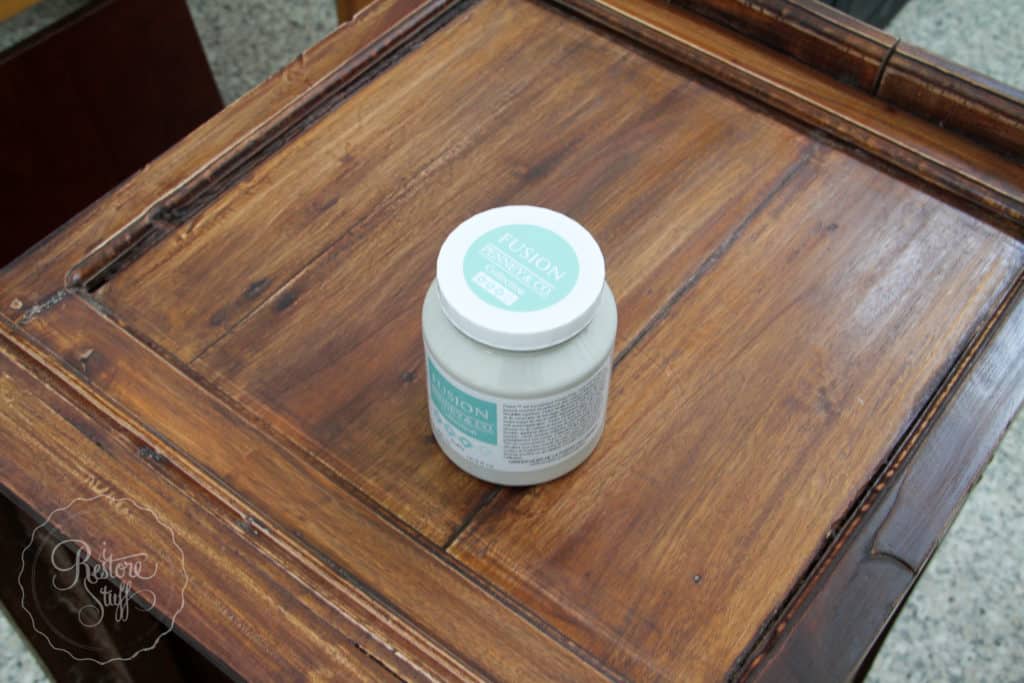
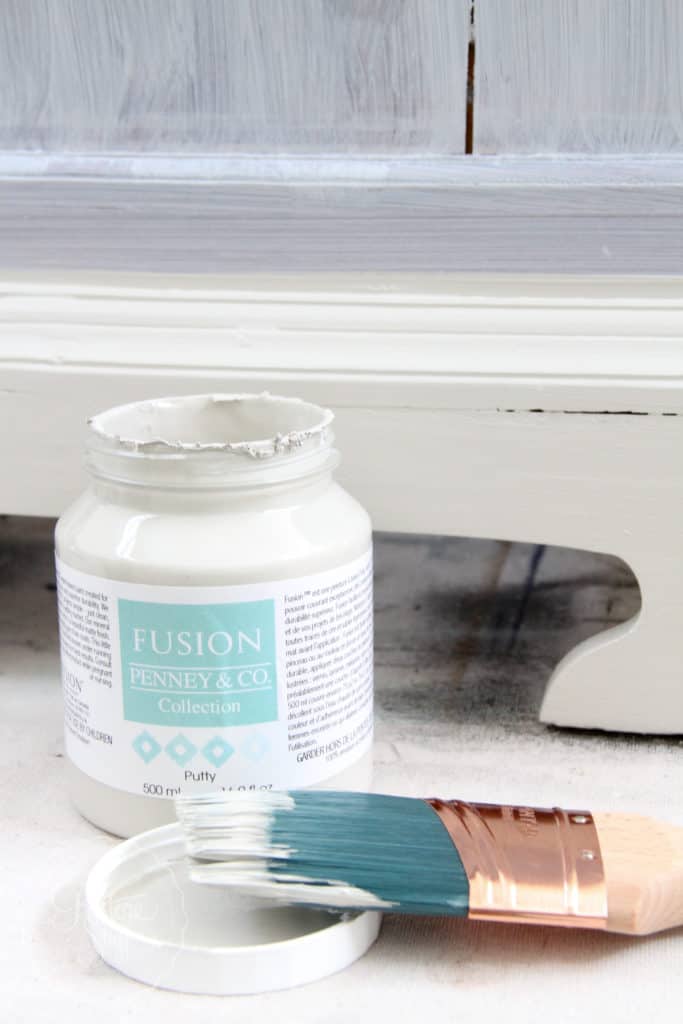
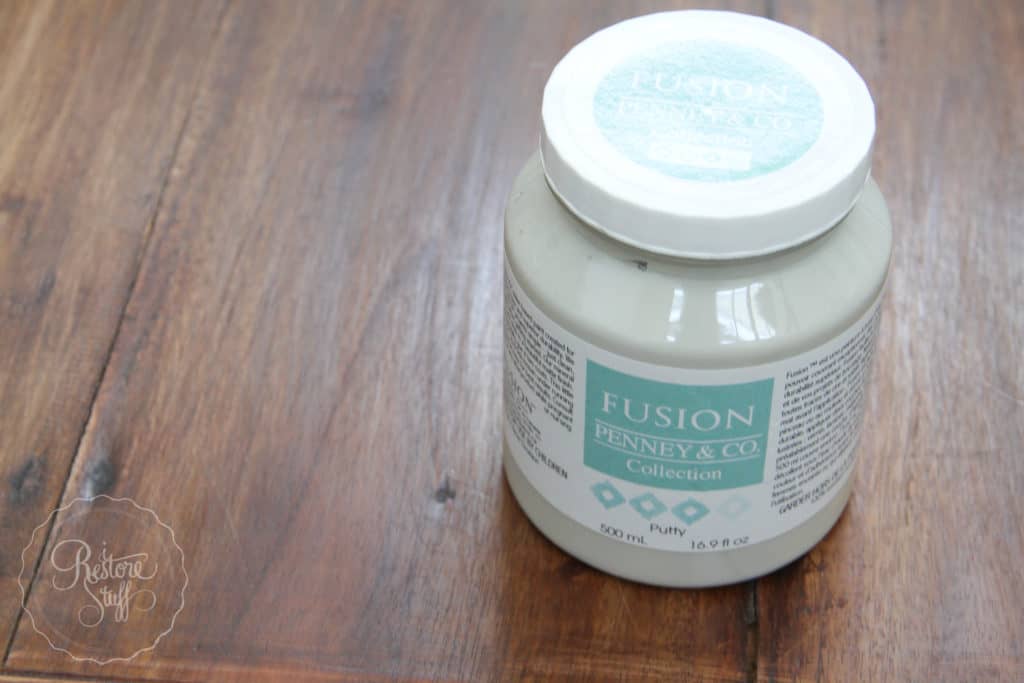 And I took out one of our colours in Fusion Mineral Paint range – Putty.
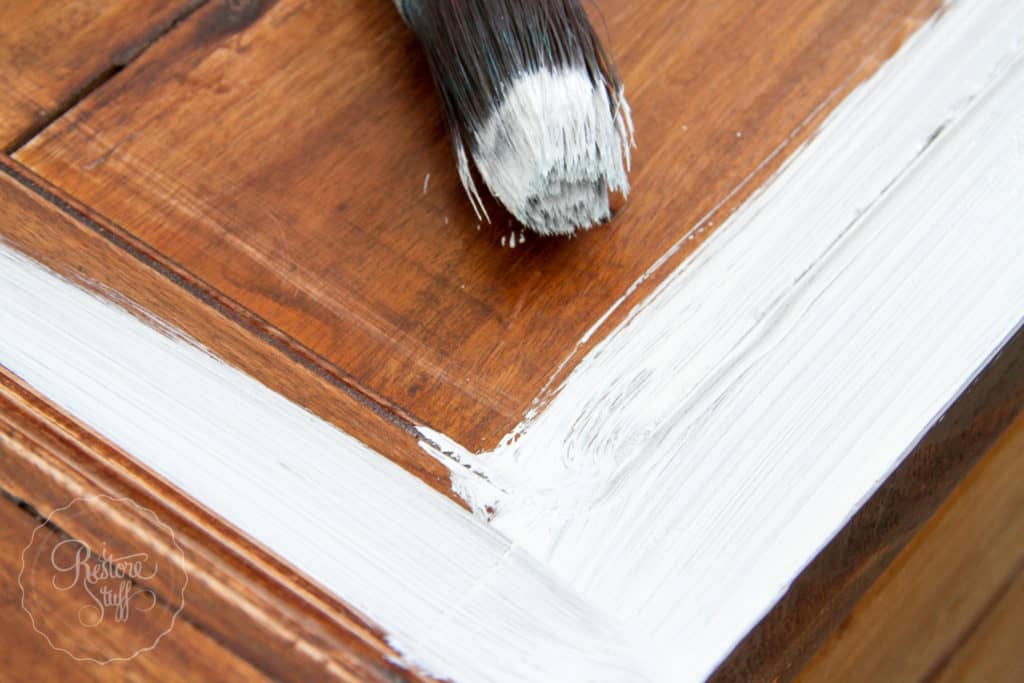
To start painting, I flipped the whole cupboard on its side. I love to work on a flat surface, and this enables me to do that.
 Before using the Putty colour, however, I used Fusion’s Concealer to do a base coat.
Using Fusion Mineral Paint Concealer
Concealer is fantastic to use for instances like this one, where you are wanting to go from a dark coloured wood or previous paint, to a light colour paint.
Fusion’s Concealer (no longer available in Australia) is a high quality acrylic, tinted with 100% recycled waste pigment.
It’s a neutral light grey, and since each batch is unique, tints will vary with production.
Concealer is half the price of the regular Fusion Paint colours, so using Concealer as a primer to change the colour easily, saves on your nice paint AND the environment.
NOTE: Concealer is NOT intended to block stains caused from certain types of wood or tannins that can appear occasionally when painting old furniture, often Balinese type timbers. This “bleed through” can only be blocked using product like Zinsser BIN for stain blockers.
 The Ugly First Coat
 The Ugly First Coat
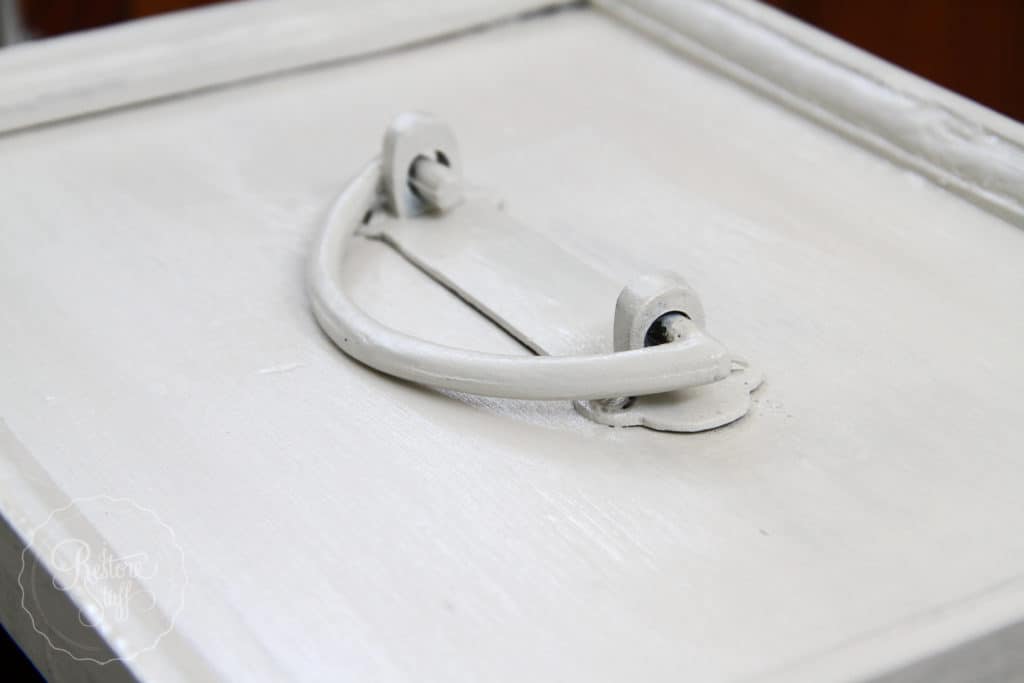
One of the basics of painting furniture is learning about this “ugly duckling” stage. If you’ve been painting furniture for a while, you will know this stage well. That moment when you think, “Oh wow, what have I done?” But this is indeed JUST the first coat, so believe me when I say, things get better!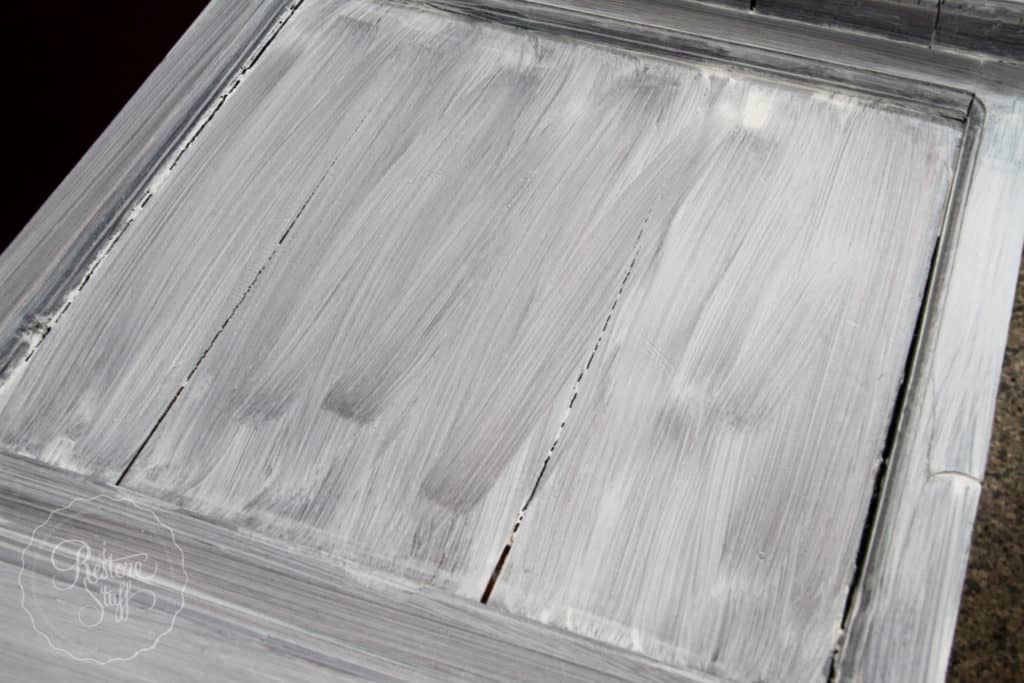 The handles on this were not going anywhere! I tried, and the screws started to “strip” so I quickly retreated and decided I was going for the whole rustic, shabby look right from the get go.
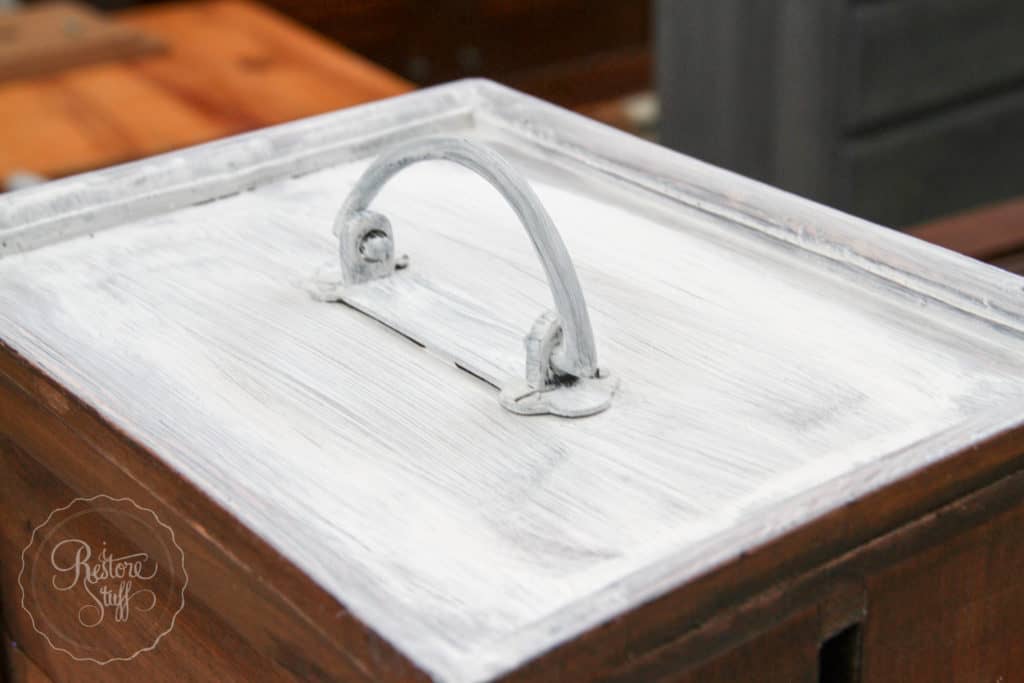
Things are looking pretty scary about now, but hang tight and everything is going to be alright!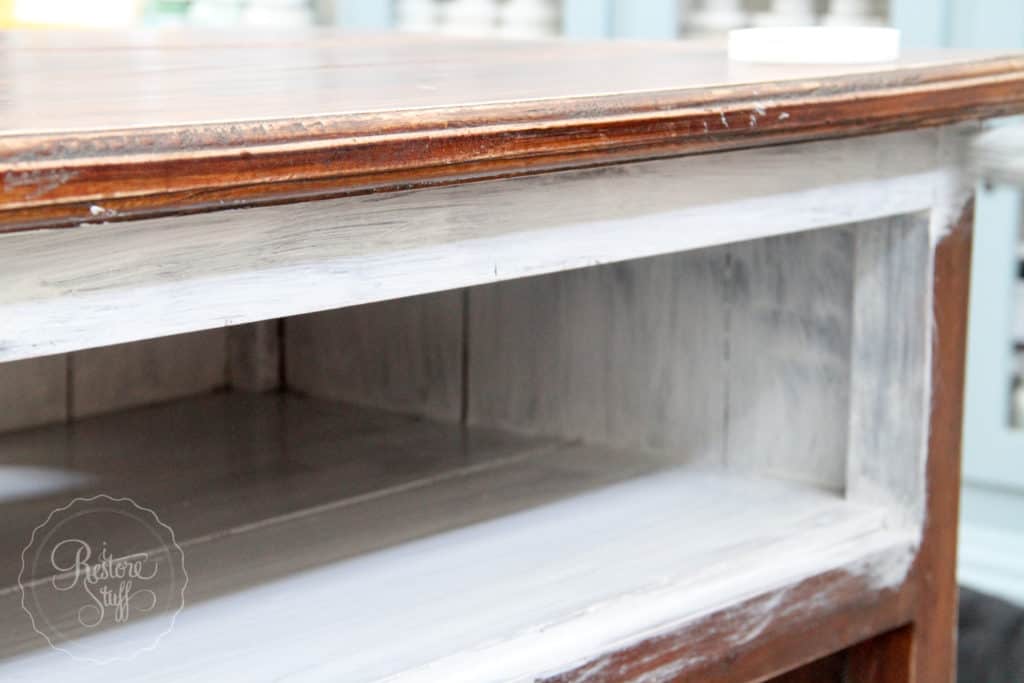
The Next Coat – Putty
Now for some real colour once the Concealer has totally dried – remember to leave the recommended 2-4 hours drying time between coats.
Then paint on your top coat of the colour of your choice – I used Putty from Fusion’s Michael Penney designer collection.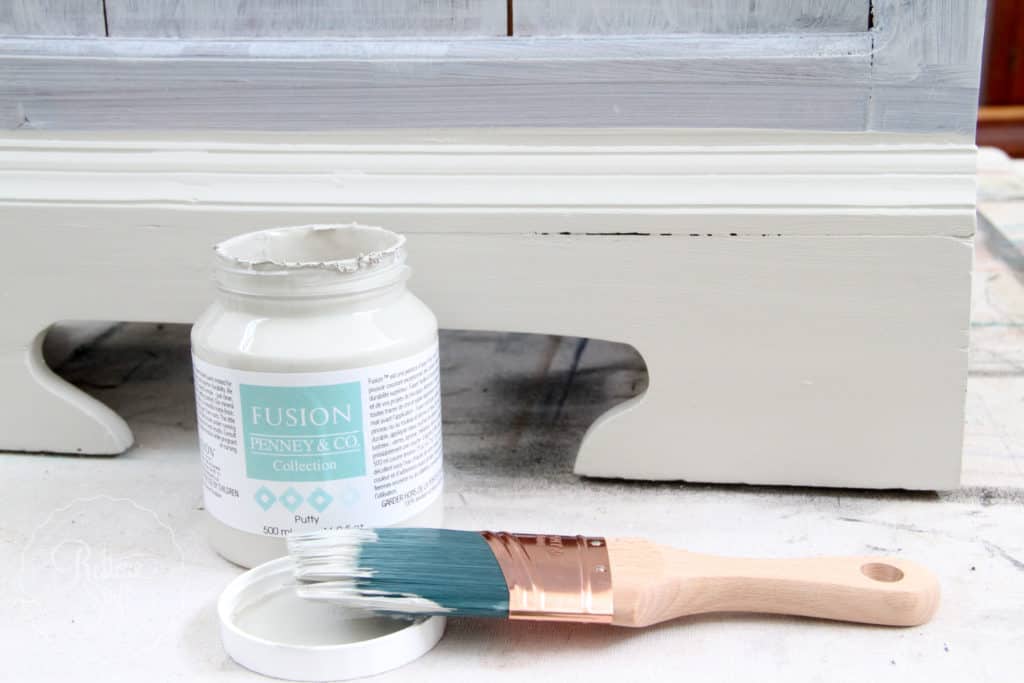
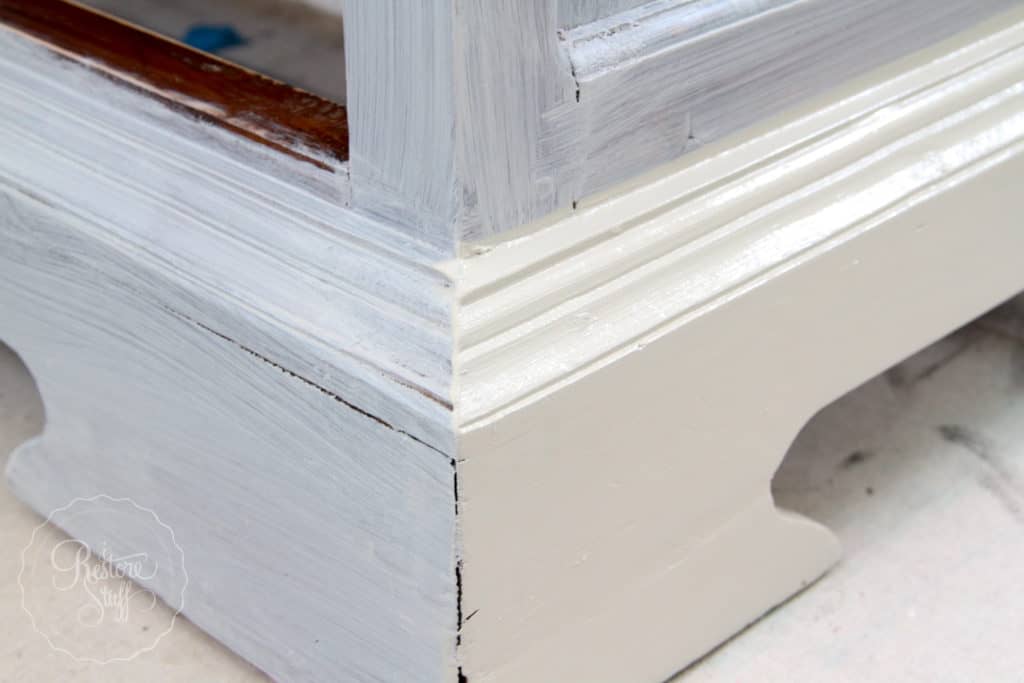
 Have a look at the coverage of this colour – pretty good with just one coat right?
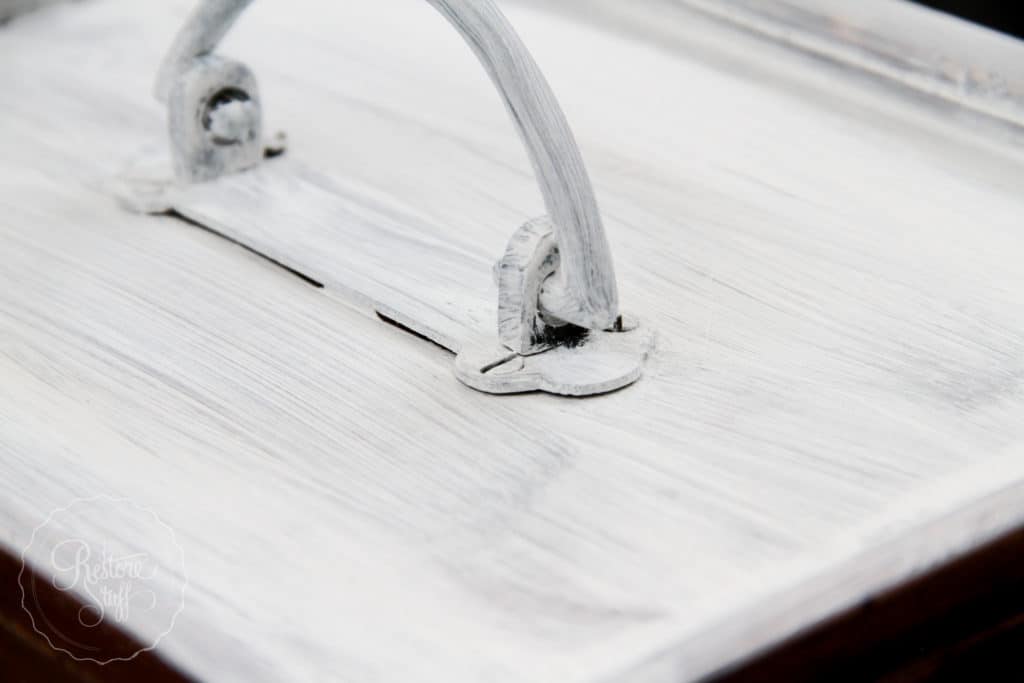
Yes, I did paint right over these handles. My intention is to sand back areas of this piece of furniture to show some of that dark wood, so if some of the paint comes away from the metal, I’m not too concerned, as that is the look I’m going for.
Fusion has great stickability though, so I will not be surprised if the paint stays put.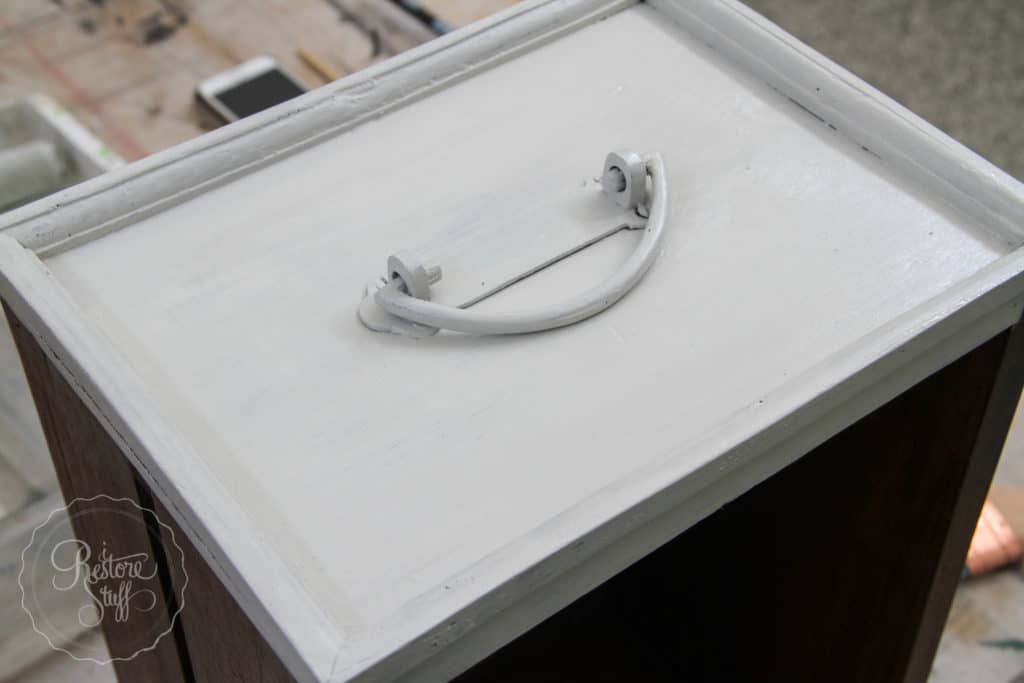
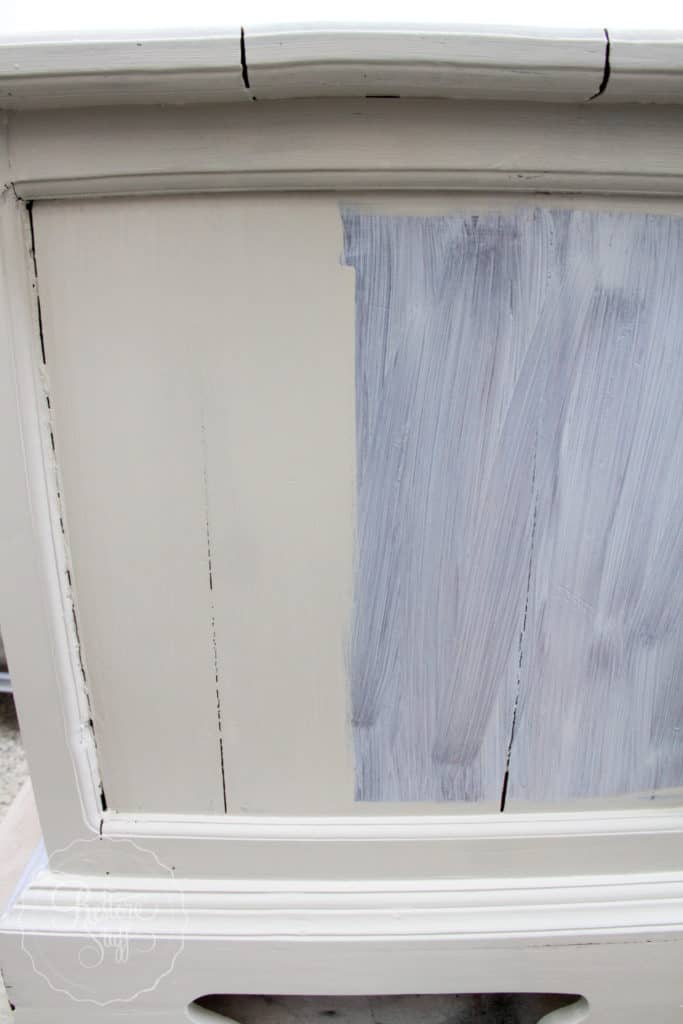
 Here’s another look at the difference between that first coat of Concealer and the 2nd coat, which is my top coat colour, Putty:
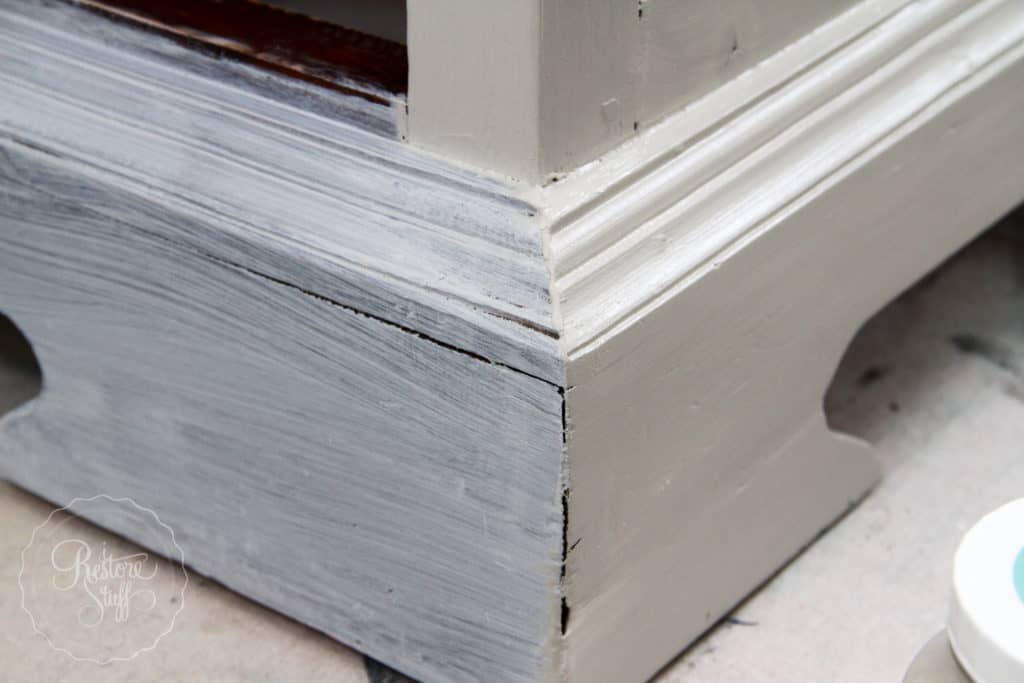 As the paint dries, you can see that it looks a little shadowy (below), but this colour all evens out upon drying.
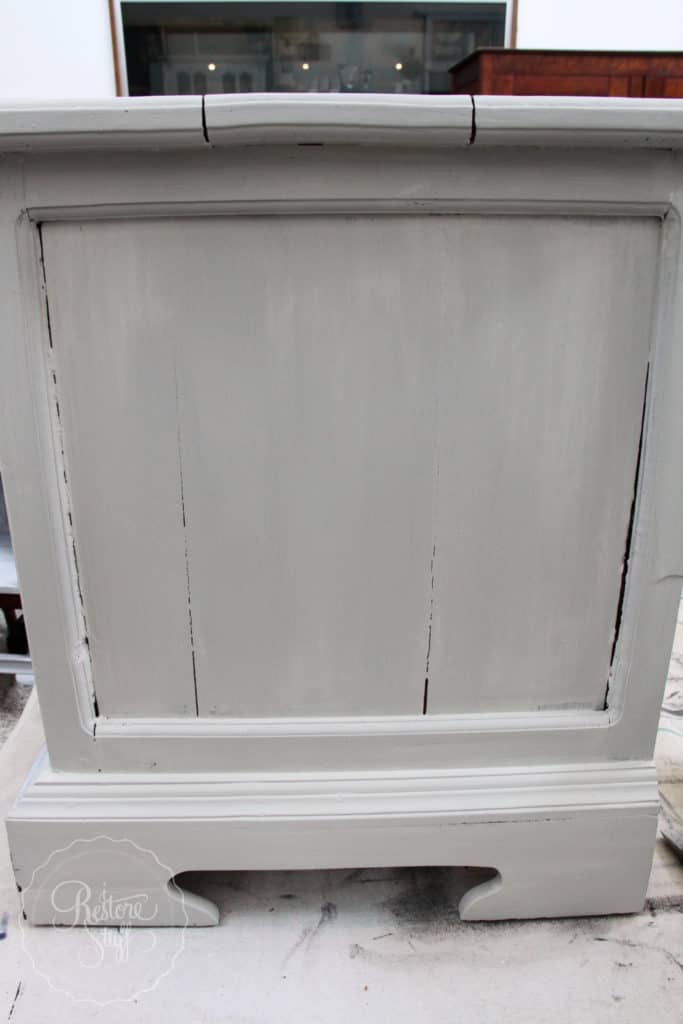 And this is where I’ll leave this project for now, and it looks a little like a crazy way of painting a project, but I am about to use this exact project for my Hometalk DIY Live on Facebook (*Note: this live has already been done & will be added to the end of this post)
I’ll be talking about: the basics of painting furniture using Fusion Mineral Paint to “paint it beautiful”; basic painting techniques like how to hold your paintbrush, using a dark wax to age a project, and so much more. Make sure you tune in and bring your painting questions!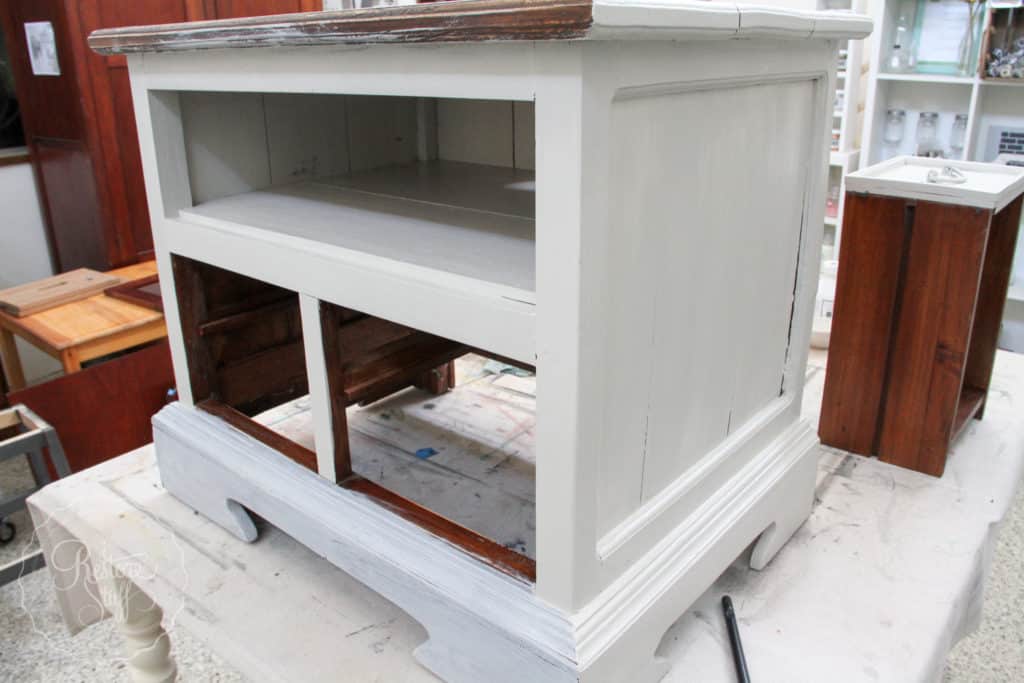
Hometalk DIY Facebook Live demo was filmed in December 2016. To see the replay and for more the next steps in this project, view Part 2 HERE.
See you there!
Sharon.