It all started with a boring mirror frame
Today’s post is a simple mirror frame makeover, but it’s such a dramatic one, that I wanted to show you just how easy it is to make something so plain and boring, look stunning! By the way – if you’re a new subscriber to my blog – WELCOME! So glad you joined us. Please stick around and enjoy some of the recent posts in our Wood Finishes series and more!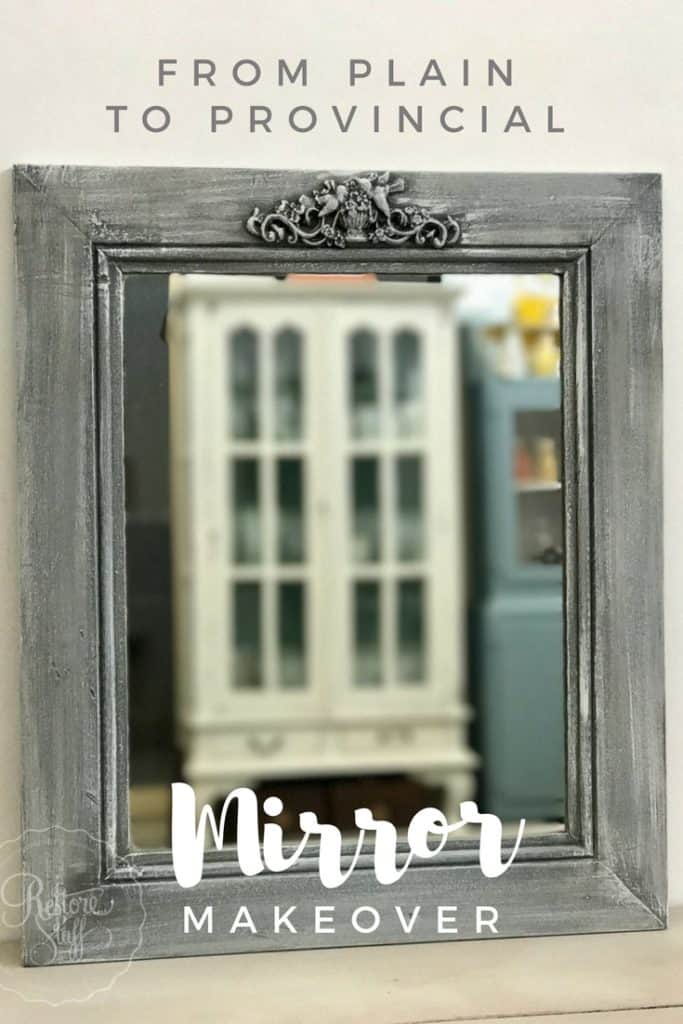
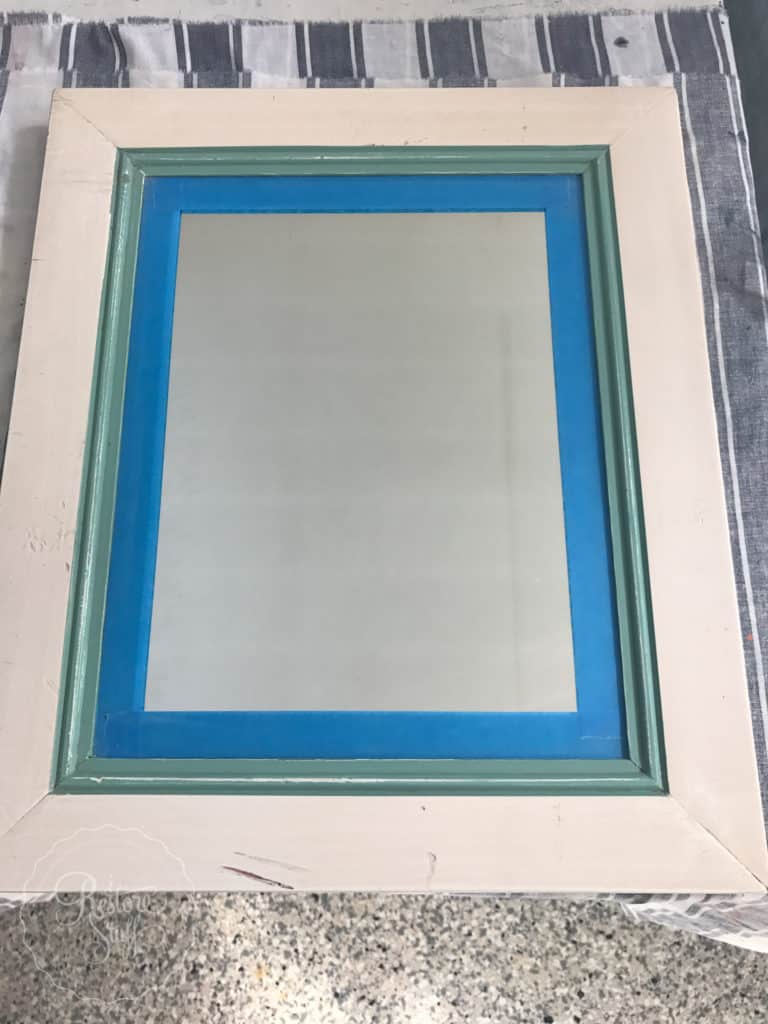
My dad came over to drop mum to help at one of my workshops one Saturday morning and brought along this old mirror that he’d come across, thinking I might like to do something with it. It was quite old, had come apart at one of the corners, which had to be glued together (I used ordinary wood glue). The paint seemed very old and had a glossy surface, in this lovely cream and green combo.
Prep is Important
To prep this surface I cleaned the painted surface (you can use Sugar Soap or TSP) and then sanded using about a 120 grit (I use Sandi Hands Sanding gloves). Normally I would have removed the mirror, but in this case, a previous owner had totally glued that sucker in there and it wasn’t about to go anywhere! After sanding, give another wipe over with a damp cloth. Tape your mirror if you can’t remove it, like me. You can use any painters tape to do this.
Adding some Bling!
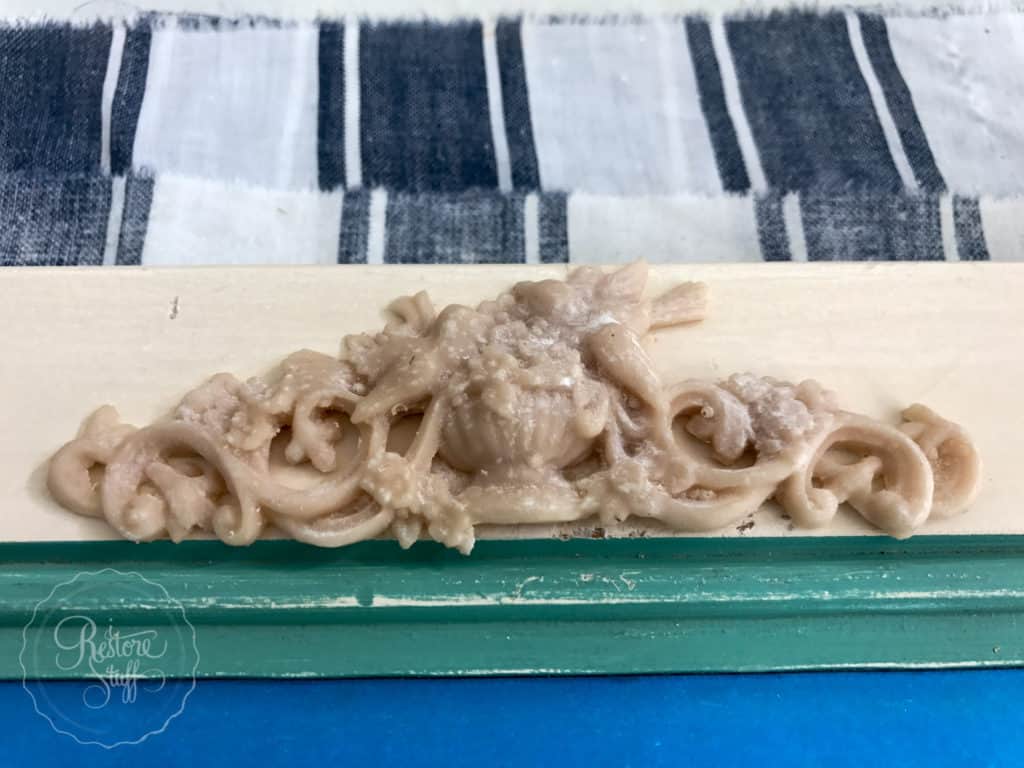
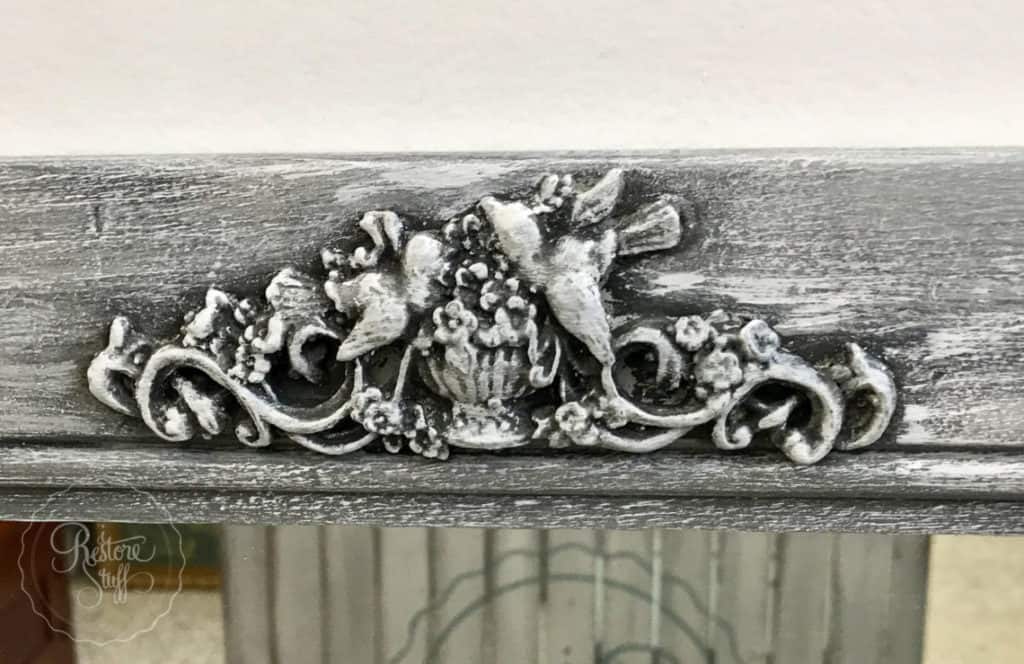
I was gifted some beautiful appliques by the lovely Leanne at Tres Jolie Home, where she manufactures these resin appliques for adding to your furniture and home. So I chose this pretty little French Provincial looking applique with adorable little birds perched in there. Leanne’s appliques come with full instructions – which are basically to adhere them to your piece using a strong glue like Liquid Nails (at Bunnings in Aus) or here’s an Amazon affiliate link if you’re in the USA: Liquid Nails.
You’ll need to make sure it has dried before painting.
Painting with layered effect
Base Colour:
I used Old World Paint (a chalk type paint) in Castle Grey and covered all over including the applique in two even coats. I probably could’ve gotten away with one, as Old World chalk and clay paint has excellent coverage, but I went for two to be sure for the added protection over that old paint. Note: To find out the difference between Chalk Paint, Milk Paint and Fusion Mineral Paint, I have a detailed post HERE which includes a printable PDF checklist.
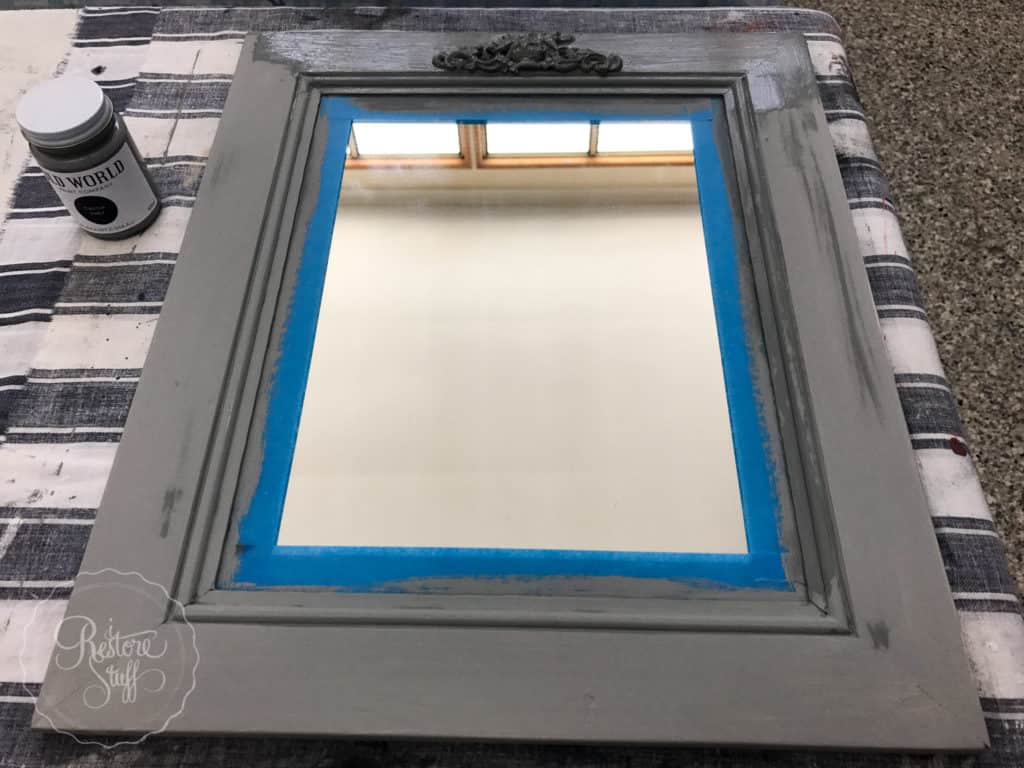
Old World Paint – Castle Grey: note some areas are still drying in this pic.
Glaze Layer:
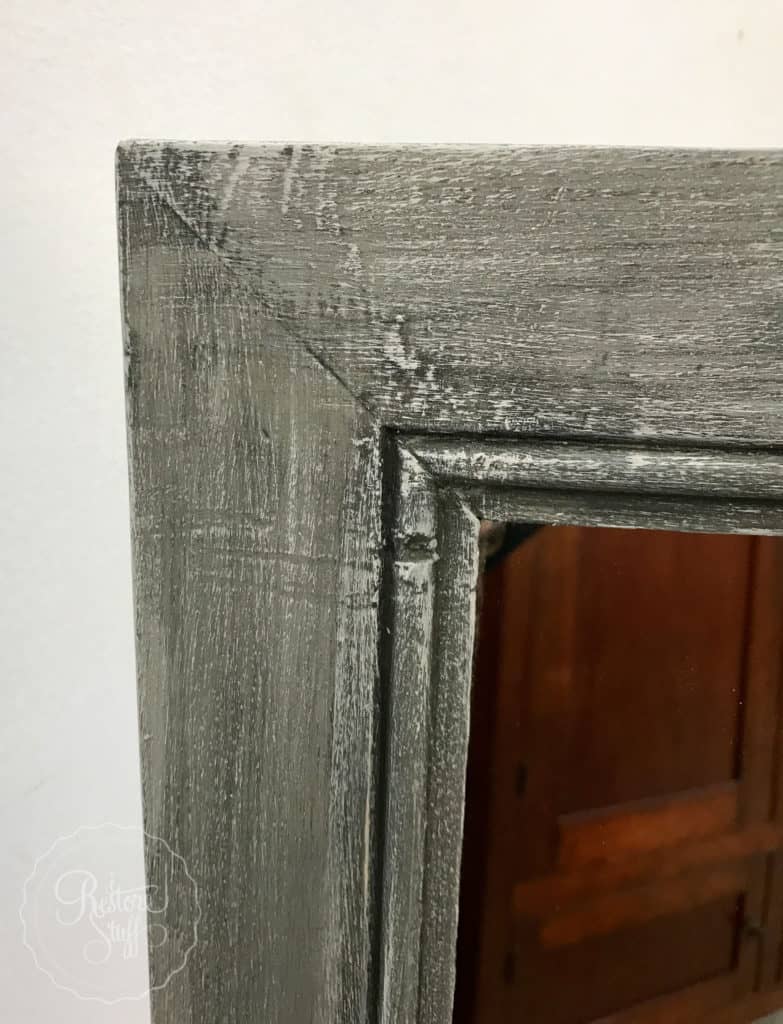
For this next step I forgot to take a seperate pic, so imagine the image below does NOT have the white flecks across it, just the darker charcoal colour you can see in the grains or grooves of the brush strokes. When using a thicker paint like chalk paint, I love the use of brush stroked for the purpose of creating texture for glazes to be totally effective.
To create the dark charcoal glaze I used Fusion Mineral Paint’s Clear Glaze and added a small drop of Fusion’s Ash colour and mixed these together to create the dark glaze. The Clear Glaze is an amazing product as you can add ANY of the Fusion colours, even the Fusion metallics to create a beautiful glaze for any piece you’re working on.
To use the glaze, simply brush on (I usually do this in sections), then using a lint free cloth, wipe away in long strokes with the grain. So for the mirror, I glazed one side at a time, and wiped away. You’ll see the glaze left in all the grooves of the brush strokes of the underlying paint.
Final layer – Dry Brushing
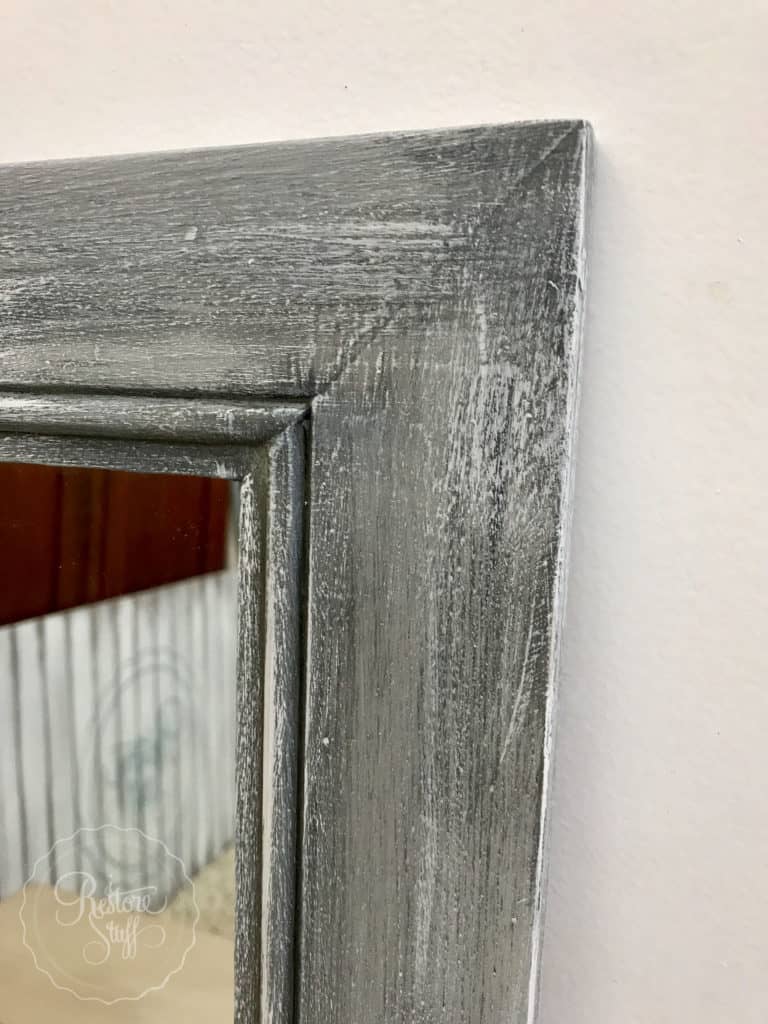
For the last detail, I used Old World Paint in Shutter White to dry brush very gently all over. Dry brushing is a great technique to use and best way to get it right is to practice, practice! Try it on cardboard or a sample board first.
First, dip the ends of your brush (I prefer to use a flatter style brush for this – either Fusion’s chip brush or a Cling On Flat brush) into the paint, and wipe off as much as you can on the side of the container. Then using a piece of cardboard or newspaper or paper towel, wipe off even more paint from your brush until you can hardly see any paint coming off onto the surface that you’re wiping onto.
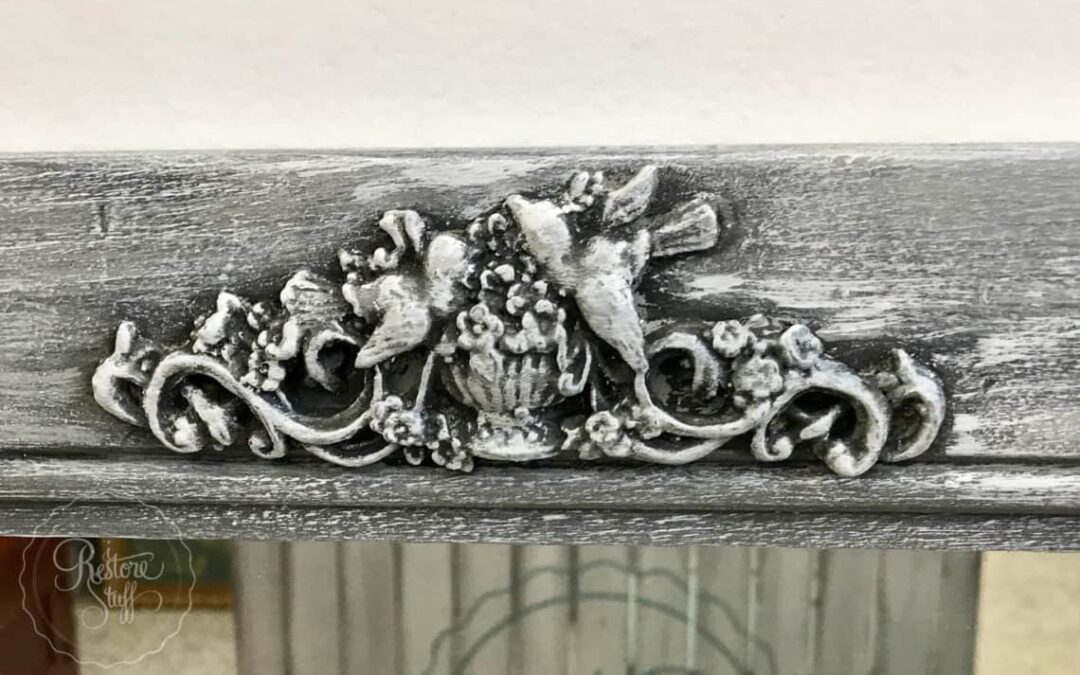
Then, very gently with not much pressure, and at about a 45 degree angle, drag your brush along the surface of the piece you’re painting, going with the grain. This will allow the streaks of paint to hit the high points along the surface – the highs of the textured brush strokes and the high points of the applique.
For a better visual tutorial on dry brushing you can check out my Youtube tutorial HERE.
In Summary
So basically you have 3 layers to this technique.
The base layer acts as the mid tones as you look at your final outcome – in this case, the Castle Gray colour.
The dark Glaze hits all the low valleys – gets in the grooves and sets the deep tones or “shadows“.
The dry brush using a light colour, hits all the high points, the “mountains” on the surface, and acts as highlights on your final painted piece.
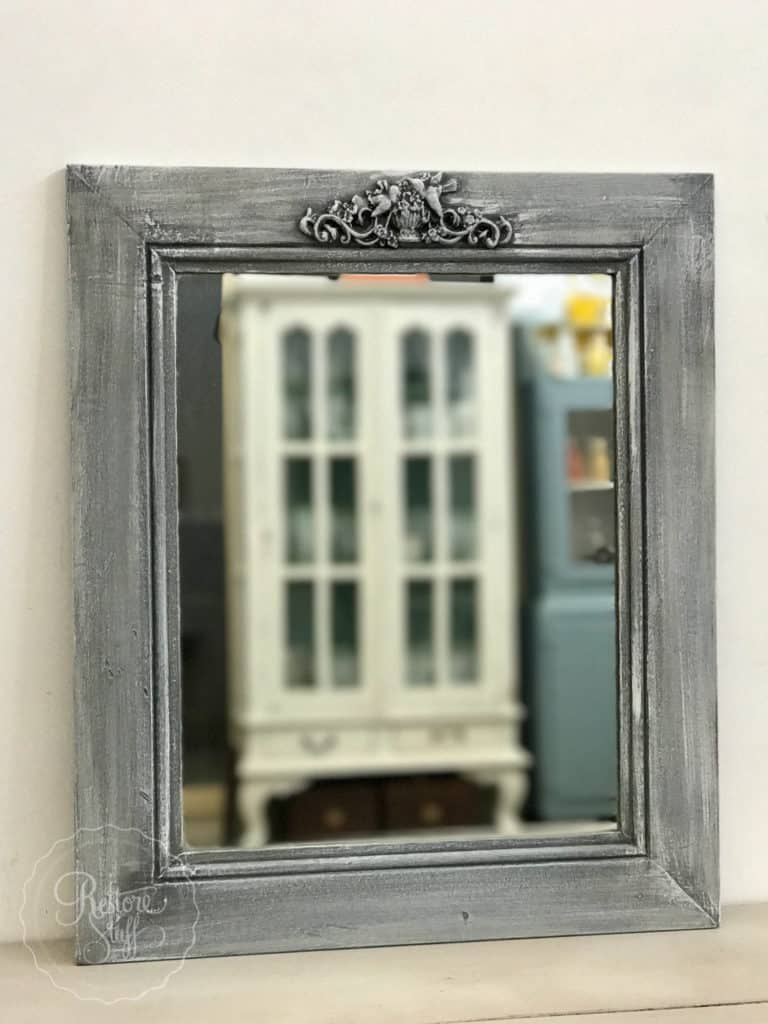
And now our boring old mirror frame is a stunning piece of art ready to hang in it’s new home!
