
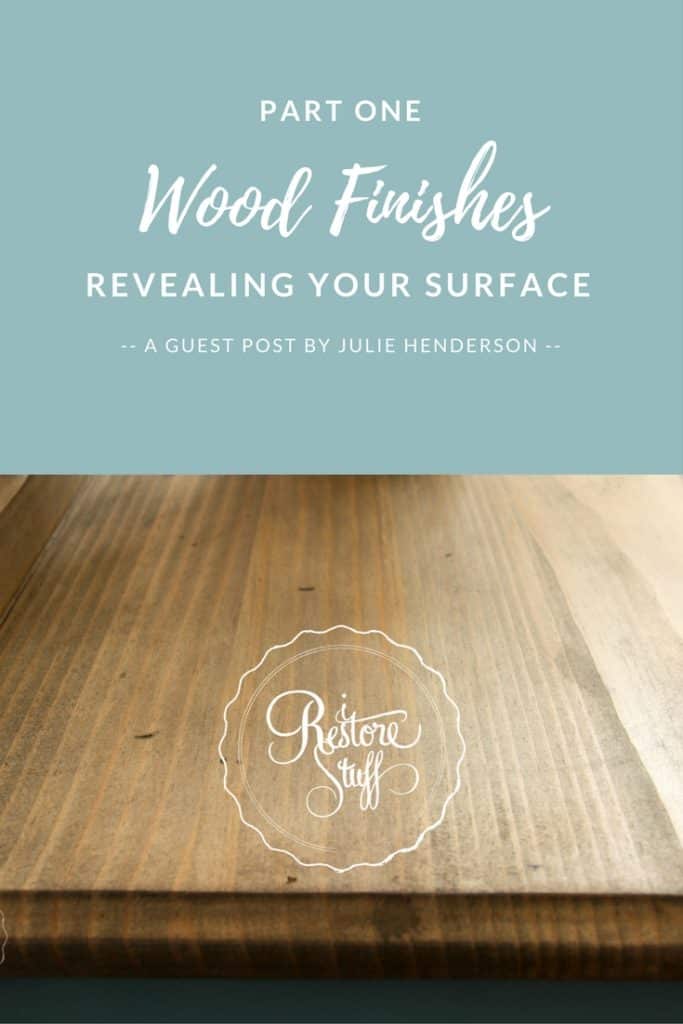
All About Wood Finishes
In Wood Finishes Part 1, I’m really excited to bring you the first in a series about wood finishes with special guest, Julie Henderson, from Chalk n Trees.
Julie is a busy mother of two, and has a passion for restoring and refinishing furniture. As a girl her dad taught her how to paint furniture and over the years, Julie has created pieces for family and friends. While on maternity leave with her second child, she decided to pursue her hobby, and Chalk n Trees was born! The name says it all – Julie loves chalk paint (and other paints too) and trees are very important to her family. She also gets ridiculously excited by a gorgeous wood grain! Julie studied Biomedical Science at uni, which is probably why she likes playing with chemical mixes to use in her restorations. She loves to experiment with colour and different techniques and gets true joy out of creating beautiful and unique furniture.
In this three part series, we’ll be looking at:
- Wood Finishes Part 1 – Revealing the Finish (testing the surface and identifying the existing finish of a piece)
- Wood Finishes Part2 – Removing the Substrate (how to remove the existing finish from the wood surface)
- Wood Finishes Part 3 – Refinishing the Surface (reapplying a finish to the newly cleaned surface)
I’d like to thank Julie for her guest appearance on our Facebook page, and for compiling notes to form this blog post especially for my readers!
Here’s the Facebook Live demo that you can refer to as you read through the notes below it.
Uh, and you may see us have a legendary accidental spill … involving French Polish … yep, only on a Live broadcast! Enjoy!
*Don’t miss Part 2 RIGHT HERE to find out how to REMOVE each of these substances we’ll talk about in this post.
Part 1 – Revealing Your Surface
Rationale/Introduction
When you have a beautiful piece of timber furniture but it’s looking a little tired and in need of some TLC, the first step is to identify how it has been finished previously so that you can restore it to its former glory without further damaging your piece. Mixing up finishes can be disastrous! This tutorial focuses on understanding the different types finishes and gives an easy step-by-step process you can do on your furniture at home.
Types of finishes
There are many different types of finishes but they can generally be classified under the following six categories:
- Paint
- Polyurethane
- Varnish
- Lacquer
- Shellac
- Oil based finishes
1. PAINT
- Painted finishes are easy to identify so I won’t go into further detail in this tutorial.

Painted Surface
2. POLYURETHANE
- Very durable finish
- Essentially a liquid plastic resin coating that becomes solid when it dries
- Comes in water and oil based varieties and can be a matte, satin or glossy finish
- Can be applied in several different ways including spraying, wipe on and brushing
3. VARNISH
- The term varnish is often used interchangeably for any finish or top coat however it is actually a product in itself.
- It is a combination of resins, solvents and drying oils
- Used on outdoor furniture as it stands up well to UV light
4. LACQUER
- Intense high gloss finish and is used on many Asian inspired or ultra modern furniture
- Very thin and usually sprayed on.
- Can discolour and scratch over time

[Source: Bunnings Warehouse]
5. SHELLAC
- Natural product made from the secretions of the female lac bug combined with a solvent such as methylated spirits (denatured alcohol).
- Shellac was a popular finish before 1920. Antique/vintage furniture was often finished with a shellac coating and is used for the technique of french polishing
- Also used as a protective coating on non-wood items like sewing machines
- Shellac darkens over time and some furniture becomes nearly black
6. OIL BASED FINISHES
- E.g. Boiled linseed oil, tung oil, hemp oil, mineral oil are all natural wood finishing oils.
- Long dry times between coats unless you get ones with added drying agents to speed up the process.
- Other finishes called “oil finish” or “Danish oil” are actually thin varnishes with a relatively large amount of oil and solvent.
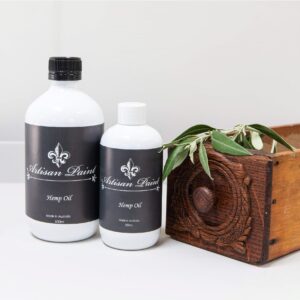
Artisan Hemp Oil
Identifying the Finish
- To figure out what type of finishing treatment your furniture has, you can test on a discreet area of the wood such as the top inside area of a leg.
- SAFETY – glasses, gloves, well ventilated area
- You are going to need –
- Boiled linseed oil
- Acetone or lacquer thinner
- Methylated spirits (called denatured alcohol in some countries)
- Cotton wool pads or swabs
Inspect the Piece
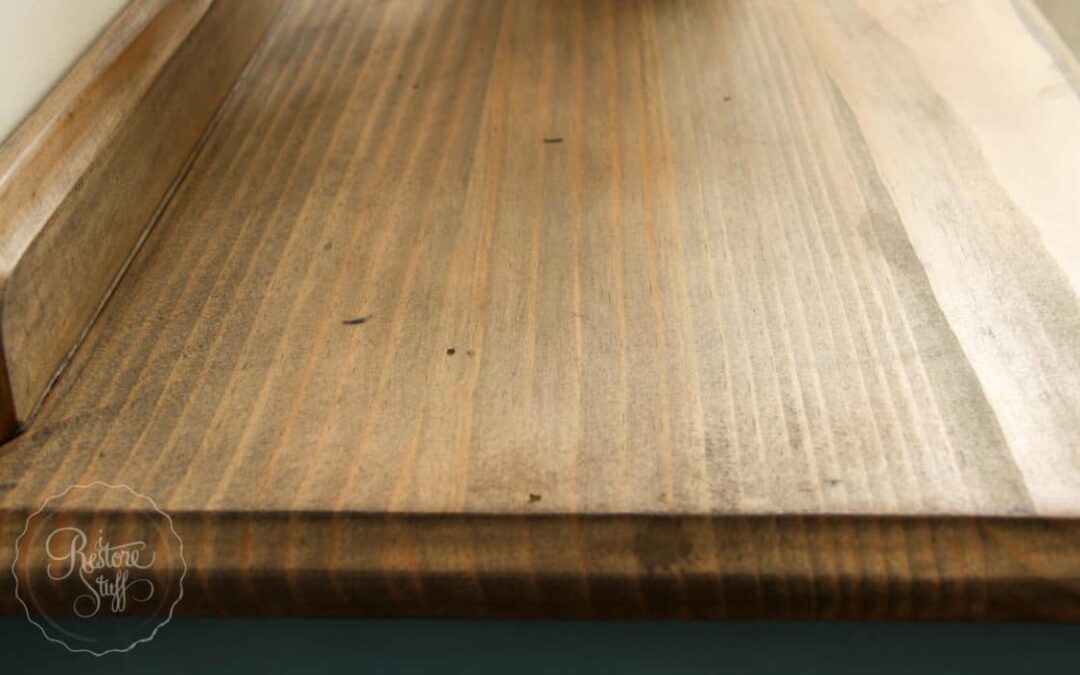
- This can give you clues about what kind of finish it is e.g. shiny finishes could be lacquer, nearly black finishes could be shellac, orange pine could be polyurethane.
- Does it scratch when you run your fingernail over it? This could indicate the presence of wax. This may need to be removed before testing for other finishes as it could resist the solutions you are going to use to test with.
Julie’s Testing Process:
Julie uses the following tests as a process of elimination to find out what finish exists on her furniture pieces. Use this info graphic as a guide while watching the demo in the video above. You can click on the image for a downloadable PDF version.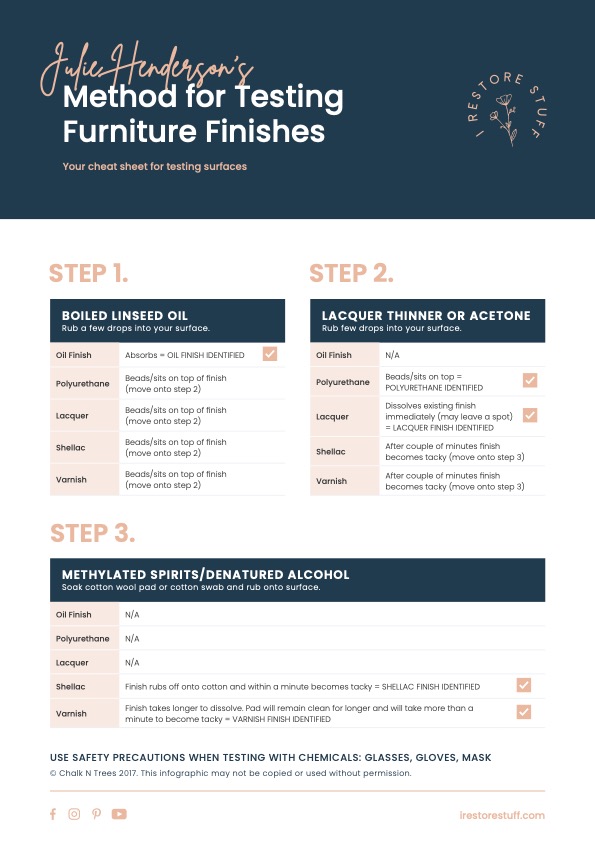
Testing Finishes – DOWNLOAD this cheat sheet
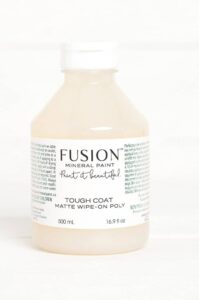
I have a buffet I made a coupl
E years ago with live
Edged wood.. we have it on our covered lanai … but the oddies oil and wax I used does not hold up well in the Florida heat and humidity… I’d like to strip it and put a harder surface on it .. perhaps Polyurethane or epoxy … what would you recommend
Hi Karen, I’d try Fusion’s Tough Coat wipe on poly. You’ll find it in USA here: https://bit.ly/3N7oUdo