
Removing the Substrate
Please Pin this post to your Pinterest boards.
Removing Substrate (an Existing Finish) on your Antique Pieces
Welcome to Part 2 of our Wood Finishes series (Removing the Substrate) with special guest, Julie Henderson from Chalk n Trees. Thanks Julie!
If you missed Part 1, we talked about Revealing your Finish – We taught you how to identify the different types of finishes you might find on your antique pieces. We covered the six main types of finish and learned how you can test your existing finish in three simple steps at home.
Now you know what type of surface you are dealing with, we’ll teach you how to strip off the existing finish, or repair the finish if it has minor blemishes.
We’ll use the following 3 steps:
- Assess the surface to determine whether to repair or refinish
- Repair minor damage
- Strip the finish
Here’s the Live demo we did on my Facebook page this week. Watch the demo and all the notes for the Live are in this blog post below the video. Enjoy!
Step 1 Assess the surface
Using the quick and easy test we covered in the first tutorial I’ll assume you now know what kind of substrate you are working with. You now need to make an assessment of how to proceed.
What kind of look are you going for?
Are you going to paint the surface or will the wood be refinished? e.g. If I am just using a chalk type paint, do I need to strip it back to raw wood or is another kind of prep required?
There are lots of tutorials covering the prep process if you are going to paint the piece, so I won’t cover this today. This tutorial will focus on timber that is either going to be restored, or stripped and refinished.
When to repair and when to refinish?
You need to make a decision on whether you are going to repair the surface or completely strip and refinish the surface. Most finishes protect the surface of wooden furniture by forming a protective coating. To repair a damaged finish coating, work only to the depth that it’s affected. On any surface, work carefully, and don’t remove more of the finish than you have to.
Learning how to maintain your furniture and make minor repairs on your own will save you money from having to hire a professional. It’s best to deal with small imperfections early rather than waiting until the damage is severe and you need to call in a professional to completely refinish your piece.
Let’s look at how you can make simple repairs to your existing finish.
Step 2 Repair minor damage
Examine the damage closely to see if it is shallow—only in the finish—or if it is a deep scratch that penetrates down into the wood below the finish. Many types of damage can be repaired as long as they don’t penetrate down into the wood below. This can potentially save you a lot of money and time compared to a full refinish of your piece.
If there is discolouration e.g. black spots on your surface. The damage has penetrated through the existing finish and the finish will need to be stripped and fully refinished. You cannot attempt a repair at this point.
I would now like to introduce the concept of Restoration – I work with a lot of old furniture and I want to enhance the beauty of the piece, not make it look brand new. It’s very difficult to replicate the natural aged look of an antique and as long as the finish has not completely deteriorated, I like to enhance the patina, not remove it. In this case I would choose a method of restoration rather than stripping the piece and making it look brand new.
Simple Shellac and Lacquer finish repairs
Scratches
Shellac and lacquer finishes are easiest to repair because this finish can be reconstituted unless it has reached a point where it has begun to deteriorate and expose the raw timber. Minor scratches which do not go through to the timber can be repaired by getting a small paintbrush and dipping it into methylated spirits (for shellac) or lacquer thinner (for lacquer). Gently paint over the surface with your brush to soften the finish which will reconstitute and when the finish dries the scratch will have disappeared. If there is wax on your piece, which will leave a scratch mark on the surface if you run your fingernail over it, you will need to remove the wax coating on your furniture using mineral turpentine/ white spirits.
Moisture damage
Shellac and lacquer finishes are vulnerable to moisture damage. Spills or condensation from glasses can leave permanent white rings on the surface of your piece. Another type of damage caused by moisture is called blushing which leaves a white haze over the surface of your piece. You can often remove these white spots by polishing the surface with 0000 steel wool and linseed oil or wiping it over with methylated spirits (denatured alcohol). Use as little as possible as too much will damage the finish. If this doesn’t work you will need to strip and refinish your surface.
Restoration techniques
In many cases finishes are just in need of a good clean to revive a dull finish. The following solution has been used by master carpenters for many years to clean and revive vintage and antique furniture without completely stripping the finish. It is perfect to use on shellac and lacquer finishes and can probably be used on other types of finishes, but just test on an inconspicuous area first.
SAFETY – gloves, glasses, well ventilated area, mask.
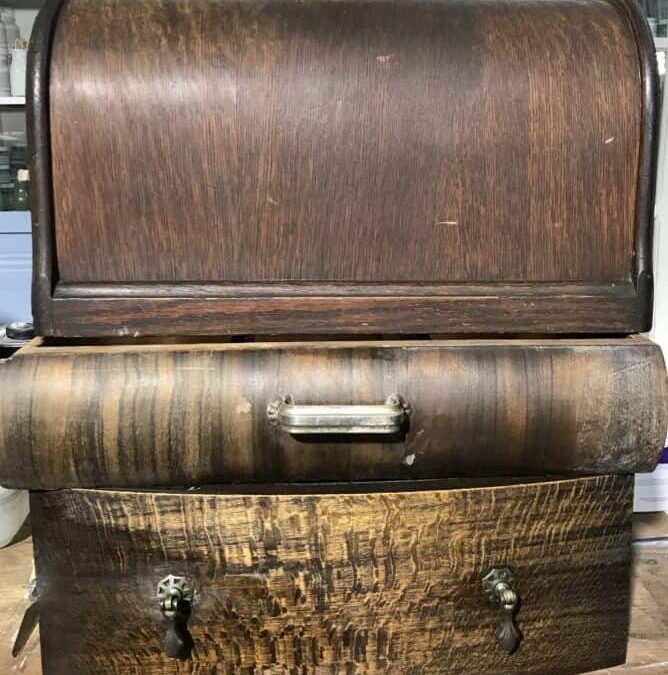
Antique Singer cover BEFORE cleaning
Cleaning Solution for Shellac & Lacquer Finishes
Combine in a jar:
- 1 part white vinegar
- 1 part mineral turpentine (white spirits/ mineral spirits)
- 1 part boiled linseed oil (dont use raw linseed oil as it can go rancid and make sure you get the type with added drying agents)
- 1 part methylated spirits (denatured alcohol)
Shake your mixture to combine it. The ingredients will start to emulsify and thicken (like homemade oil/vinegar salad dressing). You will need to shake your mix throughout using it because it will start to separate. Only make as much as you need as the mixture doesn’t keep. The boiled linseed oil has been known to spontaneously combust so please discard any materials straight after use and don’t keep any unused mixture.
Each of the ingredients in the mixture has a specific purpose:
- The vinegar assists with cleaning,
- the mineral turpentine helps remove waxes and oils,
- the boiled linseed oil nourishes the timber and
- the methylated spirits dissolves and reconstitutes the shellac.
If you are unsure, or would prefer to work more slowly you can omit the methylated spirits from your mixture and then your existing finish won’t dissolve. Dip 0000 steel wool into your restoration mixture and then rub gently in the direction of the wood grain. Have a dry rag handy to wipe over your surface to remove residue and grime. Once you have completed the process you are ready to refinish your piece.

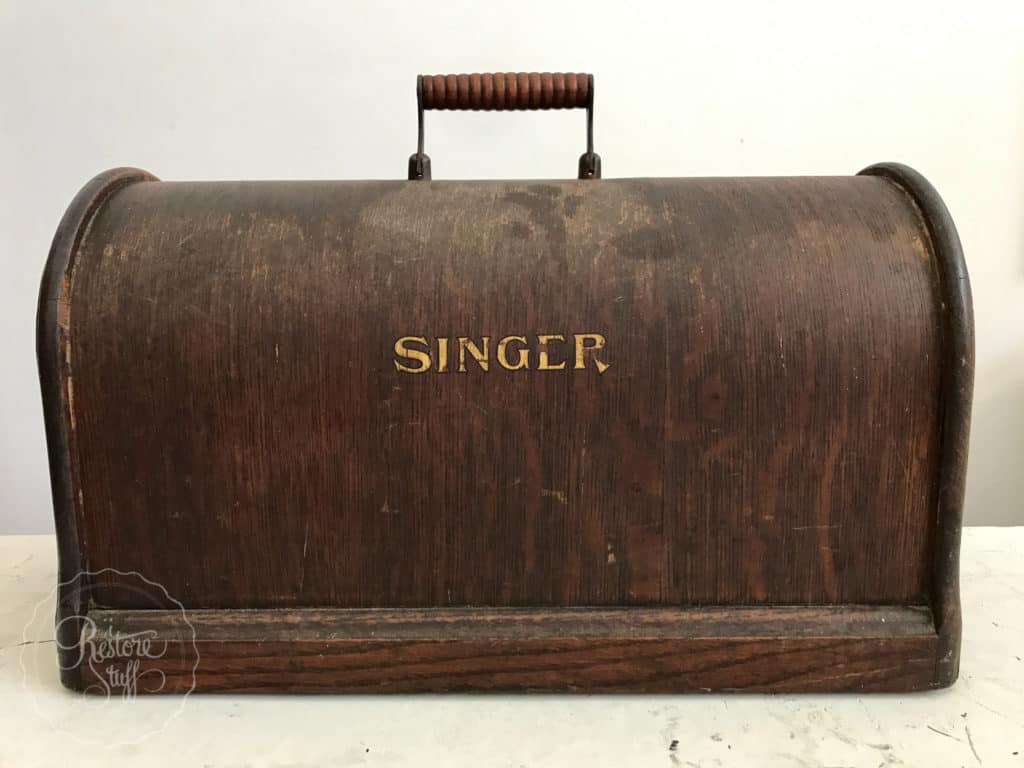
Singer cover AFTER cleaning solution applied (back of Singer case – no we didn’t remove the Singer branding)
Simple Polyurethane finish repairs
One of the common top coats on modern furniture is a polyurethane finish. This type of finish is very durable but it is vulnerable to scratches and other types of damage. If the damage is fairly minor you can repair these kinds of issues at home. If the scratch has gone through the finish to the wood underneath the finish is irreparably damaged and must be stripped and refinished. It is always best to repair scratches right away to keep the wood protected.
The first step is to thoroughly clean your piece. I used sugar soap wipes to remove and grease and grime off your surface before you begin. Superficial scratches can be filled by using wax or a wax stick which are tinted in various colours to match your wood. You can lightly sand out scratches by lightly sanding with a fine grade sandpaper (above 240 grit) always working with the grain of the wood underneath. Remove all the sanding dust and then carefully spot finish using an artists brush and a thin coating of polyurethane. Using thin coats will help to blend the repair in with the existing finish. You may need to apply more than one coat but let each coat fully dry in between applications. Spot refinishing is not always easy, and it’s not always successful, especially on stained surfaces. If you aren’t satisfied with the end result you will need to strip the entire surface.
Step 3 Stripping your finish
1. Removing waxes and oil finishes
Removing oil based finishes can be tricky. You are best to start with a mineral turpentine (White Spirits or Mineral Spirits) and rub back the finish using 0000 steel wool. Then wipe over your finish to remove any excess oil. You will need to change your rag and steel wool frequently as it can become clogged up with the residual oils. To find out if your surface has wax or oil on it, refer to Part 1 of this Wood Finishing series to test.
2. Removing shellac
Paint your surface with Methylated Spirits (denatured alcohol). Leave it to soften slightly and then moving in the direction of the wood grain, rub back the old shellac finish with 0000 steel wool. Wipe over your surface with a clean rag, changing the rag frequently, so that you avoid reapplying the old shellac. If your shellac surface has been previously coated with wax there will be slight resistance when rubbing back the shellac. You may need to remove the wax using mineral turpentine/ mineral spirits/ white spirits to assist with removing the old shellac. Wear gloves to ensure you don’t get chemicals on your skin. To find out if your surface has a shellac finish, refer to Part 1 of this Wood Finishing series to test.
3. Removing lacquer
Lacquer thinner is extremely toxic and you should only use this in a very well ventilated area or while wearing a respirator. Make up a mixture of one part methylated spirits and one part lacquer thinner. Apply it to your surface, working fairly quickly using a metal paint scraper scrape back your lacquer finish. Dispose of the scrapings immediately in your garbage bin. To find out if your surface has a lacquer finish on it, refer to Part 1 of this Wood Finishing series to test.
4. Removing polyurethane, paint or varnish
You will need to remove these finishes using a chemical stripper. Follow the instructions of your stripper and ensure that you work safely and dispose of the waste appropriately. In the video demo above, we showed you a tip of using cling wrap or cling film over the stripper. This helps to contain the stipper, stop evaporation and get the job done faster – it seems to penetrate the substrate well, making it easier to remove. You can see another post on how this was done on an old door, HERE. To find out if your piece has a polyurethane surface, refer to Part 1 of this Wood Finishing series to test.
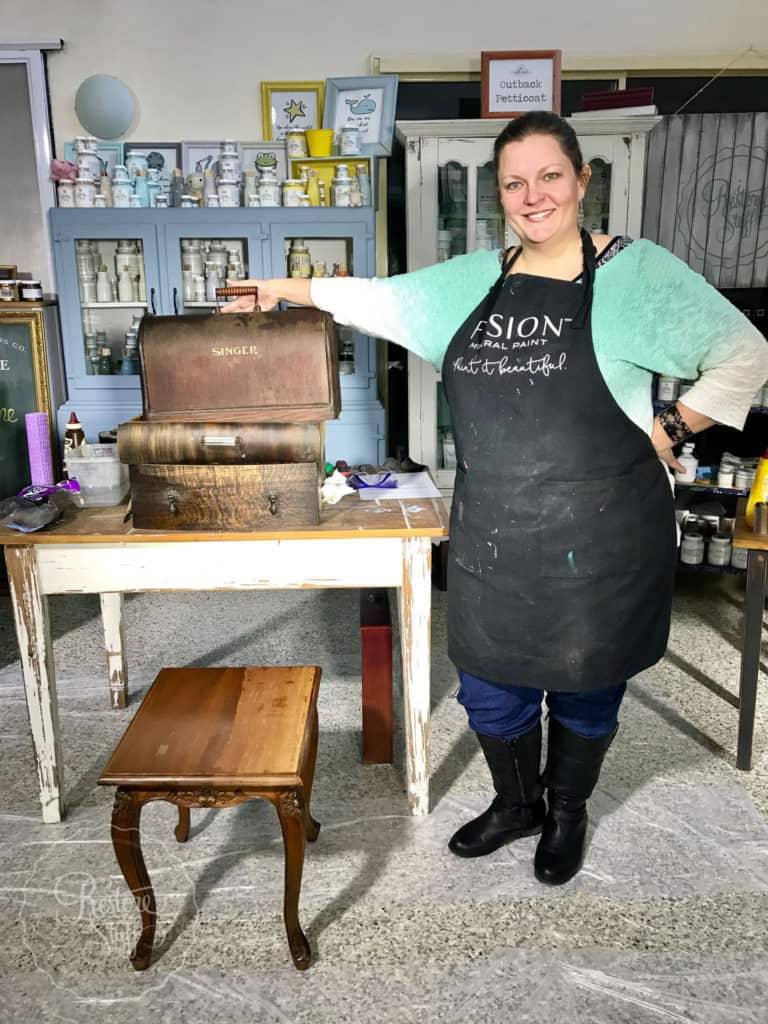
Julie Henderson – Chalk N Trees Furniture Restorations
You can find Julie over on her Chalk N Trees Facebook page, or join her furniture restoration Facebook Group HERE.
If you have any questions, please leave them in the comments and we’ll answer them as soon as we can. If you enjoyed this post, please let us know one thing you learned in the comments below! We’d love to hear from you.
Huge thank you to Julie for the content in this post, and we look forward to her Part 3 installment on Wood Finishes – Refinishing your Surface.
I want to change a soap treated table in solid beach to oil treated – the maintenance of the soap treatment is too much and we want something that is more resistant to spills and stains. We have also a lot of oak furniture that is also soaped and want to change this to something that is more maintainable.
I would suggest using something like Fusion’s Stain & Finishing Oils – they have one in Natural (clear) which is the substance without the stain if you’d rather not stain your pieces. If you’re in North America, you can use my affil link: https://bit.ly/39rH6Qt
Need to restore wooden frames on sunroom. The wood is deteriorating and I need to restore it. What can I use to restore wood and lasts for years
Depending where you’re from (I’m in Australia), there are a number of stain and finishing oil products that can give a stain (the colour) and also a sealer (to seal in the wood). You’ll first need to sand the entire area and prep it ready for the stain and seal. I sell the Fusion Stain & Finishing Oils which come in a range of colours and are easy to apply with a brush or sponge and wipe away excess. You’ll find info about these in my Shop tab under Fusion finishes and sealers. If you’re in USA you can use my affil code IRESTORESTUFF and save 10% here: https://shop.fusionmineralpaint.com/products/stain-finishing-oil-all-in-one?sca_ref=1986032.OGcSFDrKpR