Refinishing the Surface on Your Antique Pieces
 Welcome to Part 3 of our Wood Finishes series (Refinishing your Surface) with special guest, Julie Henderson from Chalk n Trees!
Recap:
If you missed Part 1, we talked about Revealing your Finish – how to identify the different types of finishes you might find on your antique pieces. Julie covered the six main types of finishes and taught us how you can test your existing finish in three simple steps at home. (Includes a FREE Printable)
In Part 2 – Removing the Substrate, having established what type of surface you are dealing with, Julie explained how to remove the existing finish, or repair the finish if it has minor blemishes, to get your surface ready for re-finishing.
So without further ado, here’s Julie:
When you go into your local hardware store, you will notice that the selection of finishes is huge. Choosing the right finish for your product can be confusing. In this tutorial, I’ll run through the different types of finishes, and their properties which will help you choose the right type of finish every time!
The Rules:
Before we start there are a couple of rules that you need to follow when selecting a finish:
- Never mix oil and water – if you have used a water based stain on your piece (for example), you can’t finish it with an oil based product. The products will not mix and you can get unwanted effects like blooming.
- Test your finish on a sample board before you start – then you know exactly the look you are going to get and there is no chance of ruining your piece. Removing finishes can be difficult and time consuming. Ain’t nobody got time for that!
- Lots of thin coats are better than a few thick coats – you will get the best looking finish this way.
- Always apply in the same direction as your wood grain
Here’s what we’ll cover in this tutorial:
- Durability
- Appearance
- Application
1. DURABILITY
The first thing you need to consider is the DURABILITY of your finish.
What are you going to use your piece for?
Is it a high use piece like a dining table? For high use pieces I would recommend choosing a durable finish that will stand up to everyday use.
Or is it something that will only be gently used? In this case you may choose a finish that has slightly less durability.
In part one of the series I introduced you to some common types of finishes:
In terms of durability, Polyurethane is one of the most durable finishes and will be very hard wearing. Varnish is also very durable and has the added benefits of UV resistance so it’s a great choice for outdoor pieces. Lacquer and shellac are slightly less durable and the appearance of the finish can diminish over time. Oil finishes and wax are the least durable types of finishes and may need to be reapplied frequently over a piece’s lifetime.
2. APPEARANCE
The next thing you have to consider when choosing a finish is what kind of look you are going for. I recommend testing your finish on a sample board before applying it to your piece, just so you know what look you are going to get before you begin. Here are some questions you might want to ask yourself:
- Do you need a completely clear finish?
Some products are completely translucent (e.g. clear wax, Fusion Mineral Paint Tough Coat Wipe-on Poly, lacquer). Whereas, other products will impart a colour when applied or may yellow over time (e.g. oil based polyurethane products, shellac, oil finishes). Oil based Polyurethane products are generally more yellow than their water-based counterparts. These products are also known to yellow over time so may not be the best choice over lightly painted pieces. Shellac comes in several different colours ranging from deep amber to golden colour. Oil finishes come in a variety of colours but all have a yellow tinge. Waxes are sometimes tinted in various colours and this will change your final look depending on your selection.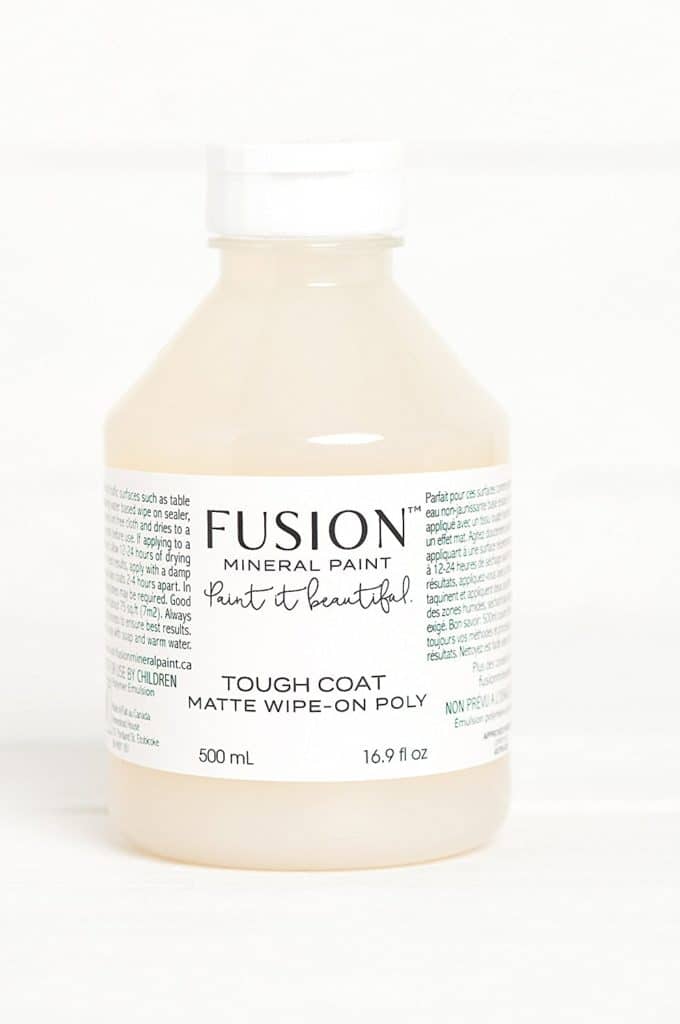
- Are you wanting a matte finish, or something with a satin or gloss finish?
Some polyurethane products have flatting agents added to them which allows for a matte finish (make sure you stir or roll the jar to combine these ingredients that may have settled). They also come in satin and high gloss varieties. Waxes can be buffed to varying levels of sheen and oil finishes all finish slightly differently (some products are more matte than others). Shellac produces a high gloss finish, particularly when the french polishing technique is used.
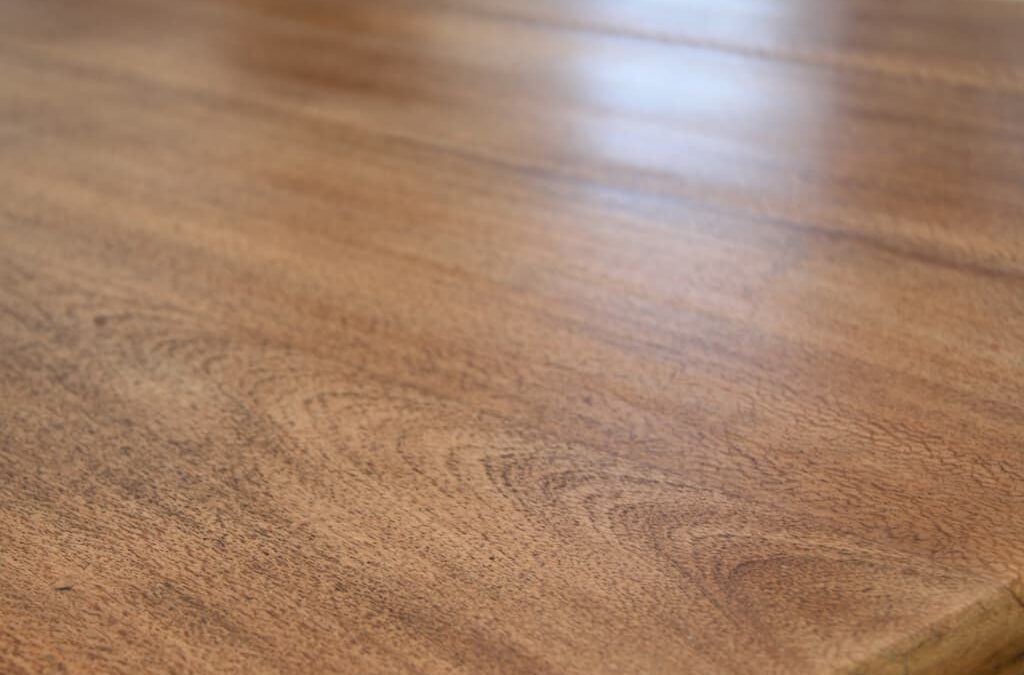
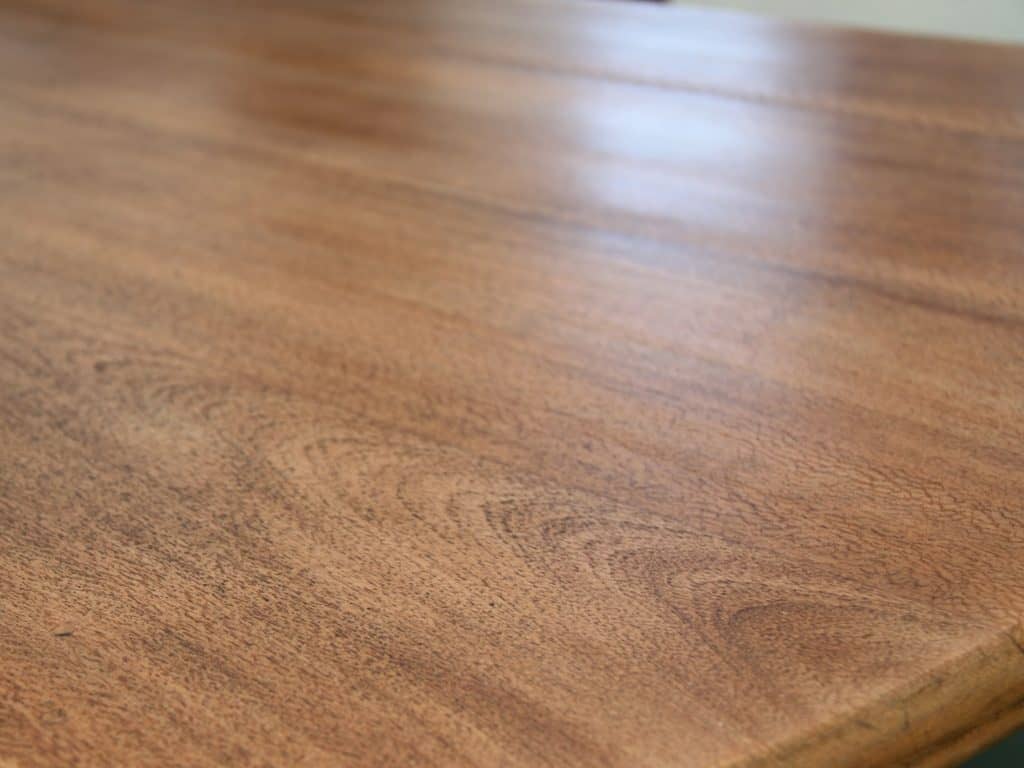
- Do you have a beautiful wood grain that you are trying to enhance?
Oil finishes are designed to enhance the appearance of the wood grain. Oils penetrate your raw, stripped wood and have the added benefit of nourishing dried out, neglected timber. Oil finishes need to be reapplied over time to maintain the beauty of your piece. There are some Oil/ Varnish mixes on the market (e.g. Danish Oil, Scandinavian Oil, Antique Oil Finish). Each product has slightly different components, but in general terms they are penetrating oils mixed with polyurethane resin and solvents. These finishes can be a great choice because they combine the grain enhancing properties of an oil finish with the durability of polyurethane.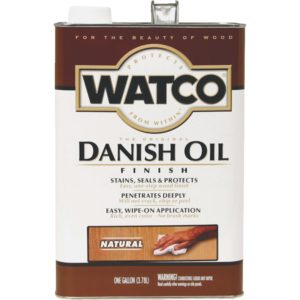
3. APPLICATION
Some finishes are easier to apply than others and it can be difficult to get that flawless finish. In general terms, building up lots of thin coats is the best way to apply your finish. This is why I usually choose a wipe on poly over a full strength version that needs to be brushed/ rollered on. I find I get a smoother finish this way.
- Lacquer is a fairly toxic product and can only be sprayed on.
- Oil finishes can be wiped on using a lint free cloth. Make sure you have enough product on your cloth so that the oil can self level and remove any streak marks from your finish. Always wipe in the same direction of your wood grain.
- There are many wax products on the market and they are either brushed or wiped on with a lint free cloth, then buffed to your desired level of shine. Some waxes are easier to apply than others so if you are finding the application of wax difficult, consider trying another product that is more suited to your needs.
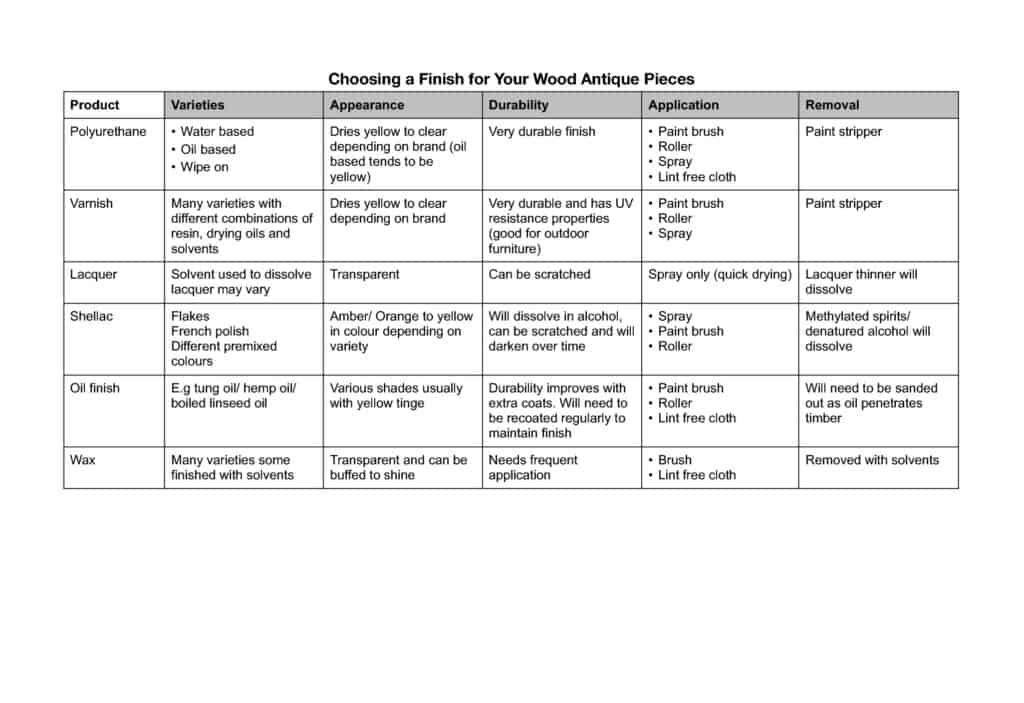
- Refer to the chart below for various methods of applications for different finishes.
I’ve created a handy reference chart for choosing a finish, here below.
For a printable version of this chart, click here: Choosing-a-Finish