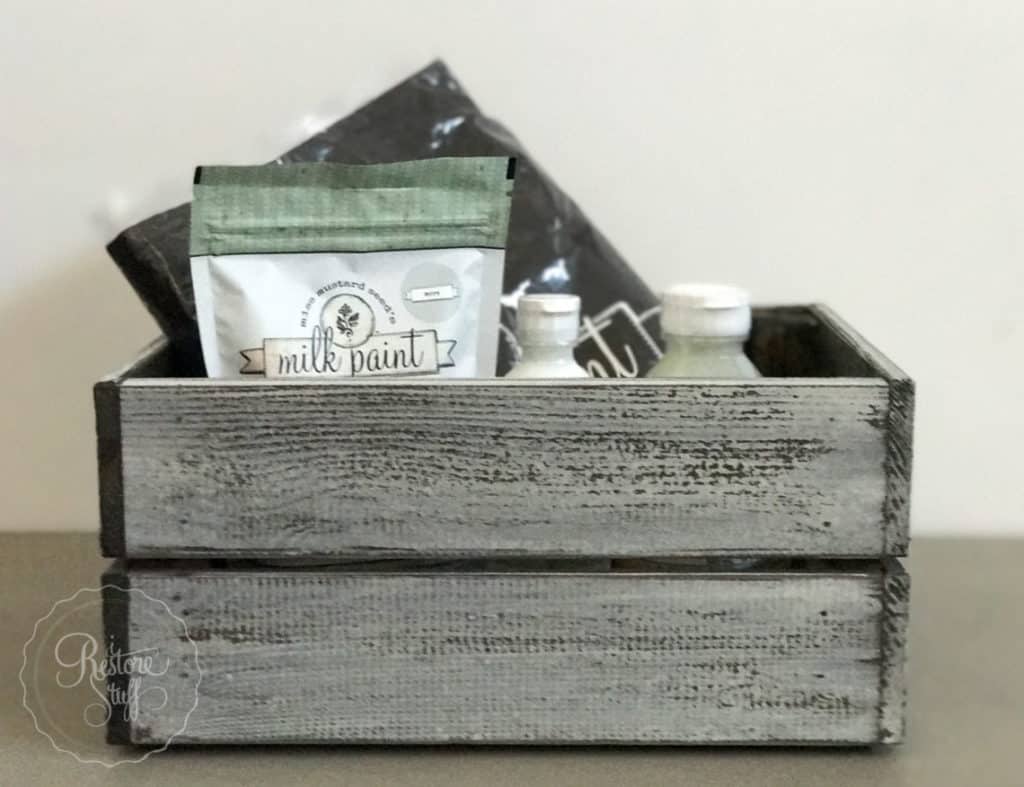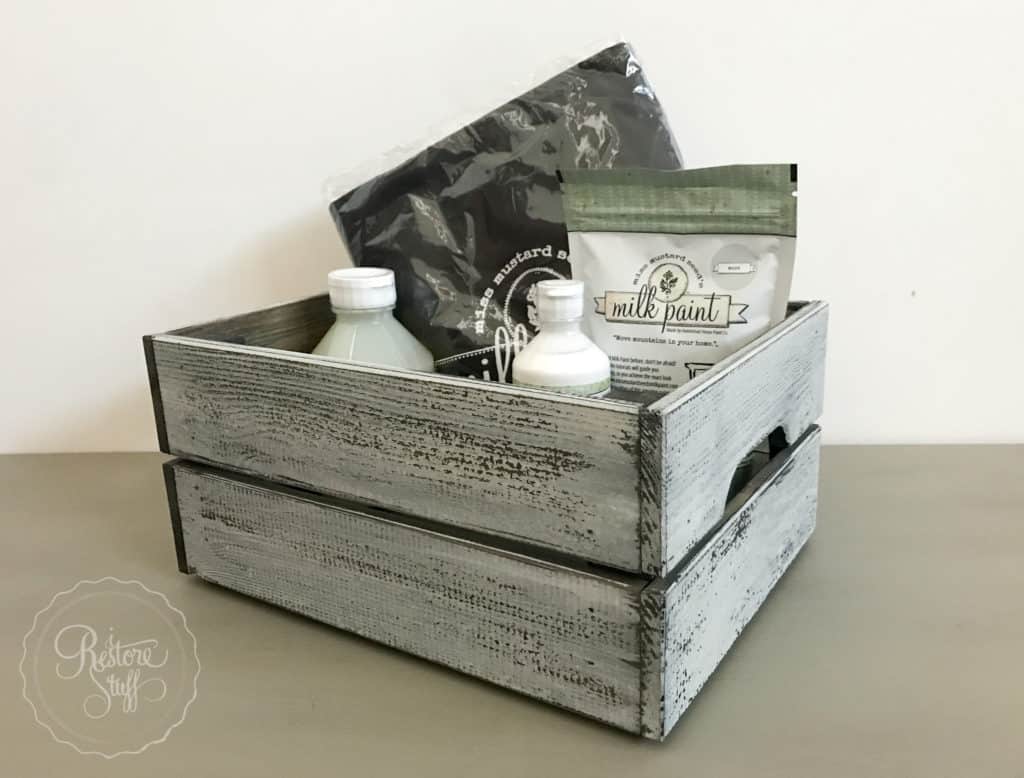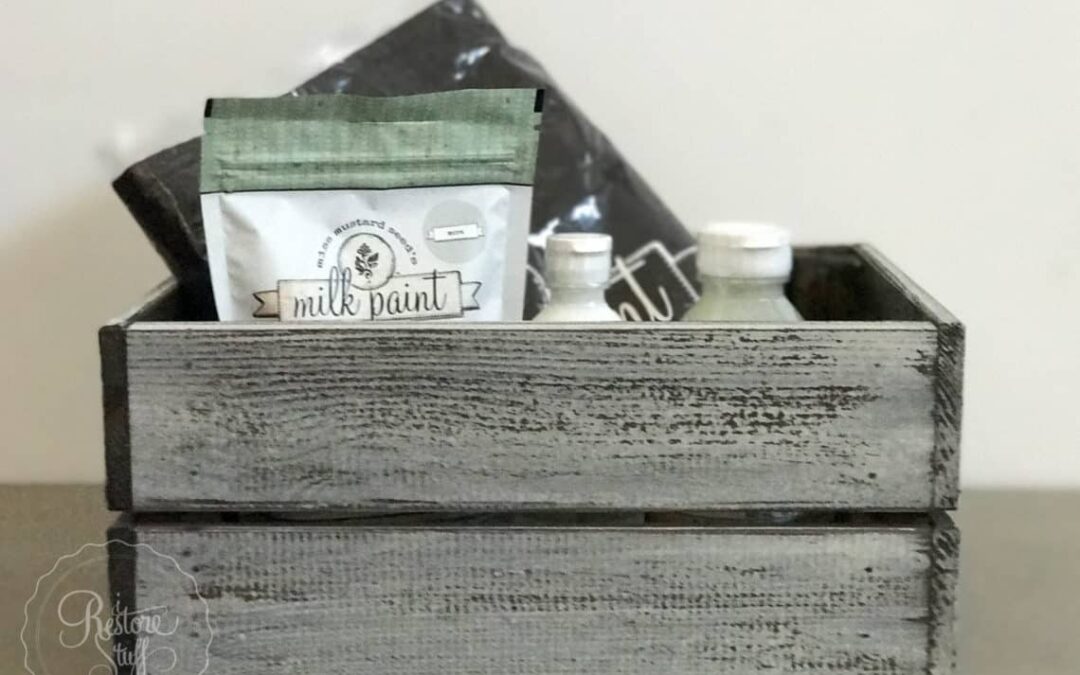
Milk Paint 101 with an IKEA Pine Box (Knagglig)
** I featured this IKEA Pine Box project during a LIVE over on Hometalk’s Facebook page. The video is below.
In this IKEA Pine Box tutorial, you’ll learn how to:
- Create a stain using Miss Mustard Seed’s Milk Paint
- Mix Miss Mustard Seed’s Milk Paint
- Use Hemp Oil as a resist between two layers of paint or stain
- Paint & assemble a DIY IKEA Knagglig pine box
Materials I used (affiliate links included):
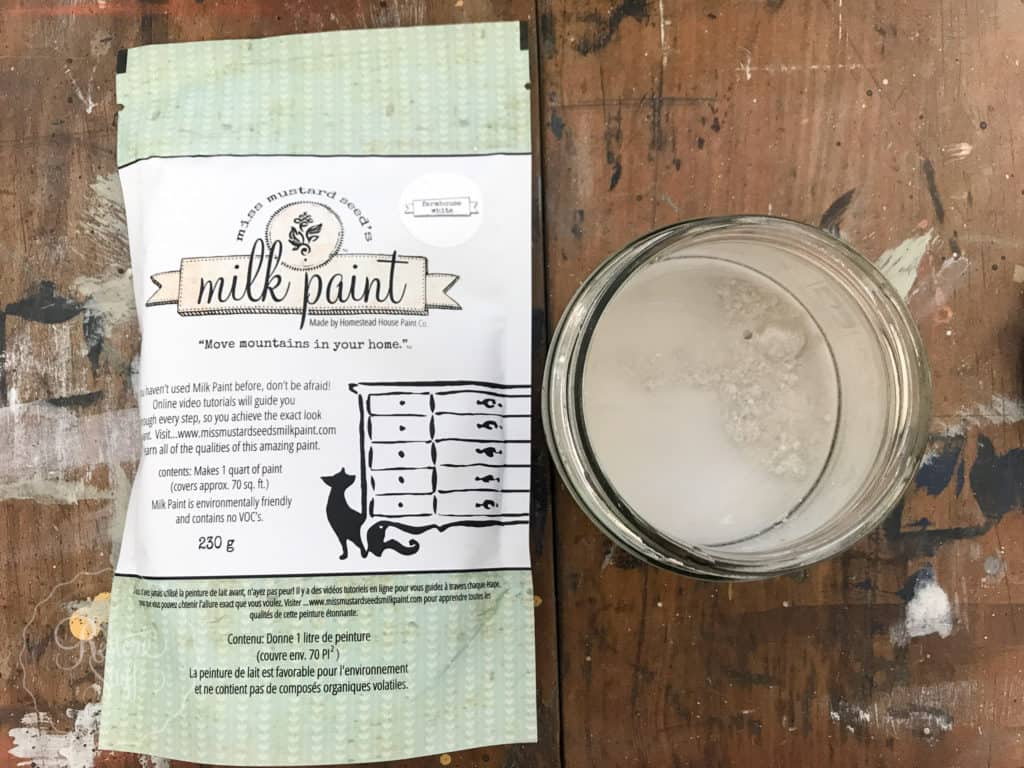
- Miss Mustard Seed’s Milk Paint Sample Sachet – Typewriter (Australia: Typewriter)
- Miss Mustard Seed’s Milk Paint Sample Sachet – Farmhouse White (Australia: Farmhouse White)
- Miss Mustard Seed’s Hemp Oil (Australia: Hemp Oil)
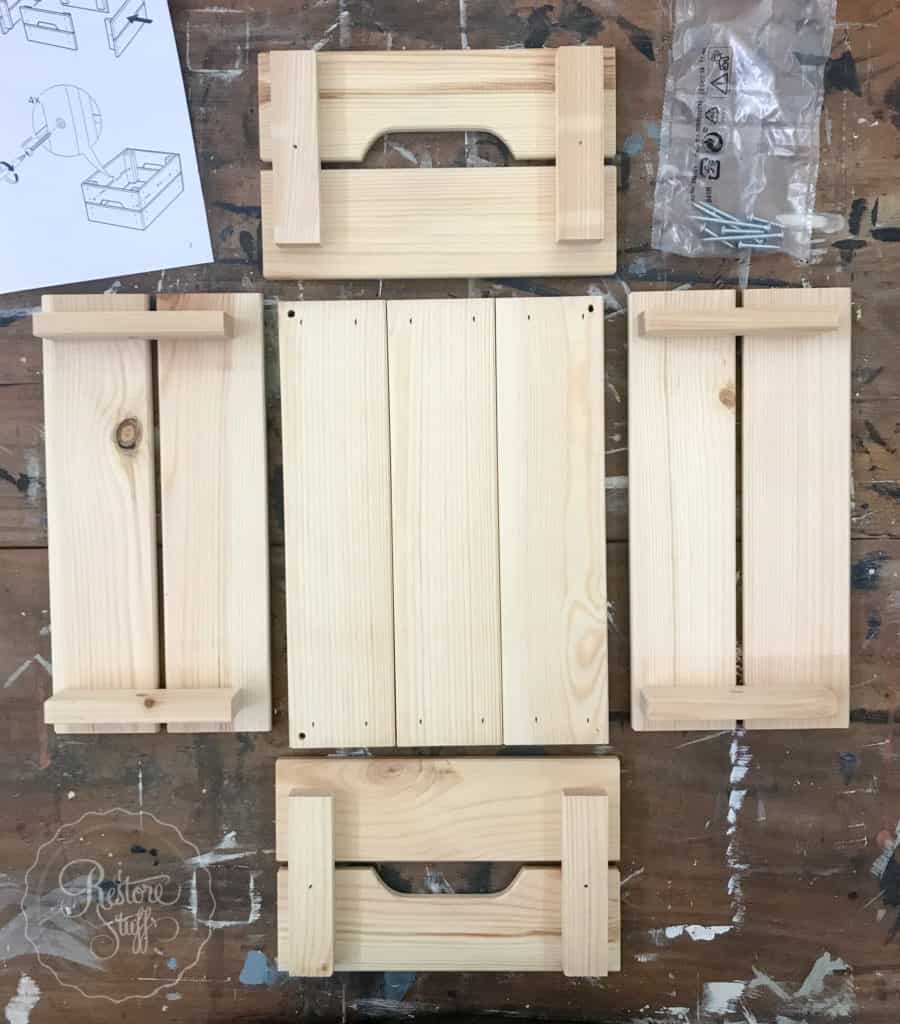
- IKEA Knagglig Pine Box (There are 2 sizes. For this project I used the smaller mini crate size)
- Ryobi One+ 18v Drill Driver (this was my fav birthday present this year!)
If you’re more of a “Watch and Do” type person, here is the replay of the Hometalk Live demo where I did this exact tutorial. Or follow the step by step below the video.
STOP – don’t assemble that crate just yet!

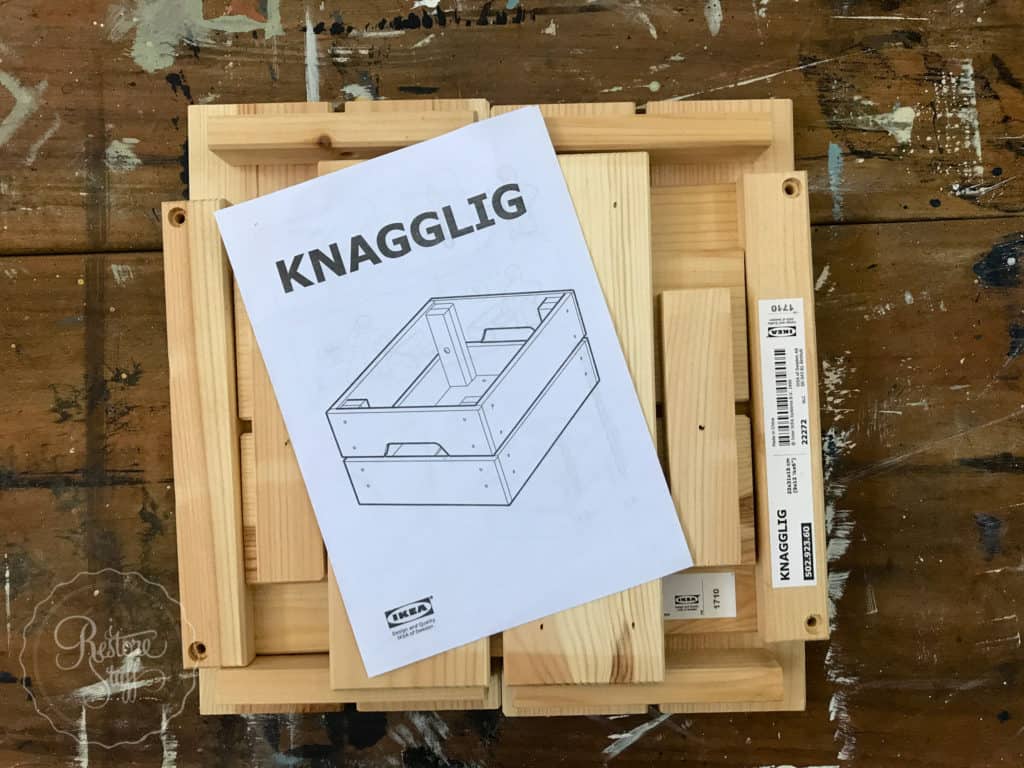
Hold everything – before you go ahead and assemble your IKEA Pine Box, let’s think about how much easier it might be to paint the crate BEFORE we put it together? Am I right? High five – genius, I know.
1. Creating a Stain with Miss Mustard Seed’s Milk Paint
To make a stain using MMS Milk Paint is super easy – just mix one part powder to 3 parts water.
For this crate, I’m creating a two-toned, layered Farmhouse look, so I mixed the colour Typewriter – a charcoal black – as a stain.
 Milk Paint is perfect for using on raw wood and will soak right into the grain, staining the colour onto the wood. Even when mixed to a paint consistency, Milk Paint will give full coverage to your raw wood pieces.
Brush the stain onto your raw wood pine box pieces.
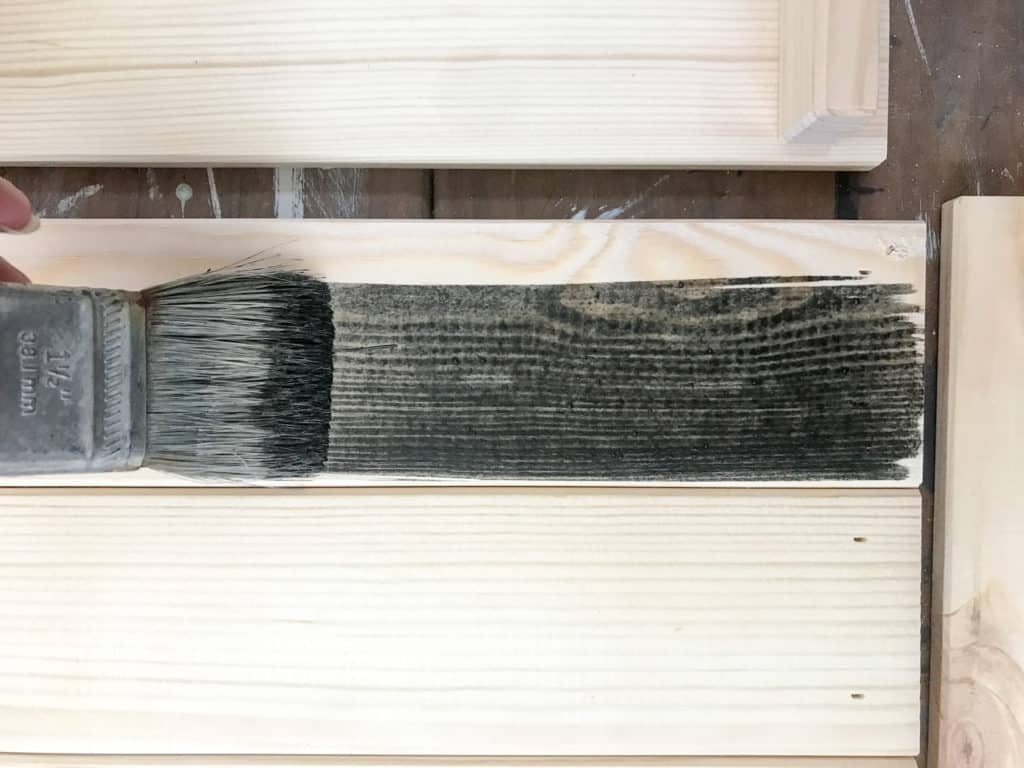 When you have brushed the stain onto the raw timber, using a lint free cloth, you have the option of wiping back the stain, or leaving it to dry naturally. If I have applied too much, I like to wipe off the excess.
If your stain is too light, paint some more on.
You can also add a little more powder or use less water, using a 2:1 ratio (water 2 : paint powder 1) – experiment on raw sample boards until you are happy with the consistency if you like. I was happy with the consistency of the 3:1 ratio, so I went ahead and stained each of the pieces of the pine box/crate.
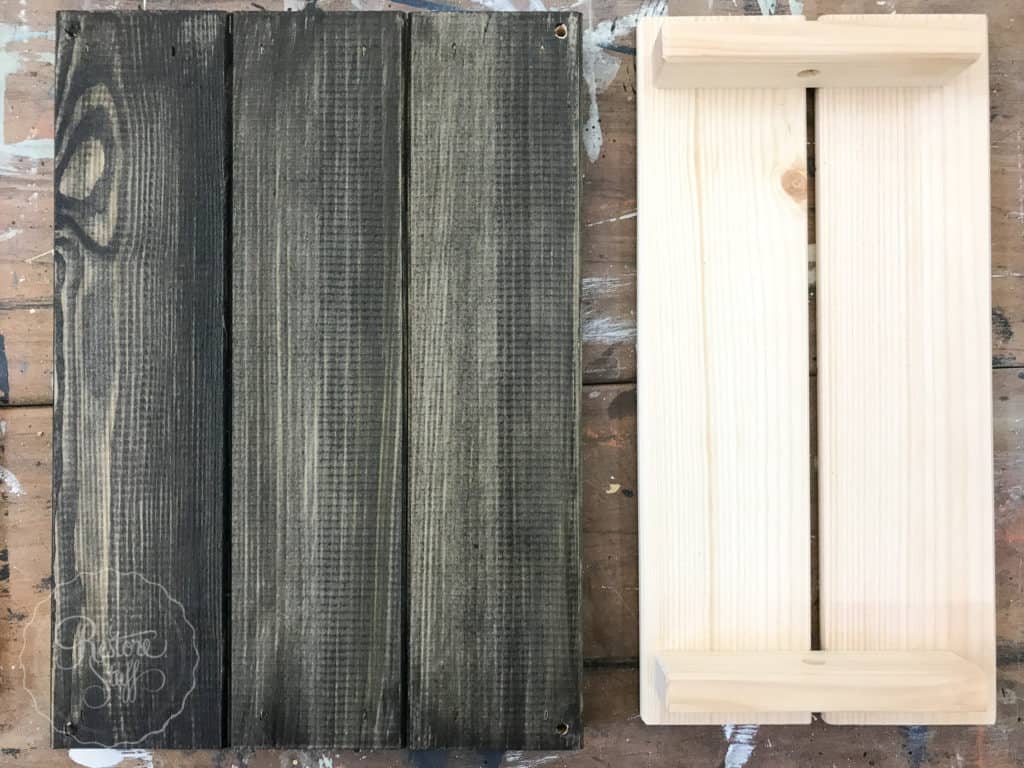 Notice as the milk paint dries, the paint is quite chalky in appearance as it doesn’t have a top coat on it yet.
The Typewriter colour turns to a dull greyish appearance. 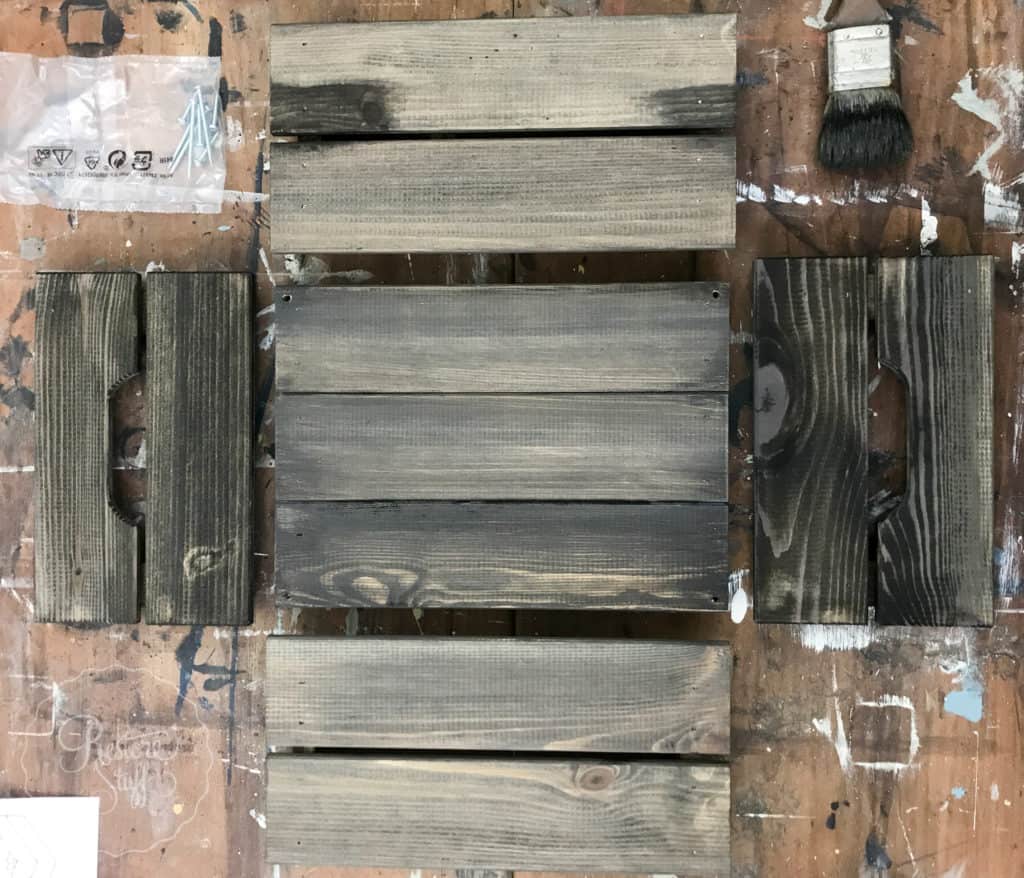 Also notice, that when you don’t wear gloves, your hands might look like this … but since this is a VOC free, natural water based product, that stain came right off my hands with a bit of soap and water.
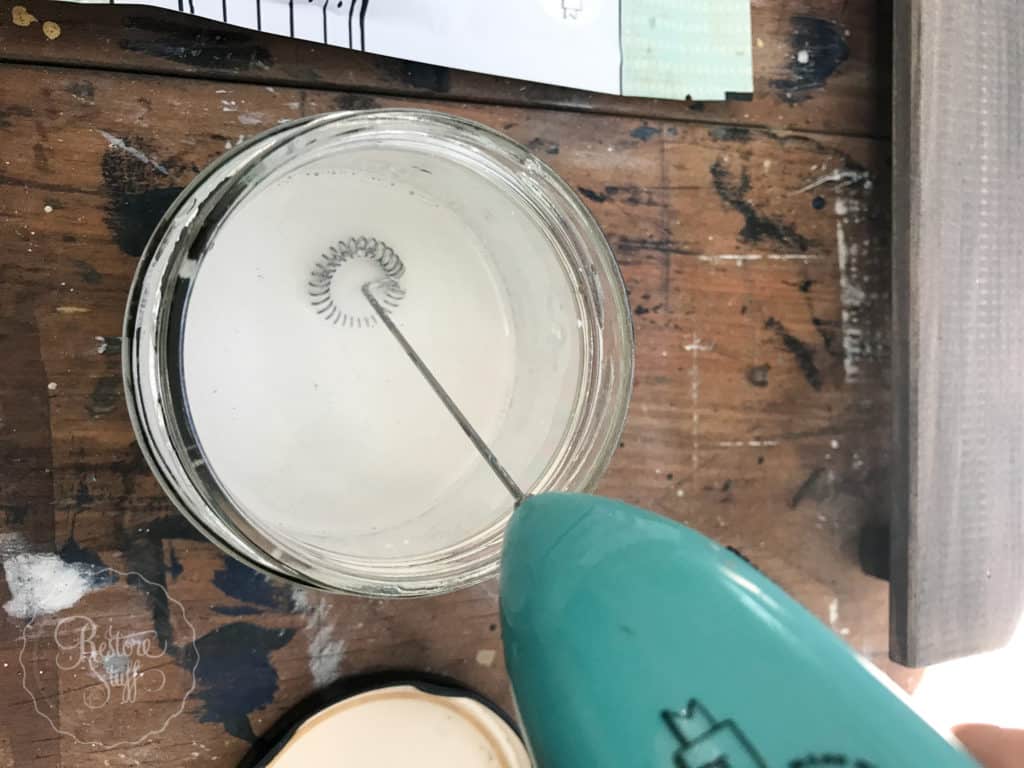
2. Mixing Miss Mustard Seed’s Milk Paint
Mixing MMS Milk Paint is super easy – don’t be intimidated by this one simple step.
Mix equal part MMSMP Powder to water. That’s it!
One part Milk Paint powder : One part water
Miss Mustard Seed’s Milk Paint – 1 part powder:1 part water
Mix using either a battery operated mixer or a small wire whisk. You want to get all of the powder well combined to minimise any lumps or graininess.
Once you’ve mixed your Farmhouse white paint, set it aside as we’ll be doing another step first.
Farmhouse White is going to be our 2nd layer over the Typewriter – but first – we need to create a “resist” layer to assist with out finished weathered, two-toned look. It’s important to have your paint mixed up before you add hemp oil as the resist layer, so that you can add the paint immediately after you’ve added the hemp oil.
3. Using Hemp Oil as a resist between two layers of paint or stain
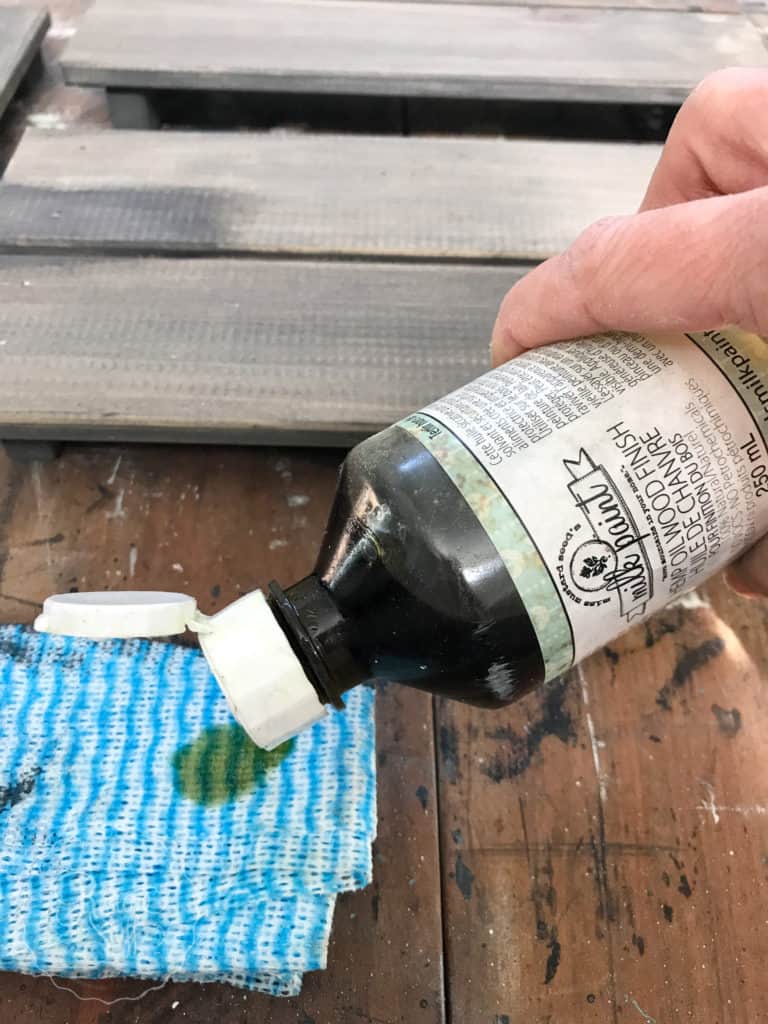
Add some Miss Mustard Seed’s Hemp Oil to a lint free cloth and apply it to the wood surface that you are going to paint. For the IKEA pine box, I only wanted to paint the outsides of the crate, so I worked out which sides would be the outside, and continued with the hemp oil stage.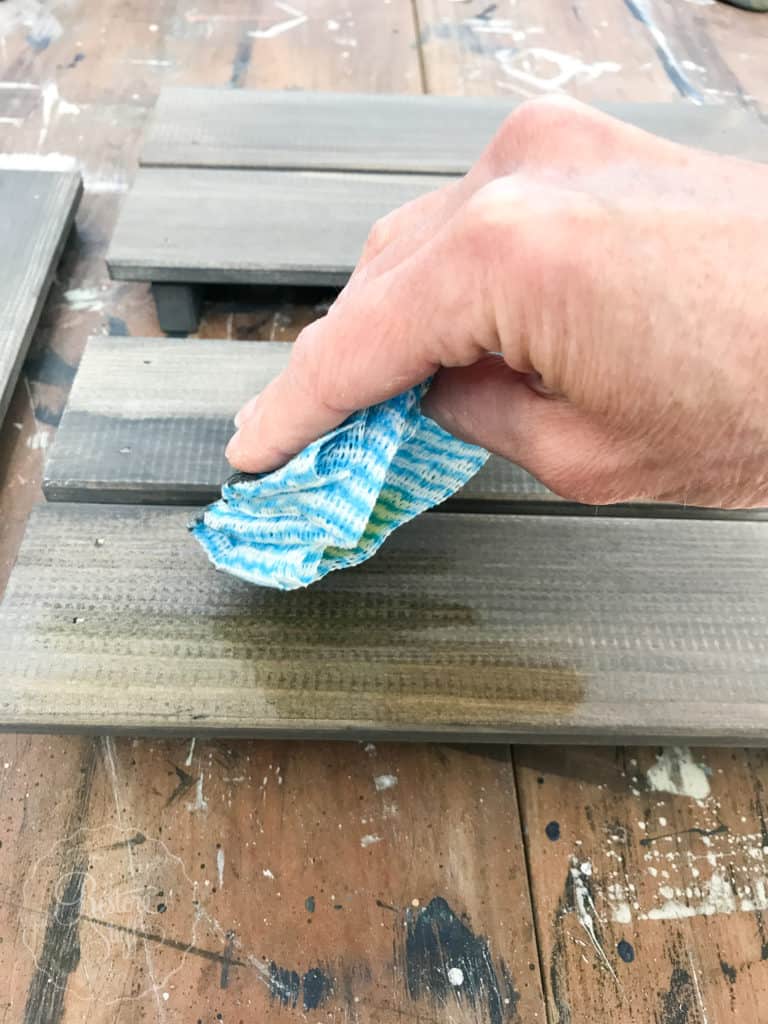 You only want to gently apply the MMS Hemp Oil to the surface – NOT rub it into the grain. So just lay it on with your cloth. And don’t be too precise about missing little bits here and there – it’s all part of the look to have some areas covered with paint more than others.
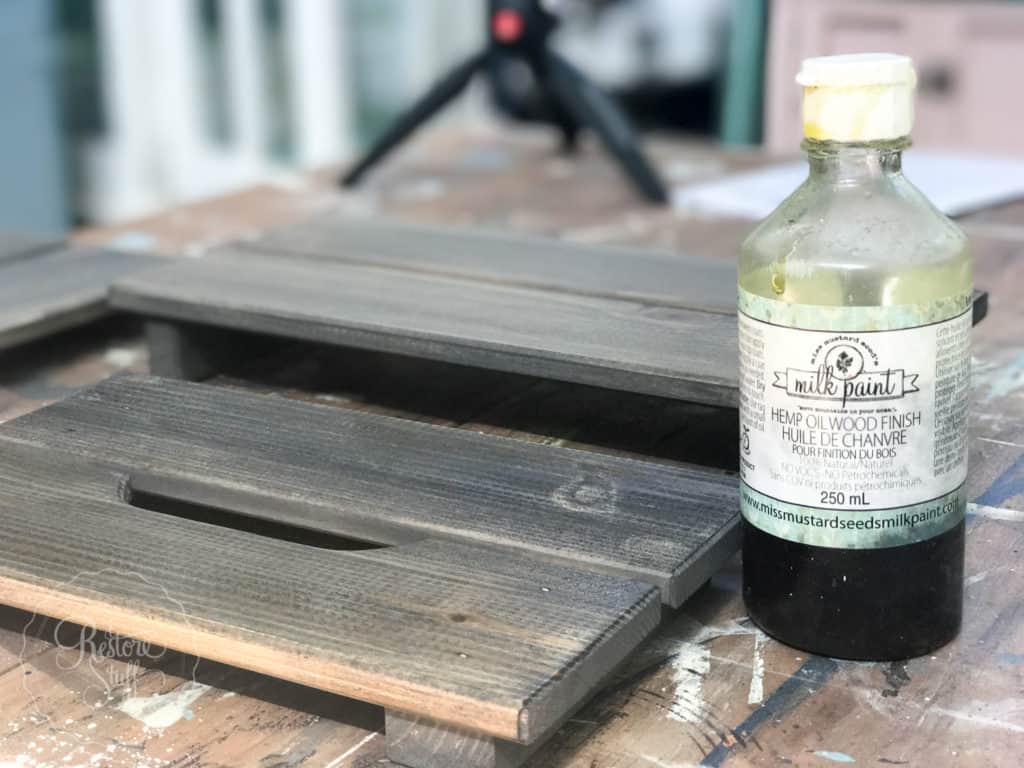 As soon as you have laid down the Hemp Oil, take your paint brush and dip it into the Farmhouse White ready mixed paint that you prepared earlier.
TOP TIP: When painting with Milk Paint, you will have some settling at the bottom of the jar, simply swish your brush around the bottom to stir up the paint again. I do this about every 2nd time I dip my brush in to keep the paint from being applied unevenly in both colour and consistency.
Apply the Farmhouse White as soon as you have applied the hemp oil. In fact, for this crate I worked in sections at a time. Applying hemp oil to one piece, then adding the Farmhouse White, then hemp oil the next piece, then Farmhouse White.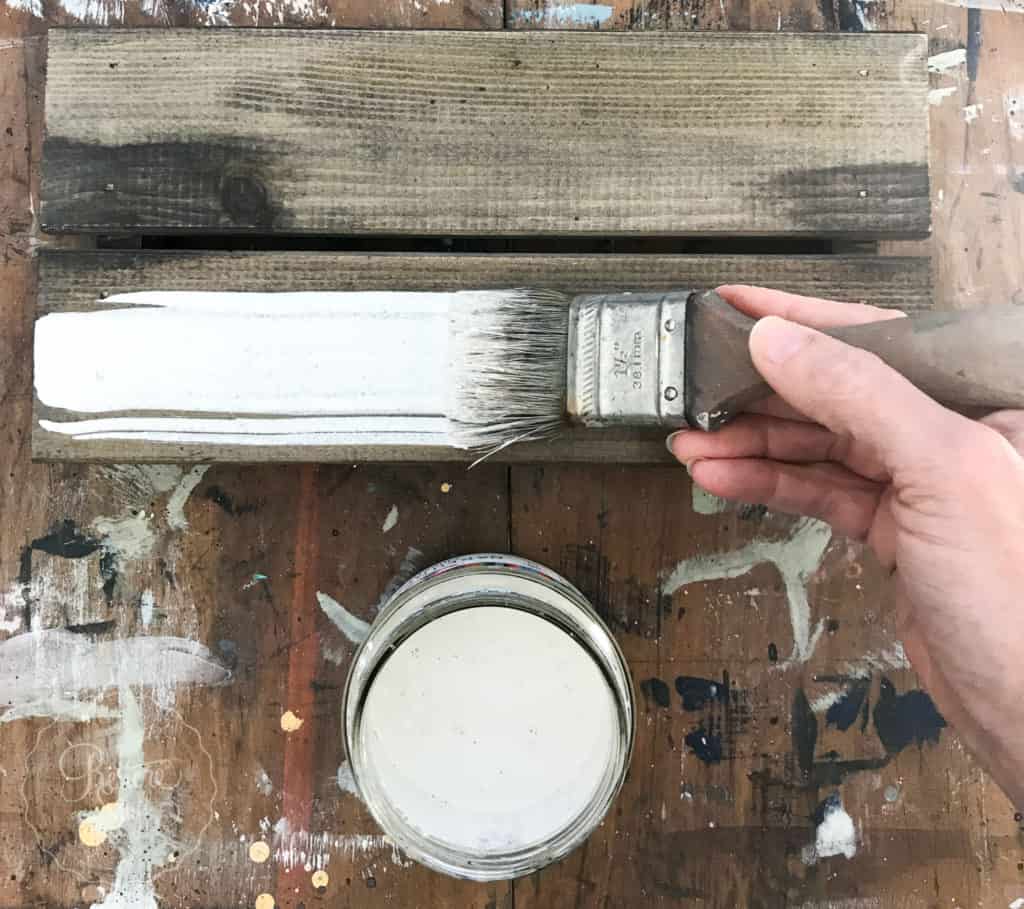
You also don’t want to drag your brush back and forth over the hemp oil – just lay it on at a 45 degree angle. And then leave it alone to dry.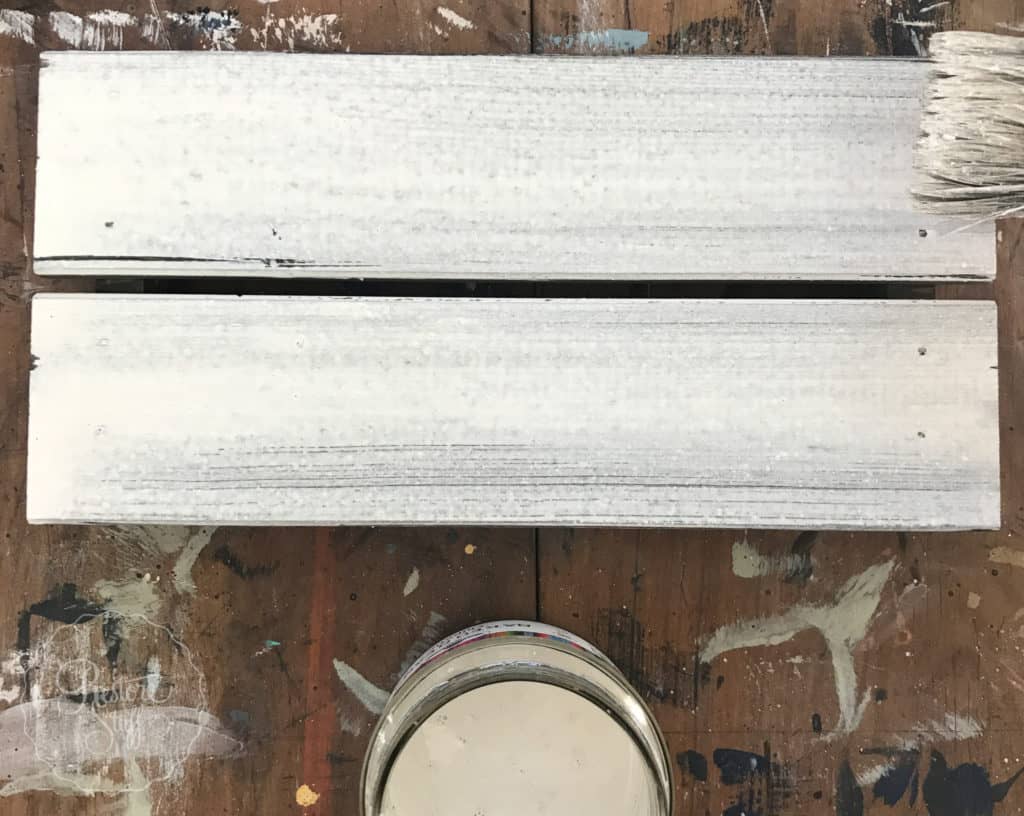

Tip: Lay the paint on with your brush at a 45º angle. Then leave it alone.
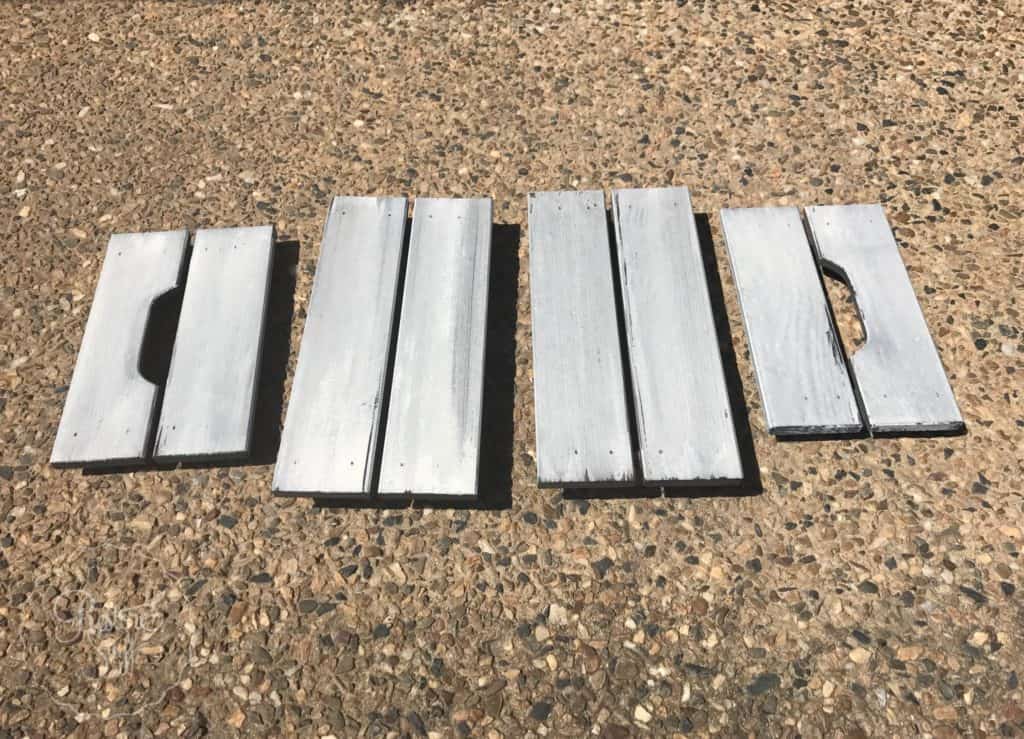
I lay my pieces out in the sun to dry. Sometimes allowing your Milk Painted pieces to dry in the full sun can cause a beautiful cracking and crazing. I think I left it a bit late to put these out as they were almost dry to touch when I set them down outside.
Sanding to Distress the Finish
Once dry, you can now sand back the top coat to reveal the Typewriter layer underneath.
When sanding, you’ll want to be ever so gentle using a very fine grit like a 320 and wipe along the grain.
I use my favourite Sandi Hands Sanding Glove in the Tradies version. In Australia, you can order them from my website here.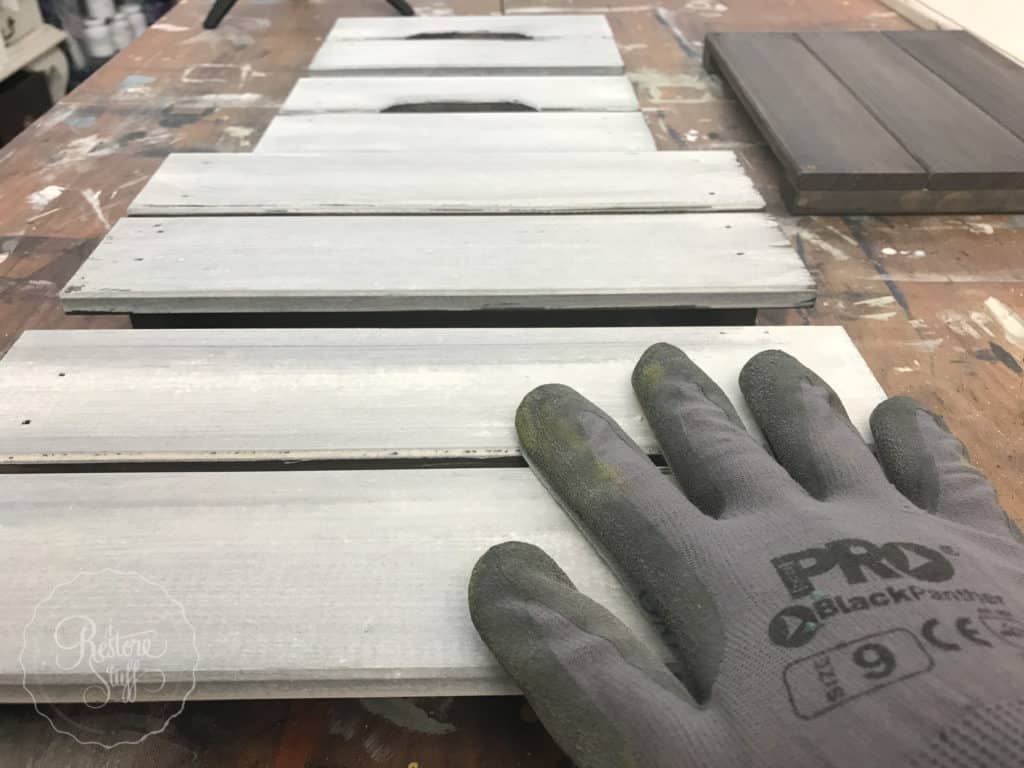 Look below to see the fine lines that show the Typewriter peeking through:
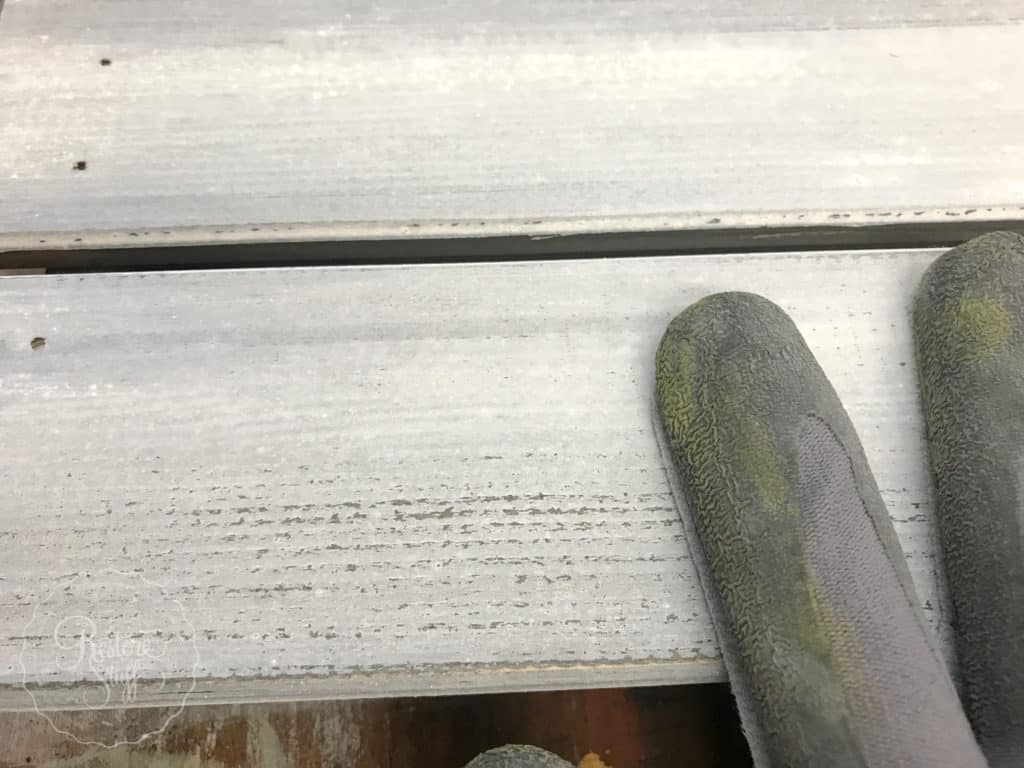 In this pic below, you can see I’ve sanded the top left.
Can you imagine this technique on a two toned furniture piece? Leave me a comment to tell me what colours you’d try this with – I’d love to hear your ideas!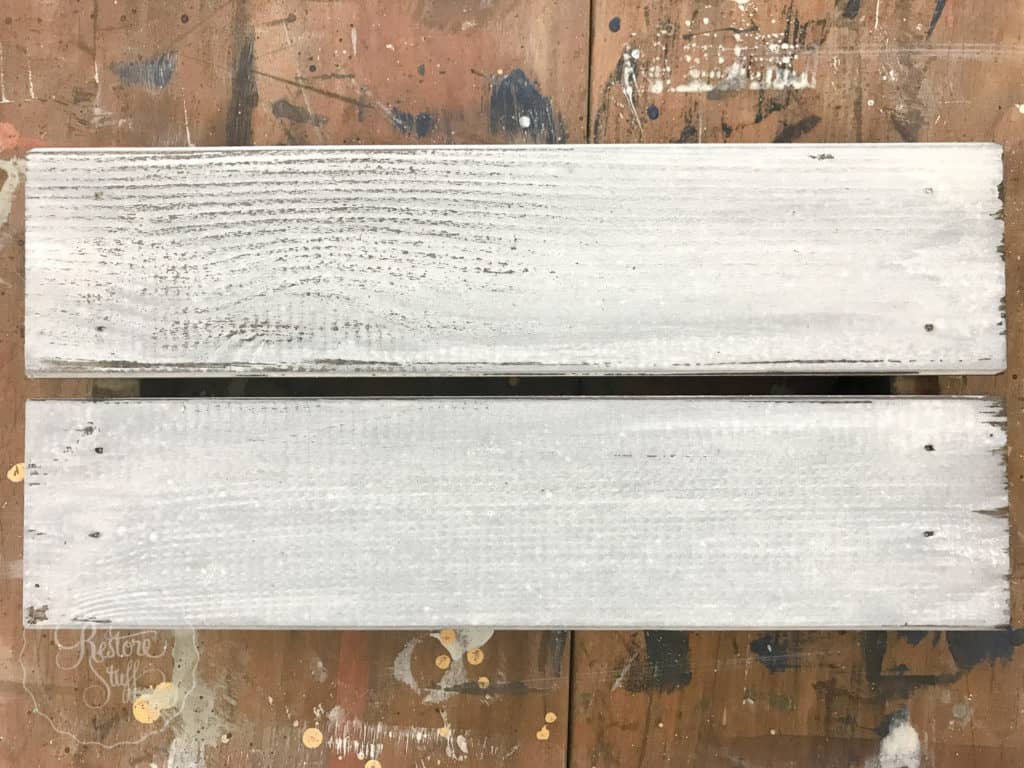 I just love the dark wood grain stain showing through. If you sand to heavily, you’ll go straight to the raw, blonde wood, so remember – gentle sanding.
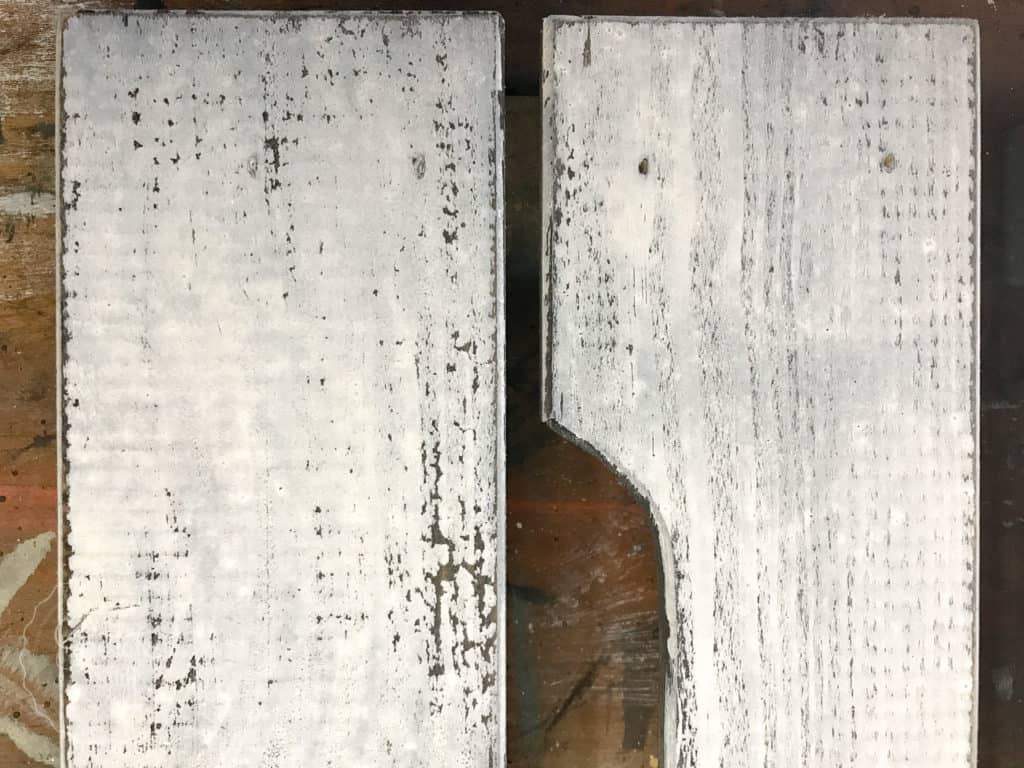
Adding Hemp Oil to Finish
Now that we have our sanding done, it’s time to add a sealer and since we used Hemp oil as a resist, we can also use it as a top coat.
Remember I wanted to leave the insides the Typewriter stained timber? Well I didn’t need to paint the base of the piece, since it’s part of the inside of the box. So here are our pieces of the IKEA Pine Box ready to Hemp Oil, then assemble.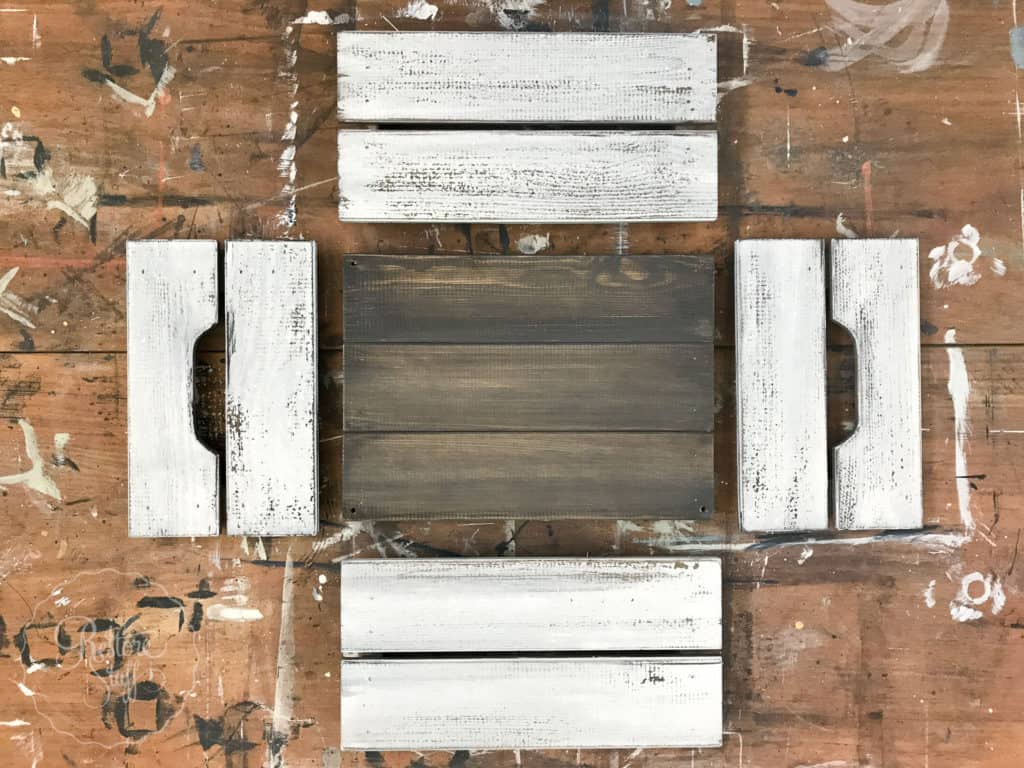
Using Hemp Oil as a finish on stained timber is SO lovely! See the difference where I’ve used the oil on the left here: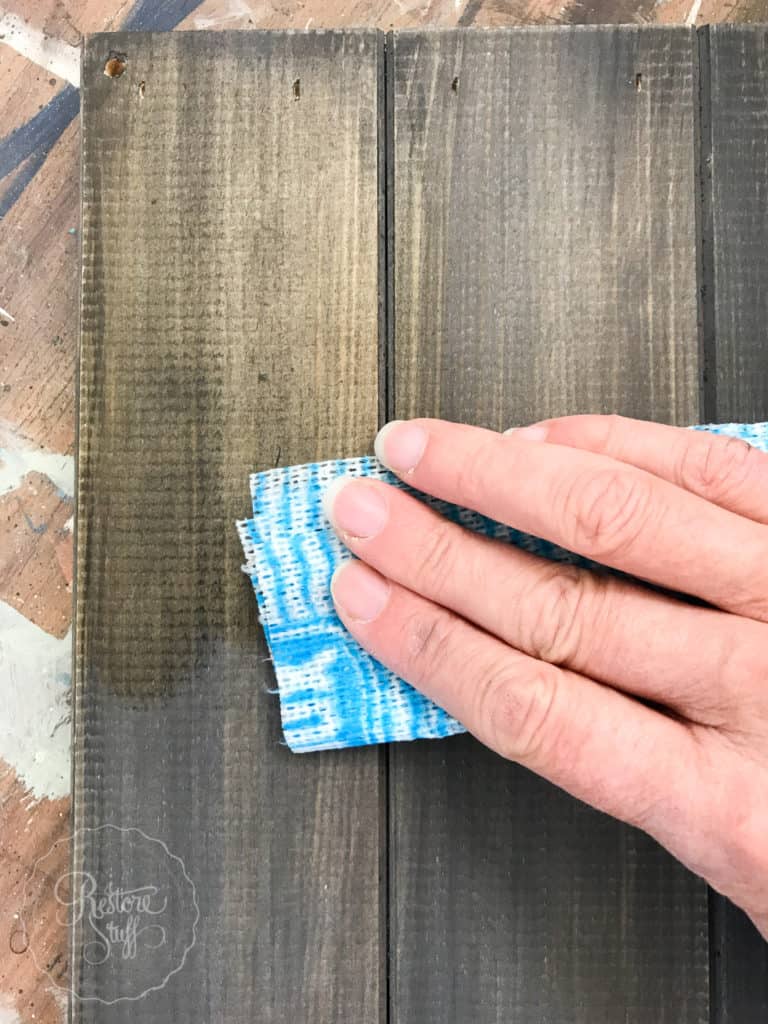
Assembling the IKEA Pine Box
This is where you find all your screws that came with the kit.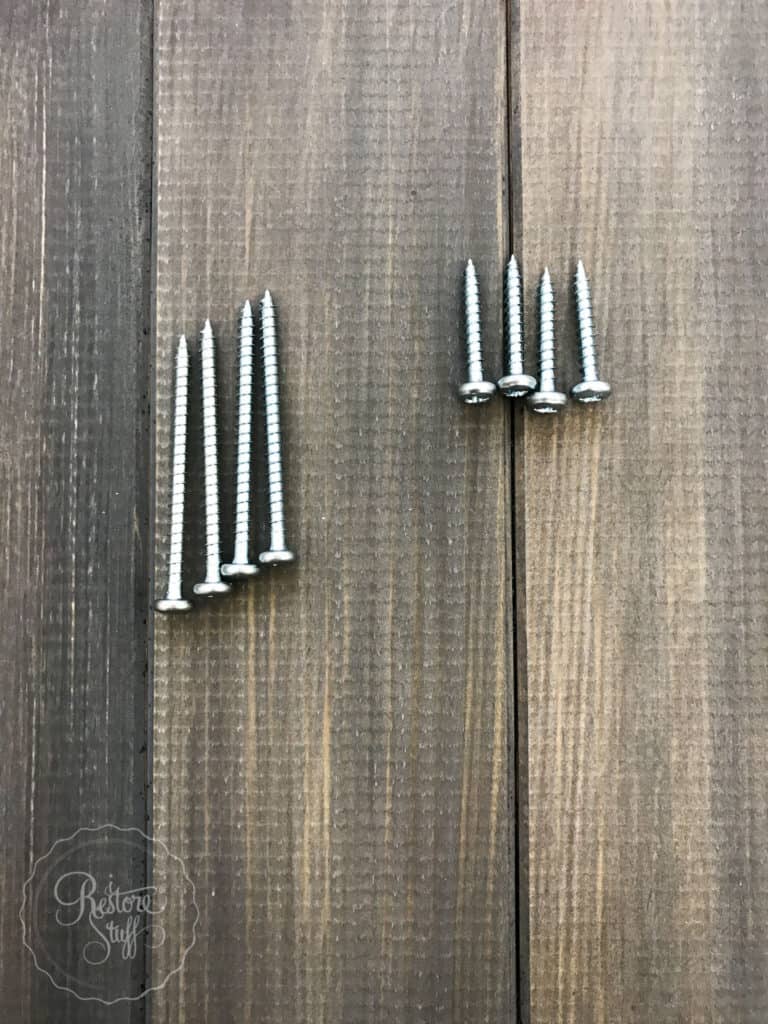 And get your handy drill/screwdriver out.
Follow the instructions given if you need them, but this pine box assembly is pretty self explanatory.
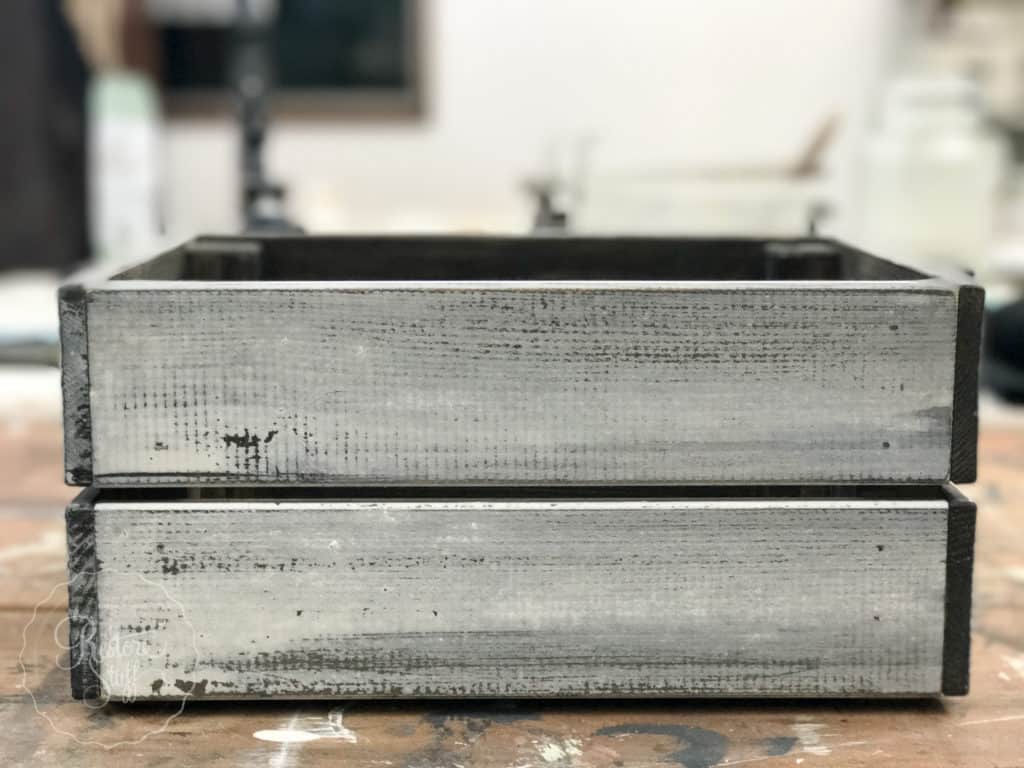
And there you have it – A finished rustic farmhouse style IKEA pine box crate ready to hold all your goodies!
What would you put in here – or what would you use it for? I’d love to hear your ideas, so please leave a comment below.

If you missed the Hometalk LIVE DIY Demo of this project, scroll back up for the video or watch it here.
![]()