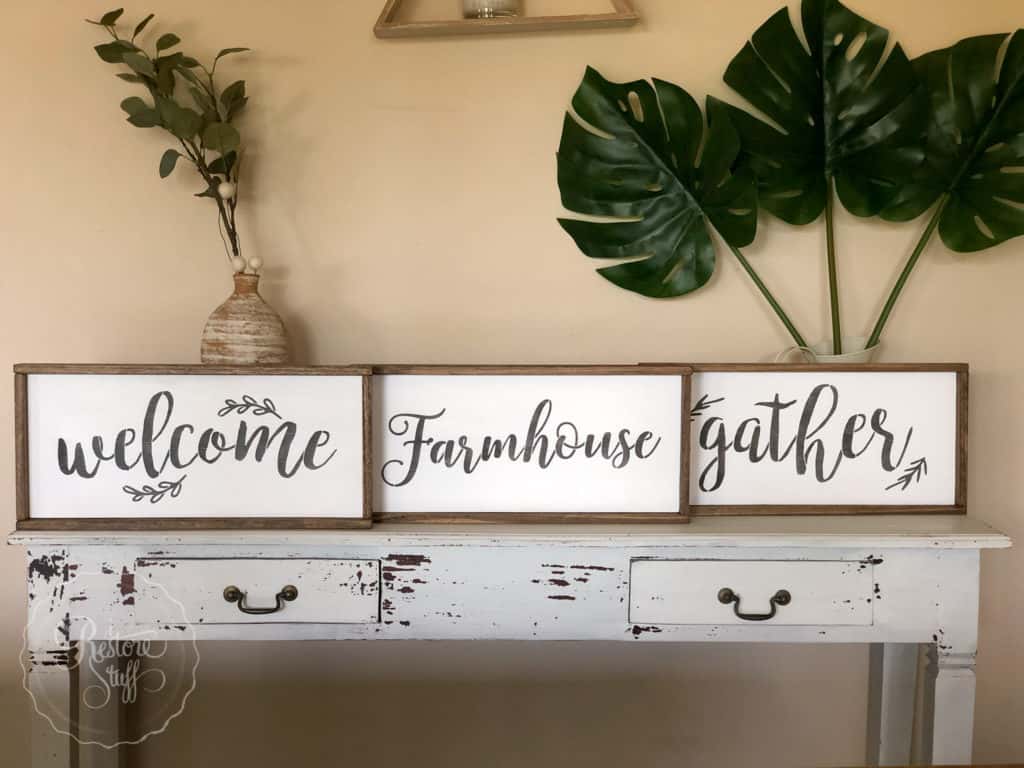
A Farmhouse Sign with Wood Trim
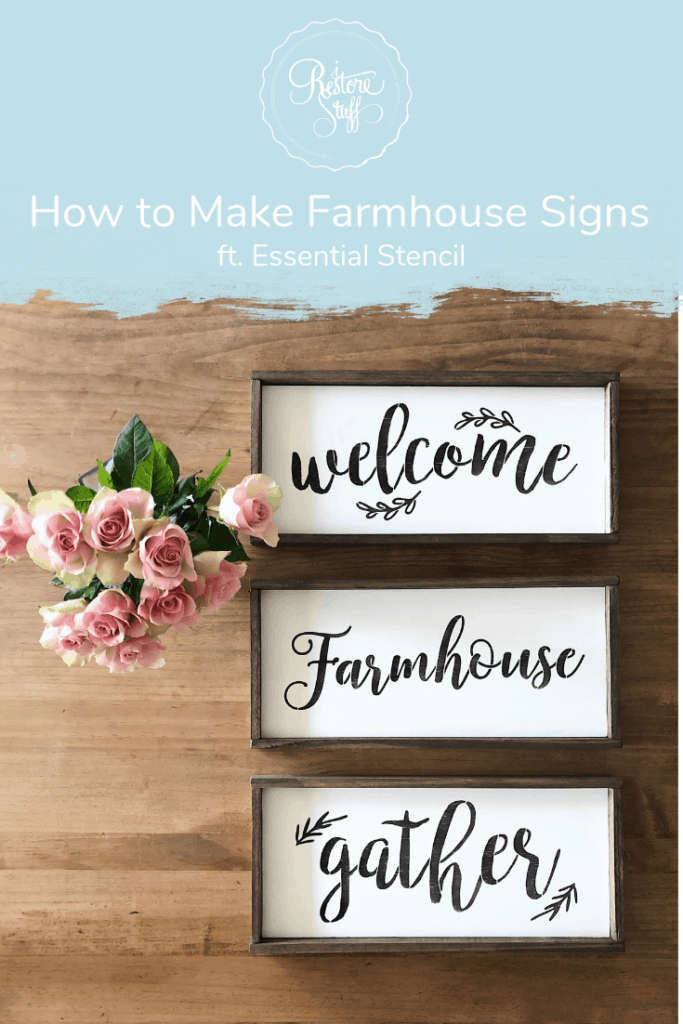
Pin this image to save to your Farmhouse Pinterest Board
FREE full tutorial video at the end of this post!
Farmhouse Sign Pinterest Boards!
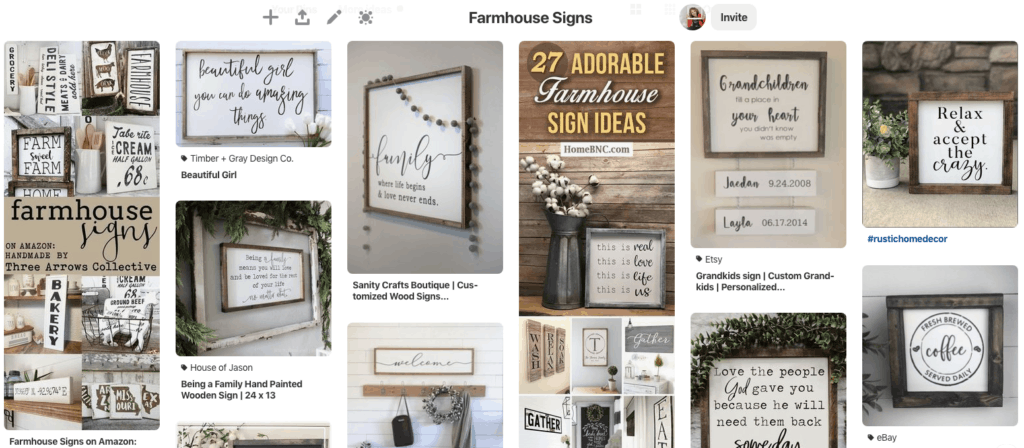
I have been eyeing off the beautiful Farmhouse signs on Pinterest featuring brown wood trim that provides a rustic border to the white sign with black lettering. Like some of these I’ve collected in my Farmhouse Signs Pinterest board below:
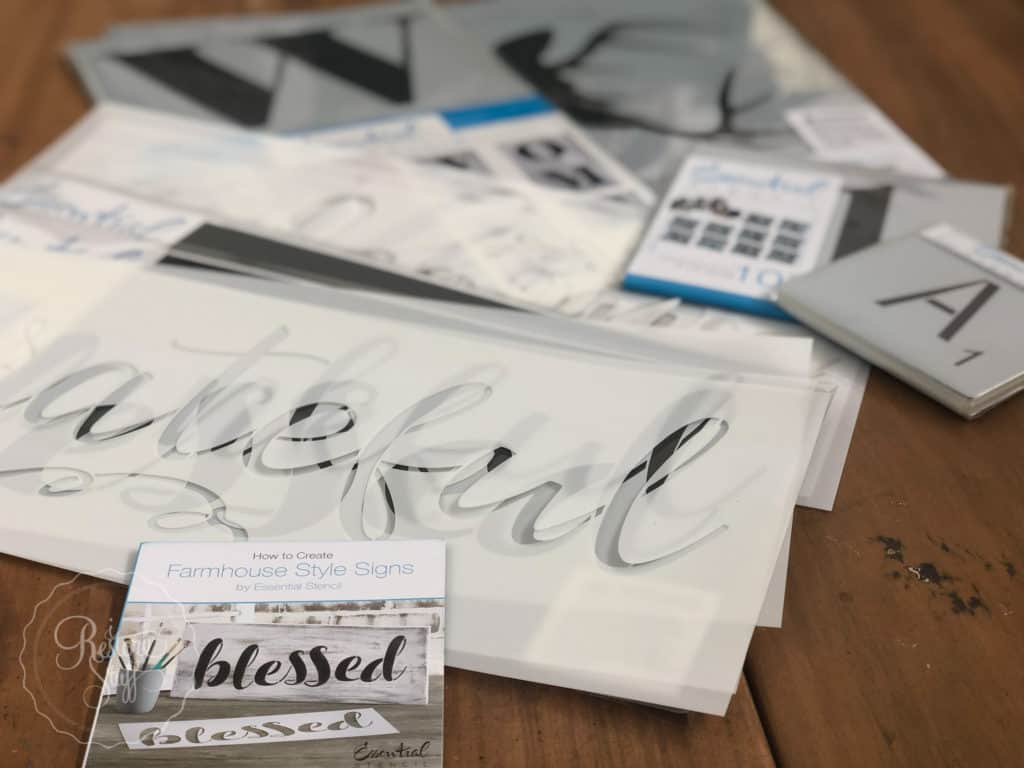
So when Essential Stencils sent me some of their most popular sign stencils to try, I knew I needed to gather some supplies and try making the signs I’d been planning in my head. AND, guess what?! They have given me a coupon code to share with you all to receive 10% off your purchases with them!
So be sure to use the code: iRestoreStuff when you go to check out at Essential Stencil website.
Essential Stencil Farmhouse Sign Stencils
With a great range (and constantly growing) of lovely stencils to choose from, Essential Stencil have made sure their product quality is top notch!
Made of eco-friendly 10-12mm semi-transparent, flexible mylar, these durable stencils are rugged enough to reuse over & over.
Prepping your Farmhouse Sign Boards
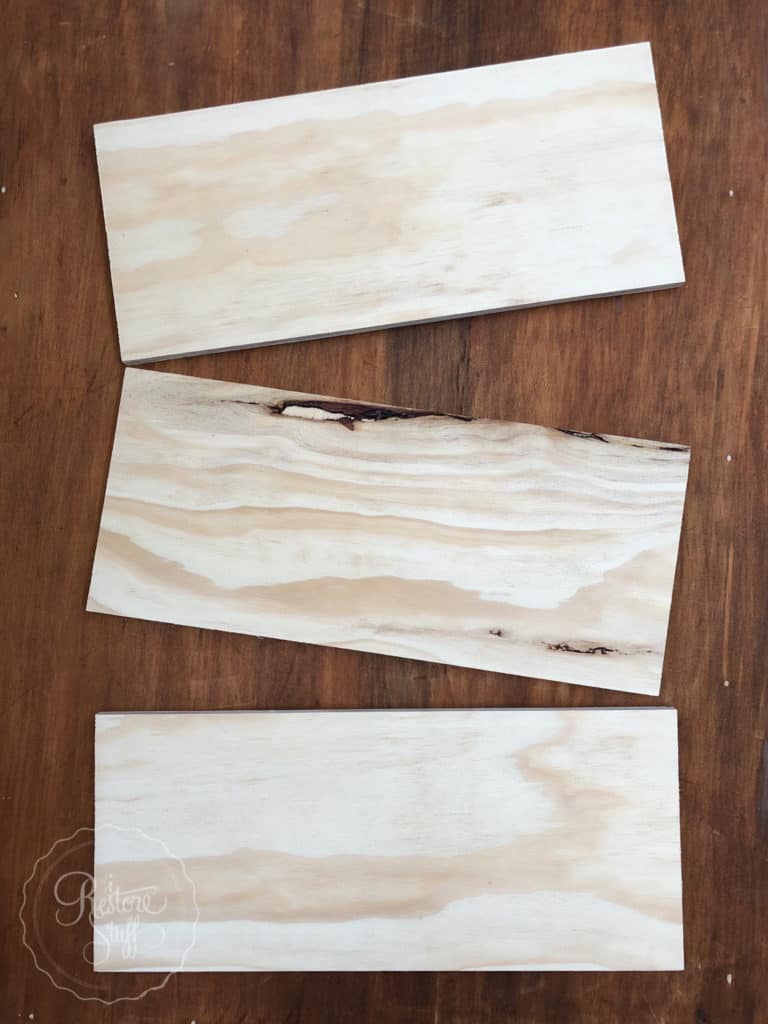
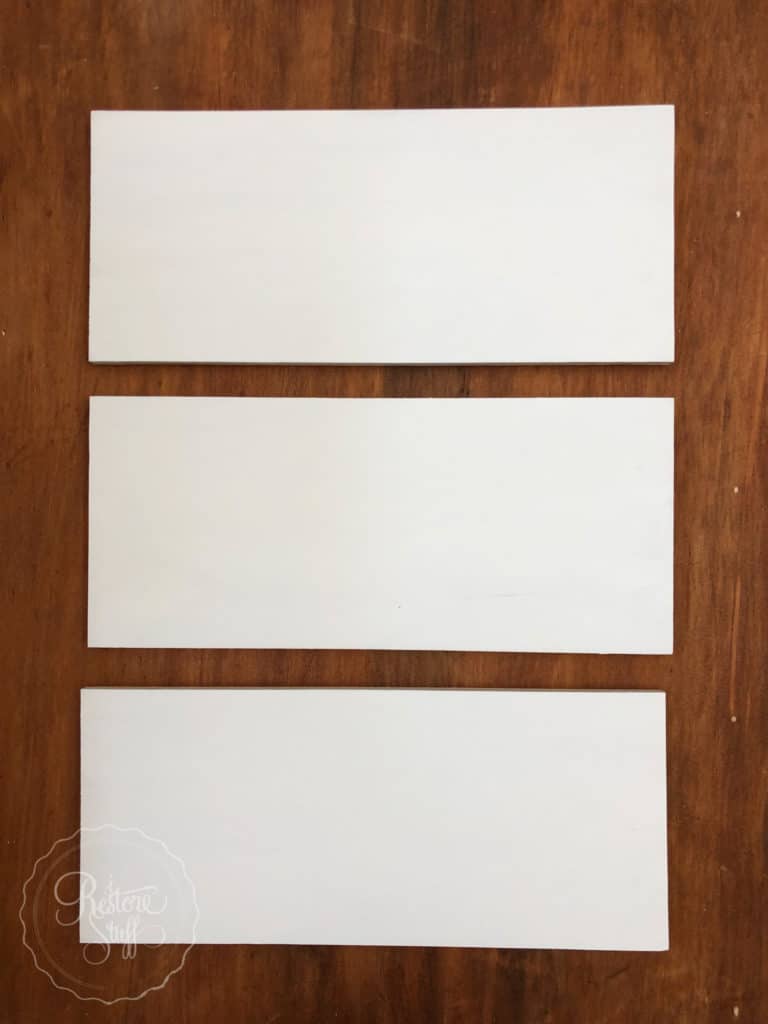
I used ordinary plywood for my sign boards. It’s about 1.5-2cm wide and I cut the signs approx 45cm x 19.5cm to fit the stencils nicely.
I used two coats of Fusion Mineral Paint white called Picket Fence to lay down a white base.
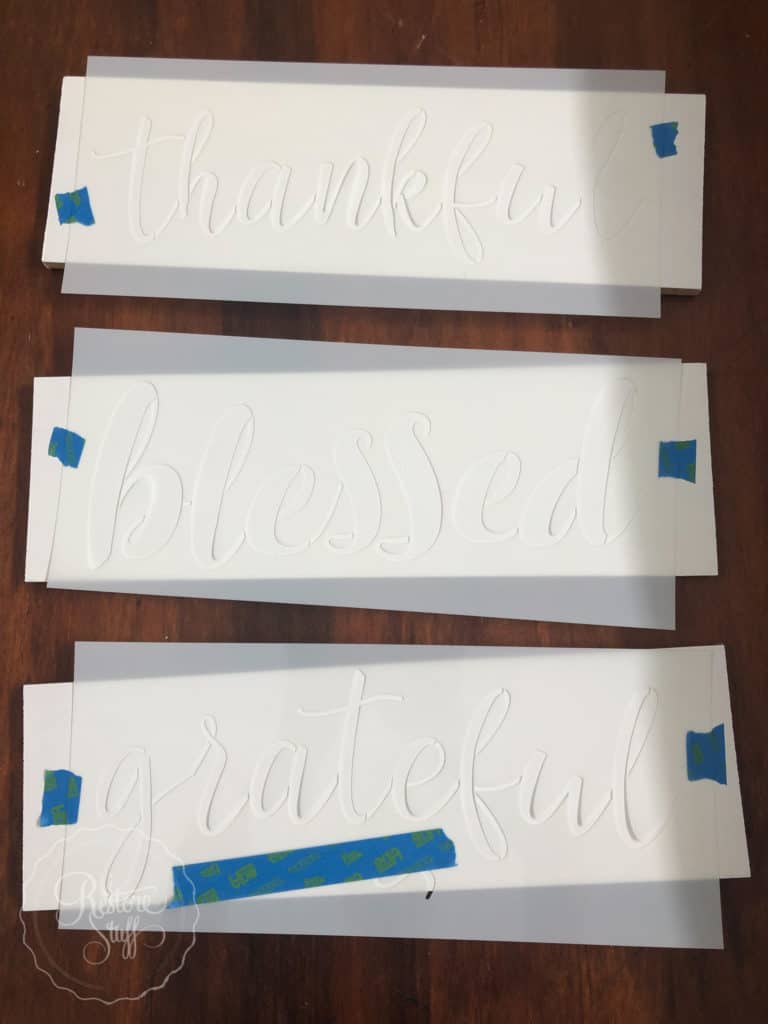
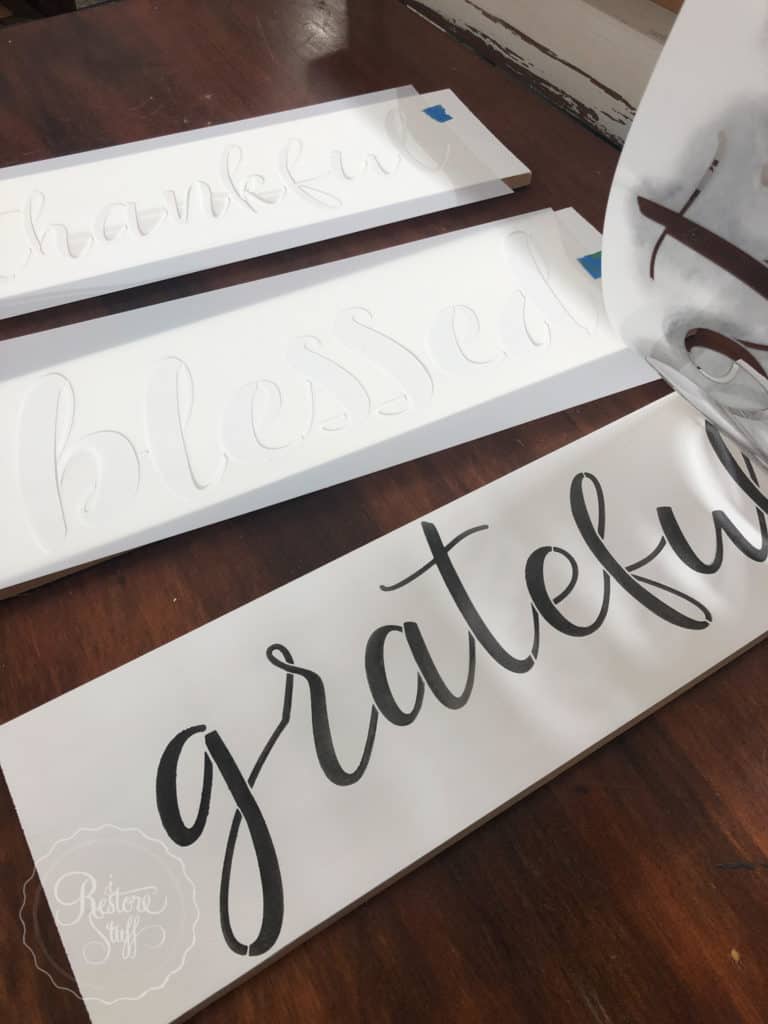
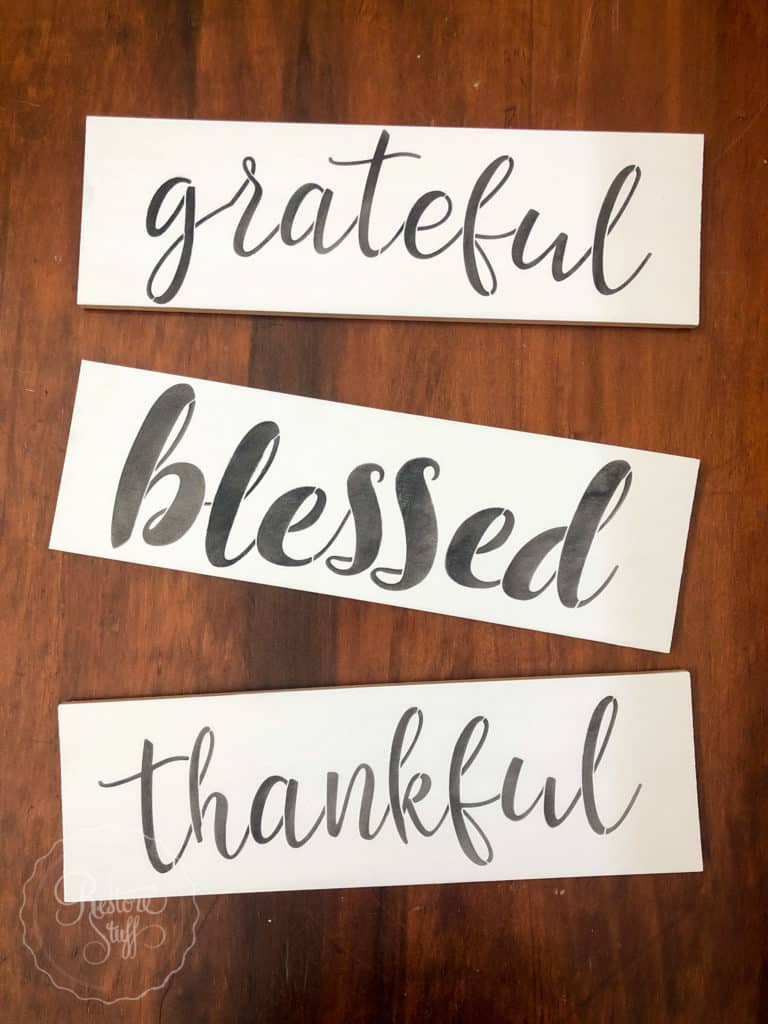
Essential Stencil sent me two of their Farmhouse Sign style sets, the first set I used contained the words: THANKFUL, BLESSED, GRATEFUL. These would make great Thanksgiving season decor, but I say they’d also be a great reminder all year round to appreciate so much in our lives.
NOTE: I also want to point out to my Aussie customers that Essential Stencil is a USA based company, but DO ship to Australia, Canada, United Kingdom, New Zealand and Germany! I received my order quite quickly here to Australia – I was very impressed. I think it took less than a week to arrive.
Using painter’s tape, secure your stencil down both sides of the stencil. You can add additional tape top and bottom if you think it needs, but you really only need a little to keep the stencil in place while you work.
Stenciling tips
I have a number of stenciling tutorials that I have written along with video tutorials on my best stenciling tips, and I do find the best explanation is to show you visually, so you can scroll down to the video in this post, where I’ll show you the full demo of the making of these Farmhouse signs (including the wood trim finish around the edges).
Two keys to good stenciling include:
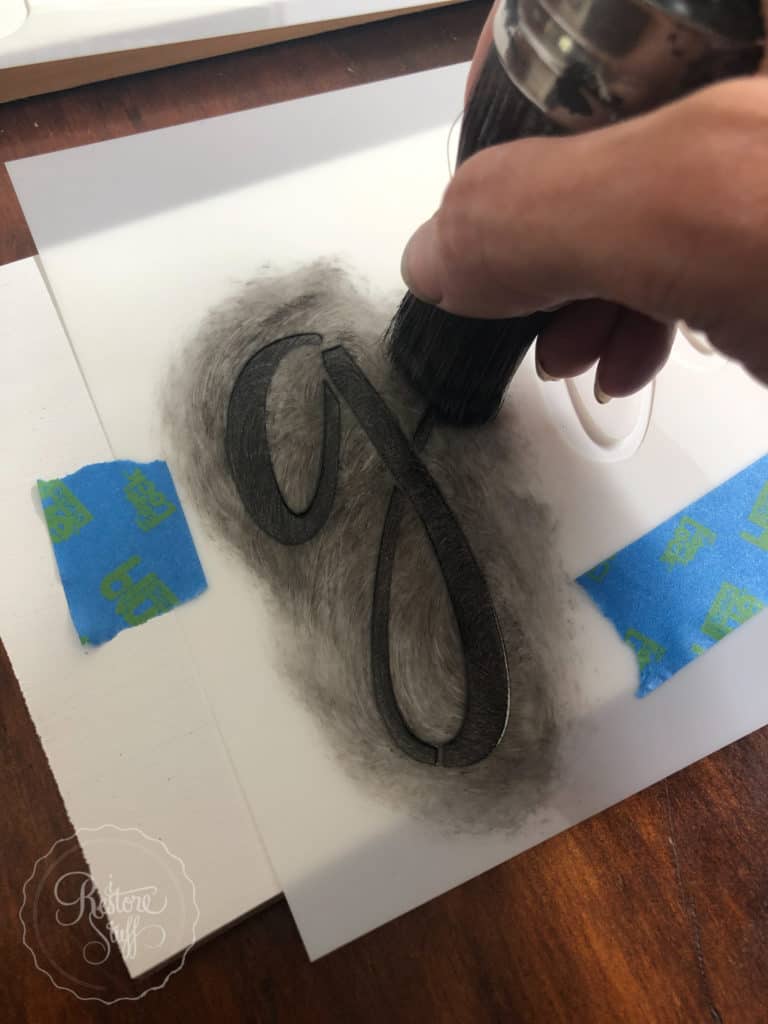
- having a very dry brush – dip it, wipe it on the edge of container, then wipe it off on newspaper or cardboard until very little remains on brush
- swirling versus stippling – each person has their own preference, but I tend to use swirling for a better coverage and quicker application (see this in the video)
If you follow my tips above, you’ll have nice crisp lines and no paint bleeding under the stencil.
Wood Trim for Sign
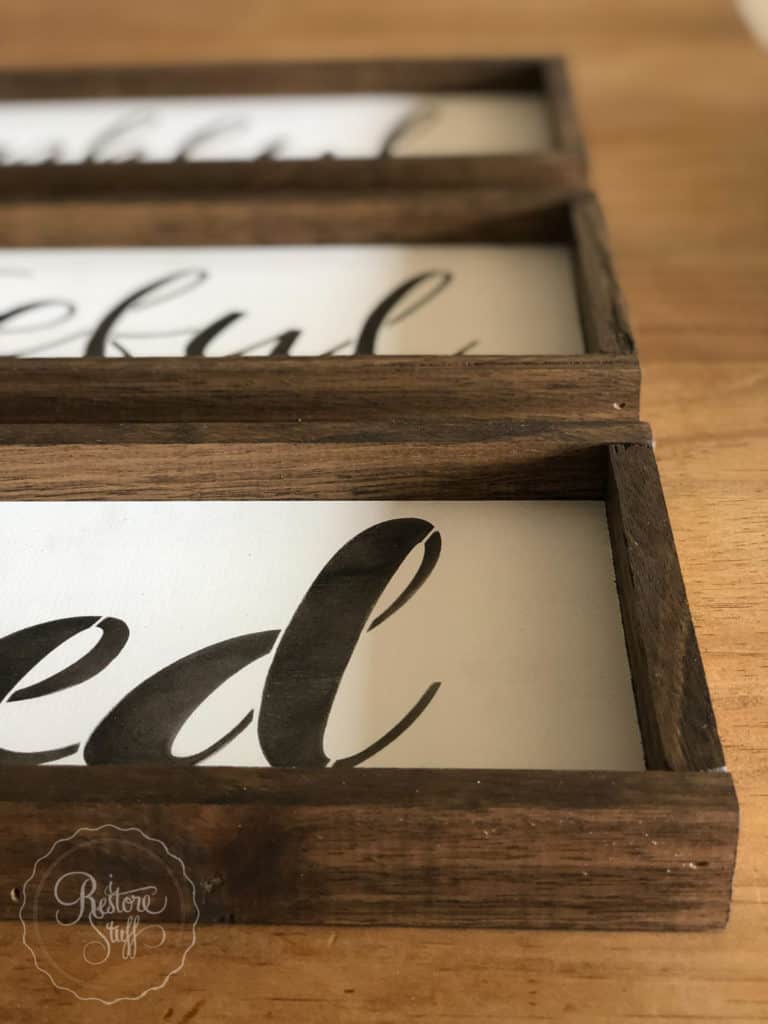
Once the farmhouse signs were stencilled, I added the wood trim.
I started with a length of Tasmanian Oak sourced from my local Bunnings hardware store here in Australia. You can use any oak, and depending on your personal taste, you can choose a totally different width trim than I did, but my Tassie Oak trim was 3cm x 1cm.
I measured the width of the sign board and cut two exactly the size of the width. These will be the short edges.
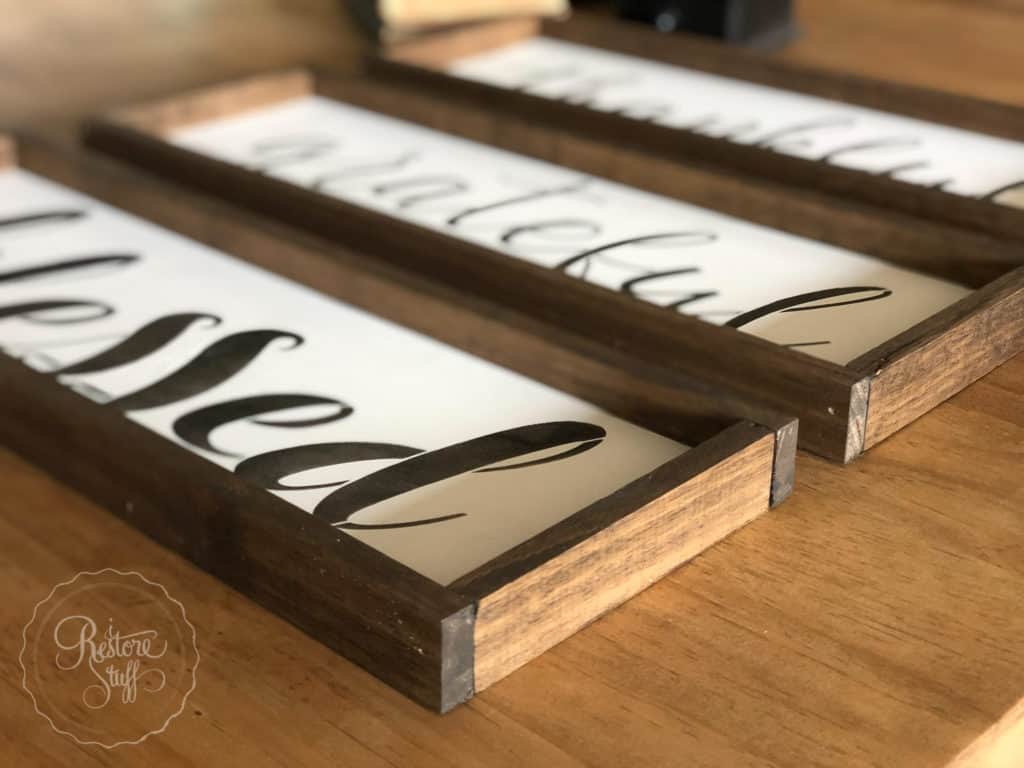
Then I cut two long edges adding the 1cm to each end (to account for width of the trim), to make sure they were going to sit flush at the edge as shown in my video in this post and in the finished picture below:
I stained each of the lengths of trim using Fusion’s Stain & Finishing Oil in the colour, Cappuccino.
It was my birthday last month, and hands up if you’re a gal who has power tools on your wish list too??
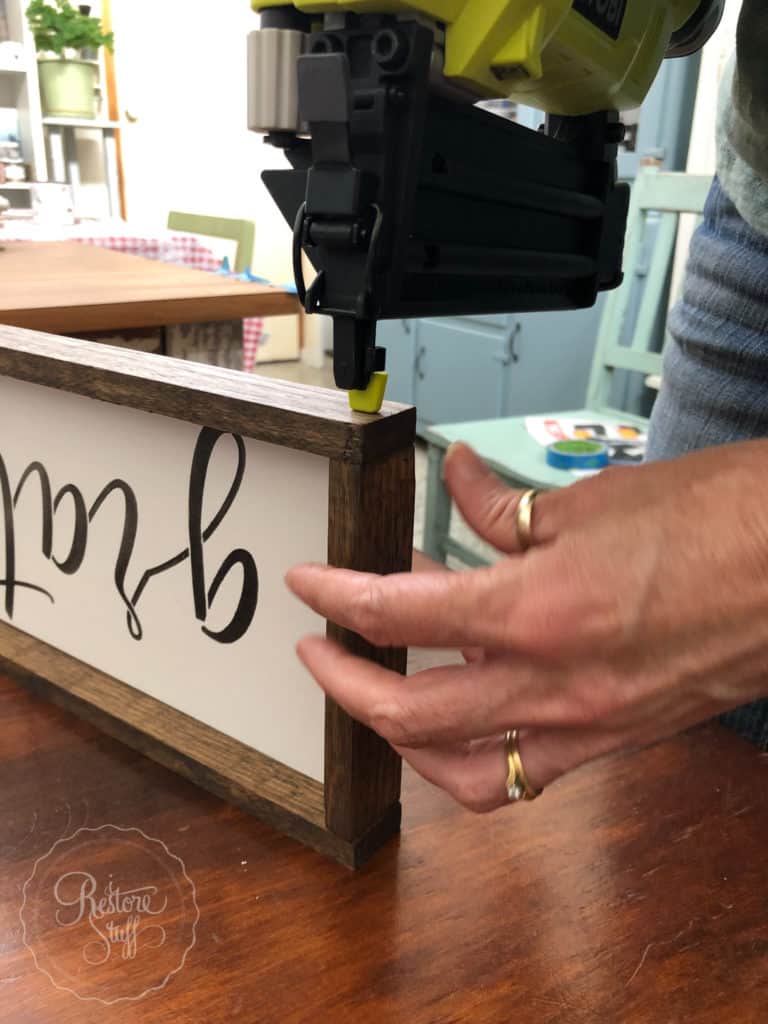
My beautiful family got me the Ryobi One cordless Airstrike Brad Nailer!! (If you’re in the USA, you can find my affiliate link HERE:
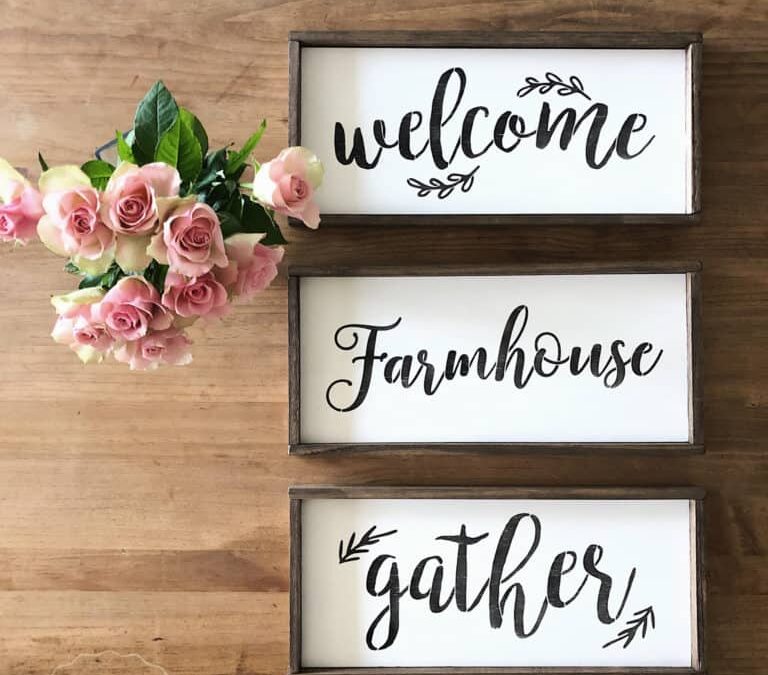
No fancy pants mitred corners here – just pure rustic farmhouse charm!
The second set of Farmhouse Sign stencils I received from Essential Stencil were these words: WELCOME, FARMHOUSE, GATHER. Perfect for an entryway, dining room, kitchen, living room, mantle – you name it – wherever your people gather! I think they’re adorable!
My Full Farmhouse Sign Video Tutorial
As promised, here is a video tutorial I made for you to get the general idea of how I created these signs, along with my best stencilling tips for you to try out when you purchase your own stencils – don’t forget to use the coupon code “IRESTORESTUFF” for 10% off your Essential Stencils!
If you have any questions after the video, please ask in the comments, I’d love to hear from you!
Don’t you love these stencils??
Check out the full range and don’t forget to use coupon code IRESTORESTUFF here for 10% off your order:
