
I received a message of desperation via my Facebook page several months ago along with the picture below:
“I totally ruined the cabinet. I’m in a bit of a panic how to fix it… Can you suggest anything pleeeeaassee??”

I had to smile, because so many of us get to this stage of painting our first big piece and think: What have I done? I had to reassure Laura, and explained that this is called the “ugly” stage and everything was going to turn out just fine …
The Plan …
Laura had purchased some Fusion Mineral Paint from me in the colour Sterling (a pale silver grey). She was wanting to paint her lovely solid timber, Balinese cabinet.
Here is a pic of the cabinet before. It’s nice enough with it’s rustic finish, but not the colour scheme Laura & her husband, Aaron are going for in their house. These two have a love affair with Bali – they loved it so much, they had their wedding in Bali, have holidayed in Bali, and so it was only natural that they brought some Bali to their home, with a blend of beachy whites and soft greys.
The Bargain Queen …
Laura has a talent for finding those Gumtree or Ebay bargains that everyone dreams about! She bought the above cabinet for $99 (it had a broken door) and showed me several other pieces that she scored for just as good a deal. She has a beautiful bookcase (scored for $60!) in her lounge room (below) which she wanted her cabinet to blend well with. Check out the adorable details on these legs (below). Can I just say again, Laura bought this for $60! I know, right?
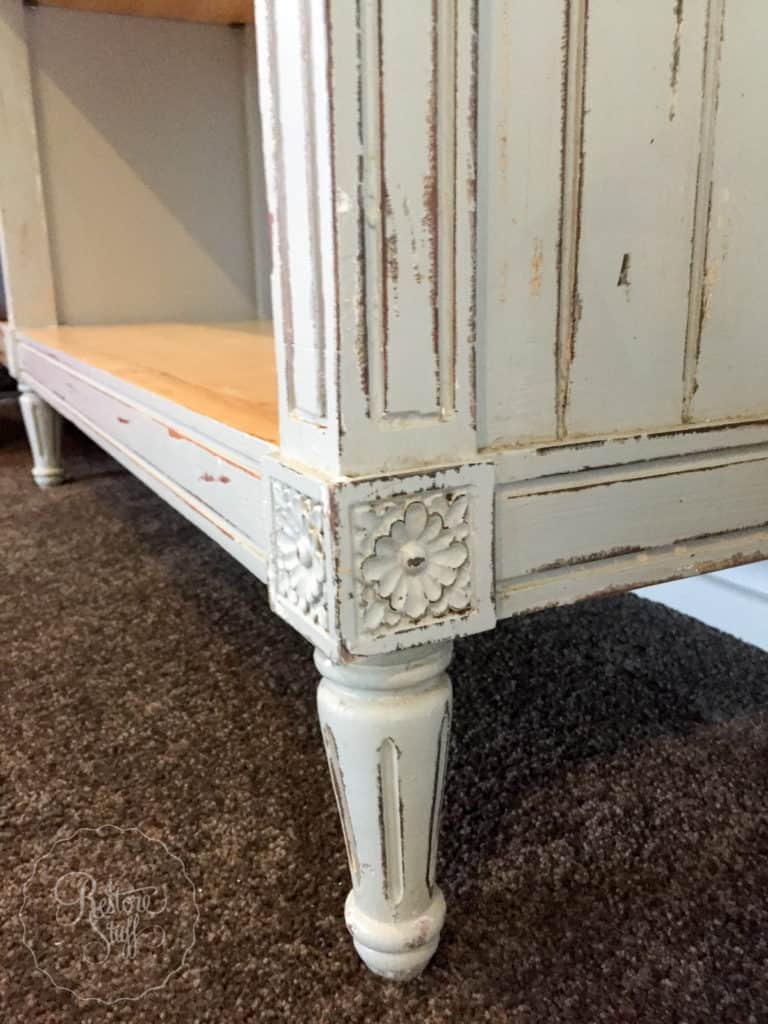
Back to the Cabinet dilemma…
Since Laura lived close, I offered to come and give her a helping hand. And so began our “Restoration Rescue”!
We started by continuing the first coat of Sterling colour. The silver grey Stirling turned out to be a little brighter than was expected on this particular piece, and was looking more like an undercoat (her hubby’s description 😉 ) than a soft grey …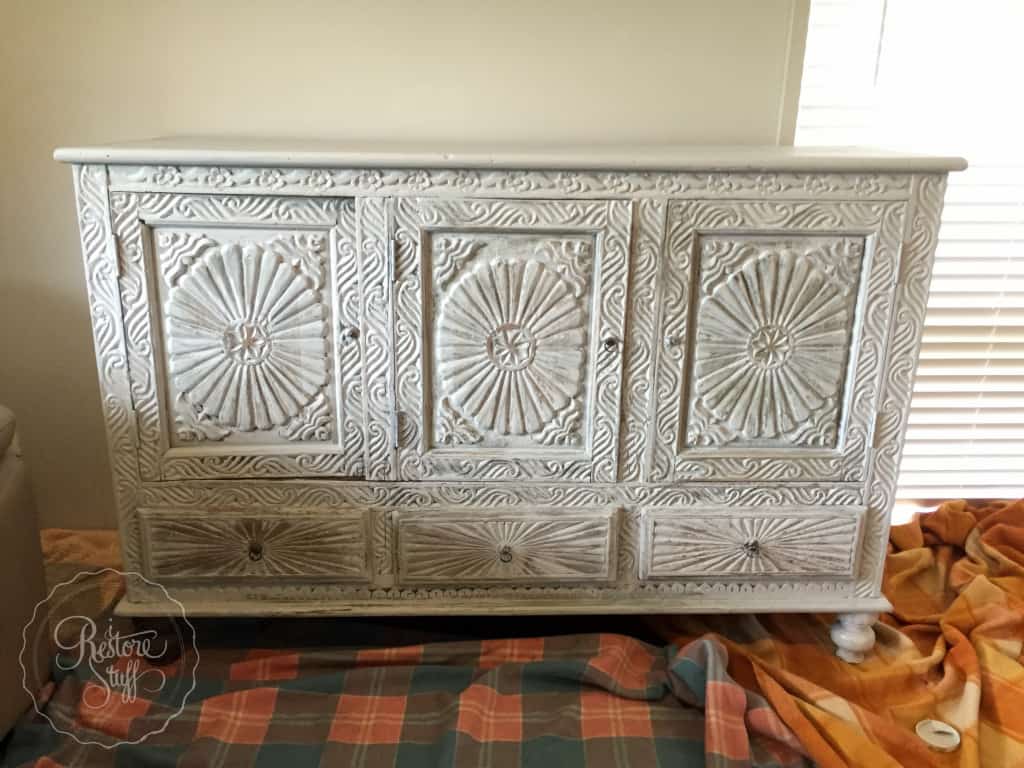 So we mixed a darker grey using Fusion’s Casement (whitest white in their range), and Soap Stone.
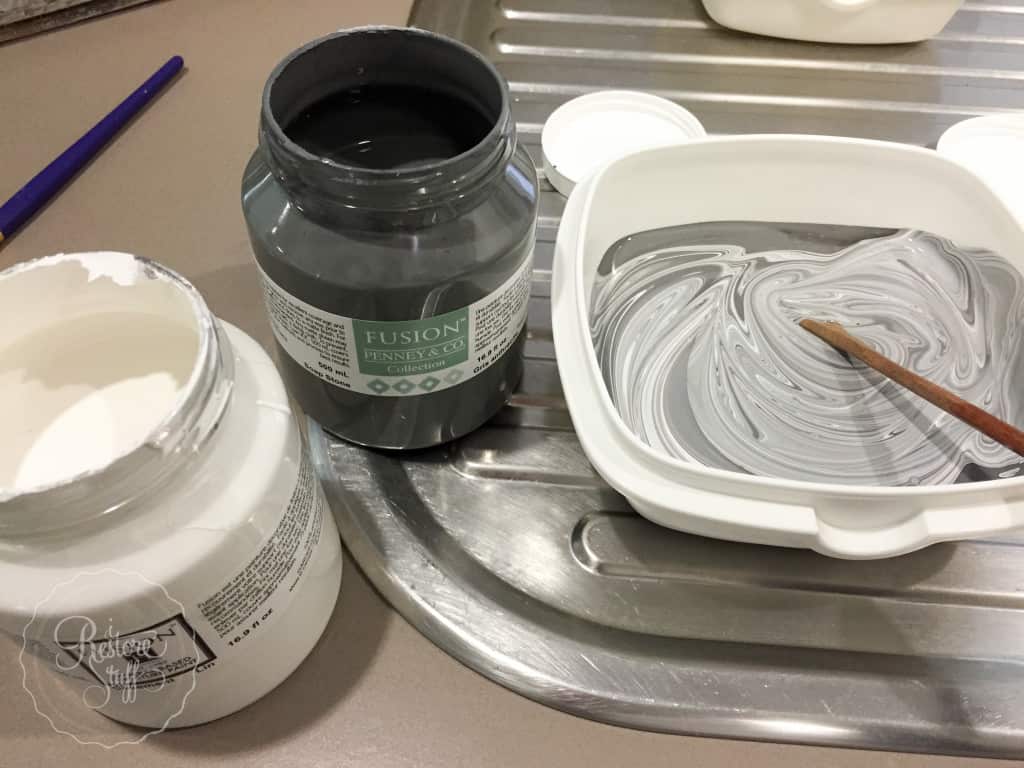 We mixed till we came up with a colour that Laura was happy with …
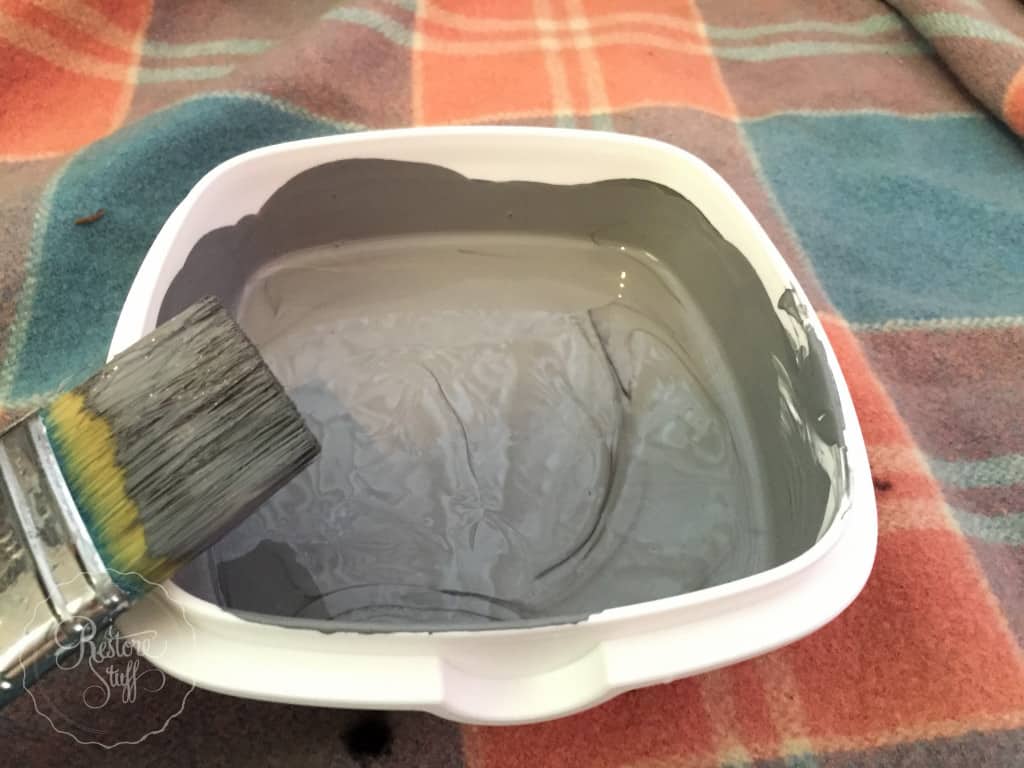 And here is our custom colour painted over the Sterling colour:
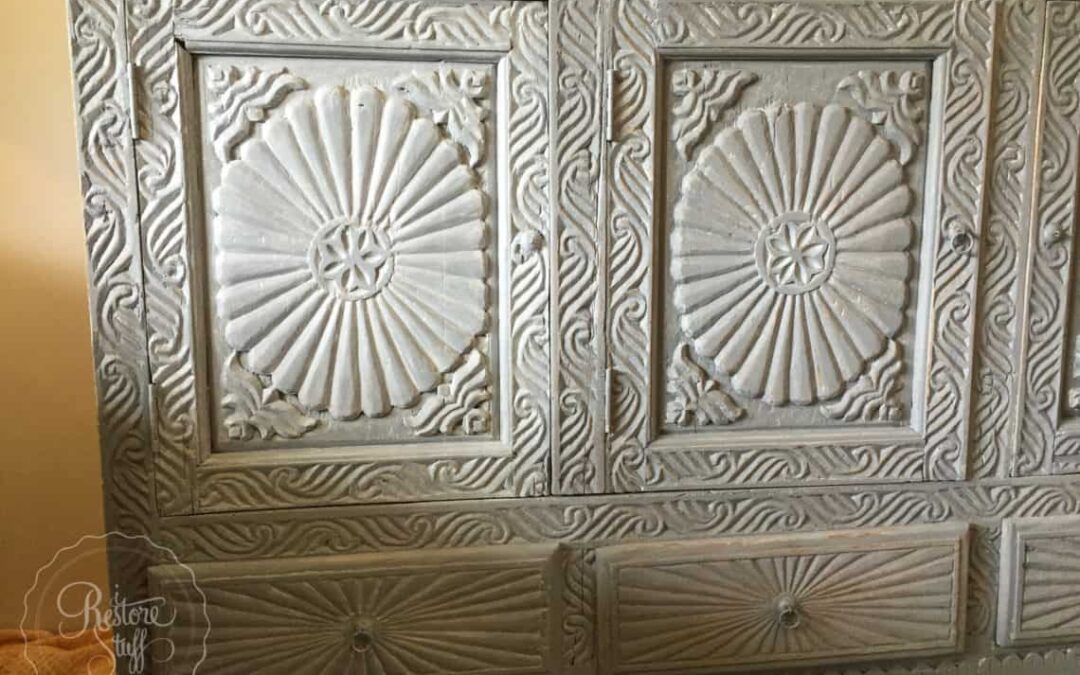
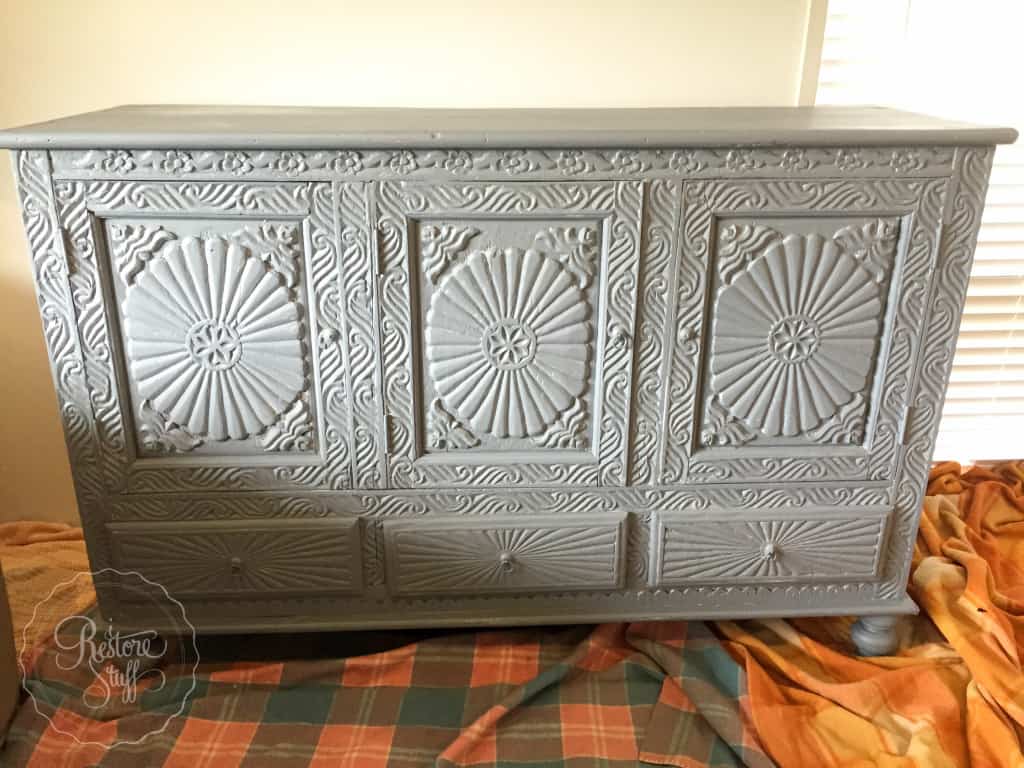 Our next step was to sand back the highlighted details to reveal some of the coat of Sterling colour underneath and even some of the raw wood. I didn’t get pictures of our sanding detail, but what I do have is some evidence that Laura cracked up laughing about and insisted on a photo of:
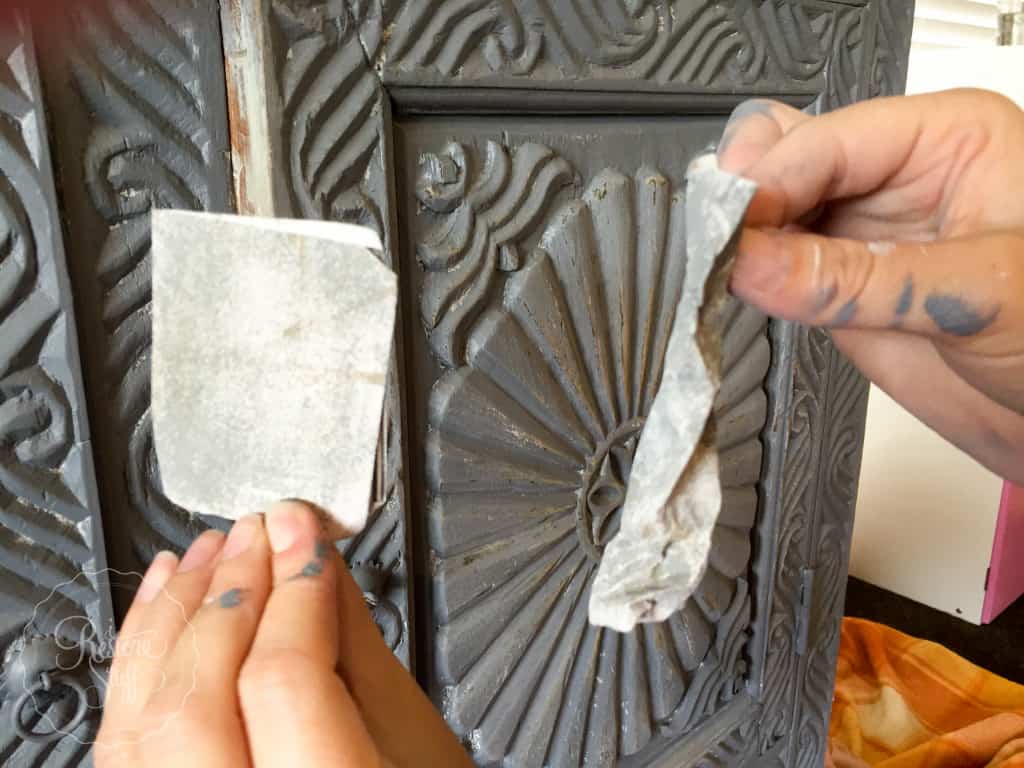 We were both sanding with these pieces of 320 grit paper, when Laura grabbed mine and hers to compare her scrunched up sandpaper versus mine – neatly folded, with equal amounts of wearing on all sides. We had to laugh. Okay, I know you’re reading and already thinking which personality you are – are you a folder or a scruncher??
White wax
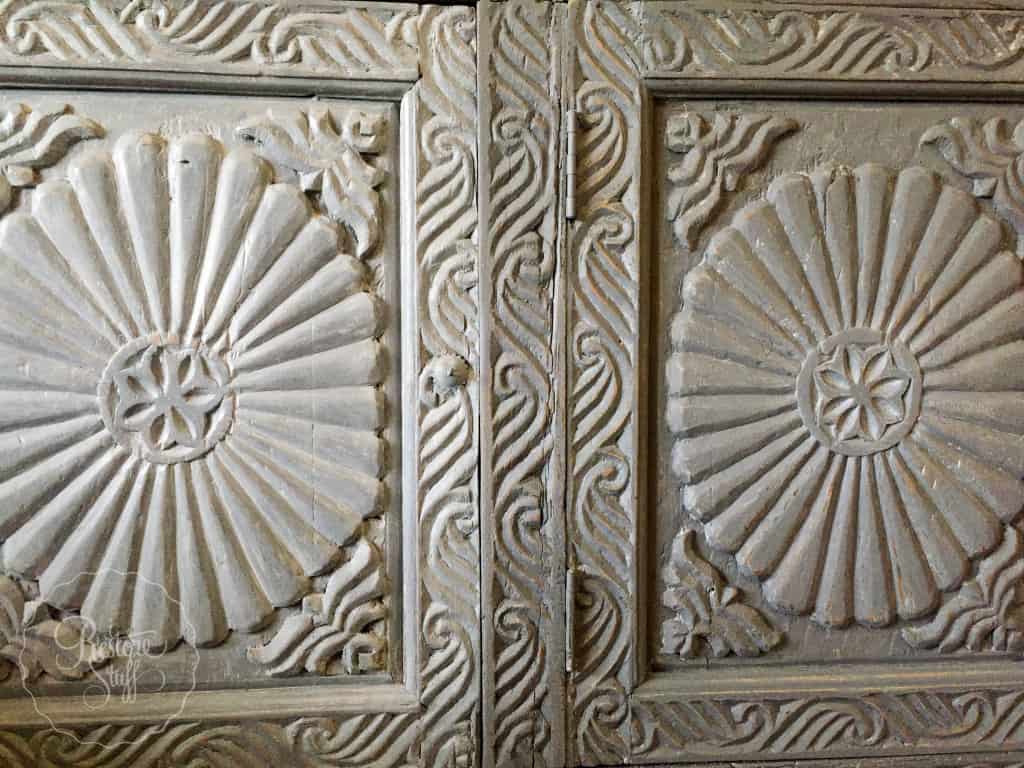
Left door: White waxed
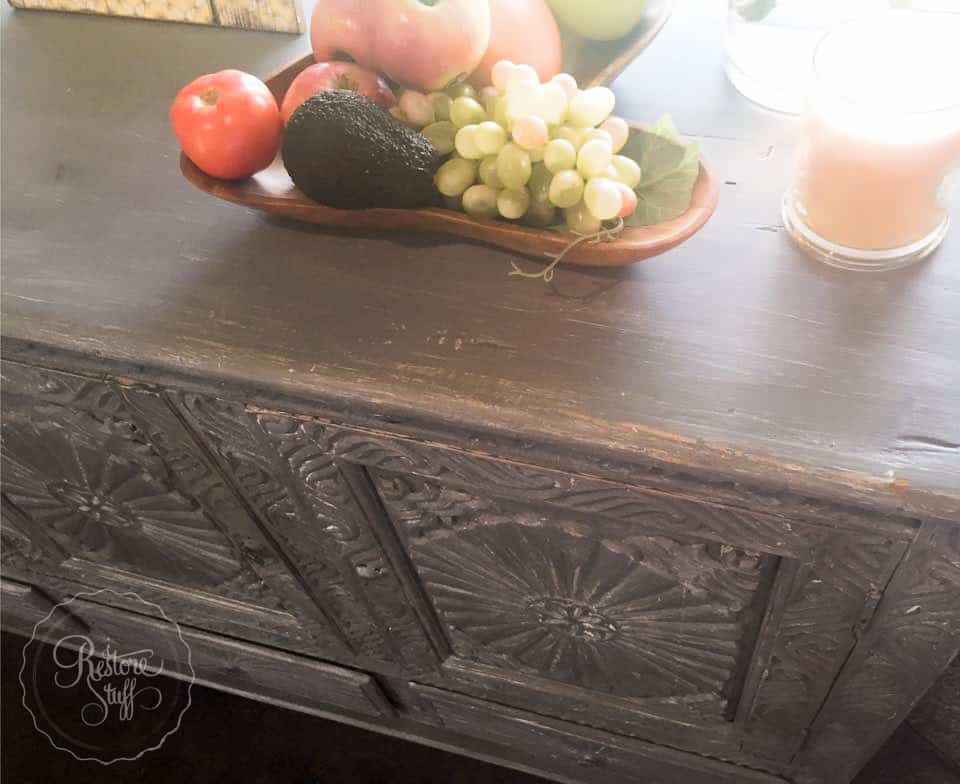
We decided the shade was a little on the darker side, so we added White Wax to highlight the detailed crevices and add a softer overall tone (above).
White wax is easy to apply: simply brush on with a wax brush or a clean lint free cloth, getting right into the creases; then using a clean, lint free cloth (eg. Chux wipe), rub away the excess wax from the surface, blending and finishing to your satisfaction.
Here’s how the drawers looked after waxing one of them so you can tell the difference:
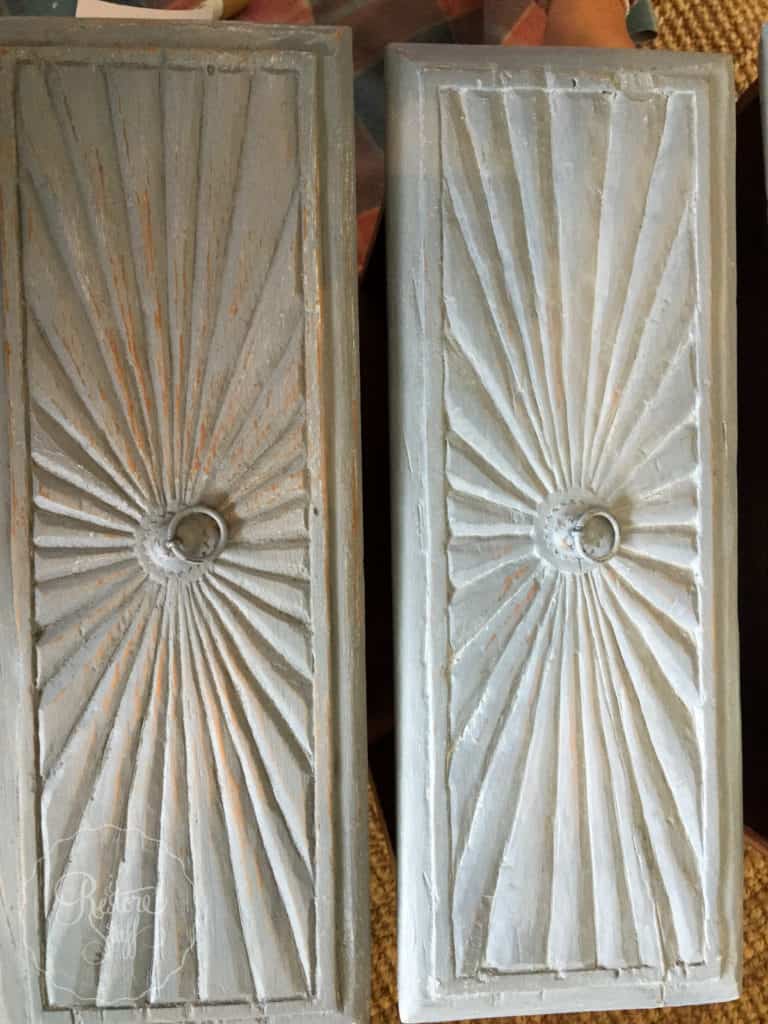
Waxed drawer on the right.
I started waxing on the left side of the cabinet …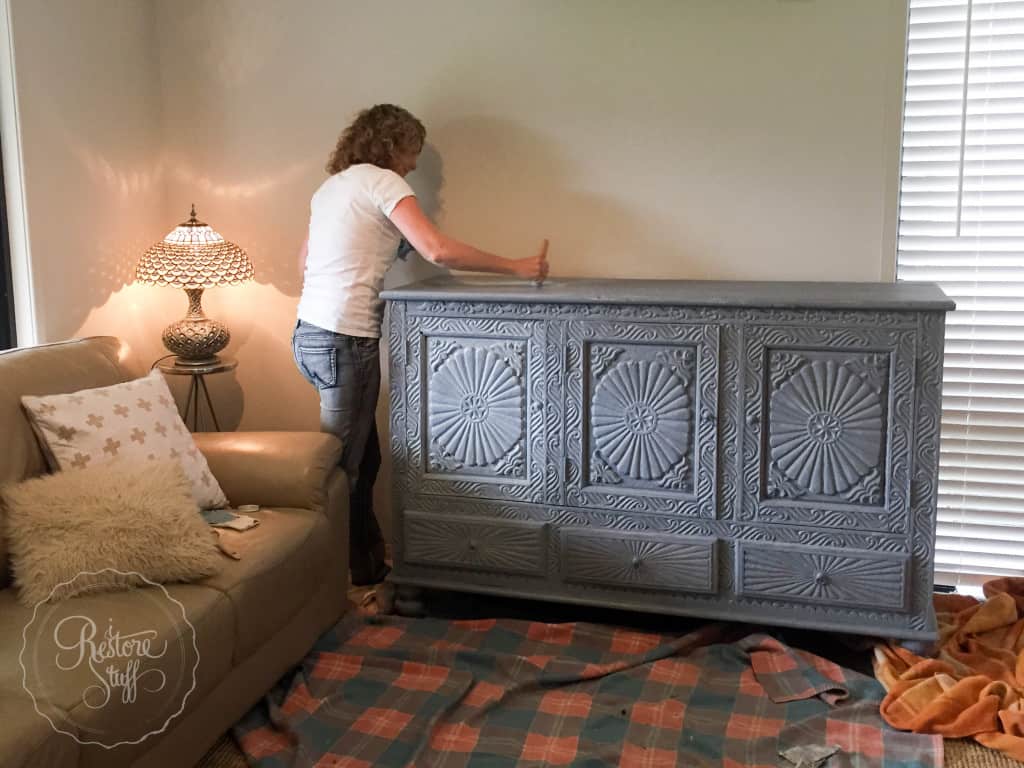 And Laura finished it off.
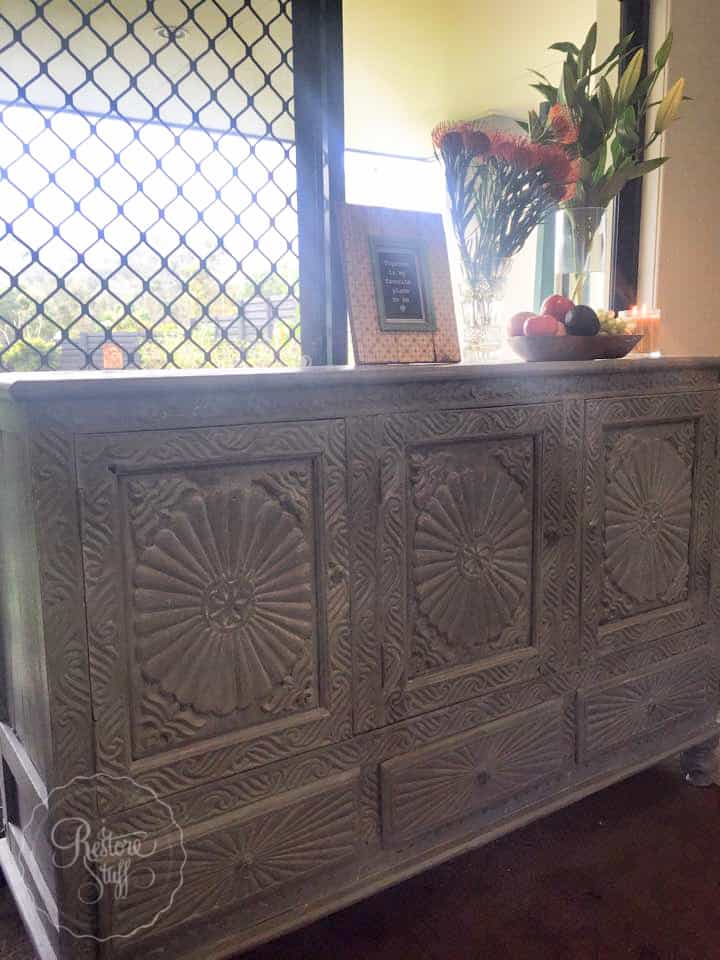
Here it is in their home after the wax had time to cure: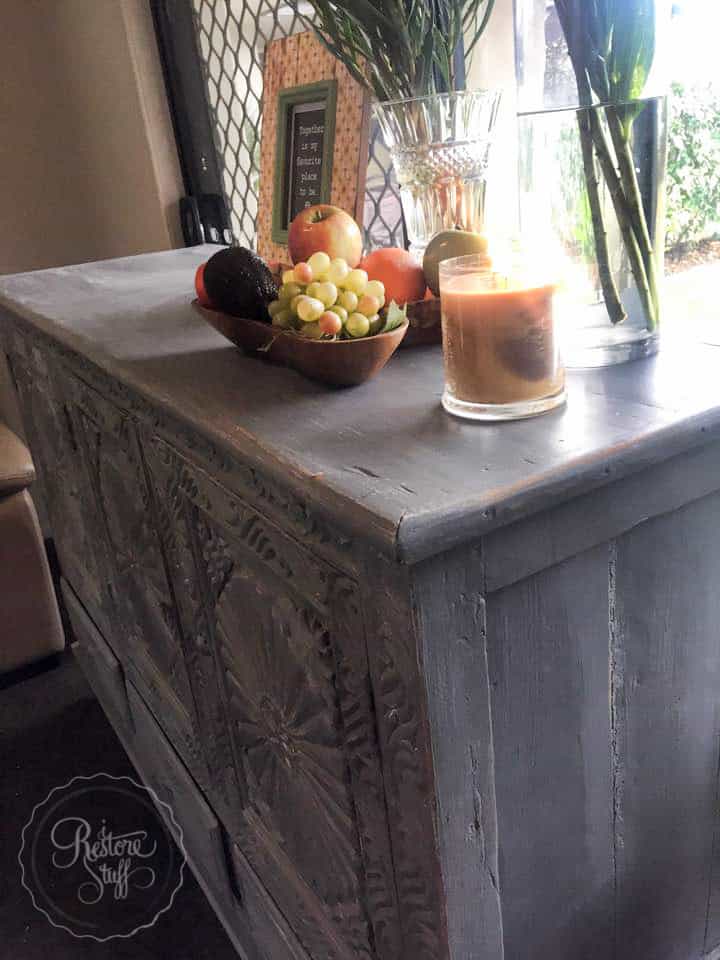
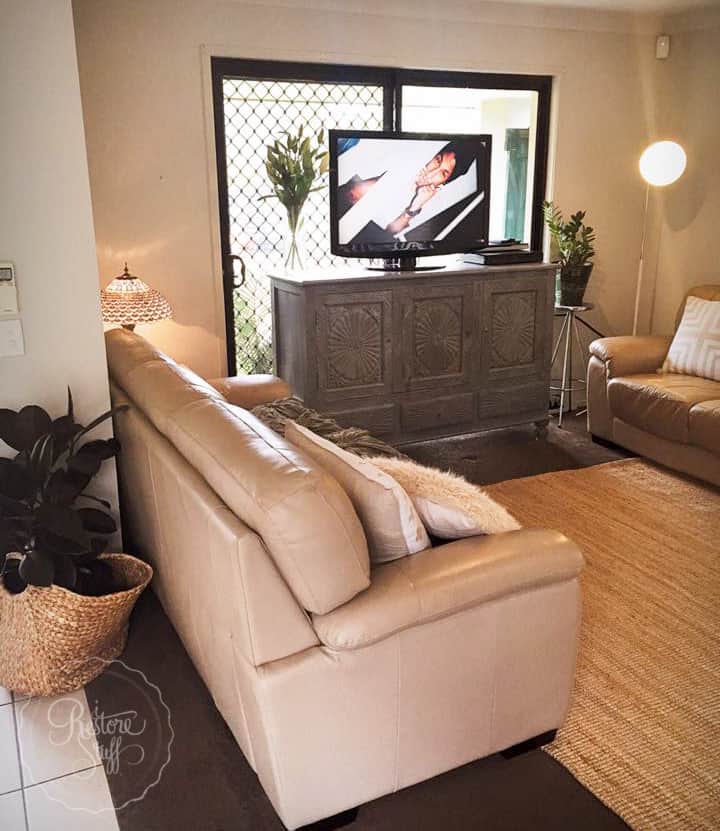 I love being able to help people to achieve the look they are after, working with them until we get it right.
A successful Restoration Rescue!
If you live in the Brisbane area and would like a quote on having your own Restoration Rescue, please contact me via the contact form on this website. Maybe you have started a furniture makeover, and become “stuck” on what to do next. Or perhaps you just lack the confidence to get going and do this project on your own, and need a little kick start.
Our workshops are another great place to begin! Head over to our workshop page to find out more about these hands on learning days, where you’ll learn the practical know-how to get your projects started AND finished!