
Creating a wash is an easy way to lighten your wood furniture.
One way to transform your furniture from a dark wood to light, is by using a paint wash.
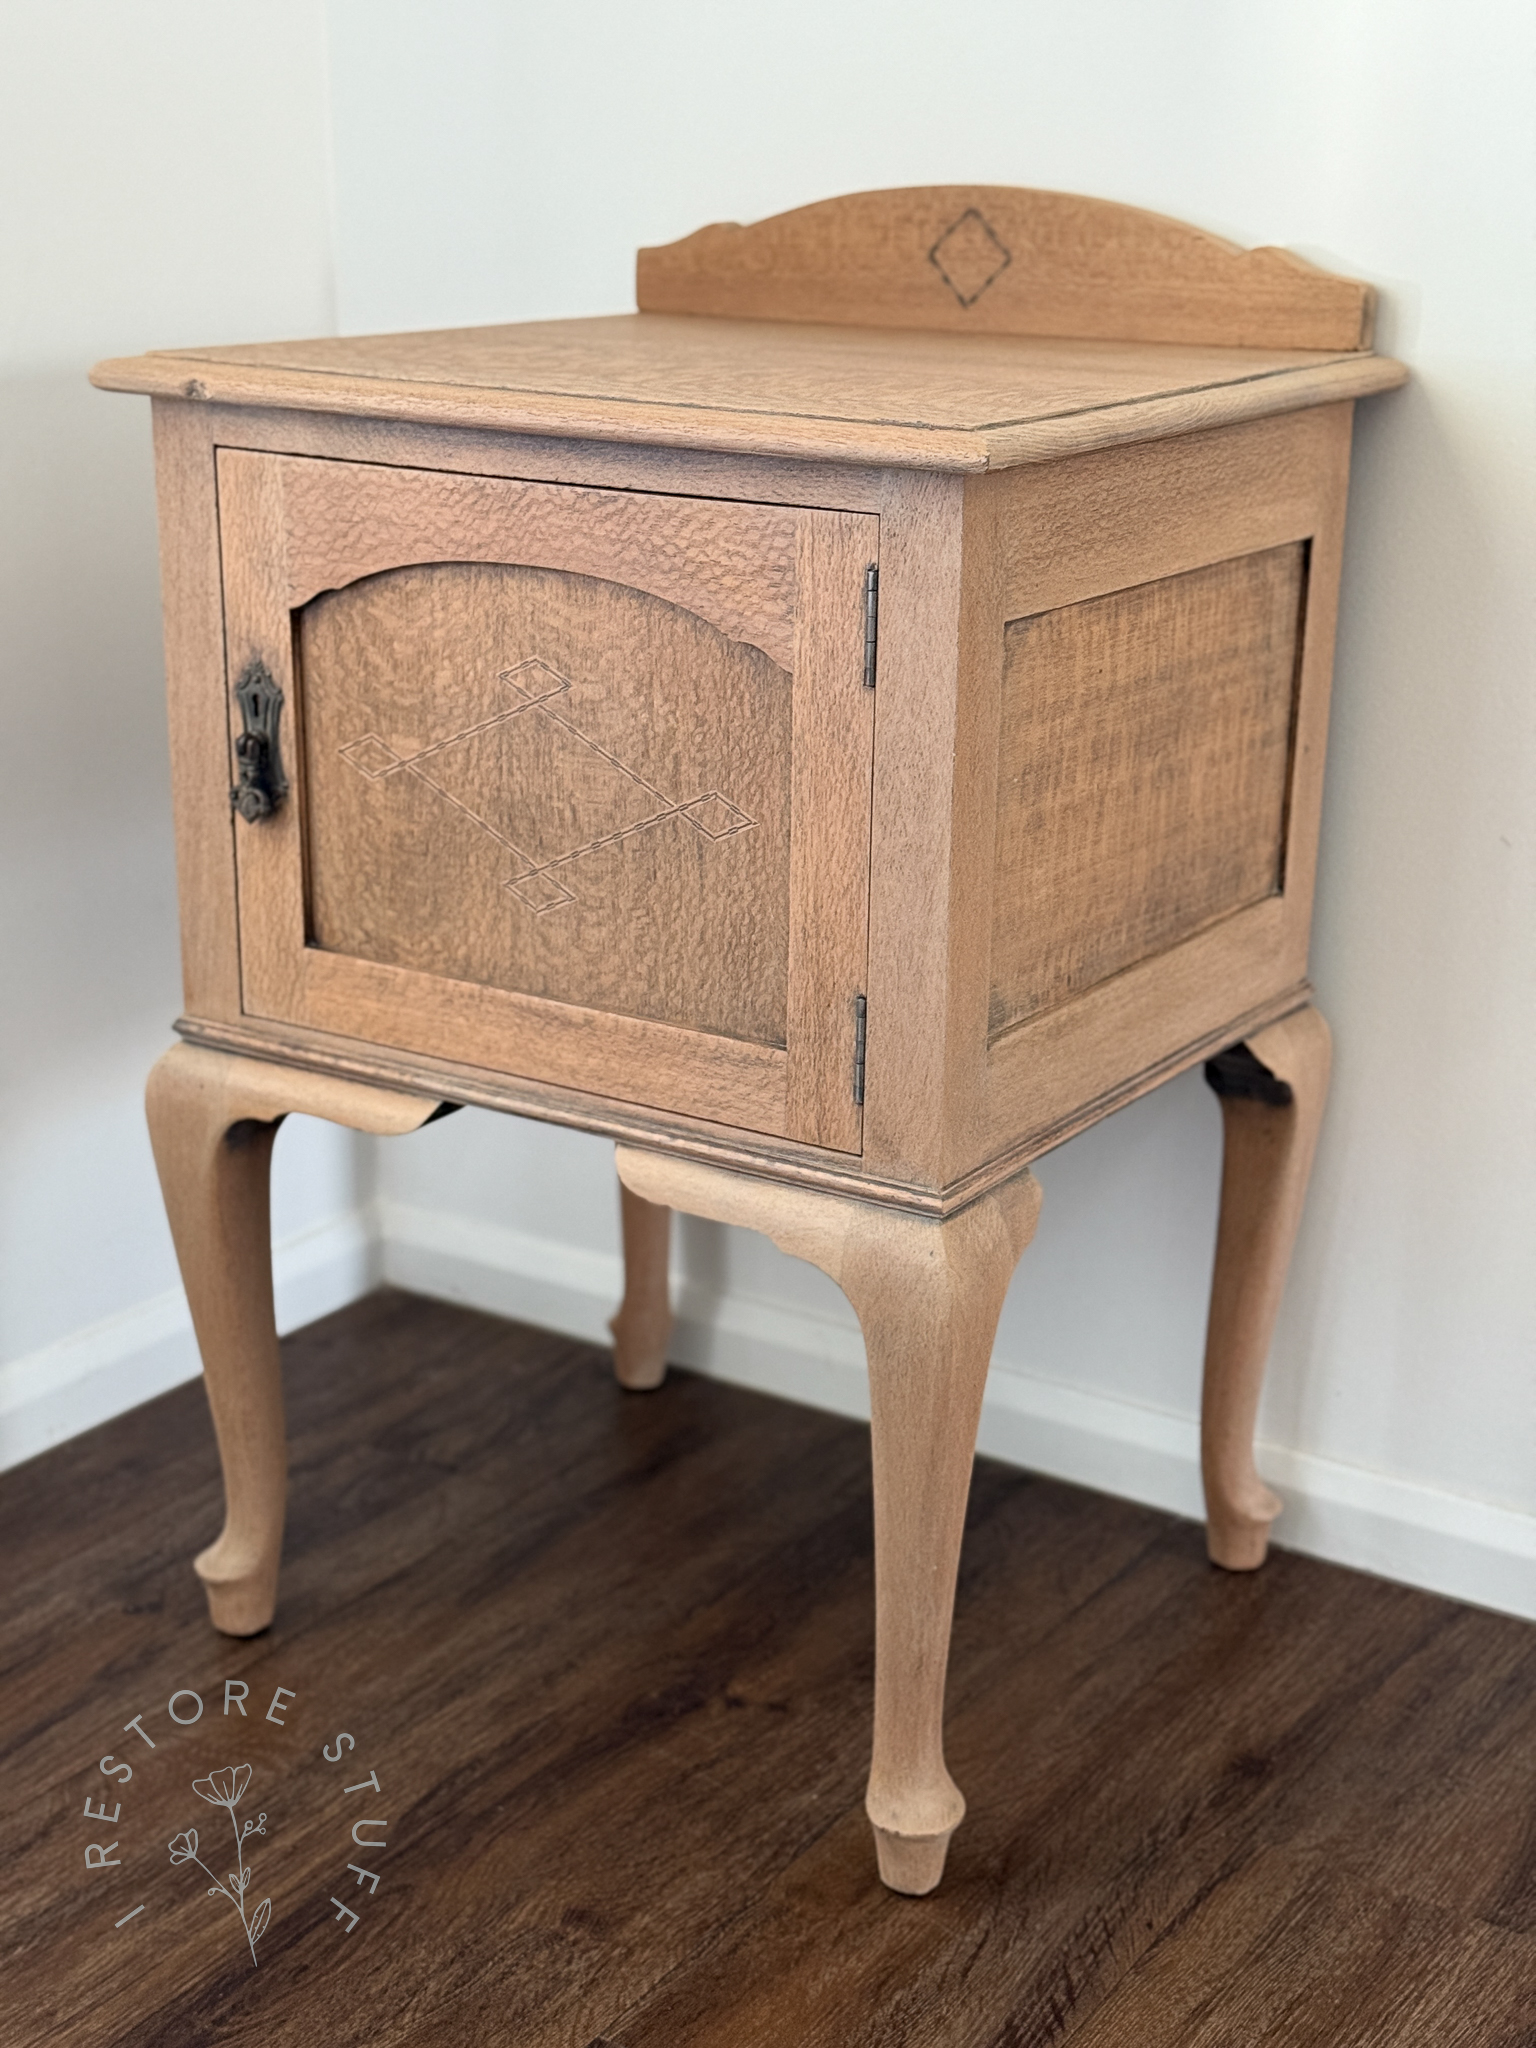
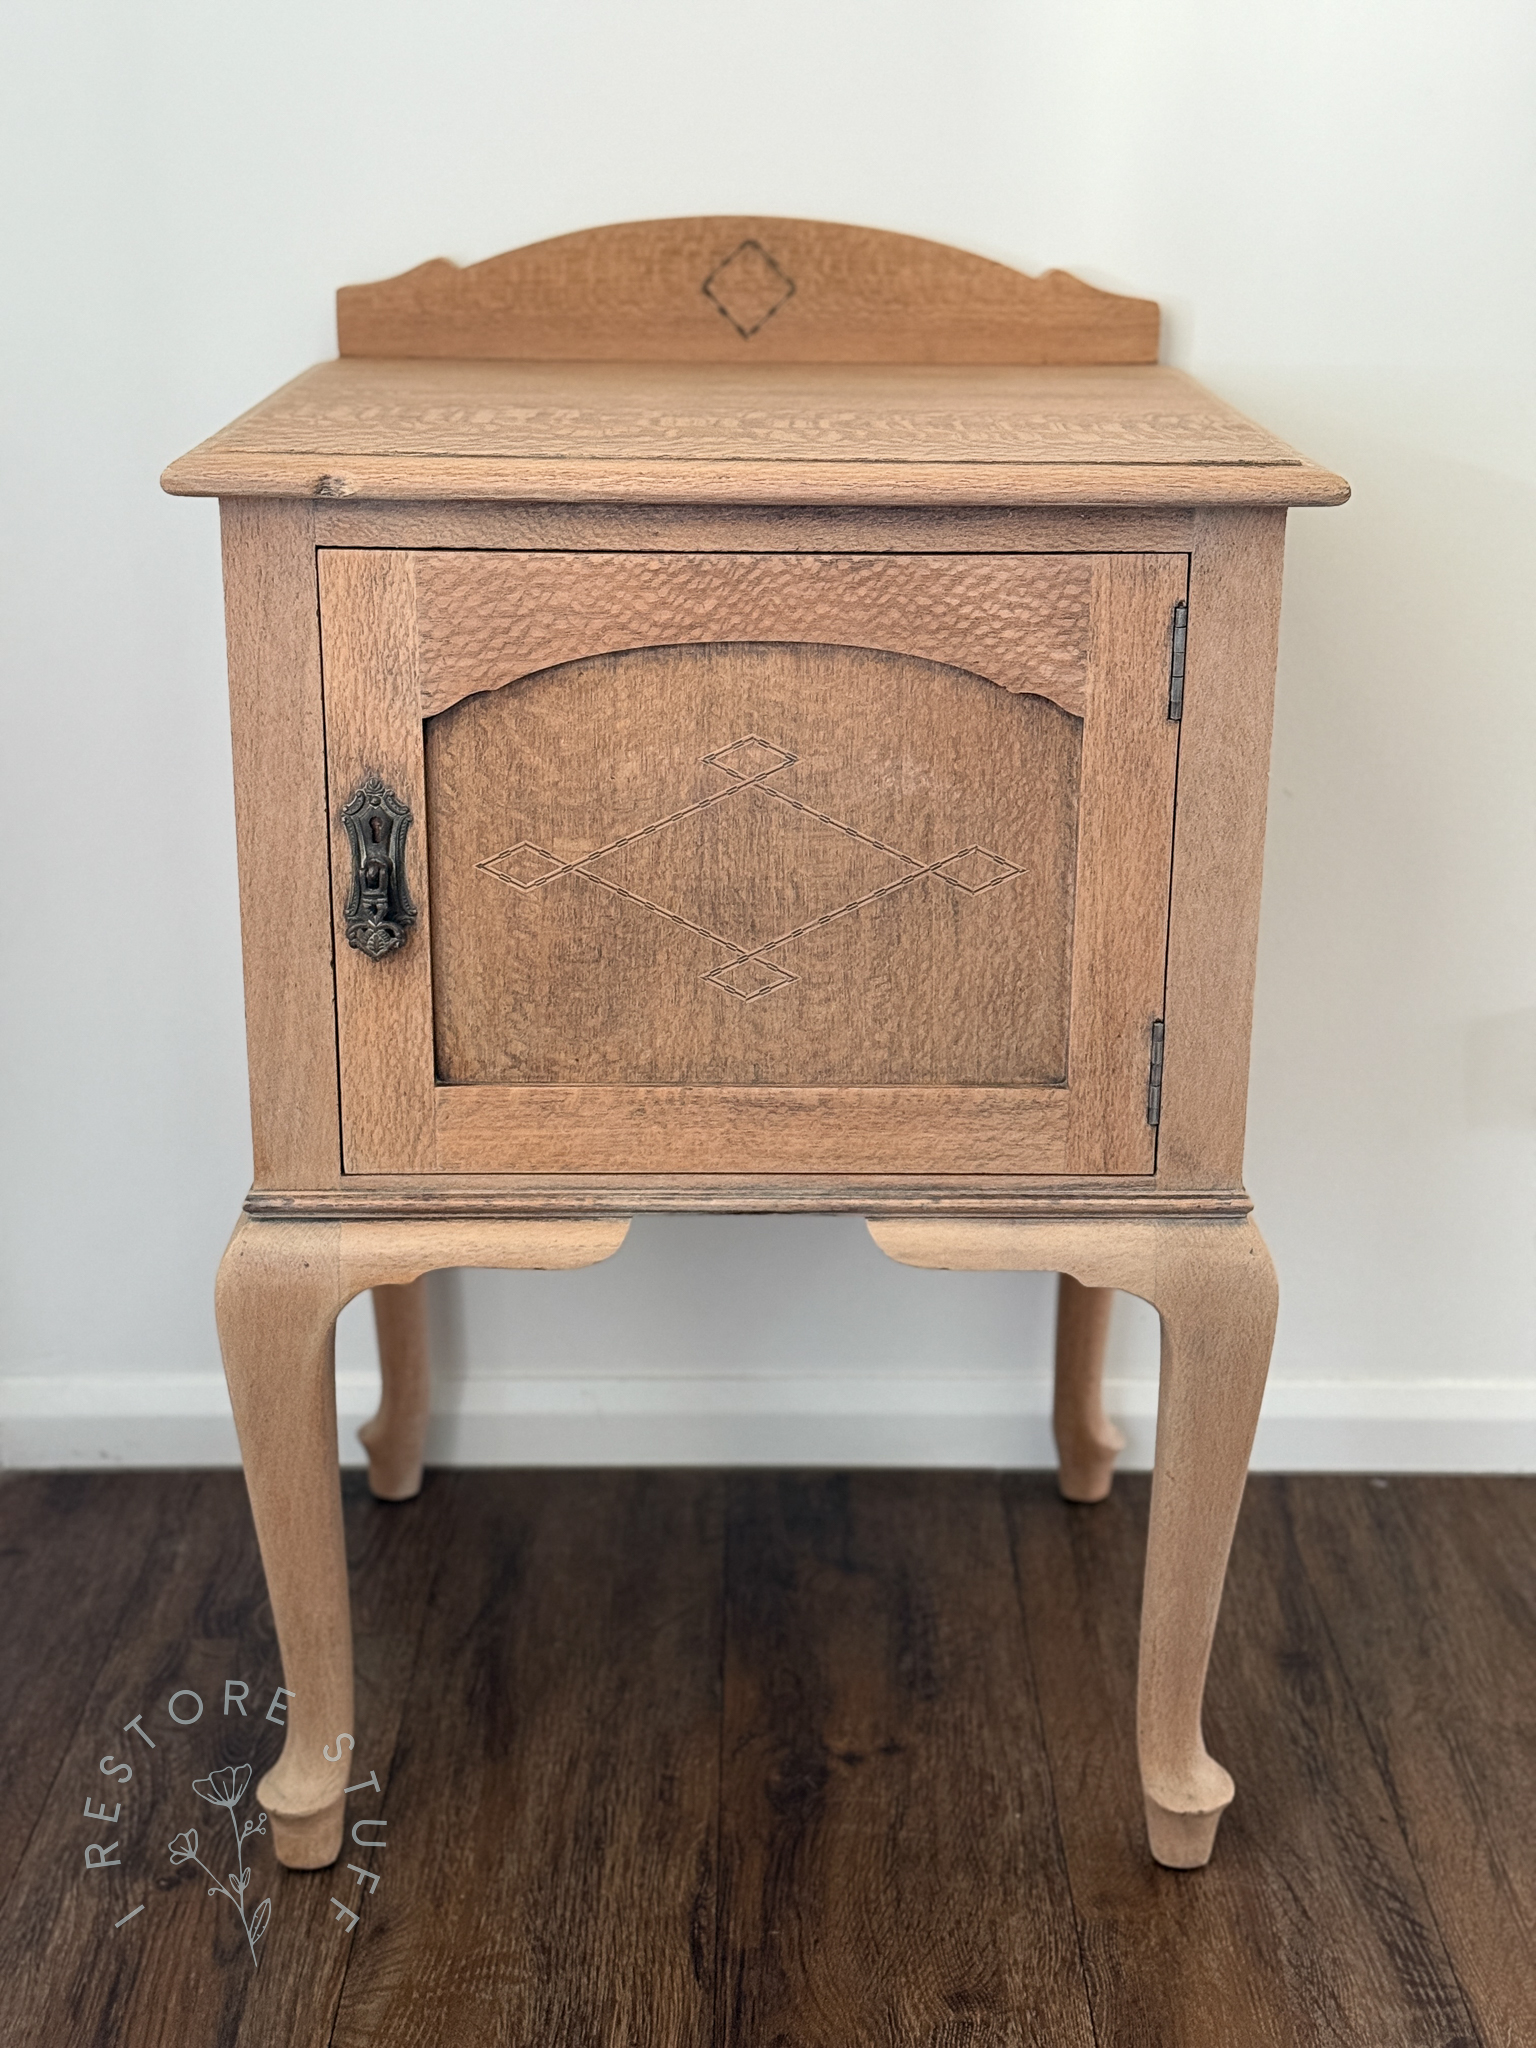
In this post, I’ll fill you in on the steps I took to change up this vintage silky oak pot cupboard, from a once dark and dreary look, to a light warm finish, similar to some of the lighter wood trends you’ll see at the moment.
Before – Antique Silky Oak Pot Cupboard
Prep steps I took:
- Using a paint stripper (I used the Poly Paint Stripper from Bunnings if you’re in Australia, or if in north America, I recommend this one: https://amzn.to/4dGU9bH (affil))
- Sand the entire surface to a smooth, raw finish. I used my Makita Random Orbital Sander for this with a 180 grit sandpaper attachment, then went to a 240 grit for a smoother finish.
- Wipe down the surface with damp cloth to remove sanding dust.
Now we’re ready to paint wash!


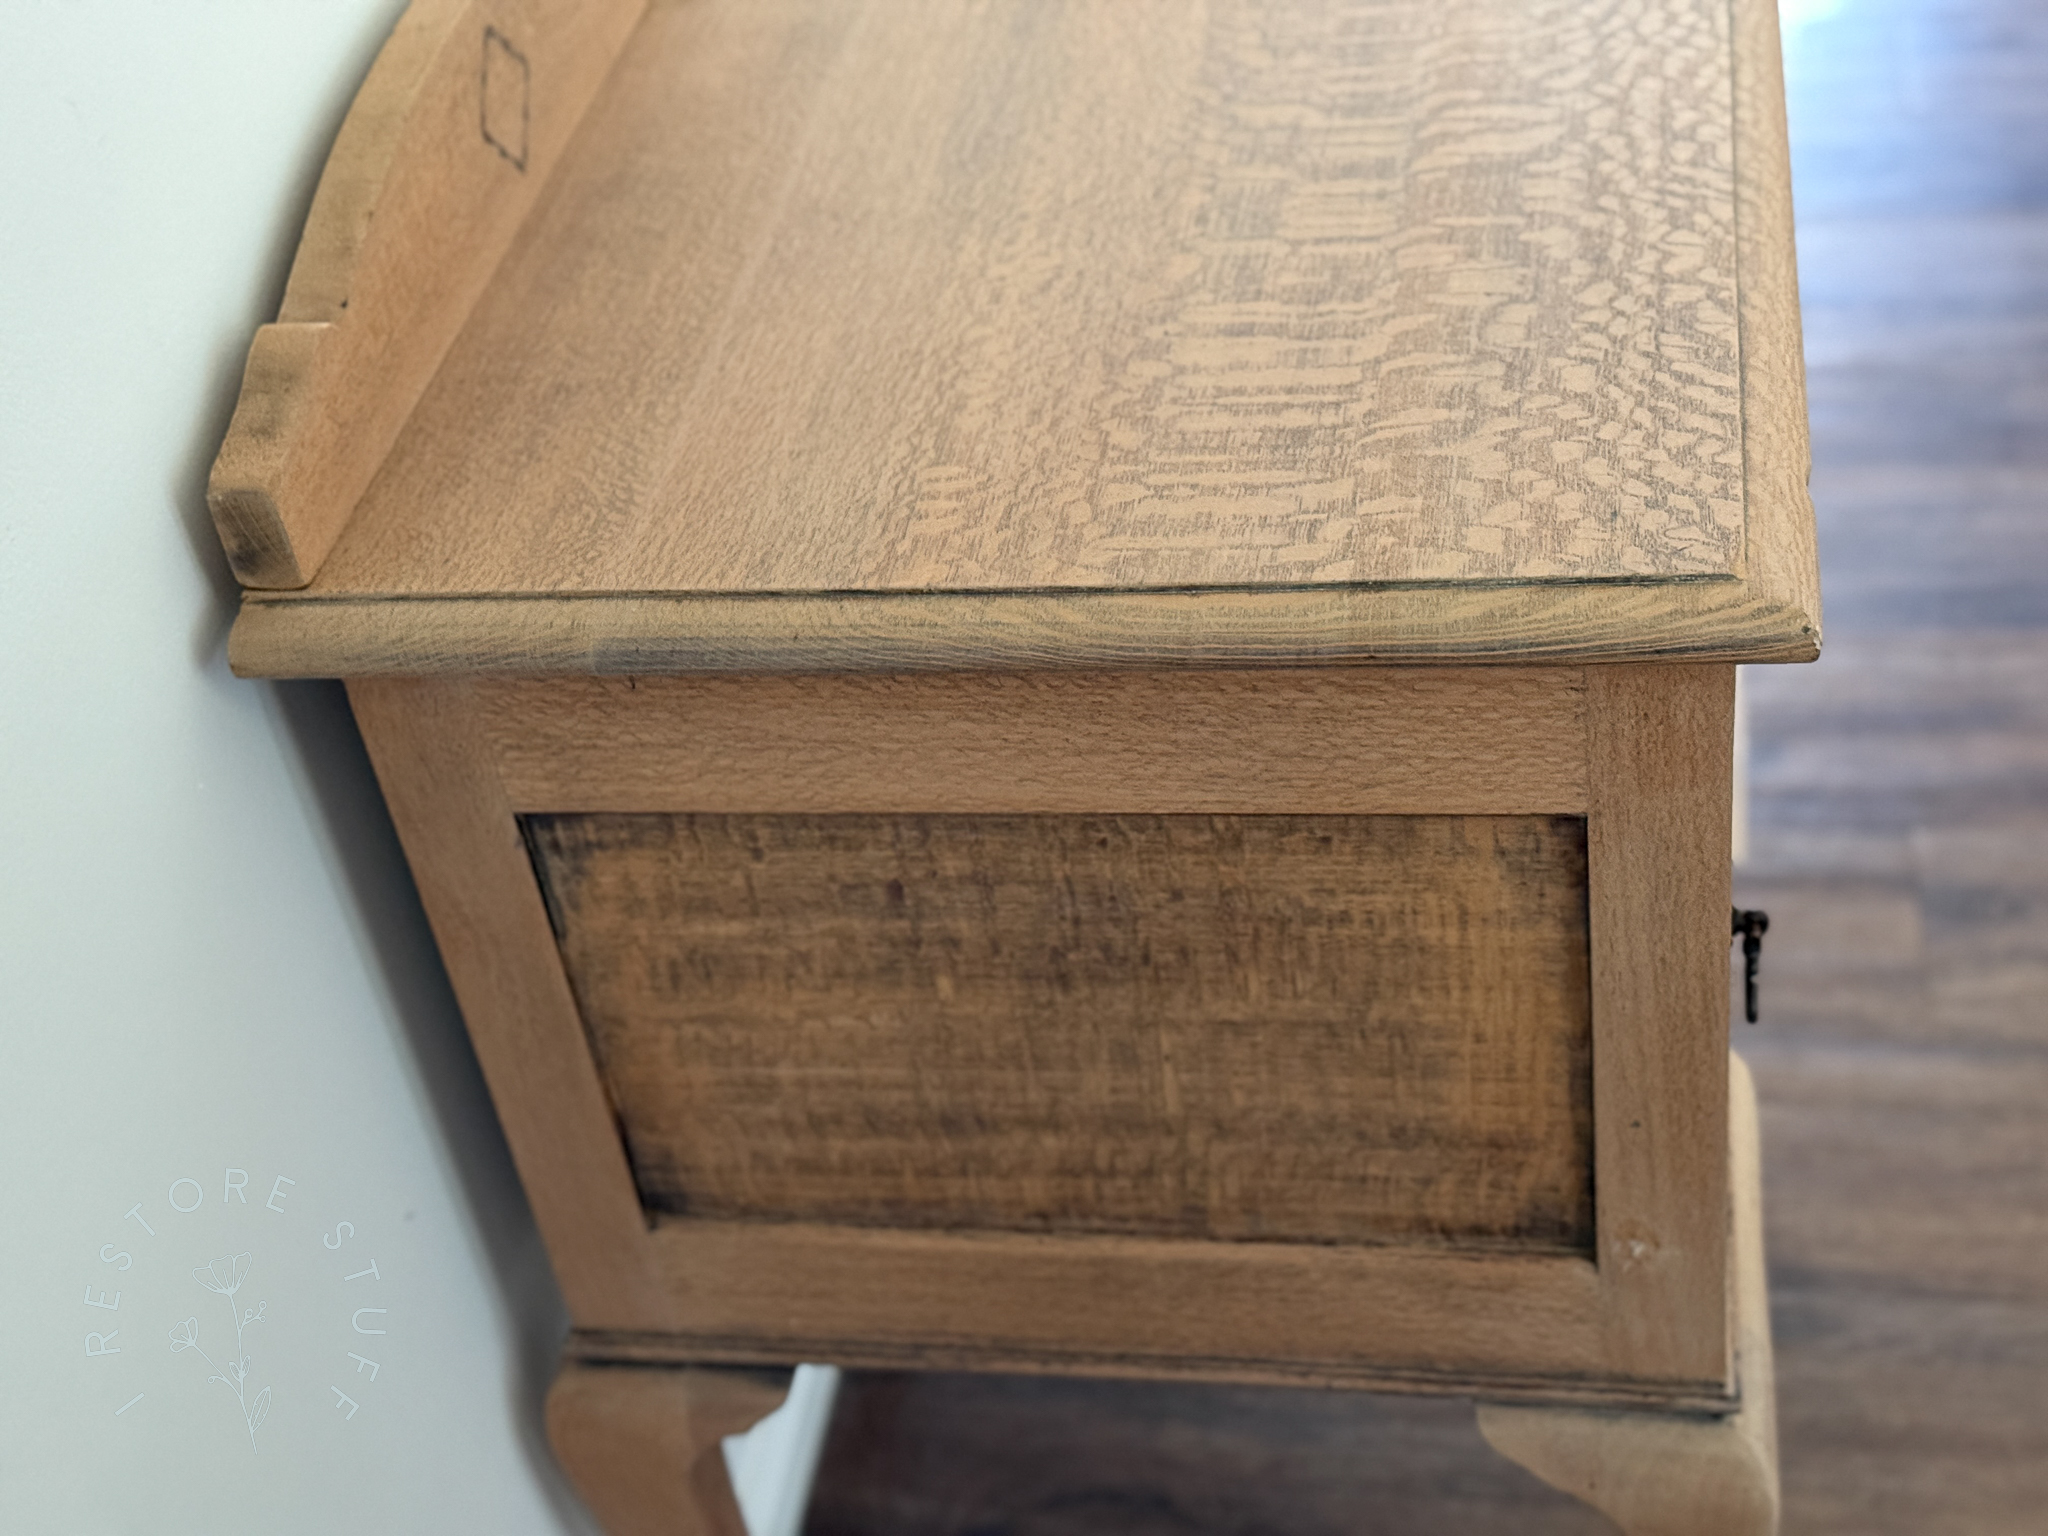
Sanded back and ready for paint wash
Here is the little cupboard all sanded back to a raw finish. Some of those corner bits and details were tricky and required hand sanding.
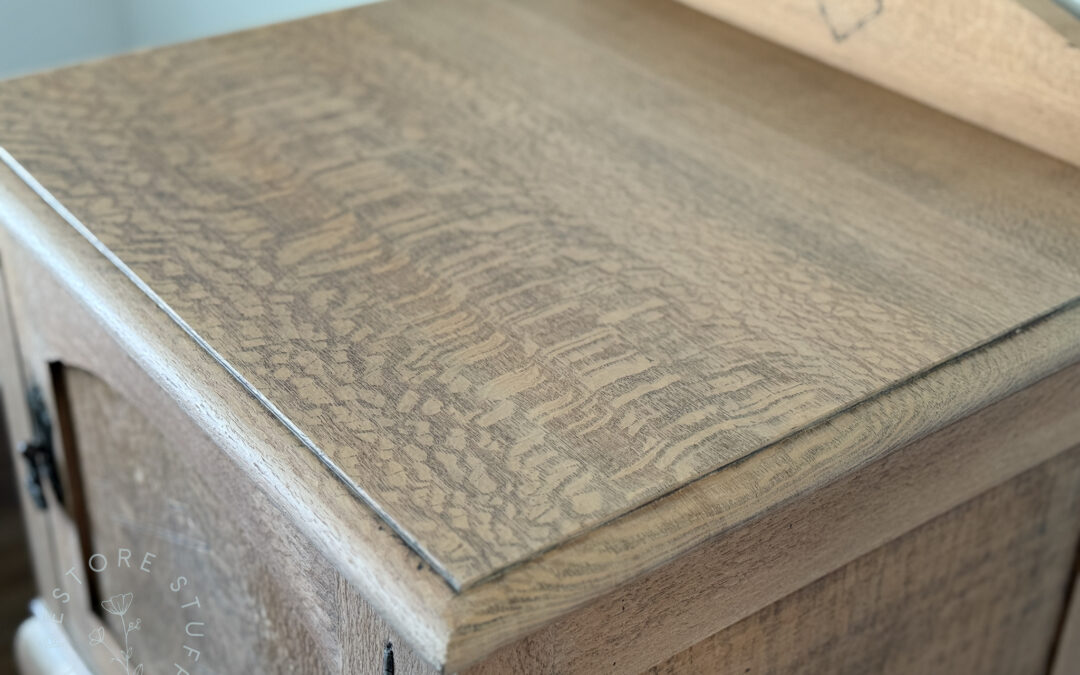
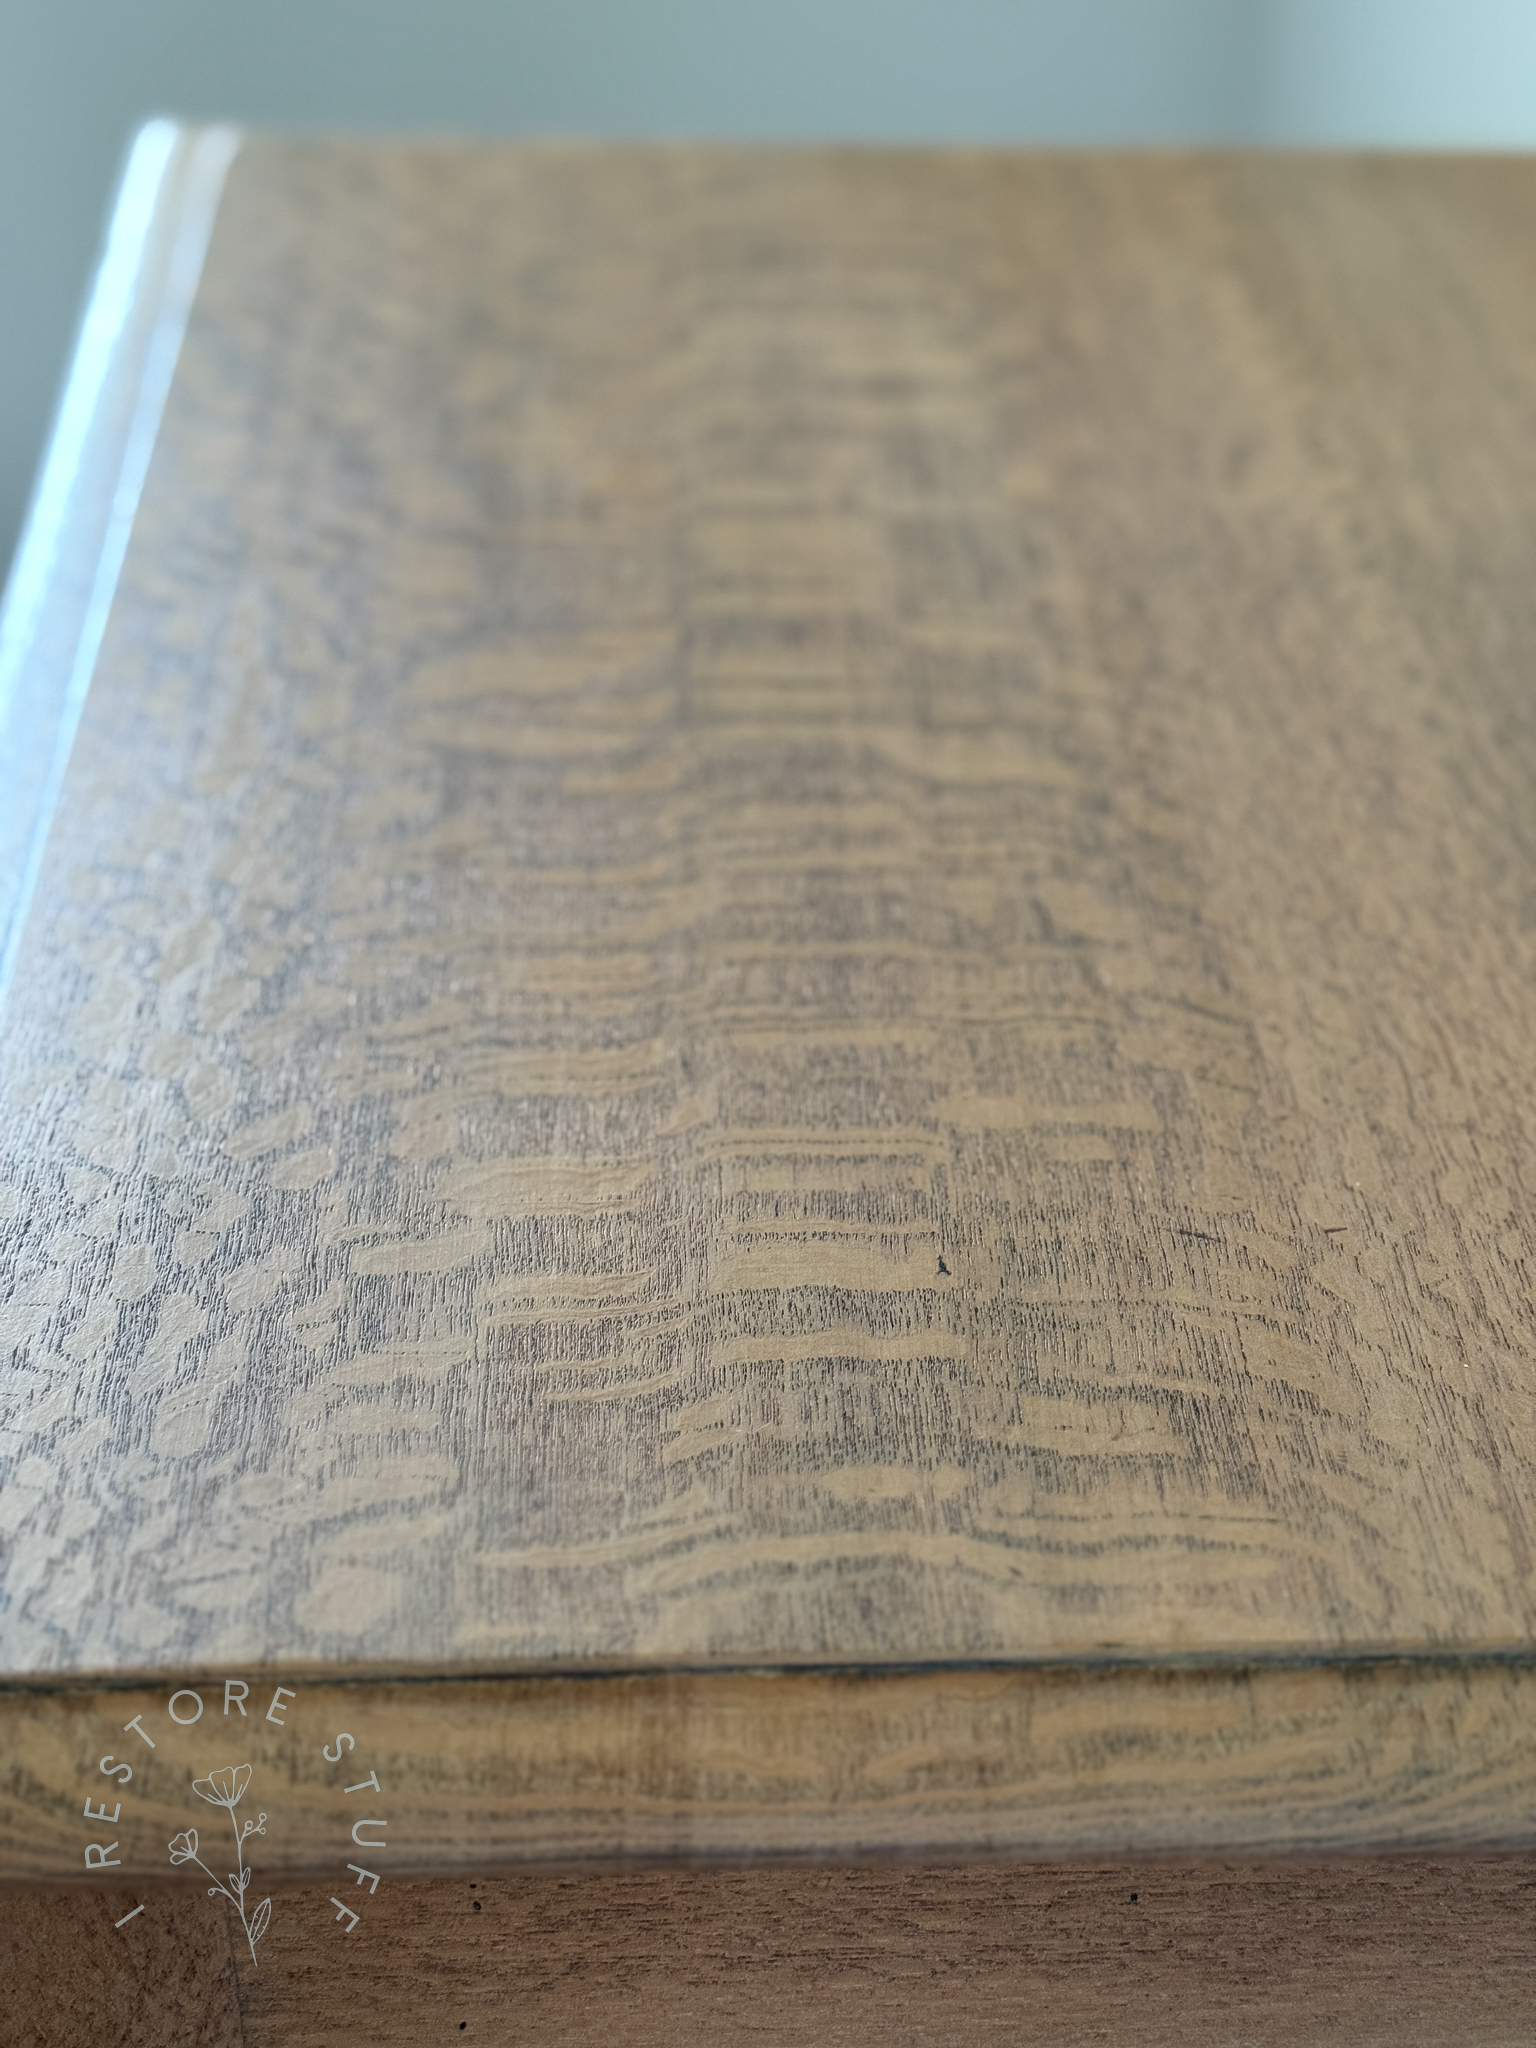
You can see the cupboard still has quite orange tones even when all the varnish is stripped back. This is the natural colour of silky oak, especially older timber.
For the paint wash, I’m using Fusion’s new colour, Tapestry (new 2024). (USA/Canada use code IRESTORESTUFF & save on Fusion at my affil link)
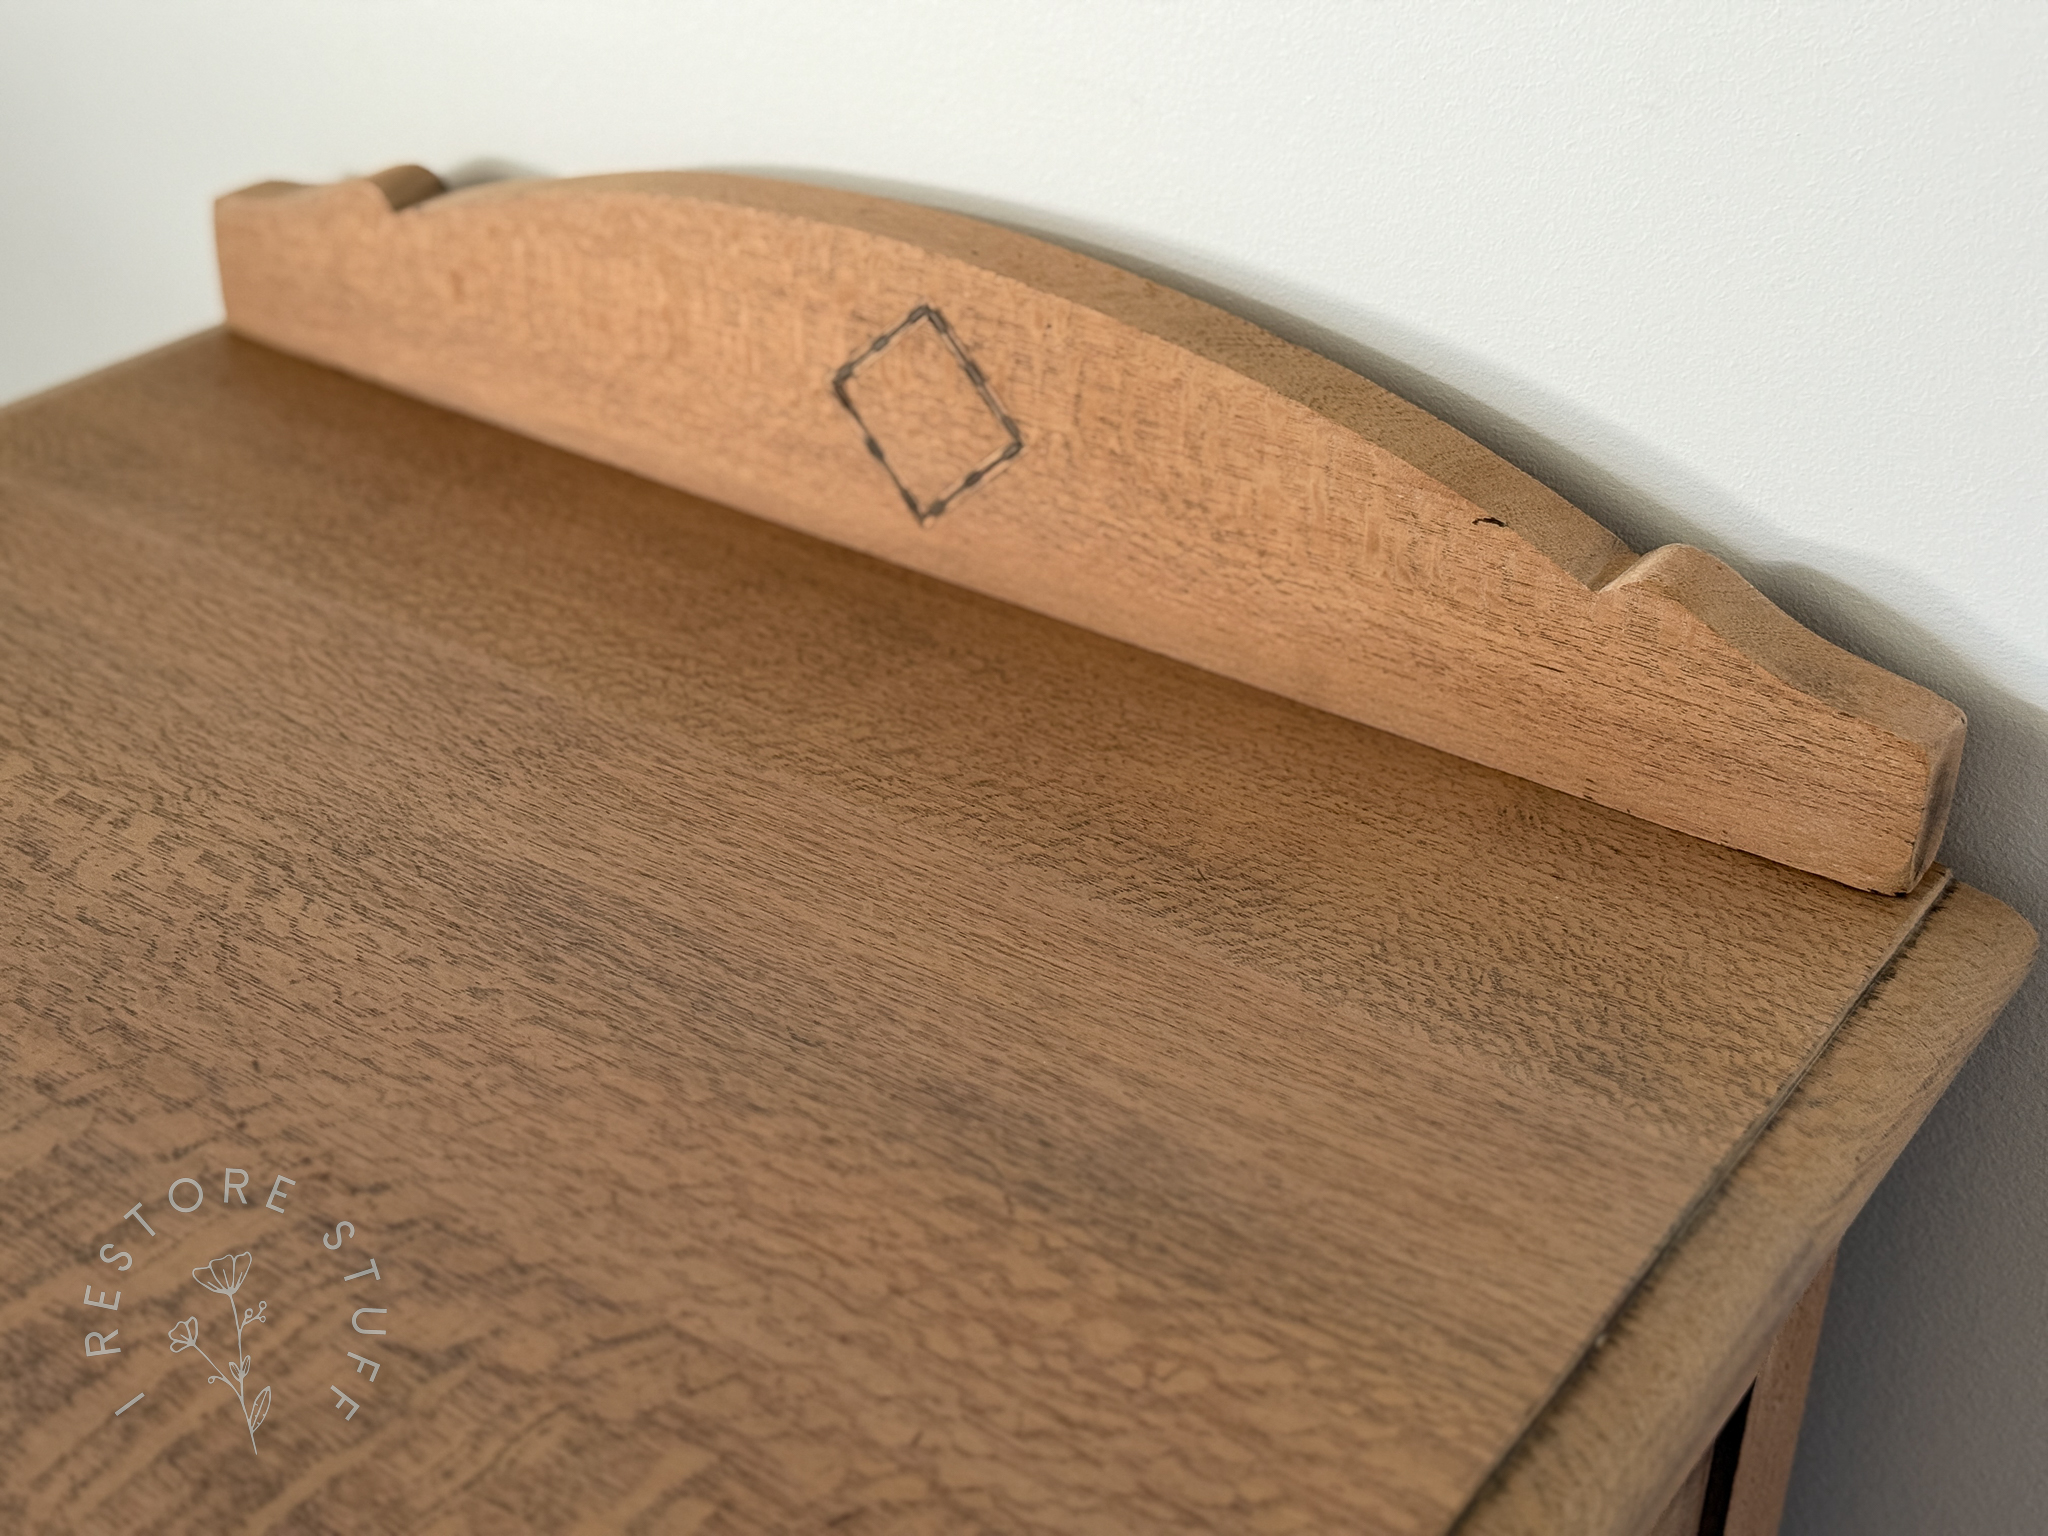
This is the back piece which I removed via a couple of screws that held it on, so that I could sand the entire piece more easily.
To creat the paint wash:
- mix one part paint to 10 parts water
- brush on in long even strokes with the grain of the timber.
- wipe back the excess with a lint free cloth or applicator.


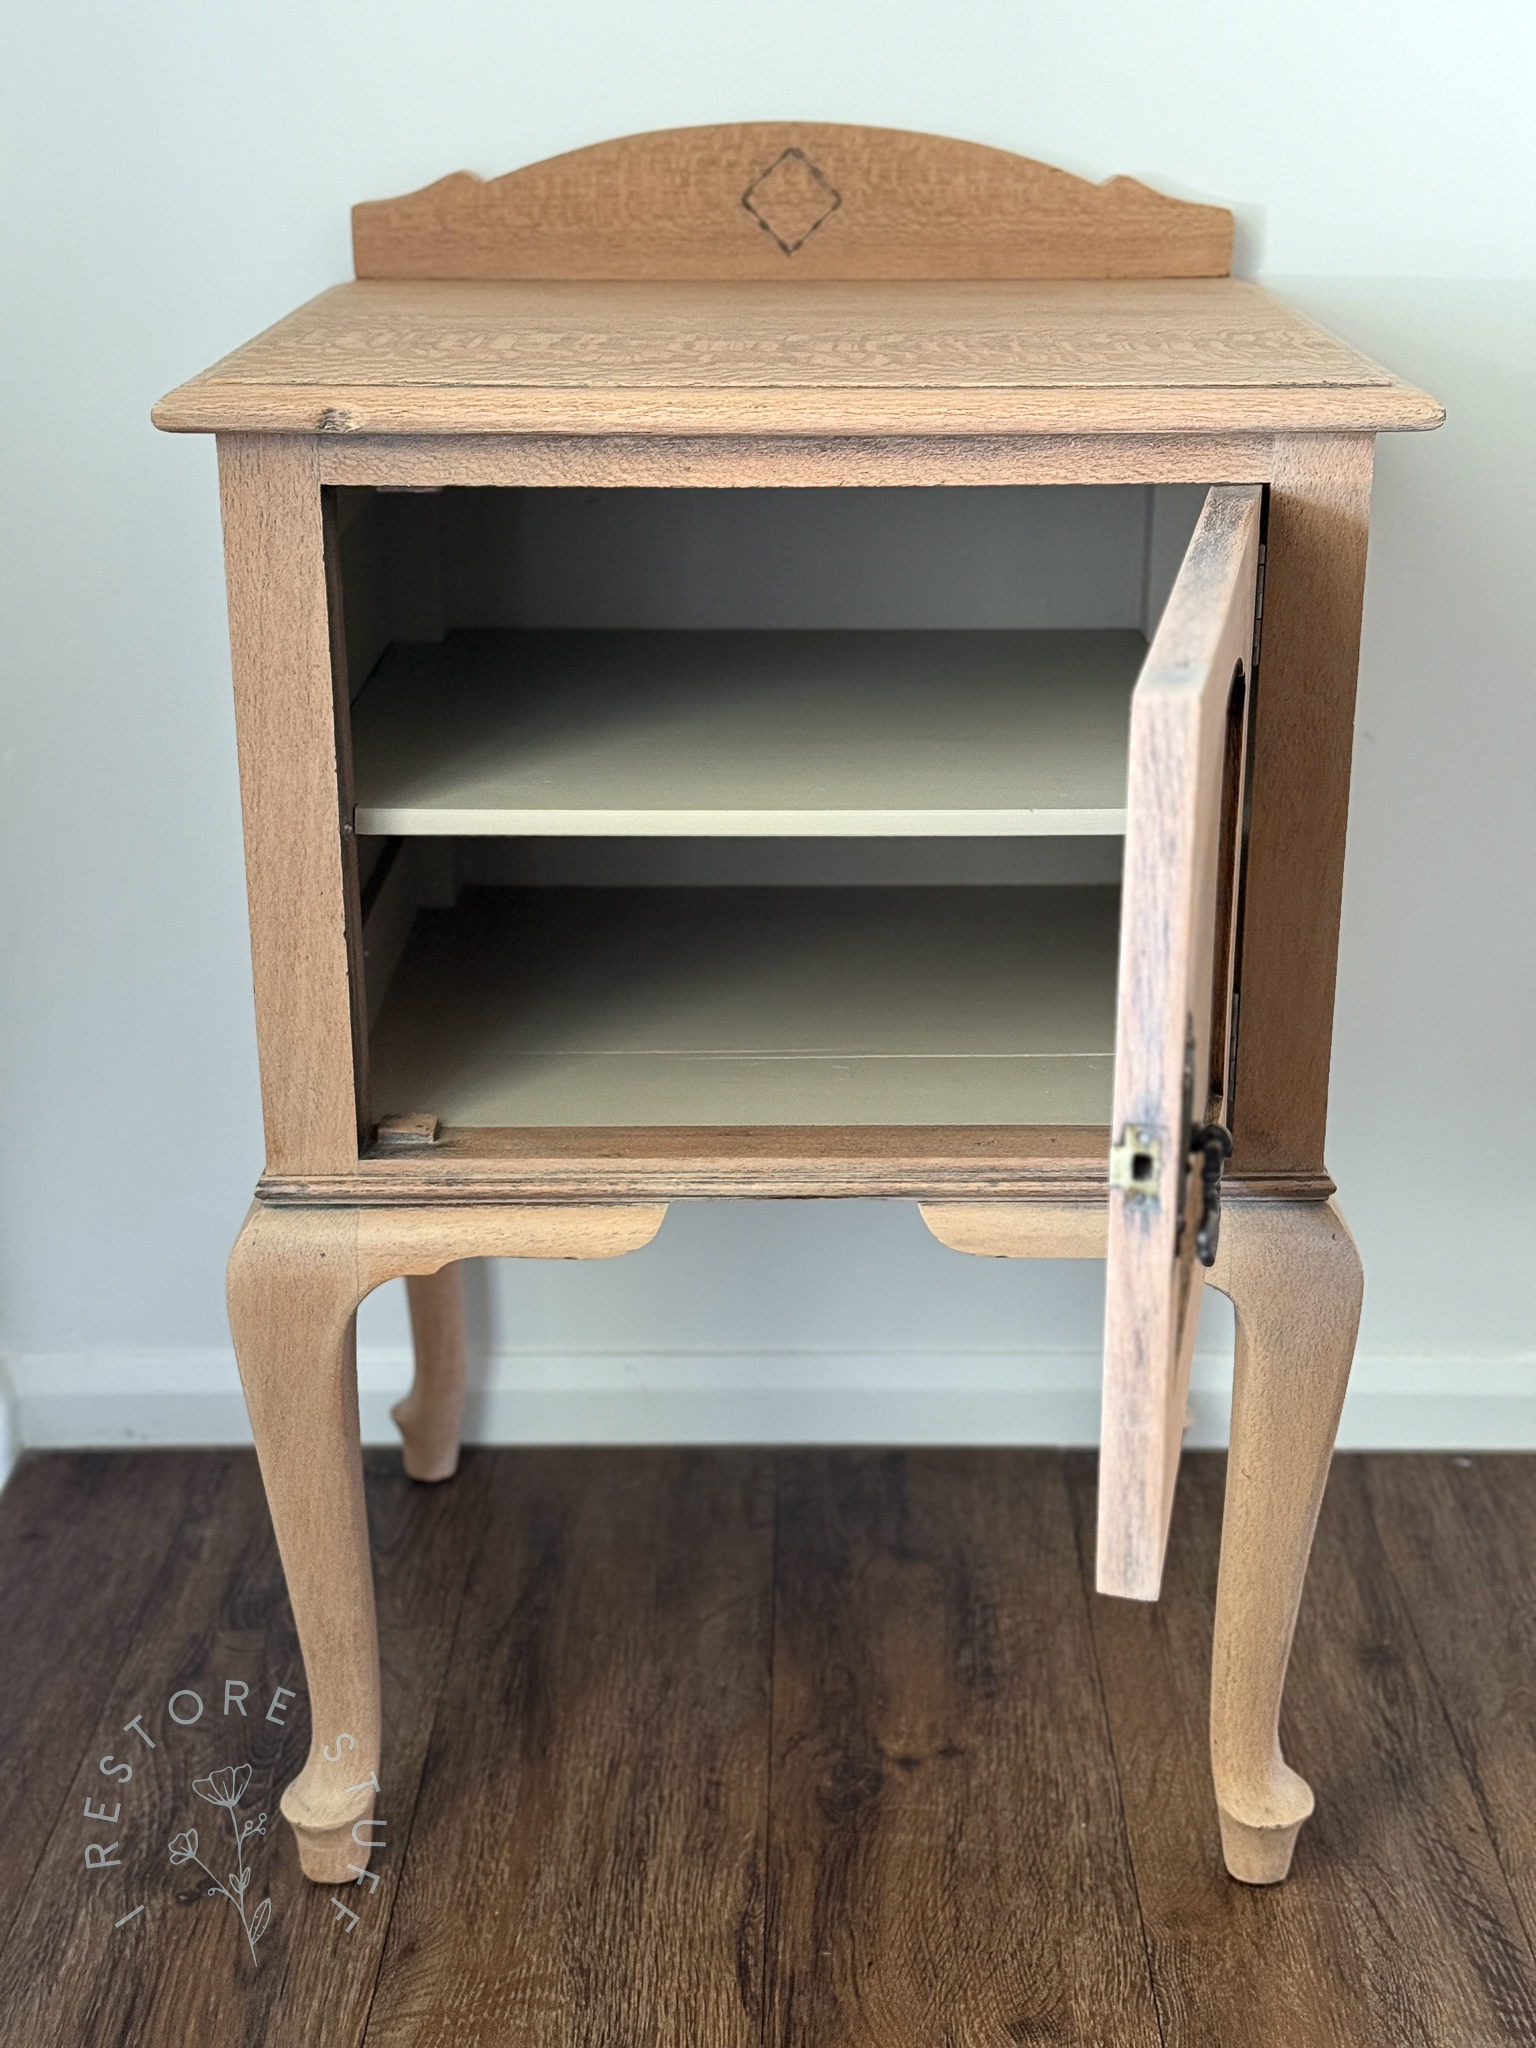
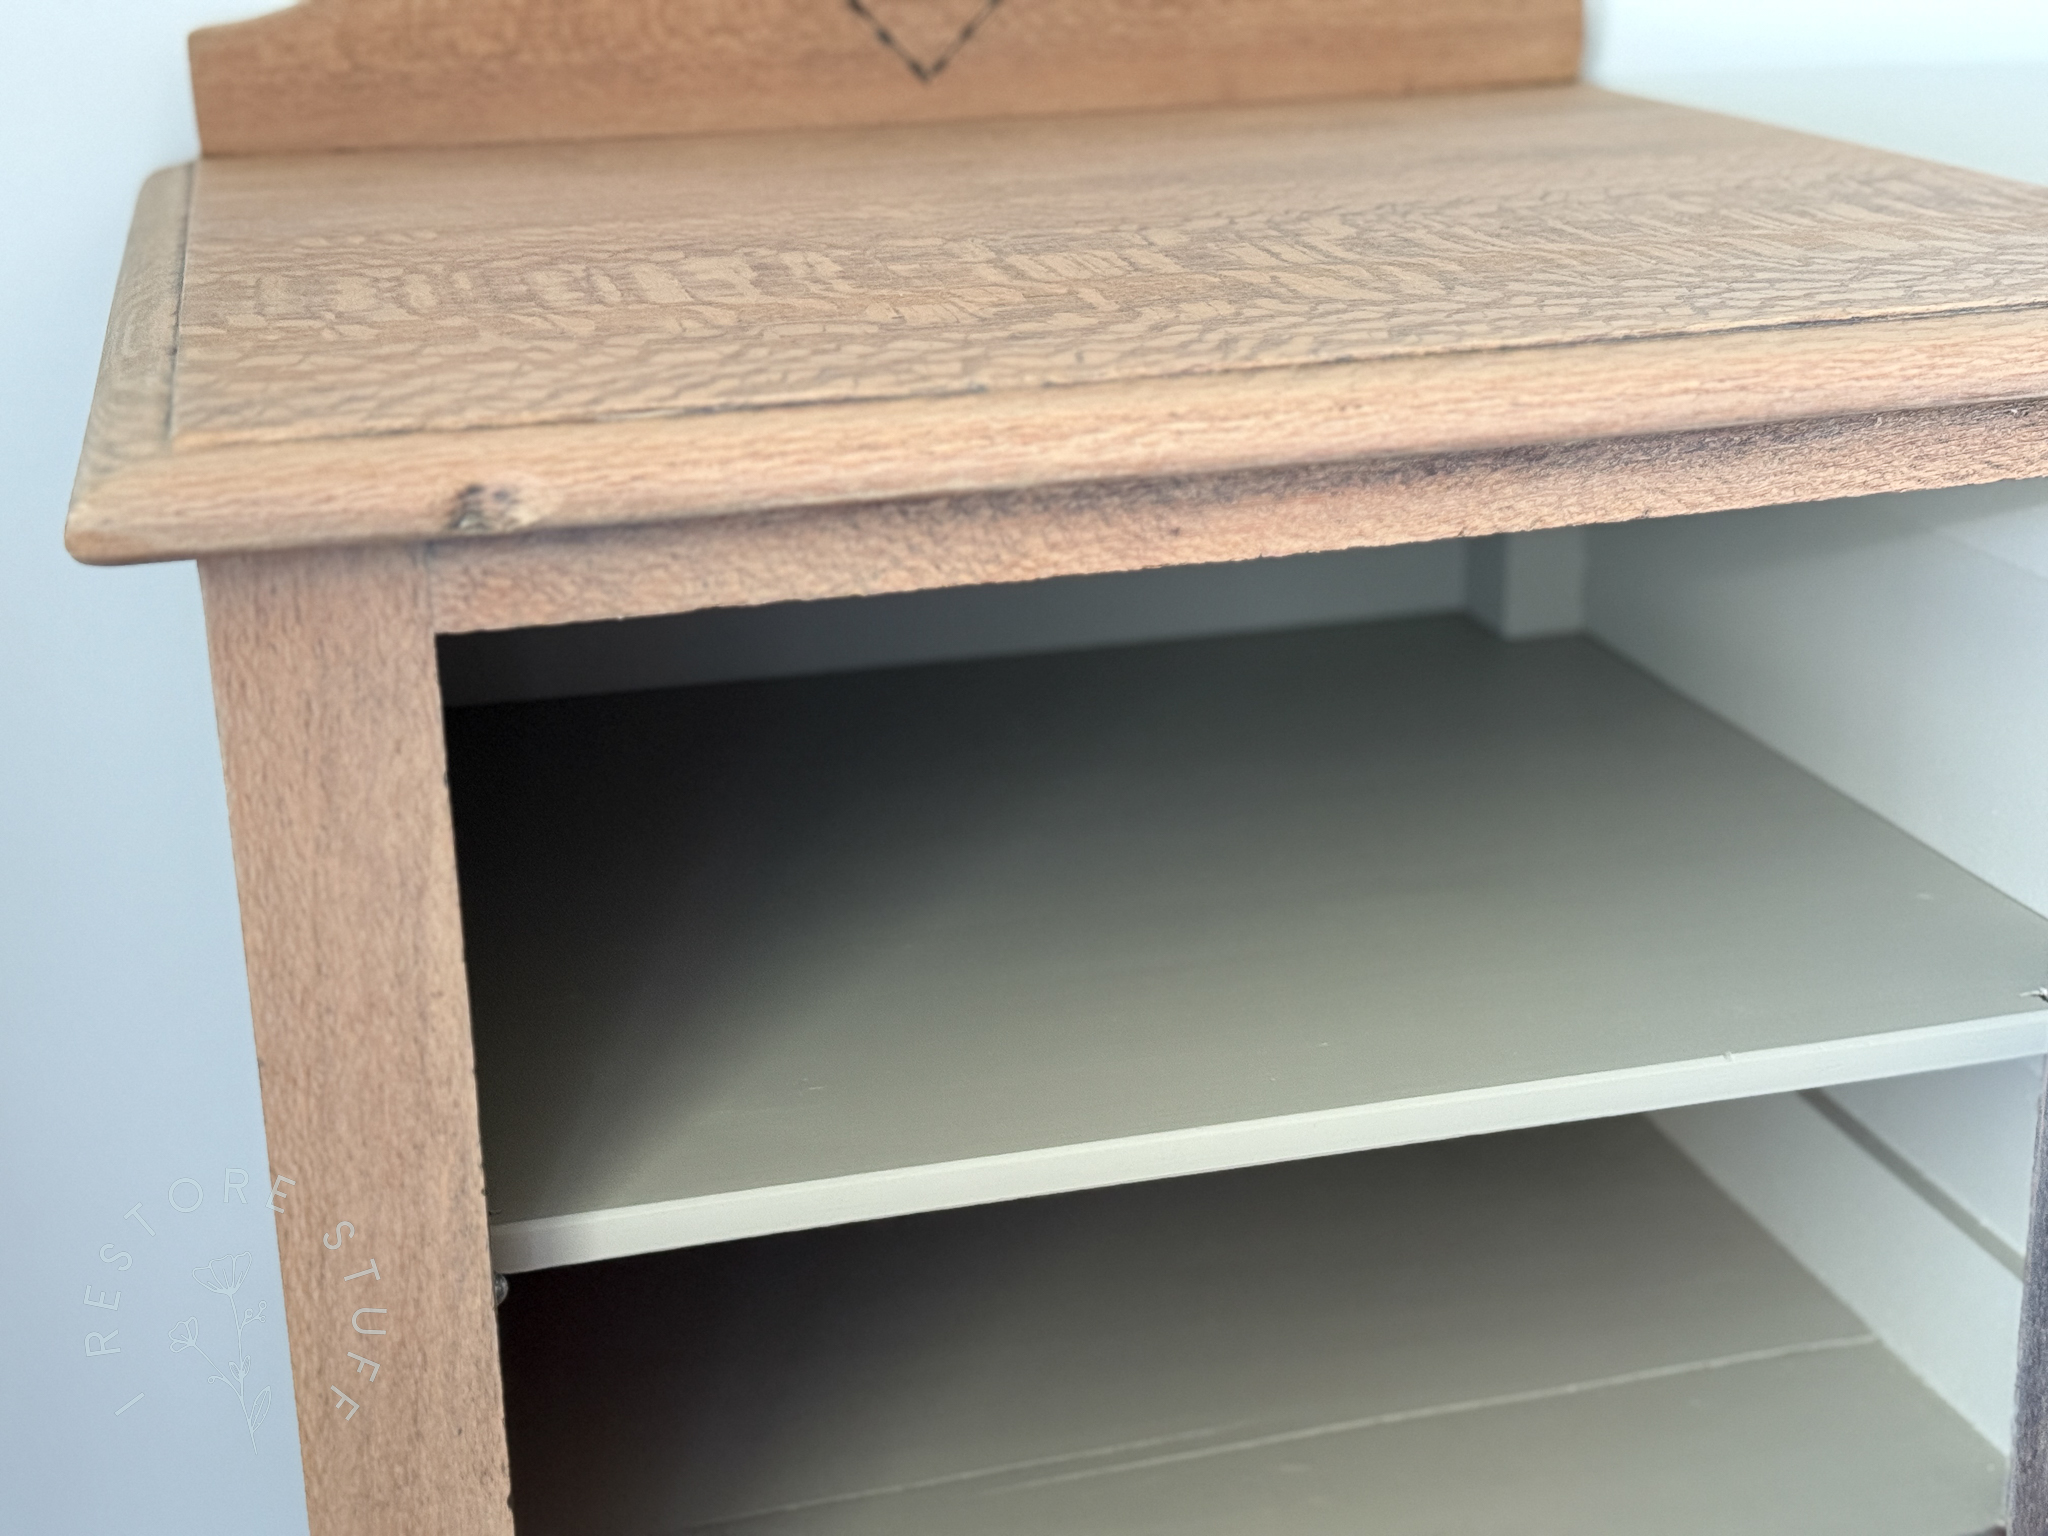
Tapestry inside Cupboard
I also removed the shelf that was sitting inside the cupboard. The entire inside of the cupboard had been painted many years ago and was looking aged and grimy.
I sanded this back a little (always use a mask), and painted the inside of the cupboard and this shelf, using Tapestry in it’s full strength, not as a wash.
This colour has amazing coverage! Such a beautiful soft warm Taupe with a hint of green undertones.
(USA/Canada use code IRESTORESTUFF & save on Fusion at my affil link)
The final step was to seal the entire finish using a flat matte sealer.
For this project I used Matte Poly Varnish Sealer in our Aussie Artisan range.
If you’re from USA/Canada, Fusion’s Tough Coat Sealer in Matte or Gloss are also great options (use code IRESTORESTUFF & save on Fusion at my affil link).
In the video below, I show you a quick version of start to finish that I hope will inspire you to give this a go yourself.
Let me know in comments below this post if you’ve tried creating a paint wash for your pieces? How did it turn out?

Want more furniture painting inspo?
Here are some other pieces of furniture I’ve refinished you may like:
- I found a treasure while painting this sideboard for a friend!
- Updating our entire bedroom suite with Fusion’s Victorian Lace and White wax on the wood tops.
- A little pink cupboard with a Pearl finish