
We undertook the biggest backyard reno we have ever tackled towards the end of last year. I say we, but my husband is the real hero here.
He stripped our entire metal roof and painted it!! This also meant removing about 3,000 screws that were worn and causing leakage during rainy days, and replacing them with new ones. He also replaced all the guttering. The whole process took a solid few weeks and LONG days and he has vowed to NEVER do it again – no kidding! But I am so proud of him. He did an amazing job.
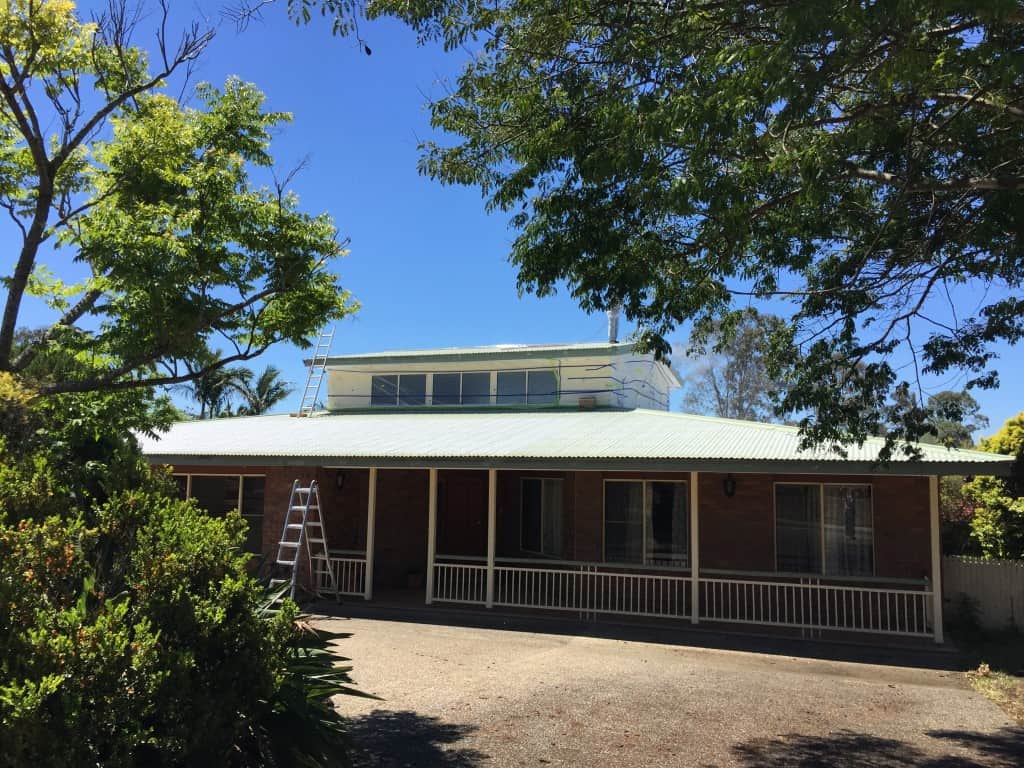
BEFORE
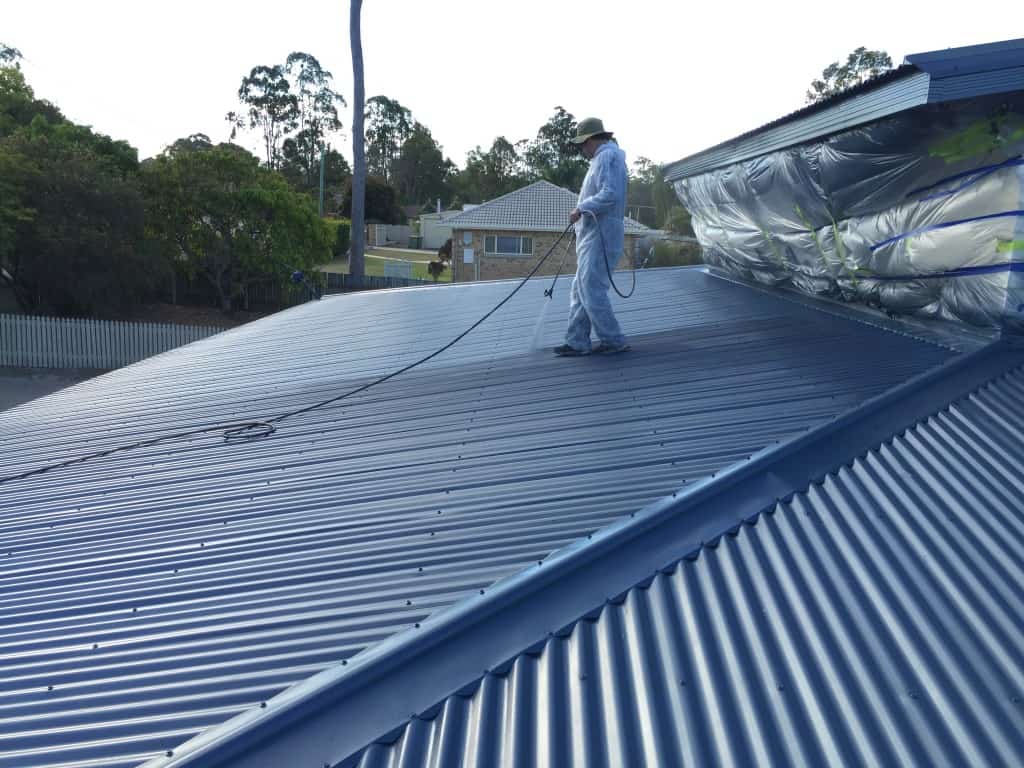
During: yes, we ‘glad-wrapped’ the house!
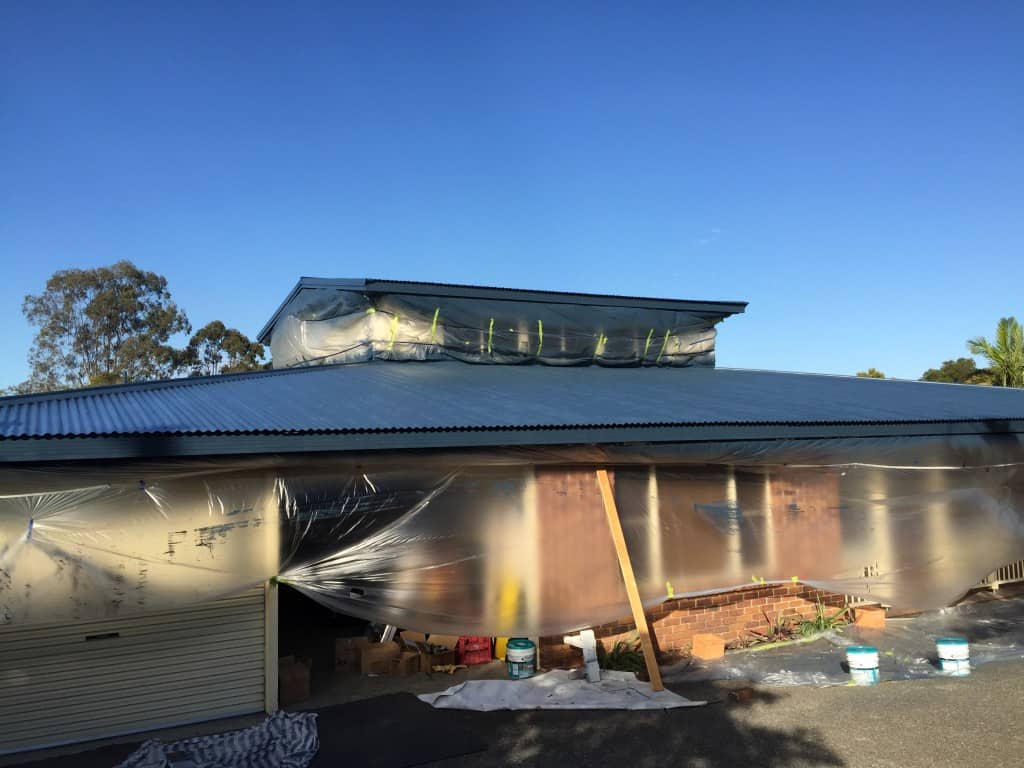
This is a MESSY job.
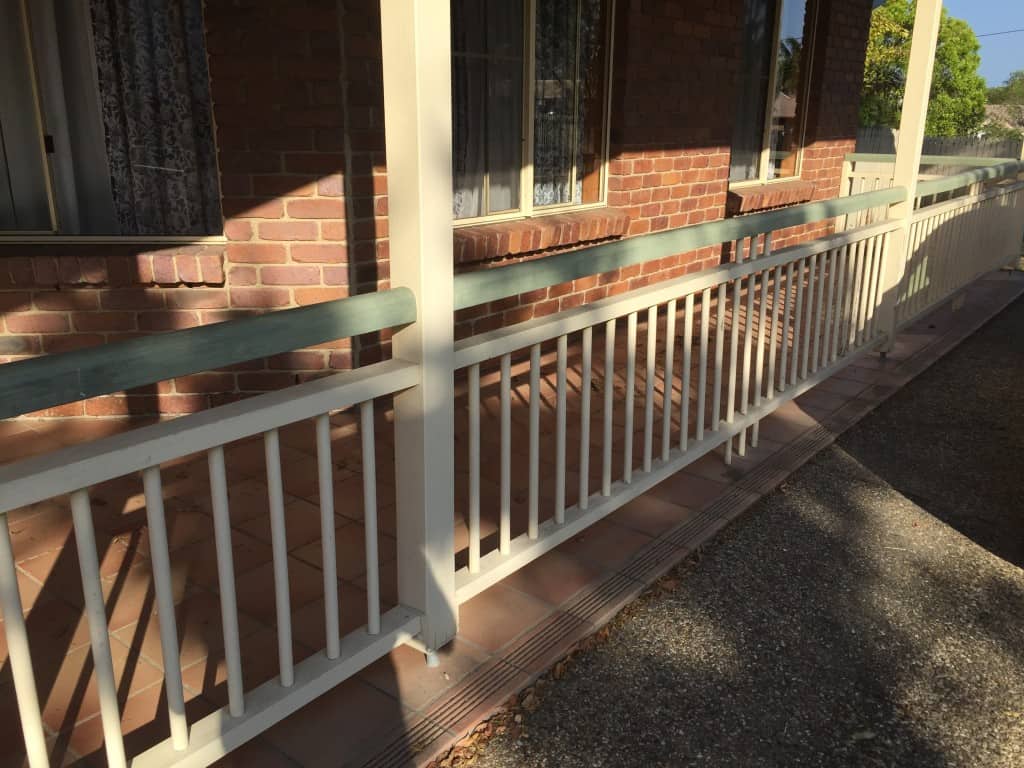
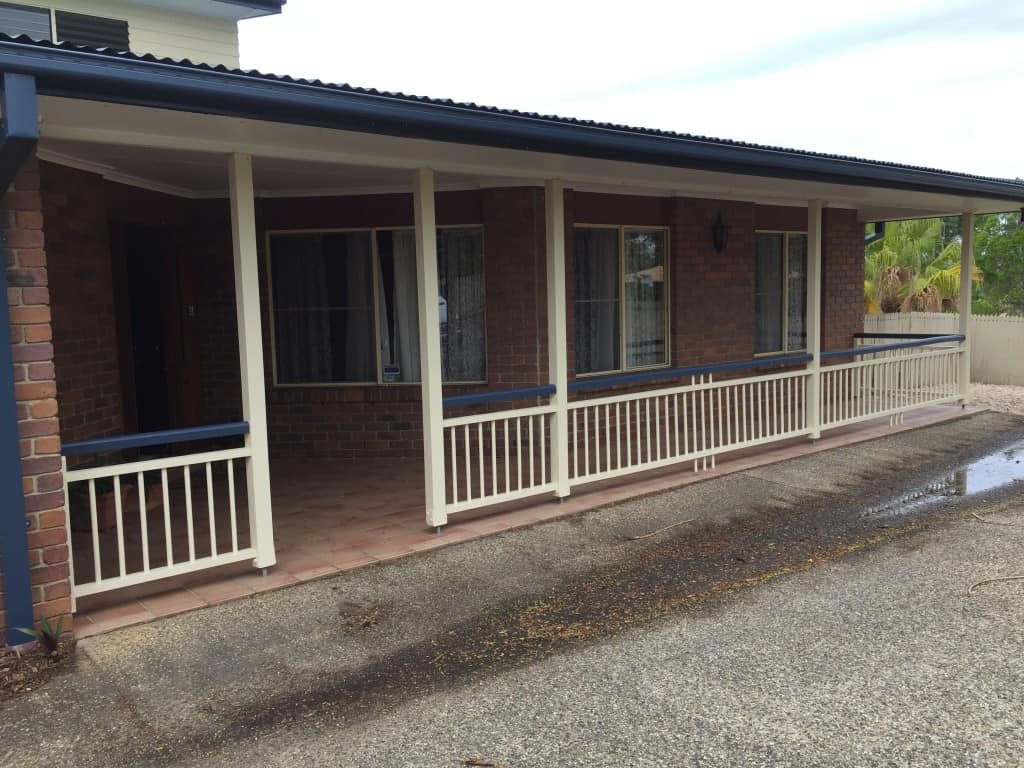
We also painted all the railings on both patio areas of the house. It looked like an easy job, but we painted by hand, and it took a while! This is the OLD colour below and the green colour was also what was on the roof.
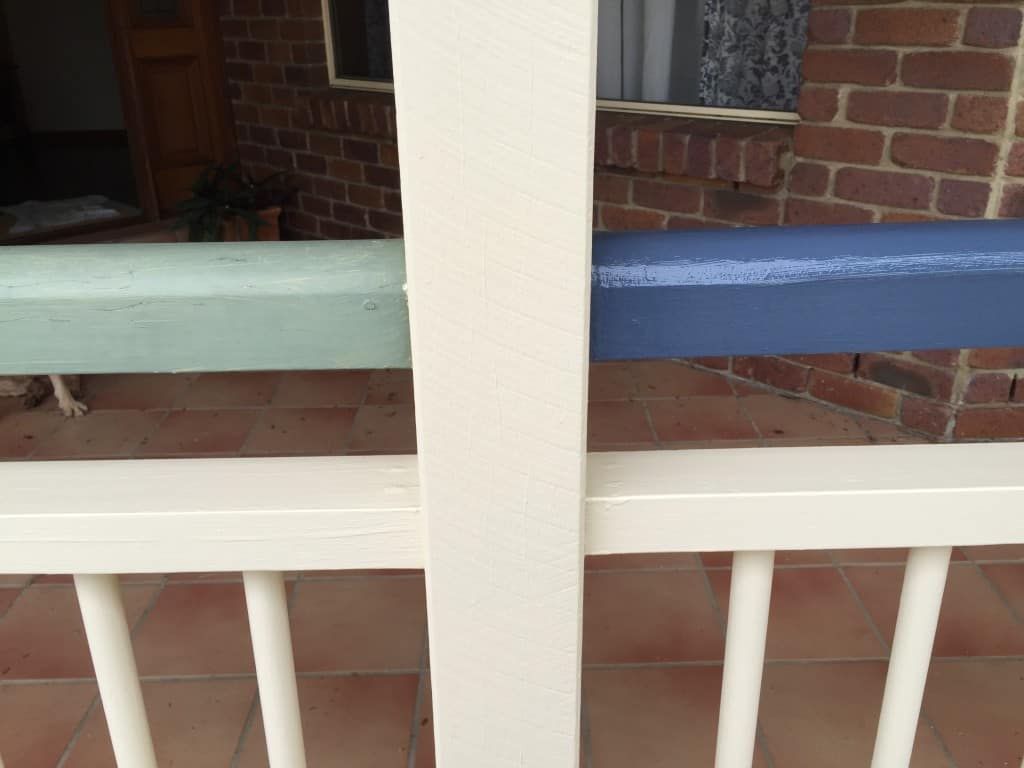
Before & After comparison
Those cream railings took the longest…
We then moved on to what has been an eye-sore in our backyard forEVER. What used to be an above ground salt water pool when we first moved in, slowly became rusted through and leaks were unfixable anymore. So because we were “saving up” for the bigger picture and a better plan for this space, this is how it looked. I know!
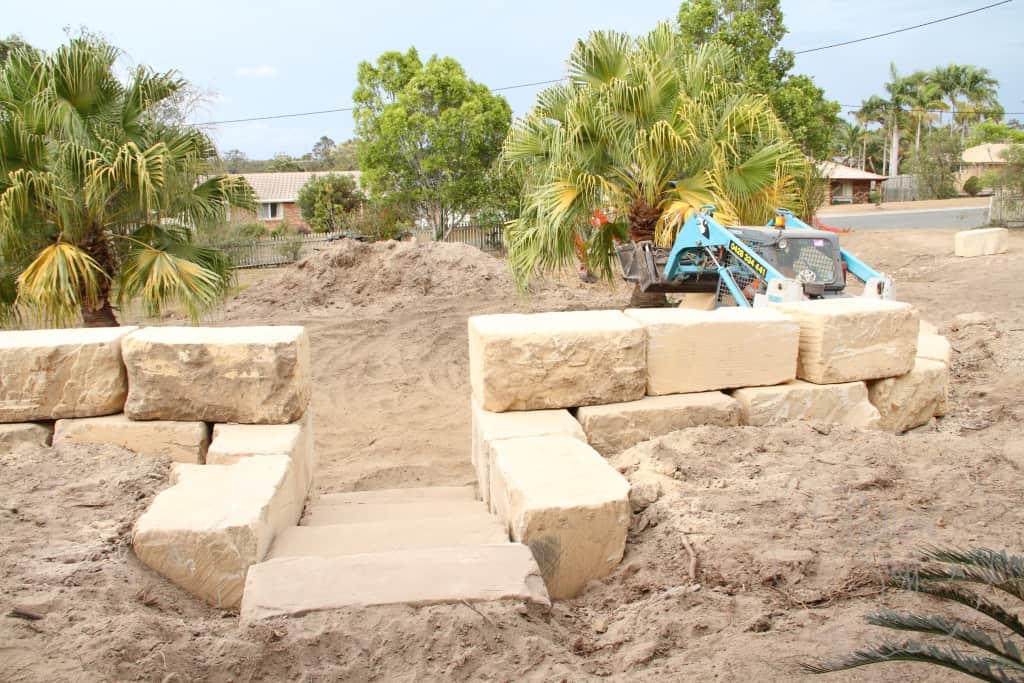
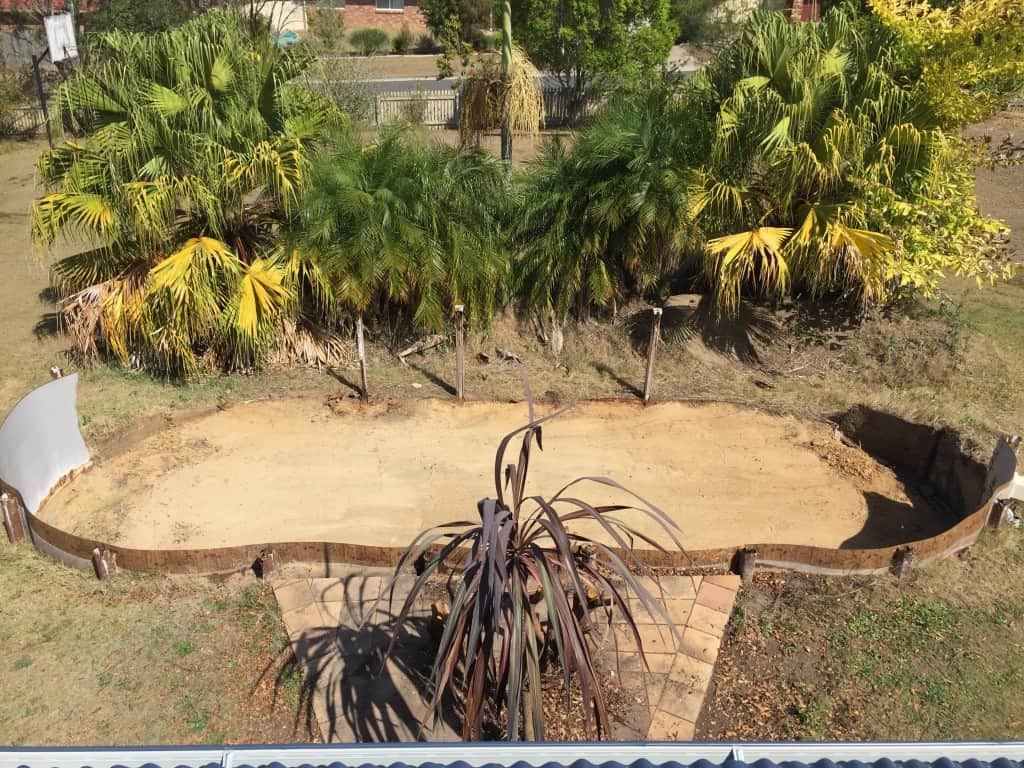 With family arriving from the USA to spend three weeks with us at Christmas, it was time to make a move, bite the bullet, and start the ball rolling … or the bobcat rolling …
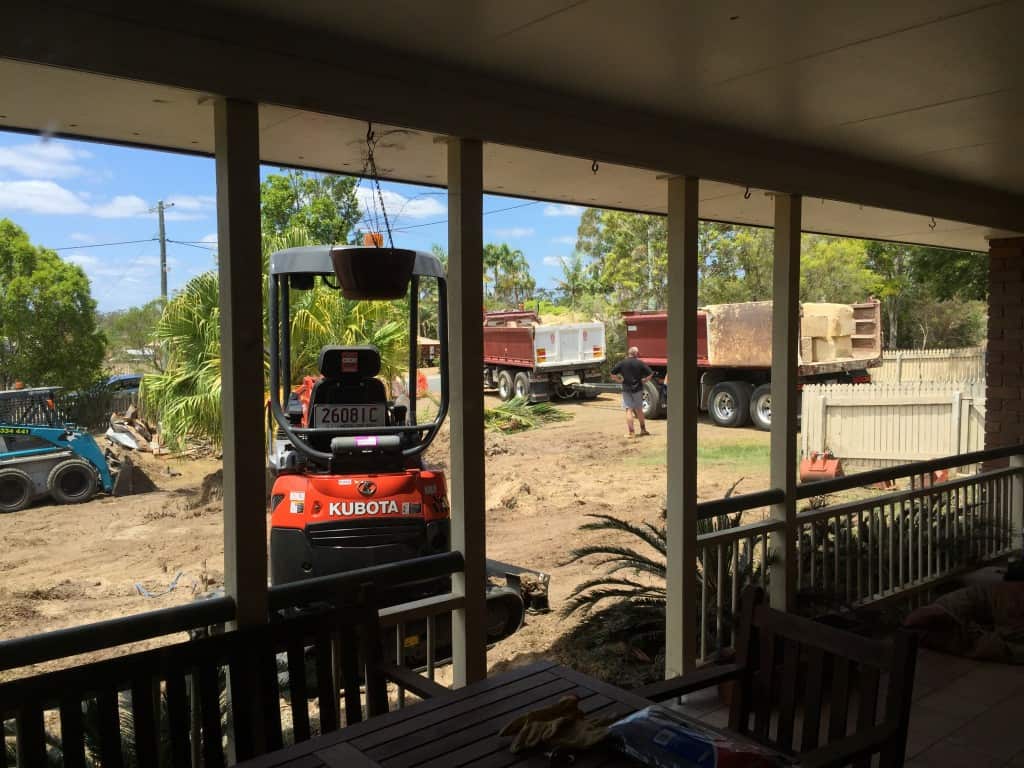
 The next couple of weeks our yard was a huge dust bowl – didn’t think about that did I? No one told me I’d be sweeping the house a few times a day even WITH the windows all shut in summer, to stop it flying in. Dust finds its way in when there is NO way! Just sayin’.
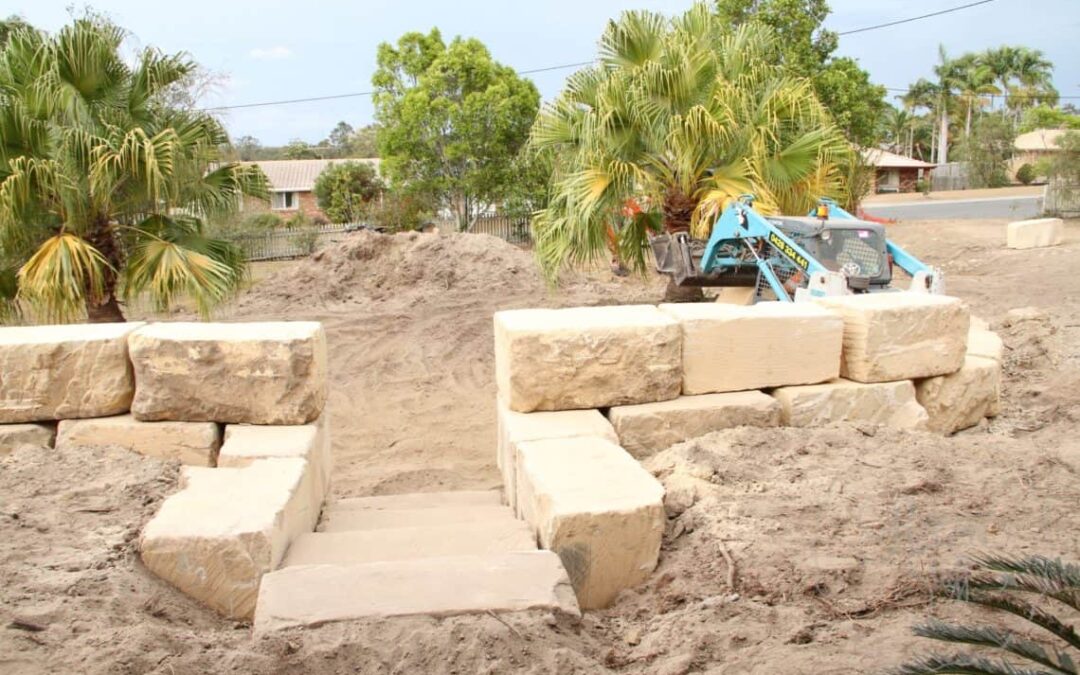
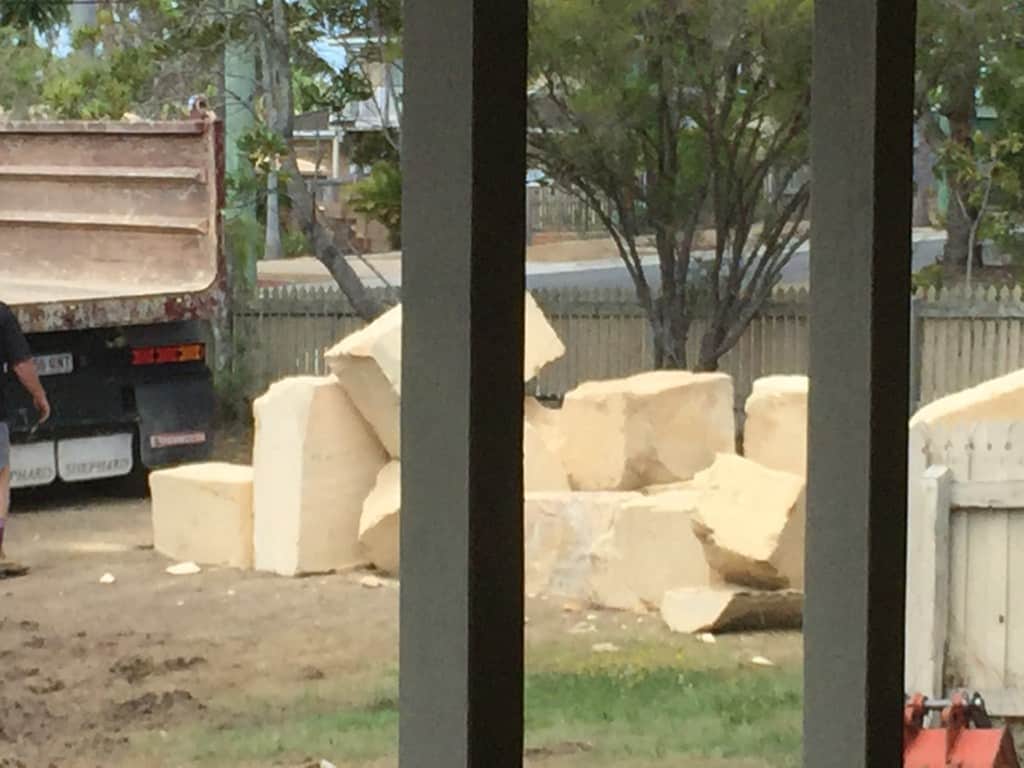
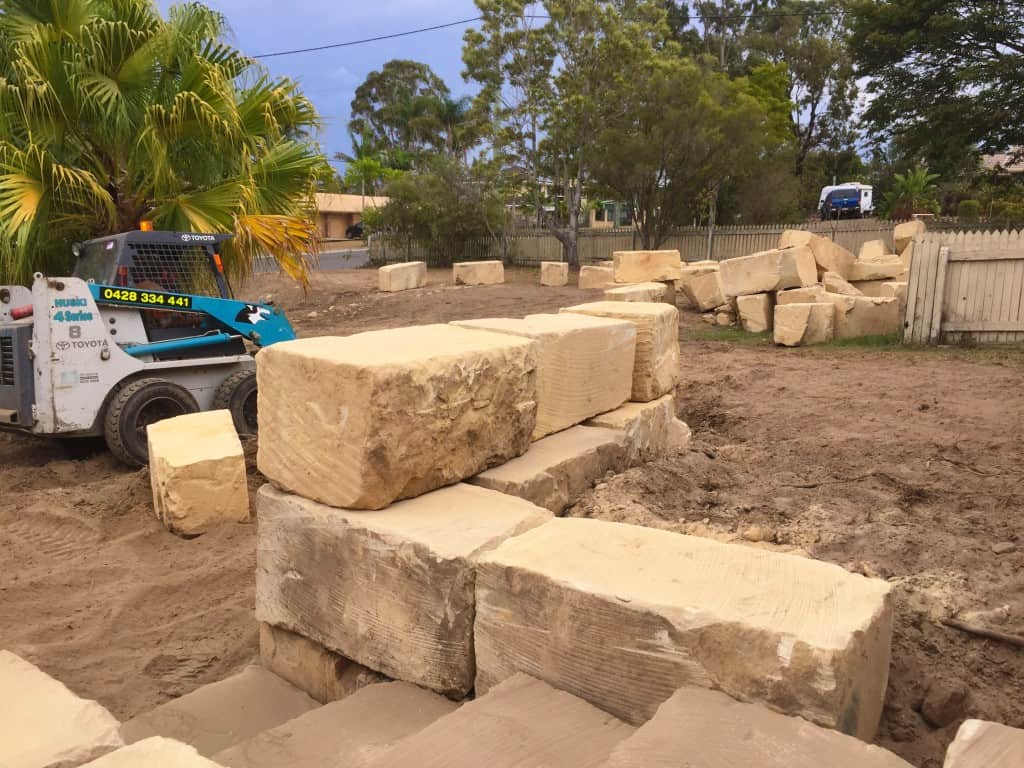 Bobcat Beau was the fastest, most diligent worker I’ve seen in action in a LONG time! The dude did not rest. These huge sandstone boulders were finally taking shape in our yard and our neighbours were probably thinking we were building an Egyptian pyramid or something.
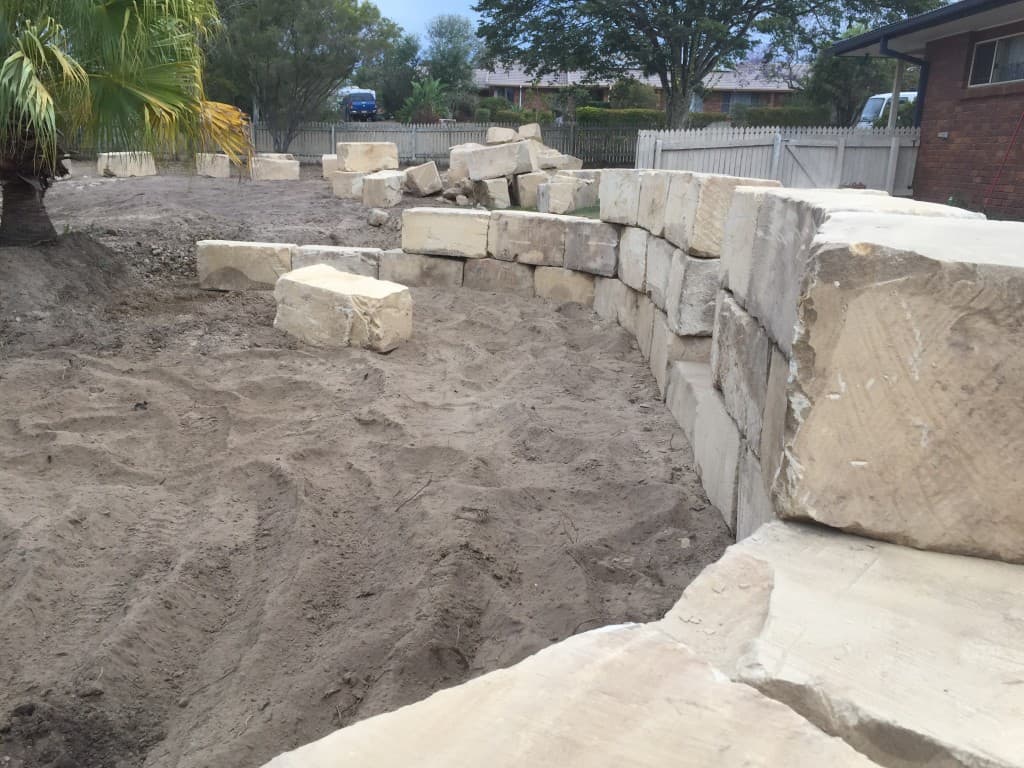
 Bobcat Beau laid the crusher dust and then my dear hubby (did I tell you how proud I am of this man?) laid these heavy faux wood pavers in between his regular jobs. Here he is late at night with his studio lights coming in handy out here. I remember he was worried about the rain that was predicted, and needed to “just get it done.” He’s a trooper!
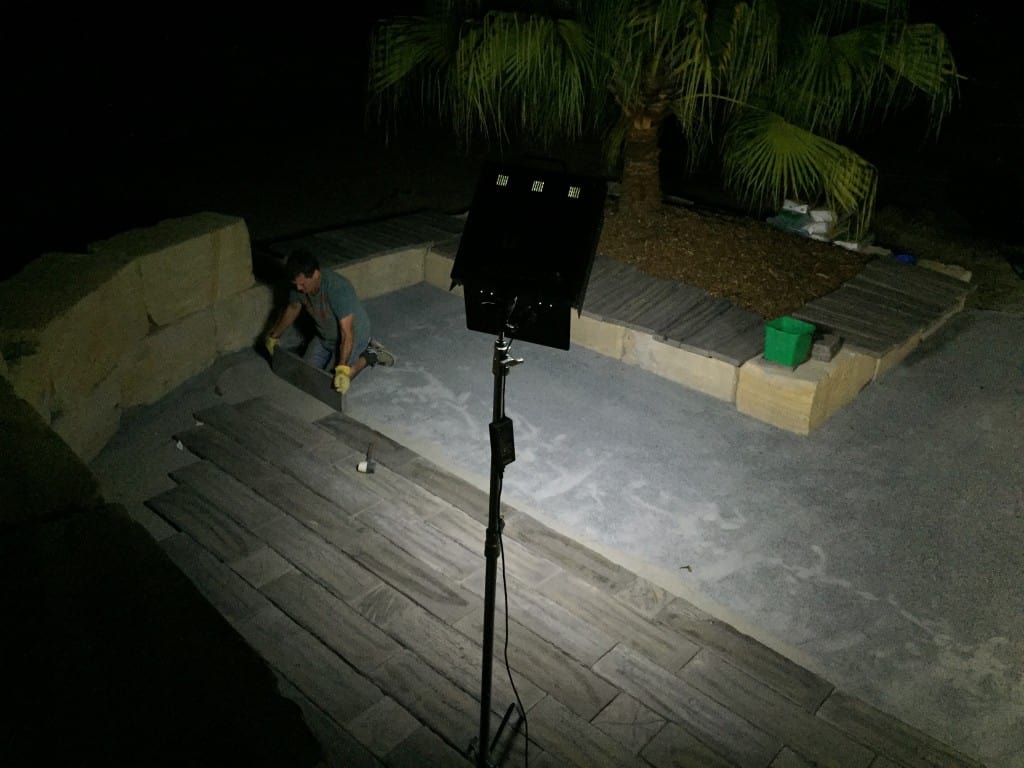 Marty finished off the edges with these river rocks which not only filled in the gaps, but also blended the sandstone boulders together with the pavers for a nice finish.
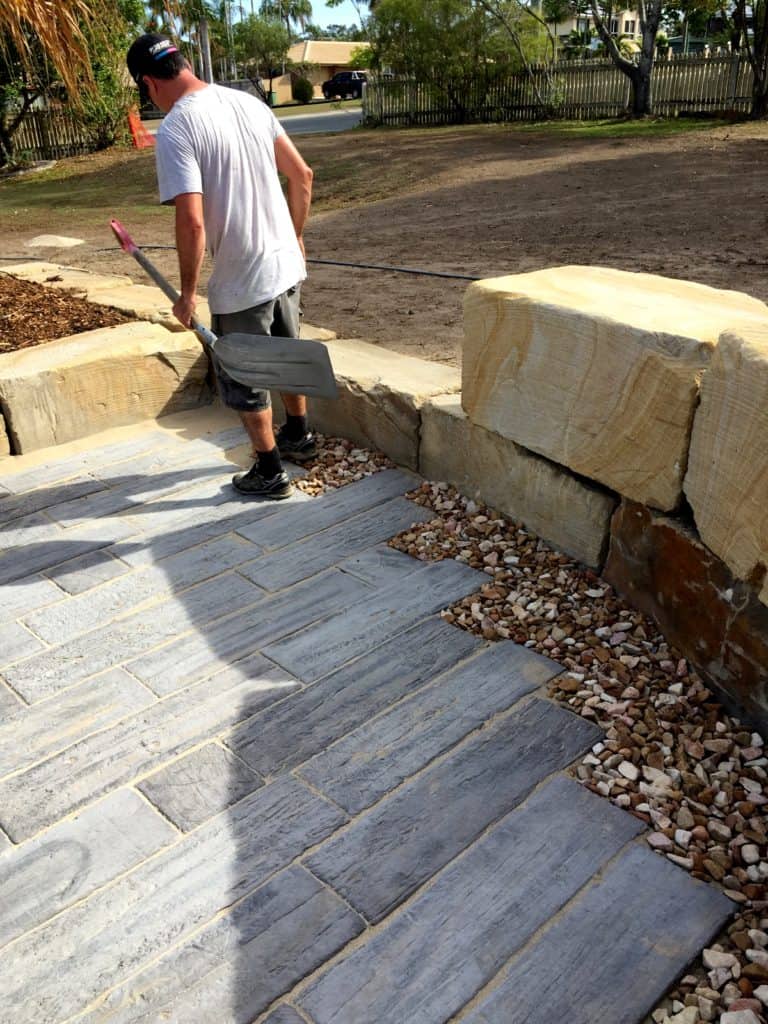 Finally, new turf was laid and we had some amazing help from family and friends during this whole backyard reno. We couldn’t have finished it without their help.
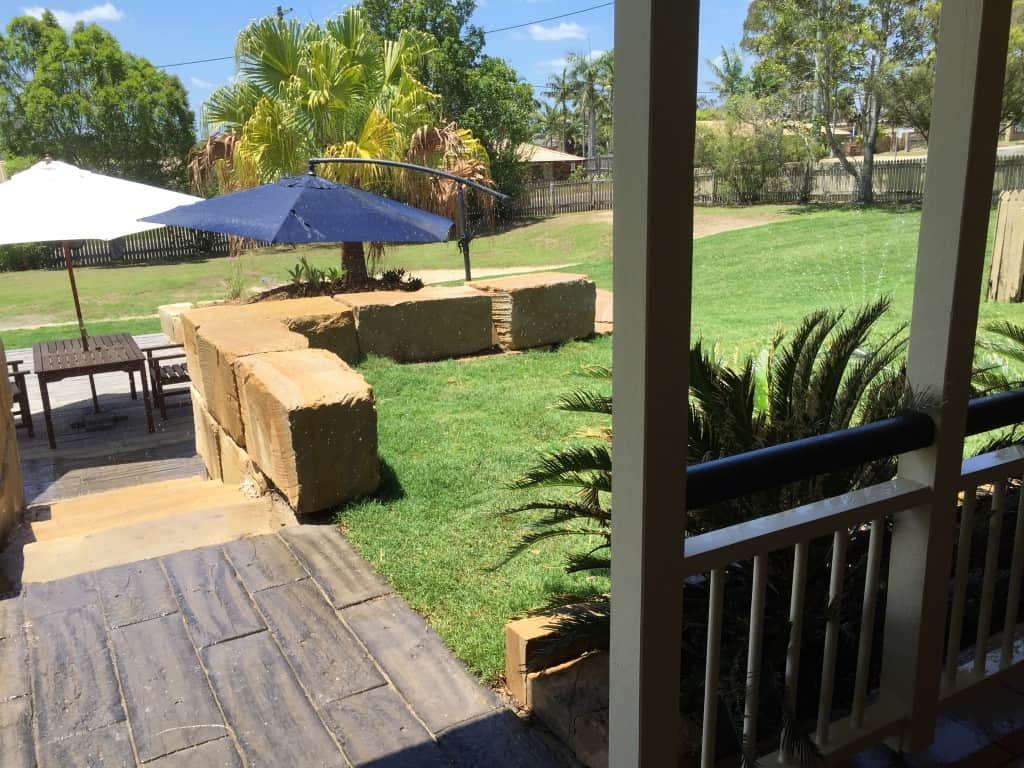
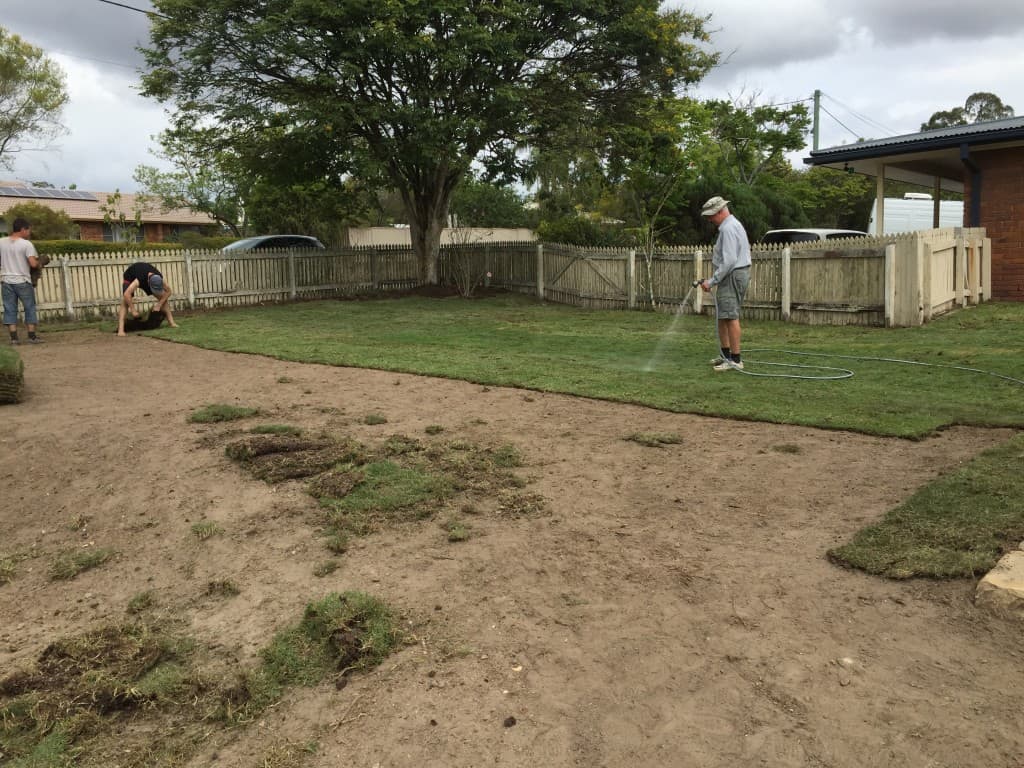 And here’s the finished look after moving our outdoor setting down here, and newly purchased umbrellas from our local hardware store.
 The turf on the far side of the patio/deck has now grown in to match the new turf. Speaking of the turf, we just received a notice from the council to let us know that we have used about triple our normal amount of water in the last quarter, and suggested we may need to look for leaks around the property … um, okay, so new turf also takes a LOT of water to make it stay green and grow its roots down into the dirt. NOT looking forward to the next water bill!!
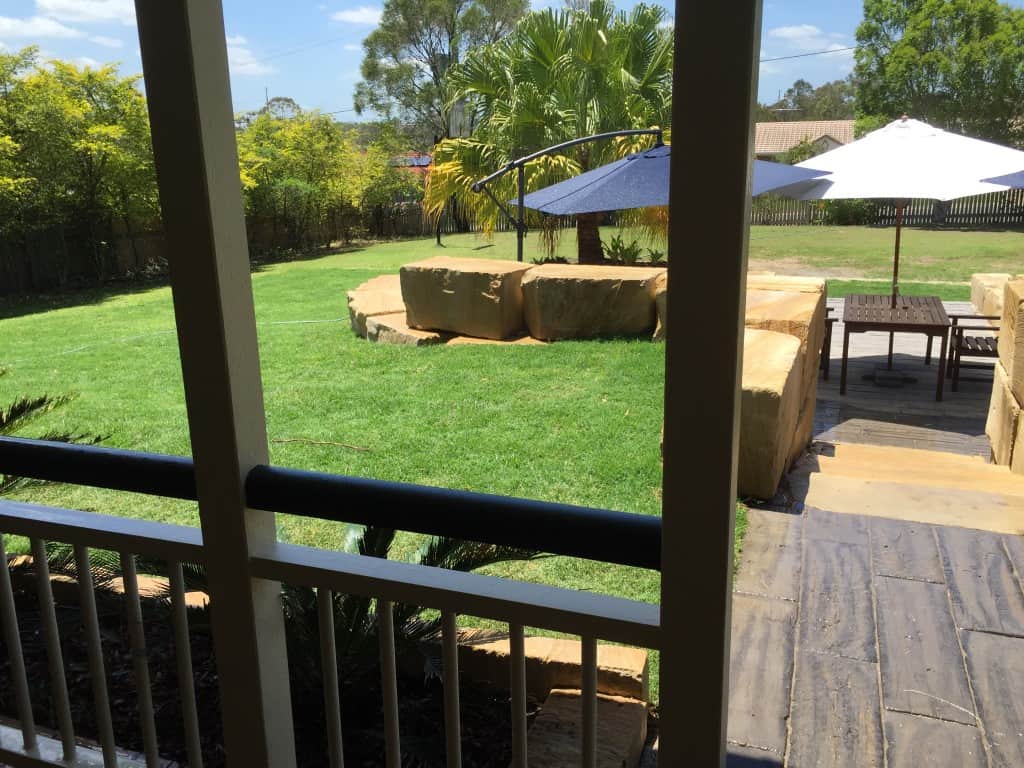 Here it is at night during a family celebration to welcome our USA family to Australia. Marty loves to go all out and used his lighting contacts to throw some purple lights up on the gardens. Our hearts were doing a BIG happy dance that night after this huge project was finally complete.
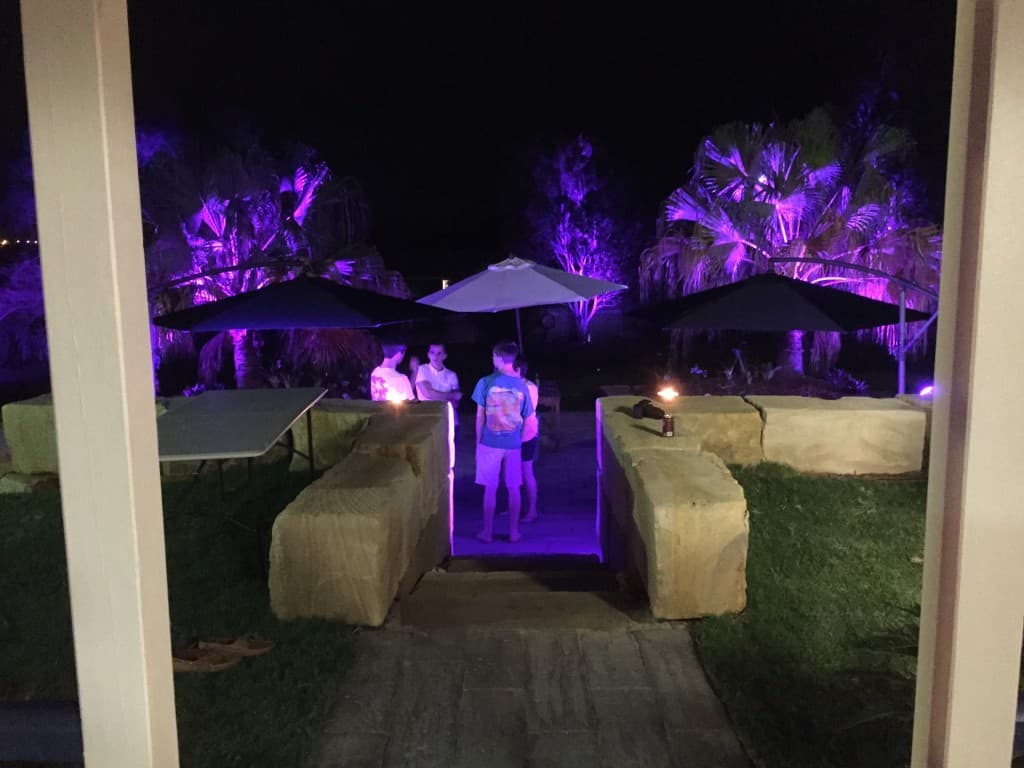
It was during the backyard renovations that the team at Dulux Australia contacted me to ask if I had any outdoor furniture I wanted to update, I knew I needed to do something about our outdoor setting. Especially now that our back deck was complete. Here are the weary and slightly worn outdoor furniture pieces that I was about to tackle:
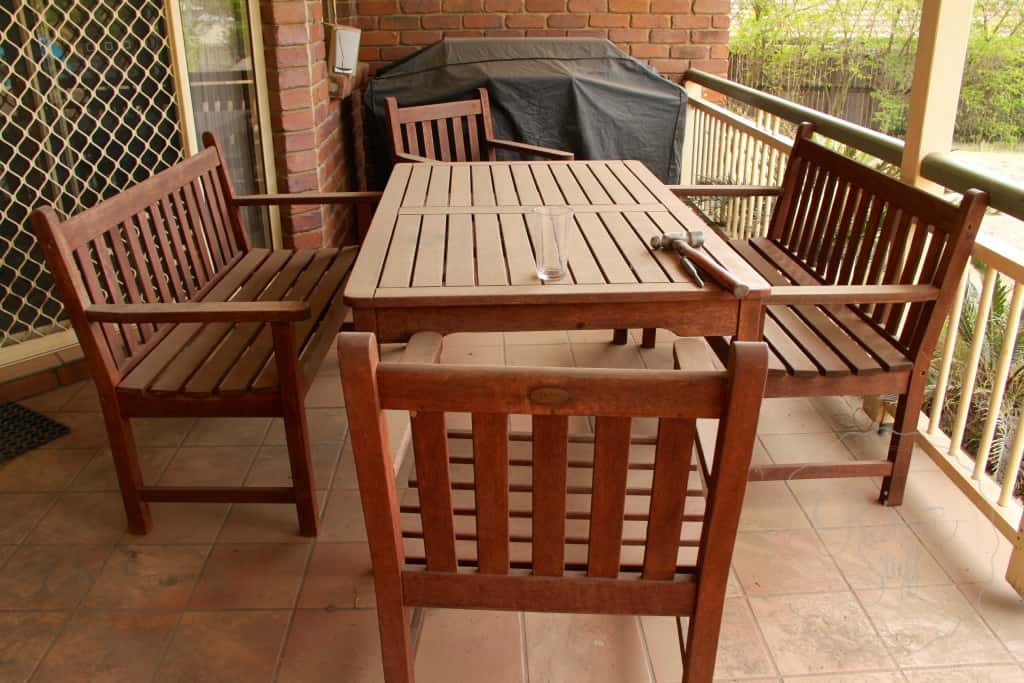
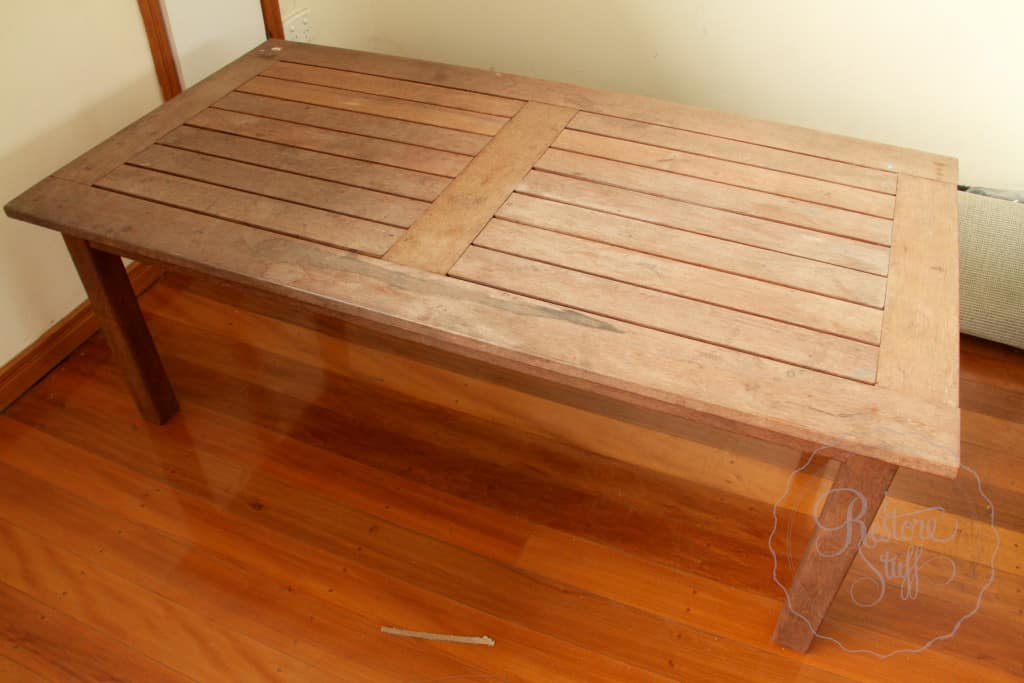
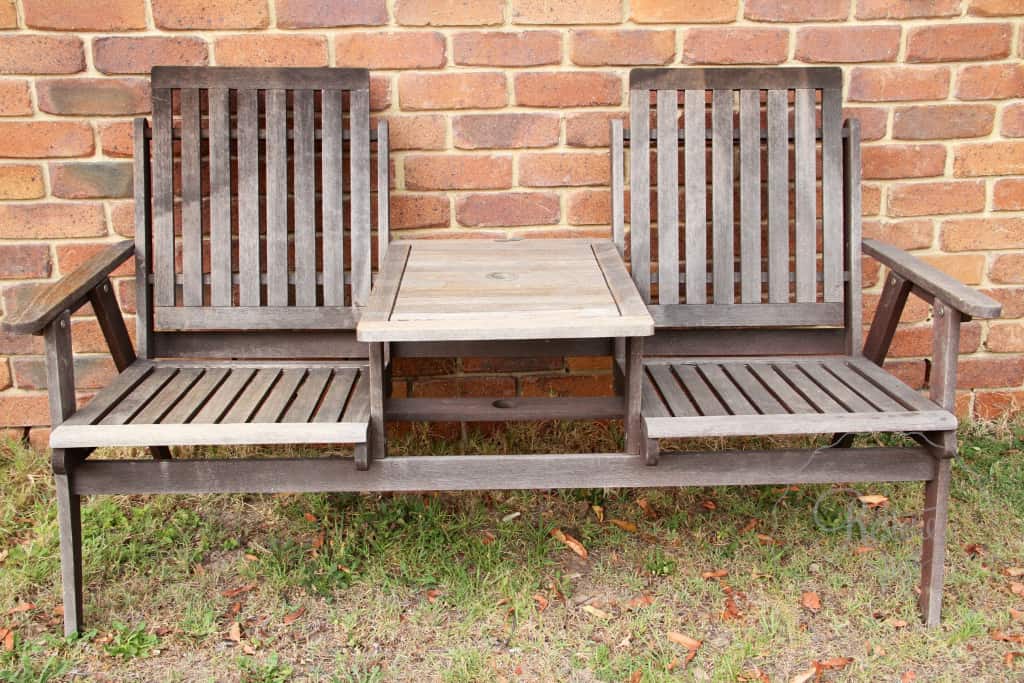
In part 2 of our backyard reno, I will show you how I transformed these outdoor furniture pieces with the new Dulux Rapid Finish spray system.
You can subscribe to my blog to make sure you don’t miss any of my posts. They’ll come straight to your email inbox. If you have already subscribed, and have not been receiving my posts, please check that they have not been coming in to your junk mail or spam folders. You can also check that you have clicked through on the confirmation email that you would have been sent when you first hit subscribe.
I can’t wait to show you how the outdoor settings turned out. Till next time …
Happy Painting!
Sharon.
Check out Part Two here: BackYard Reno Part 2 – A Dulux Outdoor Setting Makeover