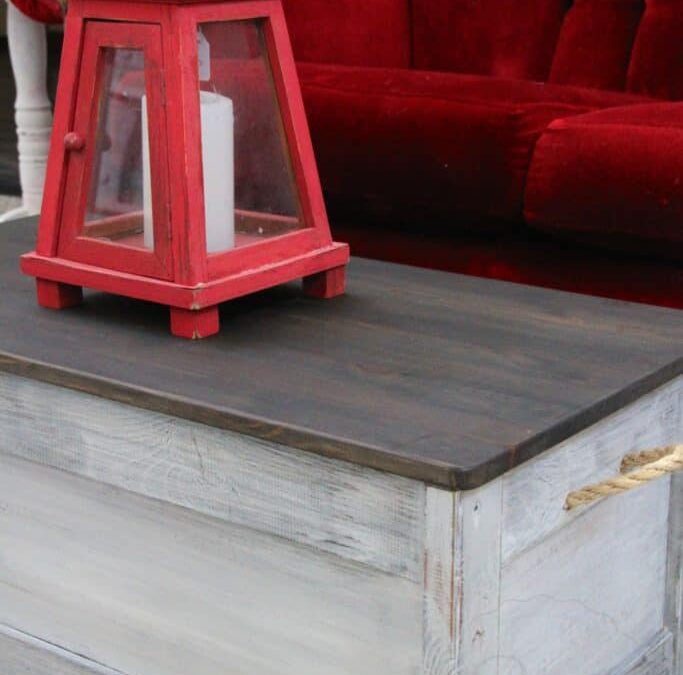
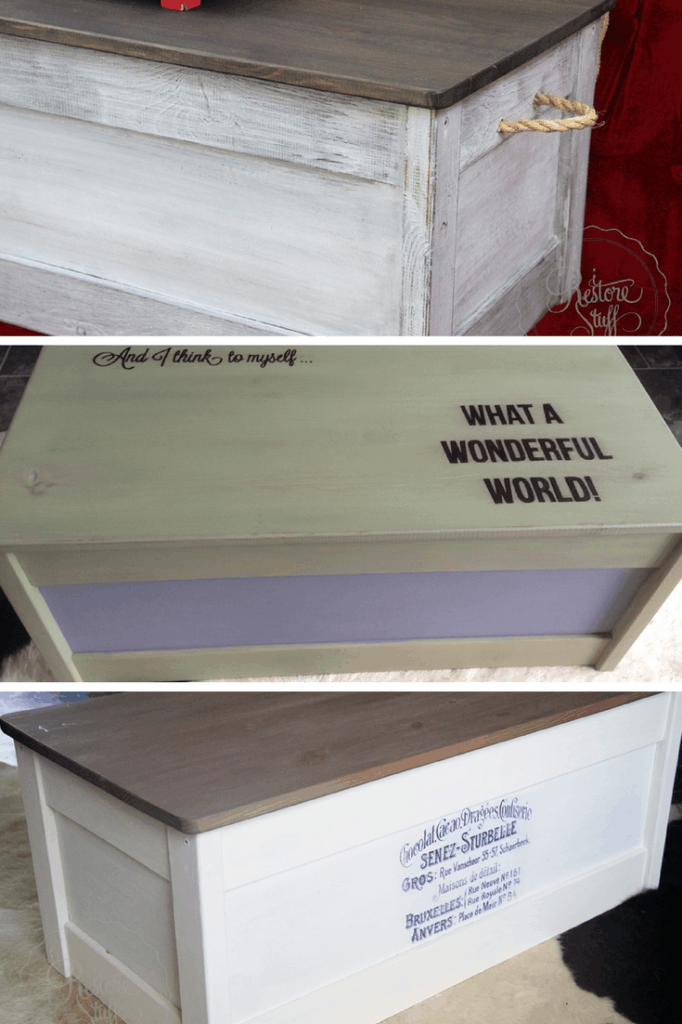
Remember the three IKEA storage boxes I was given earlier this year? I had completed and shown you two of them.
Here’s the first one, and you can see how I achieved this look HERE using Luckett’s Green (Miss Mustard Seed’s Milk Paint) and Dried Lavender (now discontinued colour).
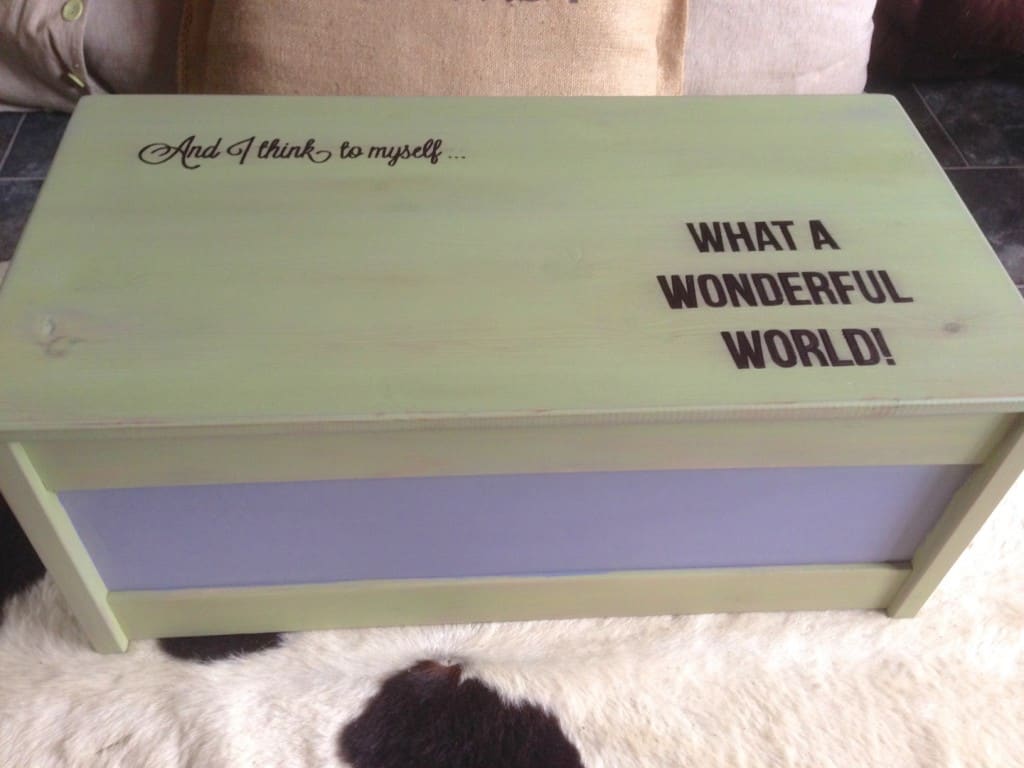 Here’s the second box, and you can see how I achieved this look HERE, using MMSMP in Linen for the base and Curio colour as a stain for the top.
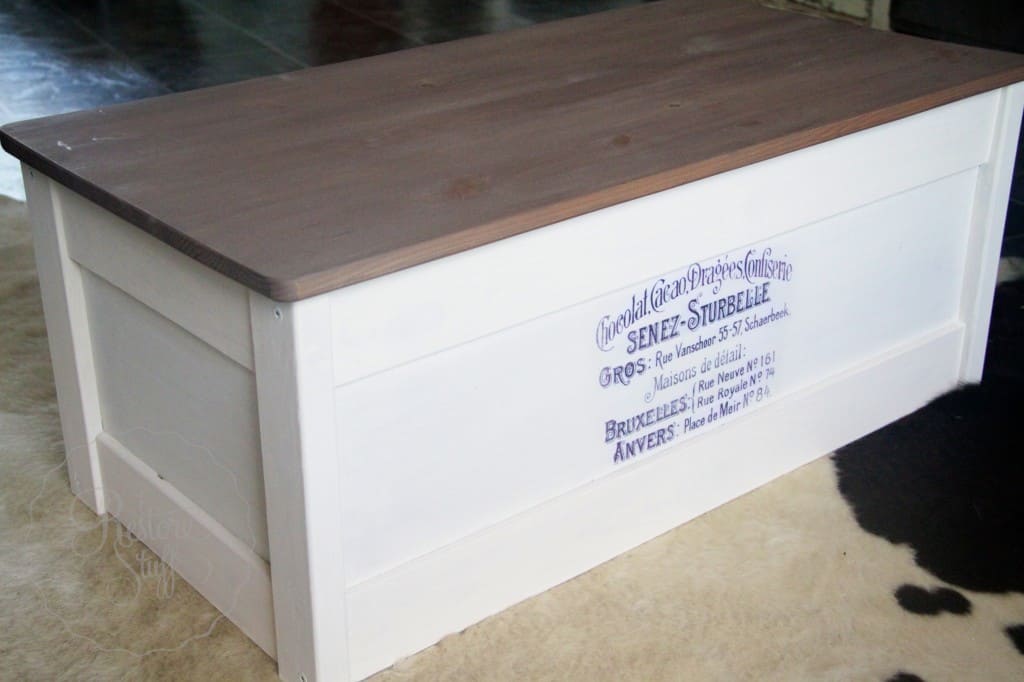
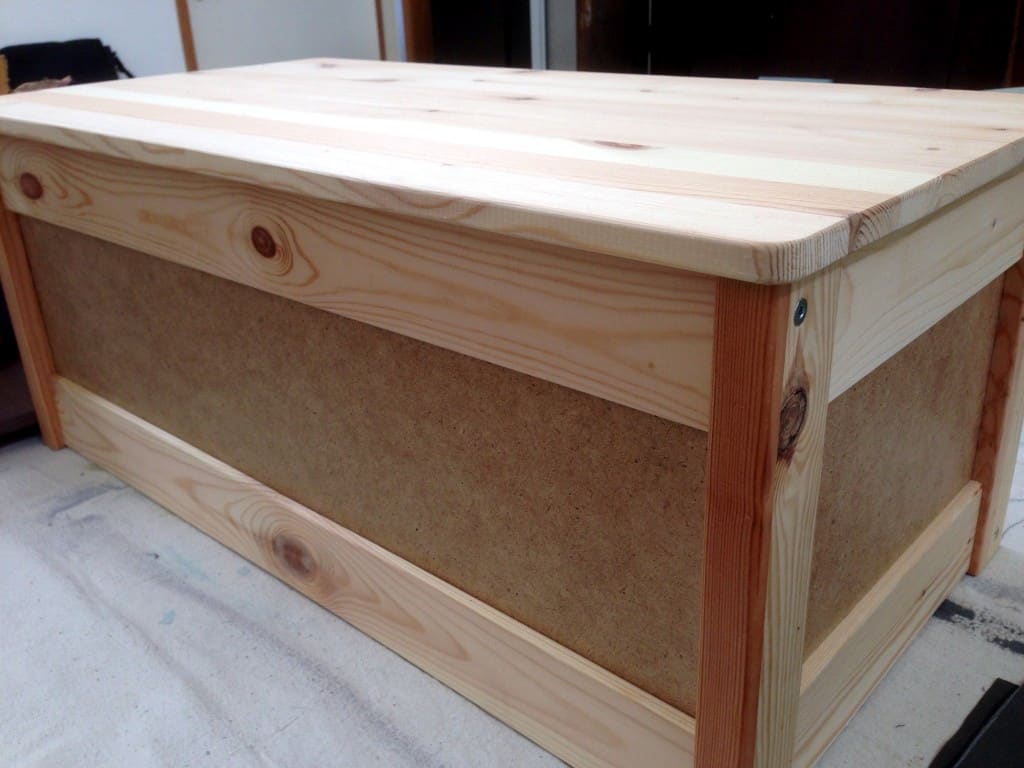
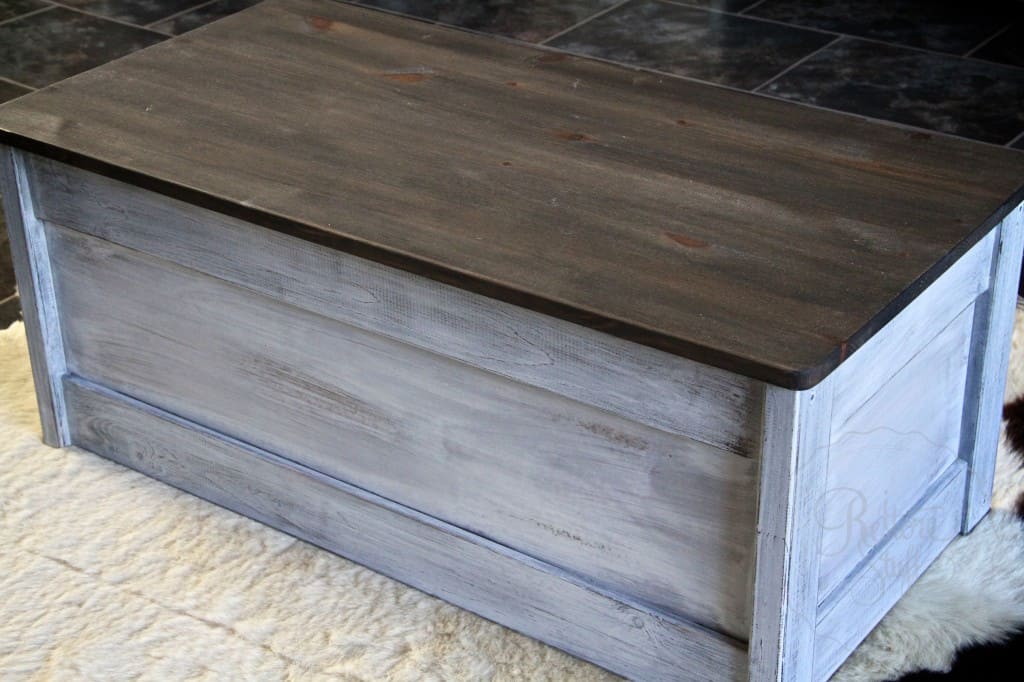
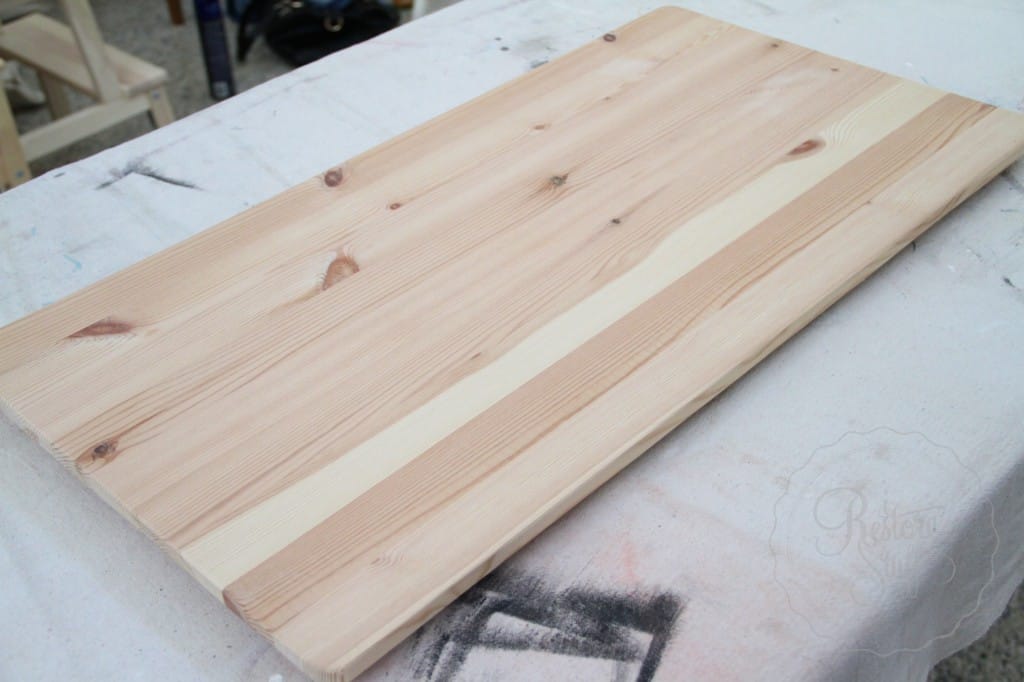
1 part milk paint powder : 3 parts water.
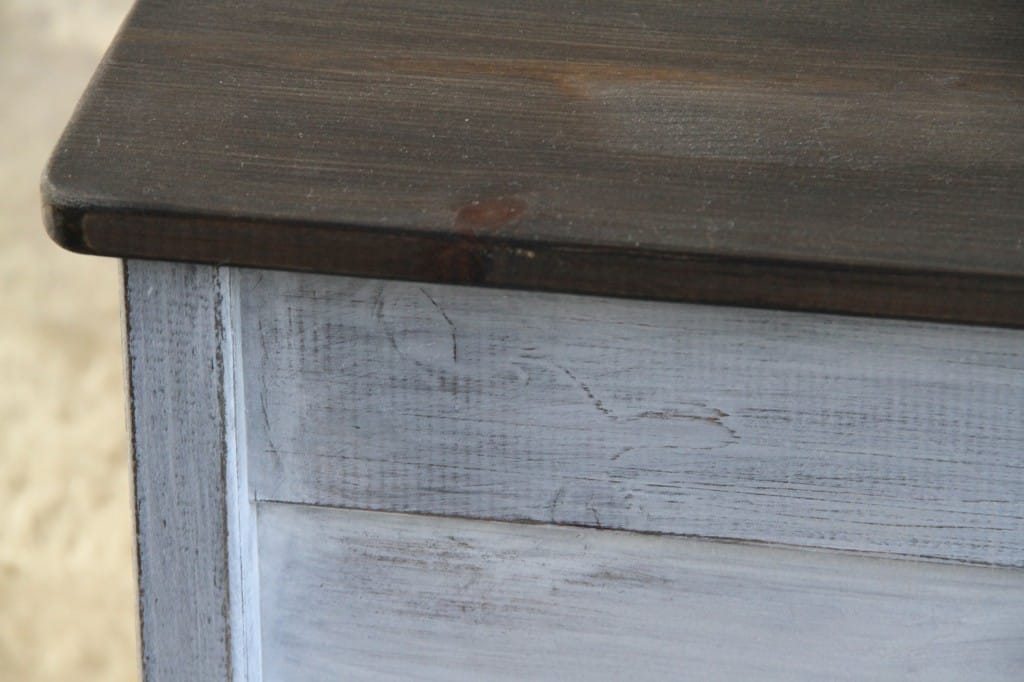
After mixing thoroughly using a mini whisk or milk paint mixer, brush the “stain” on going with the grain of the wood. In this picture, it is still drying, and you can see the parts that have dried will look quite chalky. I then went over the entire lid with MMSMP Hemp Oil, rubbing along the grain and wiping off any excess. The hemp oil will soak right into the wood and give a matte finish.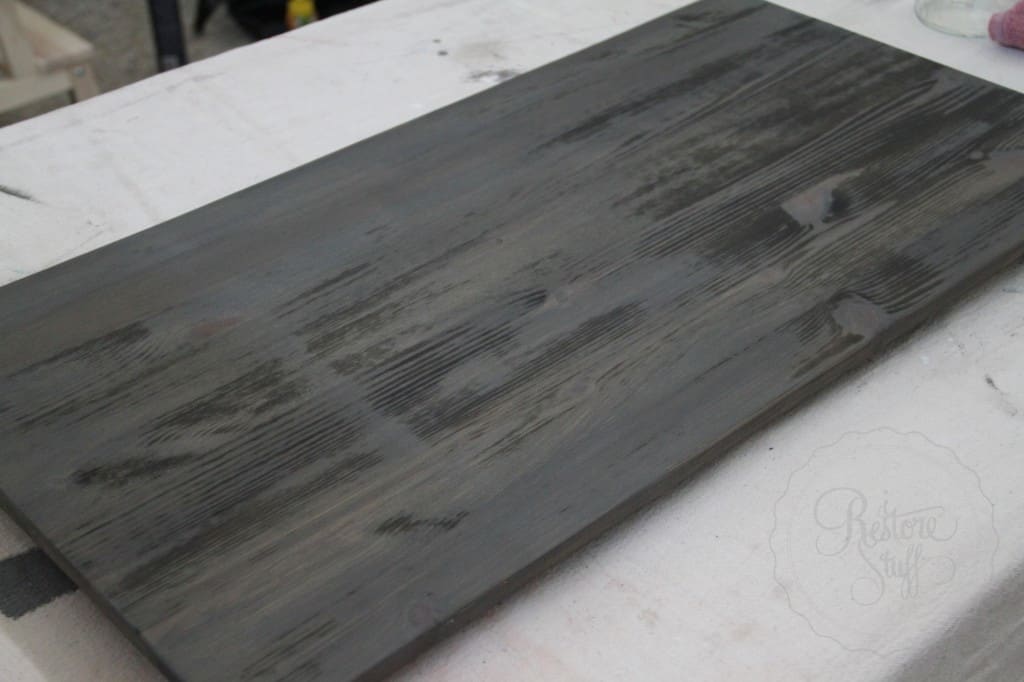
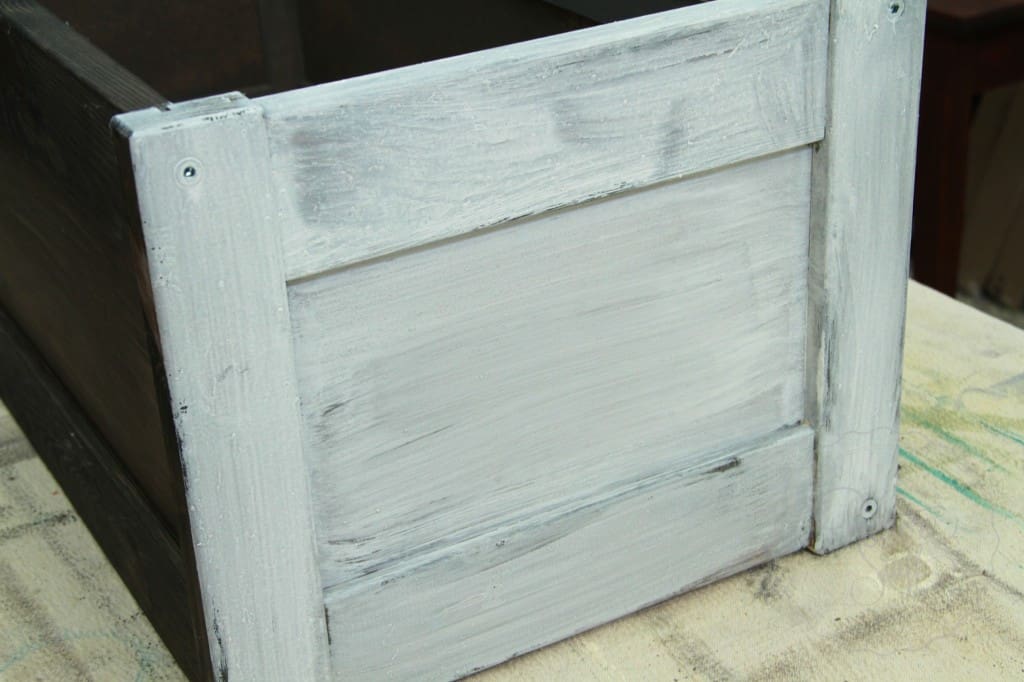
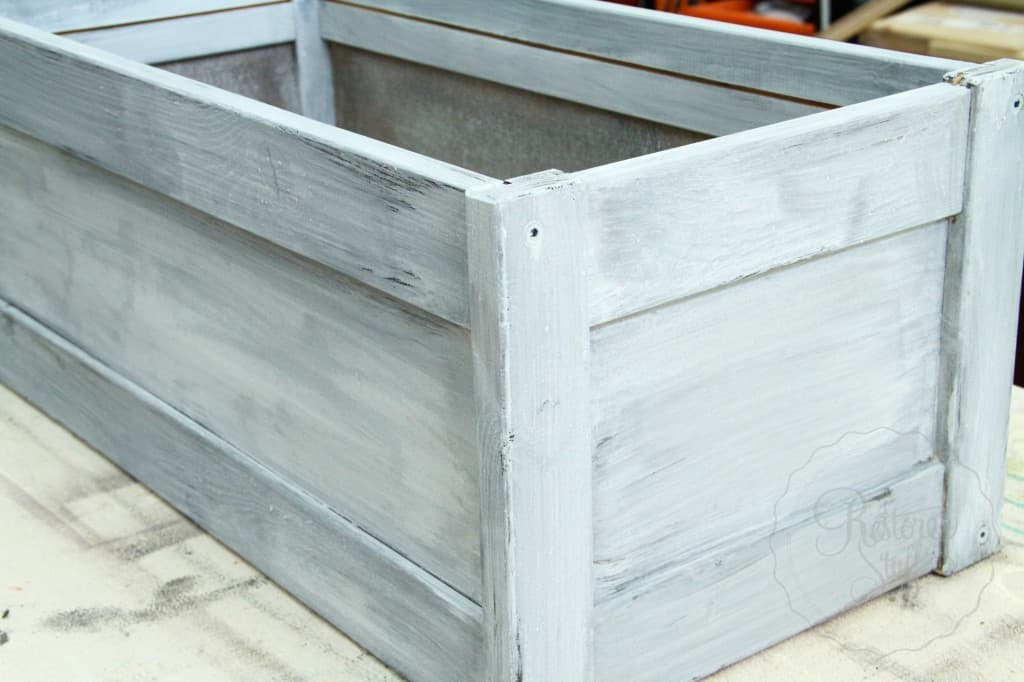
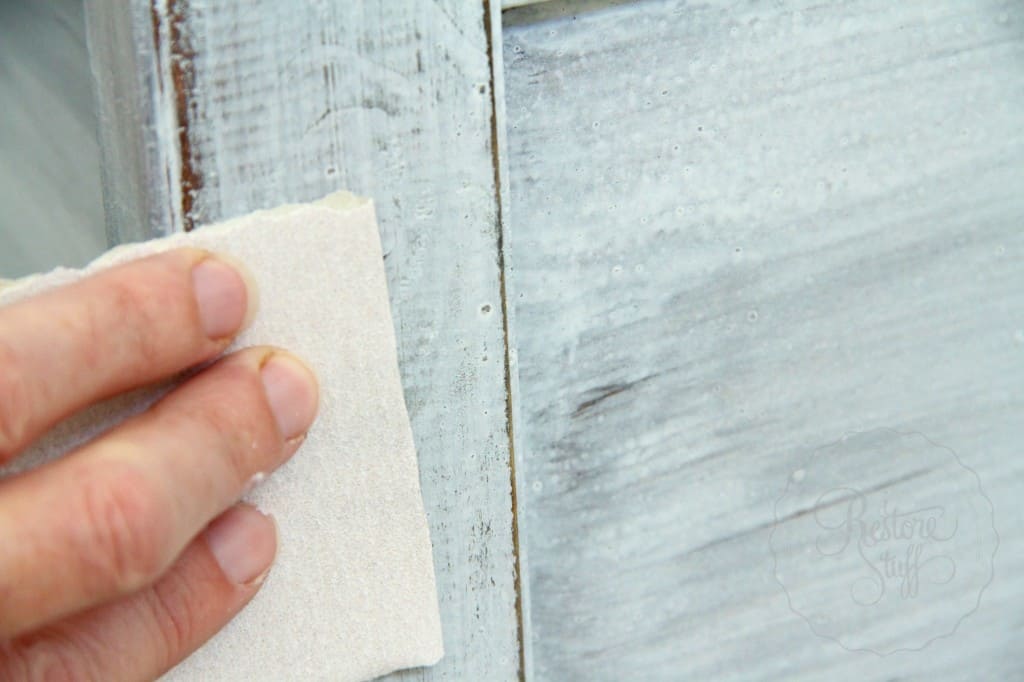
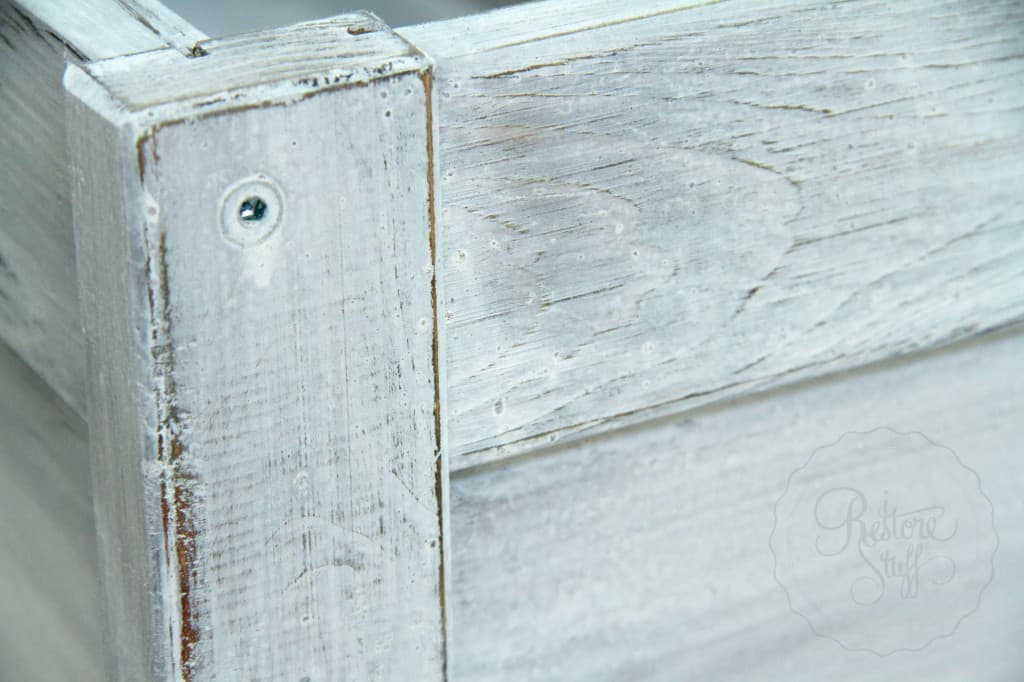
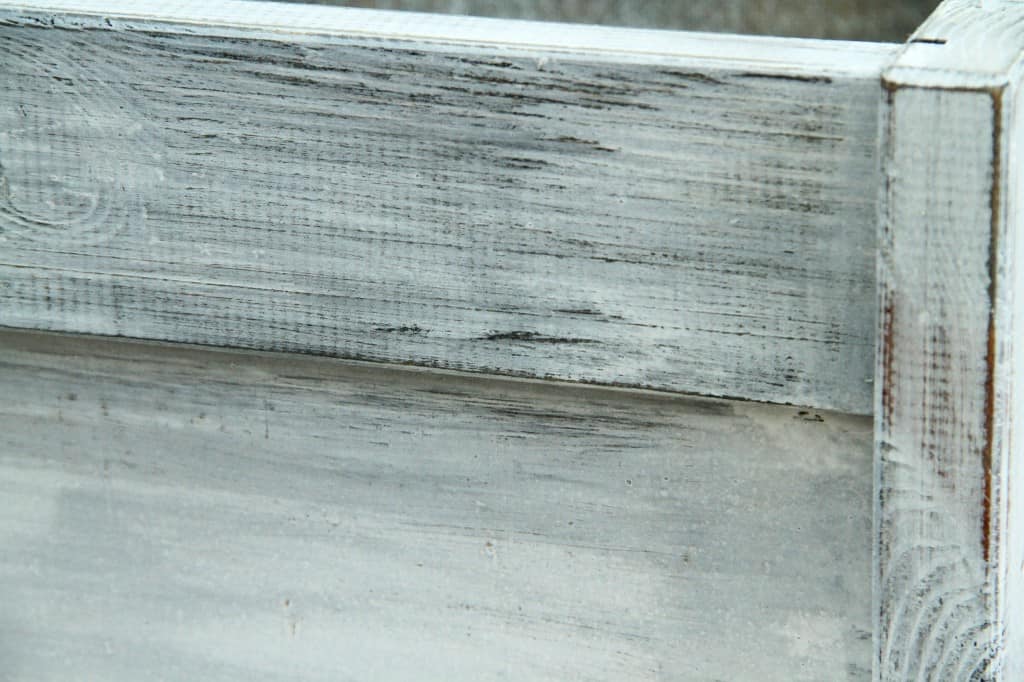
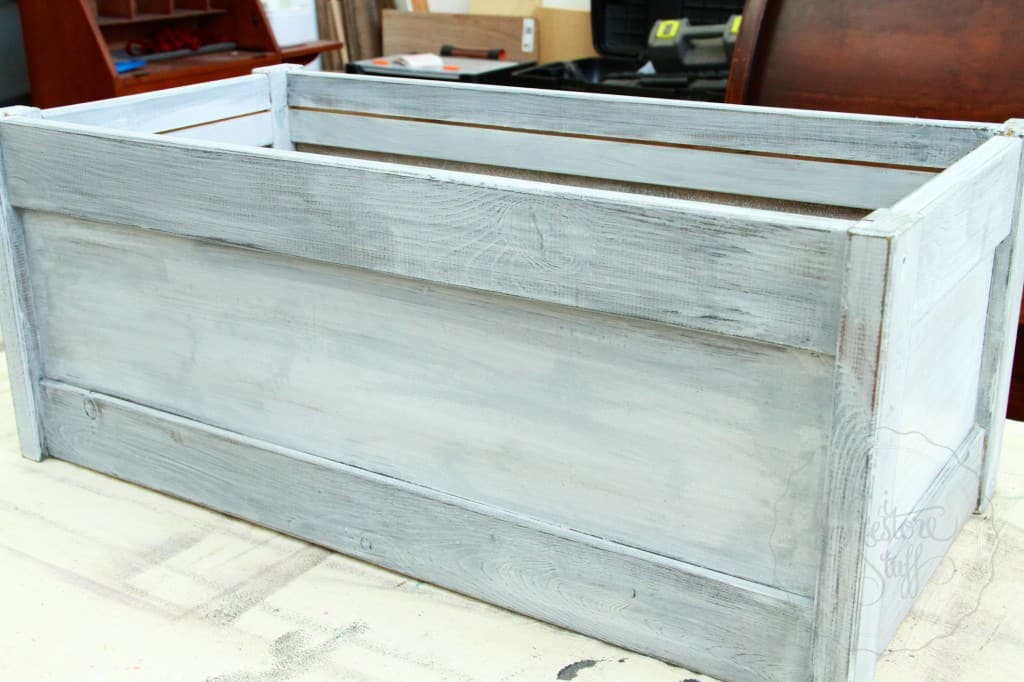
The next step, was to coat the entire box with MMSMP Hemp Oil. I did this to create a “resist” so that there would be parts of the dark showing through after I paint the top layer and sand back to distress. The hemp oil is applied fairly liberally to act as a resistant layer between these two coats of different coloured paint.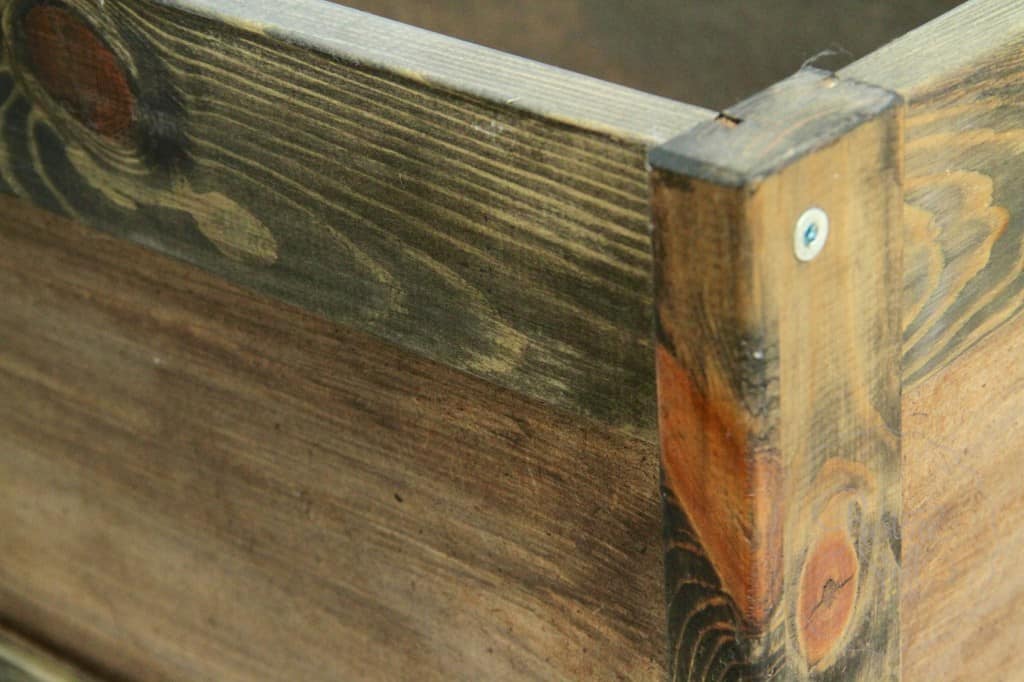

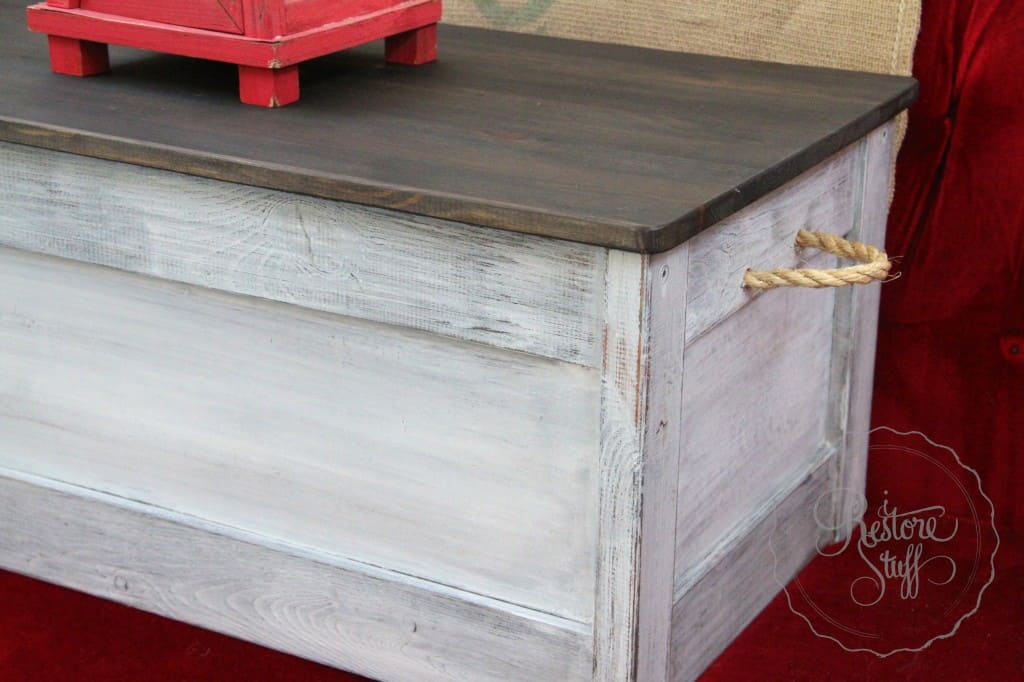
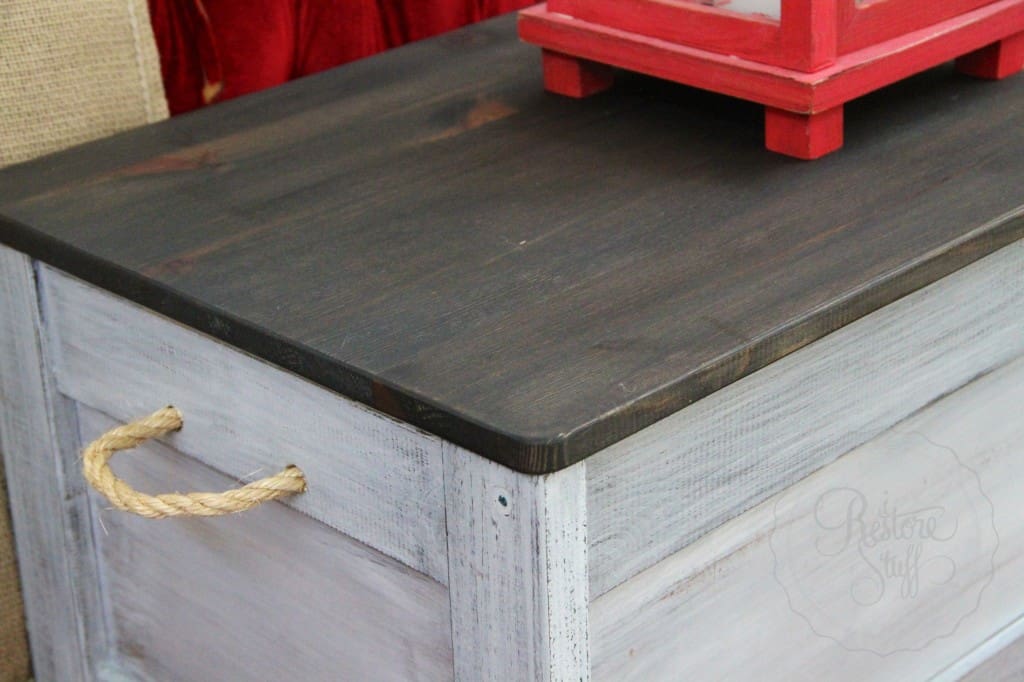
If you’d like to achieve this look using Miss Mustard Seed’s Milk Paint, you can order online here on my website (Australian orders only) or for other parts of the world, check for a stockist near you via www.missmustardseedsmilkpaint.com
For this exact look you will need:
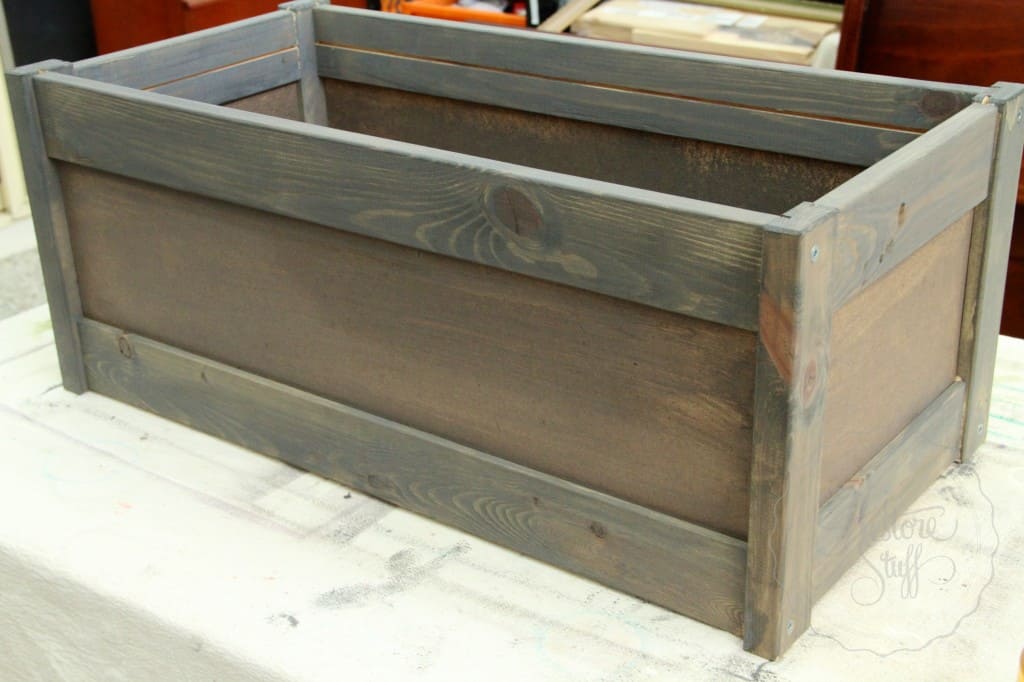
– a raw wood storage box of some kind (this one is from IKEA)
– Miss Mustard Seed’s Milk Paint – Typewriter (approx 1/4 cup powder)
– Miss Mustard Seed’s Milk Paint – Ironstone (approx 1/4 cup powder)
– MMSMP Hemp Oil
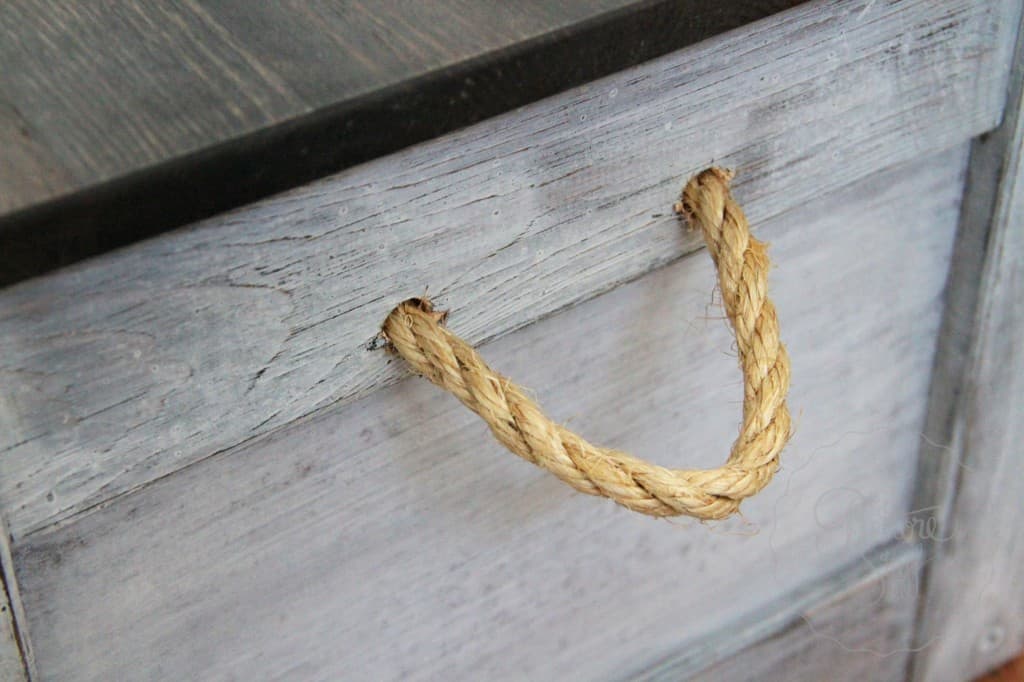
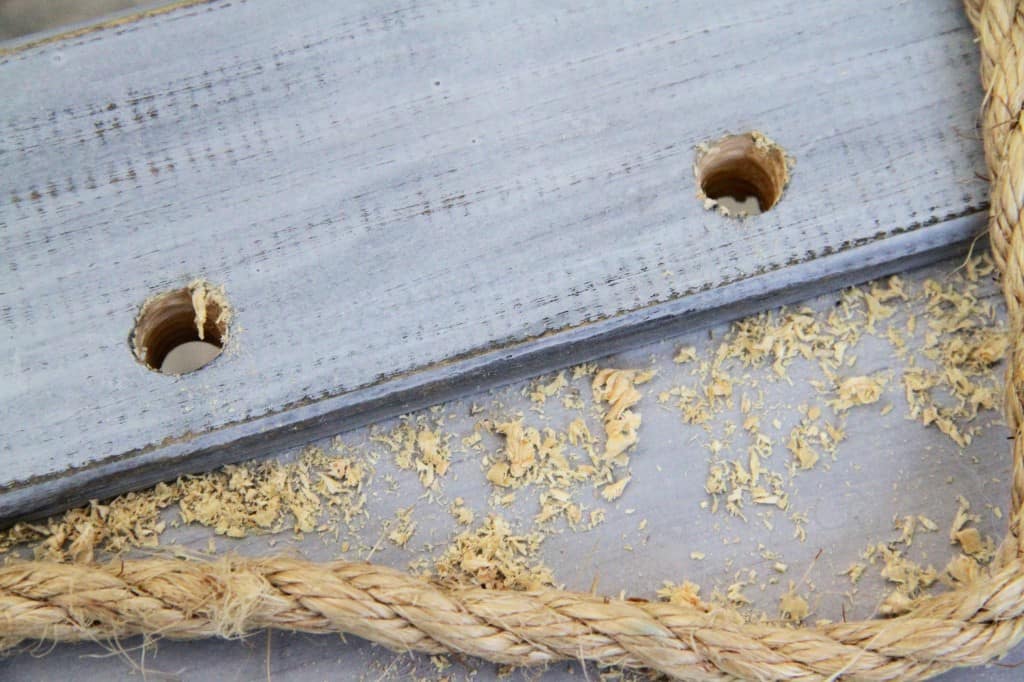
– Jute rope
Also available on my product page to assist you with this project:
– soft natural bristle paint brushes,
– Milk Paint Mixer or wire whisk,
– brush soap (great for cleaning and conditioning your natural bristle brush)
– SandiHands Sanding gloves
If you have any questions about this project, please leave a comment and I’ll do my best to answer.
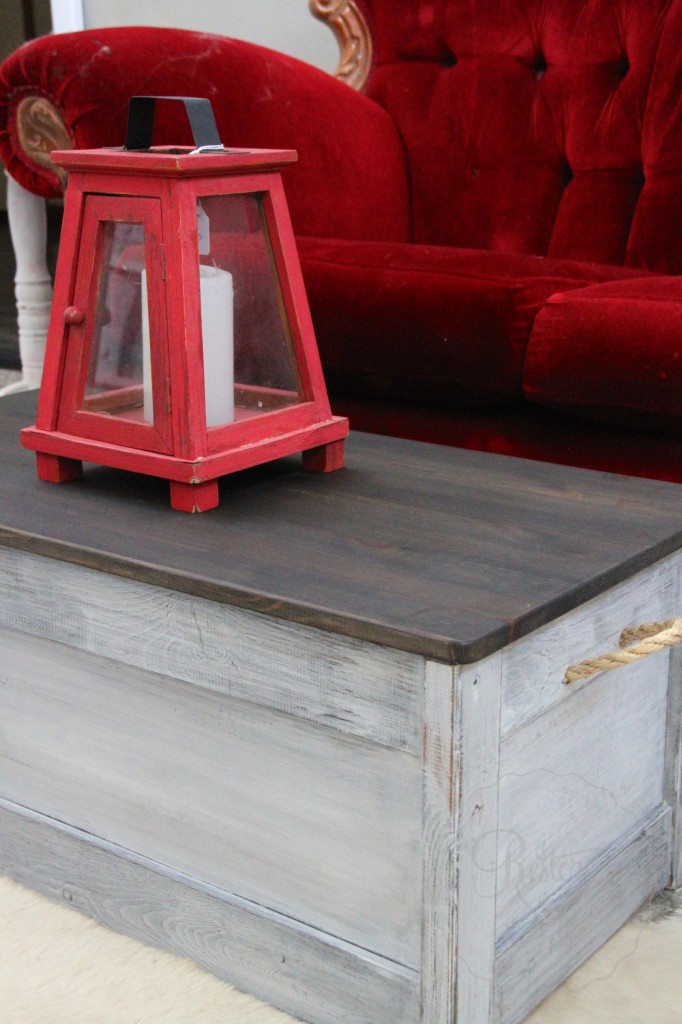
Just a re-cap pic of all three boxes and the different looks I gave each one.
STOP PRESS: I’ve just uploaded a video tutorial that also explains the resist method I used on the 3rd chest box here:
Happy Painting everyone!
