The phone call …
When a returning client called and said to me, “Sharon, I have a piano that I’d like you to paint.” My first words to her were, “So do I” … oh yes, the big elephant in my room, taking up space along the wall in my workshop and doubling as a resting place for displaying paint samples at the moment. But alas, my piano project has NOT started and mainly because I really need to fix one of the castors which has broken off and snapped the wood, and you know that’s going to be a problem.
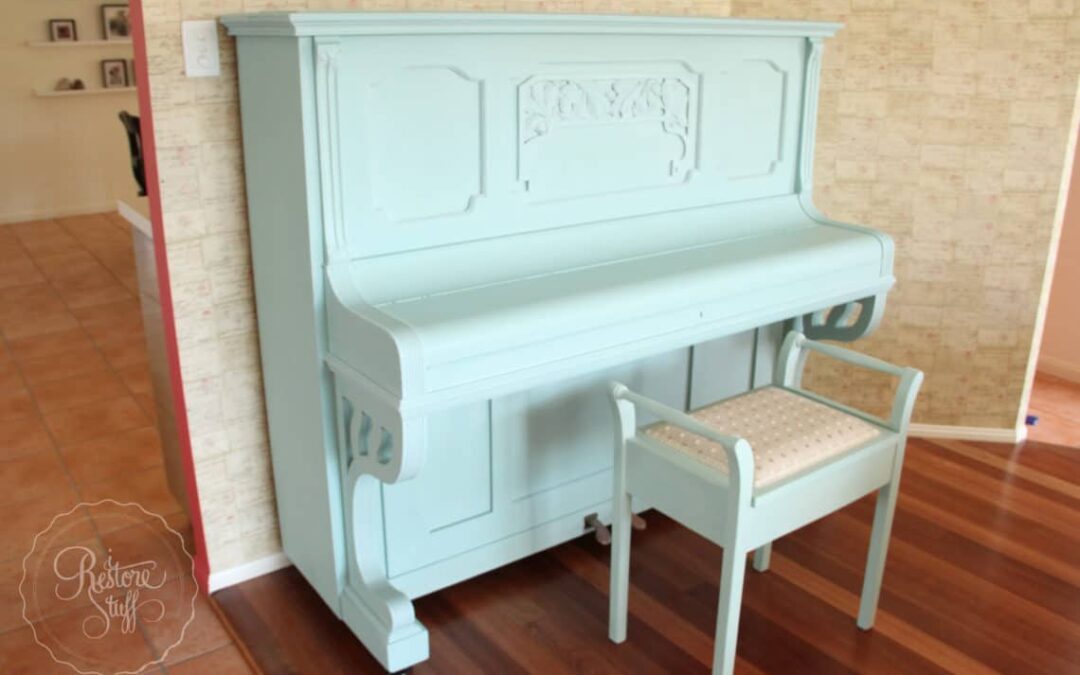
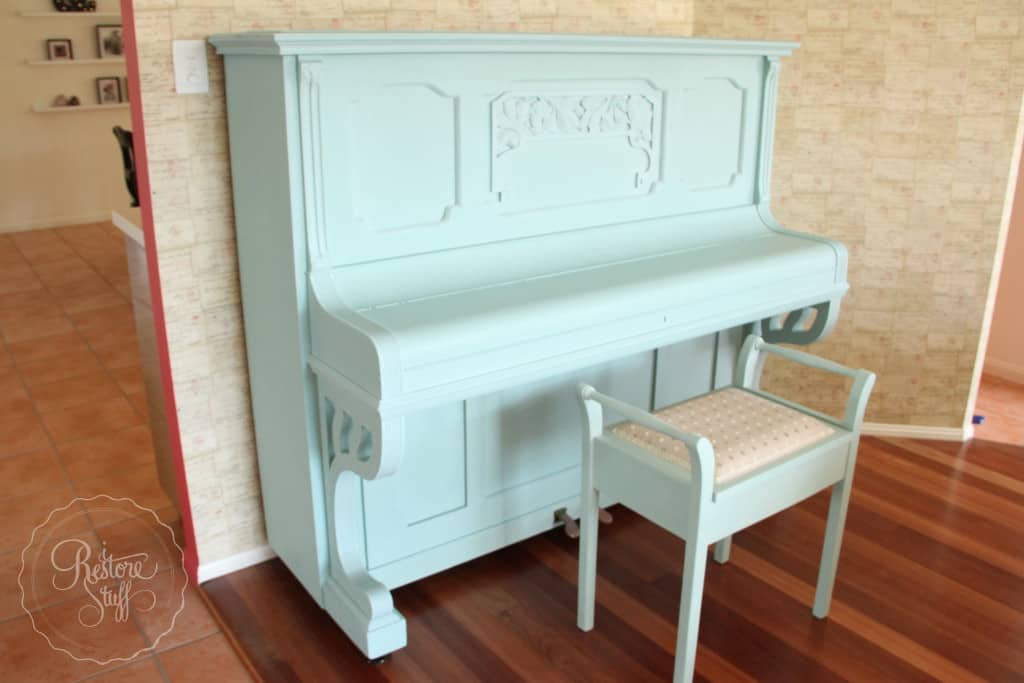
And so … it sits … and waits … meanwhile, Dawn’s piano (pictured below) just might be enough inspirational motivation that I need to get my own piano started!
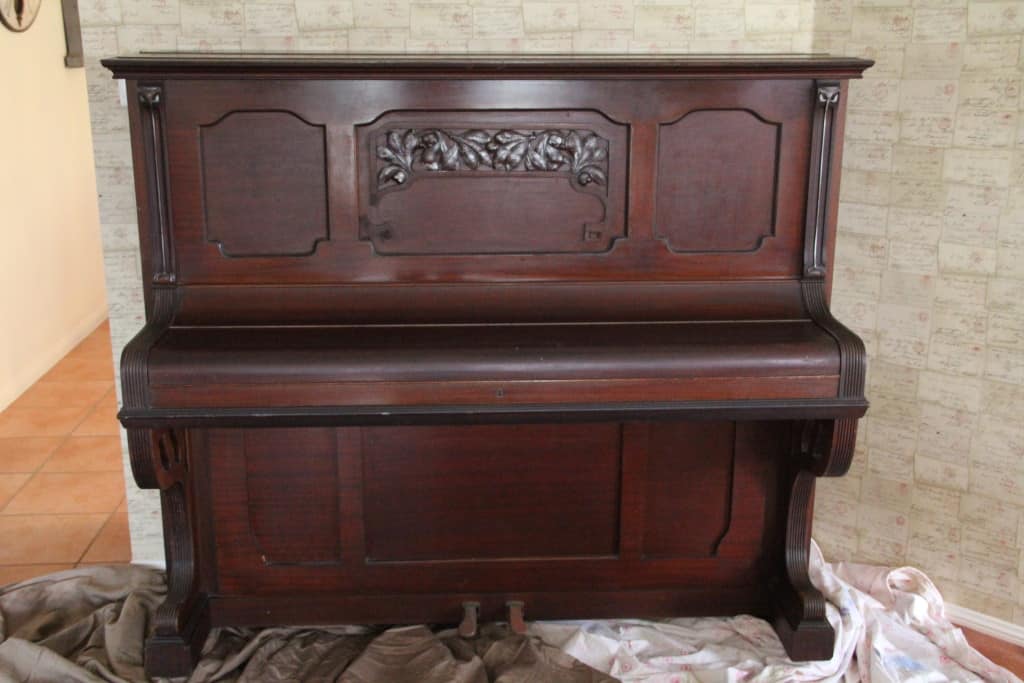
Lovely detail in the centre of this, which has been gilded with silver at some time.
Painting a piano is no small task, but when the time actually came to do this project, it wasn’t as daunting as I thought it could be.
Where to Start?
See the piece that has detached from the woodwork (below), I started by glueing that with a strong glue before mixing up my paint. After a quick rough sanding over the whole piano, I was ready to begin.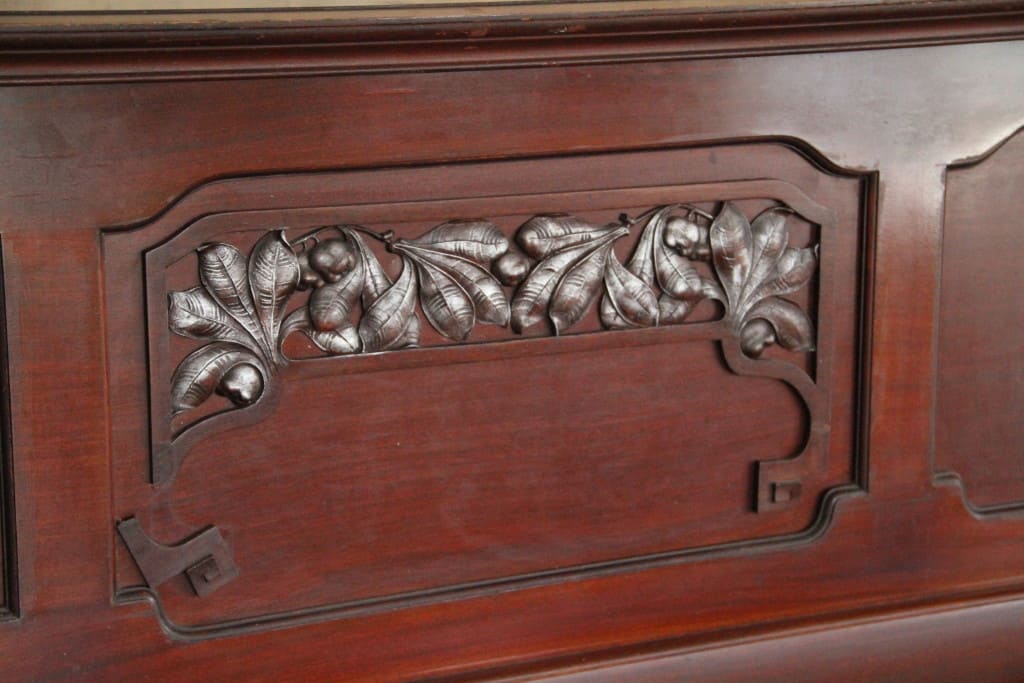
Mixing Milk Paint:
For the piano, I started by mixing up:
- 1/2 cup of Eulalie’s Sky Miss Mustard Seed’s Milk Paint with
- 1/2 cup of water.
This is the standard 1:1 ratio that is recommended for milk paint. I used this for the first coat, then mixed a second batch while the paint was drying on the first coat.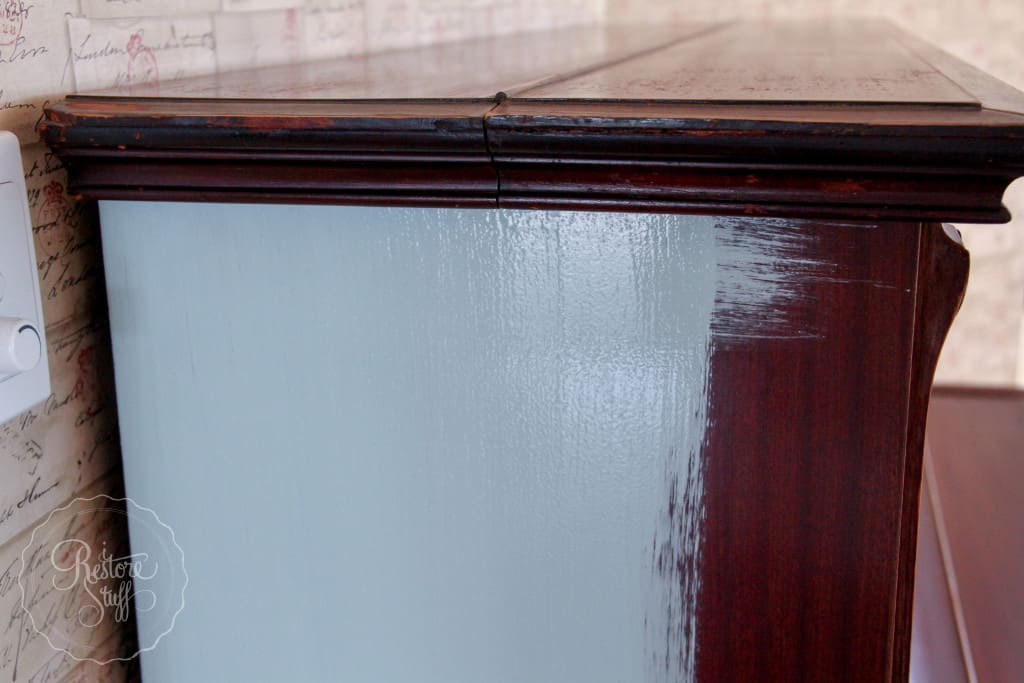
Bleed Through:
After one coat of paint all over, I started to notice there were some different wood types that I was painting on, which was making a notable difference to how the paint was covering in these areas. Note the centre section was looking more yellow than the rest of the front. This also happened on some areas near the front sides, where it wasn’t so noticeable. This is sometimes referred to as “bleed through“.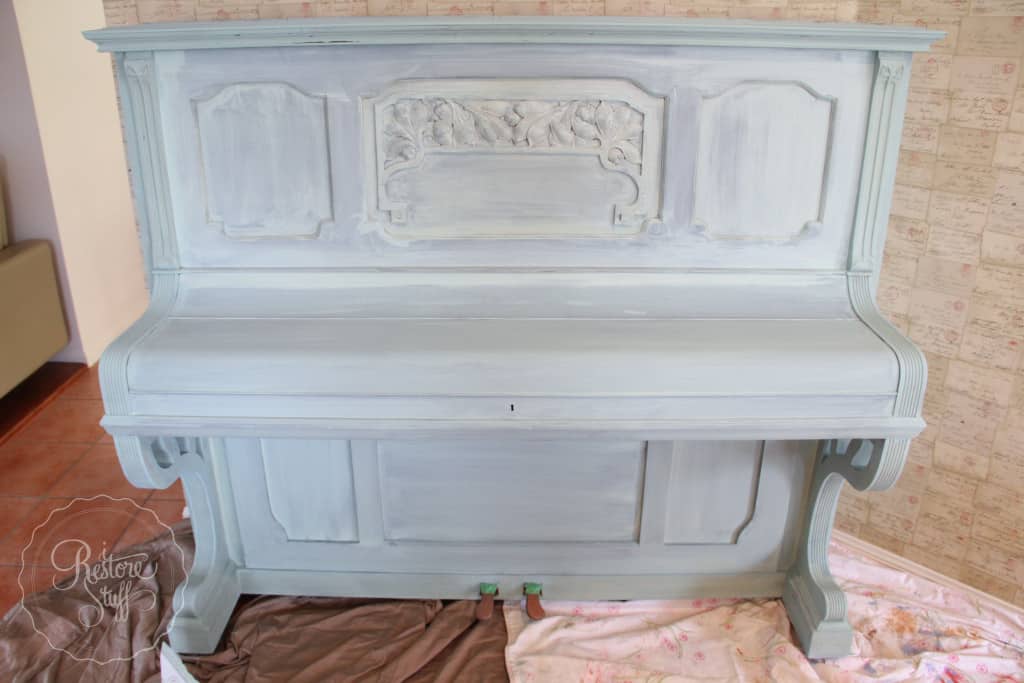
And after two coats, the centre was still looking a little too yellow!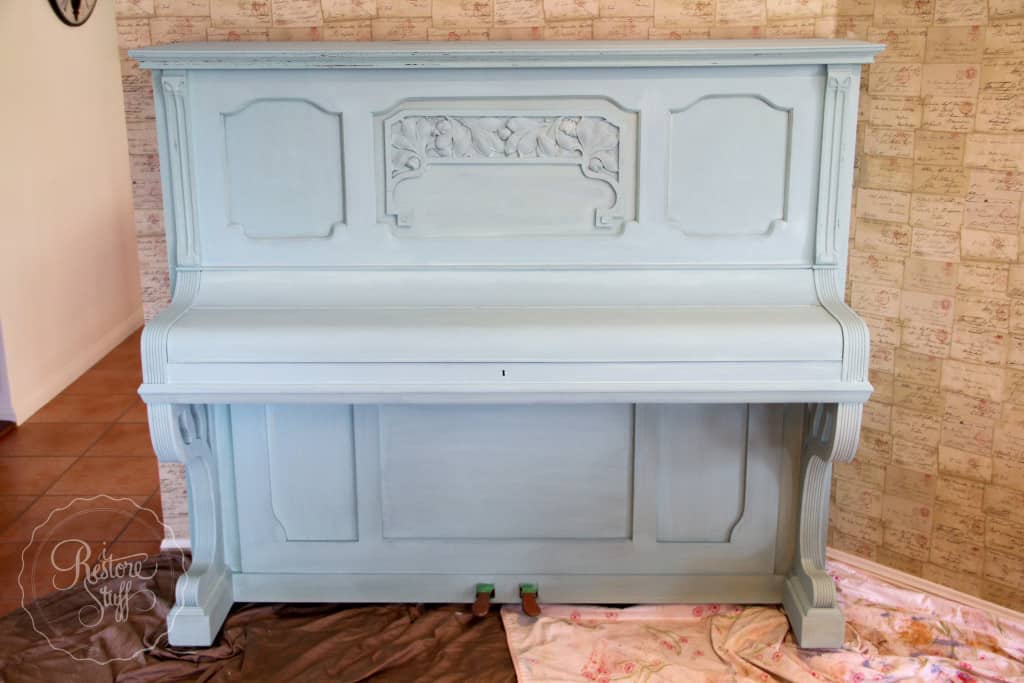
What Look are You After?
The other thing that I’ll mention is that after my two coats of milk paint, in certain areas where there was more unsanded varnish than others, the paint began to do “the chippy thing” – see along the top of the piano edges in the picture below.
This is awesome – IF you love the chippy aged look. BUT, you need to check with your client first and make sure you have clearly understood the look they are after (insert oops, embarrassed sad face here).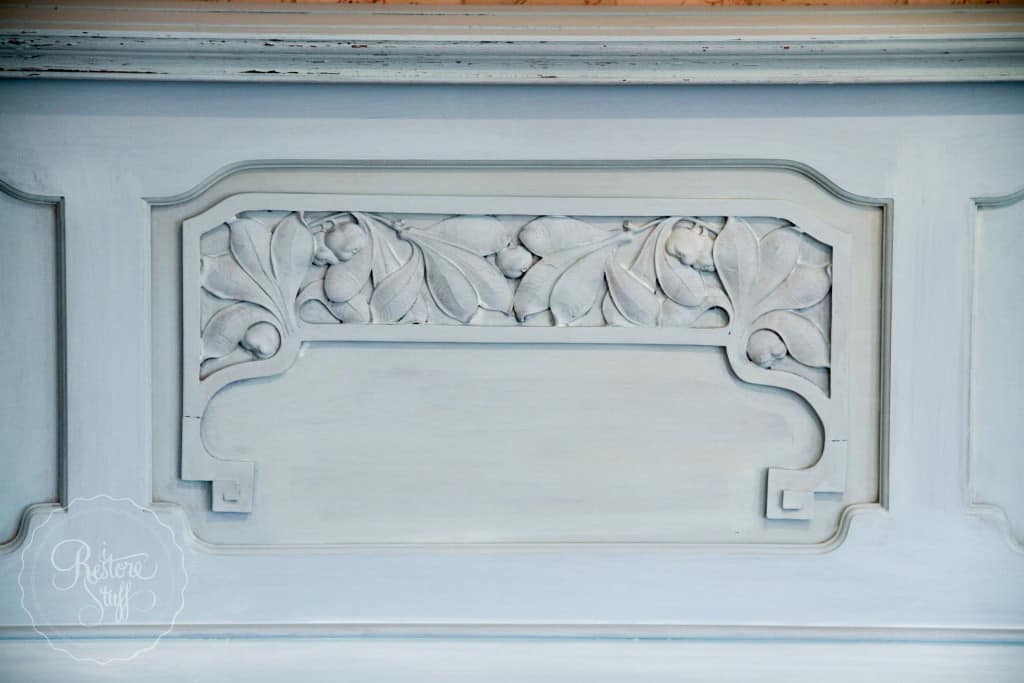
Do You Need Bonding Agent?
So, lesson learned, and after getting a better understanding of the overall look Dawn was after – and she was SO nice about it – I really should have used the Ultra Grip/Bonding Agent in the first coat of paint. The bonding agent ensures a solid coverage instead of the naturally chipping or distressed look that you can easily achieve with milk paint on pieces that have an existing finish on them.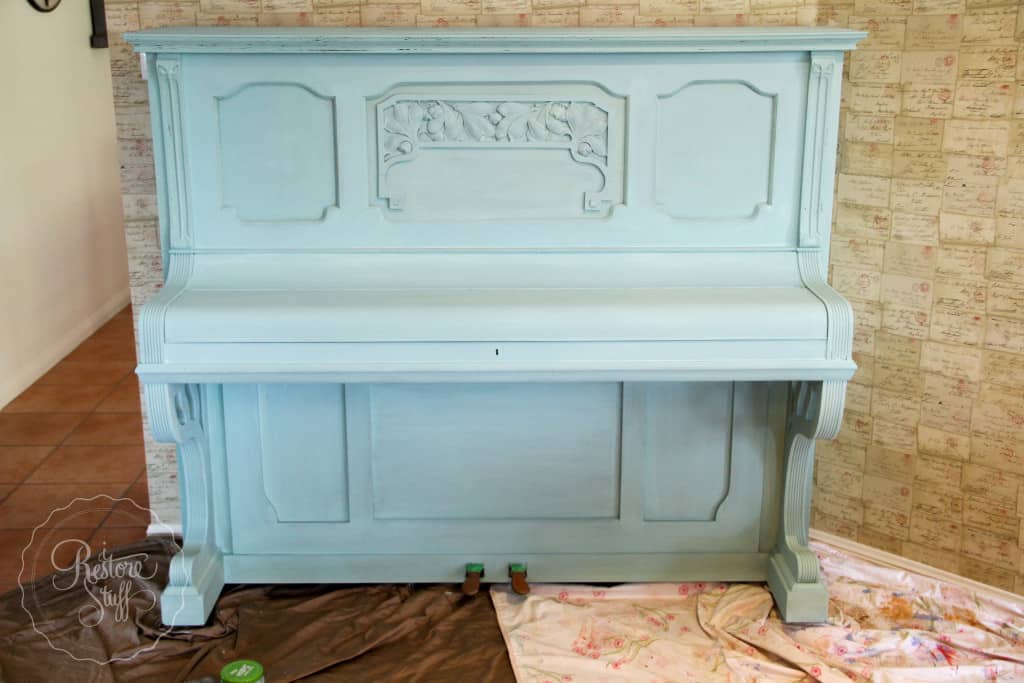 Dawn was after more of a solid coverage, although said she didn’t mind a little of the wood peeking through. She was wanting to really lighten up her living area and preferred the light colour overall. It didn’t chip in many places, but where it did, I knew once I sanded the finish, more would chip & flake in those same places.
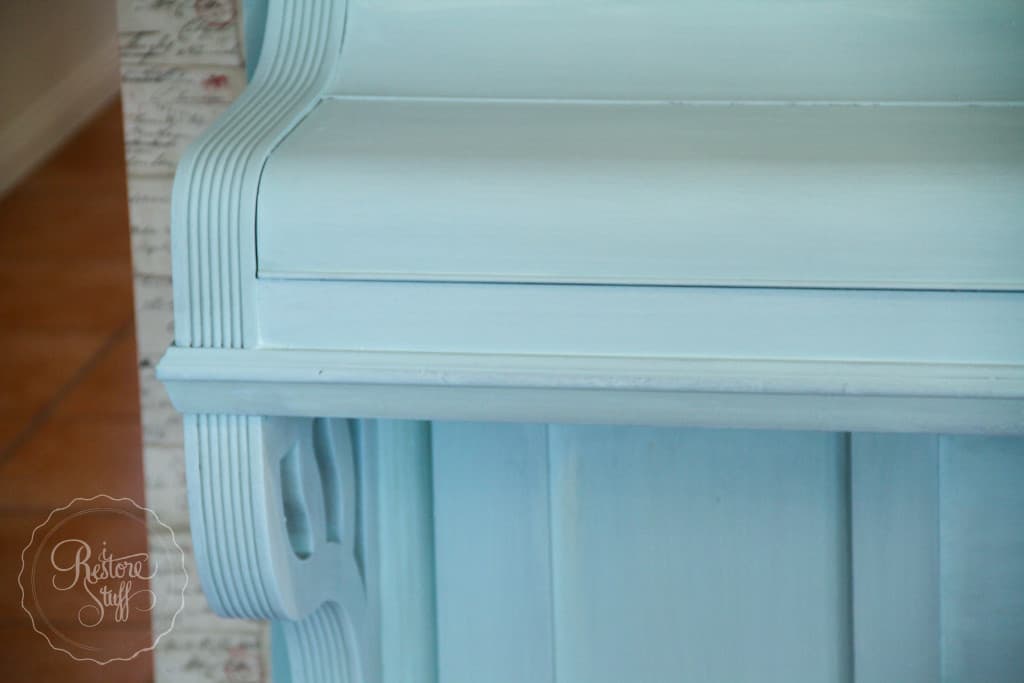
So, when I returned the following week to finish the piano project, I tackled my error, sanded lightly over the whole piano, but especially in those areas where the chipping was happening (sorry I don’t have a picture of the chippy areas).
With Bonding Agent in hand, I mixed up another 1/2 cup milk paint, 1/2 cup water and added bonding agent, mixing with the battery operated milk paint mixer till it was smooth as silk! I don’t usually use as much bonding agent as instructed on the bottle. Probably about half the amount it says to. Unless I’m working on something that is extremely high gloss, or glass, then I’ll add more, but I find it tends to seem thinner in colour or coverage with more bonding agent in the mixed paint.
Dawn was happy to leave the inside unpainted, so I taped off at the sides (see green painters tape) and just painted to the tape.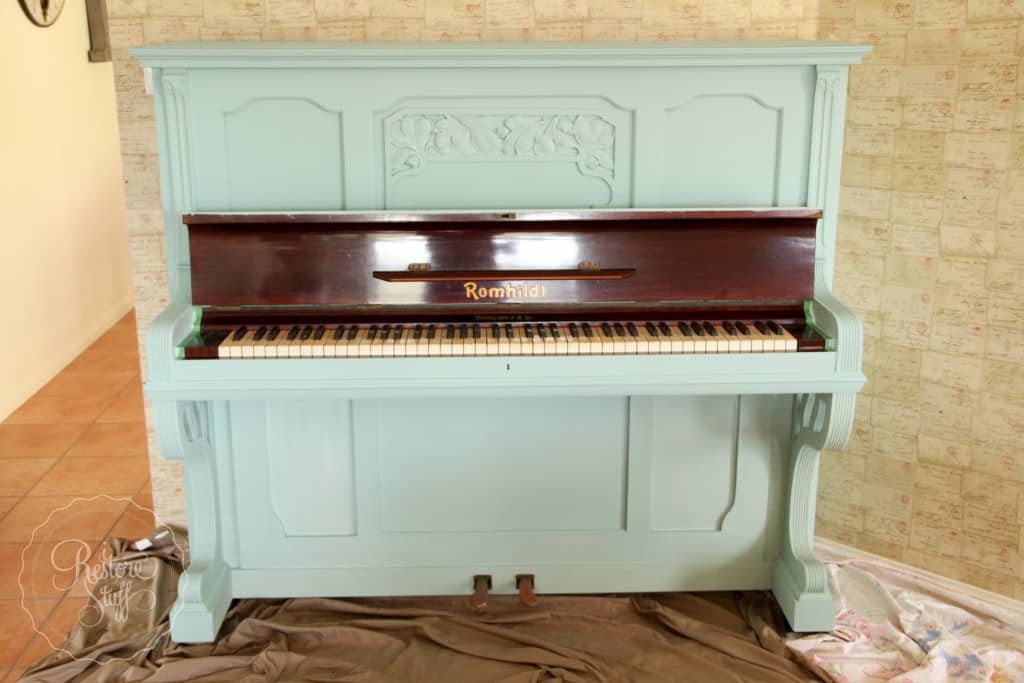 Here are some of the details and as you can see, no more chipping with the bonding agent added. Yet we still have the lovely rustic vintage feel that Milk Paint gives.
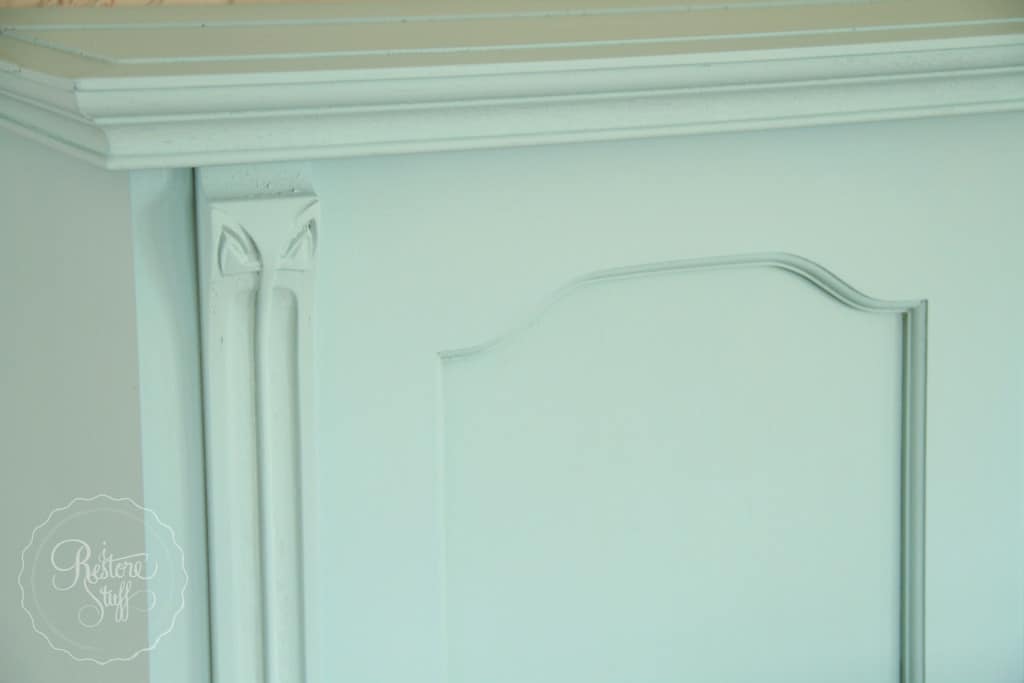 I took these photos before I added some white wax to the details.
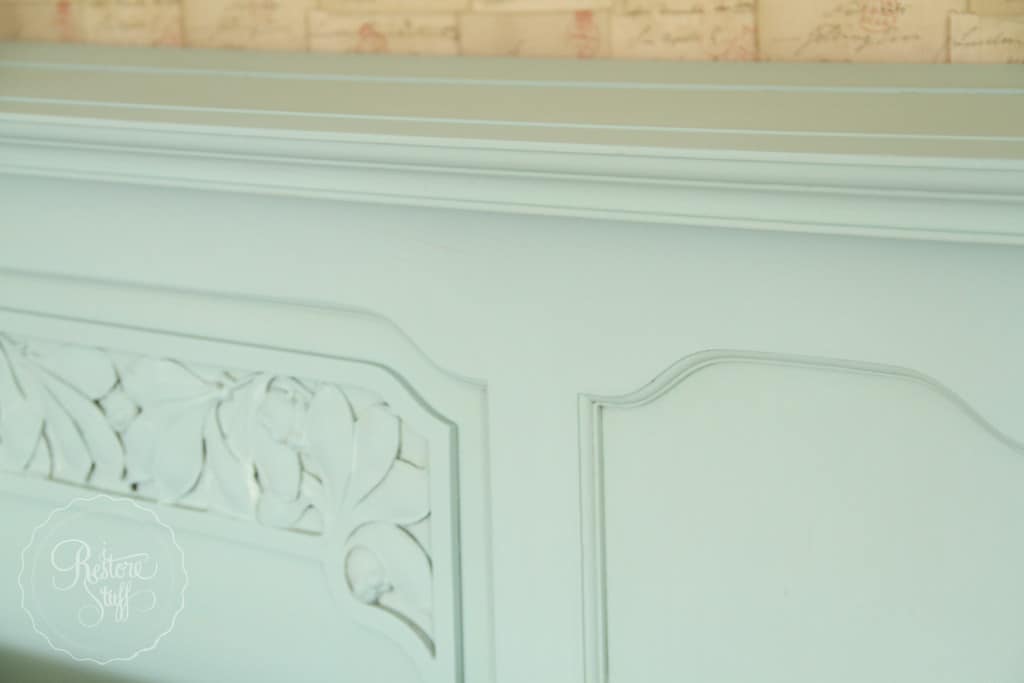
Using White Wax:
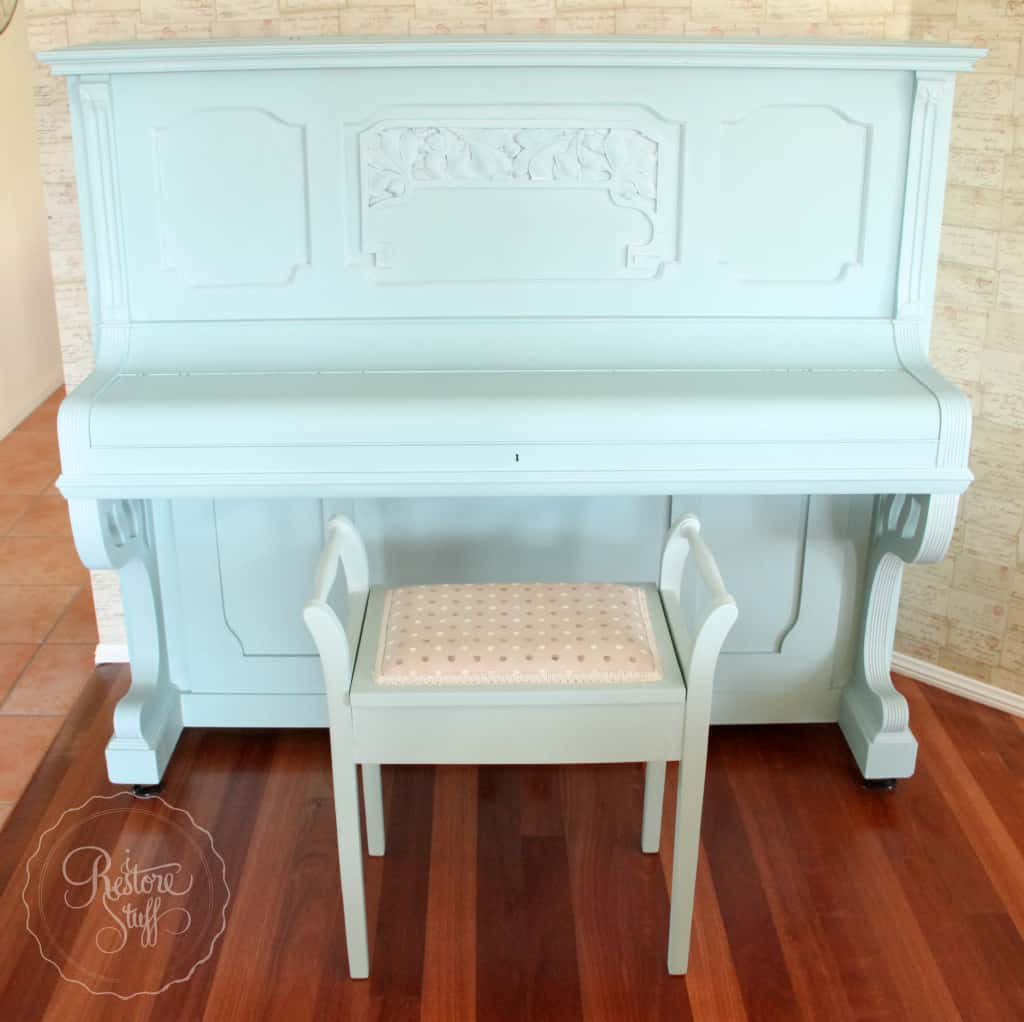
And here it is with the white wax added in detailed parts of the wood. Notice how the centre part is now a more uniform colour with the rest of the piano. No more yellow bleed through.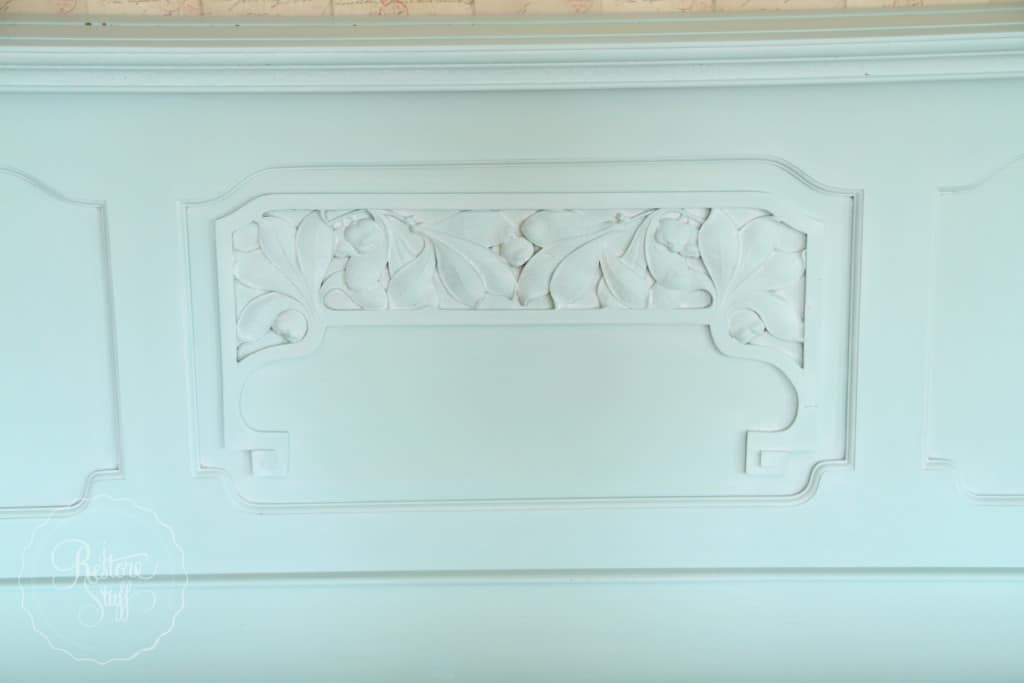 I also added white wax into all the edging and crevices down the sides of the piano.
White wax is really easy to use:
- apply with a wax brush using just the very tips of your brush, or a lint free cloth (brushes are best for getting into details),
- wipe away excess with a lint free cloth and
- buff as you would using regular clear furniture wax.

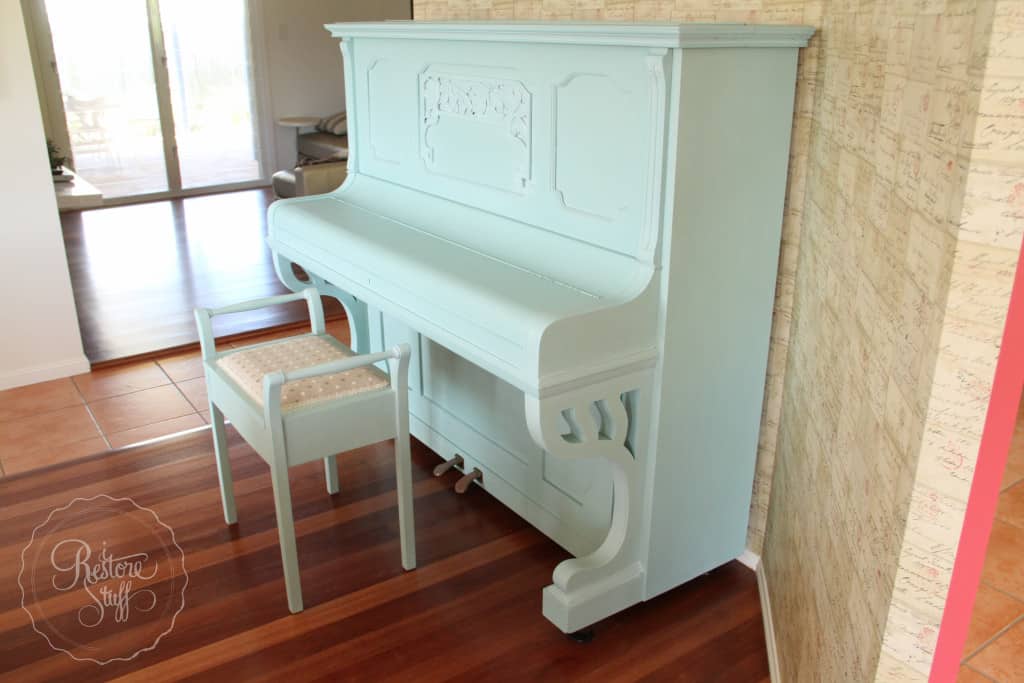
 The piano stool was also painted in Eulalie’s Sky over the existing white paint.
 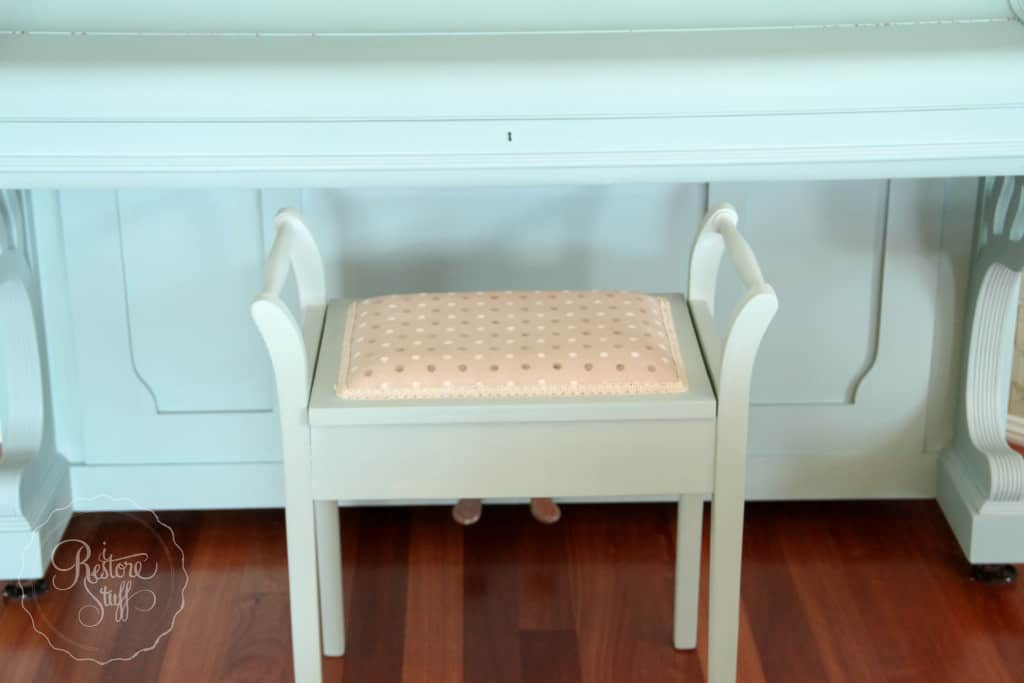 I had to take a picture including this beautiful chandelier Dawn has in her lounge room.
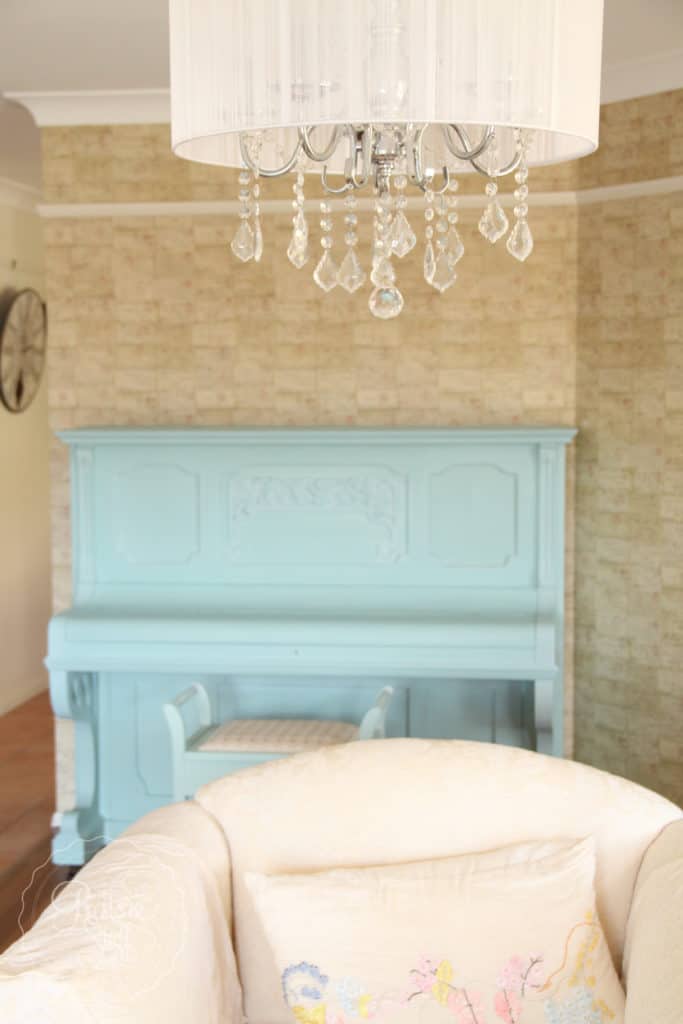
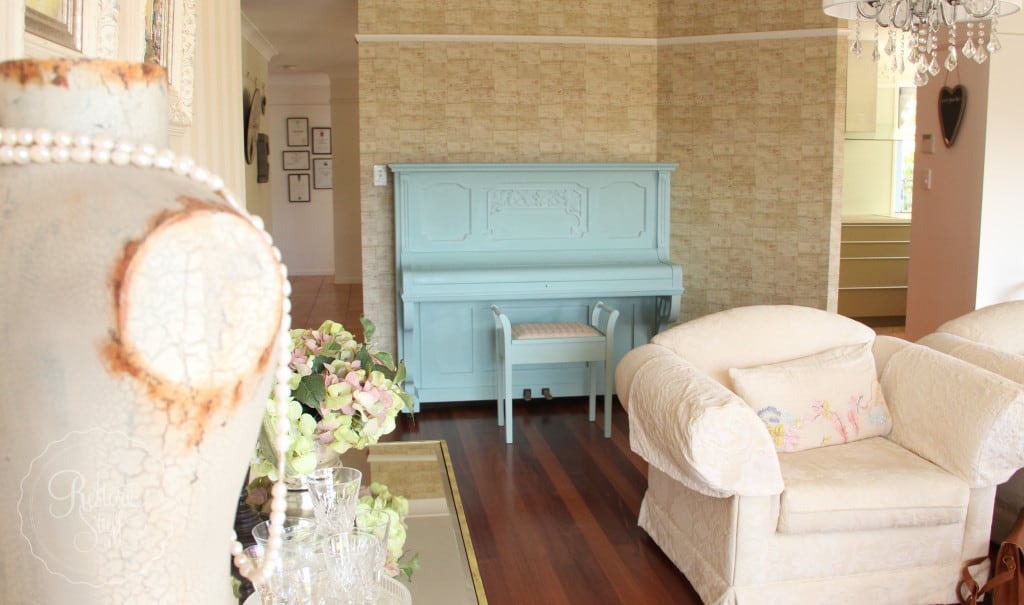 Dawn has a lovely taste for French provincial decor. I love this half mannequin and all the lovely crackle detail …
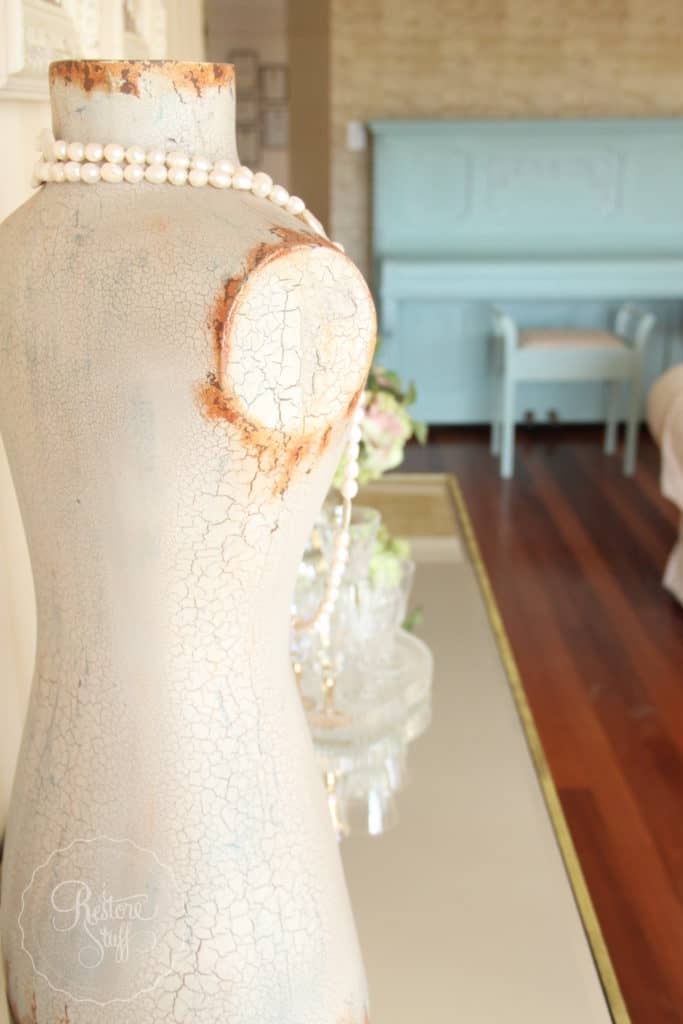 I think I’m inspired now, to get going on my own piano project.
Now to choose a colour …
Have you painted a piano yet? What colour did you choose and what paint type did you use?
I’d love to hear your feedback in the comments below.
Happy Painting …
Sharon.
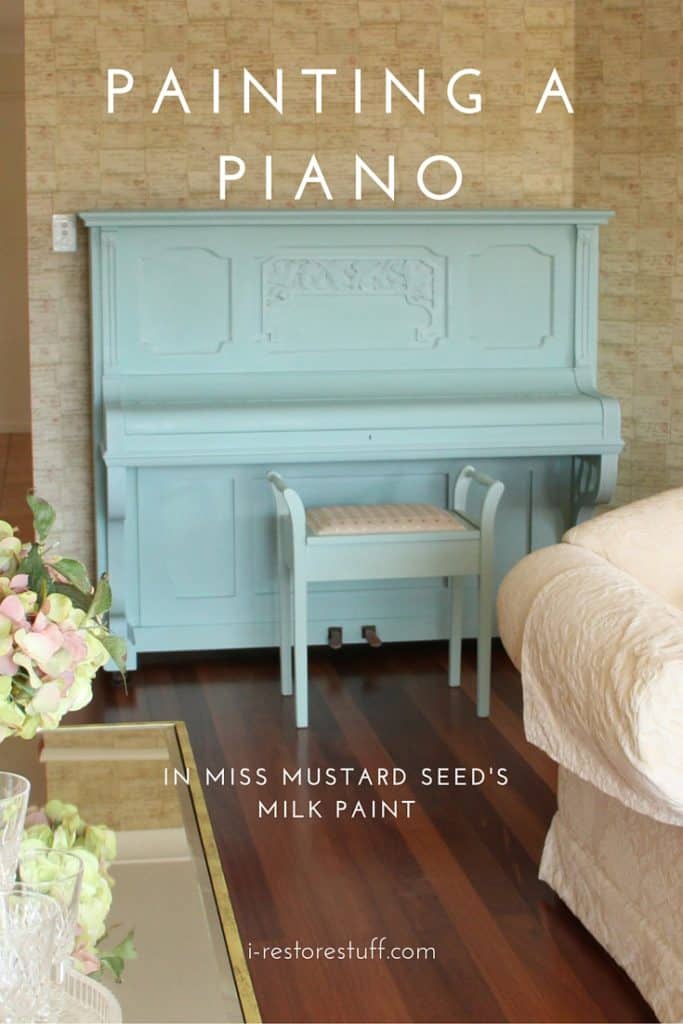
PS. Here’s an image for you to pin to your Pinterest board: