
Tutorial Update:
I have updated this tutorial to include a new video that I have made using Fusion’s Transfer Gel along with their Antiquing Glaze to show you a few new tips.
Mod Podge vs Transfer Gel
I’ve been transferring graphics for a few years now, using a decoupage medium called Mod Podge. So when Homestead House came out with their Fusion Mineral Paint line, including their Transfer Gel, I had to try it out!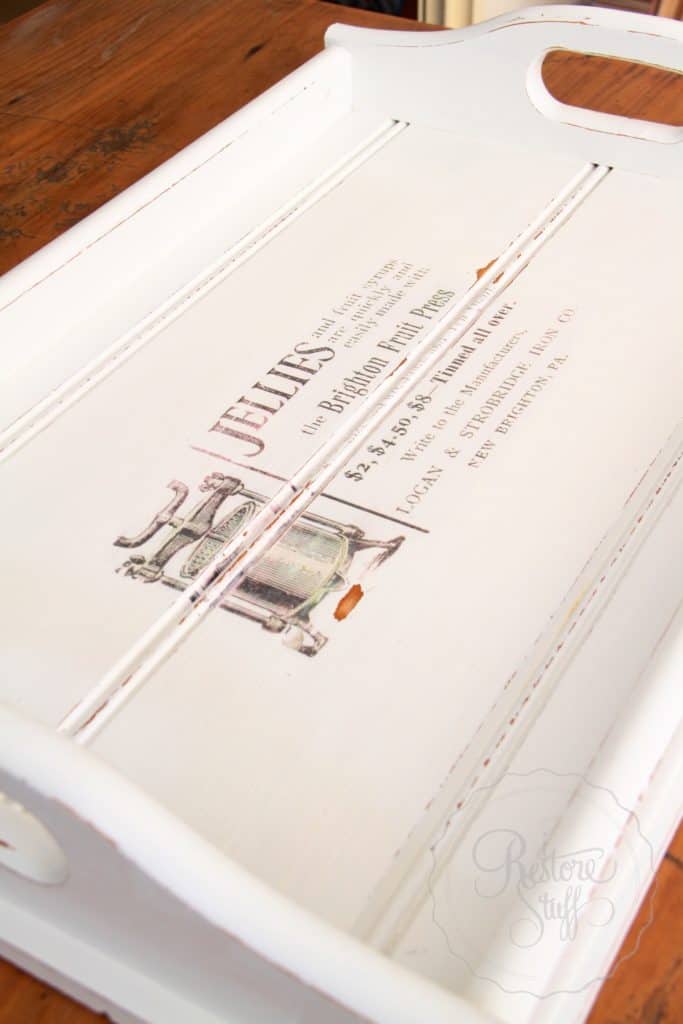 Here’s a tray I did as one of my first projects using the Transfer Gel. I used ordinary printer paper with our inkjet printer. I had used Inkjet before, but never tried using laser printed graphics … until our first workshop.
Wow, what a difference. I’m recommending laser prints now. So much clearer images, and no chance of it running or bleeding.
Transferring Graphics Workshop:
So here are some pics of our first workshop using the Fusion Transfer Gel:
Once you have printed your graphic in reverse, brush the entire image with the Transfer Gel and lay it down flat on your painted surface. This works best with light painted surfaces, because you are using white paper.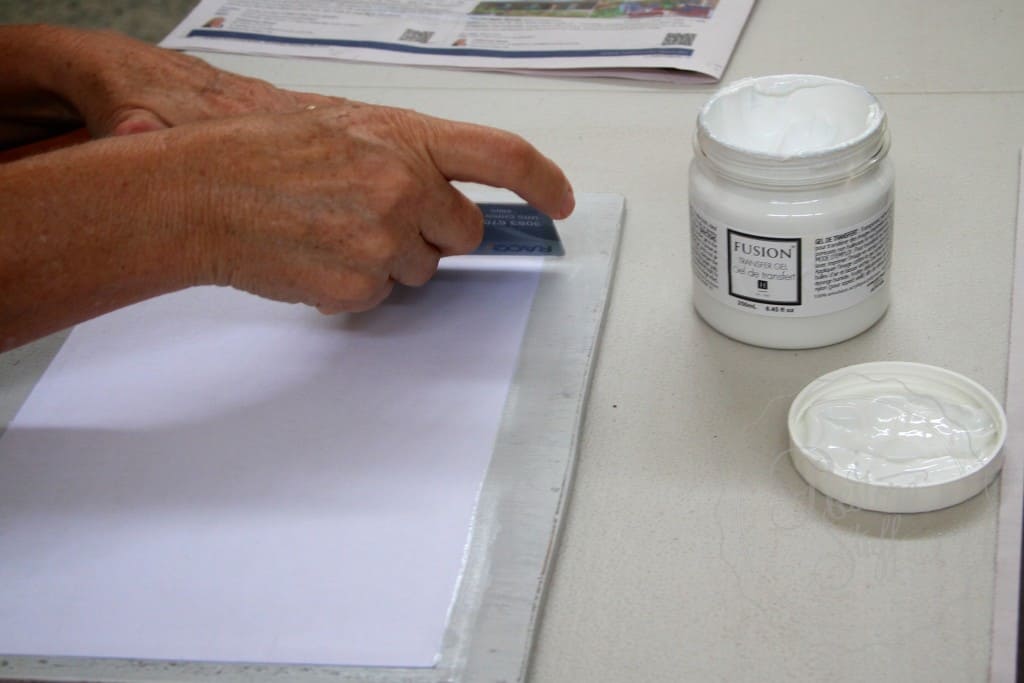 You can use a credit card or brayer to smooth out any air bubbles that may be trapped under the paper or any excess Transfer Gel. You only brush on a thin layer, so there shouldn’t be too much excess coming out of the edges.
Once the image is completely dry (overnight is best or out in the sun for a few hours), wet the paper backing and begin to rub it with your fingers until the paper starts to rub away.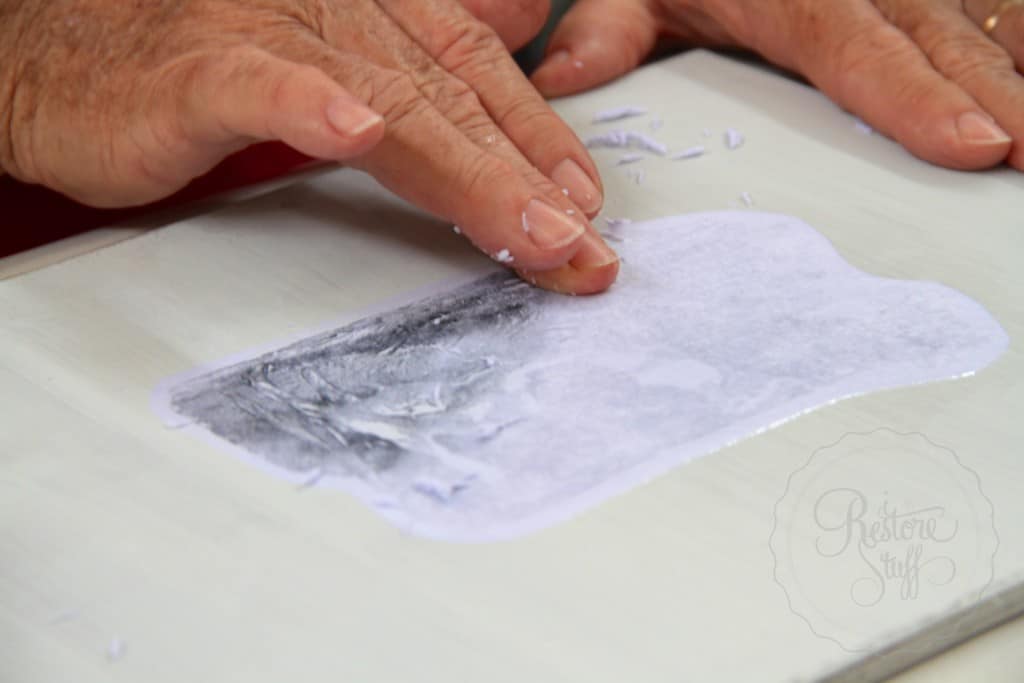 The example below is a little too wet.
 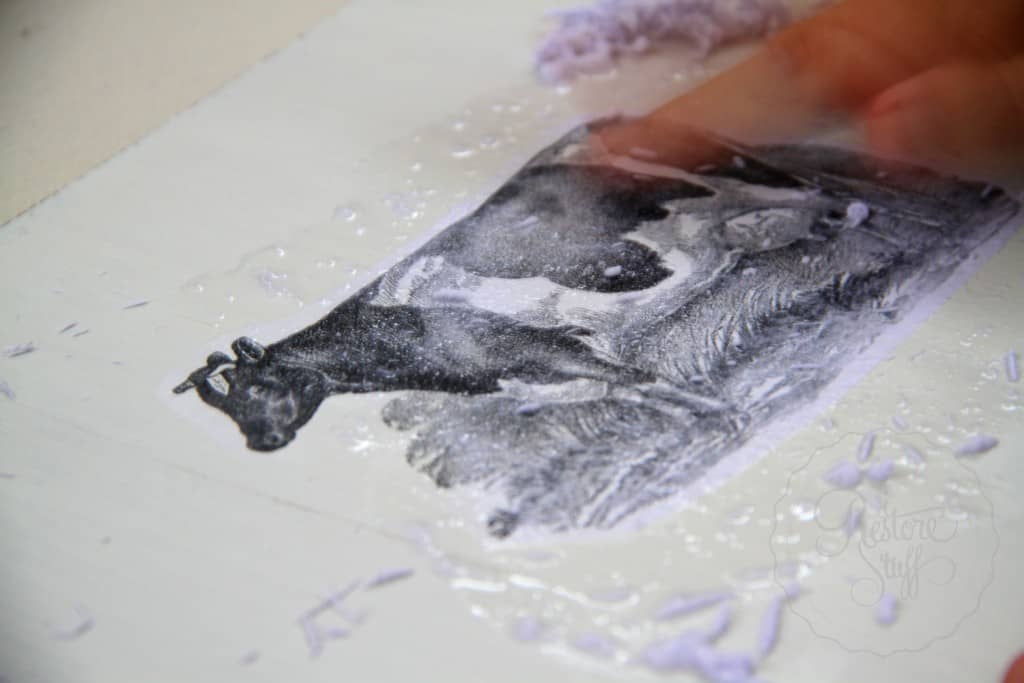 Oops! Here’s what happened when the image was rubbed a little too enthusiastically on this cow after being too wet: we’ve lost a part of her back from the image.
 Here’s what Mrs. Moo Cow should have looked like (albeit upside down) …
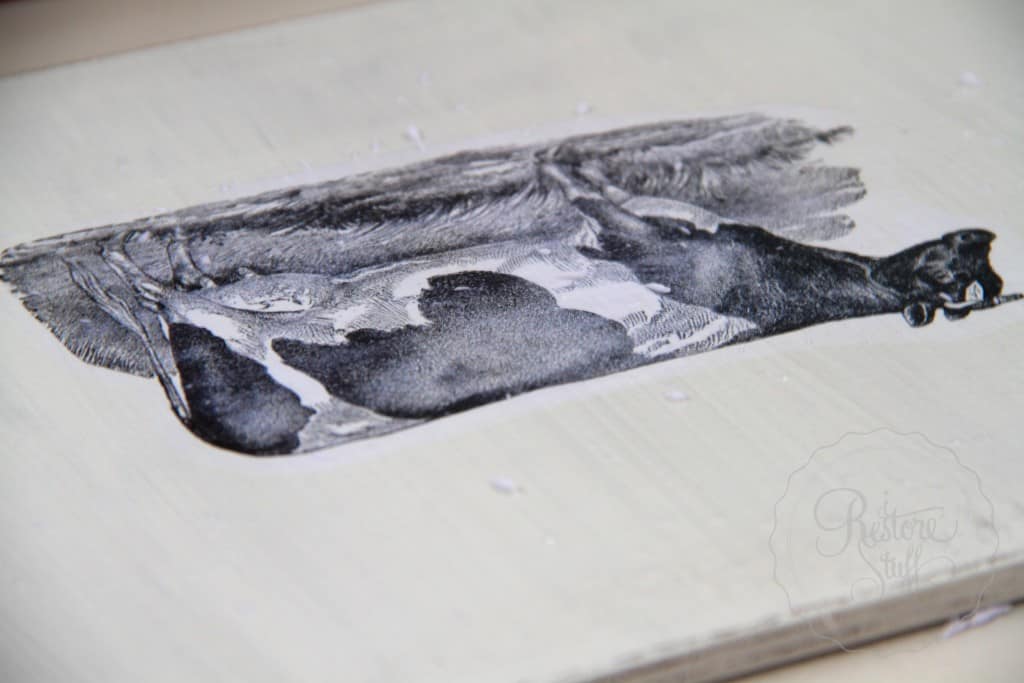 But not to worry – sharpies do come in handy! For some graphics a little tearing around the edges lends to the vintage aged appearance, but in this case, the cow looked a little awkward with her back scratched off, so we added some detail using a fine tipped Sharpie.
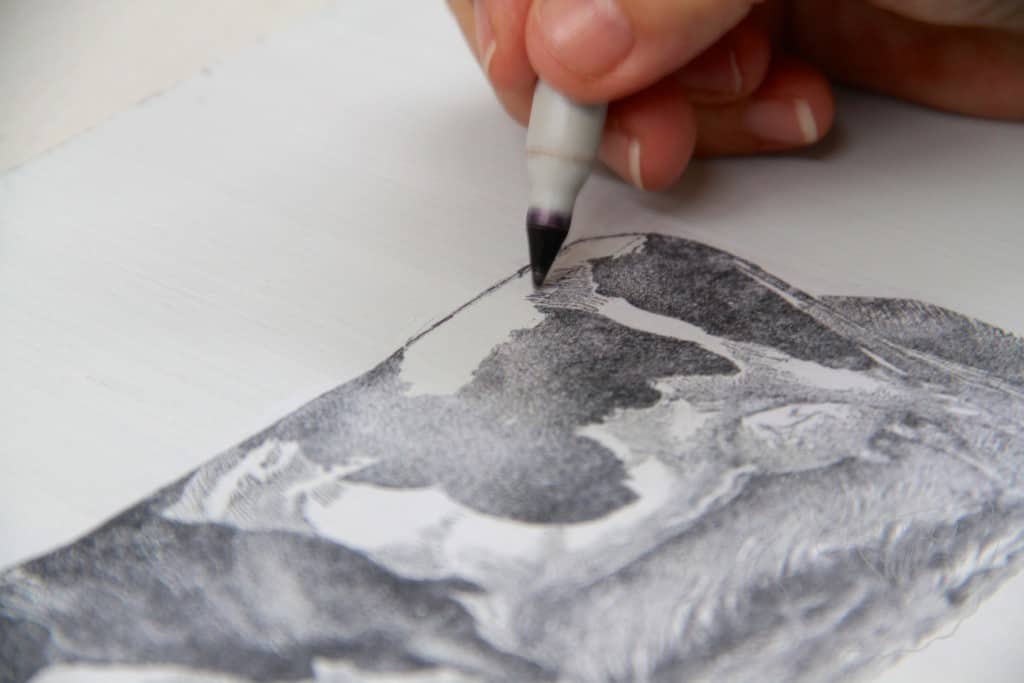 Then using the Carbon Paper Method of transferring graphics to furniture, we added words to our vintage signs. You can see how to do this on a video tutorial HERE.
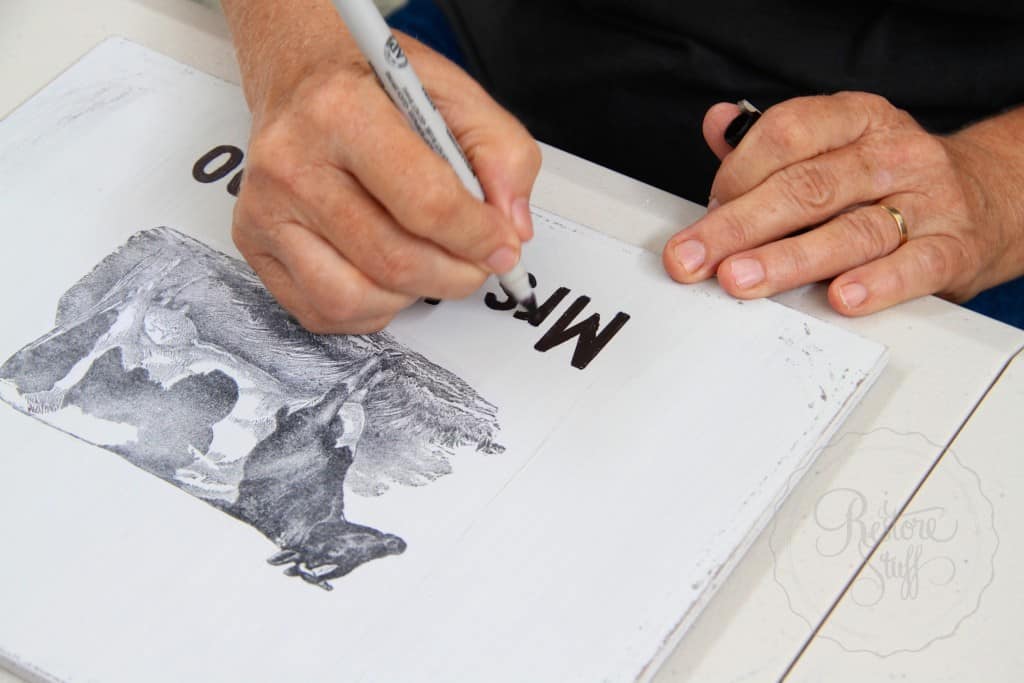 She was as good as “moo” again. We finished off the entire project with a coat of Tough Coat Sealer.
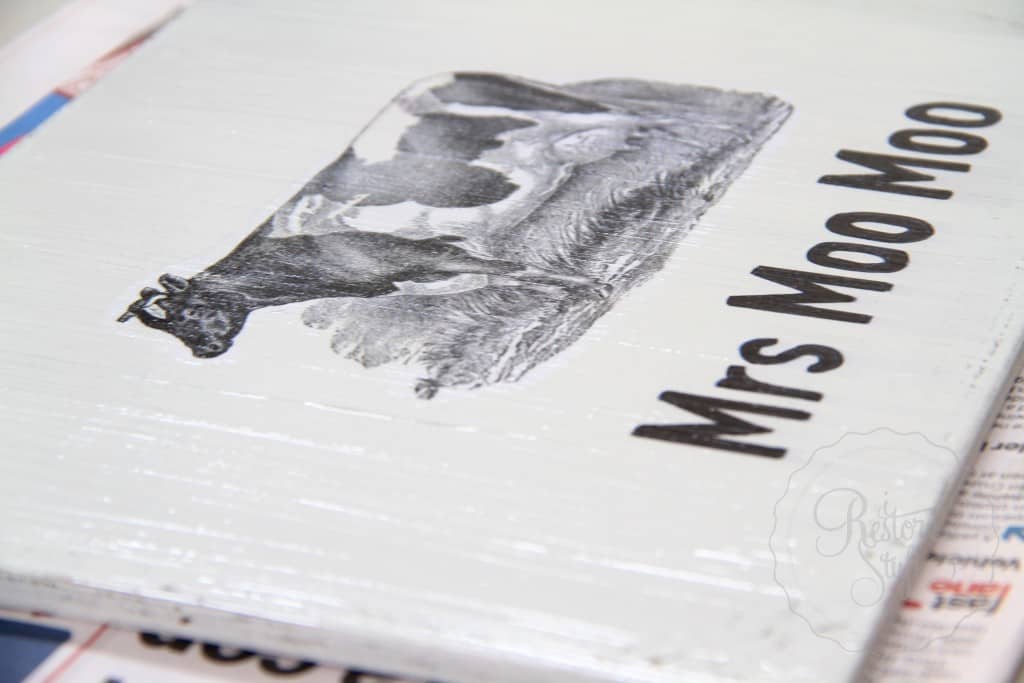 Here are a couple of other signs that were made by the workshop ladies:
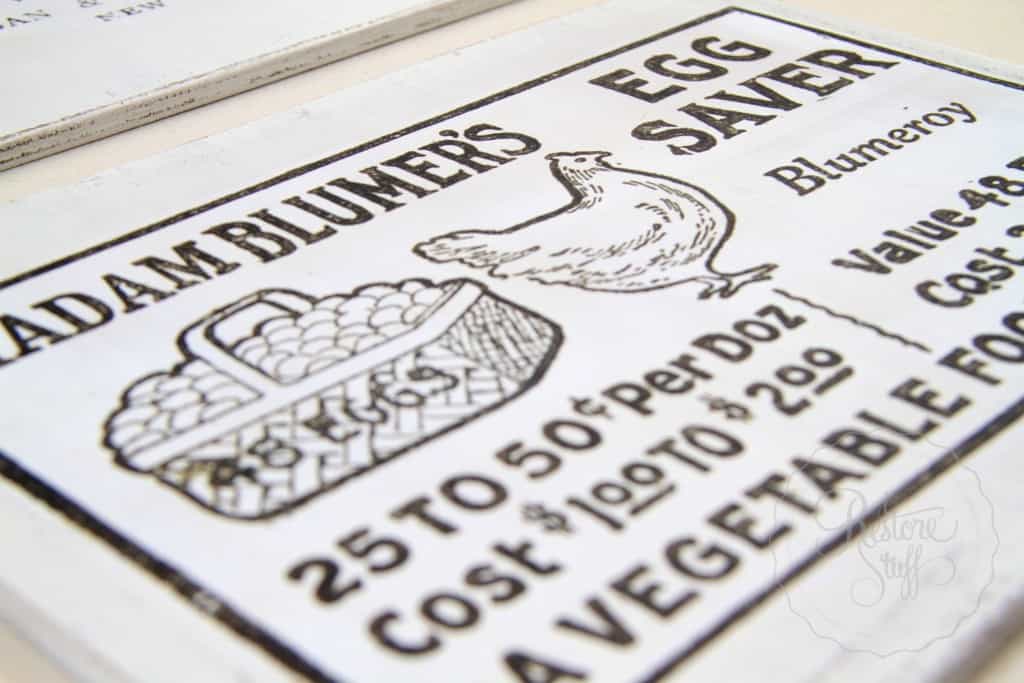
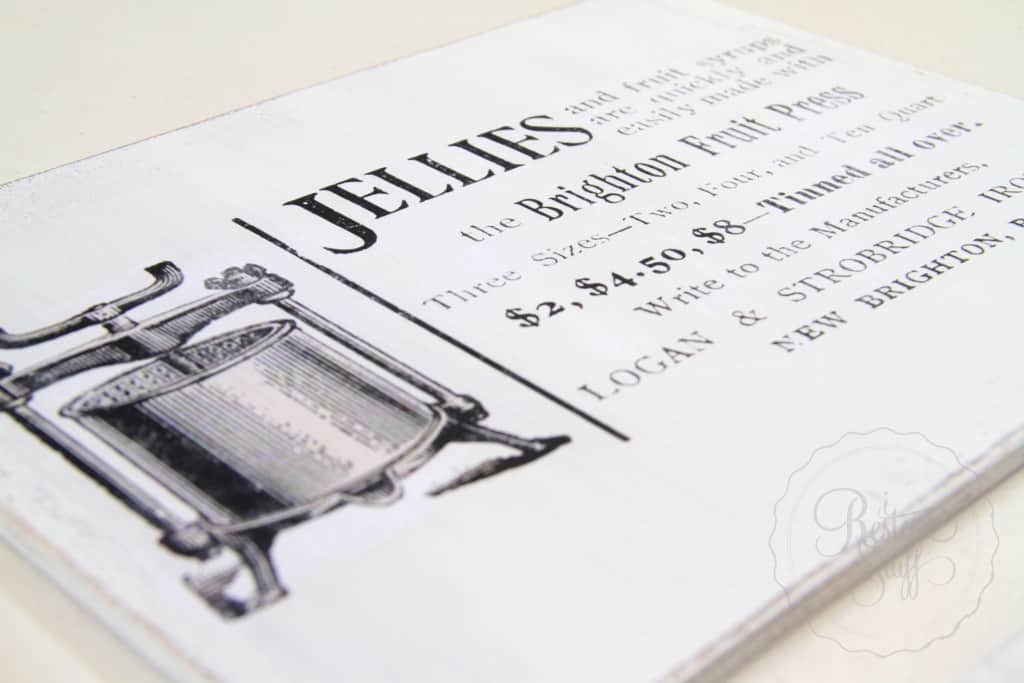
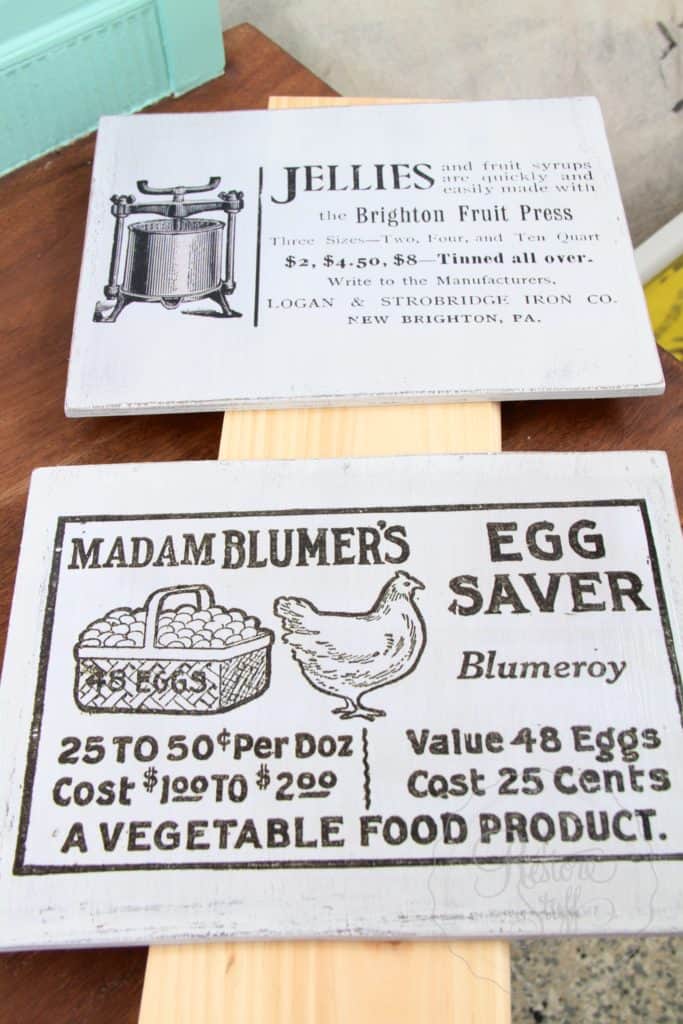 We used free printable antique graphics from Knick of Time. Another great place to find free vintage graphics is The Graphics Fairy.
Difference between Transfer Gel & Mod Podge?
The consistency of the Transfer Gel is thicker than the Mod Podge, but apart from that they both work pretty much the same. Transfer Gel adheres with very good results.
Transfer Gel is available here in Australia at I Restore Stuff in 250ml bottles and we ship Australia wide.
If you need further instruction on how to transfer graphics, here’s a video on using Fusion’s Transfer Gel, as well as how to use Fusion Antiquing Glaze to age and seal your signs or furniture.
You will find several more youtube videos on my channel that relate to painting furniture and decor, Milk Paint, Chalk Paint and Fusion Paint as well as other DIY and craft tutorials.
I’d love to hear from you if you have tried the Fusion Transfer Gel or Mod Podge method of transfer – how did you go? Did you have any difficulties?