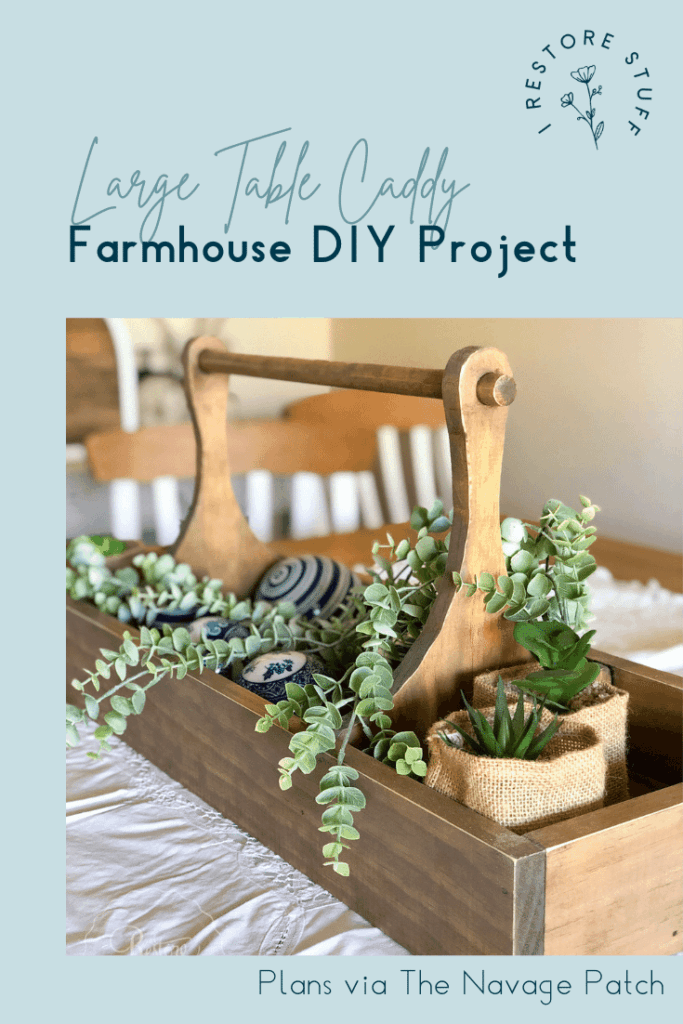
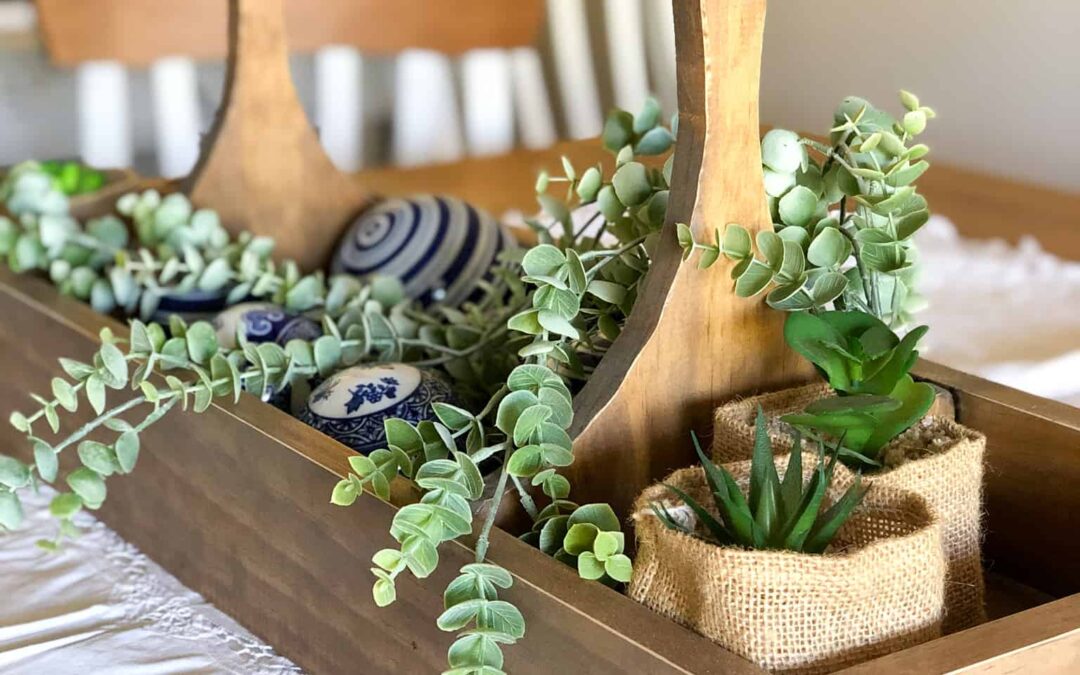
The Navage Patch Blog Table Caddy
When I saw this large table caddy on The Navage Patch blog, I thought it might be a fun project for my father-in-law, who as you may have seen in some of my other posts, is a handy, woodworking kinda guy! So I showed him the plans I’d printed out from their blog (download your free plans HERE) and the next thing I know, he’s back the following day with this:
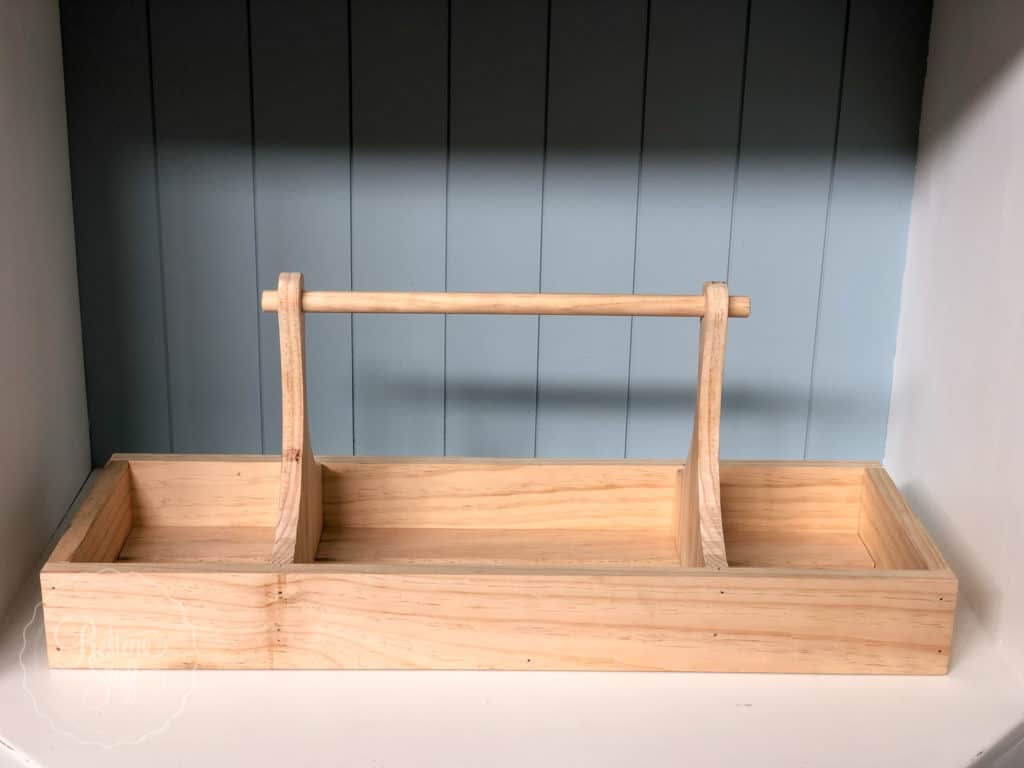
In this post, I’m going to show you how I stained it using the same kind of technique that was used in the blog post I mentioned. However, without those same brands of stain on hand, I decided to use what I DID have on hand – Fusion’s all-in-one Stain & Finishing Oils in all the various shades.
But first, let me tell you what great value you will find over at The Navage Patch! This talented couple, Handan & Greg, share some amazing DIY home projects and have such valuable content that they literally GIVE away for free to their valued subscribers. Although, I know they would never say no to a coffee donation. 🙂
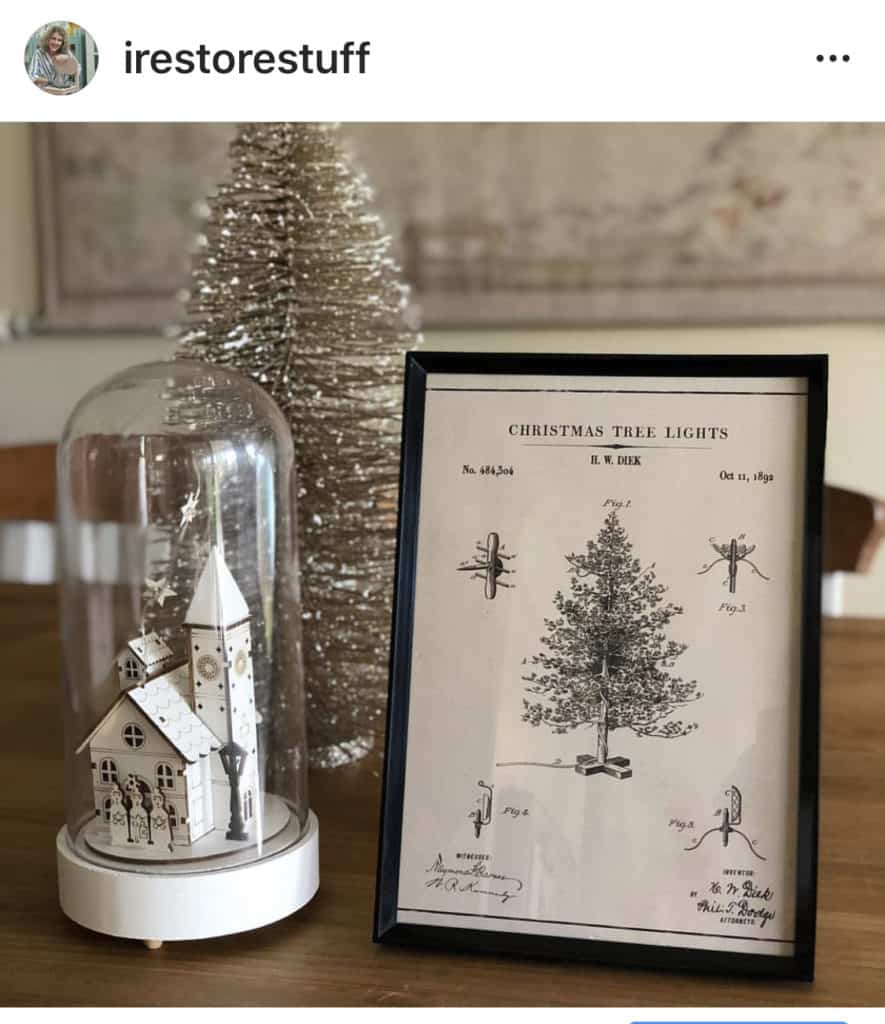
They have some beautiful Farmhouse style printables that I’ve used around my house, like this Patent art Christmas tree that I posted on Instagram last Christmas …
And this Windmill patent art I framed here:
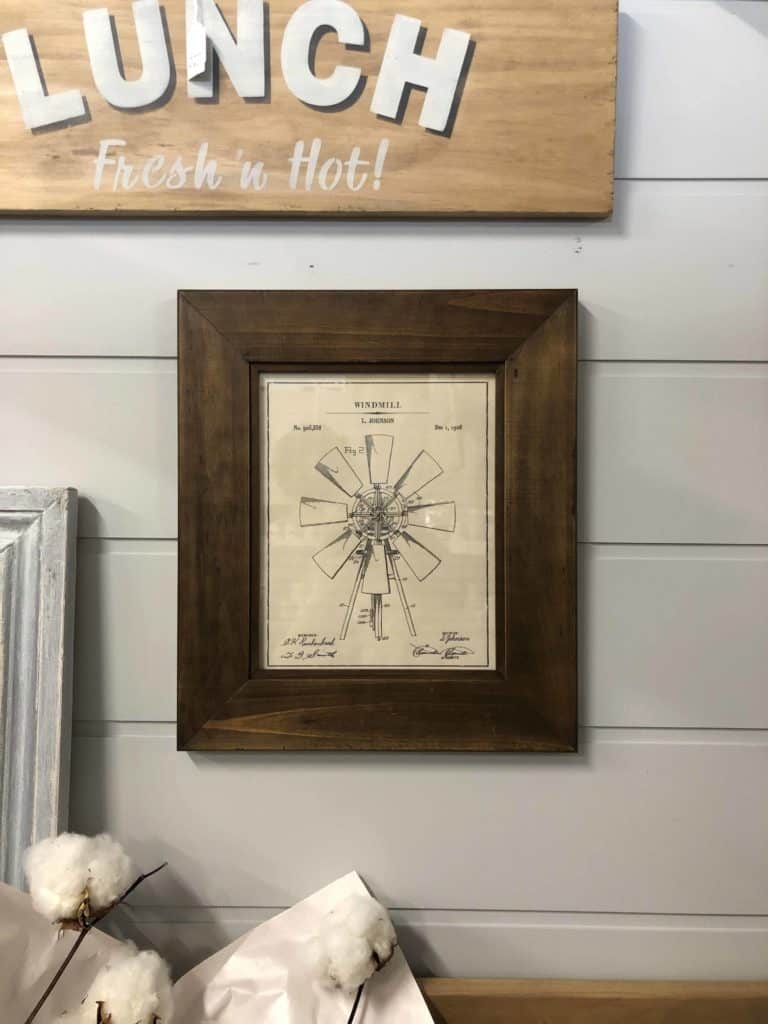
Table Caddy – my staining method
Back to the Table Caddy … as I said, I like to use what I have on hand, which in this case, was all the colours in the Stain & Finishing Oil range by Fusion Mineral Paint. So to make my Caddy similar to the one shown in the Navage Patch blog post, I used the following SFO colours:
- Golden Pine Stain & Finishing Oil
- Driftwood Stain & Finishing Oil
- Cappuccino Stain & Finishing Oil
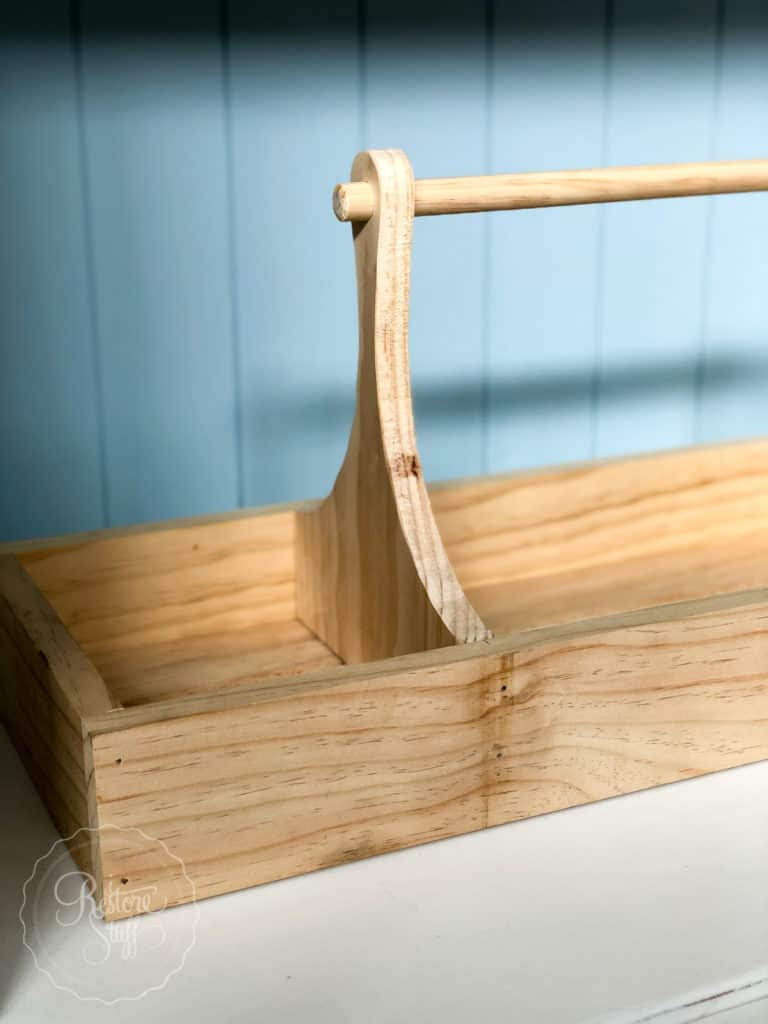
Here’s the raw pine below, which is what I started with …
Step One – Golden Pine
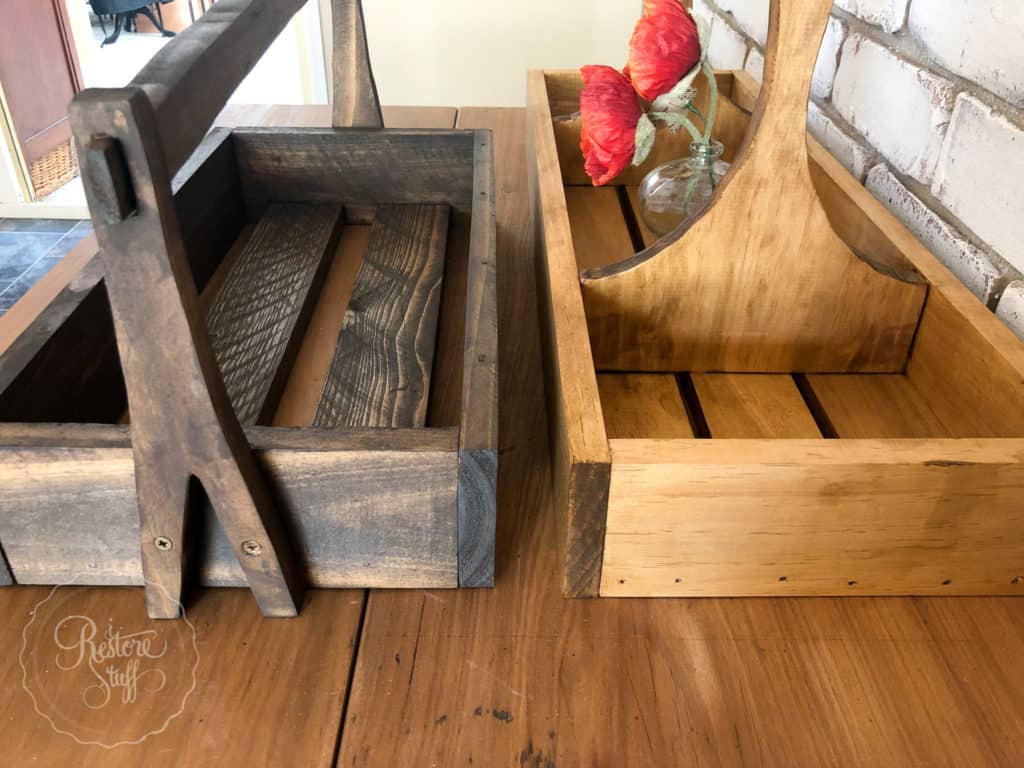
Then I added Golden Pine as a base colour stain to start our layered look. Below you’ll see the Golden Pine featured on the RIGHT. On the left is a smaller version of a different style caddy featuring Cappuccino. Just showing you a side by side so you can see the difference.
Step Two – Driftwood Dry Brush
Here’s a short video below, that I took during the process of layering staining. After the Golden Pine layer of SFO had dried (I left overnight), I used a “dry brush” technique to add Driftwood SFO randomly over the surface to create a darker gray wash effect.
Dry Brushing – I dip the ends of the bristles into the Driftwood SFO, wipe off the excess on edge of can, then using a piece of cardboard or newspaper (several layers), brush off even more excess SFO so that your brush is relatively “dry”. Then using a dragging motion, brush the stain across the surface in a patchy fashion – you are not creating another layer of stain, just creating a bit of extra aged colouration. If you find there’s not enough on your brush, just add a bit more and don’t brush off as much.
Step Three – Cappuccino in the corners
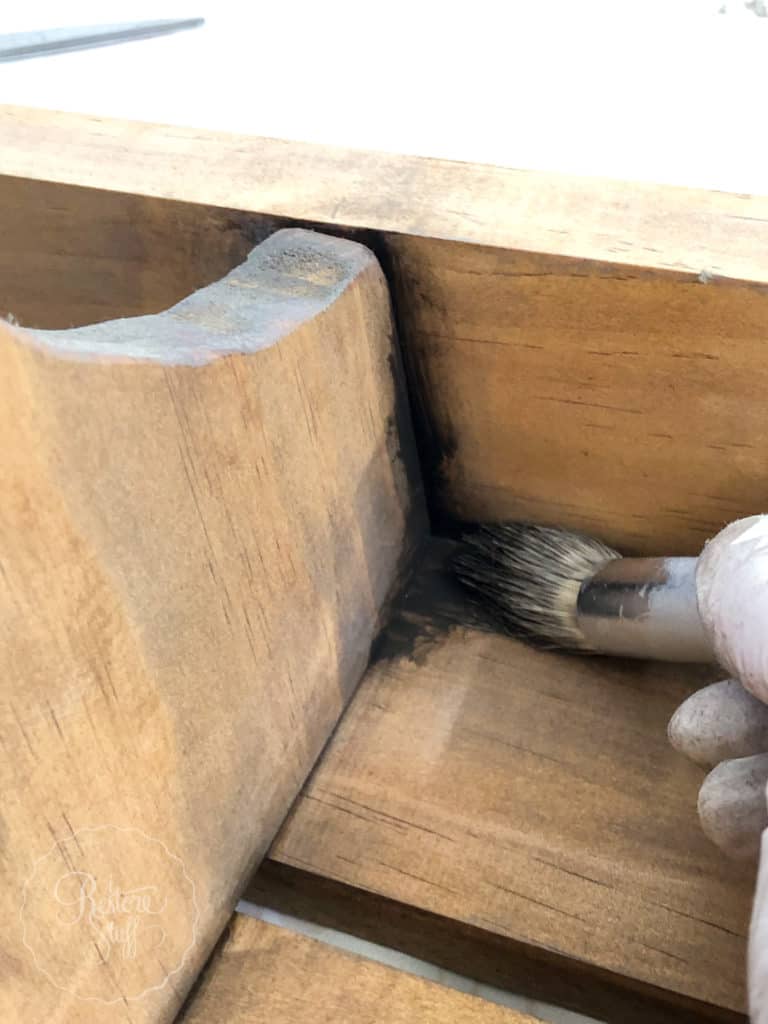
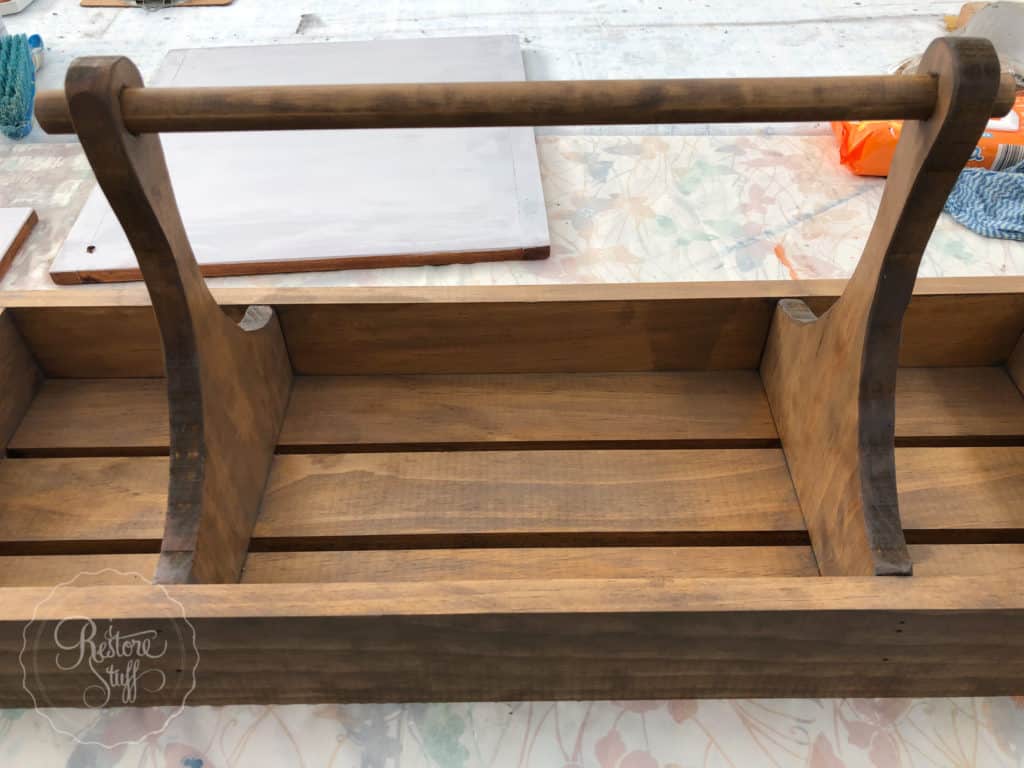
Using an old narrow brush, dipped in the Cappuccino SFO (Stain & Finishing Oil), I added “grunge” to the corners just as they did in the Navage Patch blog post, using their chosen stain colours.
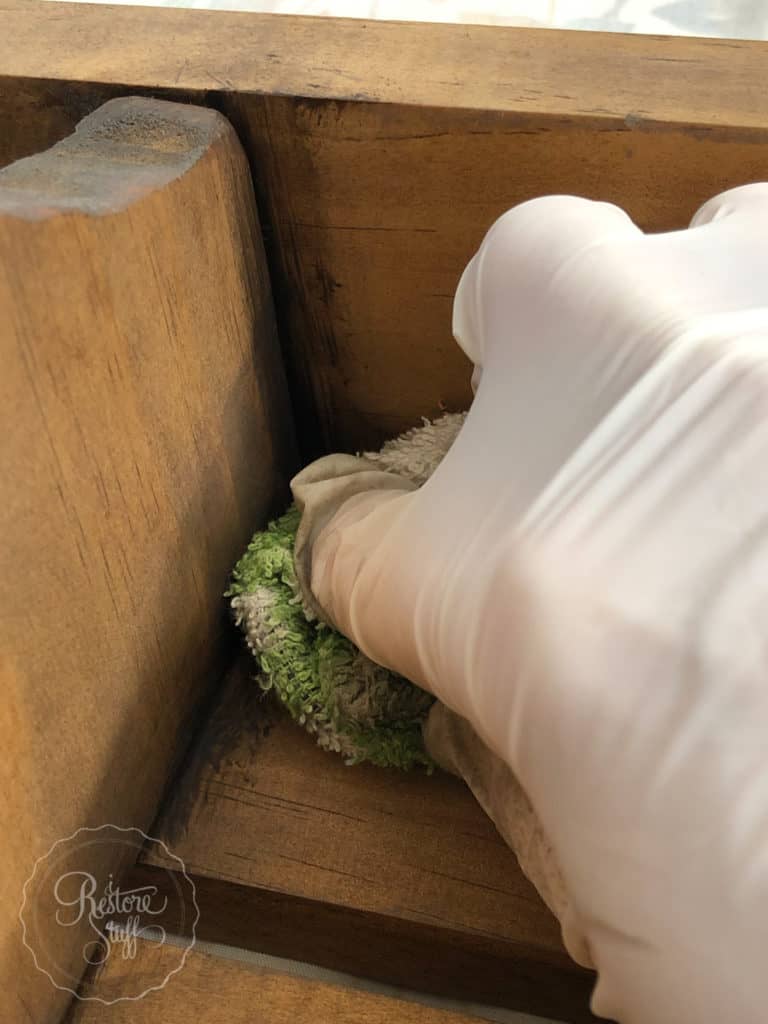
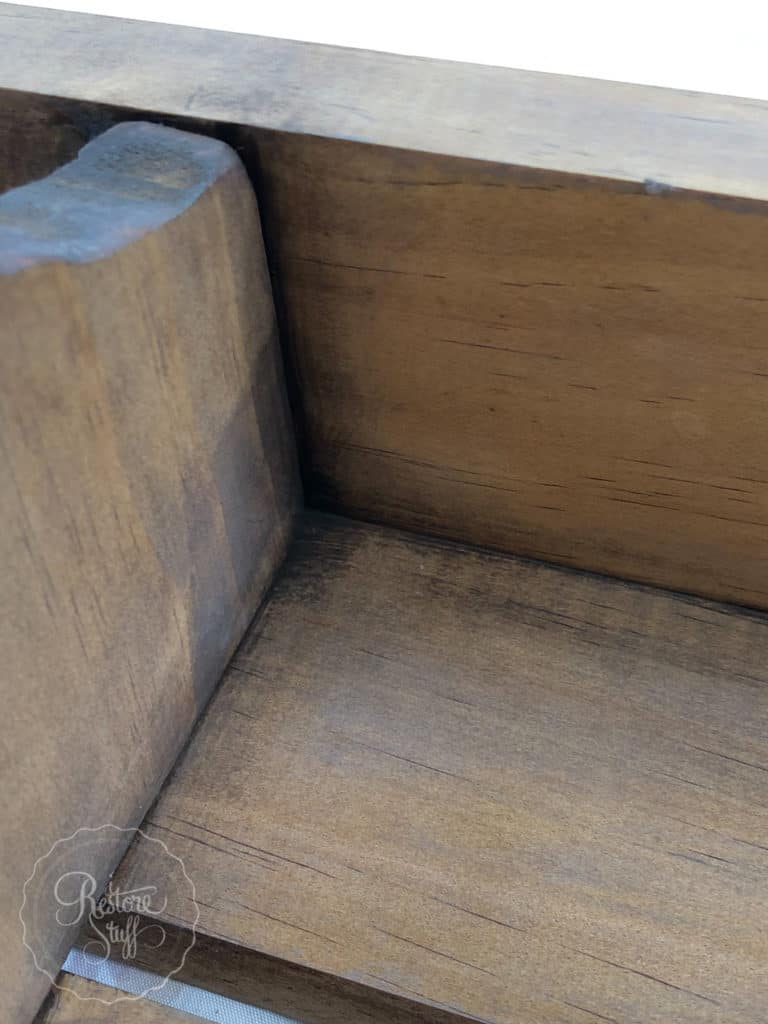
Then using a cloth, I removed the excess from the corners blending it outward and along the inside edges.
Step four – a little sanding & we’re finished!
In their blog post, Handan & Greg distressed the edges all around the table caddy, so I did this too, and I love the way it turned out! It creates a really nice worn patina on the edges. You’ll see it in some of the close up pics below.
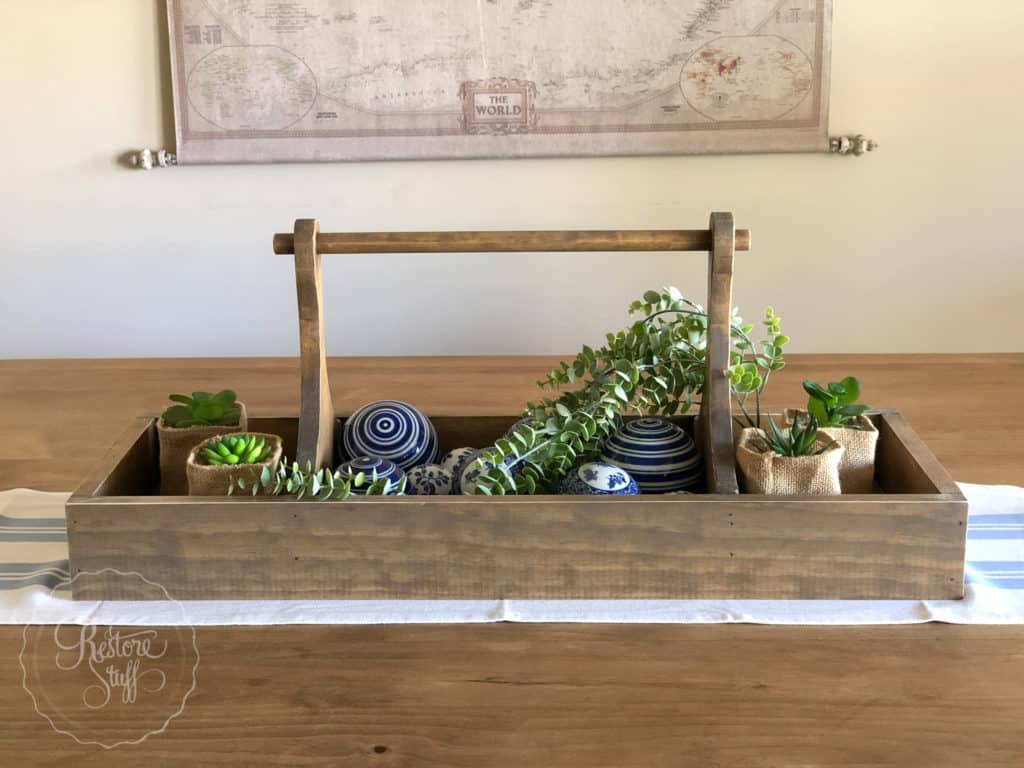
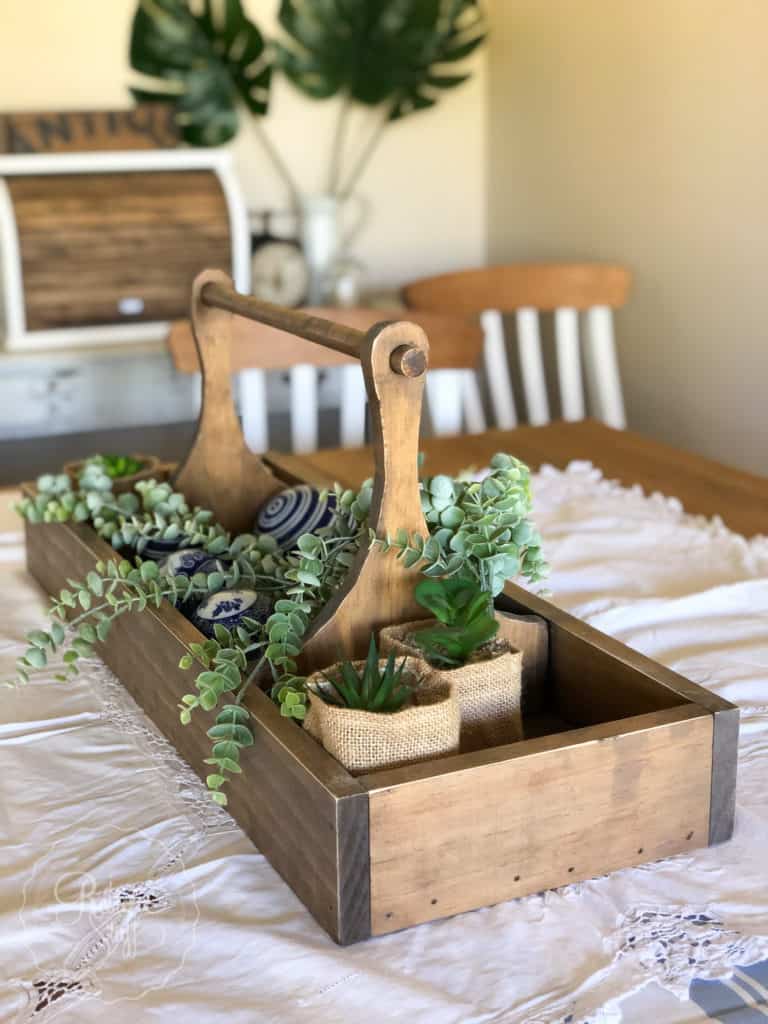
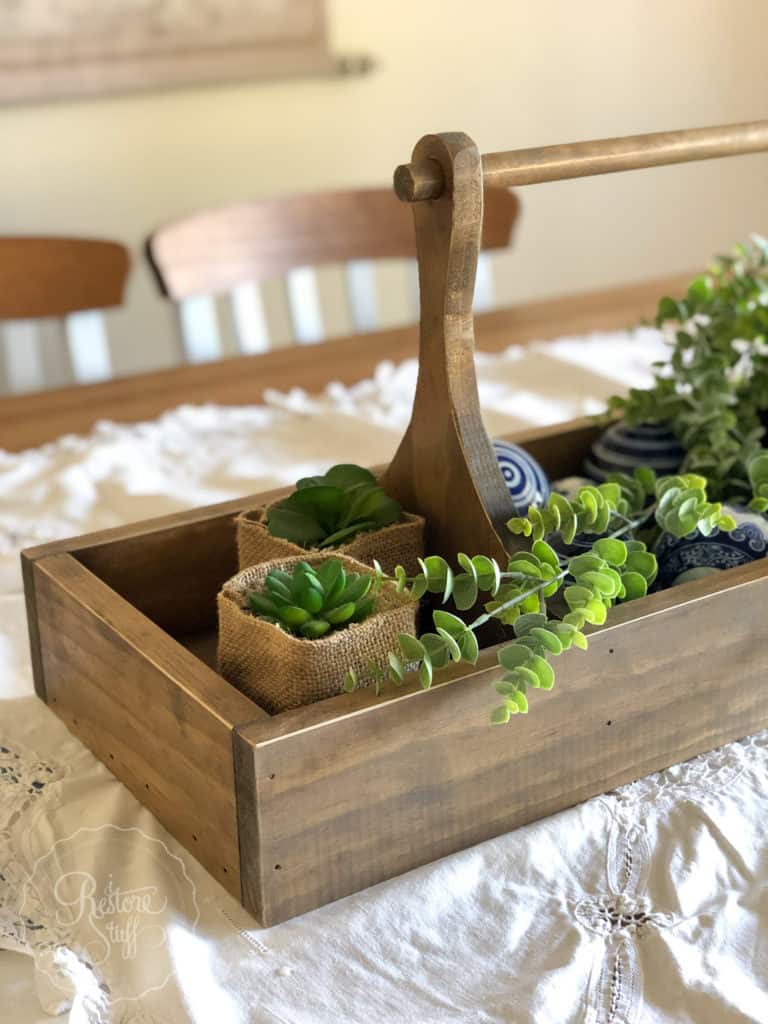
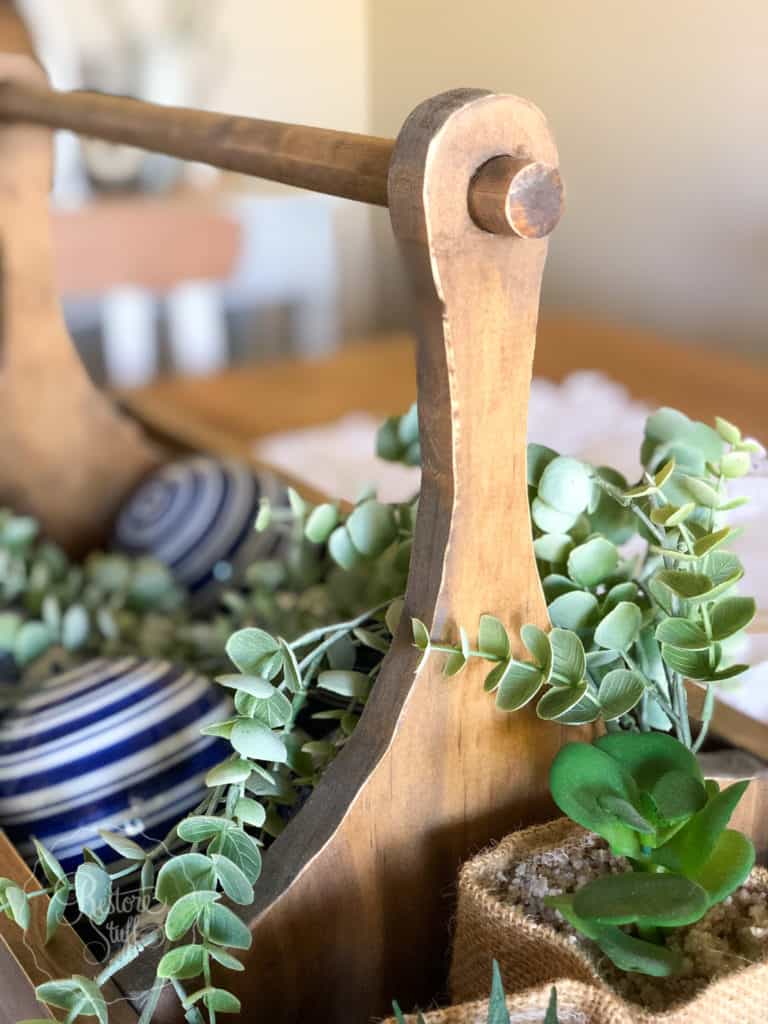
I hope you’ll go and check out The Navage Patch and send Handan & Greg some love, and explore their amazing site!
