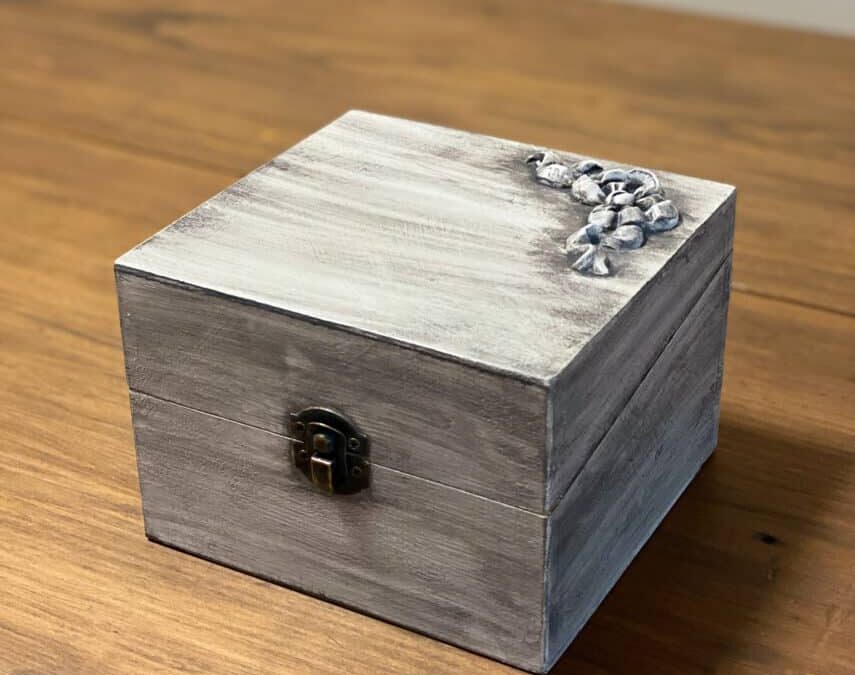
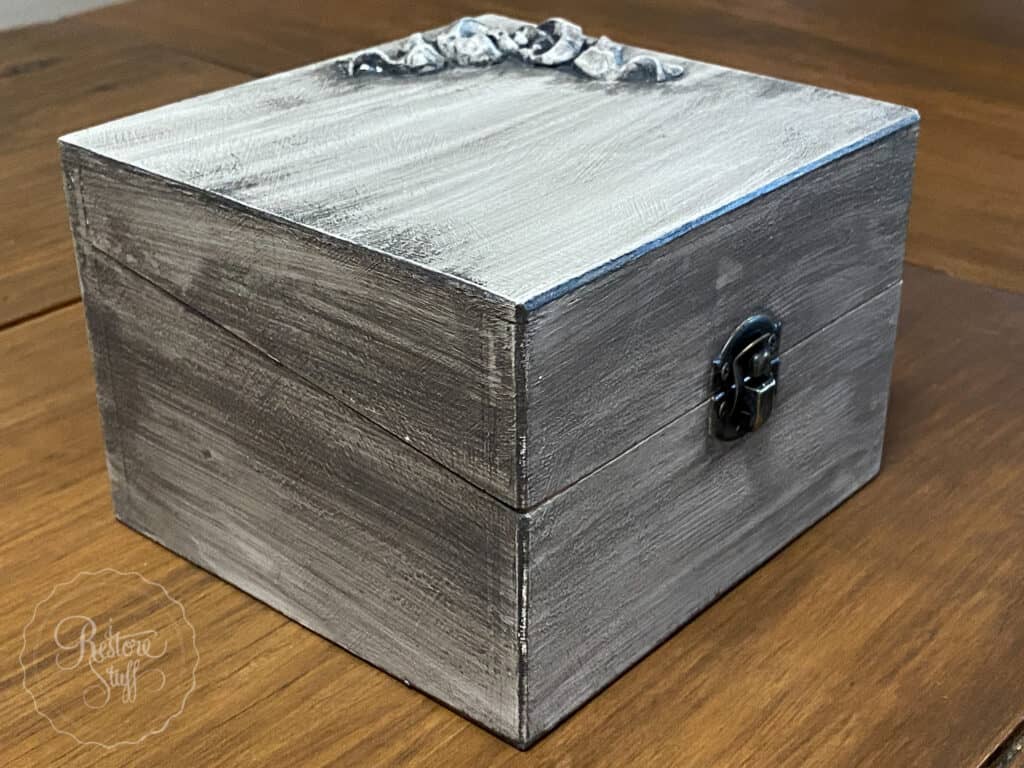
This plain index card box was one of my recent op shop (thrift store) finds, and I thought I’d use it to show how easy it is to turn something so plain, into a beautiful French Provincial style decor piece.
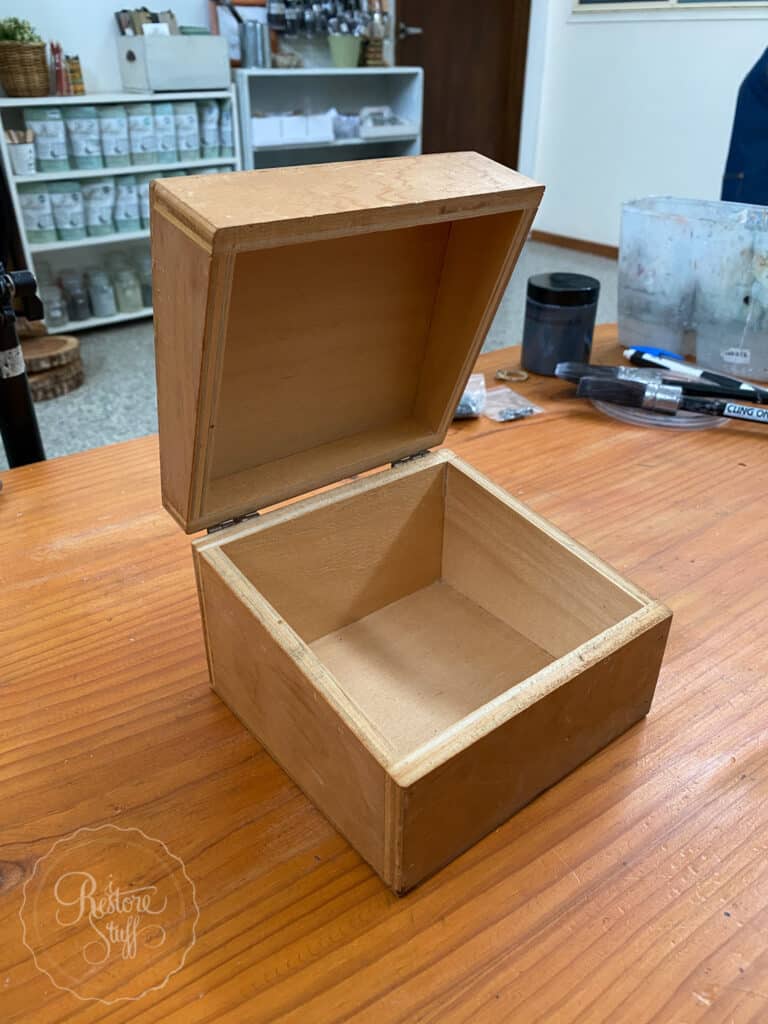
Supplies used for this project:
- thrifted index card box
- Artisan Chalk Finish – Parchment
- Efex Applique Petite Bow
- Contact Adhesive/Glue
- Artisan Glaze
- Artisan Chalk Finish – Charcoal
- Artisan Flat Matte Sealer
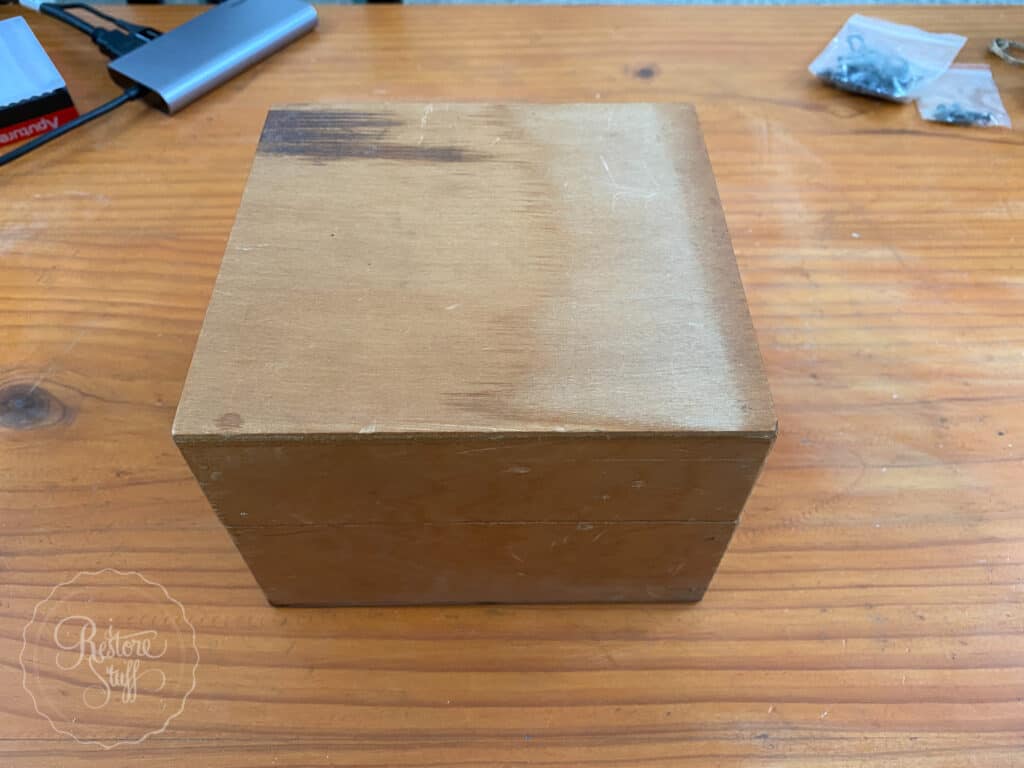
I started with the top of the box as it is above, traced the Efex Bow applique onto the box with a pencil to show the outline, so that you can apply the contact adhesive to both the applique itself, and the box, exactly where it is going to be placed.
Once the glue is tacky, join the applique to the box and press down into place firmly.
Painting the Wooden Box
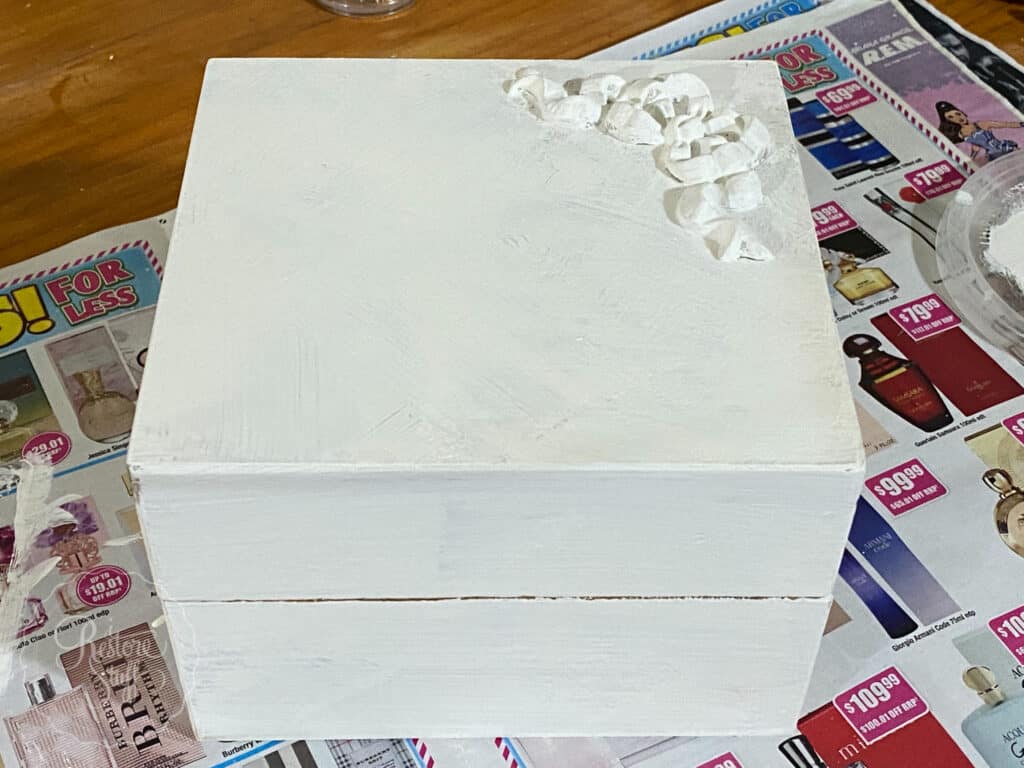
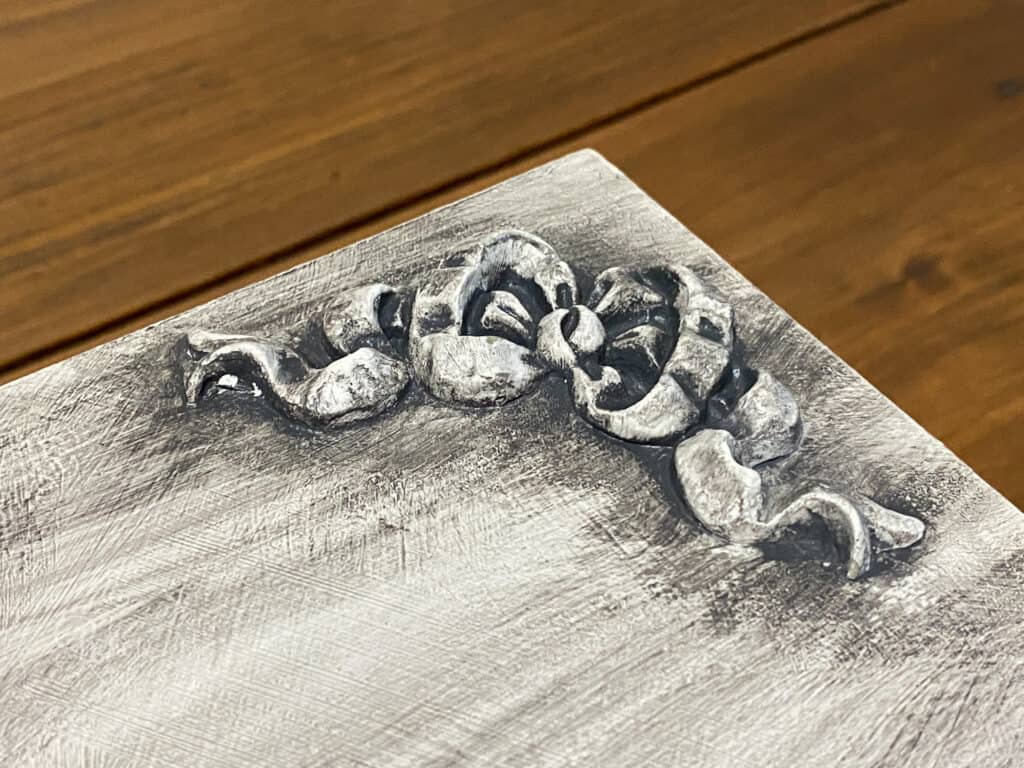
Next, I painted the box and the applique all over with Artisan Chalk paint in the colour Parchment (white). I purposely painted with brush strokes going in all directions, and even stippled the brush a little on the corners, for added texture.
Chalk paint is great for adding texture as it is a thicker type of furniture paint. It can be easily adapted for painting smooth finishes also. For more info on the difference between the three main types of furniture paint that I use, read my post on The Difference Between Chalk Paint, Milk Paint and Mineral Paint.
Video Tutorial – Part 1
video tutorial – Part 2
In this next part of the tutorial, I show you how to mix glaze using approximate ratio of:
- 3 parts glaze to 1 part paint colour (in this case, Charcoal)
Once glaze is mixed, as shown in the video, brush it on all over the piece. Then, using either a dry or damp cloth (use a damp cloth if you find you want to remove more glaze) wipe back the glaze. This should reveal more of the underneath colour, but leaving the coloured glaze in the crevices of the applique embellishment as well as the brush strokes and stippling created with the chalk paint.
Note as you use the glaze mixture, if you feel like you need more glaze, just add more and wipe it back again. Remember you can remove more glaze if you need to using your damp cloth.
Sealing to finish
I always add a top coat sealer – in this case, I used Artisan Flat Matte Sealer to seal in the glaze, which can take a while longer to dry completely. This is the way it is created with the purpose of allowing more “open time” to play with and manipulate over your piece before it dries.
Add this post about upcycling a wooden card box to your Pinterest Board for DIY Craft ideas:
Are you following me on Instagram or Facebook? Find me there for more behind the scenes and occasional live tutorials.
