Easy Farmhouse crate
I bought several of these wooden IKEA crates a while back, and have been using them as stacked shelving storage for some of my paint products. But since moving into our new house 6 months ago, we’ve built garage shelving for my paint stock, so I now have these fun crates to play with!
In this post, I’ll show you just one easy way to upcycle a wooden IKEA crate.
Supply List:
- IKEA Crate/box
- Artisan Chalk Finish – Merlot
- Essential Stencil of your choice
- 4 x small casters
- Artisan Easy Wax
- lint free shop cloth
Build it first or paint it first?
Since I had already built and assembled these crates, I didn’t have to ask this question.
However, if I was to start with a dissasembled crate box, I’d paint it first. It is just easier to paint the flat surfaces, without having to navigate corners, etc. I have done this before for other flat packed furniture or boxes whether staining or painting. To me, it’s an easier option.
Read further and you’ll see that I actually had to remove the base of the crate to drill holes for the casters to go through.


Easy Chalk Paint application on raw wood
Artisan’s Natural Chalk Finish is a great option to use on raw wood surfaces like our IKEA crate example.
Chalk paint has a porous finish, requiring a sealer for best results. But it’s application is easy and smooth, drying quickly. Chalk paint is a little thicker than the mineral paints, lending to some great texture if you apply it in thick strokes.
However, for this crate, I wanted nice thin layers, creating more of a stained look, revealing the grain. If this is the look you are after, a little water spray with a misting bottle is a great addition to either the surface you’re painting on, or the brush itself.
If you’re wanting a full coverage, by all means, add additional coats until you get your desired look.
For a detailed explanation of the difference between Chalk Paint and Mineral Paint, click here.
Add some casters
I already had a stash of casters in my workshop, which I had purchased from our local hardware some time ago.
You can find similar to what I used, here on Amazon (affil link).
These kind are bolted – so I had to drill holes through the base of the crate to push the bolt part through the hole and tighten the nut on the top/inside of the crate.
If I didn’t already have these on hand, a better option may have been the type of casters that have a screw plate base, which you can easily screw to the base of your crate. See examples of this type here.
When working out where to place them, be sure to test the swivel action to make sure it is not going to hit any edges underneath the box.


Placement of casters
As mentioned above, the placement of your casters will depend on the type you purchase.
This underside shows you the slight edges on each side of the crate base, which may or may not interfere with the swivel of your casters. So always test where you’ll put them, checking to see whether the swivel will hit the edges.
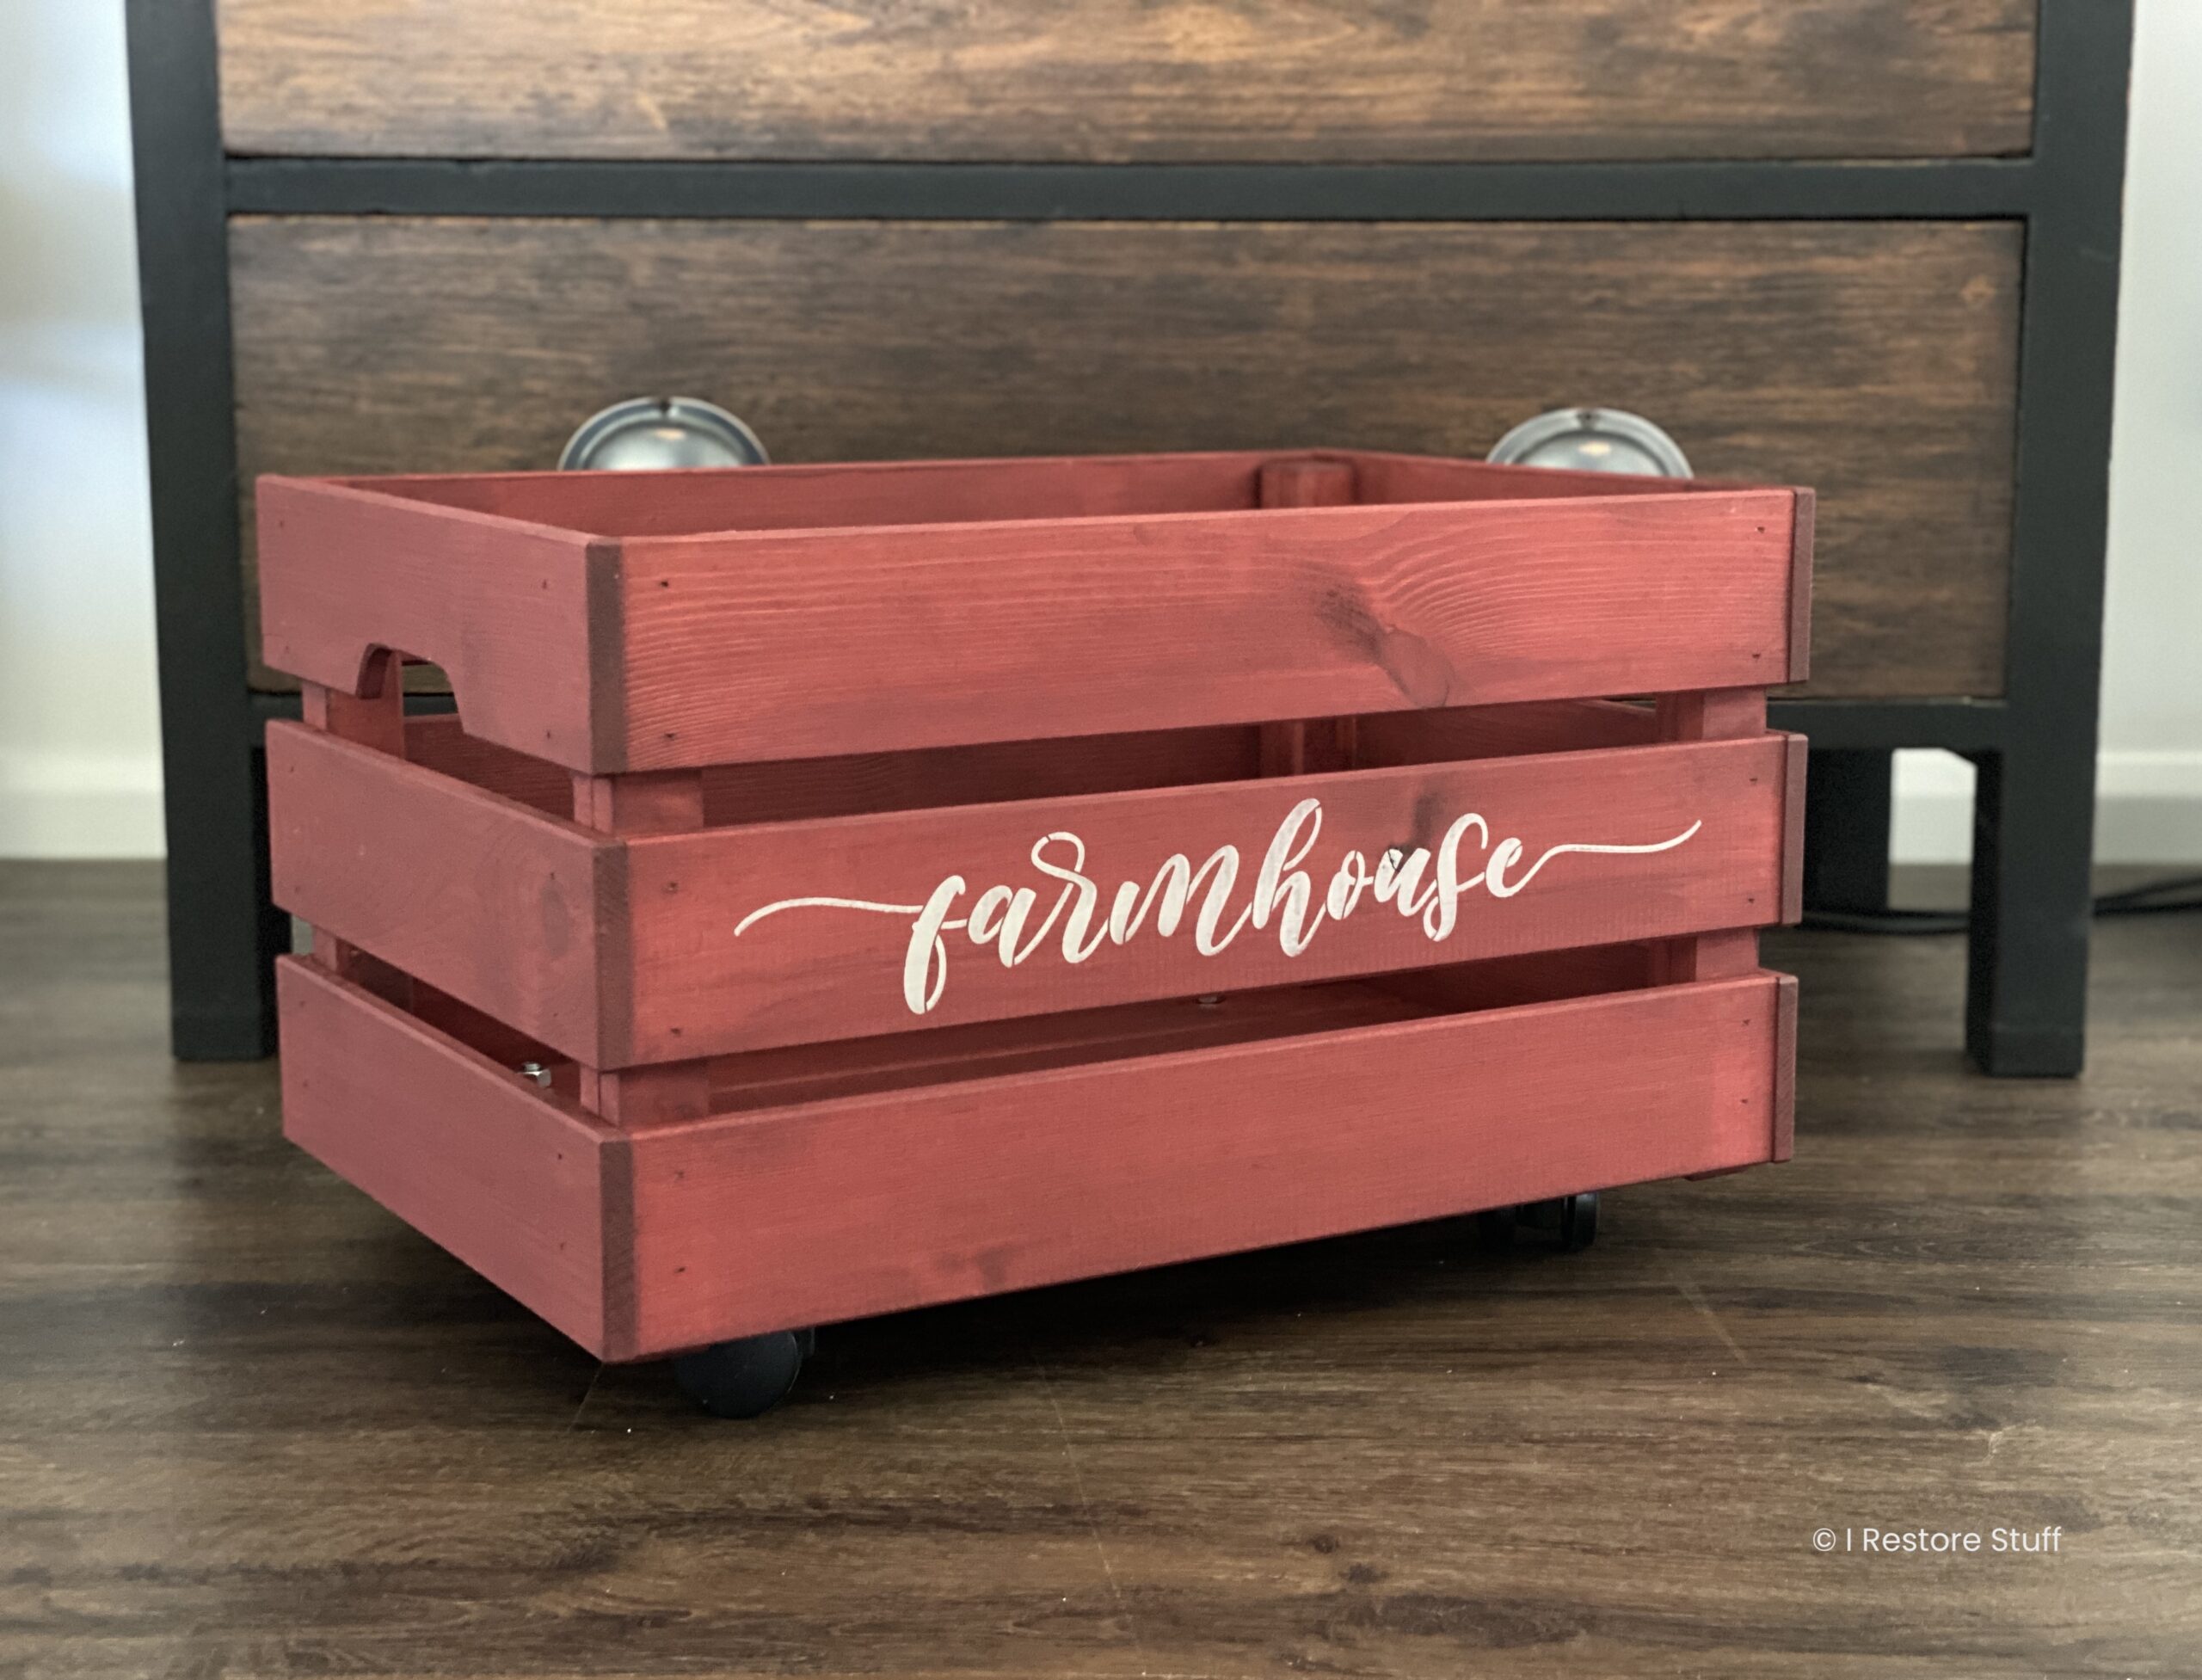
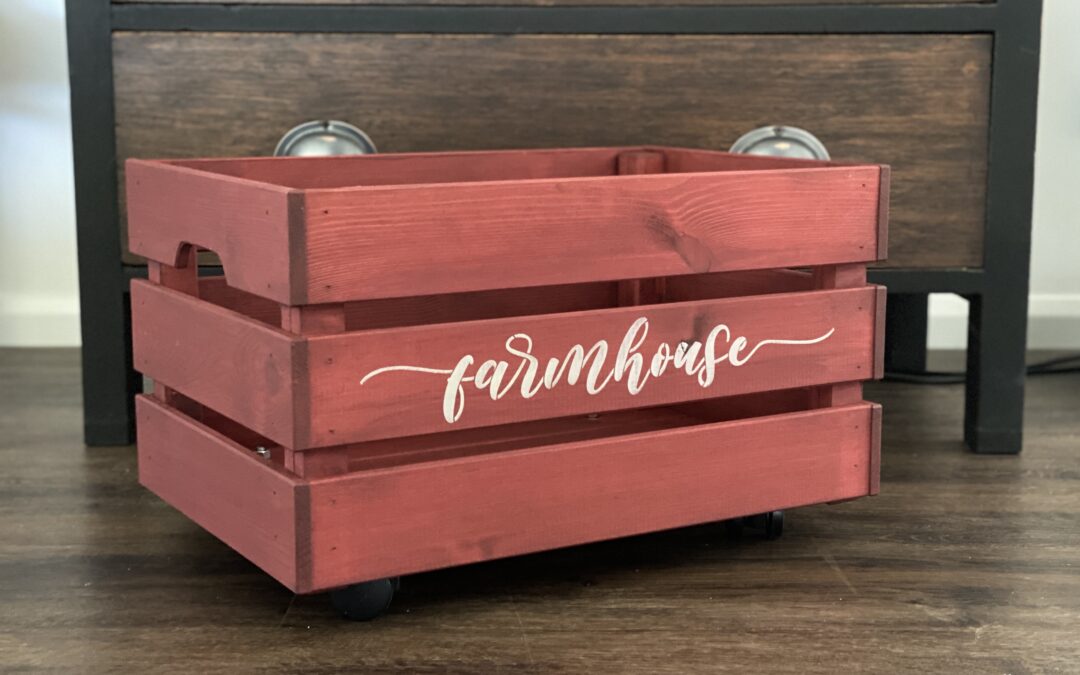
Add a Stencil
For those of you who don’t know, I’m an ambassador for USA company, Essential Stencil, going live on their Facebook page weekly to share DIY projects using their products (stencils, rub on transfers, brushes & more).
I used their 2 pack set, “Left the Gate Open” for this project, but you can use ANY stencils to add a pop of fun to your crate.
If you’re in the USA, here’s my affiliate link or use my code IRESTORESTUFF any time to receive 10% off your Essential Stencil orders.
I have a whole playlist of stencilling projects on my Youtube channel here if you need tips for best stencil results.


Add a Sealer – I used Artisan Easy Wax
Artisan’s Easy Wax was an easy sealing option for this chalky painted finish. Easy wax is a liquid wax (in its room temperature form) and so easy to apply with a brush or cloth.
I use a brush to apply, then wipe away the excess with a lint free cloth.
Available in Clear, Antique or Black, I used the Antique Easy Wax for this crate, which gave a slight aged look, without taking away from the white of the stencil.
Notice in this image, I’ve waxed the bottom two rails of the crate, and not the top rail. See how the chalk paint has a chalky, porous finish, until it is sealed.
So anytime you are using a porous paint (chalk paint or milk paint), remember that the finished colour will deepen once it is sealed.