

In my first post about our huge backyard renovation project, I showed you how we tackled our roof, railings and the edition of huge sandstone blocks, re-turfing and basically turning our “hole in the ground” leftover from an above ground pool, into a beautiful outdoor entertaining area. Bit by bit, everything seems to be coming together quite nicely.
You can see the before/after and progress HERE.
During our reno project, I received an email from Dulux Australia, asking if I had any outdoor furniture that needed a makeover, and would I like to try their new Rapid Finish spray system for outdoor painting. Uh – yeah?!
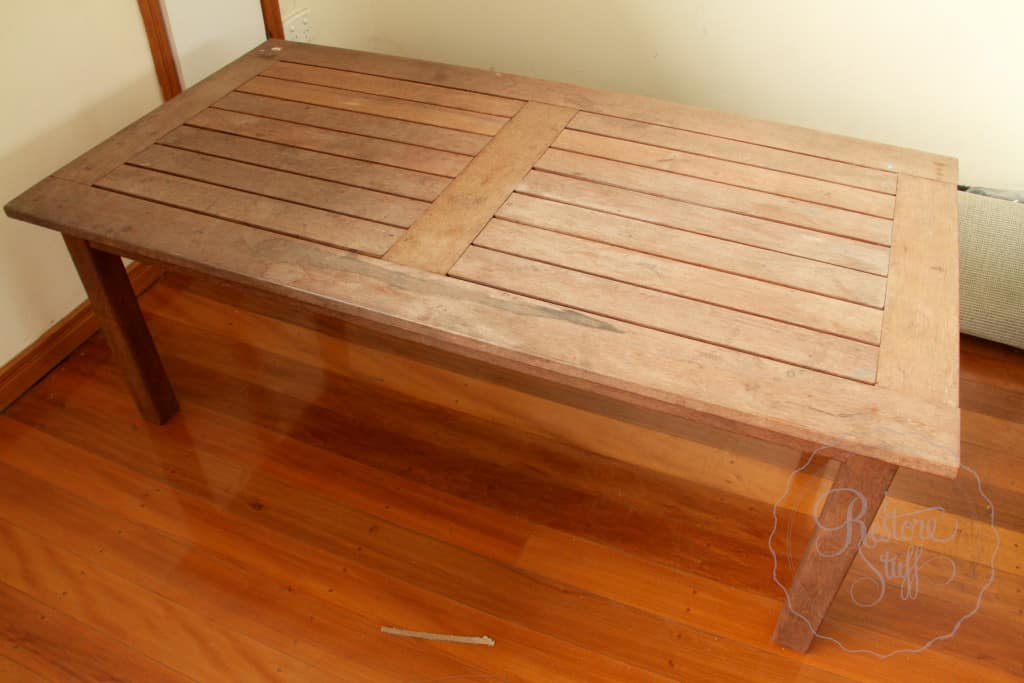
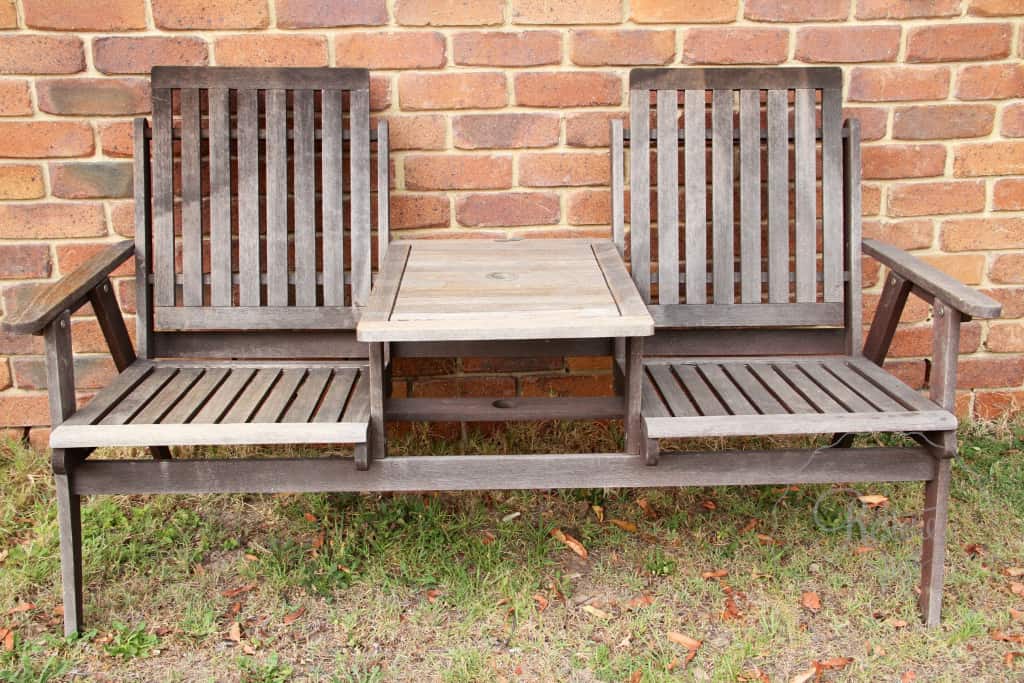
So here are the pictures I sent them of our weary and worn outdoor furniture: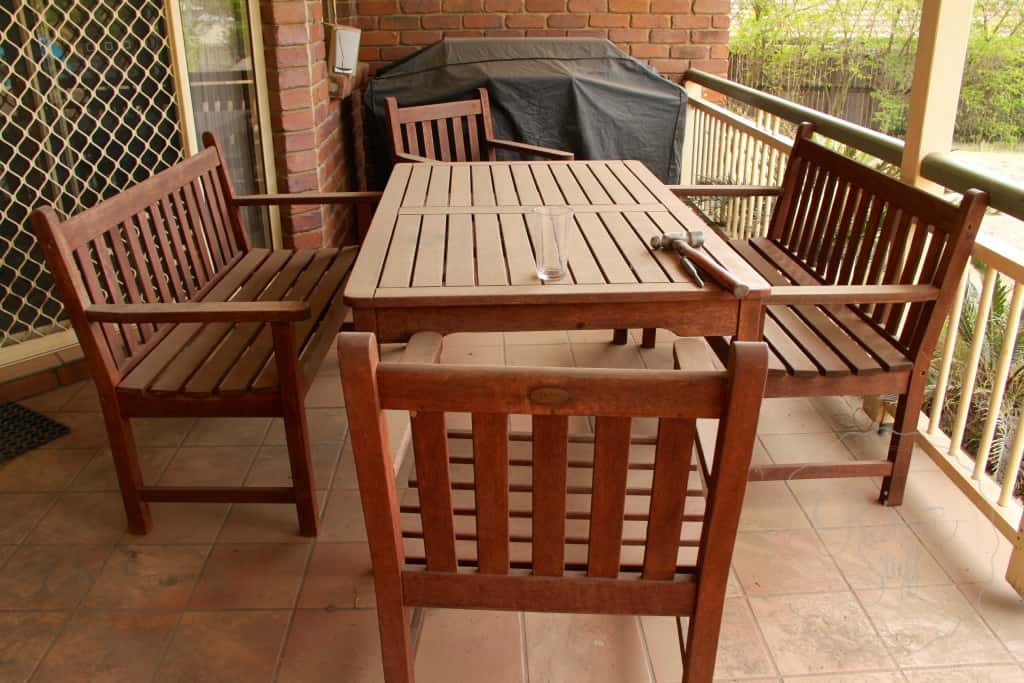
 After discussing with their colour consultant the colour scheme of our house, we decided to go with the same colours as the exterior of our home. The newly painted roof is a Colorbond colour called Deep Ocean and our railings are Colorbond’s Classic Cream.
  The paint department at Bunnings was able to match these colours for us from the cans of Rapid Finish outdoor paint that Dulux had sent me. I also selected a third colour, Light Leather, but didn’t end up using this for our outdoor setting and will save it for another occasion.
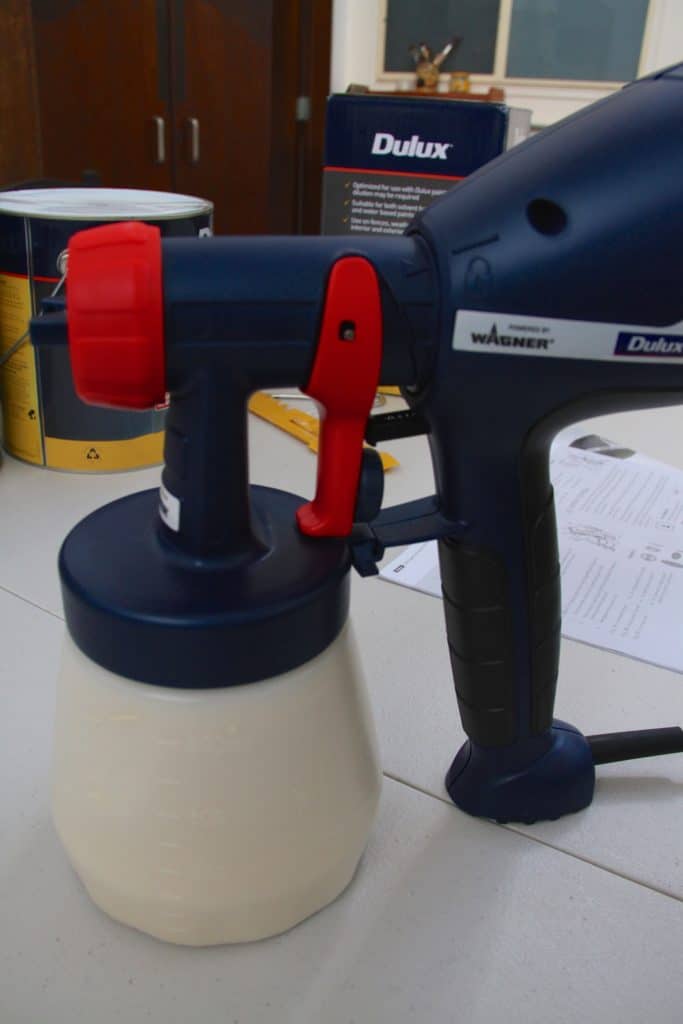
 The RapidFinish sprayer is powered by the Wagner brand which gives it great cred to start with. I’ve used Wagner spray units before and have been happy with their design and usability. This spray unit comes even more compact than any other I’ve used, with the motor head section even smaller and locking in to the spray gun nicely.
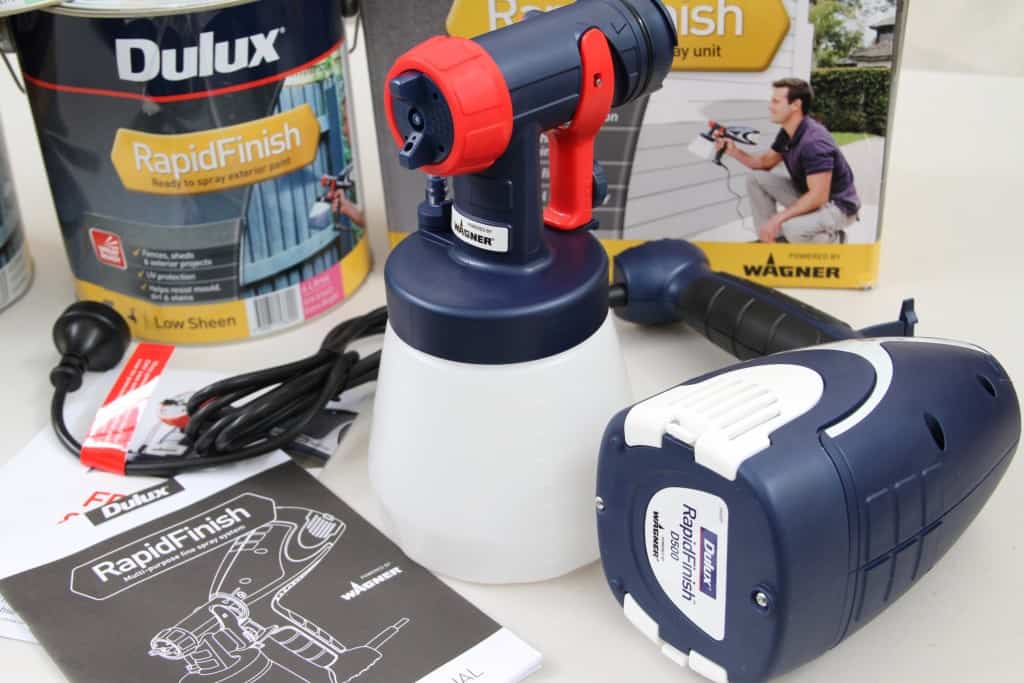 The spray gun also comes with a spare rubber ring seal and lubricant. Op instructions are simple to follow.
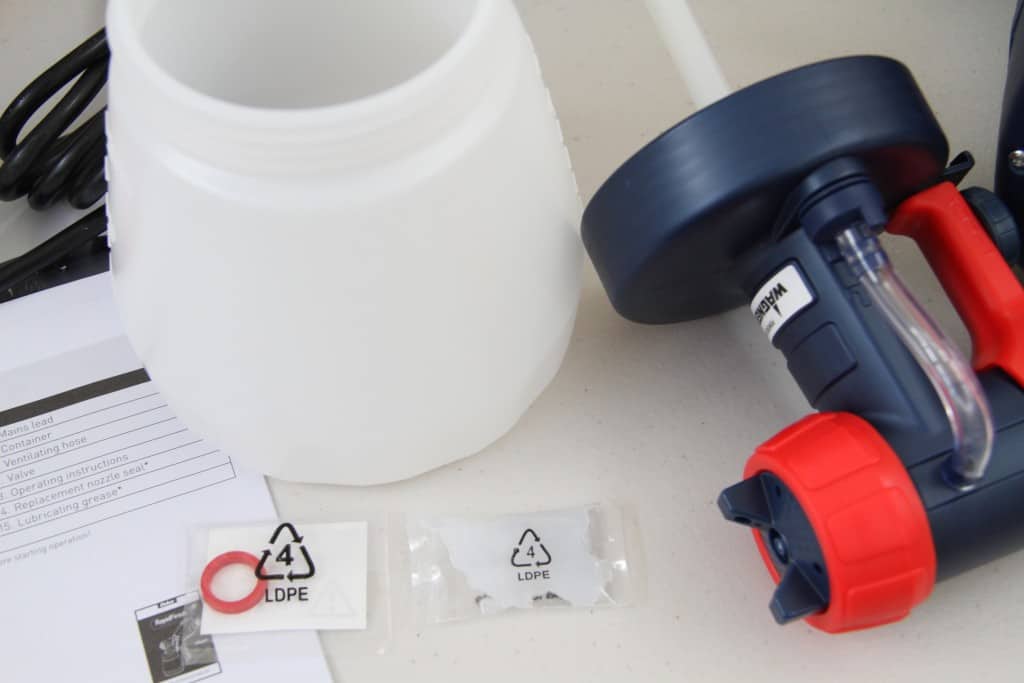 As it says on the can (below) this exterior paint is “ready to spray” – this is a bonus, because most paints, if you are using through a spray gun, will have to be diluted just slightly to make the consistency a little runnier for best application. This paint: no diluting, all good to go through the spray gun!
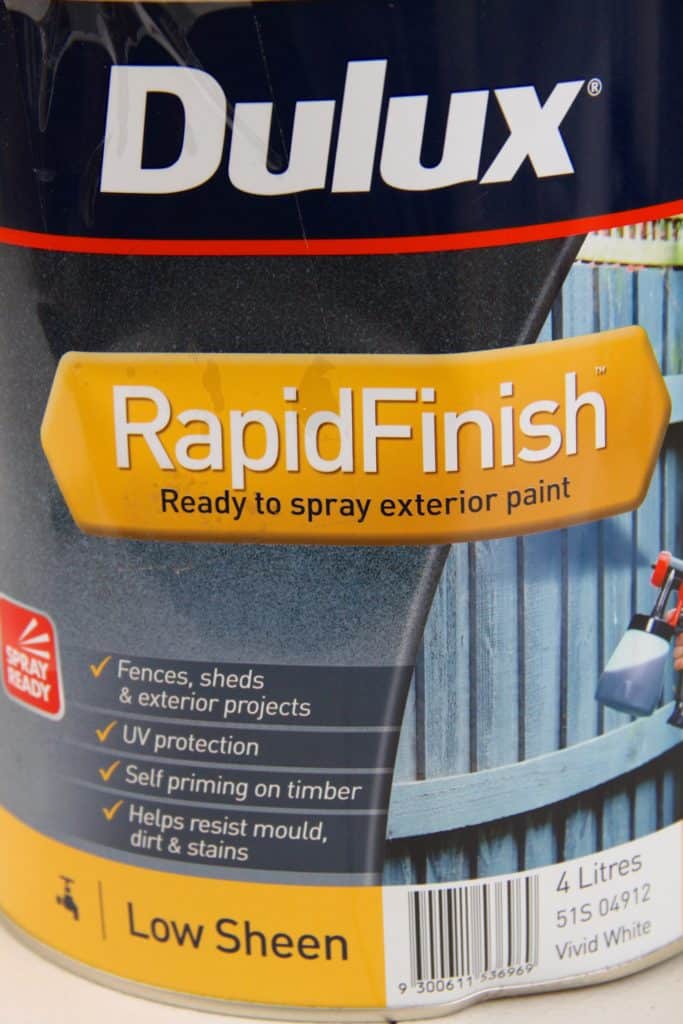 I started with the Classic Cream, opened the can and gave it a bit of a stir, which is always a good idea when paint has been sitting around waiting for you to find a great day outside to spray paint!
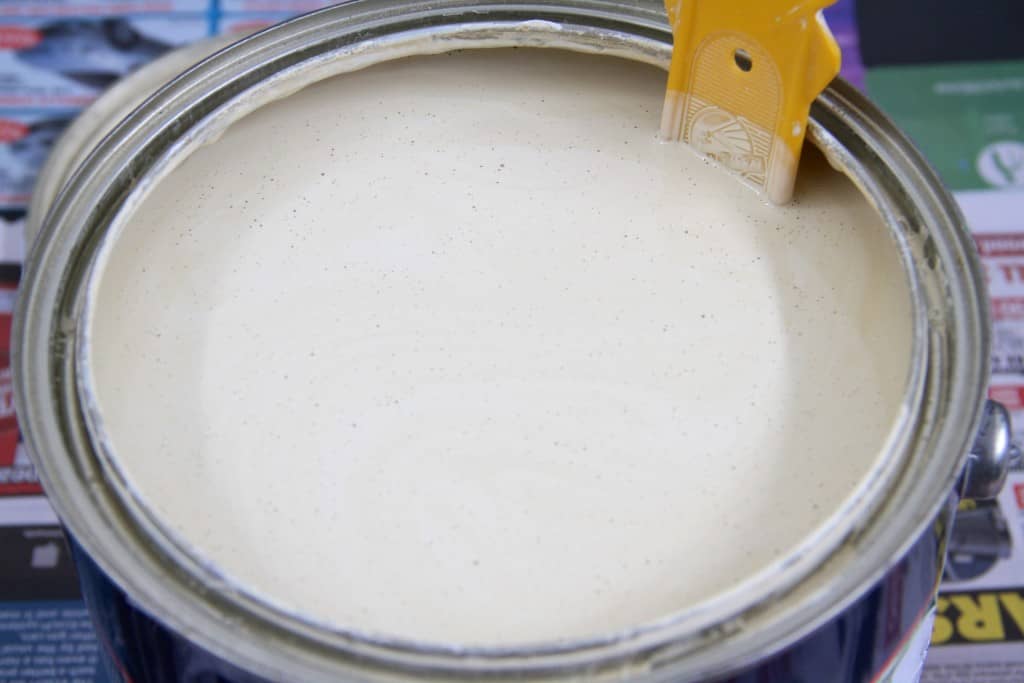 Then just carefully pour the paint into the spray container till you reach the maximum fill line. Don’t overfill or when you put the lid/spray nozzle on, it will ooze out the edges. Not good!
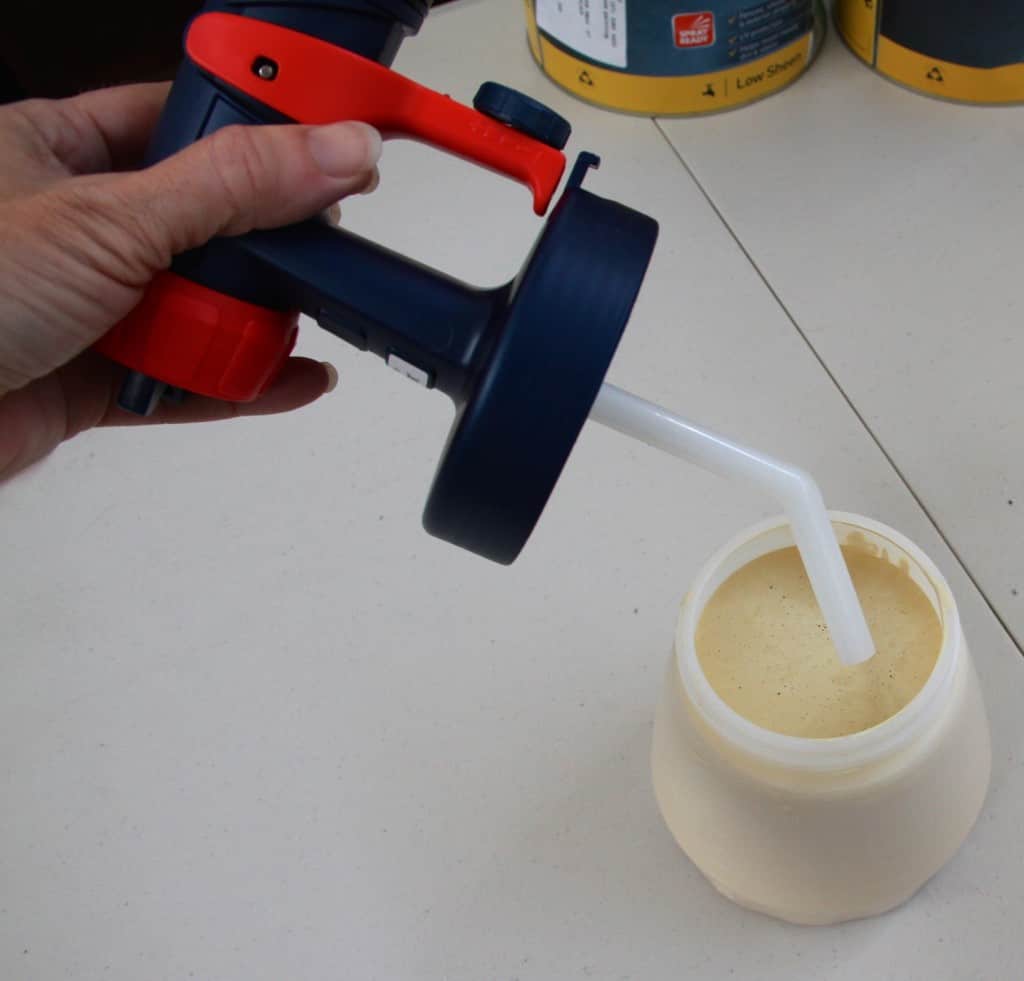 When you’ve screwed the spray nozzle cap onto the bottle filled with paint, you can then attach the trigger/motor component and lock it in place.
 I start with my furniture upside down sometimes to get a good coverage on the back and legs before flipping it over to finish it off.
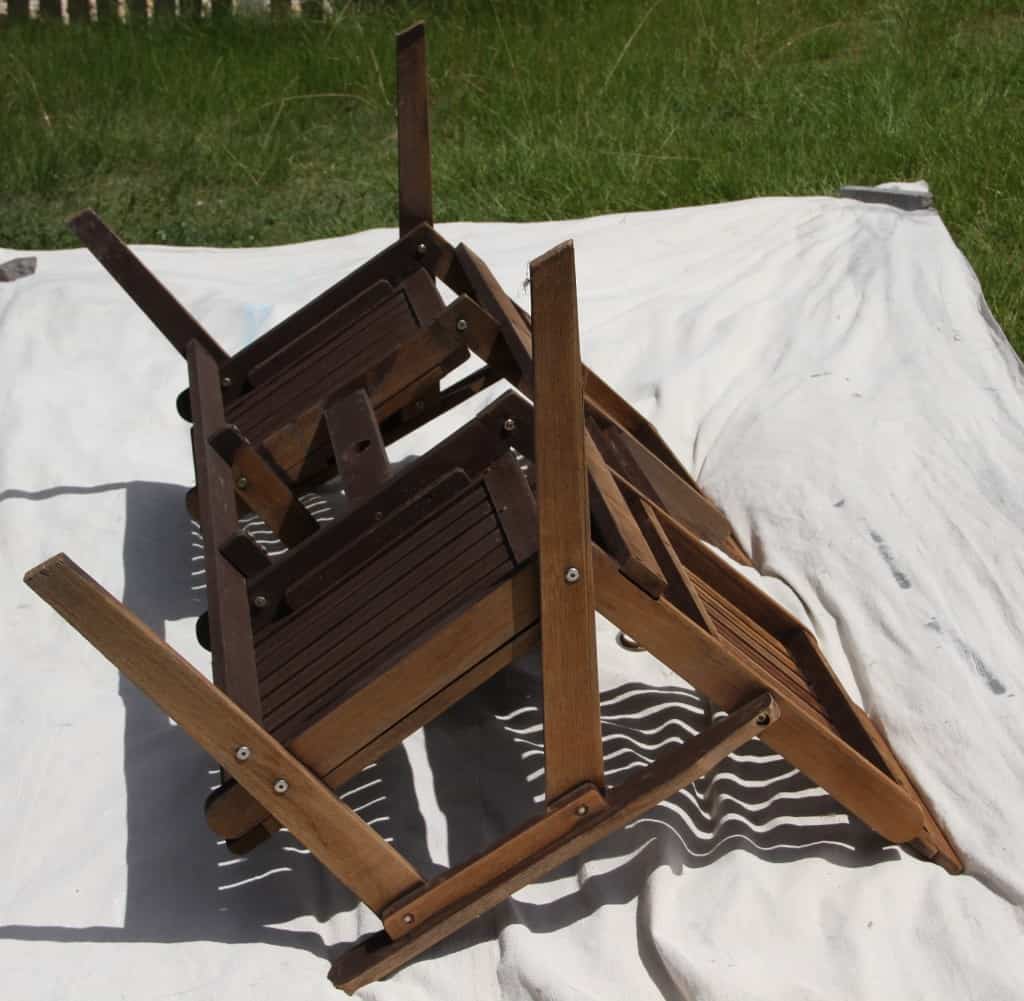 Plug it in to power and all you have to do is press the trigger and start spraying …
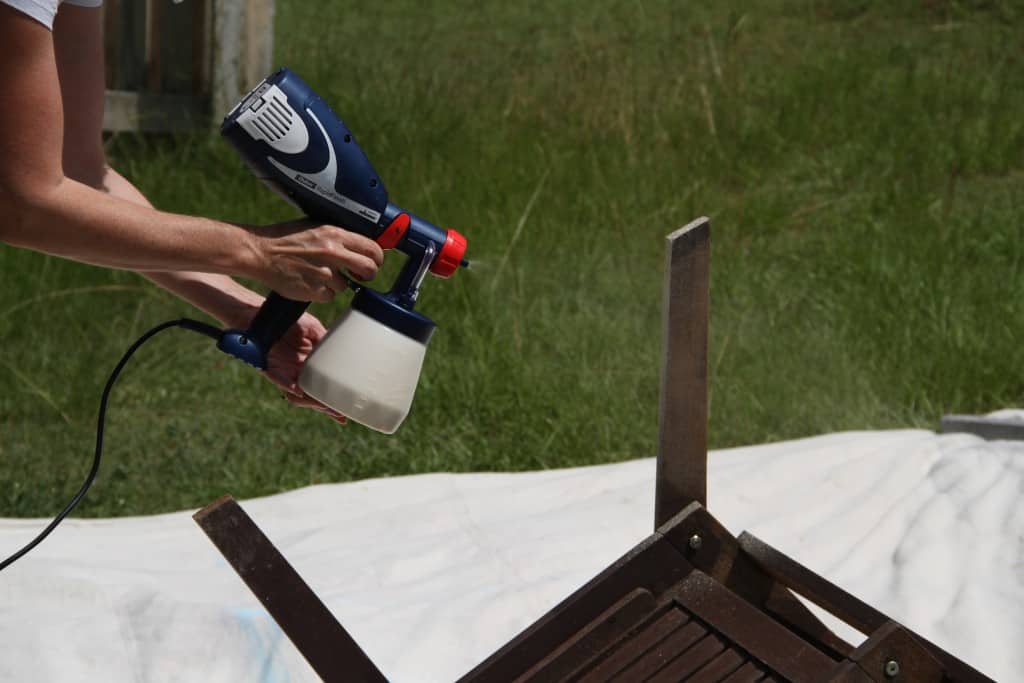 There is a bit of a knack to this, so that you can get the best results. Here are a couple of my tips:
- Spray in even strokes from side to side or up and down, depending on the part you are spraying.
- Don’t leave the trigger pressed for too long in one place, to avoid excess paint which will cause drips and running.
- A little at a time is better than trying to get a solid coverage in one session. Again, to avoid running, it’s better to do two coats. Letting the first dry thoroughly before starting on the second.
 Our outdoor setting was pretty rough and weathered, and to get a really perfect paint job, I should have sanded back the rough surface of the timber. But … sometimes I’m lazy and this is getting quite old, and I just didn’t, okay?
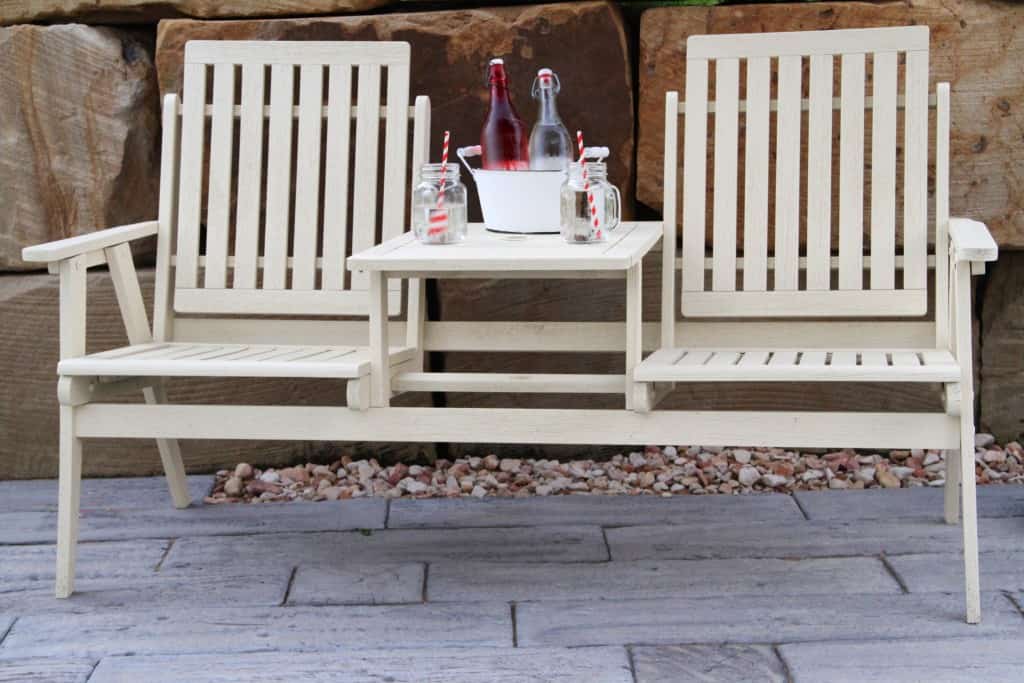
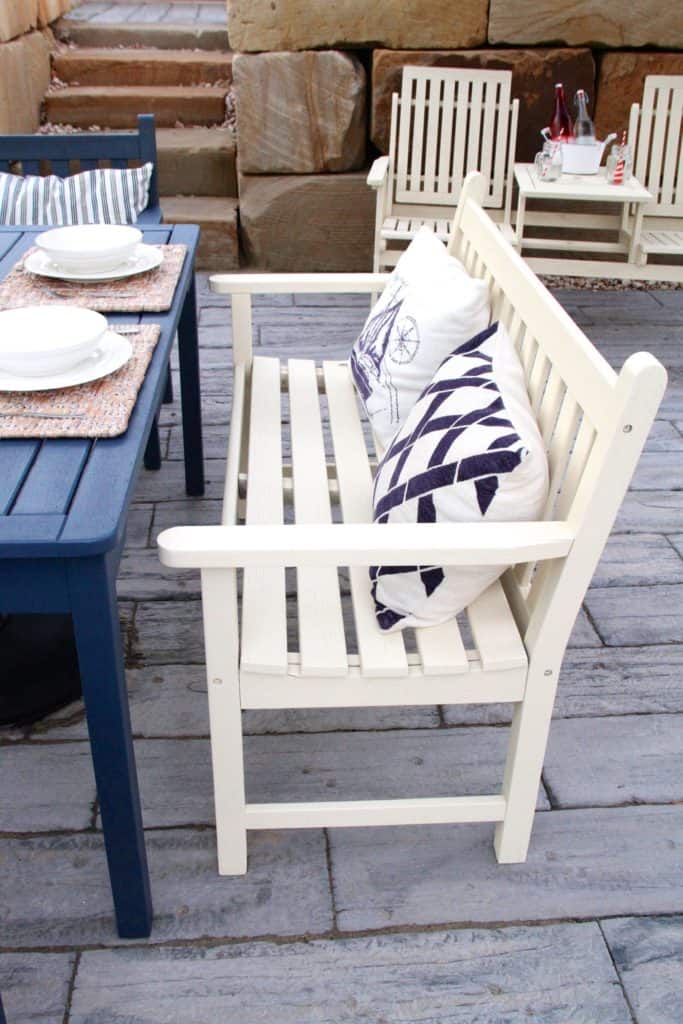
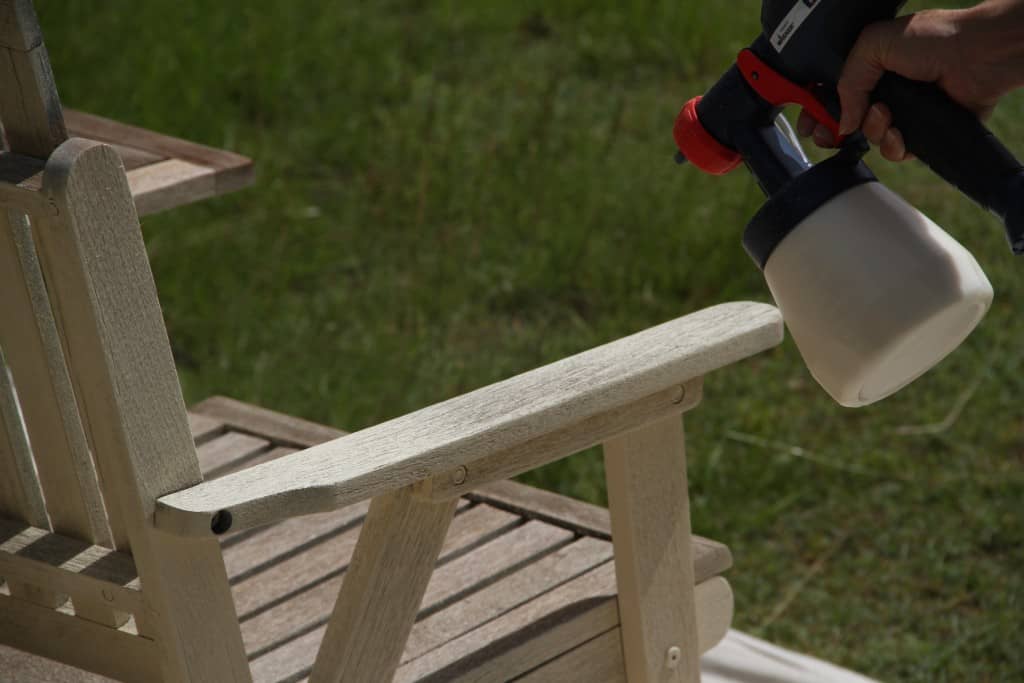 There, our Jack ‘n Jill set came up a treat with just a couple of coats of Classic Cream.
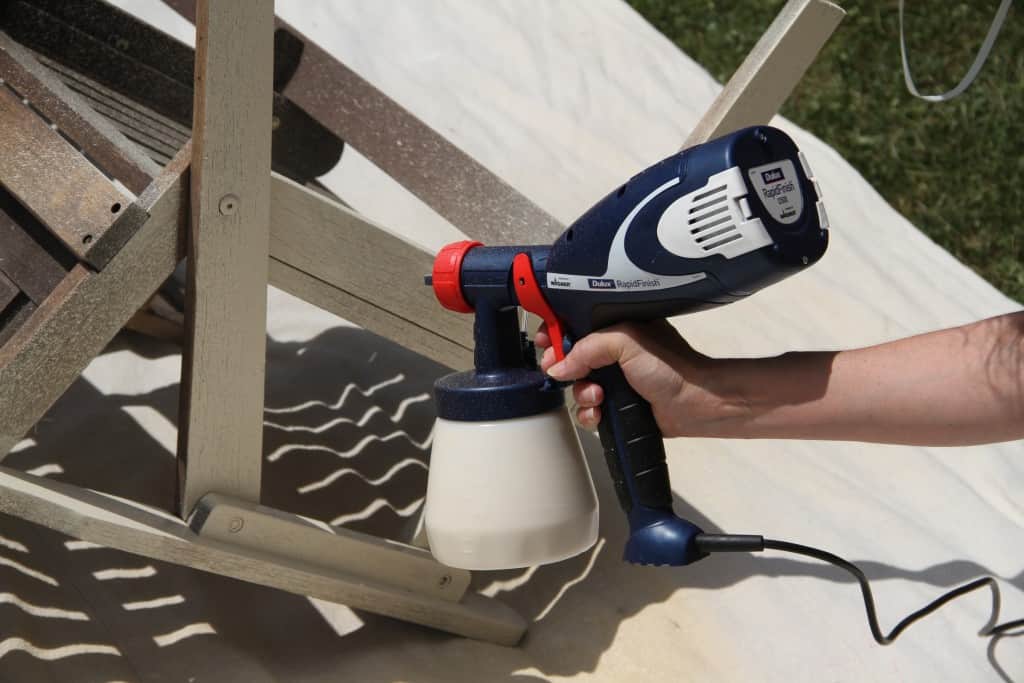
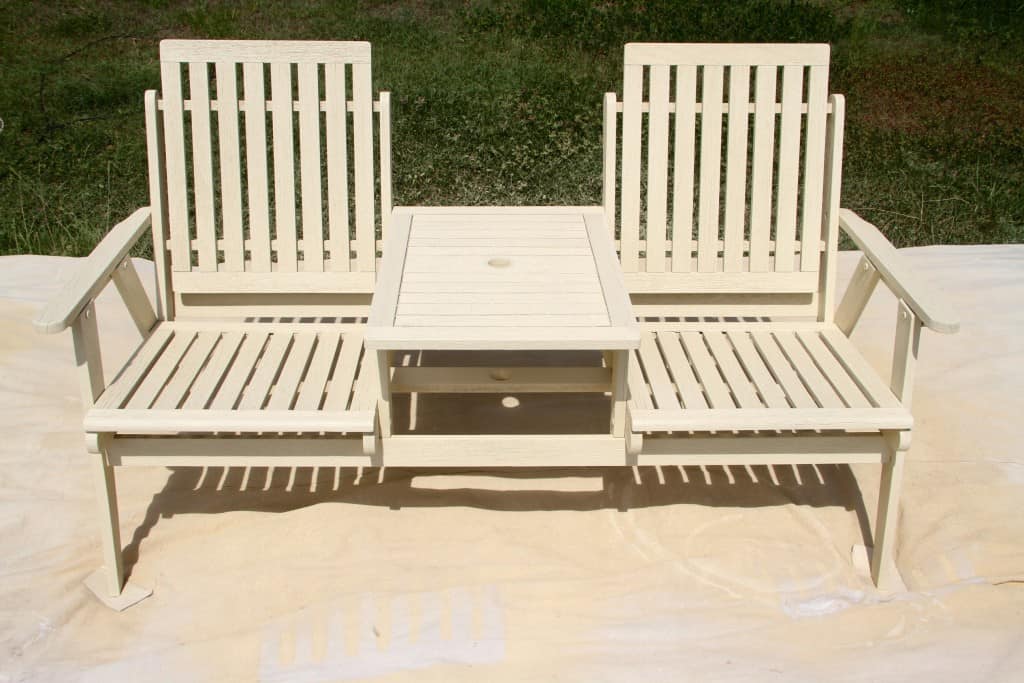 I wanted to do a bit of mix and matching with our table and chairs, so I painted the long seats in the same colour. The seats tend to take a lot more coverage than the tables do with all the slats and the front and backs having to be done on each of them. The tables, I did not paint underneath. So the four litre paint can of Classic Cream covered these three large pieces using the RapidFinish Sprayer.
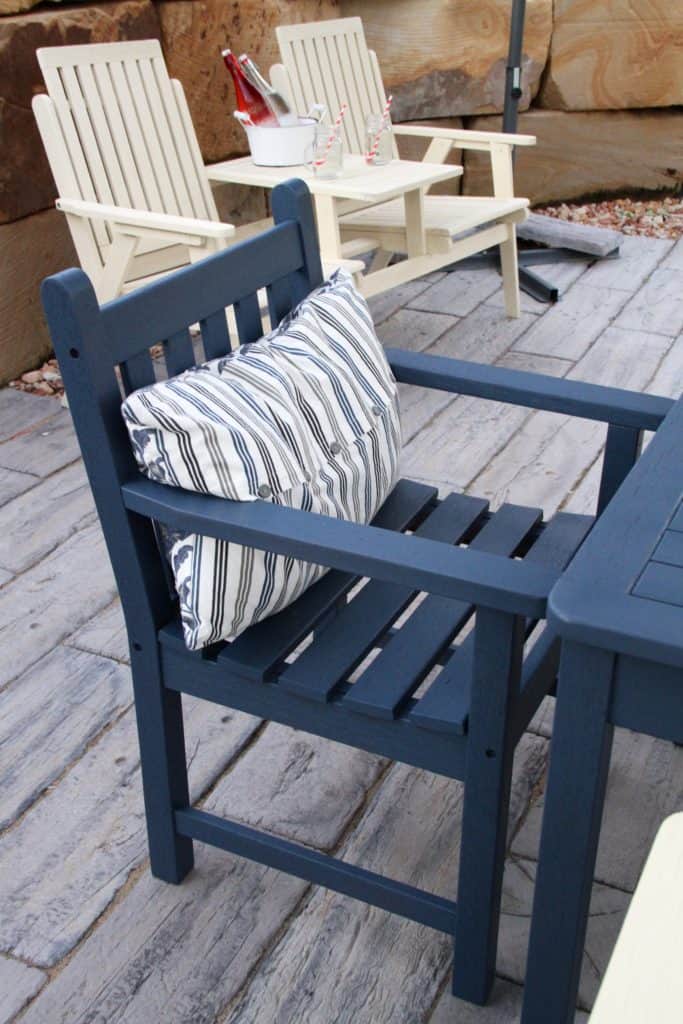
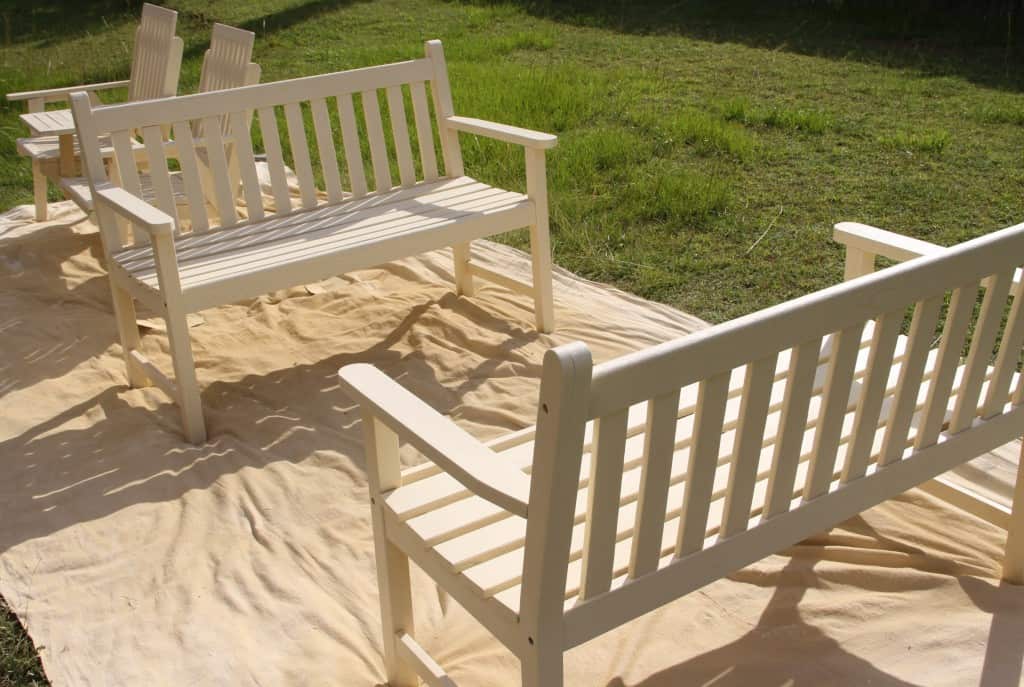 Next on to the Deep Ocean after cleaning out the sprayer from the first colour. Clean up is really easy with water, but make sure you do take all the bits apart and scrub carefully as per instructions if you want your sprayer to last a long time.
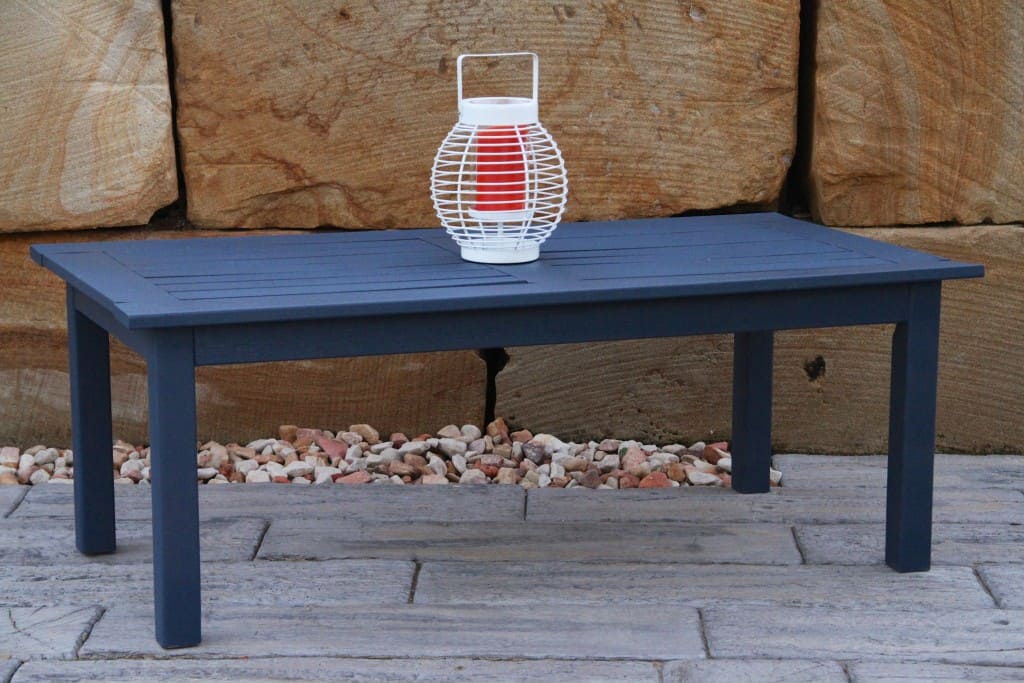
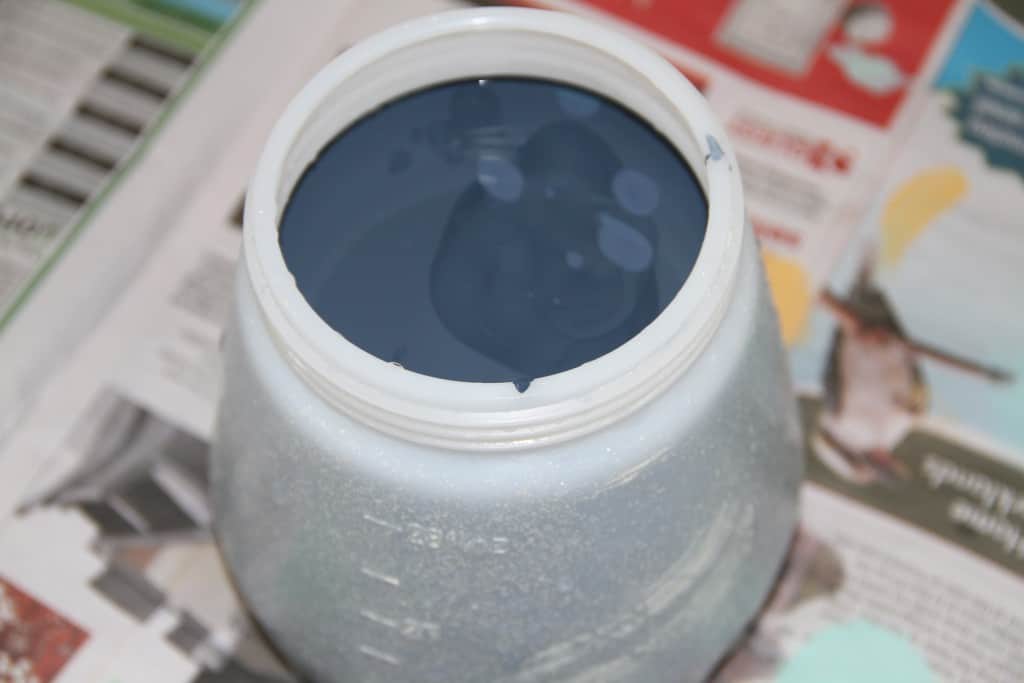 Here’s the smaller coffee table:
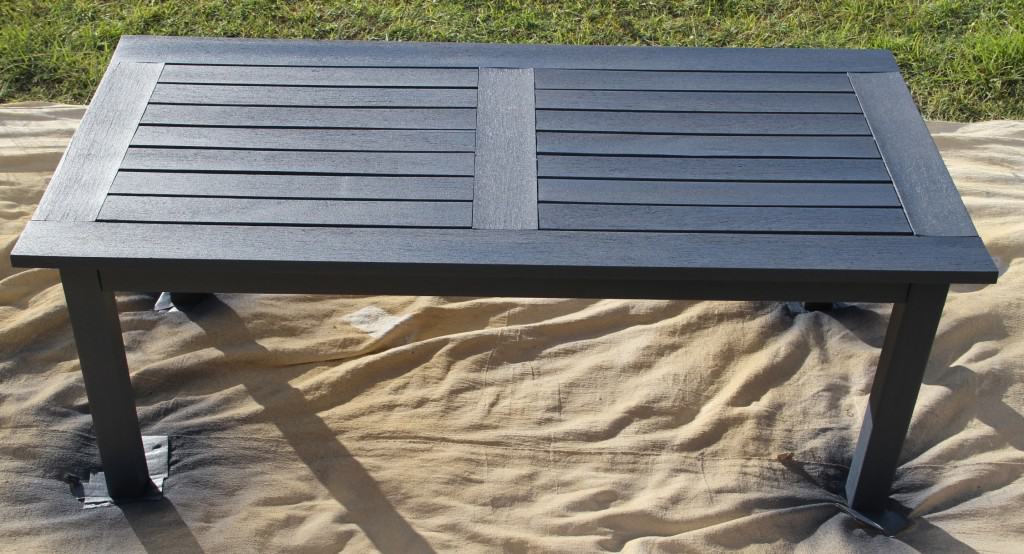 Painting the dining table:
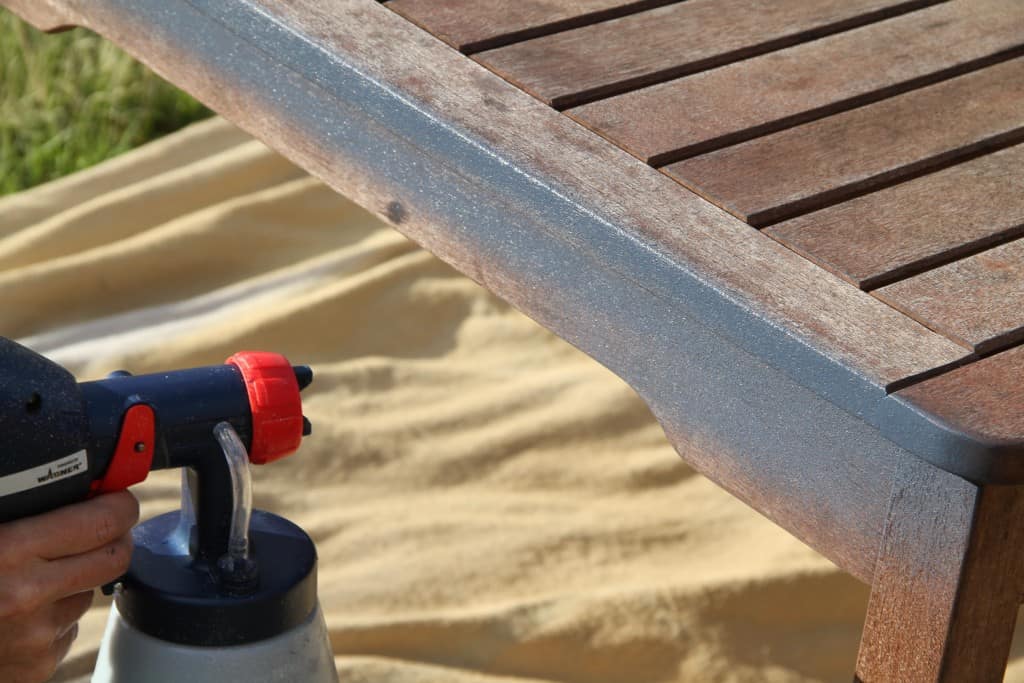 Then the two end armchairs.
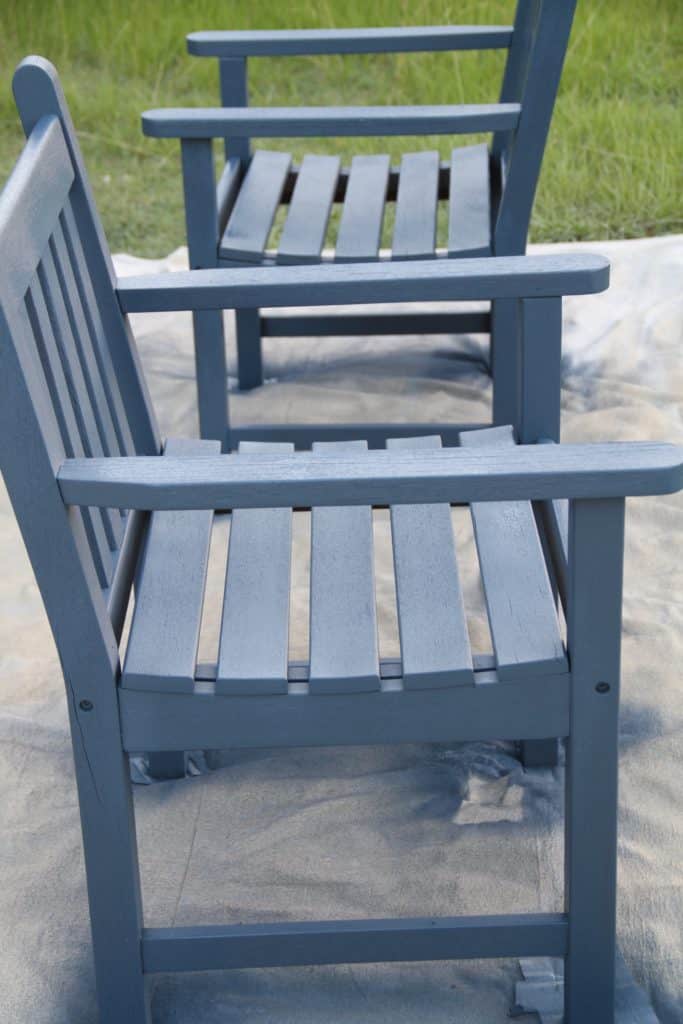 This little sprayer has just done a solid day’s work!! Not to mention my aching arm that had held it for 6-7 hours straight! I do NOT recommend spraying for this length of time, but I really just wanted to finish painting EVERYTHING before I packed up and cleaned up for the day. You know how it is? But it is recommended that you let the spray gun rest for a period between long periods of spraying. I did really do this when I went to re-fill the sprayer each time – it was a very HOT day, so each chance for a break and a COLD water was high on my priority list.
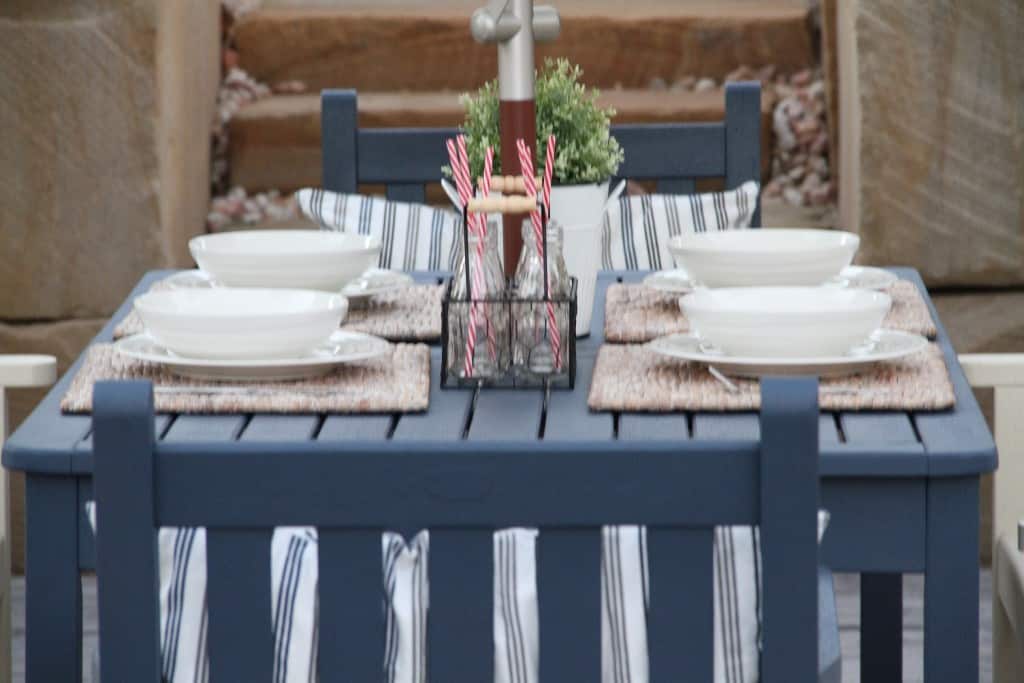
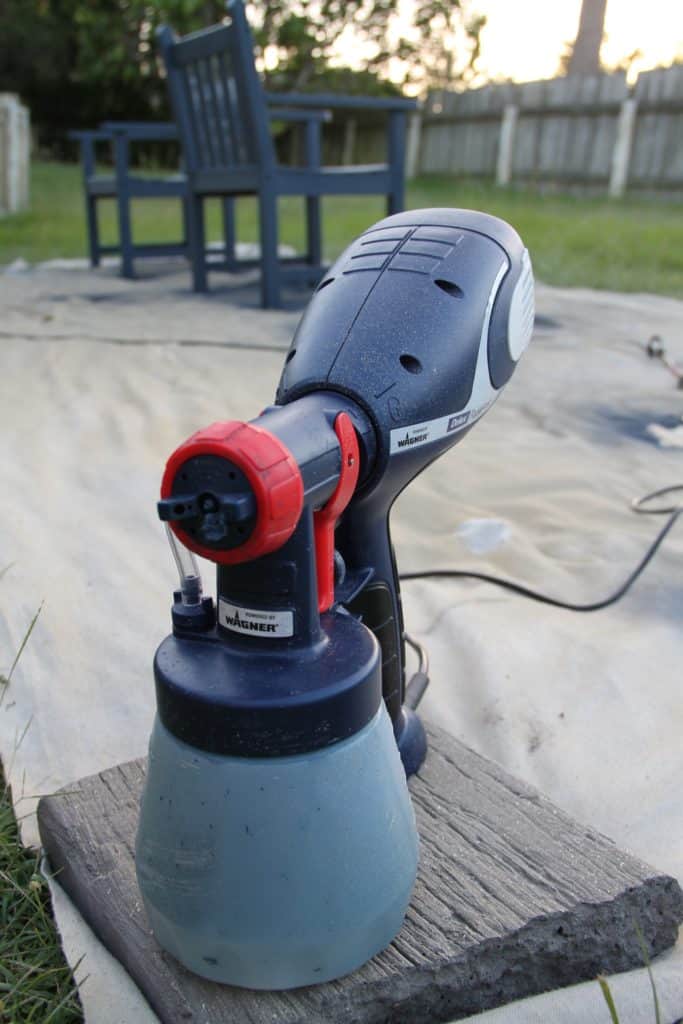 And here is the finished result:
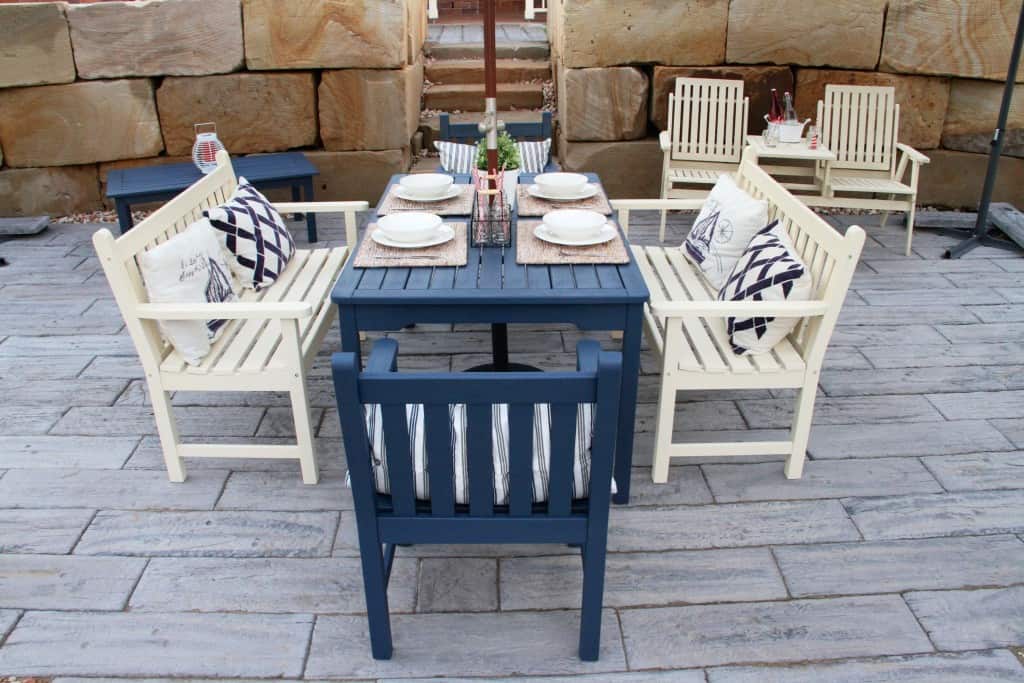
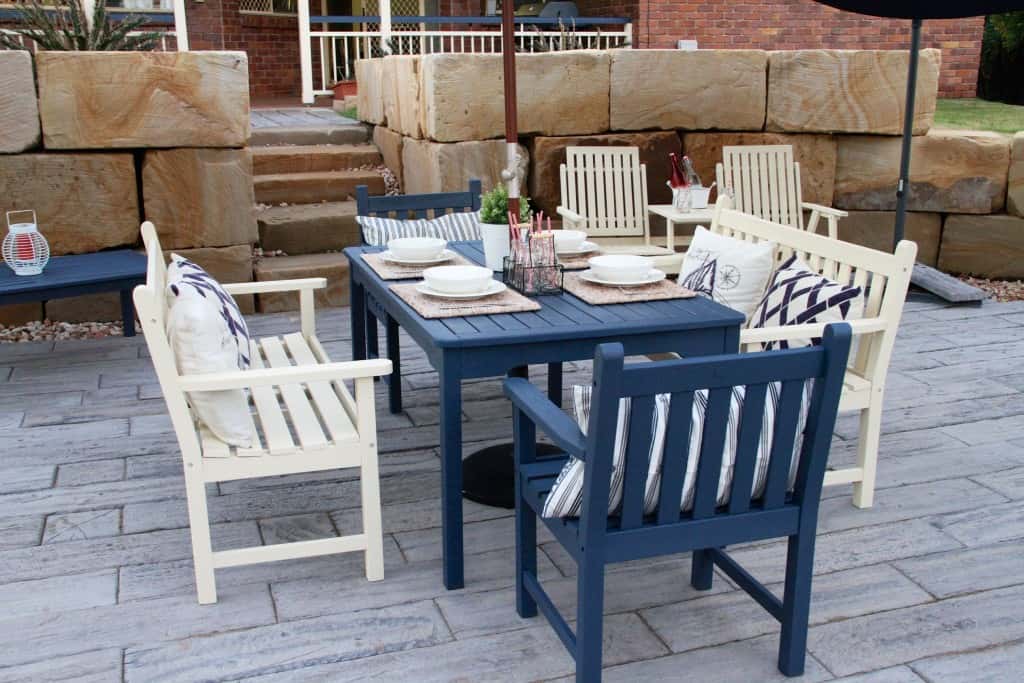
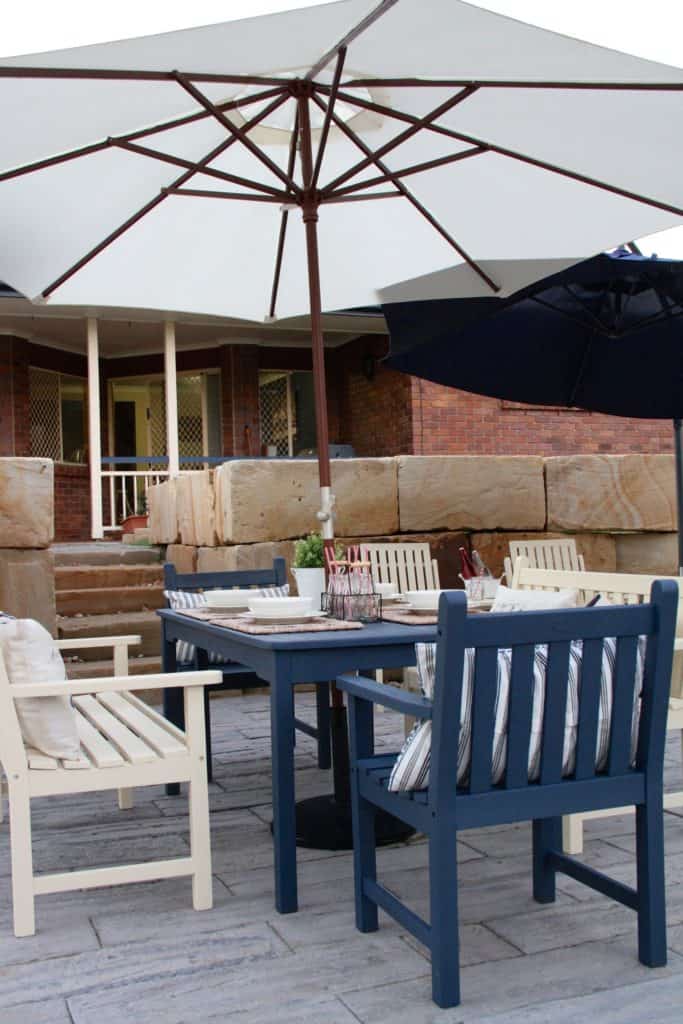
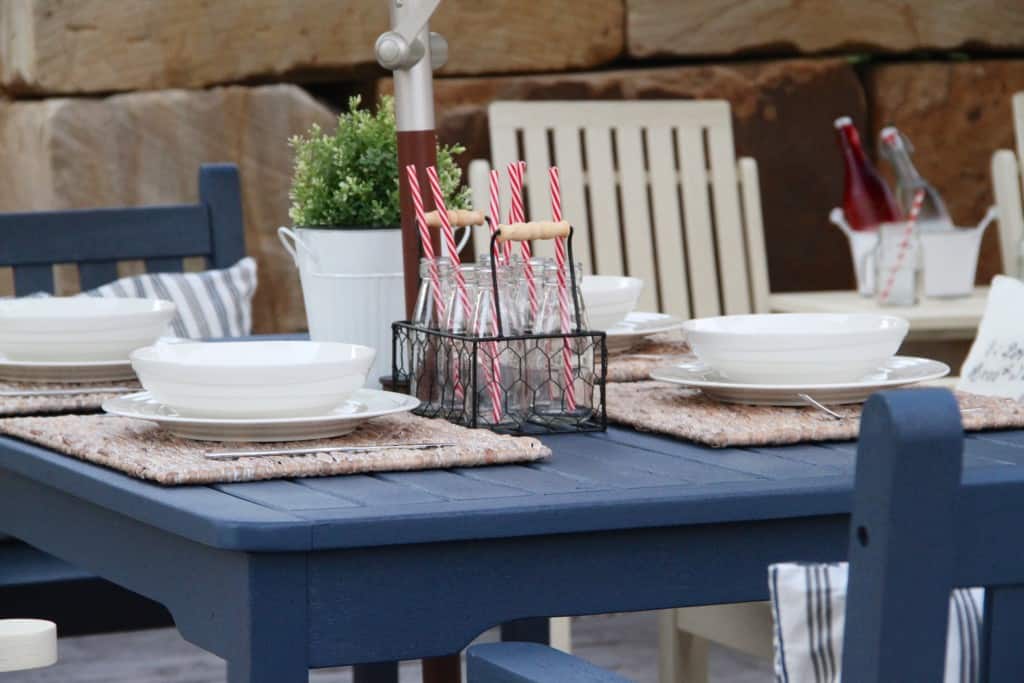
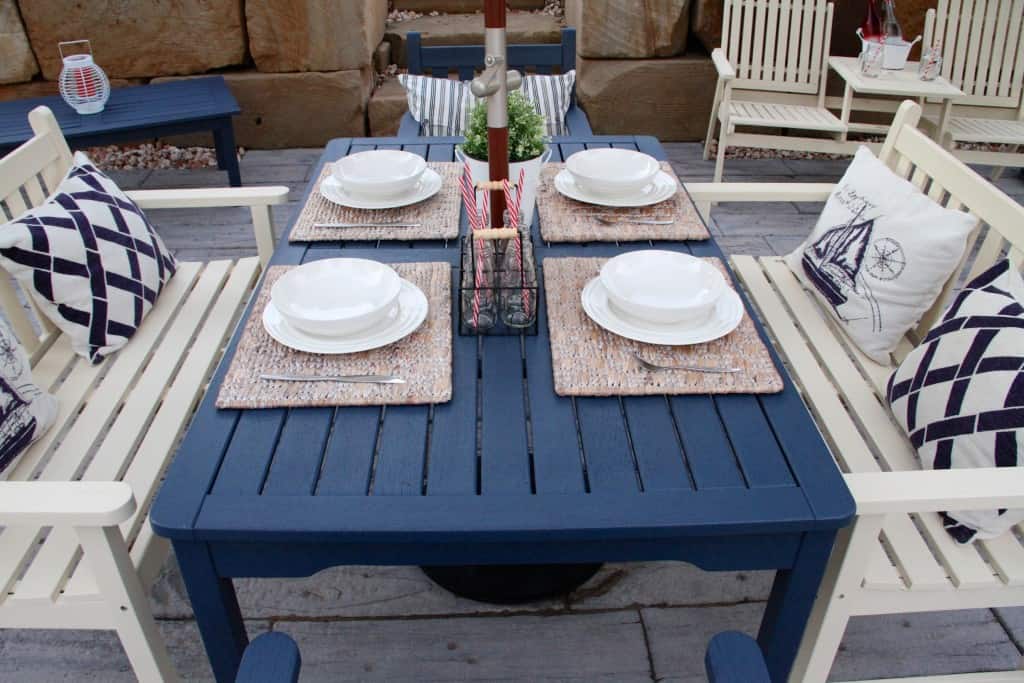
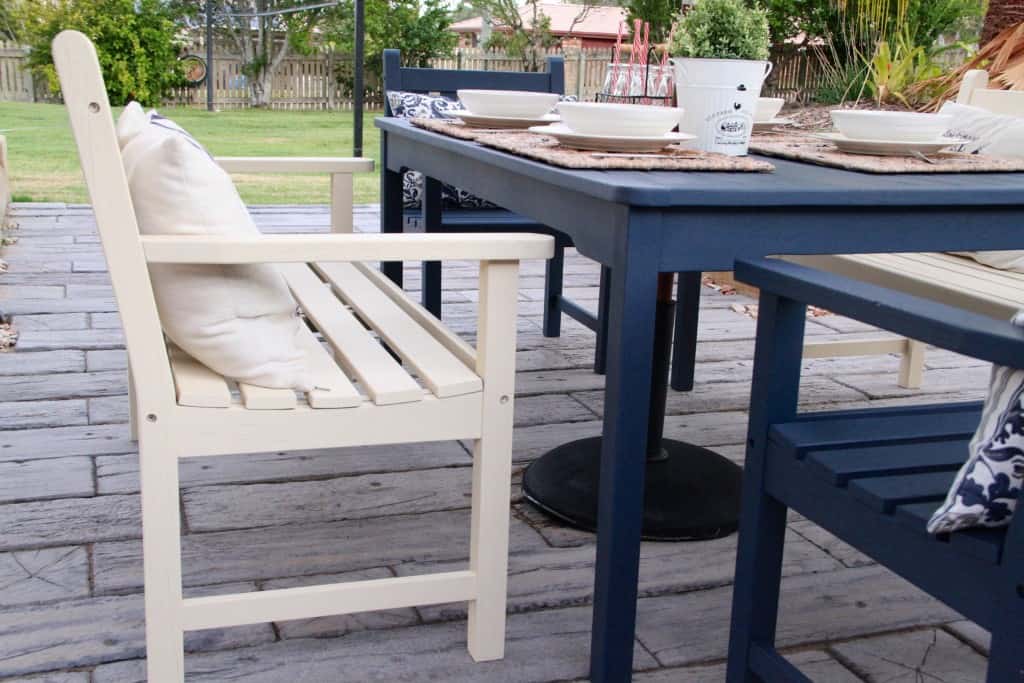
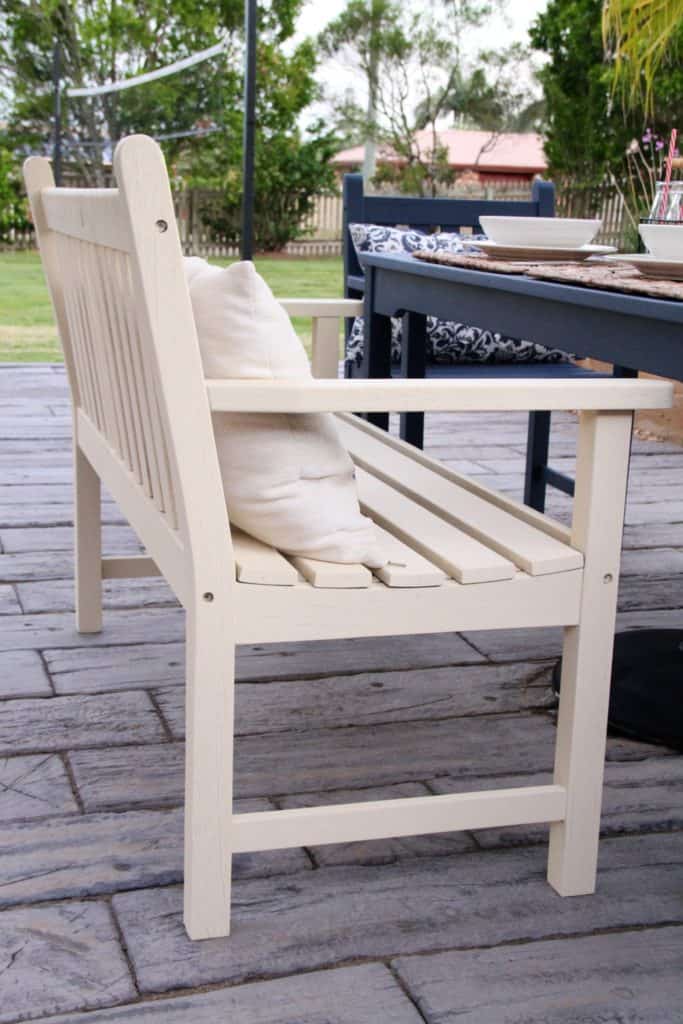
 We’re happy with our new backyard renovations and so glad we have a great place to entertain and host guests.
Don’t forget to book in to one of our workshops if you’re a local (Brisbane/Logan). We are adding more to the schedule each month.
Have a great weekend everyone and don’t forget to send us pictures of your painted pieces. I’d love to see what you’re up to!
Sharon.
This is not a sponsored post. I was gifted a Rapid Finish Spray pack and tins of Dulux Rapid Finish Paint to review their product in a blog post. All opinions are my own and as a blogger I like to give my readers honest and open feedback on products that I receive for review.