
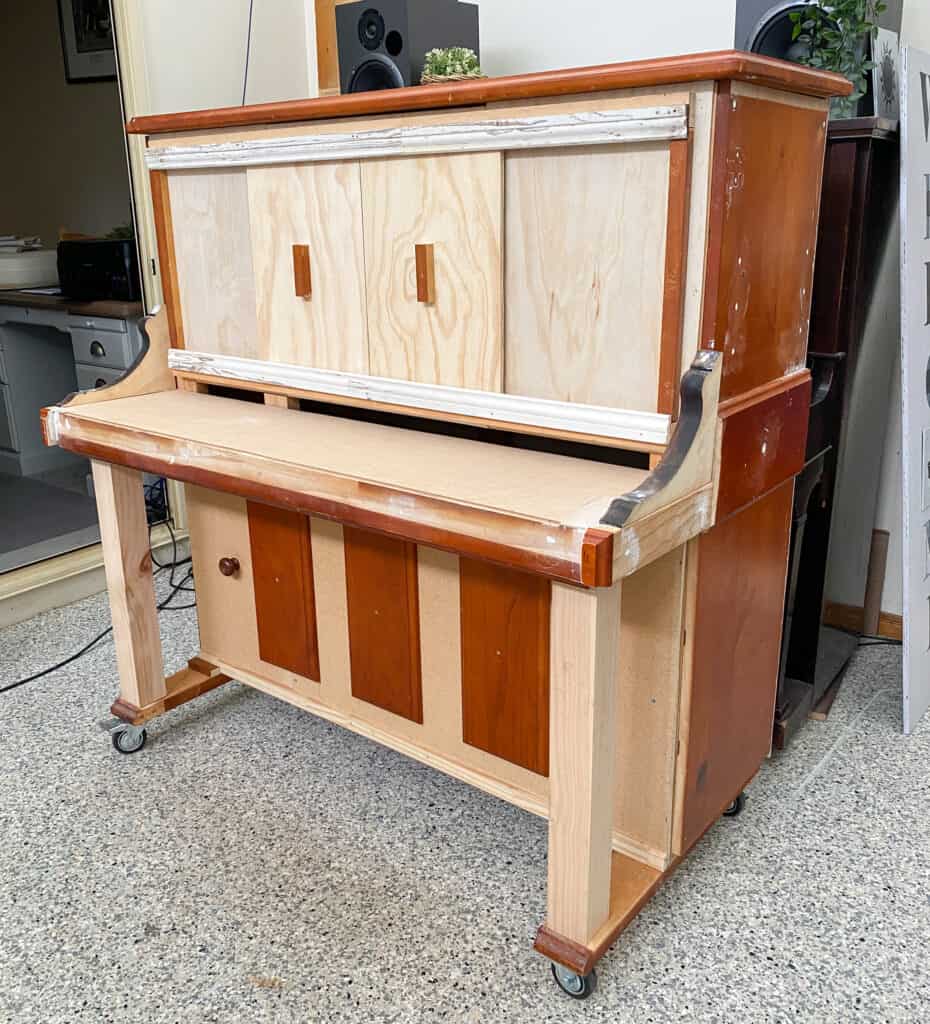
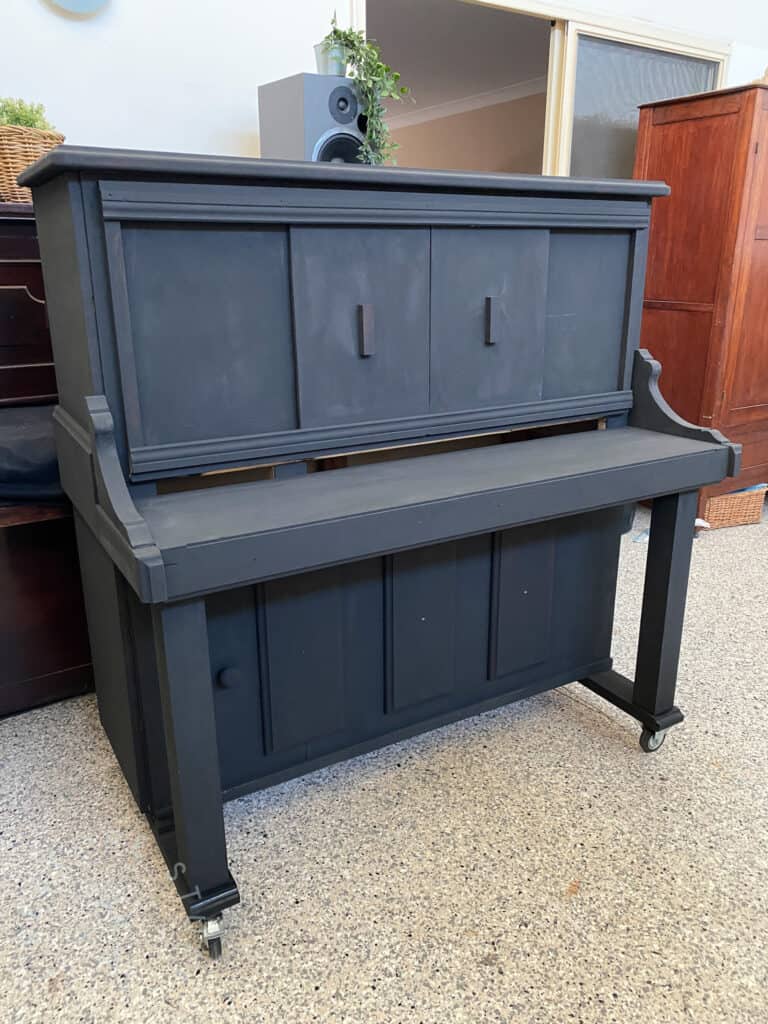
Piano prop before:
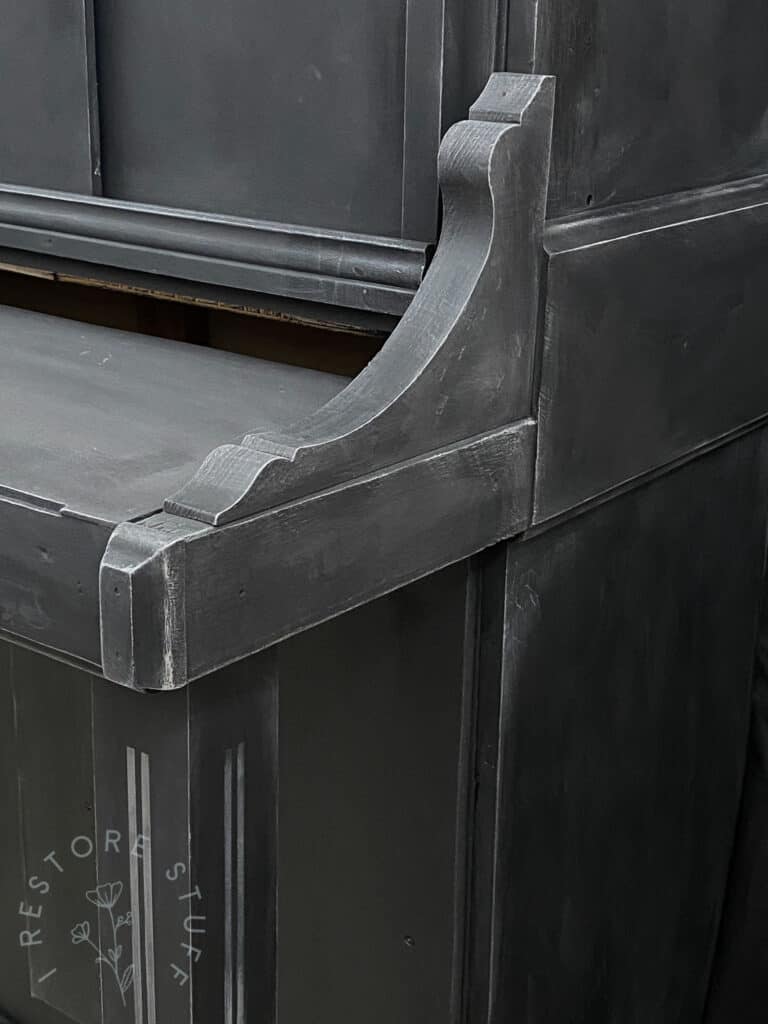
When Bethany, Director of Alabaster Theatre, contacted me to see if I would paint a piano prop for their upcoming musical, I wasn’t prepared for what showed up at my studio. Bethany’s Dad took an old TV cabinet, pulled it apart and added a few extra bits and pieces to come up with this masterpiece of a prop, ready to sit an electric keyboard on. See how he used the old drawer fronts across the panel underneath? And the corbel shelf brackets on the sides from our local hardware store for added effect. So clever.
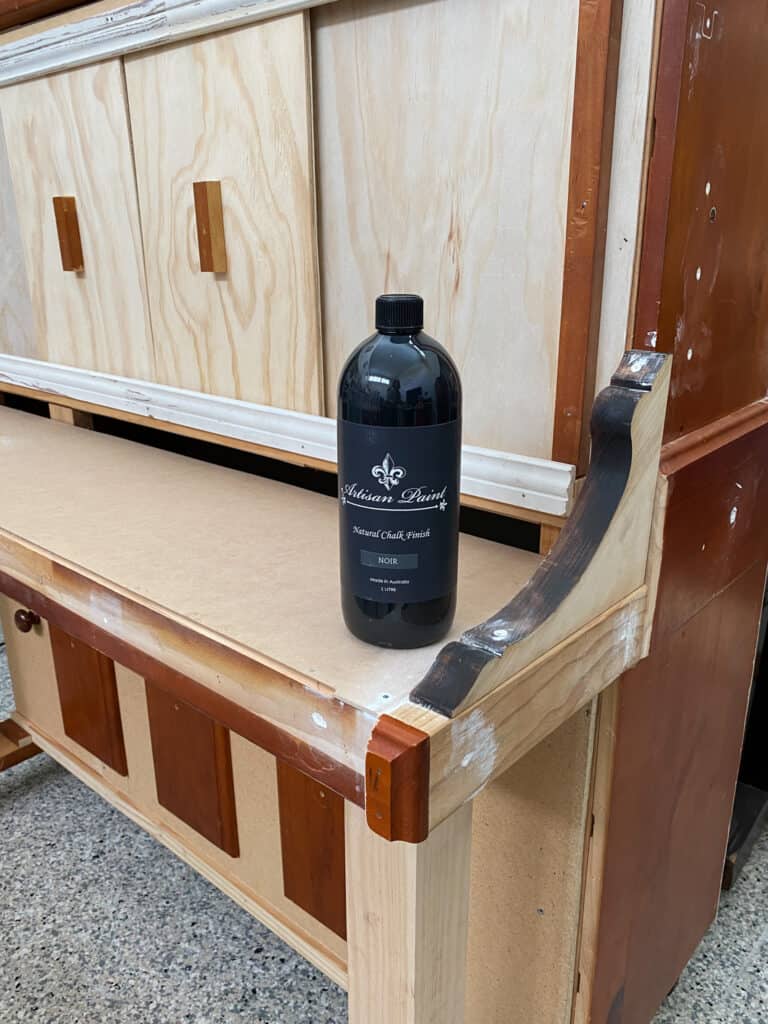
Bethany wanted a classic black aged piano look, so I decided to use Artisan’s natural Chalk Finish in the colour Noir – a natural charcoal black.
My mum was visiting this day, and she loves to help when she can, so I put her to work painting our first coat on the faux piano prop. As you can see, just one coat covered really well. However, I always like to touch up with a second coat, to be sure every area is covered properly for best, longer lasting results.
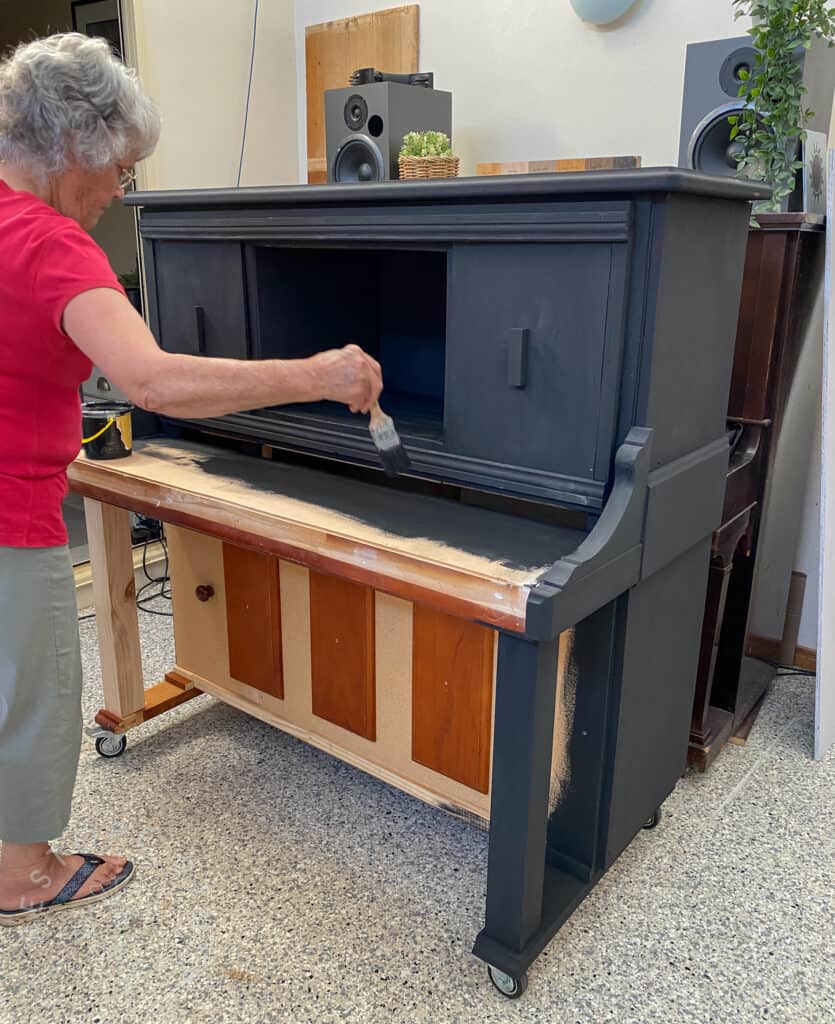
Here’s our first coat. When using any chalk paints, you can expect the finish to dry fairly chalky. Chalk paints require a sealer of some kind to finish. But I wanted to add some effects first.
Adding Effects to the Piano Prop
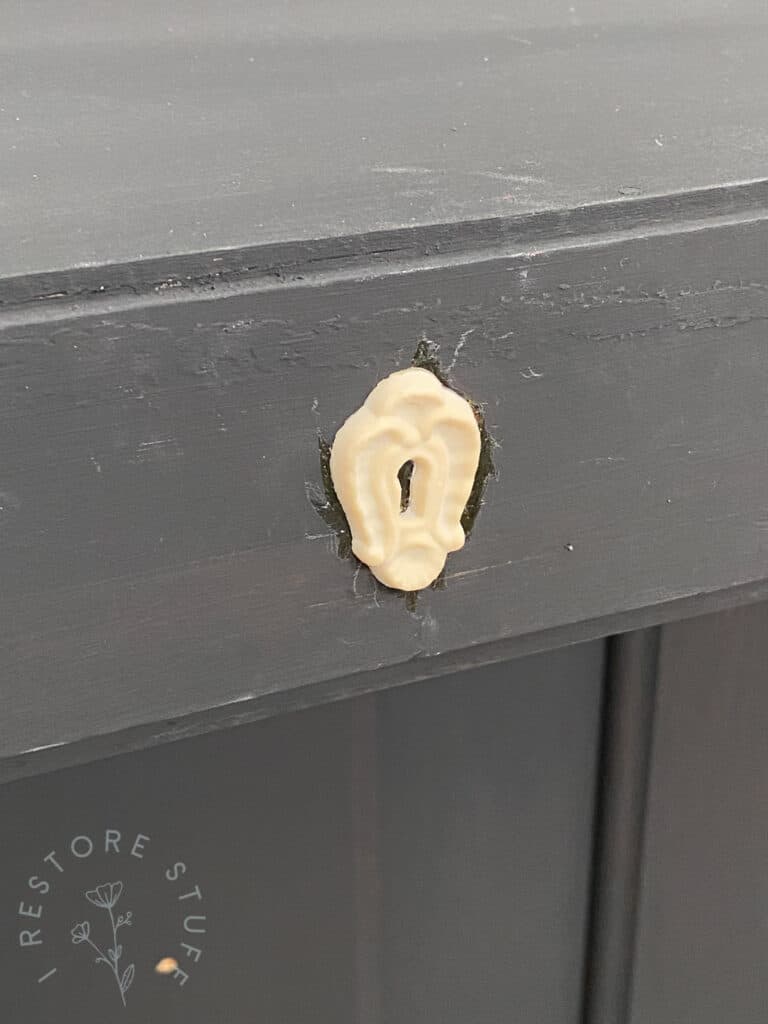
I added this small escuchen applique from Effex for a bit of detail to the front, even though it likely wouldn’t be seen from stage in reality. I just love the extra fun details. You can see my “Piano Prop” highlight on my Instagram profile for so many more behind the scenes including how I applied this.
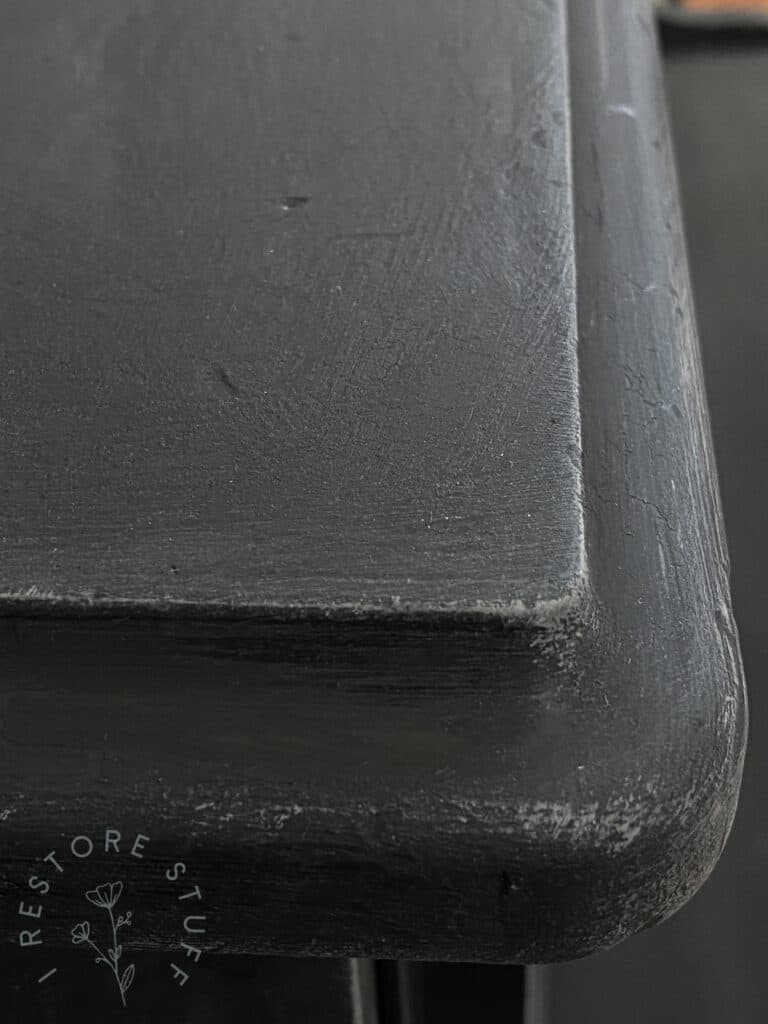
I then added some of Artisan’s Instant Age to create a crackle effect on random places on the piano for some classic aging.
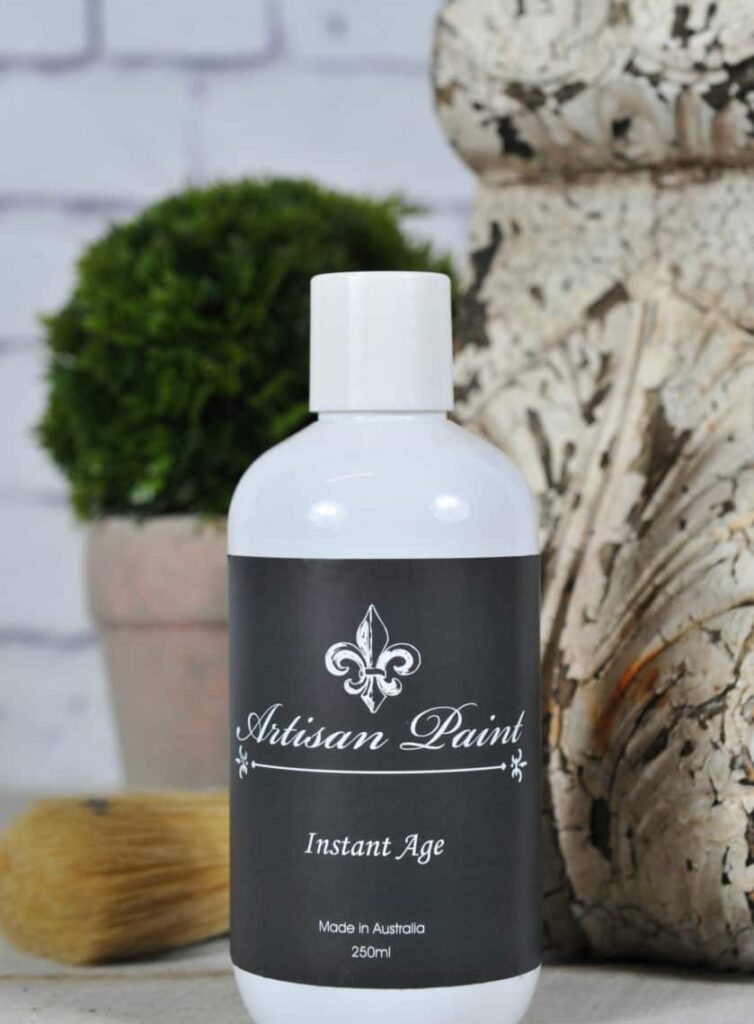
Artisan Instant Age – 250ml Crackle Medium
Artisan Instant Age is a liquid crackle medium, specifically formulated to replicate the aged, cracked and weathered look of antique pieces.
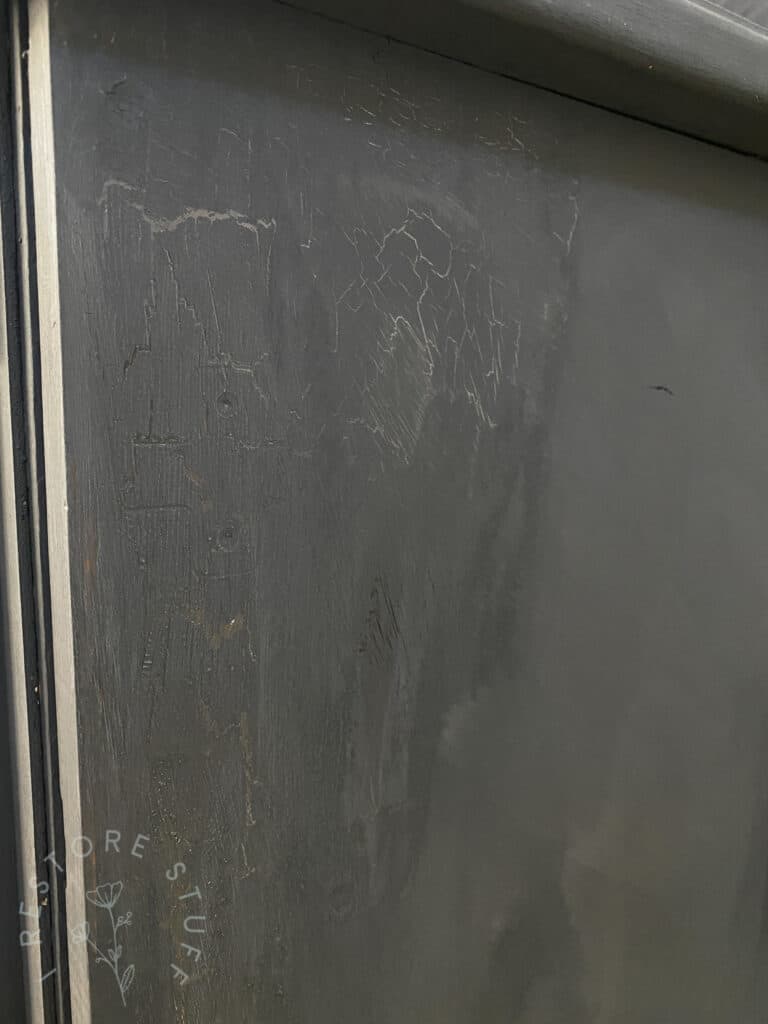
Here’s how the Instant Age turned out on the side of the piano, adding the crackle effect. This was taken before any finish or wax was added.
Grain sack stripes create faux grooves
On the front of each leg, I added some simple grain sack type stripes. This creates the appearance of grooves that might appear on some pianos.

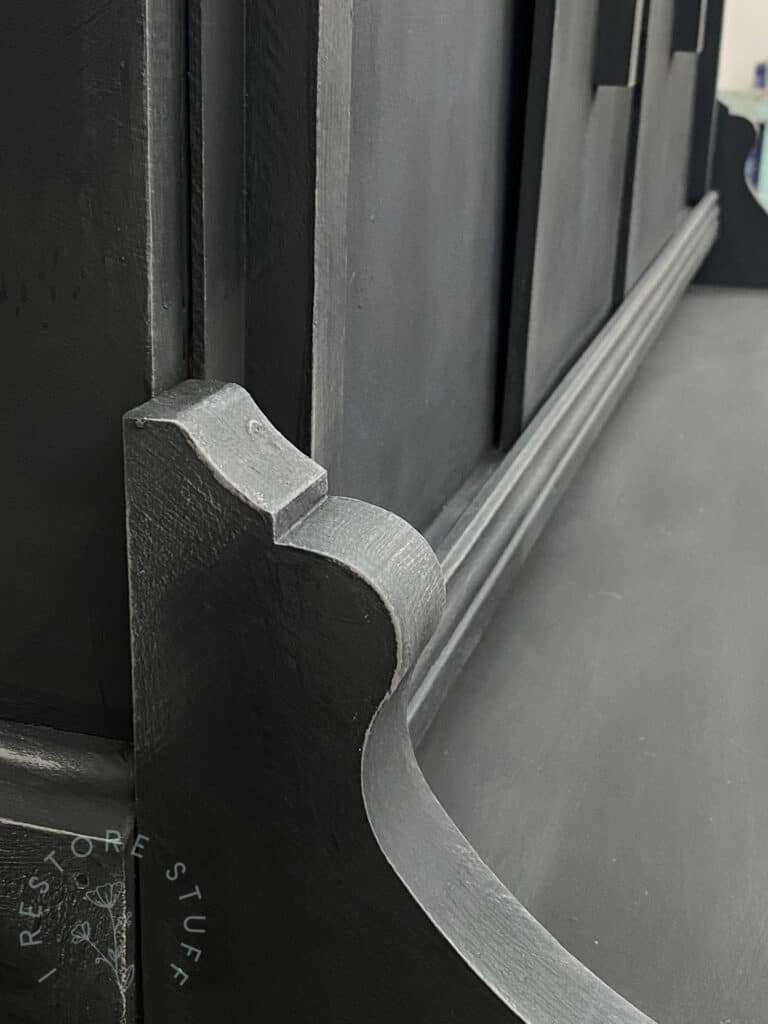
Dry brush effect to highlight edges
The last step I took was adding a little dry brushing with Artisan chalk paint colour, Slate (dark grey). I took my Cling On Brush, dipped just the tips into the Slate colour, then wiped off excess on side of jar. I brushed out even more excess paint on a piece of paper until my brush was just about “dry”. Then lightly at first, I drag the brush across the edges of the piano parts creating a highlight on the edges. You can add more pressure if you want to see more highlighting. Again, you can view my Instagram highlight called “Piano Prop” for stories on how I did this.
I love the aged, textured look you can create with chalk paints. Artisan Paint Company has nailed their formula to allow for both this more textured look (below) and a smooth modern finish (by adding a touch of water to thin the chalk paint). You can see more of the Slate colour highlights I used the dry brushing technique for below.
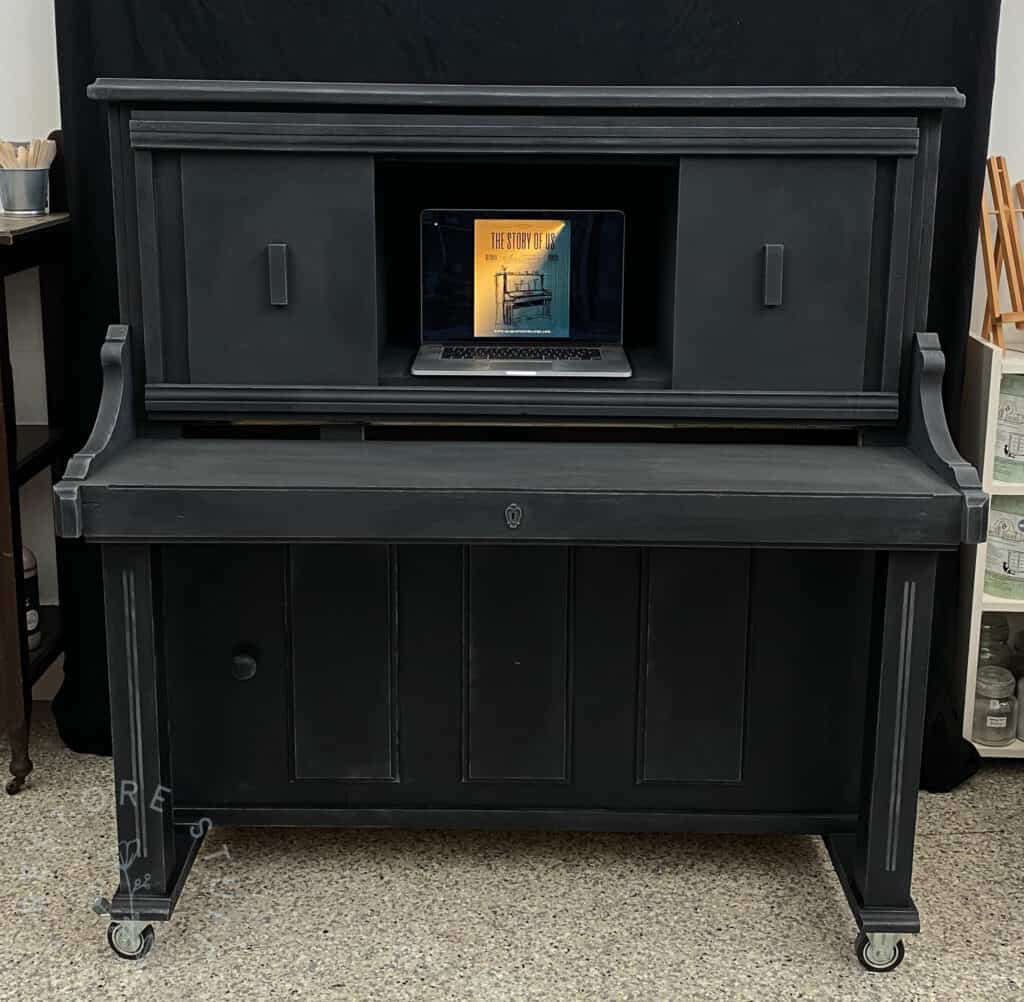
Piano Prop finished
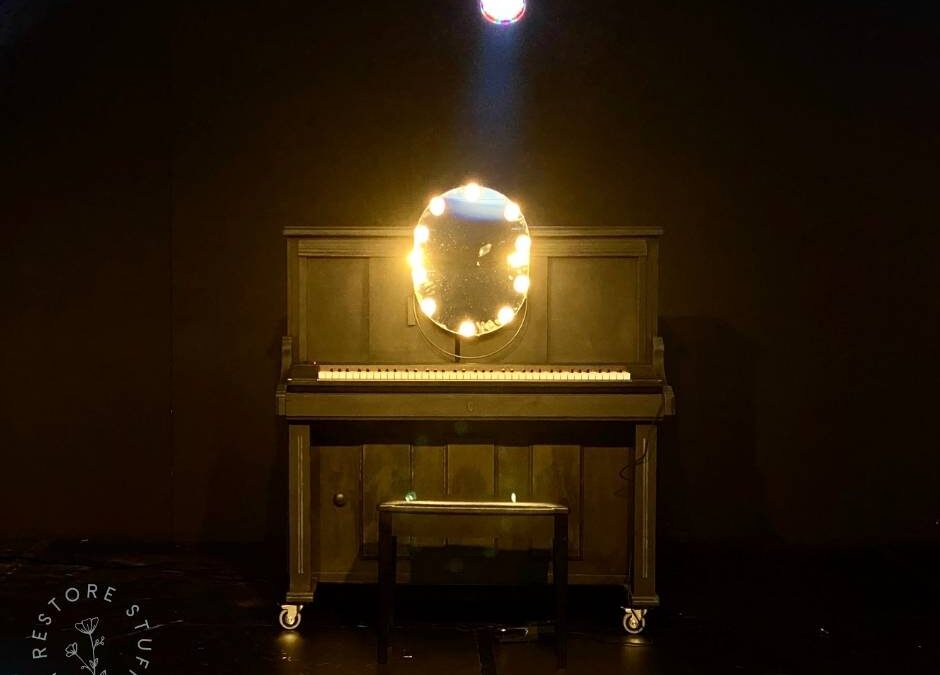
Finished piano prop below ready for a keyboard to sit on the flat surface where the keys would go. The front doors slide open to reveal a little cubby. A laptop or iPad can sit here to enable more capabilities for a keyboard player to create all the fun sounds they make!
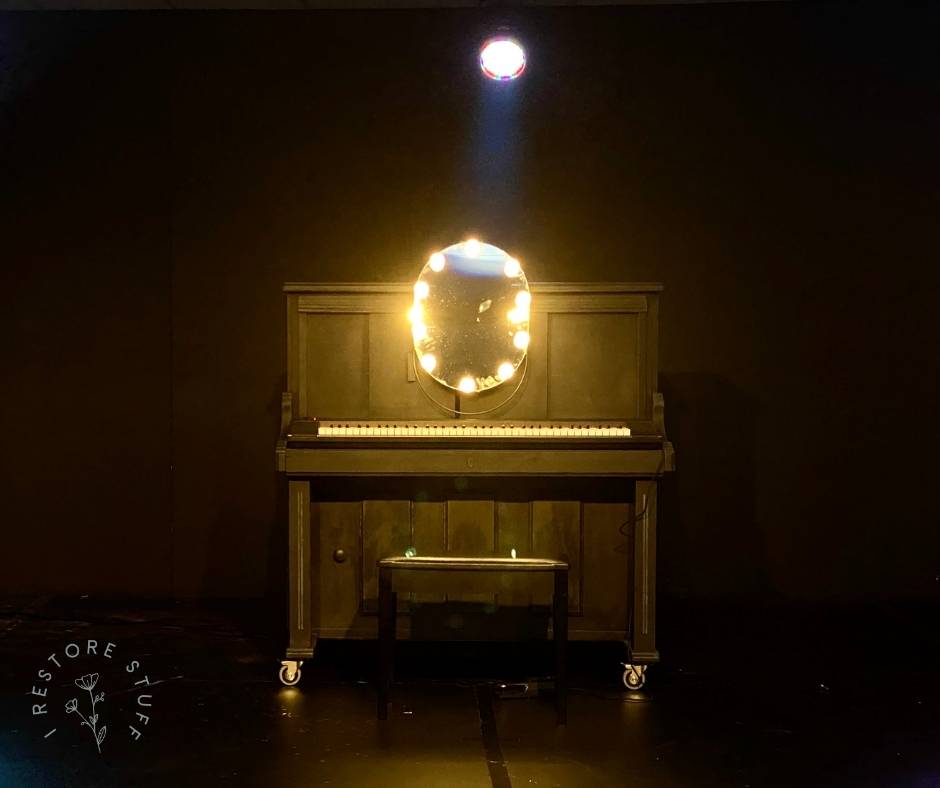
I had the privilege of going to see Alabaster‘s musical performance, “The Story of Us” telling the story of 10 years of their company. Here’s the piano prop under the stage lights with the keyboard in place and a mirror added as a prop needed for the act. That was a fun project to work on and I’d like to thank Artisan Paint Company for supplying the products and supporting local theatre in this way!
If you’re keen to paint a real piano (or a fake one), I do have another post where I painted a piano for a client in Miss Mustard Seed’s Milk Paint in the colour, Eulalie’s Sky. Read about that makeover HERE.