
Up-cycling is always a great, budget friendly solution to changing up your furniture.
An Up-cycle Challenge was put out by Essential Stencil (for which I am an ambassador), and I was keen to find something from around our house to upcycle and join in the fun. I love to inspire others with my upcycled furniture and decor. I love to be able to challenge others to think outside the box when it comes to changing up their existing home furnishings. Ask yourself, “Is there something I can paint or refinish, instead of purchasing the item new?”
The bookshelf I’m showing you was well used over the years in various rooms of our house – it held toys for the kids when they were little, books in a bedroom as they grew older, and lastly, it made its way to my workshop to hold painting supplies.
It was now definitely time for this bookshelf to have a makeover.
Prepping your piece
Here’s our Cavoodle puppy, Olive (you may have seen her on my FB or Instagram stories). She’s helping to make sure I prep this piece properly.
Here are the steps I took:
- Clean with Fusion’s TSP Alternative or Easy Scrub. (North American readers can get this TSP here.)
- Scuff sand the entire surface to key the existing surface for better adhesion of paint. I used my Makita Random Orbital Sander for this with a 180 grit sandpaper attachment.
- Wipe down the surface with damp cloth to remove sanding dust.
Now we’re ready to paint!


Difference between one coat and two coats
I started out deciding to paint the entire bookshelf in Artisan Mineral Paint colour, Moleskin.
It was during this process of adding my first coat and starting on my second, that I thought I’d show you the difference between one coat and two.
Often this first coat is called the “ugly duckling” stage, looking streaky and horrible. Beginner painters may freak out, thinking they’ve ruined their piece.
No, this is normal for a first coat, no matter what colour. Some colours do cover better than others, depending on so many factors to do with pigments and more.
Look at the next pic below to see what happens when you add that 2nd coat.
The second coat – as seen on the very top shelf – is more solid and brings better coverage.
On some lighter colours and highly pigmented colours (like red and blue), you may find you’ll need more than two coats.
But just remember, that first coat is always going to look a little dodgy.
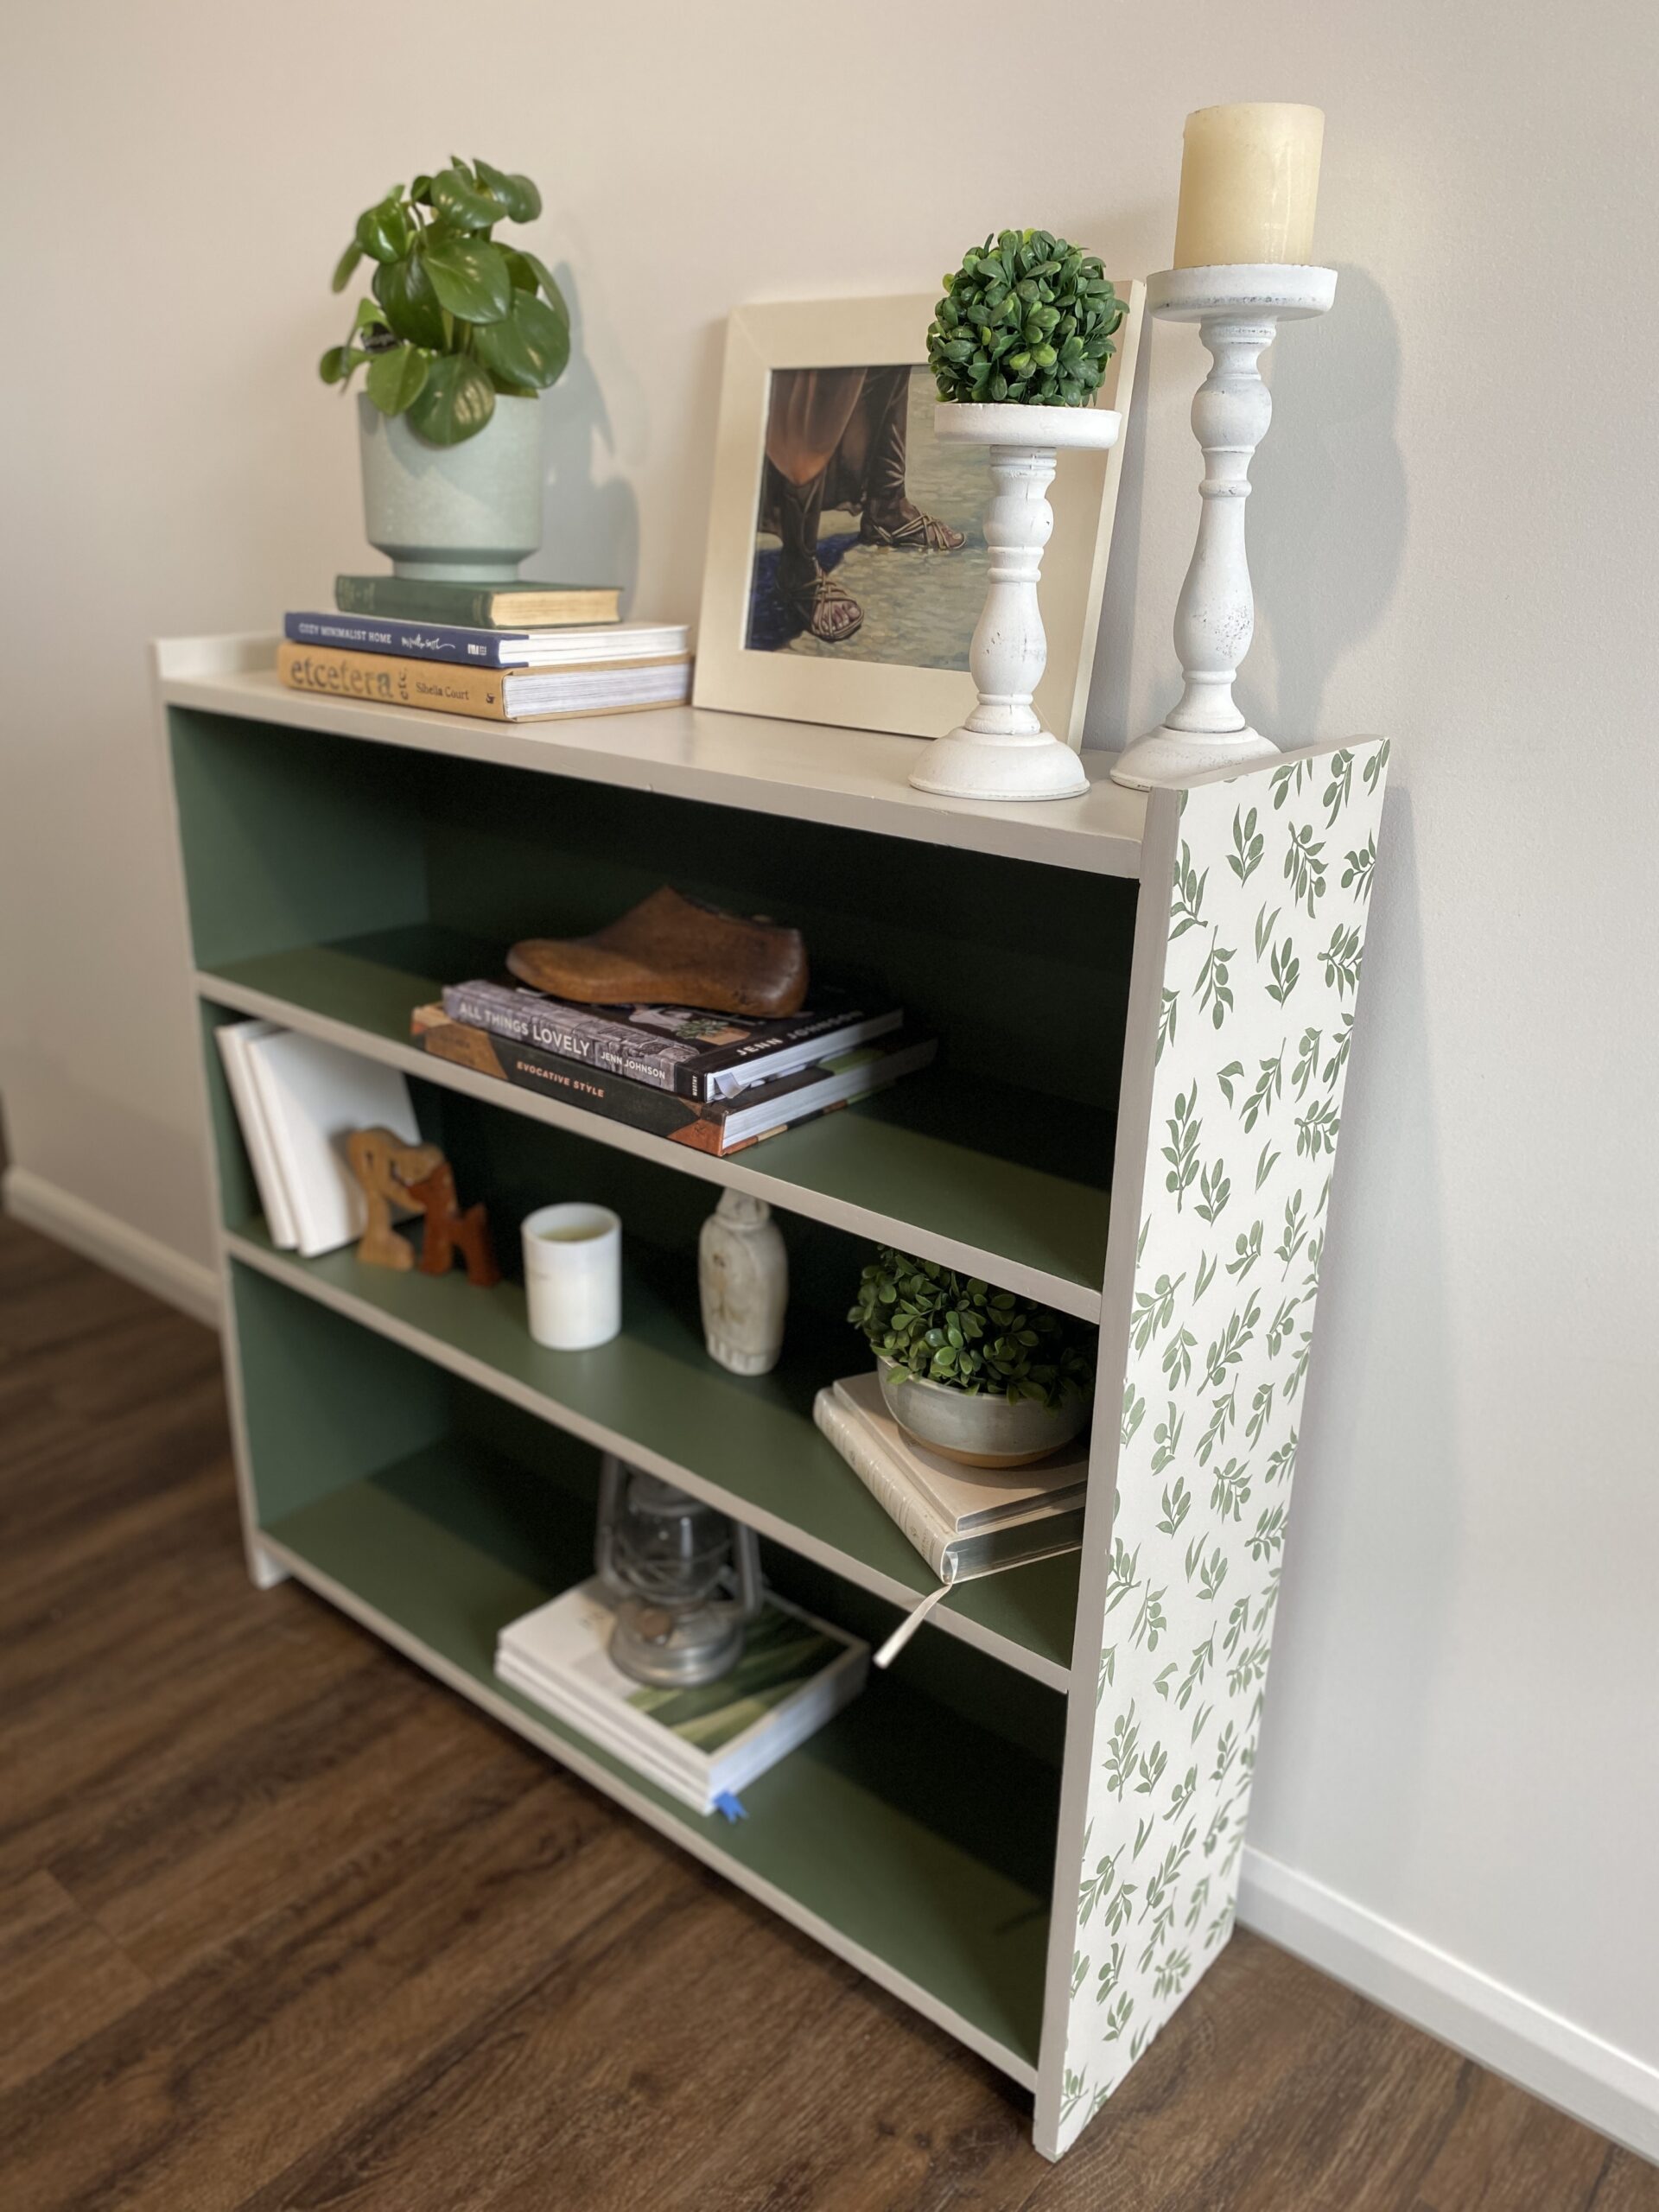
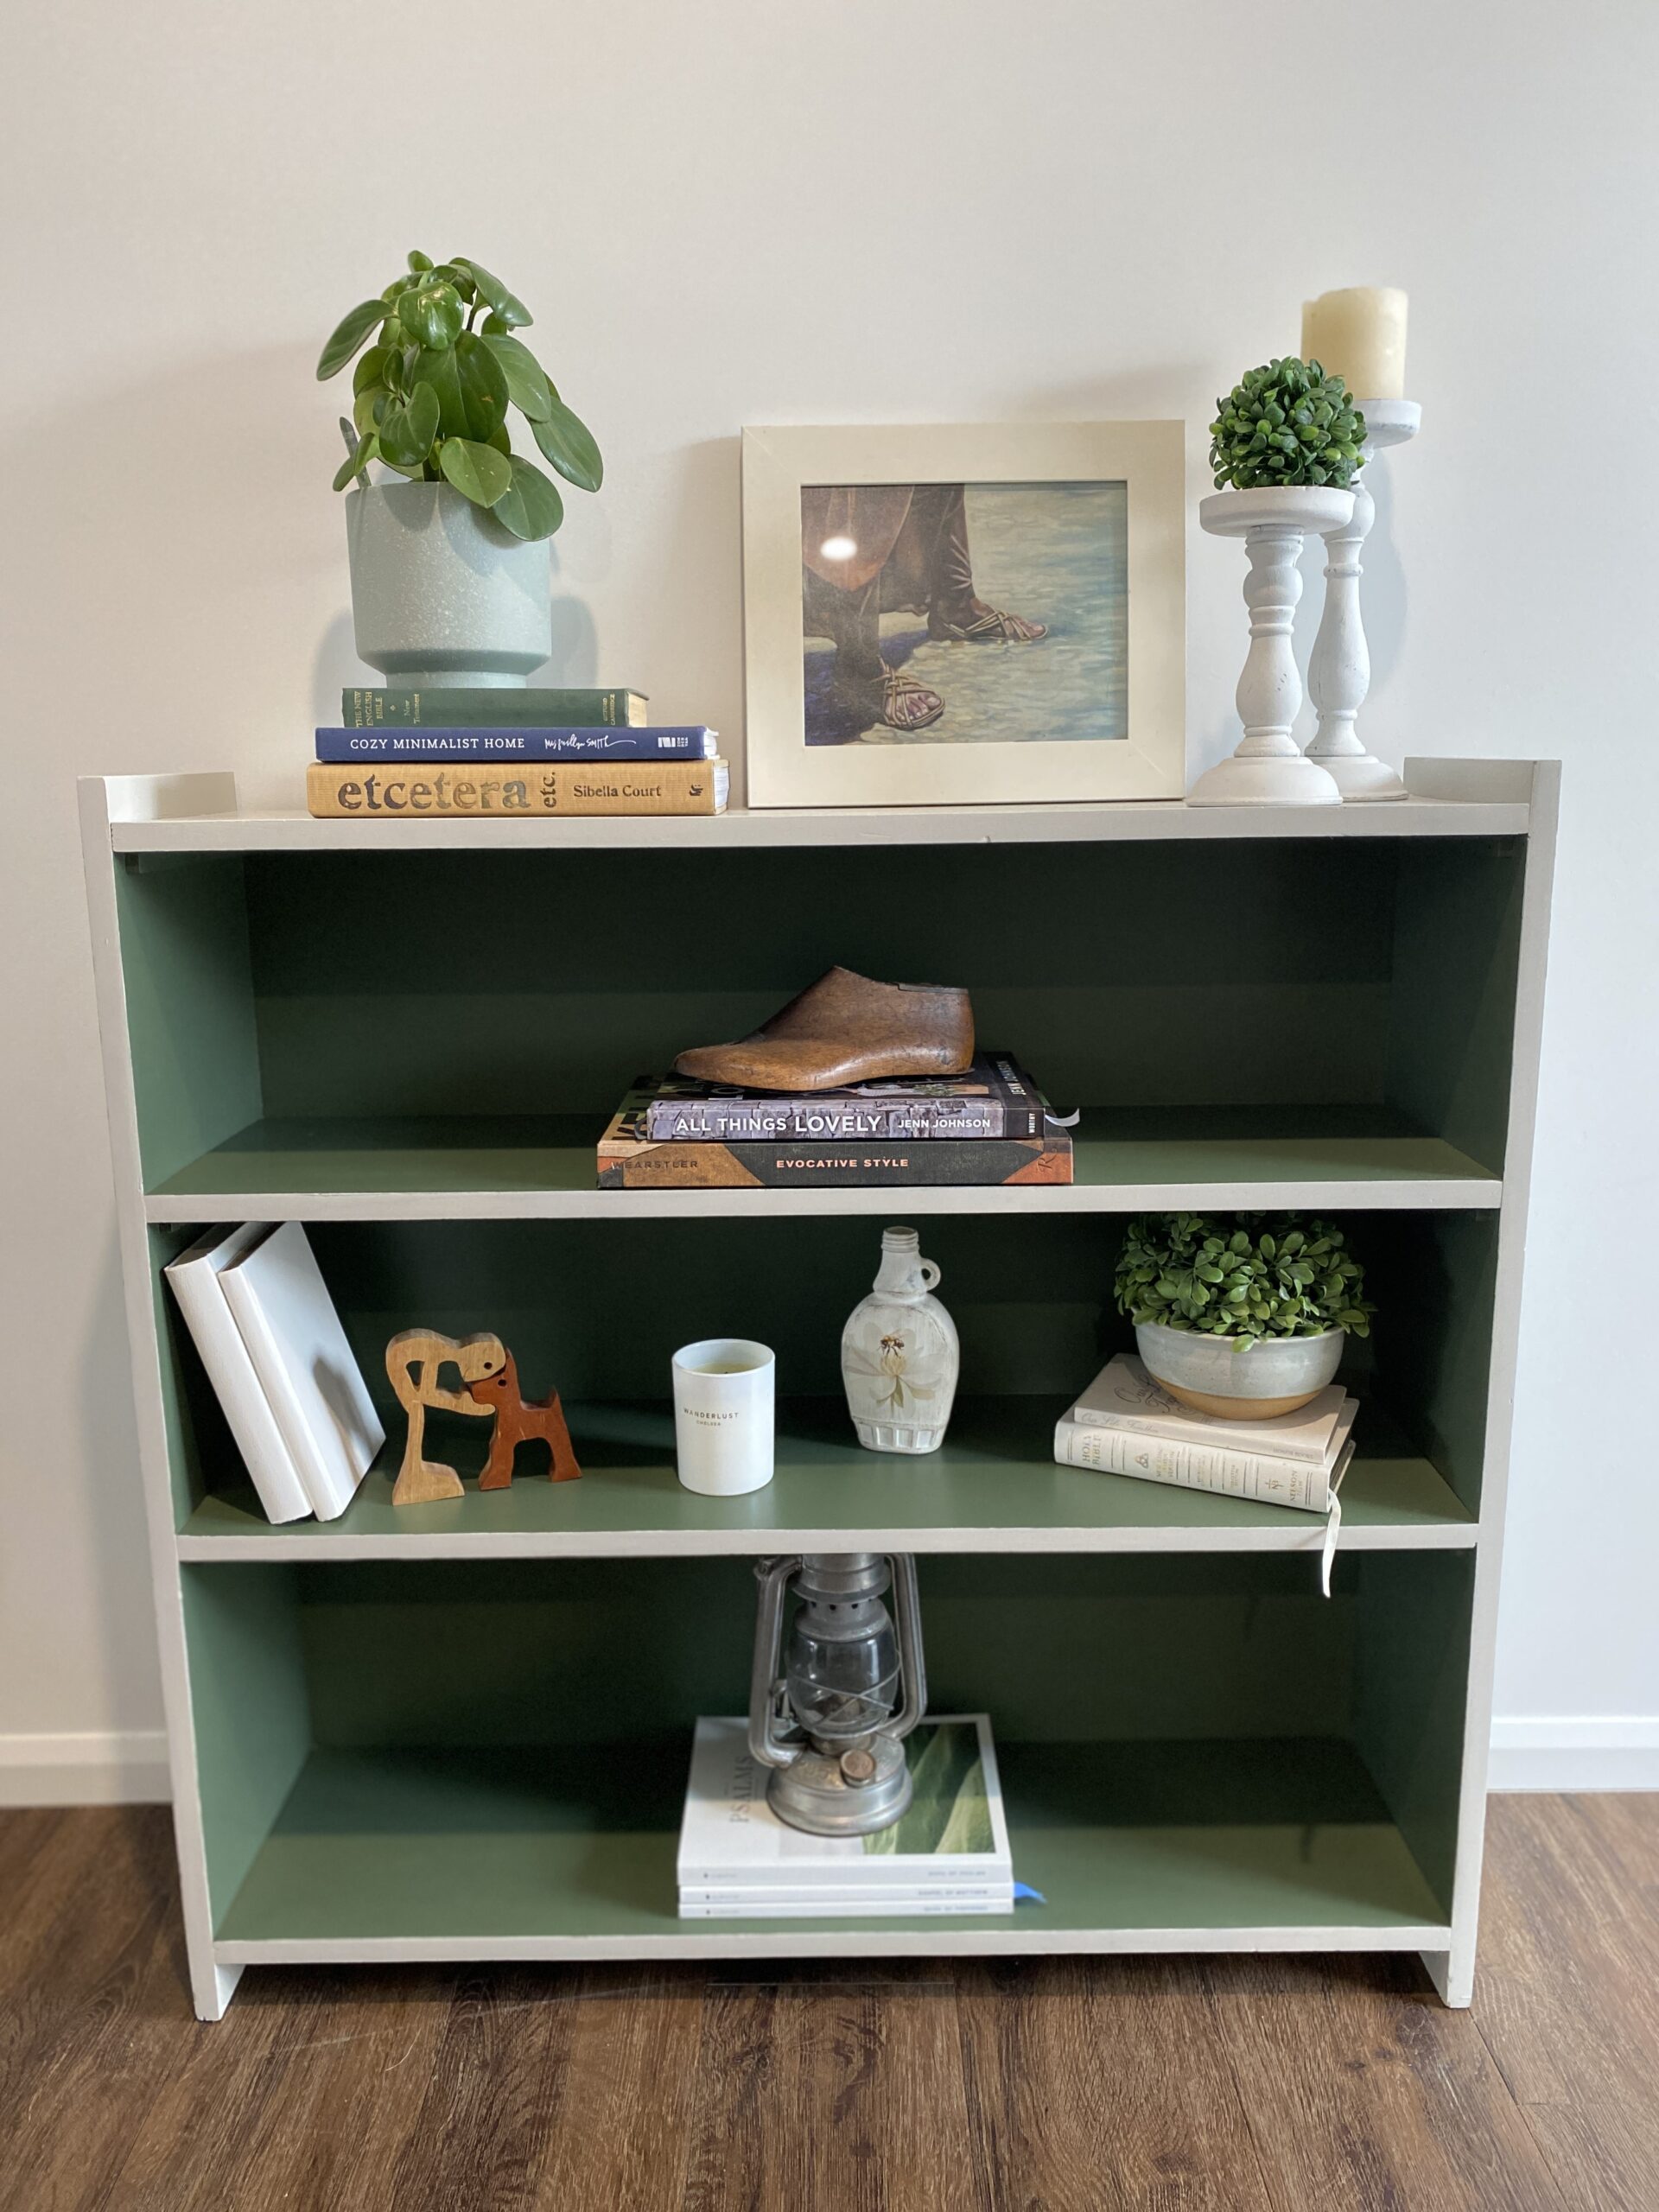
It was during this step that I thought this bookshelf needed a little something extra – some more colour. So I decided I’d add Artisan Cotswold Green to the inside of the shelves.
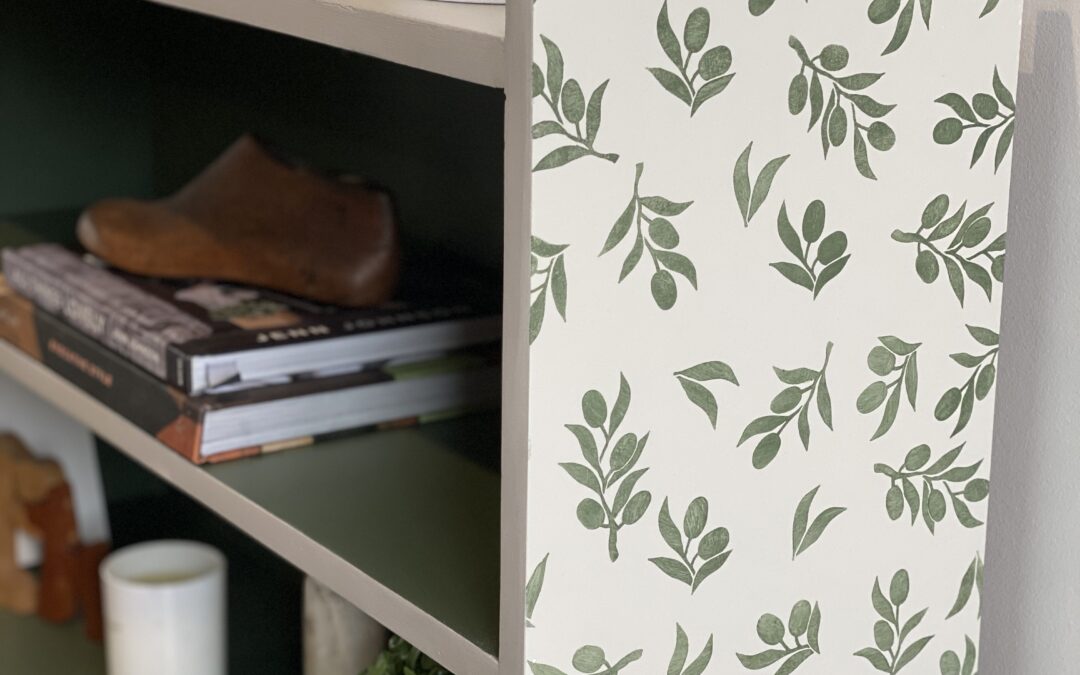
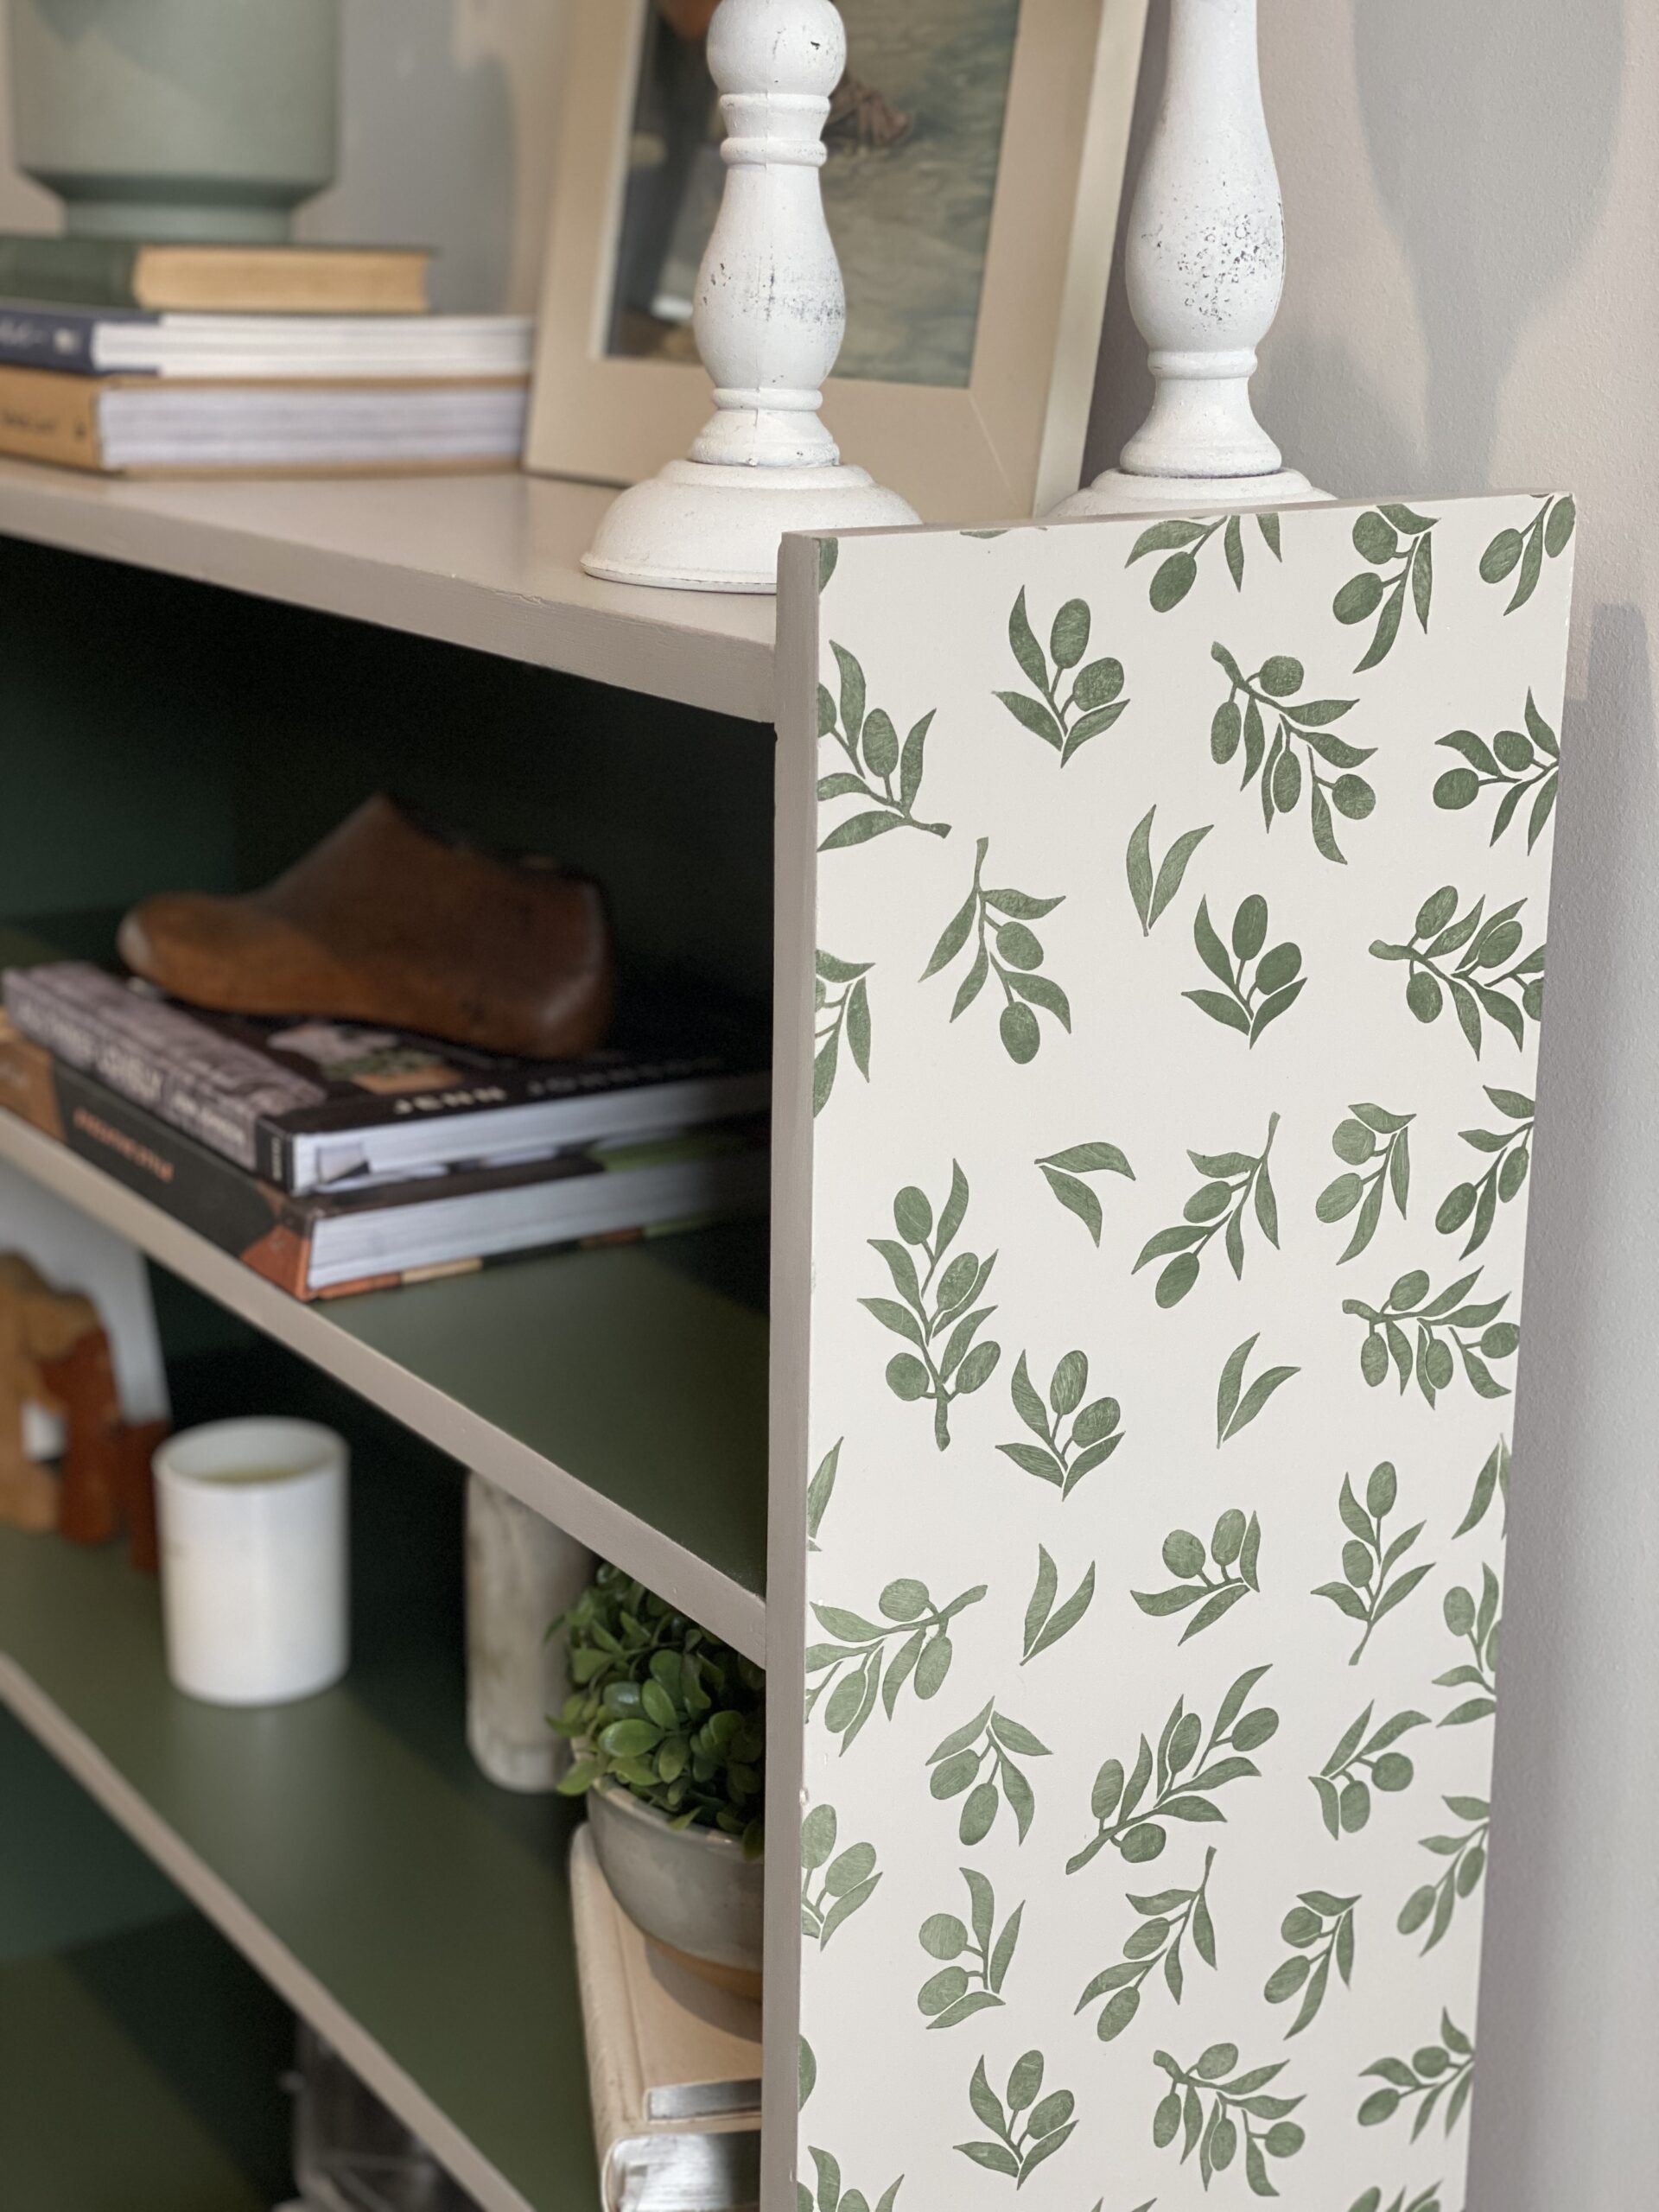
So in the video below, I’ll give a little demo, then a sped up version of me painting the insides, as well as stenciling a cute Olive Branch pattern on the sides.


Stenciling Furniture
Looking to add a touch of uniqueness and visual appeal to your furniture up-cycles? Consider stencils! Whether you want to add a pop of color or a beautiful pattern to your drawers, shelves, doors, or other surfaces, stencils can be a fantastic way to achieve the desired effect. With an array of options available, you can easily create a one-of-a-kind feature that will elevate the style of your furniture.
For this bookshelf, I used the Olive Branch pattern from Essential Stencil (USA shipping only). My ambassador code, IRESTORESTUFF will save you 10% on any of their stencils or transfers.
I hope you enjoyed this makeover, you can view more pictures of its final look in the gallery below by tapping right or left to see more.

Want more Stenciled furniture inspo?
Here are some other pieces of furniture I’ve used stencils on in the past:
- an argyle stencil on bedside drawers
- number stencils on stools for an industrial look
- rattan pattern stencil on small cupboard
Beautiful save!
Thanks Joyce.
Beautiful makeover! Love that color green! The puppy’s adorable! 😁
Thanks Sherri
From Portugal I send you my appreciation for your work and creativity, nice make over and love the green…
Oh thank you Maria! So lovely to have a comment from someone from all the way across the sea in Portugal. So glad you like it.
This is a great makeover. I have a bookshelf that needs to be updated. Great idea’s. I love the olive green that you used.
Thanks, Mona. There are so many fun options for painting bookshelves arent’ there?