 Antique Finds
It’s always fun when you find hidden treasures in vintage or antique furniture when you go to clean them up and paint or restore them.
Remember the time I found a stash of old newspaper clippings (from 1899), receipts and other things in the seats of these 200 year old chairs?!
Isn’t it crazy what upholstery was stuffed with in the early days alongside horse hair and other interesting bits and pieces?
Nanna’s Buffet
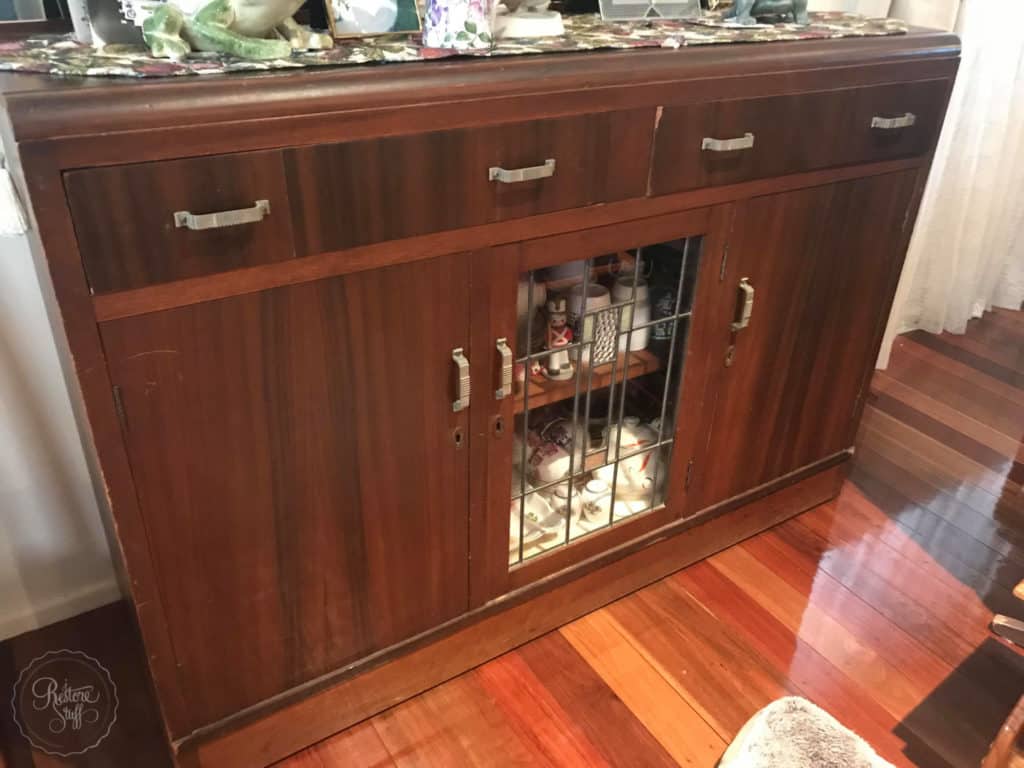
I have a friend who sent me this picture of her dear Nanna’s buffet that had been passed along to her. She wanted to know if I could paint it and give it a more updated look to go in their newly built home on acreage.
Emily wanted the top of the buffet to remain the same with the original wood finish, so the first thing I did was tested the finish on top to see what was on the surface.
Finding out About the Surface on Your Antique Pieces
If you’d like to know how to do this, I have a great 3 part blog post all about determining the finish on your antique or vintage pieces. They explain how to remove them and how to refinish them. Here are the links and you’ll find them extremely helpful, including free handy printables along with video tutorials.
- Wood Finishes Part 1 – Revealing Your Surface
- Wood Finishes Part 2 – Removing the Substrate (the original finish)
- Wood Finishes Part 3 – Refinishing Your Surface
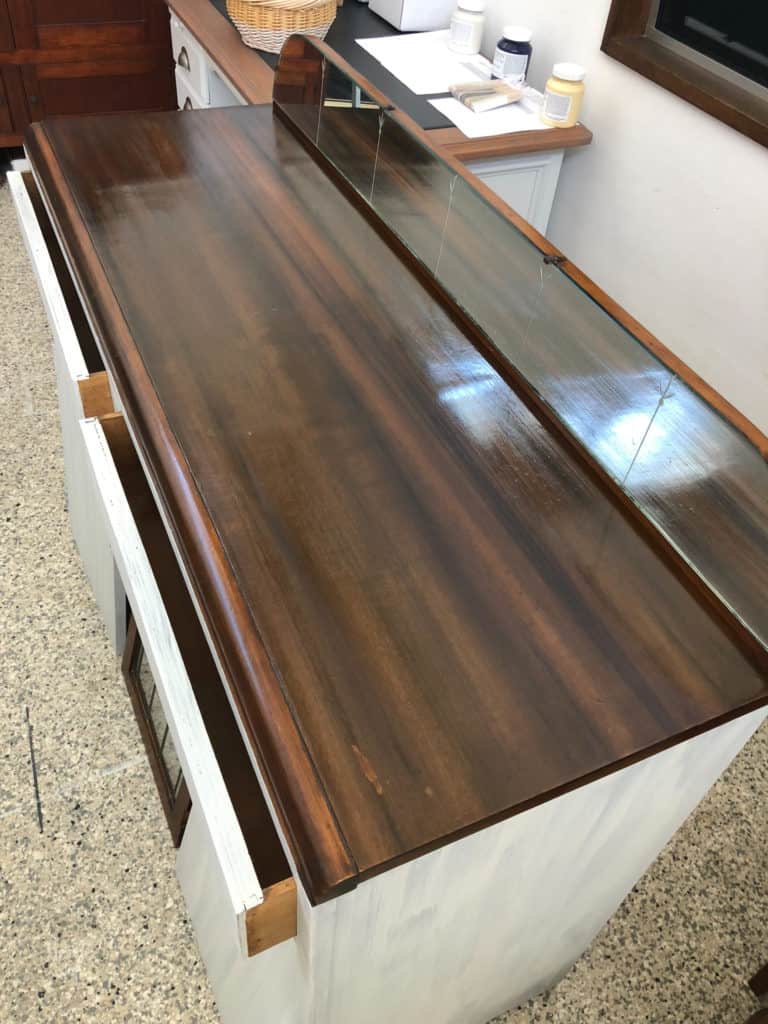
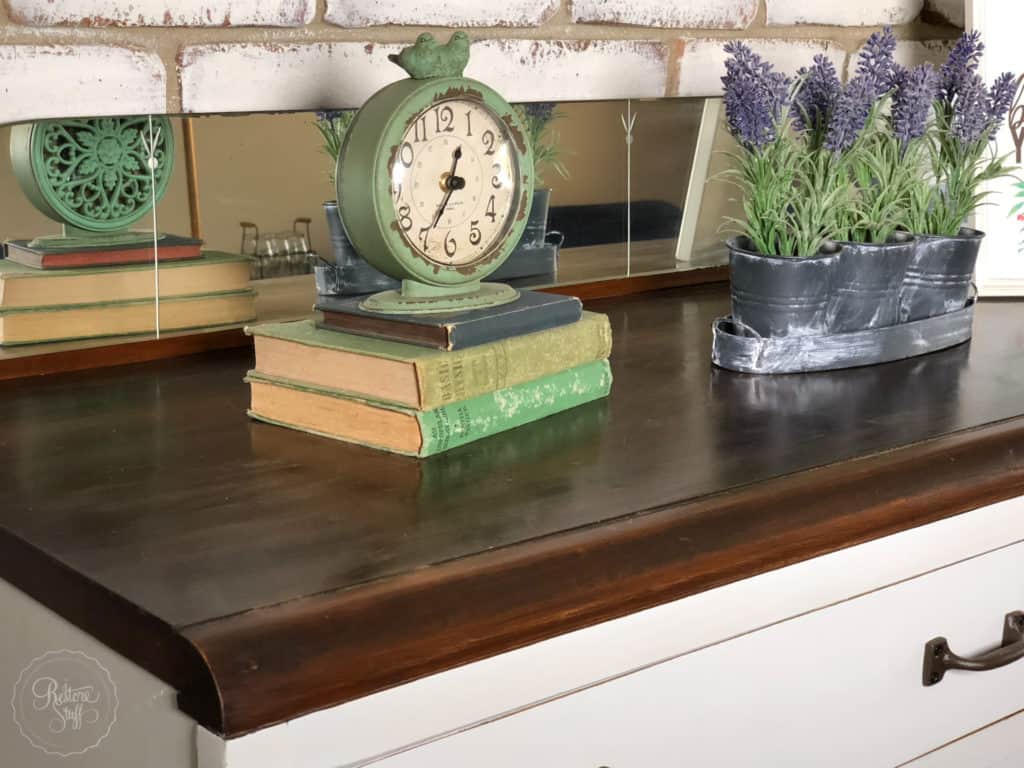
After following the steps in Part 1 above, I found that the surface was a shellac finish. So I followed some of the steps in part 2 (above), and instead of removing the shellac entirely, I blended any imperfections and scratches and basically repaired the surface – you’ll see this in action in the live video we did in part 2.
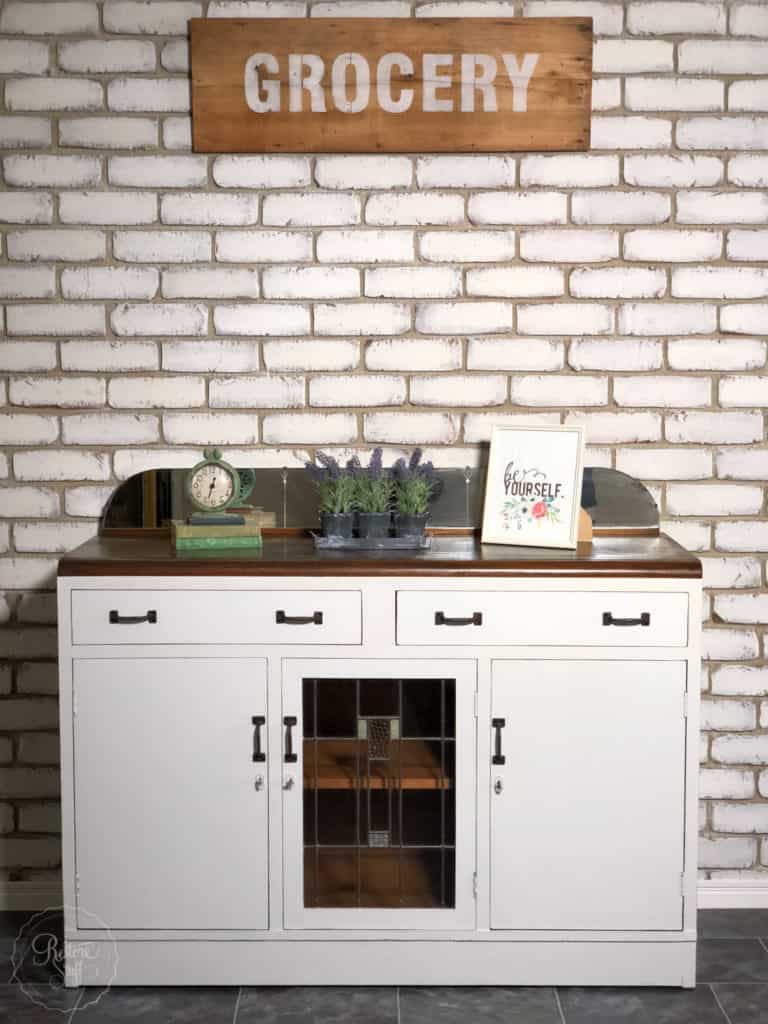
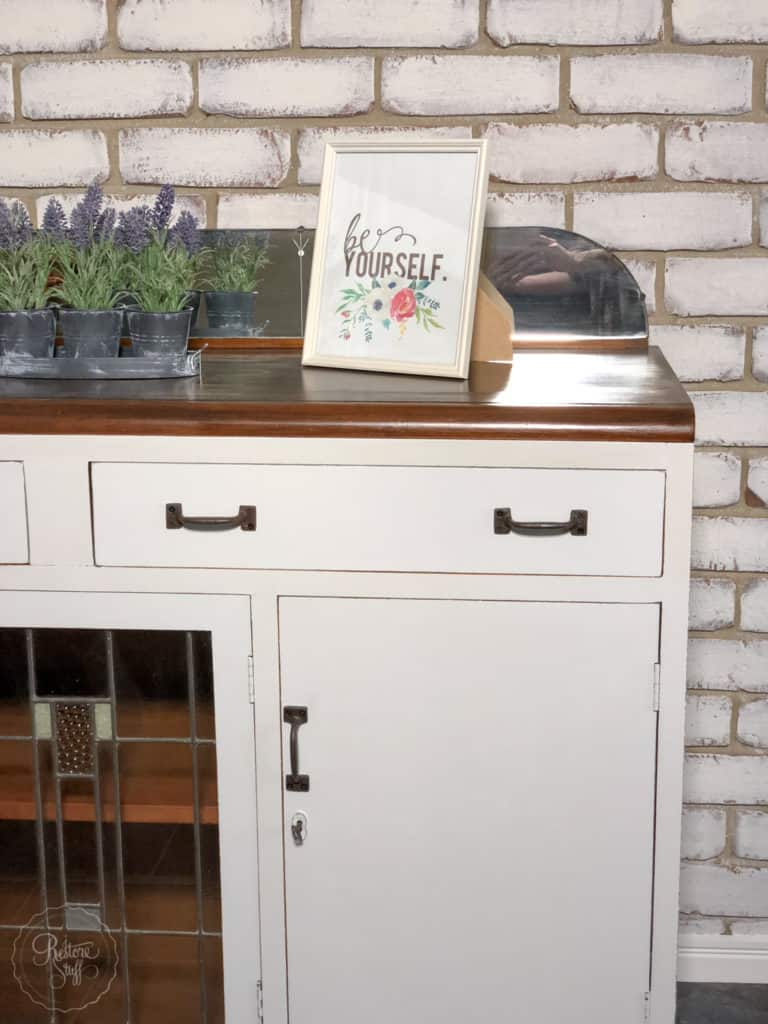
I was really happy with the repaired finish (below).
Emily was happy to keep the mirror back on this piece to remind her of how it used to look in her Nanna’s home.
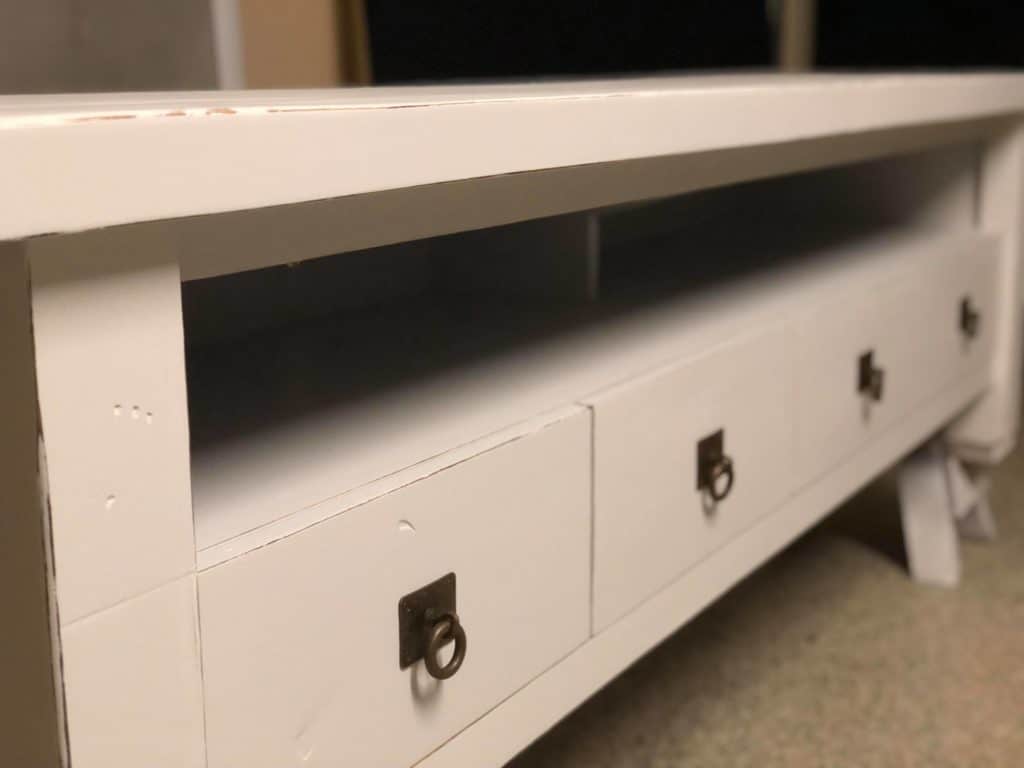
I then painted the entire piece in Lamp White, which is also the same white we used on another piece in Emily’s home – her chunky solid TV console, seen here in my workshop just as I was finishing it up.
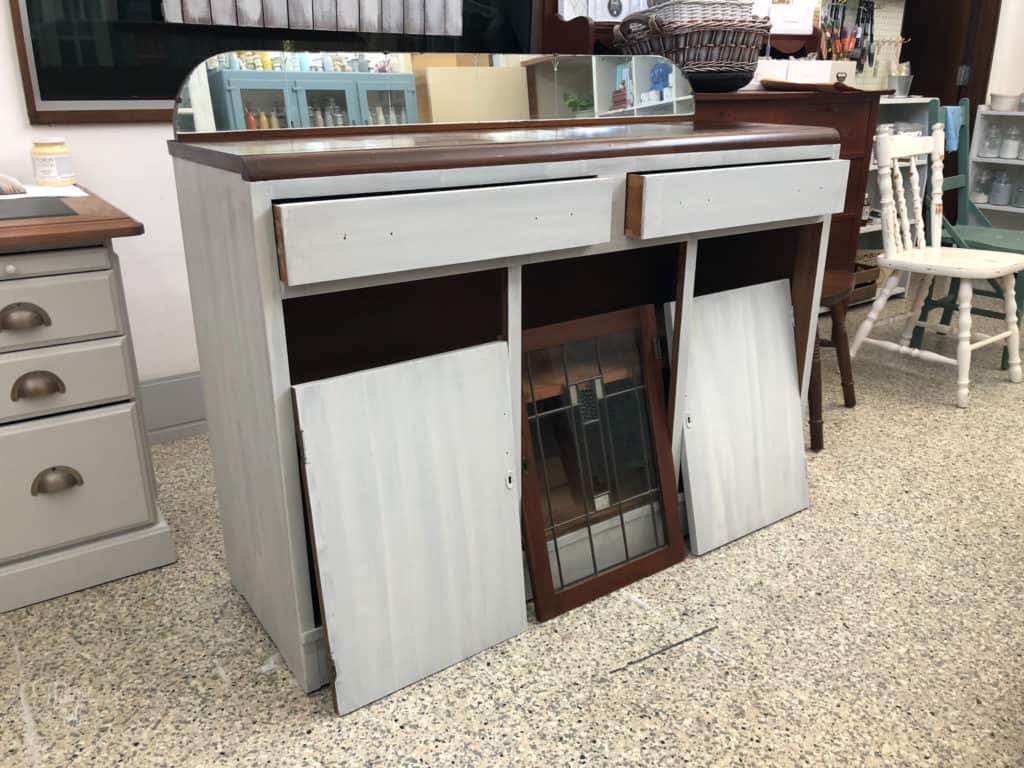
First coat of Lamp White
The first coat of any paint project is usually pretty dodgy looking, especially if painting white over a dark wood. You still see so many streaks which is a sure sign you’re going to need another coat or two before your paint job is finished. I used Fusion Mineral Paint’s Lamp White. At the stage below, I hadn’t painted the glass door frame, and double checked with Emily to see if she wanted to leave the frame on this door wood, or for me to go ahead and paint it.
Finding Treasures in Antique Furniture
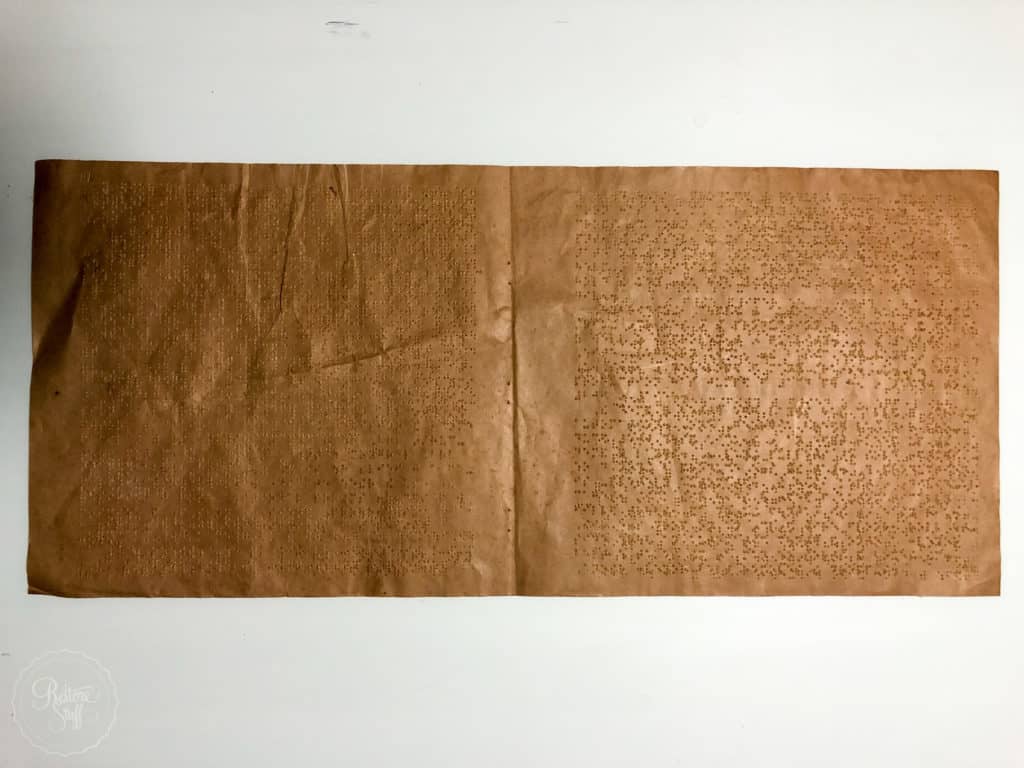
As I was cleaning out the inside of the cabinet, there were some old floral patterned papers lining the shelves as was done a lot of the time years ago. Maybe you still do line your shelves – let me know in comments below! Under one of the papers I came across this brown paper with tiny holes in it. It looked a little like pianola music, but the way it was formed like book pages with the staple area in the centre line, I figured it may have been braille.
I messaged Emily with a photo to show her what I had found and she was so delighted with the find – you see her Nanna was blind and this would have been one of her old books or newspapers or a journal perhaps and she used to line their shelves with the old papers. They are about the size of scrapbook pages if you cut them down that centre line, so I suggested they would make great background in a frame with a family picture or a photo of Nanna and some items that belonged to her.
I can’t wait to see what she does with them.
What have you found as treasures in old furniture pieces you have come across? Leave a comment below, I’d love to hear your story!
Finishing Touches
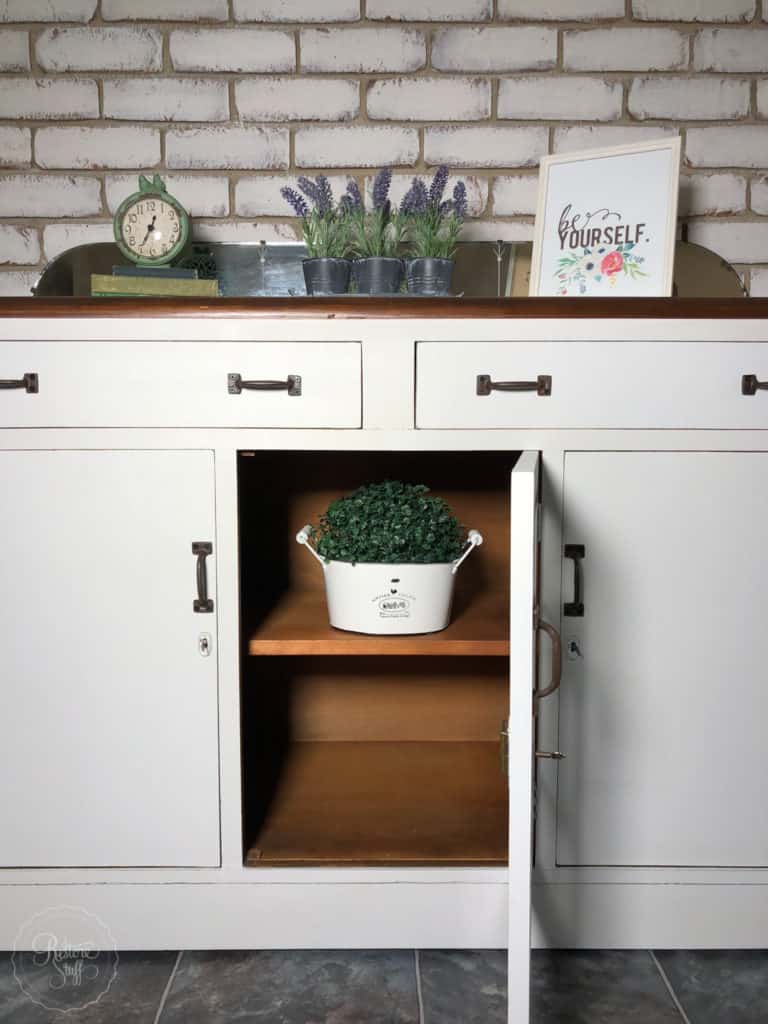
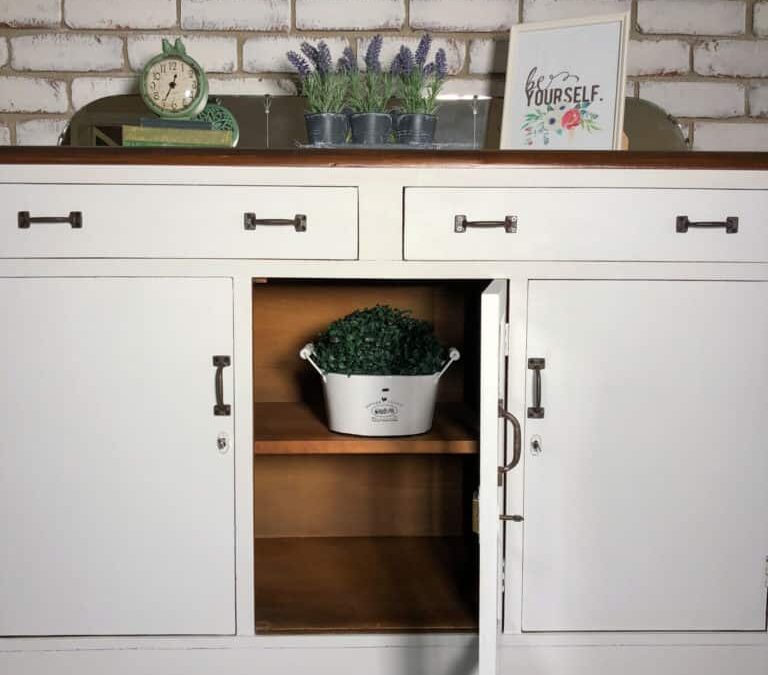
To finish off the insides, I used the Natural in Fusion’s Stain & Finishing Oil to really bring the interior wood surface to life again. Here’s a little look via one of my Instagram posts I did that day:
https://www.instagram.com/p/Bmu2gMUFOvY/?utm_source=ig_web_button_share_sheet
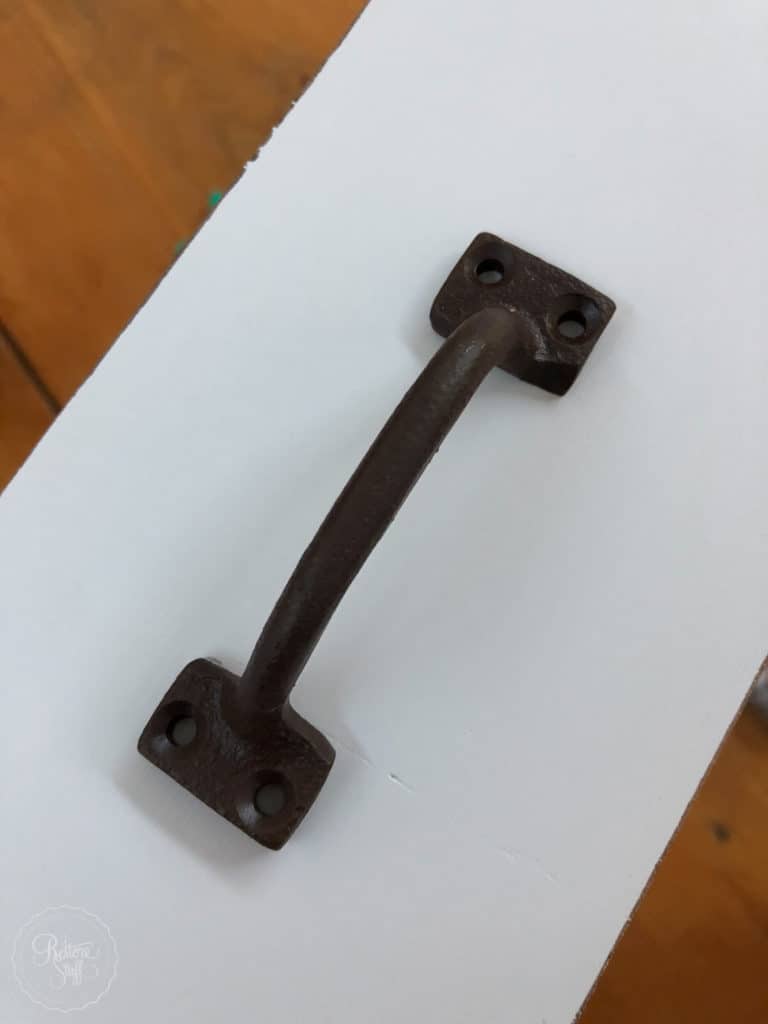
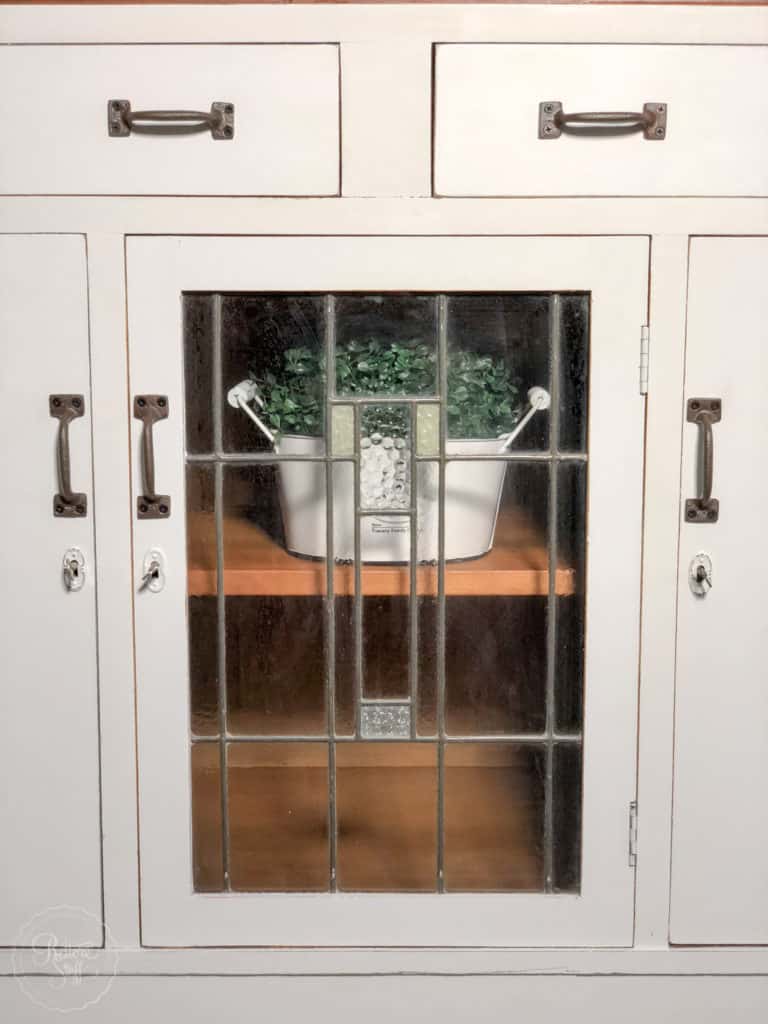
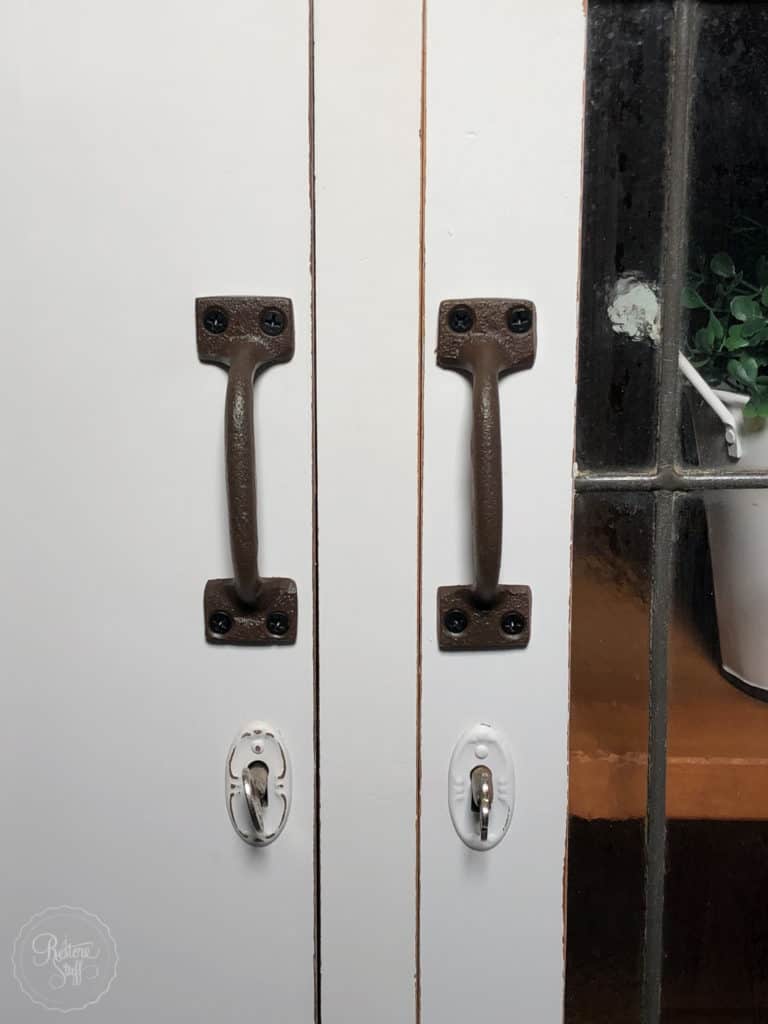
And then I added these cute rustic looking, iron handles. I love their plain and simple style.
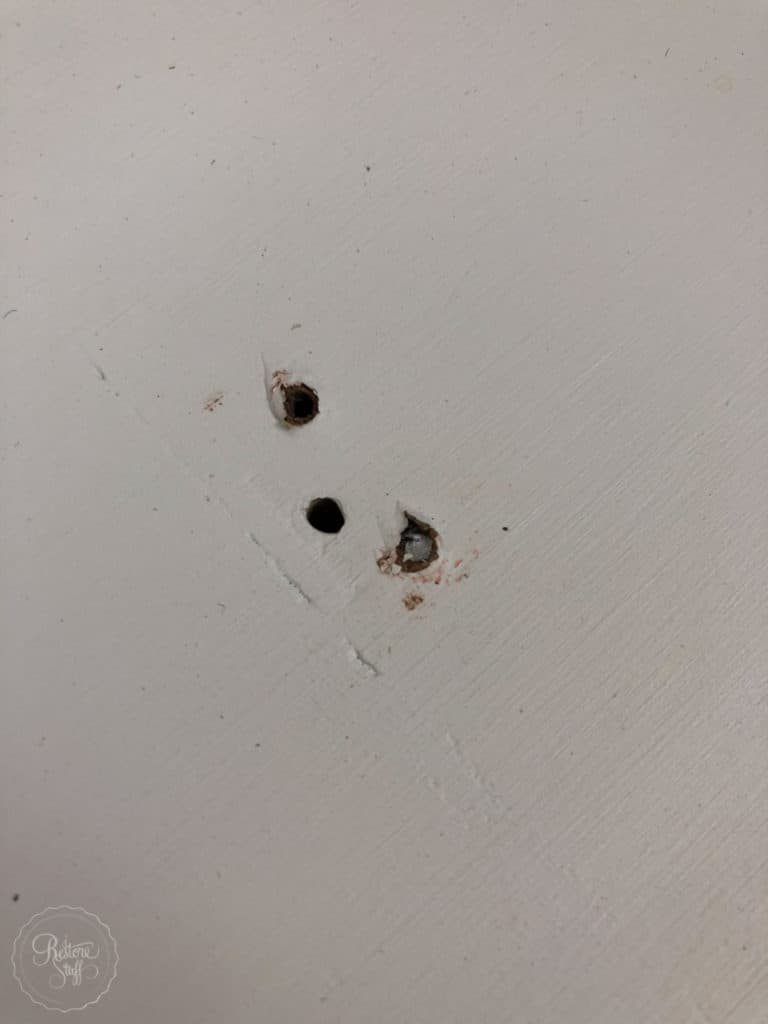
But ALAS! Not everything goes smoothly with every renovating project, and here’s a friendly reminder to NEVER use the cheap screws they add to the pack when you purchase handles online! At least two snapped off in the hole as I was screwing them in. One of them needed a complete drill out and re-filling of the hole to make things nice again! So annoying when you’ve already painted them, but it all turned out okay in the end.
We’re Finished!
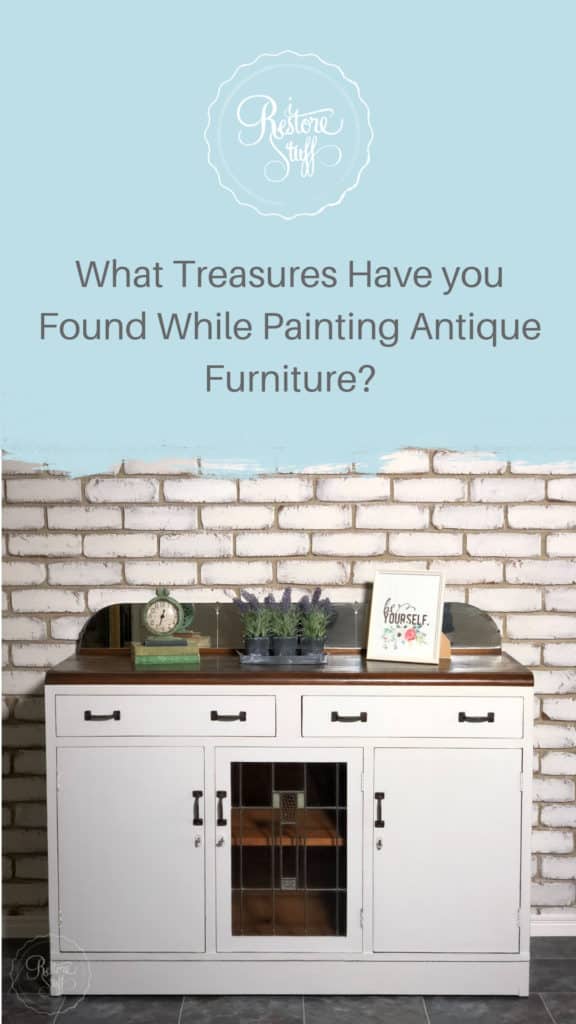
Here it is all finished and ready to go to its new home …
Hey guys,
Just a reminder that my business coach, Jennifer Allwood is opening up her Inner Circle for registrations these next four days starting TODAY!
If you didn’t get on the waitlist, that’s okay, you can head there via my affiliate link here:
jenniferallwood.ontraport.com/t?orid=67693&opid=3
I am so excited to share this with you, because I’ve found it so beneficial to have someone coaching me in business who actually GETS what I do!
Jennifer is a DIY Painter and Faux Finisher, who has taken her painting business to the next level, and is now coaching other creative business owners to increase their profits, and do more of the things you LOVE to do, while creating income streams that in turn help the people you want to help in your creative niche!
Jump over now and see what being in the Creator’s Inner Circle is all about!
If you have any questions about the Inner Circle, I’d be happy to answer them for you – shoot me an email at sharon@irestorestuff.com
Happy Painting!
Sharon.
 Antique Finds